When you click on links to various merchants on this site and make a purchase, this can result in this site earning a commission. Affiliate programs and affiliations include, but are not limited to, the eBay Partner Network.
Great job! this is exactly what I've been looking for. sign me up for the kit.
BTW, I tried looking into # 2 option but what Im understanding is that they don't just sell the bezel, you have to buy a whole Navi screen.
You're asking if there is a way to hide the seam in an already-existing panel seam, right? I wish there were a way.
I played around with this for a while and I couldn't come up with any solution that did not involve the edge of the film showing. You can wrap the entire top portion of the trim (everything above the vents). That leaves a single horizontal line across the unit just above the vents, but this is 10x harder and it seems to accentuate the slight color difference. You can also run a horizontal strip of about 1" just at the level of the area that is scratched, but the horizontal lines on the far sides then draw the eye. You could also wrap everything, top to bottom, but that would cover the vent flow symbols.
Making the film follow the lines downward from the buttons and then in a curve that mimics the natural curves of the panel seems to be the least noticeable, at least to my eye.
Buy 5' of the film and go wild, experimenting with what works best for your tastes. It's cheap, kinda fun, and relatively easy to work with.
If, however, you're asking about a template or such for the curves at the bottom, let me see if I can scan my template into a PDF file... I'll follow up momentarily.
Fantastic work. The scratched bezel is the only visable flow in my 04. I have replaced, fixed, every flaw except one. I have ordered the film and look forward to doing the procedure. Can;t think you enough for this very reasonable solution. Very well done, my man!
Thanks-My 2002 81,000 mile LS is perfect with no deferred maintenance-except for the bezel. Mine is not in bad shape at all, but the OCD in me wanted to find a solution and you have provided it! Just ordered the wrap and printed the PDF and hope my 69 year old eyes will allow me to do as good as you have done with the installation.
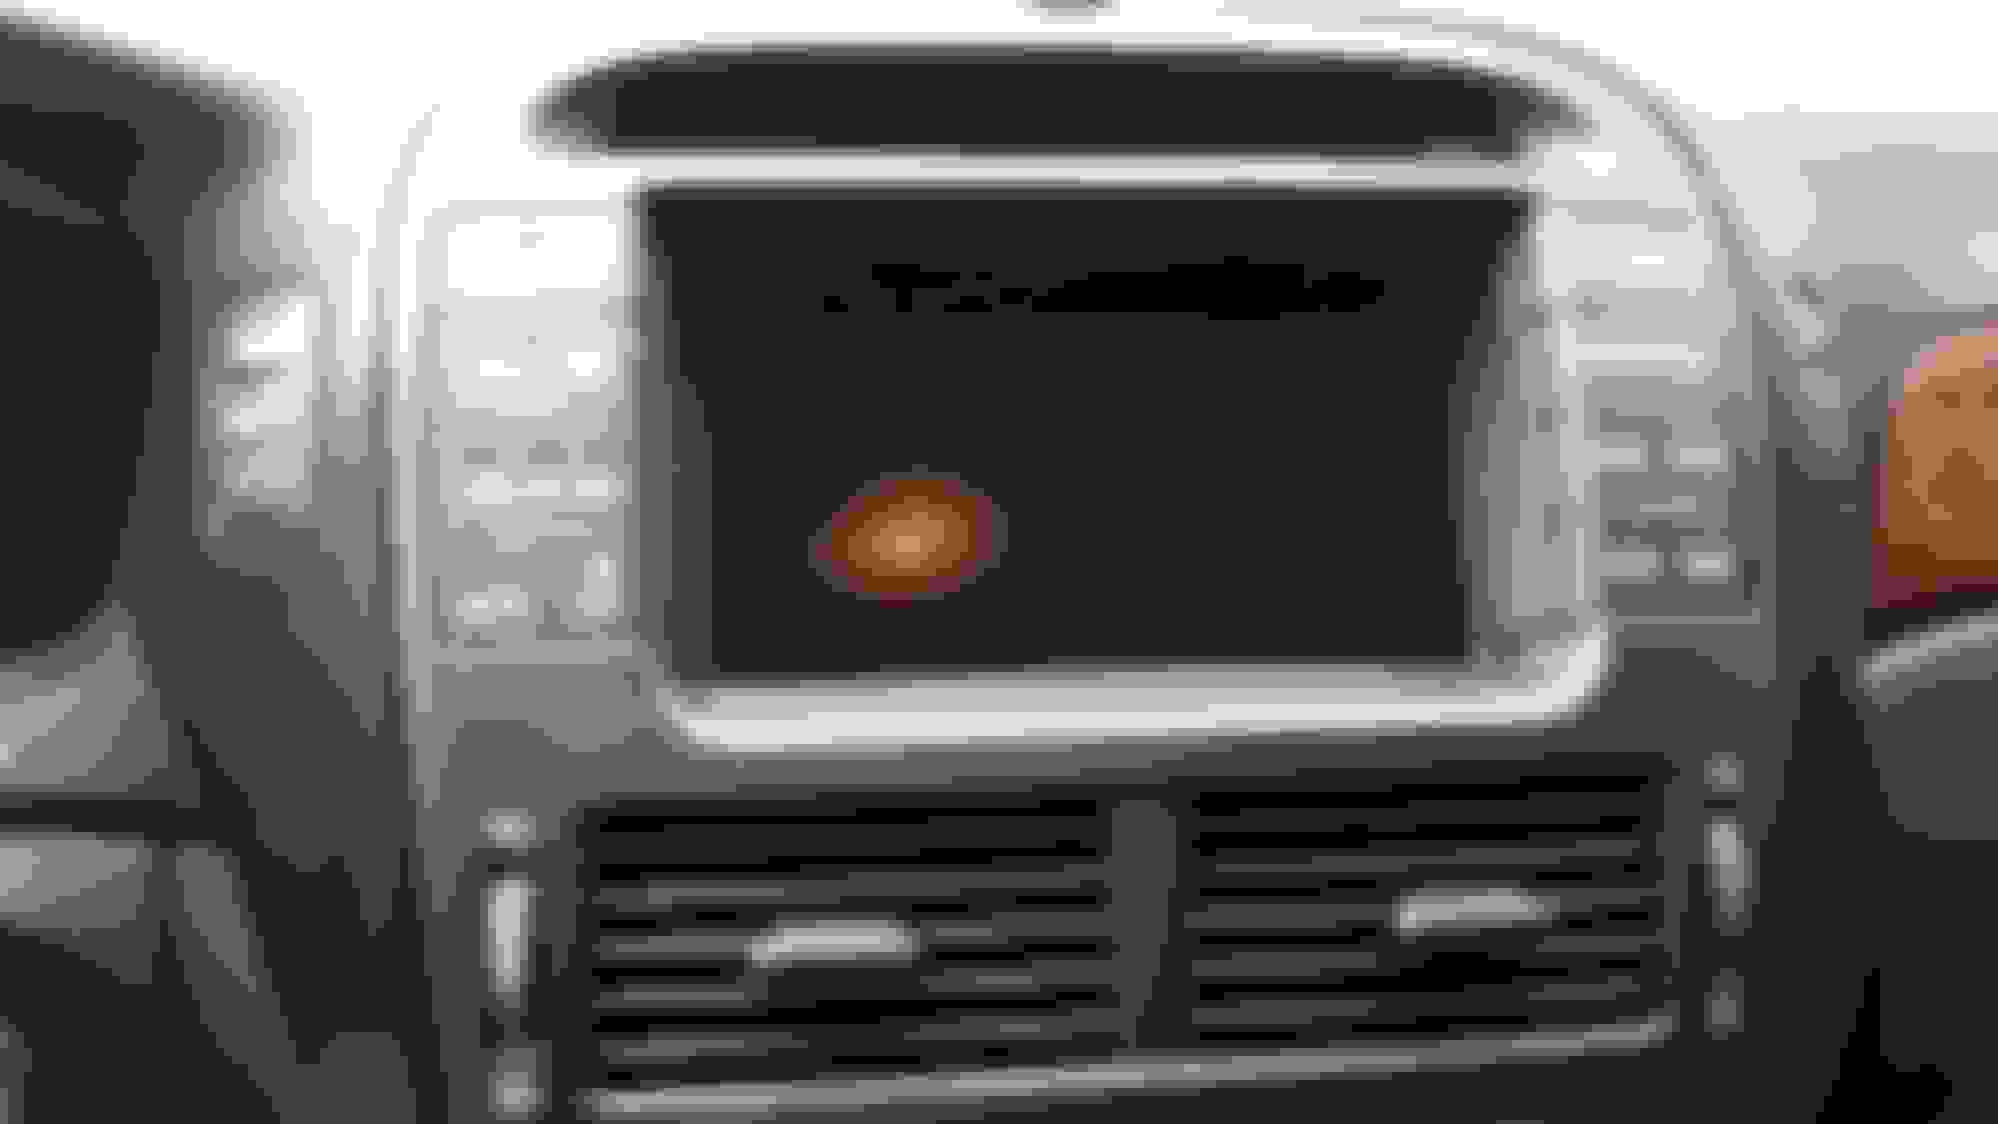
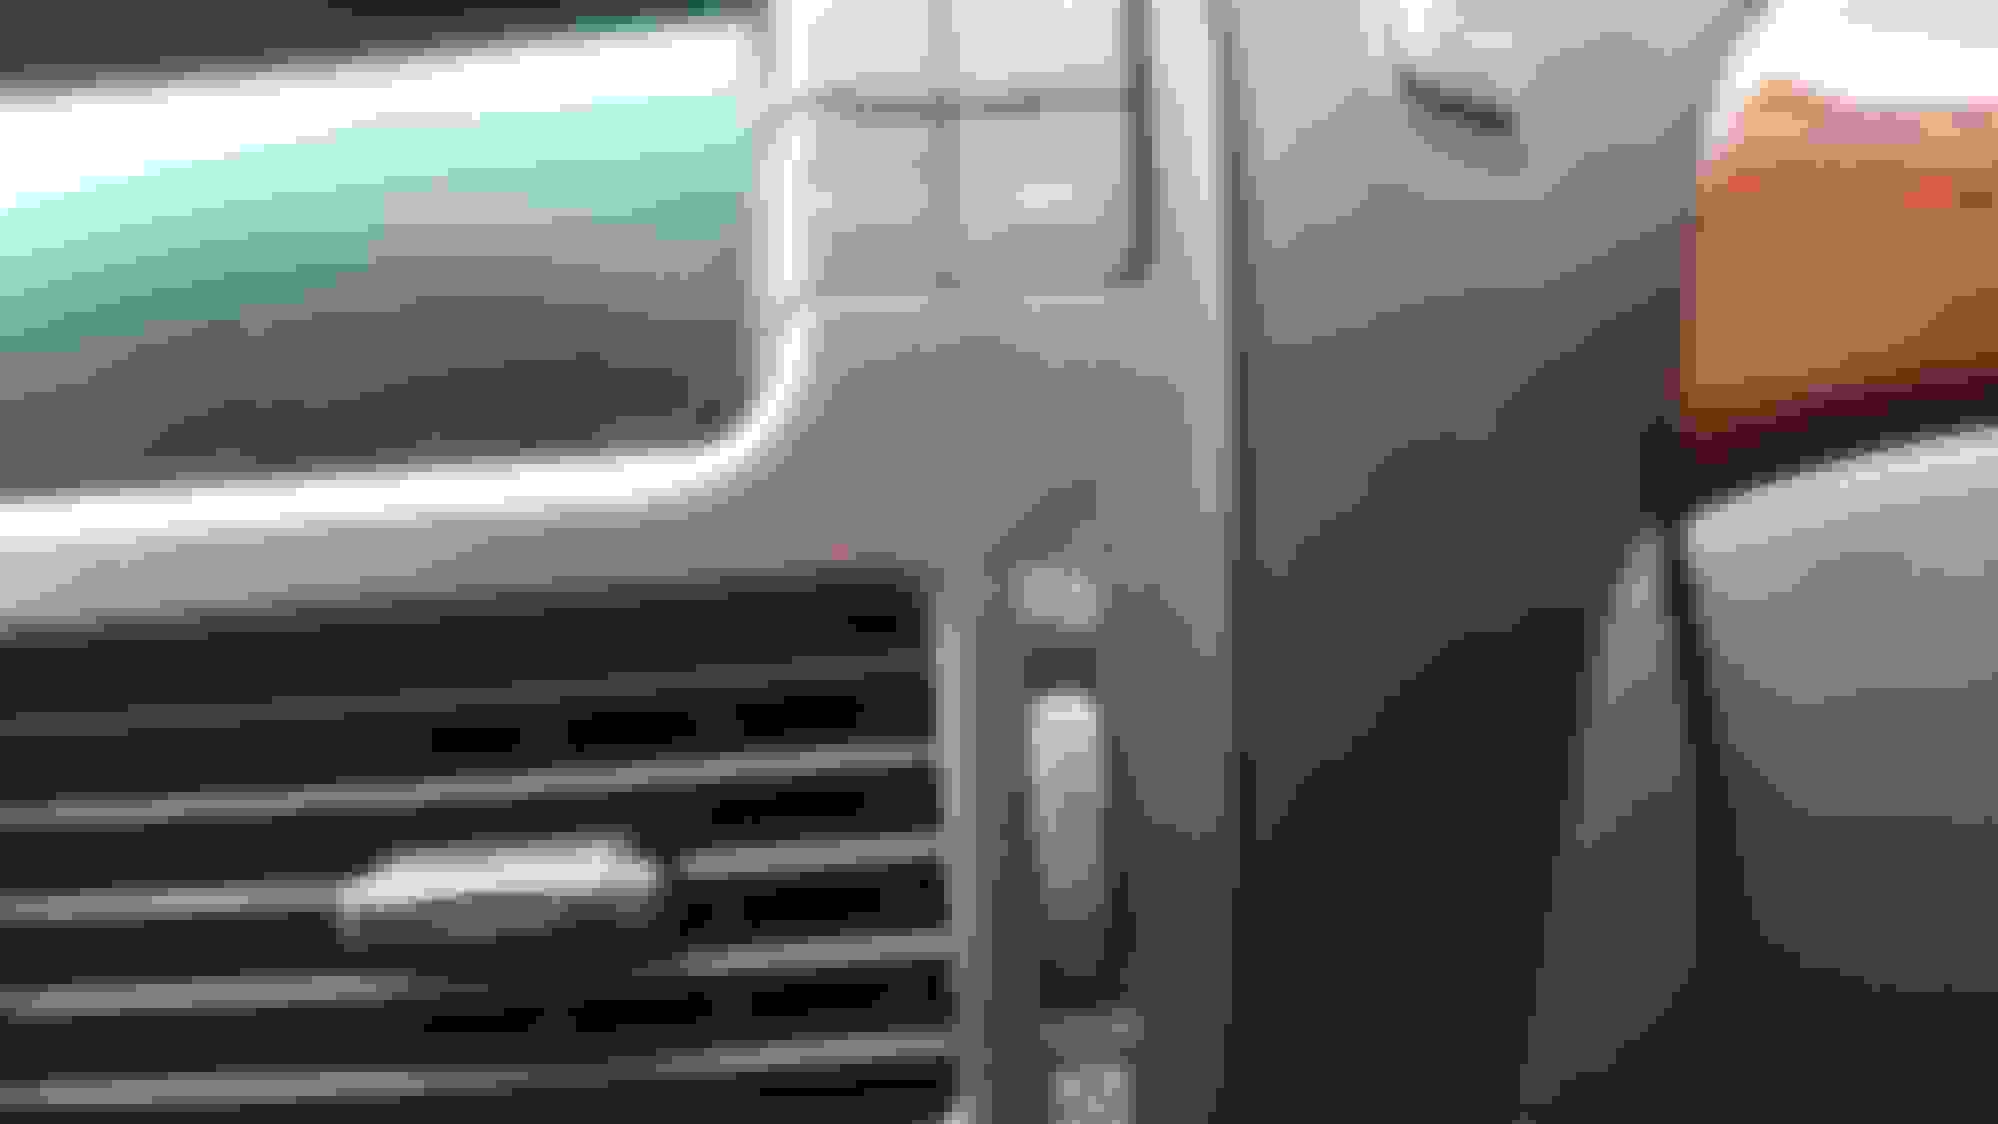
The trim around the navigation screen in our cars is prone to scratch easily and it just looks bad.
My car is fairly pristine inside and out, so the mangled trim around the Nav really stands out in a bad way.
There are four options for dealing with this:
1. Deal with it. It's an old car.
2. Buy a new trim piece for $200+.
3. Go nuts with spray paint, trying to make a combo that matches and looks good.
It's only a 99% match, but it's 100% worth the modest cost and effort.
To apply, you'll need:
- a heat gun/hairdryer
- a brand new, never-used razor blade or exacto blade.
- just a little bit of patience
- It should take less than 10 minutes to apply, even if you're slow
If there is significant interest, I can make a how-to video, and I could even throw together some modestly-priced (maybe 8 bucks?) kits with pre-cut vinyl and a new razor blade.
I'm confused. When I use the link for "3M 1080 Matte Graphite Metallic (M211) Vinyl film , I get "3M 1080 Matte Metallic Charcoal Air-Release Vinyl Wrap". In you video you call the wrap "Graphite". I can't find the Matte Graphite Metallic anywhere on the web. Did you actually find and use Matte Metallic Charcoal? If so, can you help me find that so I can order some. Your video shows a really good color match and I want to do the same thing and not order something that is not the color you used. Thanks.
You're right. I made a mistake. The link is correct. It should be charcoal. M211 is the specific model number you should look for.
I've been researching color codes to refinish a steering wheel, trying to find a decent match. So the words "charcoal", "graphite", and such have been swimming in my head lately. Sorry for the confusion.
 05-16-19, 05:51 PM