When you click on links to various merchants on this site and make a purchase, this can result in this site earning a commission. Affiliate programs and affiliations include, but are not limited to, the eBay Partner Network.
Picked up this 93 sc400 with 194,000, some body damage, and coolant leaks for $1350.
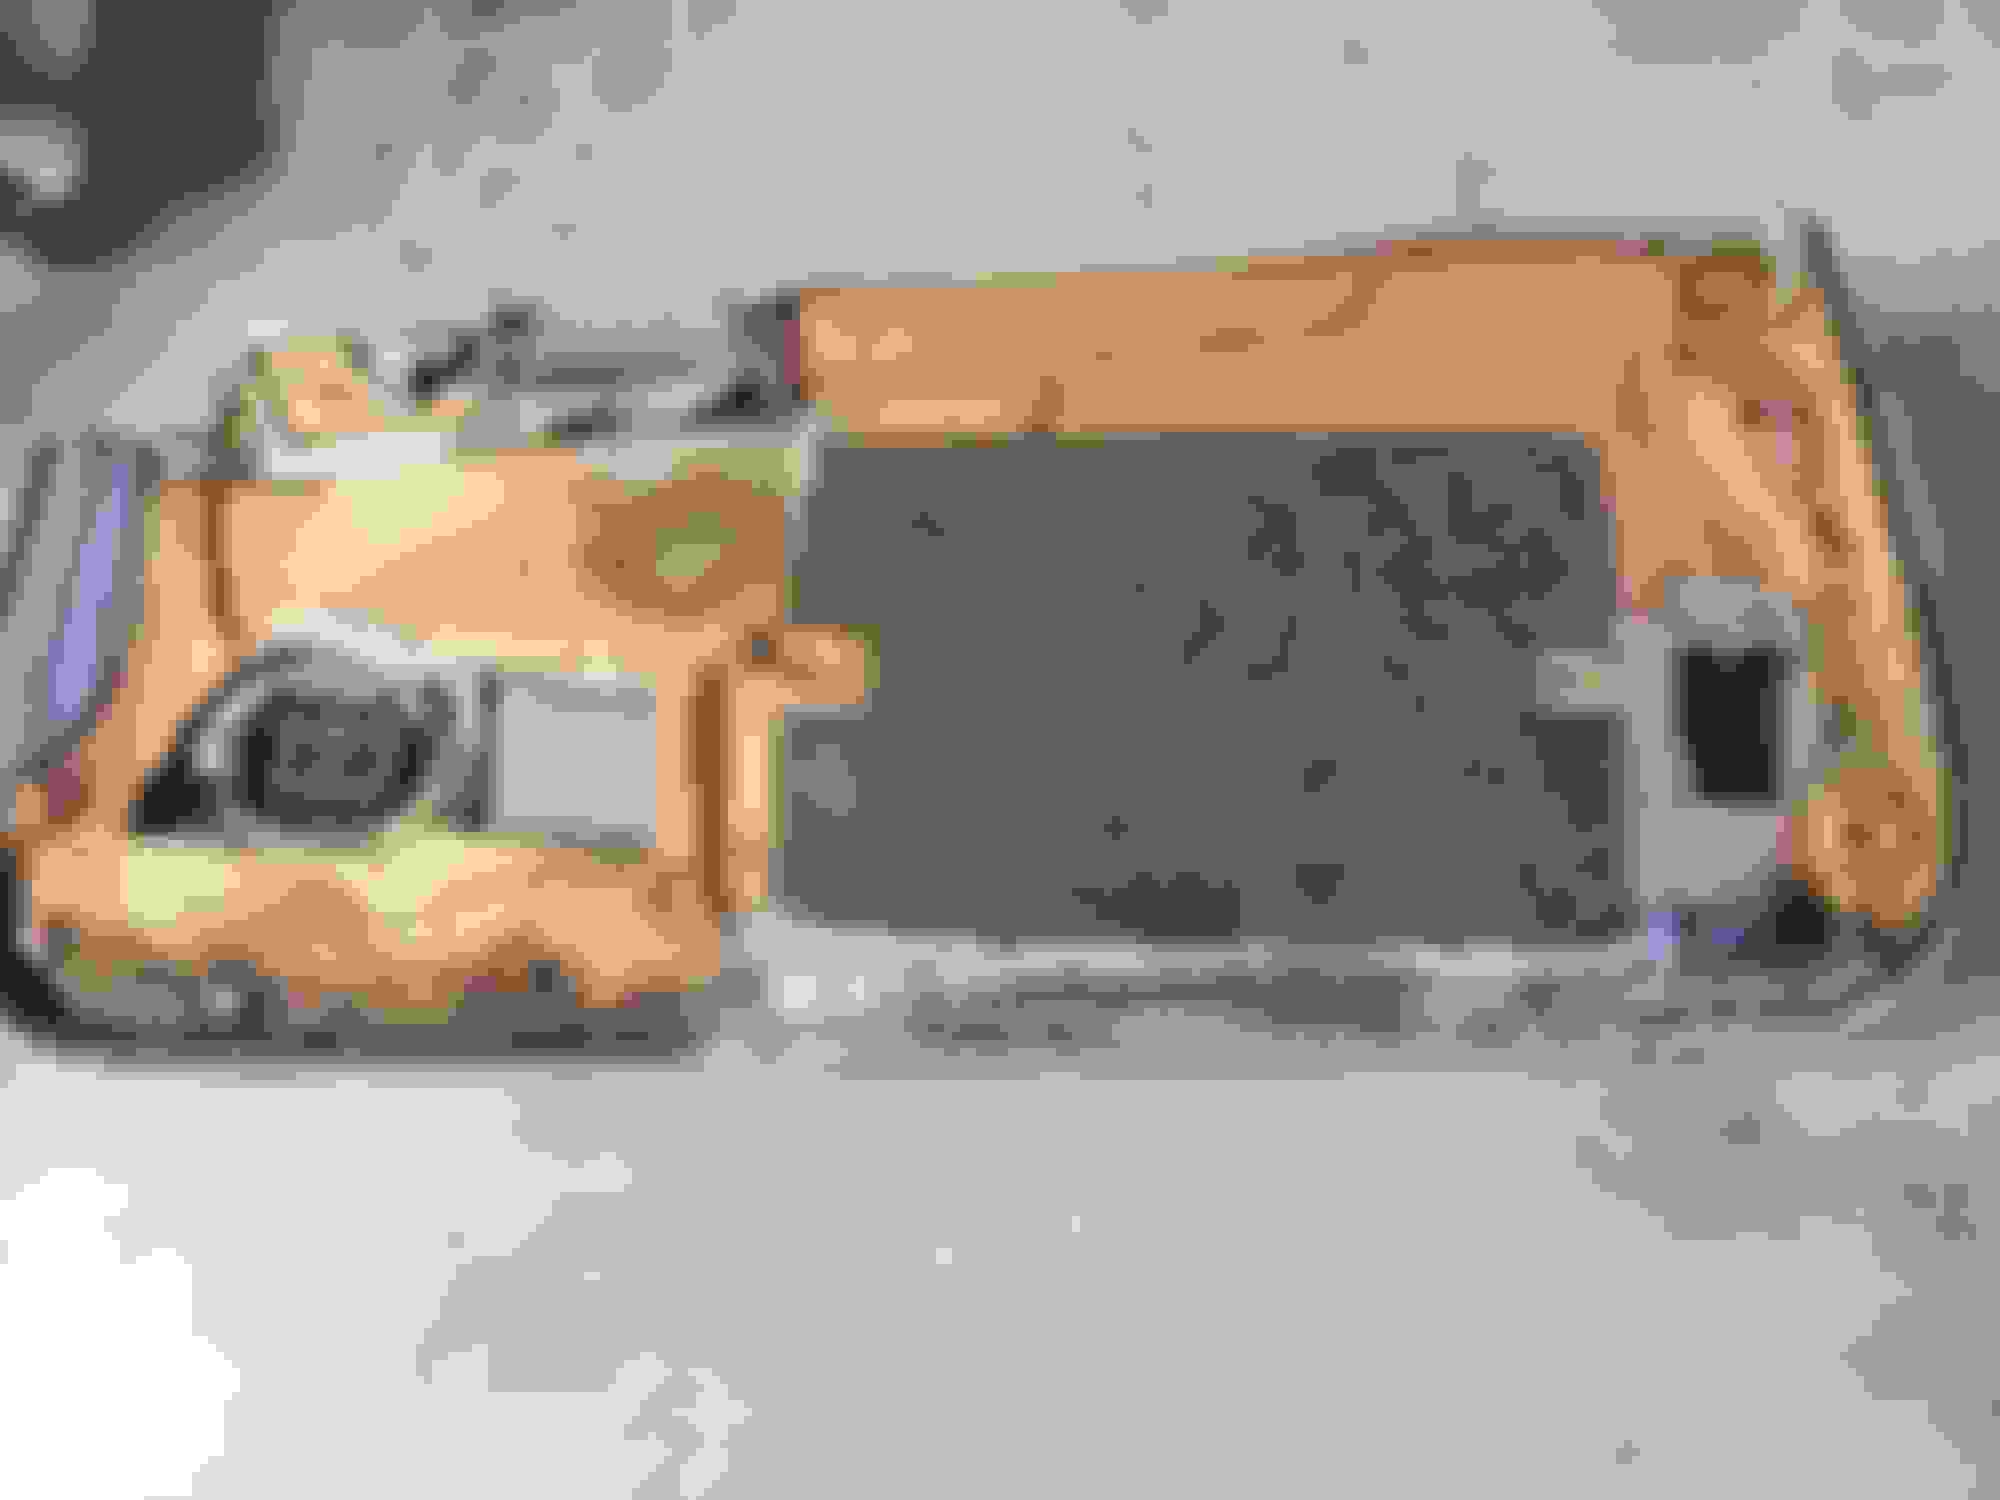
Removed the aftermarket alarm that was tied into basically ever important circuit, aaaand broke the ignition switch in the process so that was fun.
Hit a deer on my way to work, ended needing to replace the bumper, hood, and rh fog light with parts I'd horded away.
Pulled all the fenders to fit the 18x8.5 +30 w/ a 1.25" spacer. Replaced 2 of the rear links with adjustable arms that have replaceable joints, replaced the 92 taillights with 96's, and got the coilovers in.
Heres how the car currently sits partway through some bodywork and with the 99 skirts installed.
The vague overview of the plan is megasquirt 3, twin gt28's(or maybe larger idk yet, I'd like to get around 25psi or over 600whp with reasonable spool), injectors, swap in my cd009, swap in the 99 3.2 diff, remote electric powersteering pump(mr2 or mini cooper possibly), lighter seats, and ls400 front brakes.
Got a baseline dyno run done, it started a little late to keep the car from downshifting. This was in second gear with new plugs and wires, everything stock besides tire size(255/40/18).
Replaced the full size spare with an rx8 Enkei space saver 17"
And made an attempt at,"fixing" my door panel that kept falling off. All the lower bolt points had sheared off so I bonded a layer of fiberglass over it to give the bolts something to grab. The door dosent fall off anymore but it still needs to be replaced, the fitment leaves much to be desired.
Got a little bit started on the spare set of headers to see how this will look, that is just a generic 1 7/8 to 2 1/4 adapter which I know is not going to flow great. I'll reuse the exhaust system off of my rearmount for the rest of the header, but I can't move forward until I pull the motor.
Your Making tons of progress so props to you , and to find that 3.26 rear end you've got a load of other Lexus Models to chose from to pull that fit, SC430, LS, GS and I believe that's all.
Your Making tons of progress so props to you , and to find that 3.26 rear end you've got a load of other Lexus Models to chose from to pull that fit, SC430, LS, GS and I believe that's all.
Thanks I've been wanting to do something like this for a while. The Diff I'm using is from my old 92 sc400, which was sourced from a 99 sc.
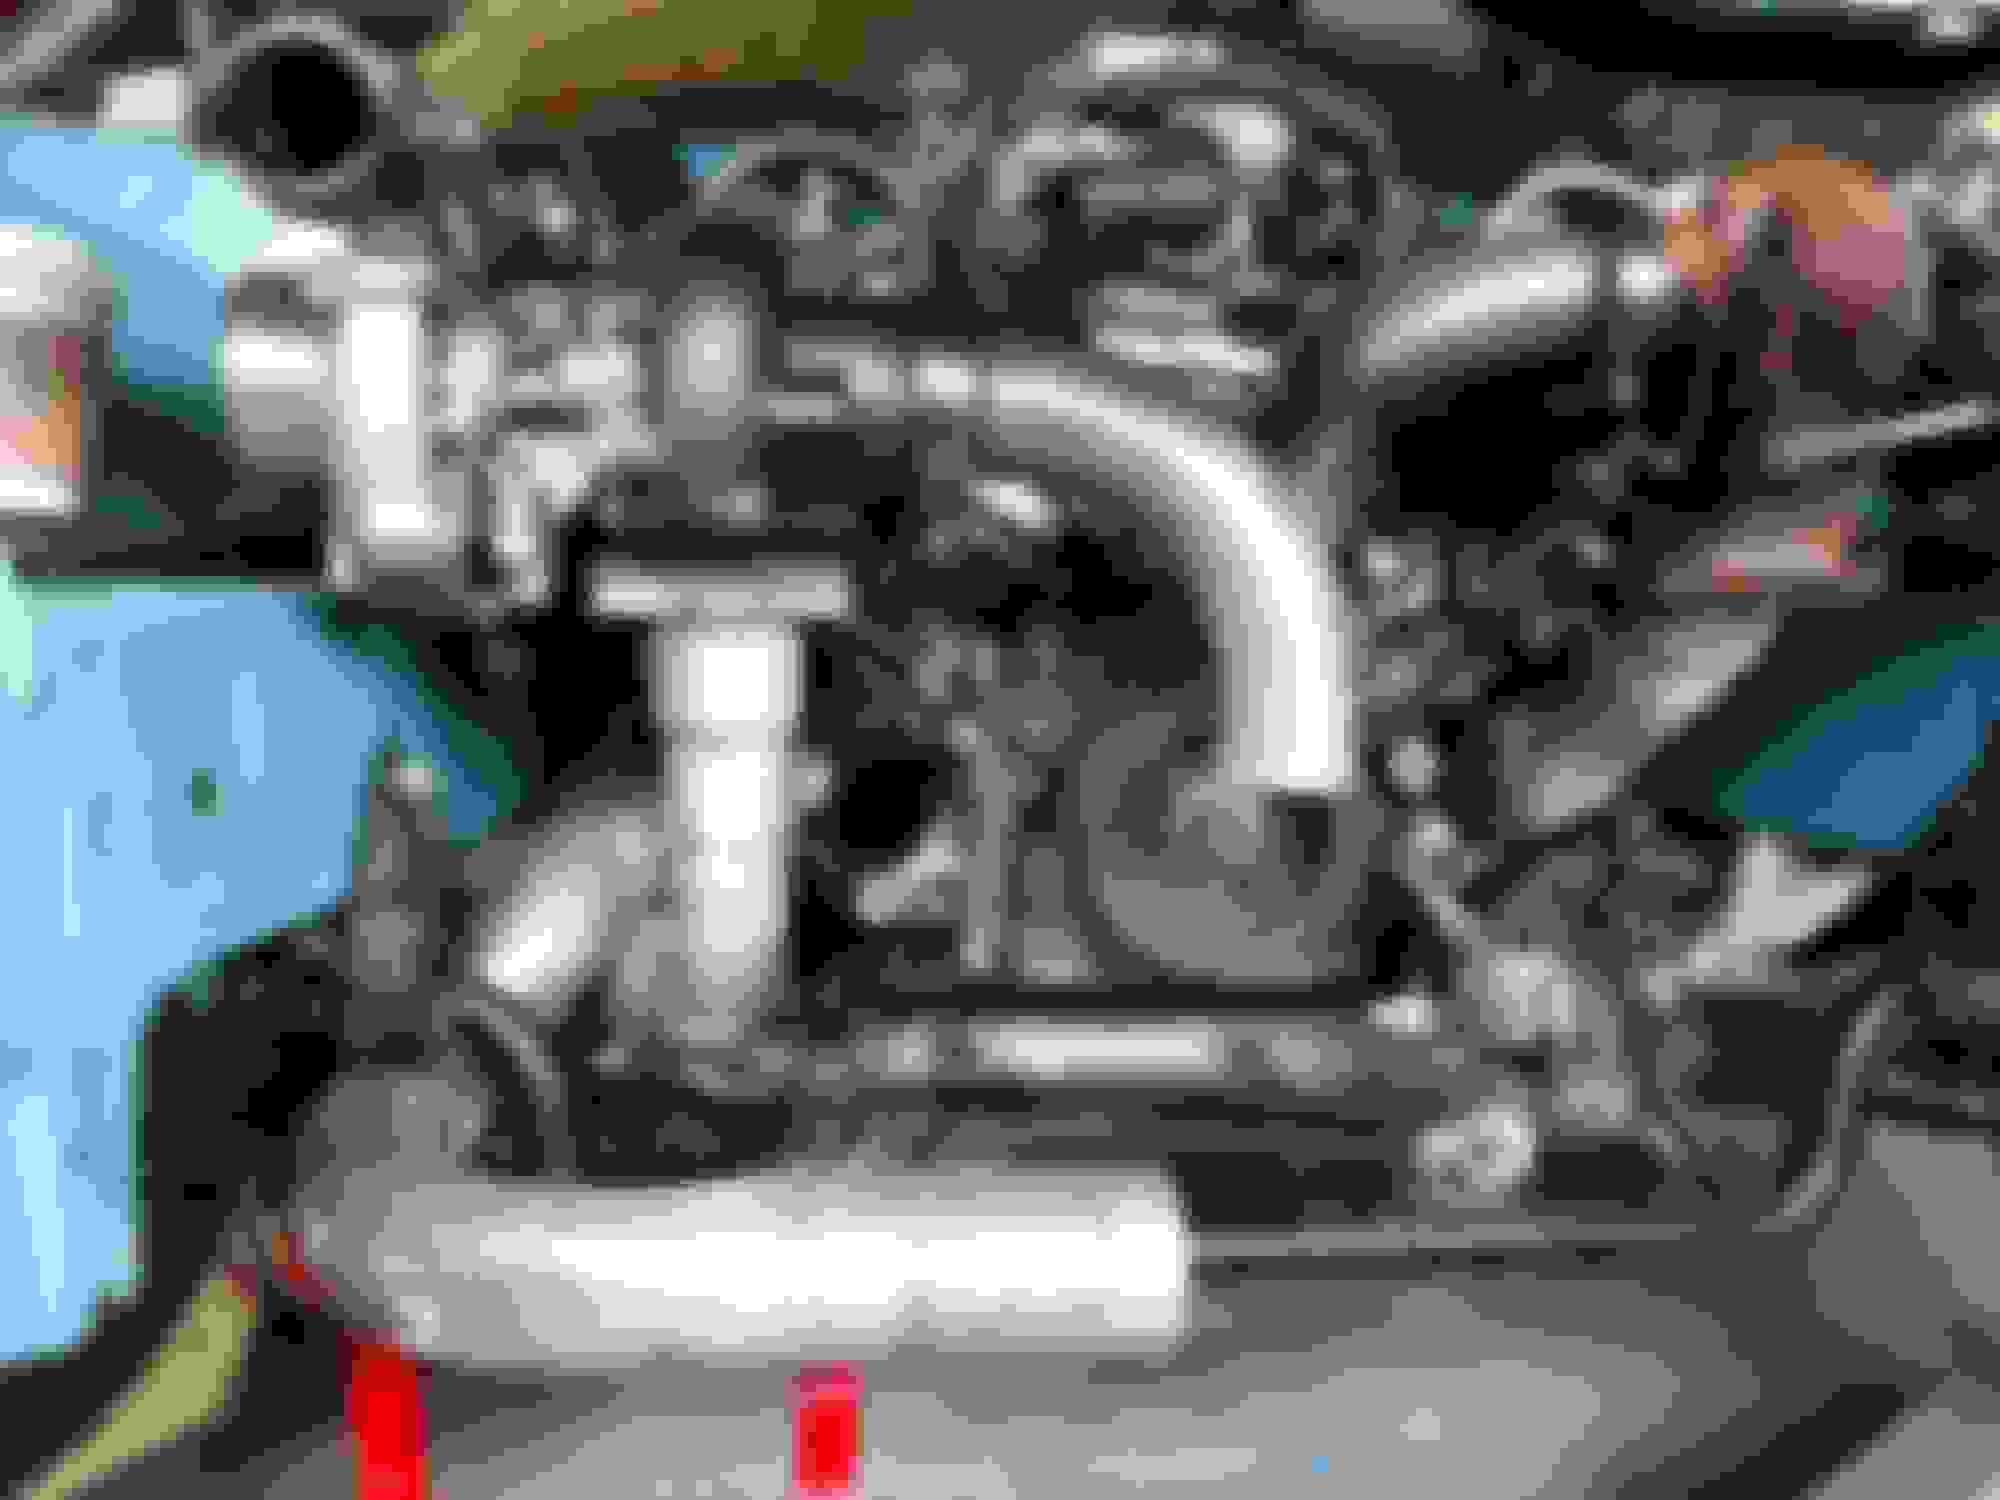
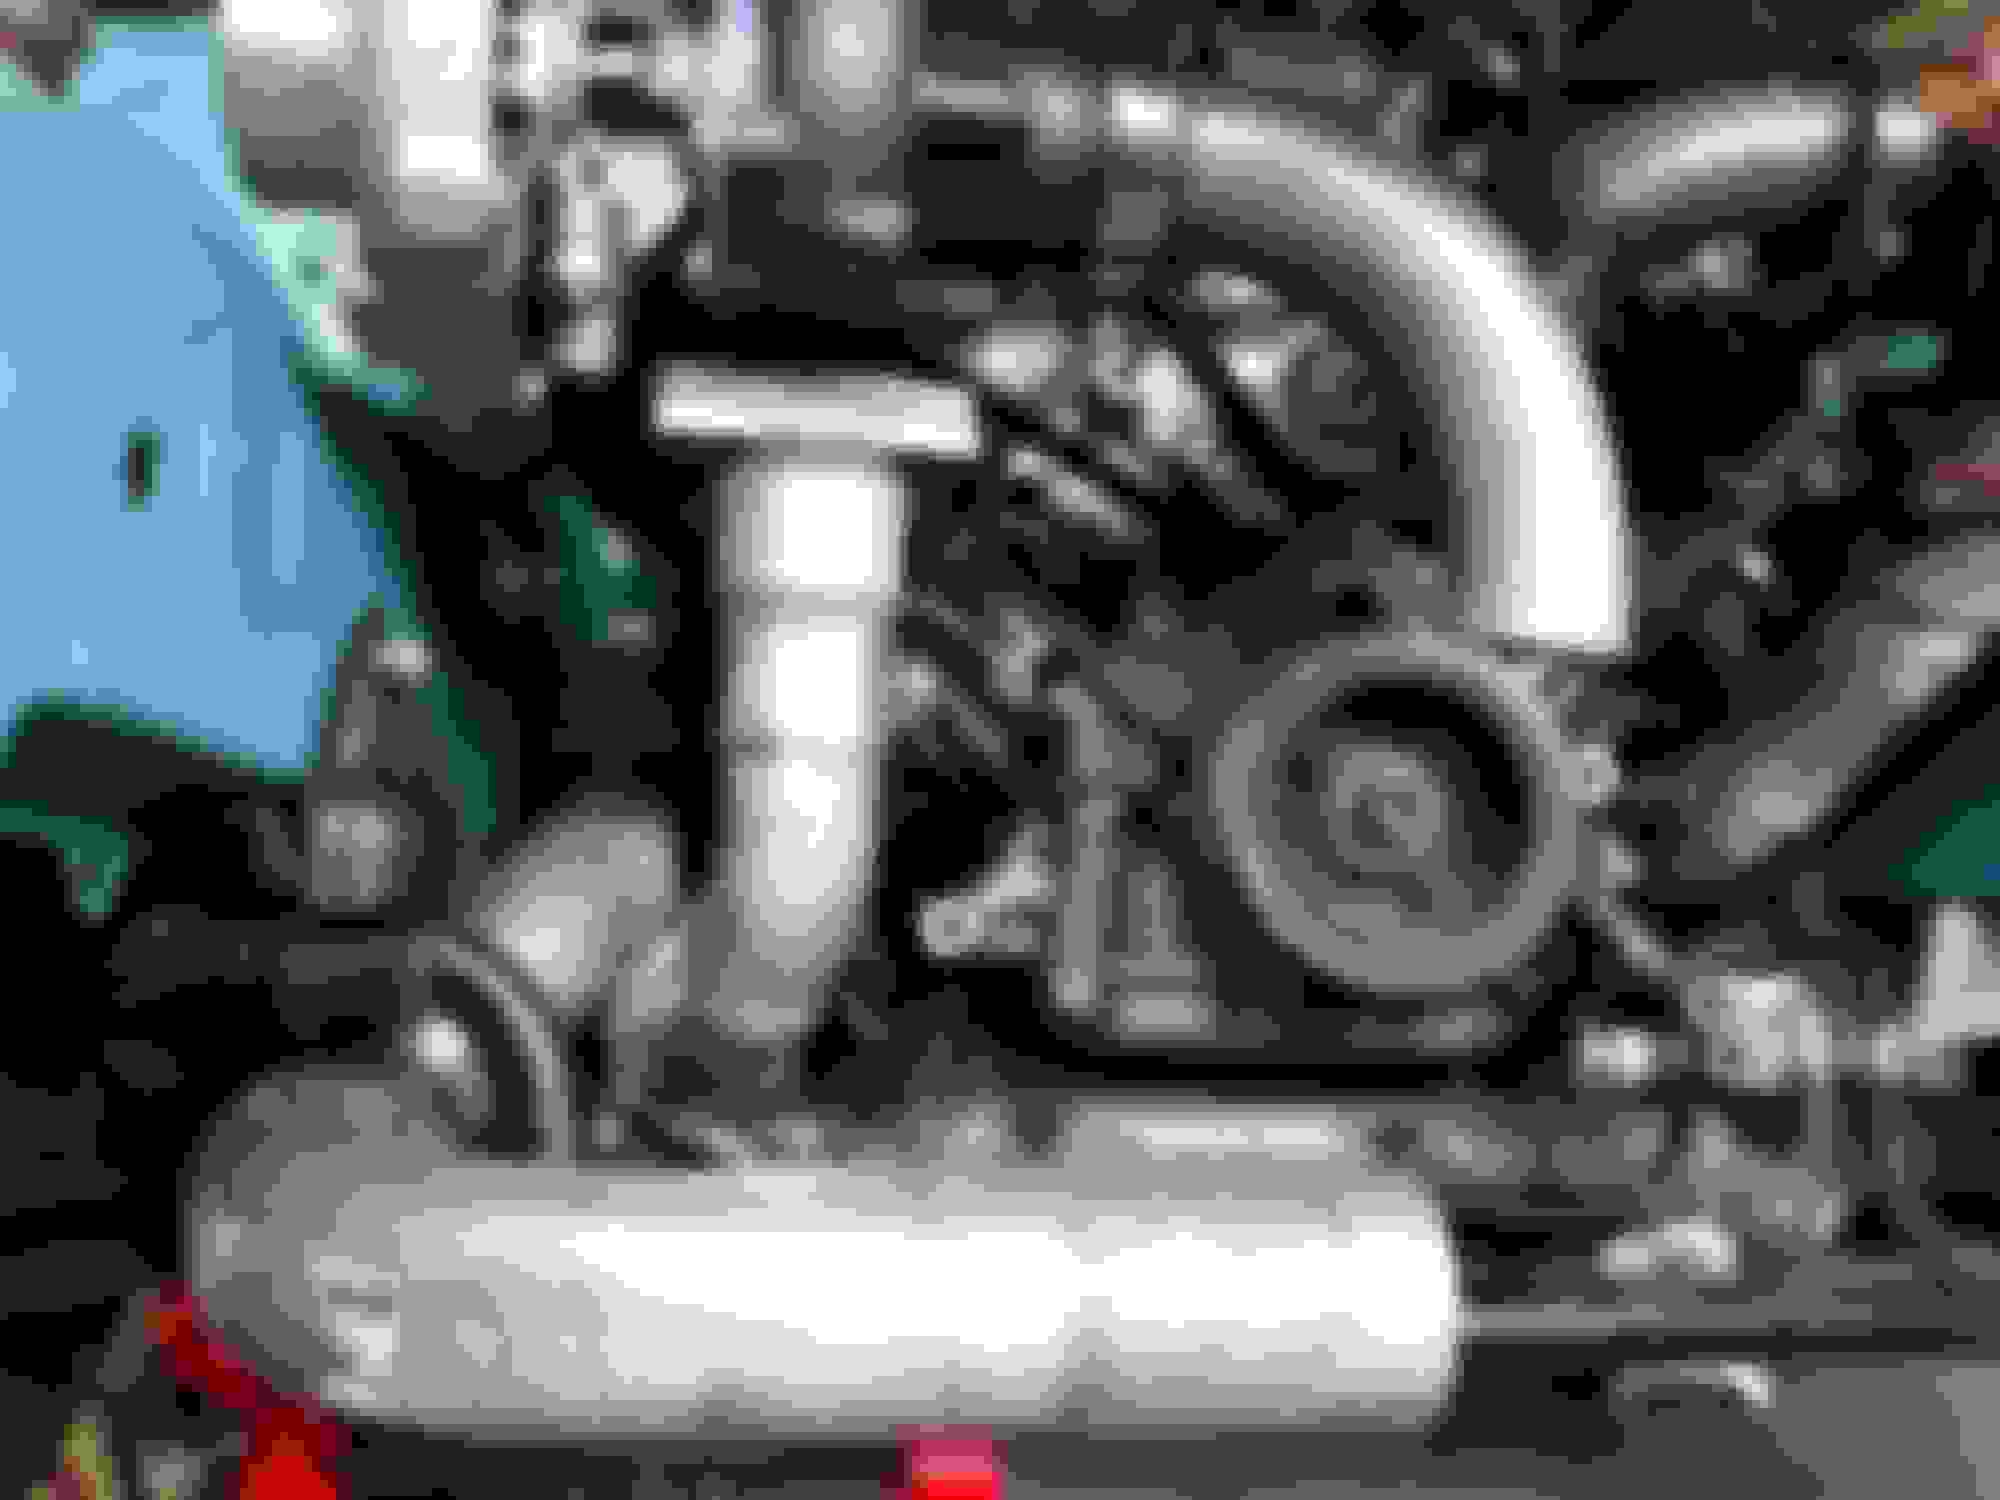
Tacked up the passenger side. The exhaust runs very close to the alternator since both downpipe are merging into 1 3" that has to fit out that side(driverside wont work thanks to the steering shaft). I have the turbo mounted forward to give the radiator hose some clearance but after looking at it more I'm going to move it slightly closer to the block when I install the v-band for that side.(v band to allow alternator removal)
Tacked up the passenger side. The exhaust runs very close to the alternator since both downpipe are merging into 1 3" that has to fit out that side(driverside wont work thanks to the steering shaft). I have the turbo mounted forward to give the radiator hose some clearance but after looking at it more I'm going to move it slightly closer to the block when I install the v-band for that side.(v band to allow alternator removal)
Lookin good so far... What happened to TT 6 SPEED SC #1?
Also is a single 3" big enough for your power goals?
Lookin good so far... What happened to TT 6 SPEED SC #1?
Also is a single 3" big enough for your power goals?
My last cars build thread was titled,"Garnet Peril pt2", long story short I had rear mounted twins(these exact turbos) on a stock ecu @7psi and a cd009, ended up catching the car on fire after having a fuel line come off which thoughly melted everything in the engine bay. The car was gutted and pretty well beat so I decided to pull all my saveable parts(namely the manual swap) and do everything I would have done different on a new chassis. So this time it's a standalone, an interior, sound deadening, mufflers, power steering, and front mount turbos.
The 3" should fit the bill fine, combing through the Chevy forums it seems people use it on 6-700hp regularly. And I can't really go much larger anyways since room is so tight.
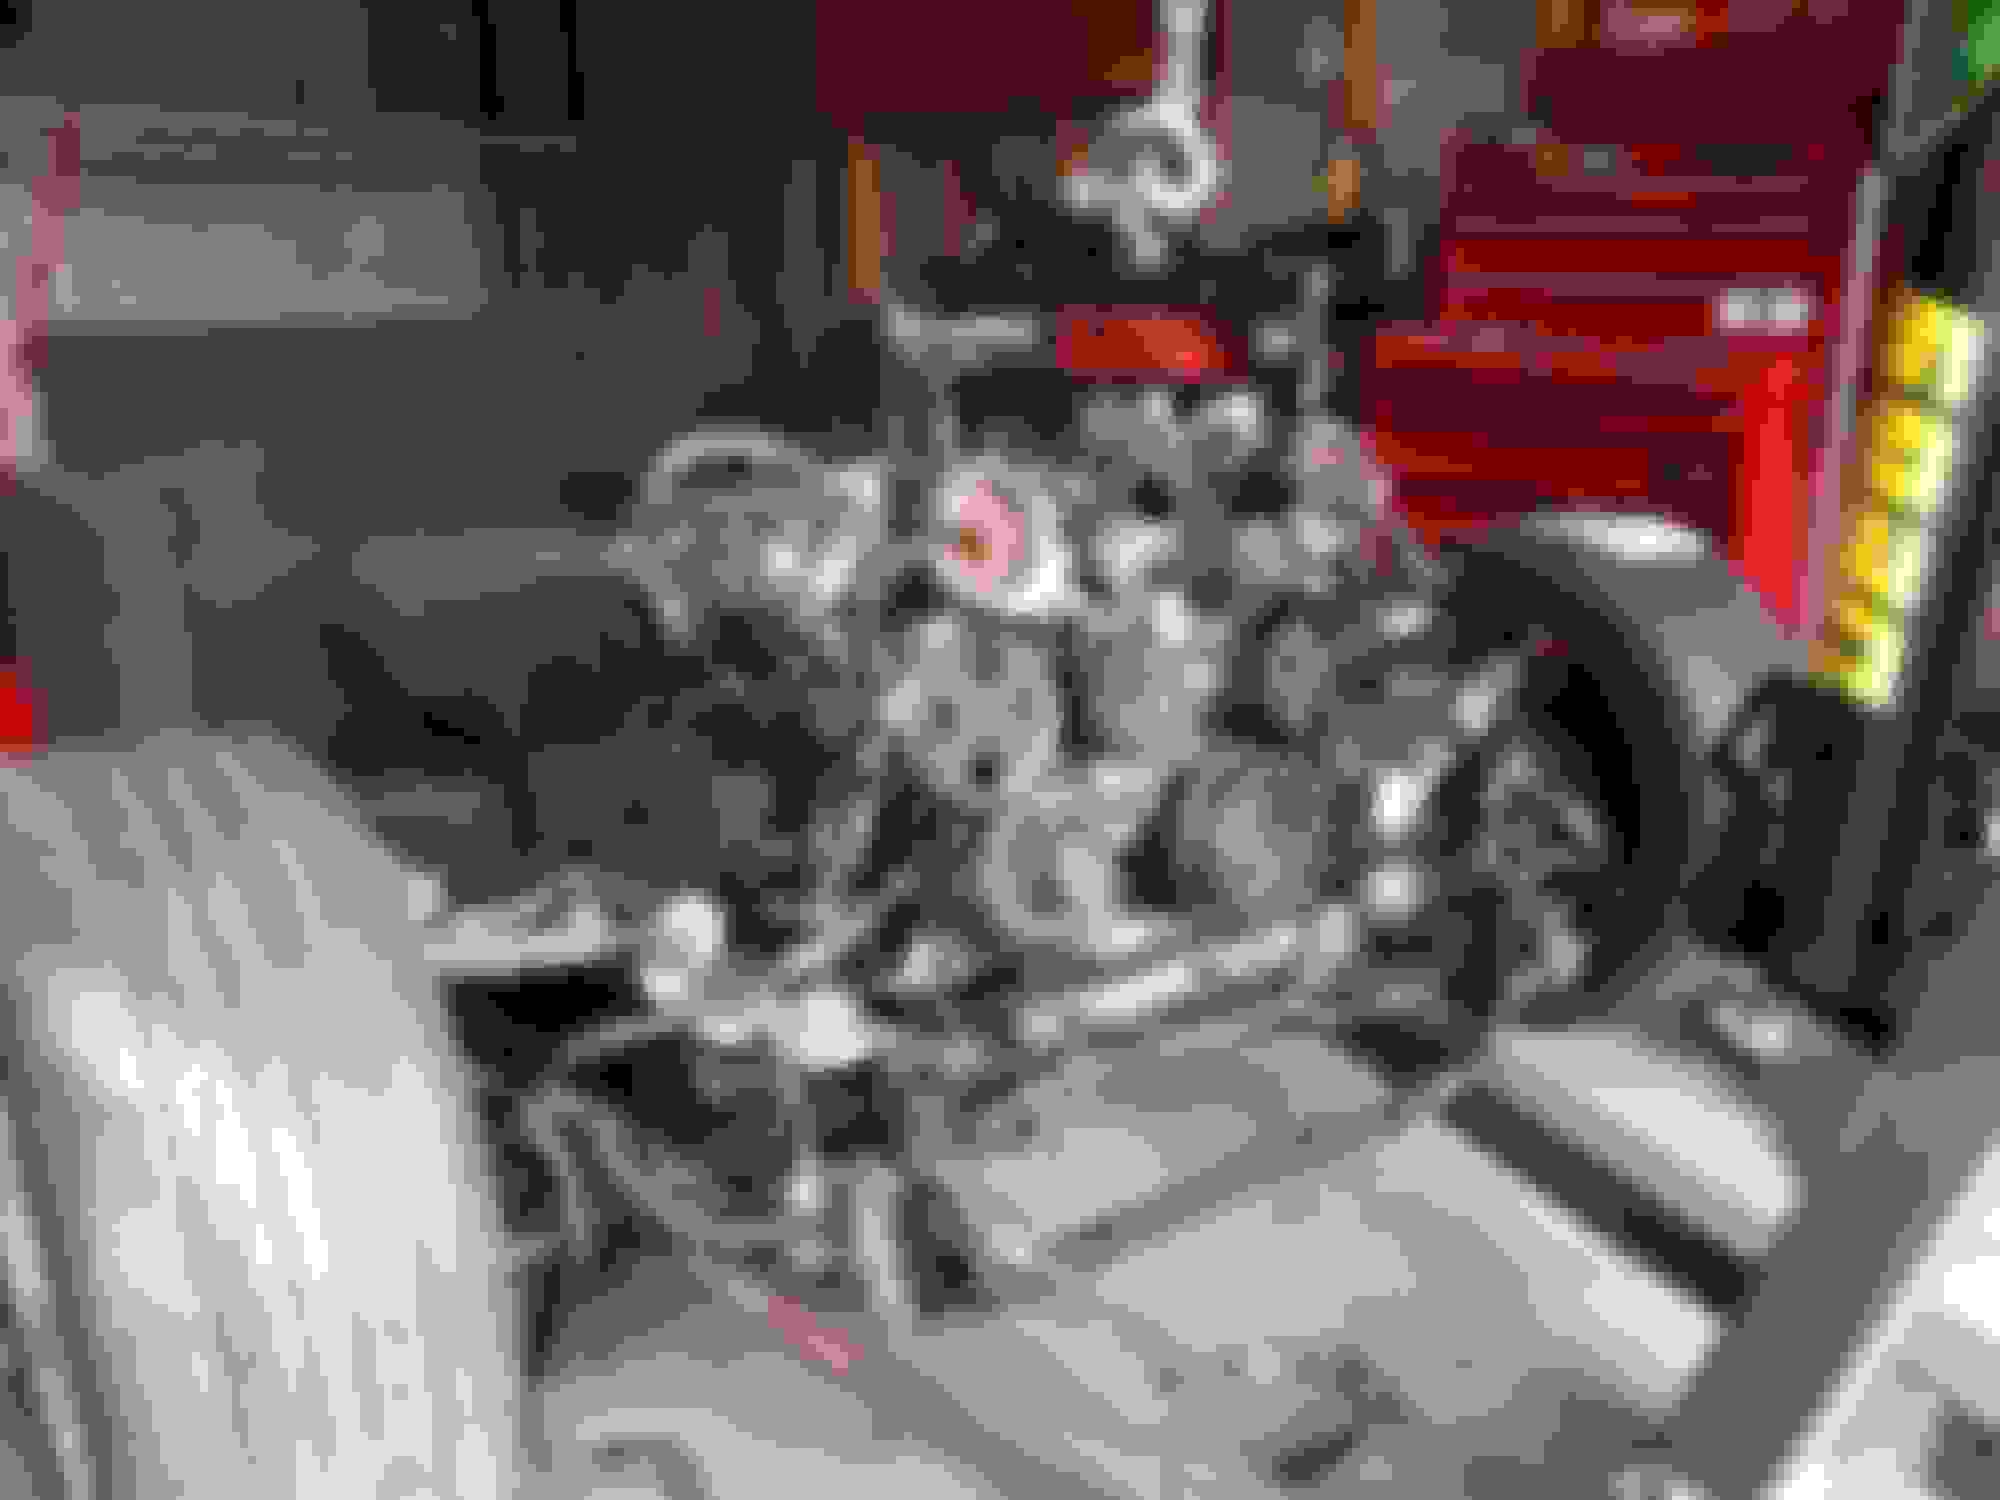
Ended up pulling the sump to reseal it, at which point I had to clean it up which took too much effort. And while I had the motor off the subframe I had to clean that up too. While the motor was off I replaced the engine mounts which were nearly torn in half.(You can see a theme of,"while I'm in there I should...") And replaced the rear main seal.
While the oilpan was off I wanted to do something about the alarmingly deep dents. I added a flat piece of steel of a similar thickness that bends over the front half of the pan and follows along the bottom. Its held with a brackets at all 4 corners and 2 straps along the bottom that also make contact. The skid plate is also there to be a flatter surface for better airflow(I know its probably negligible) Its a bit crude but it's better then nothing.
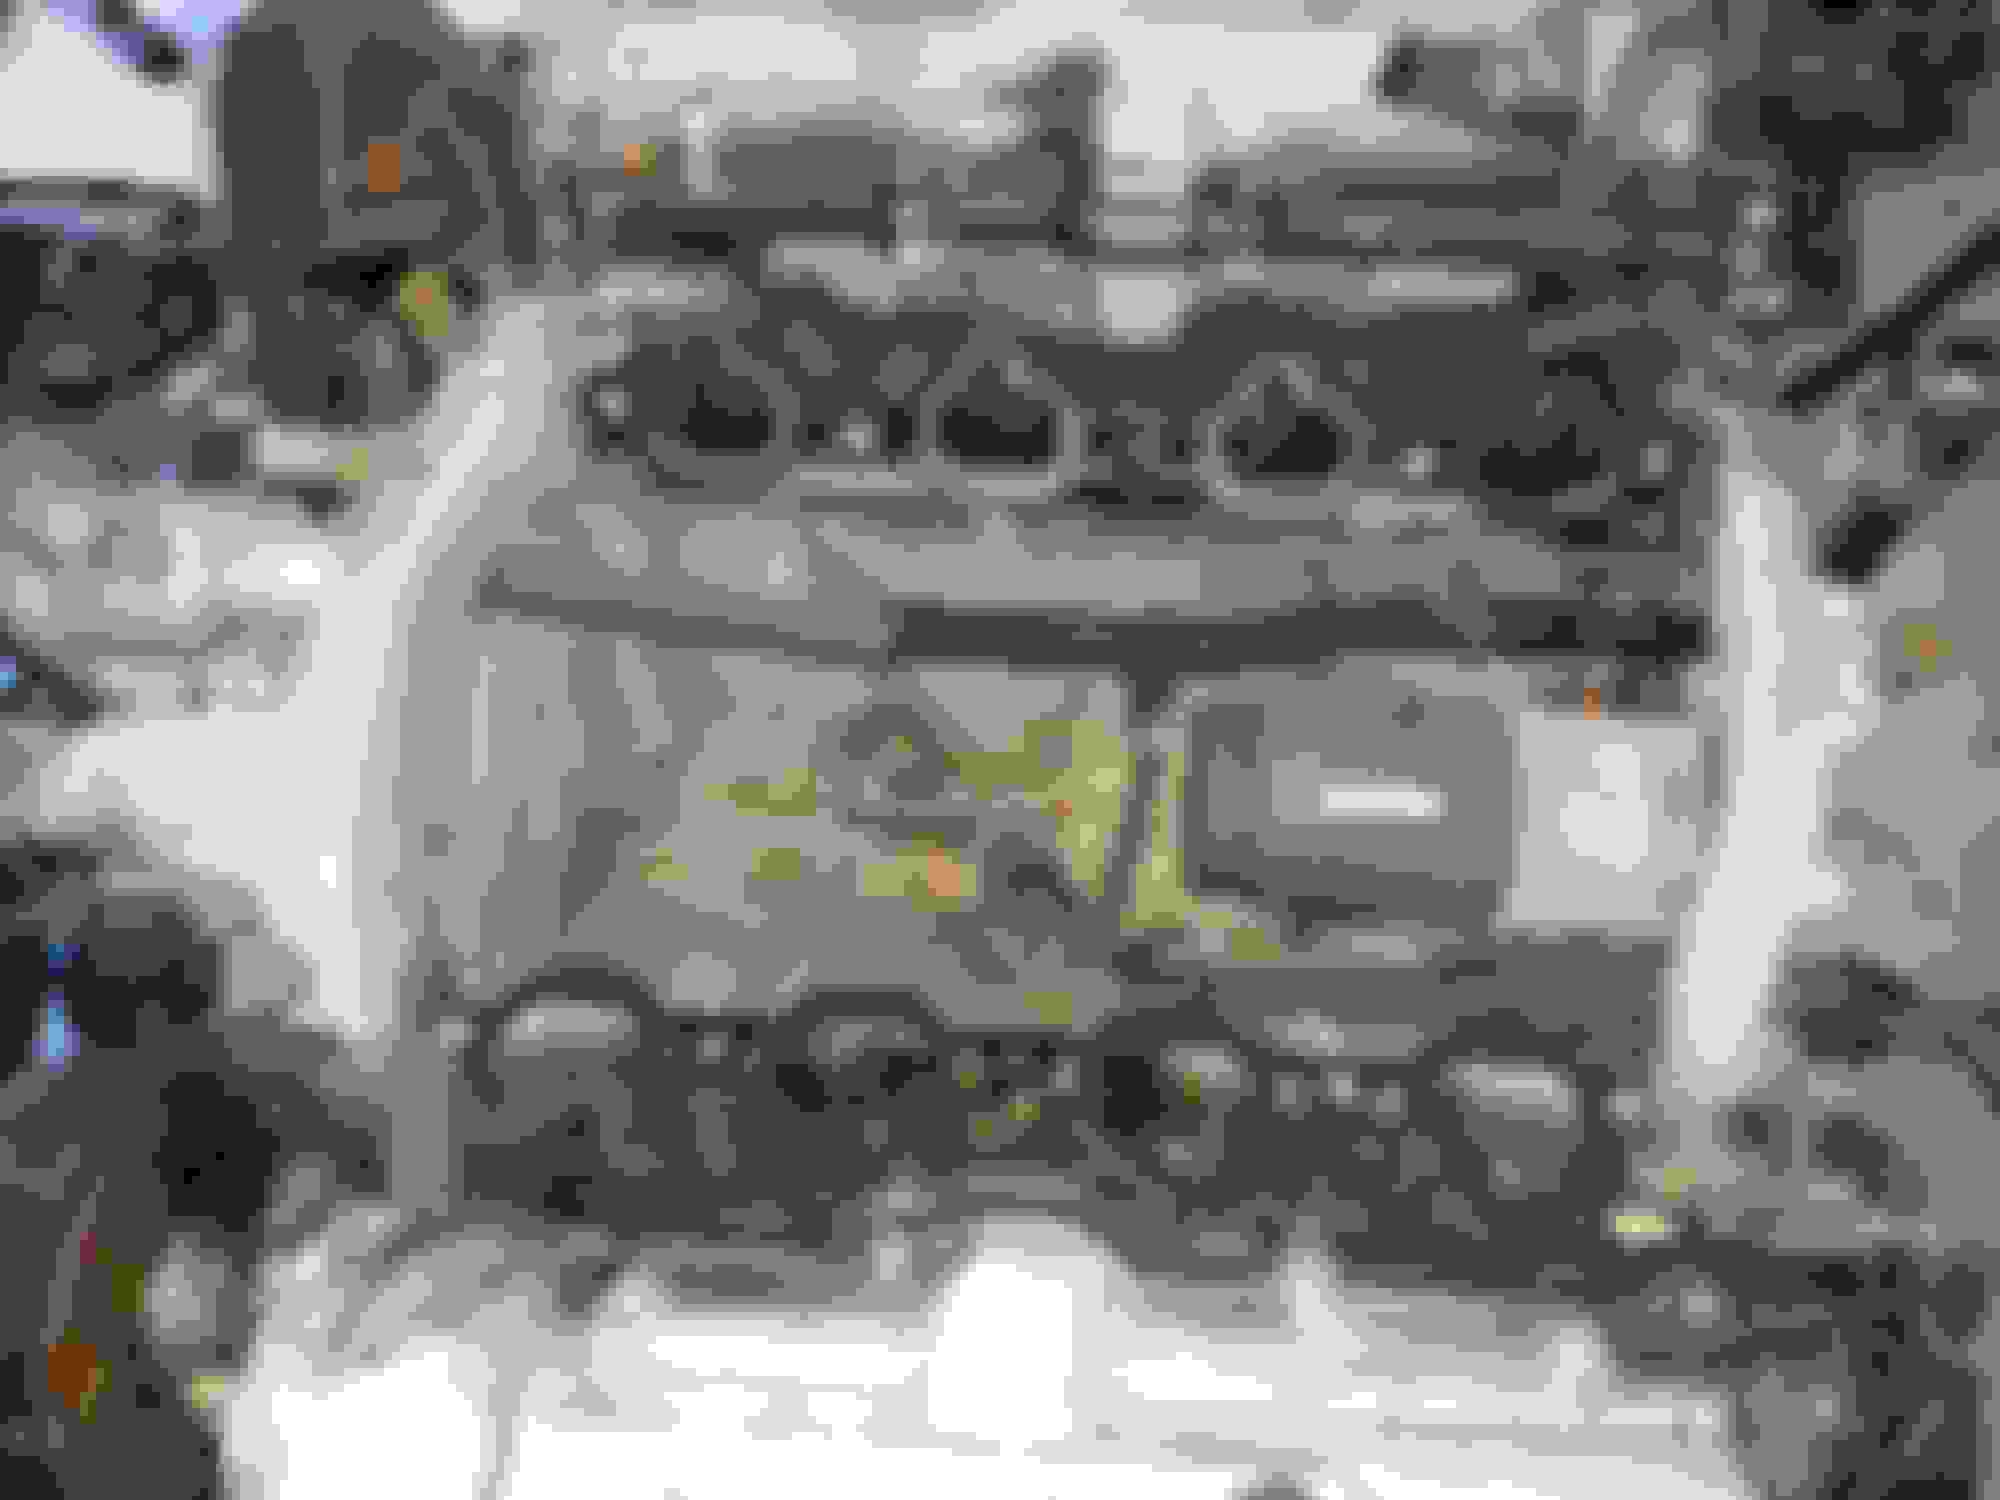
Pulled the intake plenums off to change the starter before the manual swap goes on, because once the adapter plates on you can't change the starter without removing the transmission(ask me how I know).
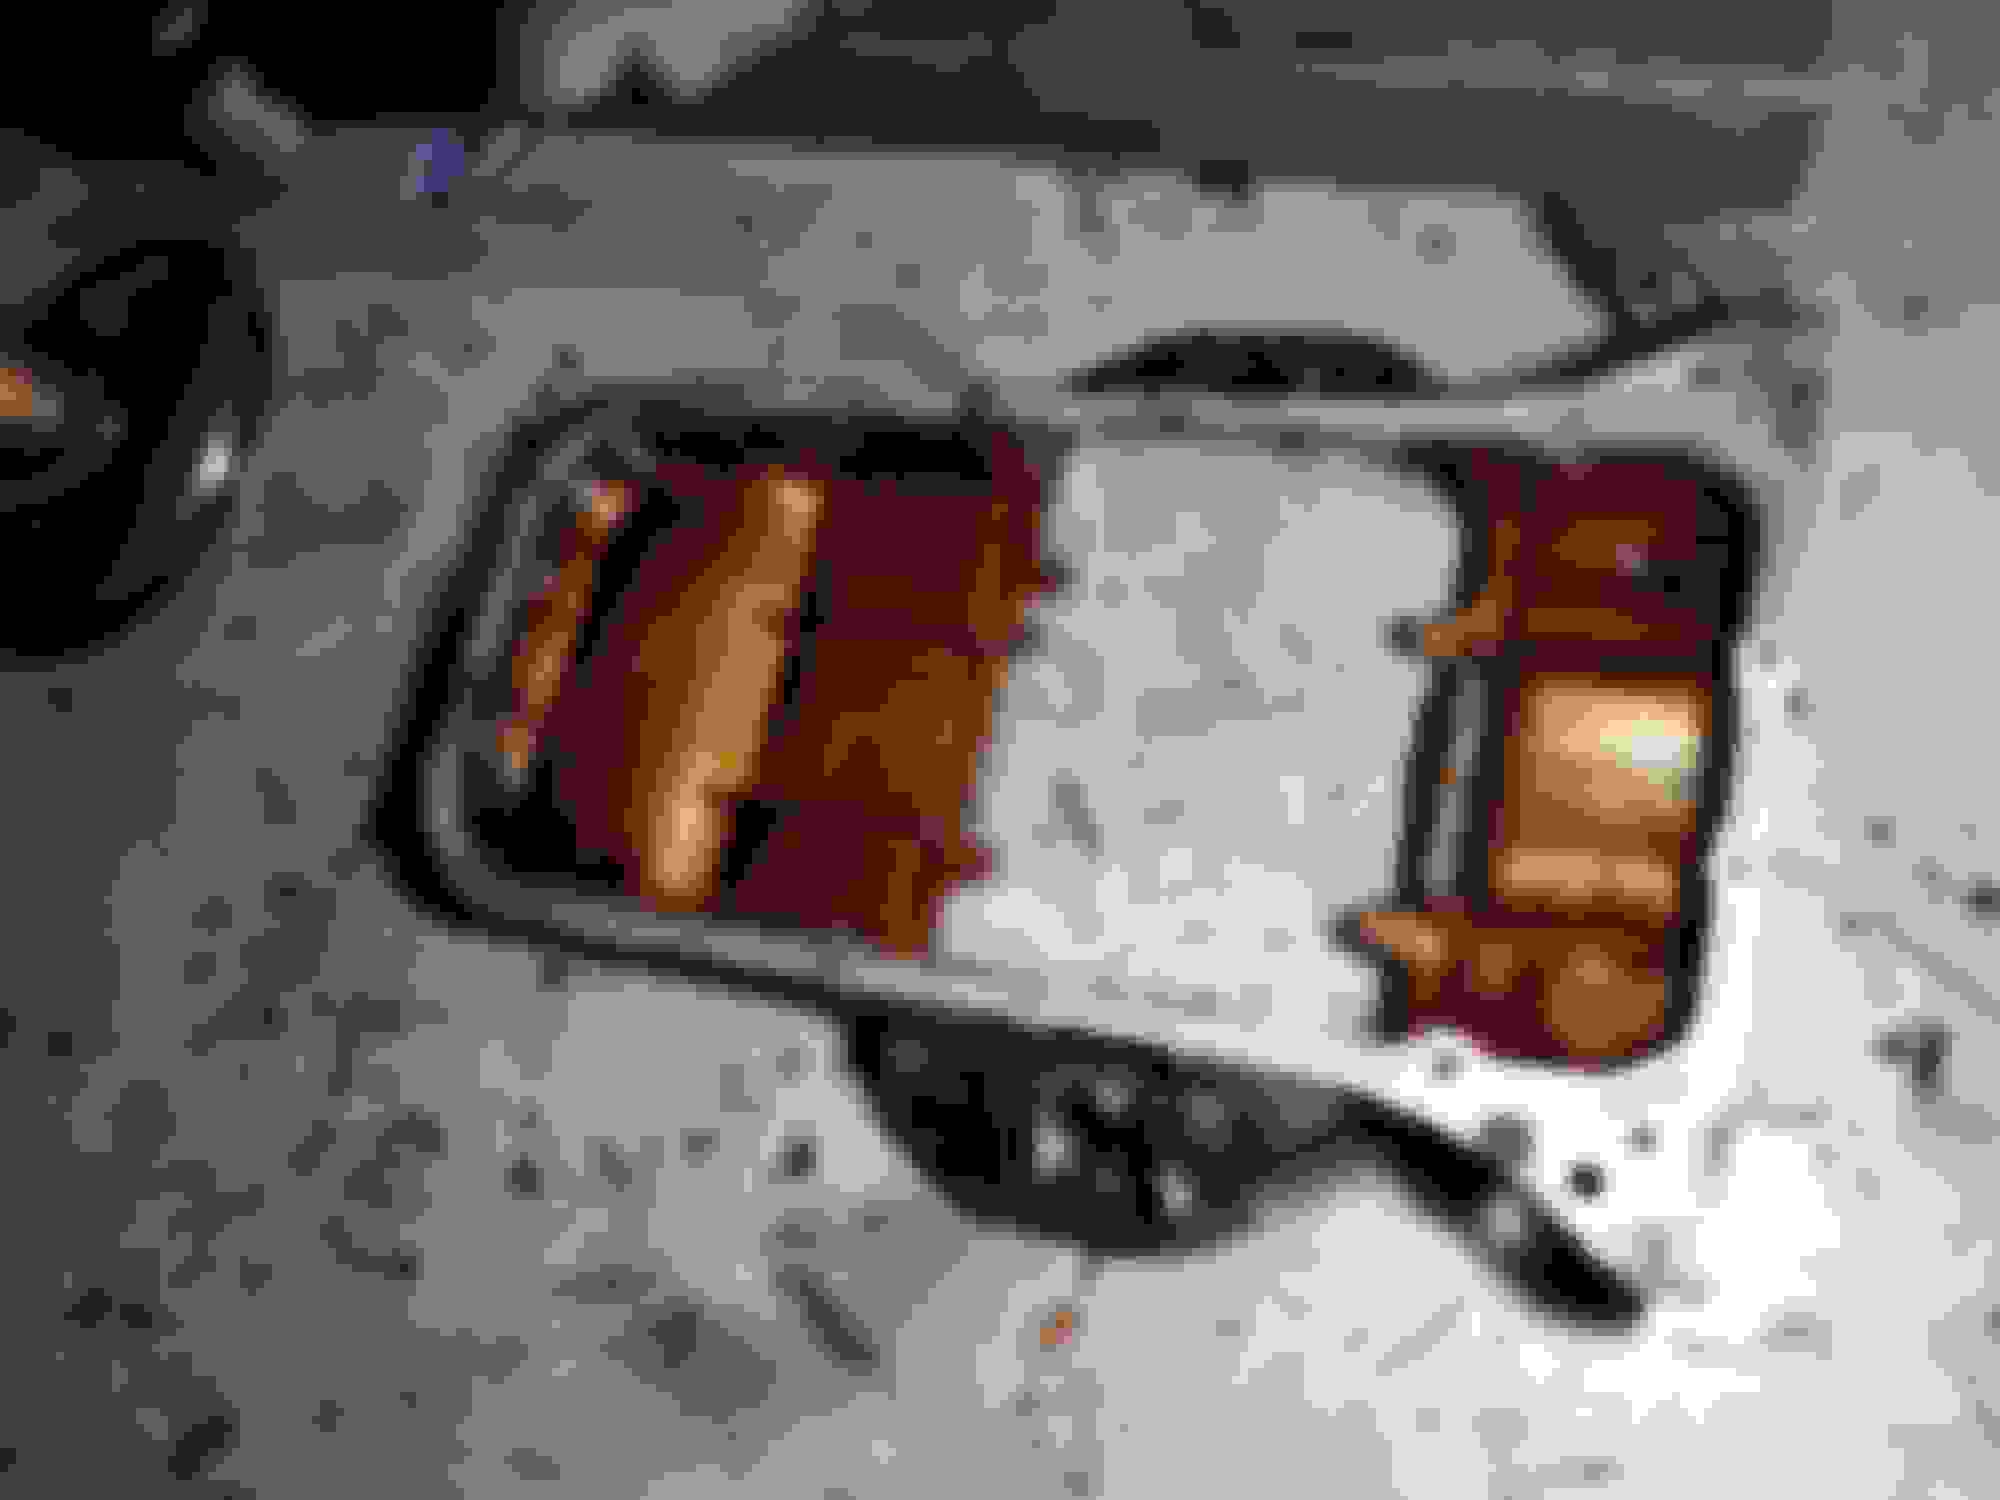
Naturally there was a little nest in there.
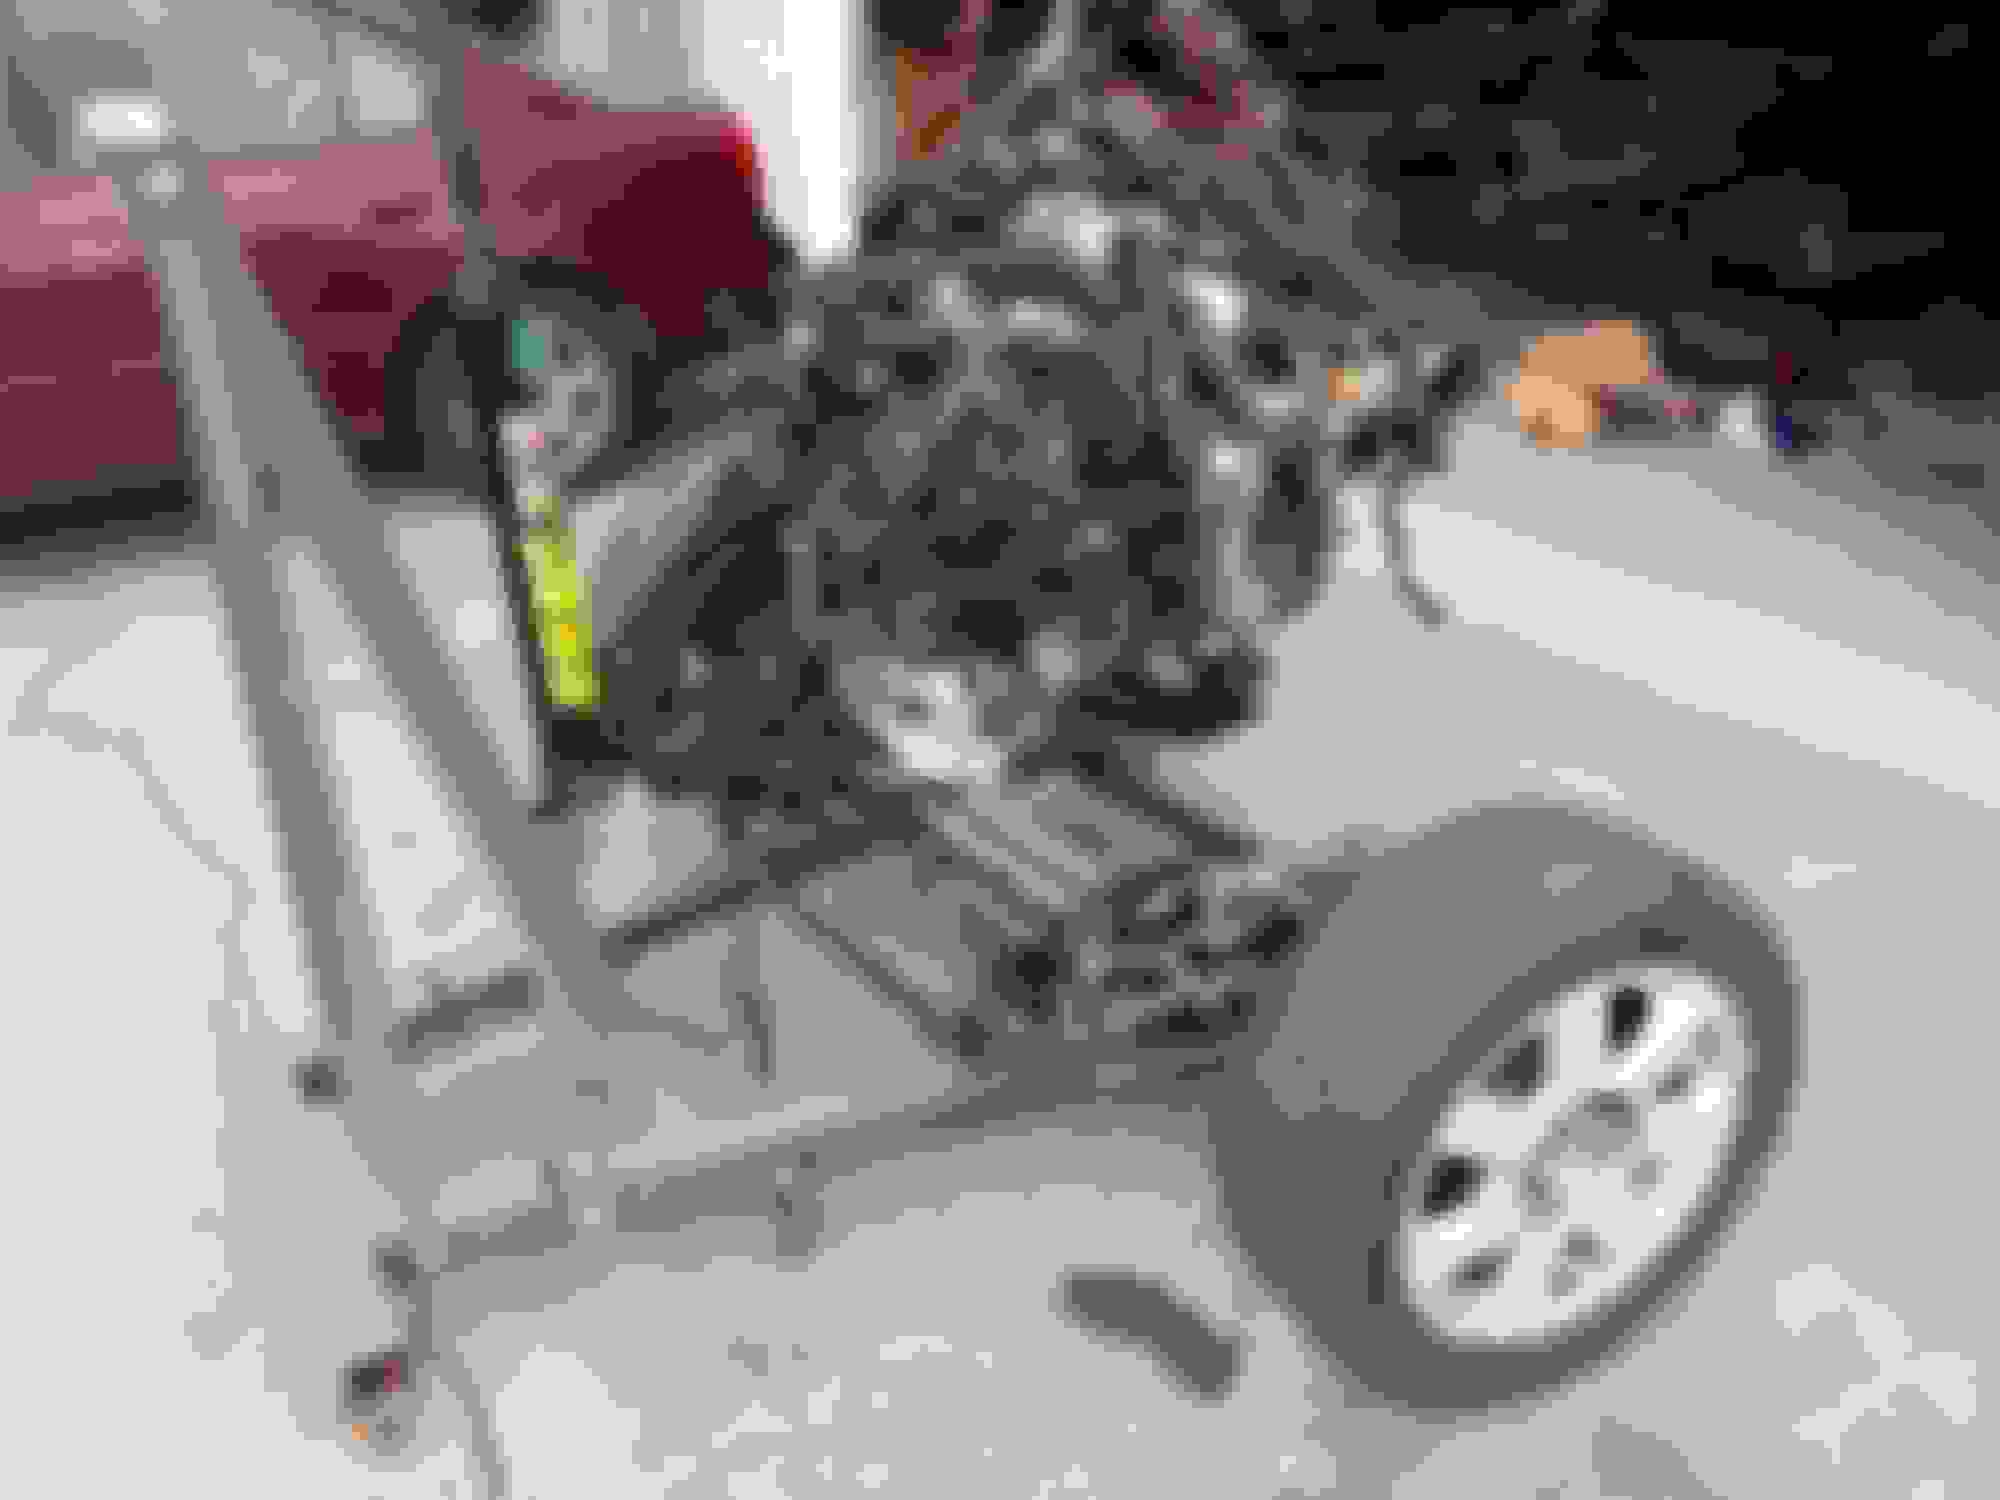
Heres how it sits for now, all my exhaust bits arrived so I'll get to that after I mate the trans and clean up the intake/valve cover.
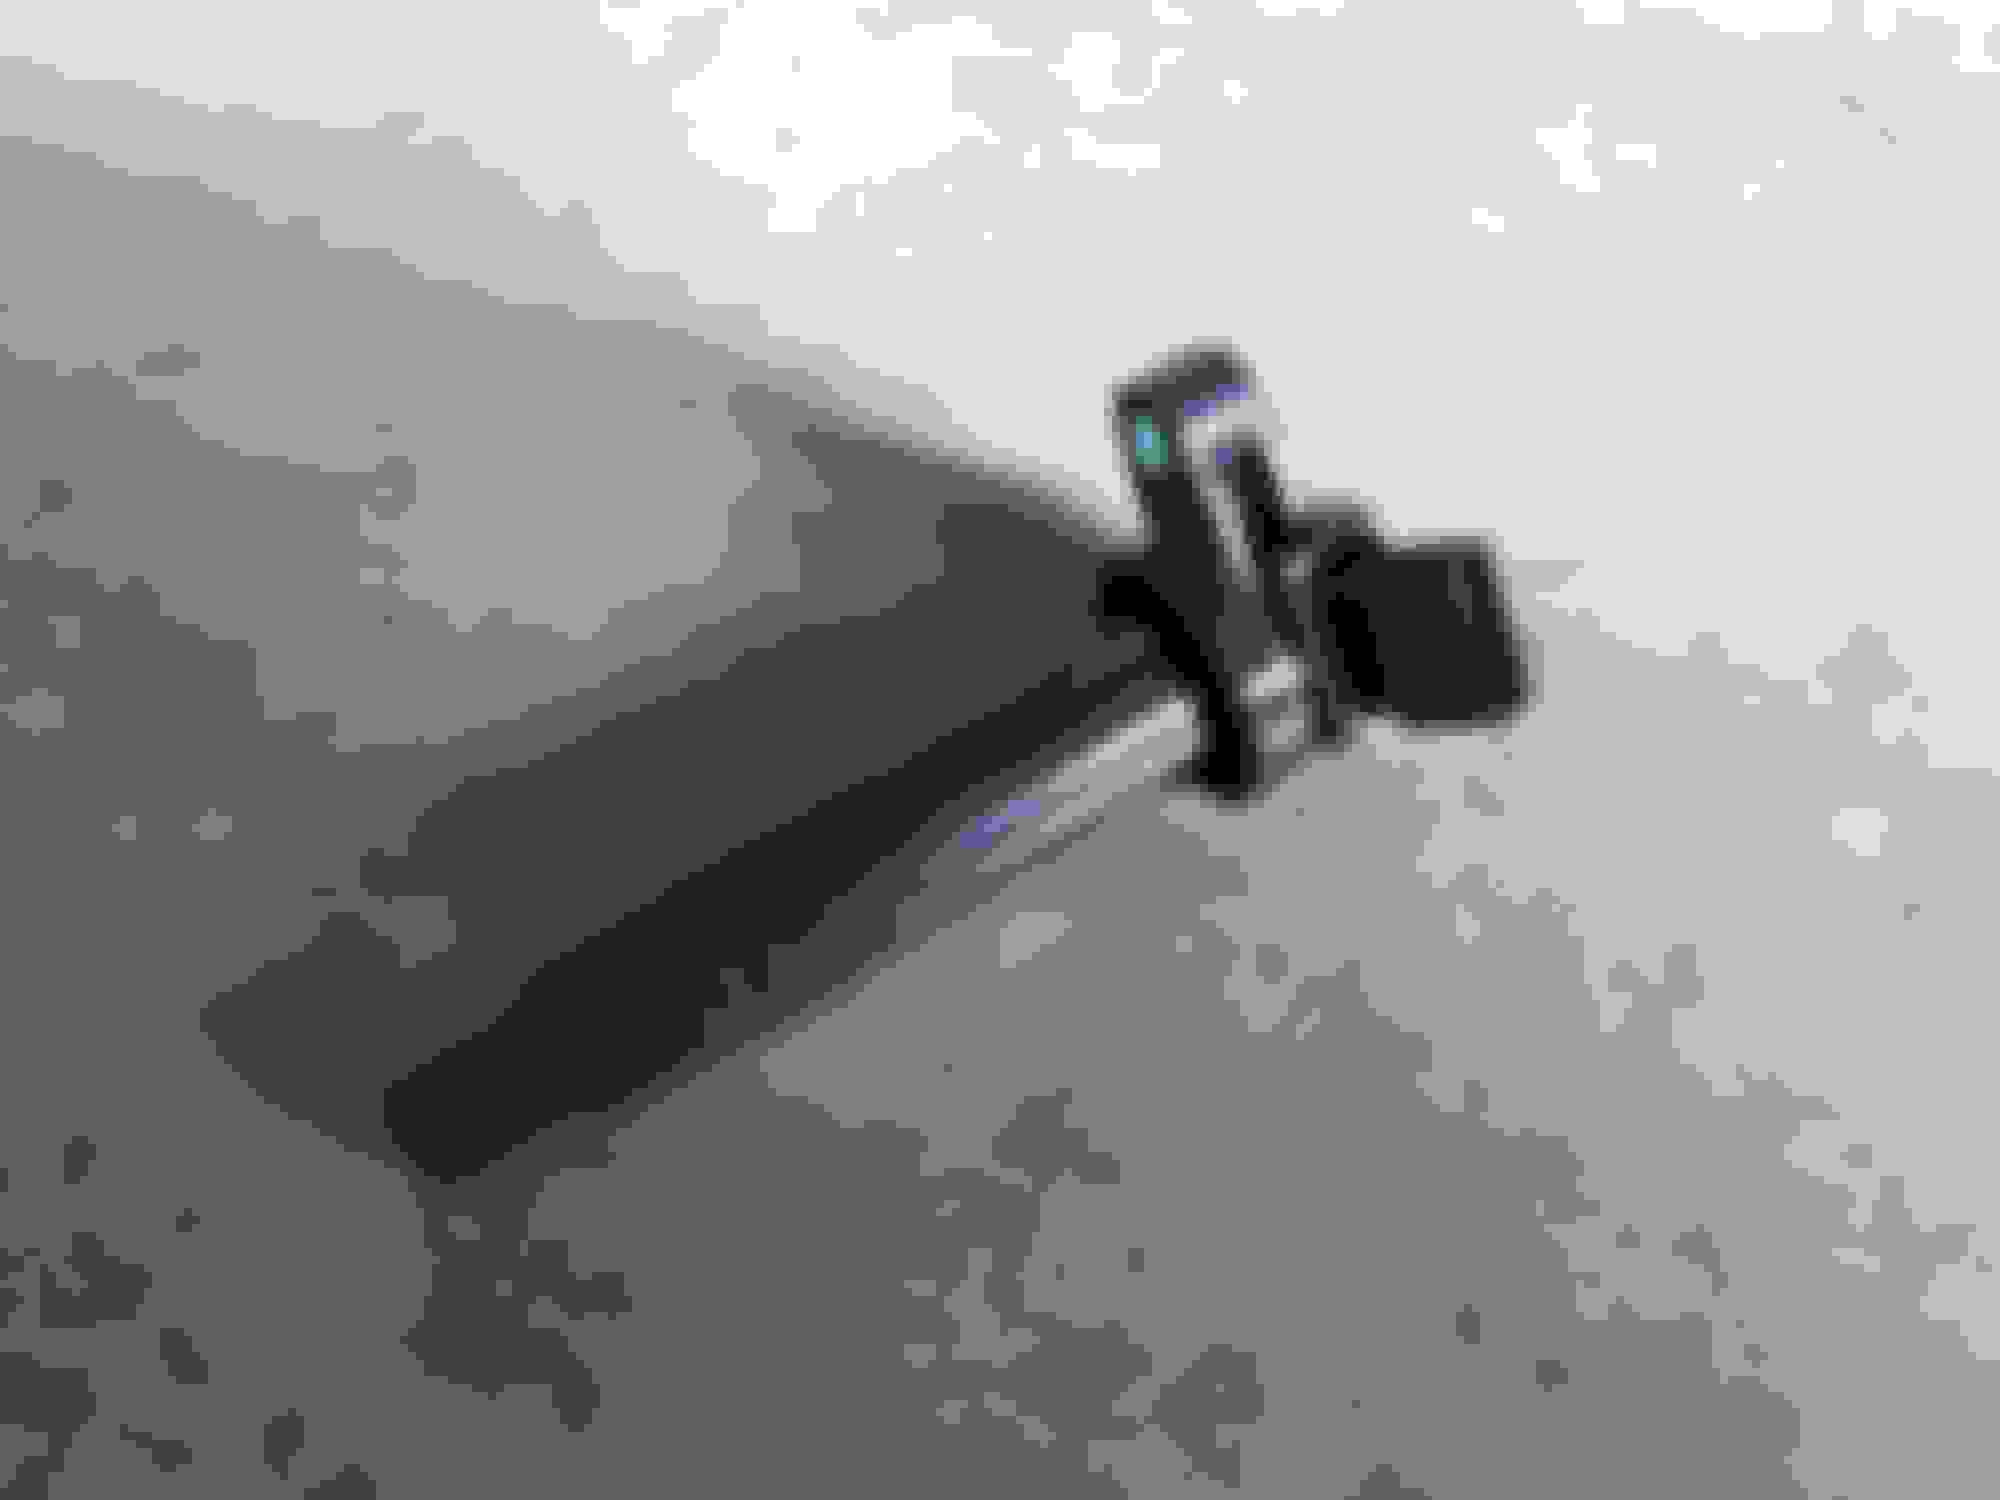
This is the new 550cc injector next to the hagard OEM 250cc unit. 550cc is a bit small for my initial power goal of 6-700whp but I've since decided to run a couple ebay turbos I already have and i doubt they'll move that much air. So it will be twin walbro 255's, fpr, stock fuel lines, 550cc injectors for the fuel system. Still deciding how I'll do the coil on plugs but I'll cross that bridge when I empty my bank account on engine management.
Mated the transmission with new: Clutch/pressure plate from Collins, throw out bearing, pilot bearing, resurfaced flywheel, and clutch slave.
Removed all the shroud for the front harness to relocate the fuse panel, It still looks messy but this is roughly where it should sit. I would move it further to the passenger side but as it is there shouldn't be any contact with the motor and I won't need to extend all of the wiring and risk further problems up the road. LH headlights will need to be extended.
While the loom(spagetti) was torn apart I pulled all of the abs/traction control wiring out, the above photo is most but not all of it.
I just read that you had a twin Rear mount UZ before? Crazy, I've been looking into rear mounts and so far the most pressing issues are
Oil feed to the turbos
Sufficient fabrication to not have crazy lag
And I guess that's it really.
What was your set up like? Pros and Cons etc
My setup was flawed mostly due to my oil system, I ran 2 shurflo pumps, 1 to pressurize oil into the turbos and 1 to scavenge. The standalone oil system never worked right and I wouldn't suggest it, oil pressure didn't change with turbo rpm(and engine rpm), They didn't create enough pressure until the oil reservoir was pressureized which I was constantly fiddling with to keep pressure at the right point(because it changed with temp).
if I did it again I would run oil pressure from the engine to the back into an oil cooler then into the turbos, from there catch catchcans under the turbos too keep the return pumps from pulling a vacuum on your turbo seals, then shurflos pumping from the catchcans back into the engine bay.(oil cooler because shurflos don't like temps above 180F I believe) Also the catchcans allow the turbos the gravity drain which is important.
I ran 1 2" charge pipe for each turbo through the car and under the passenger seat that merged into a "3 in the footwell and through the firewall because the car was stripped and I didn't care. If you can find room in the tunnel next to the exhaust I'd run a single 2.25 charge pipe maybe a 2.5 but nothing larger, my setup with two 2" charge pipes was very inefficient. Here is a dyno graph at 7psi so you can see where lag was on that setup.
Boost started to really build at 3700 and was at boost around 4400.
Fabrication would mostly consist of a tube bender for charge pipe and the exhaust, once those 2 are done it's just about setting up your oil system. I had no space time fabricate when I did my setup so I paid to have the exhaust made and then I used flexible brake ducting from Pegasus racing to make all my charge pipe bends which amazingly worked, but after a while it began to tear at tight turns.(anything is possible but bent hard tube is preferred.)
If you have any more questions I'd be happy to help.
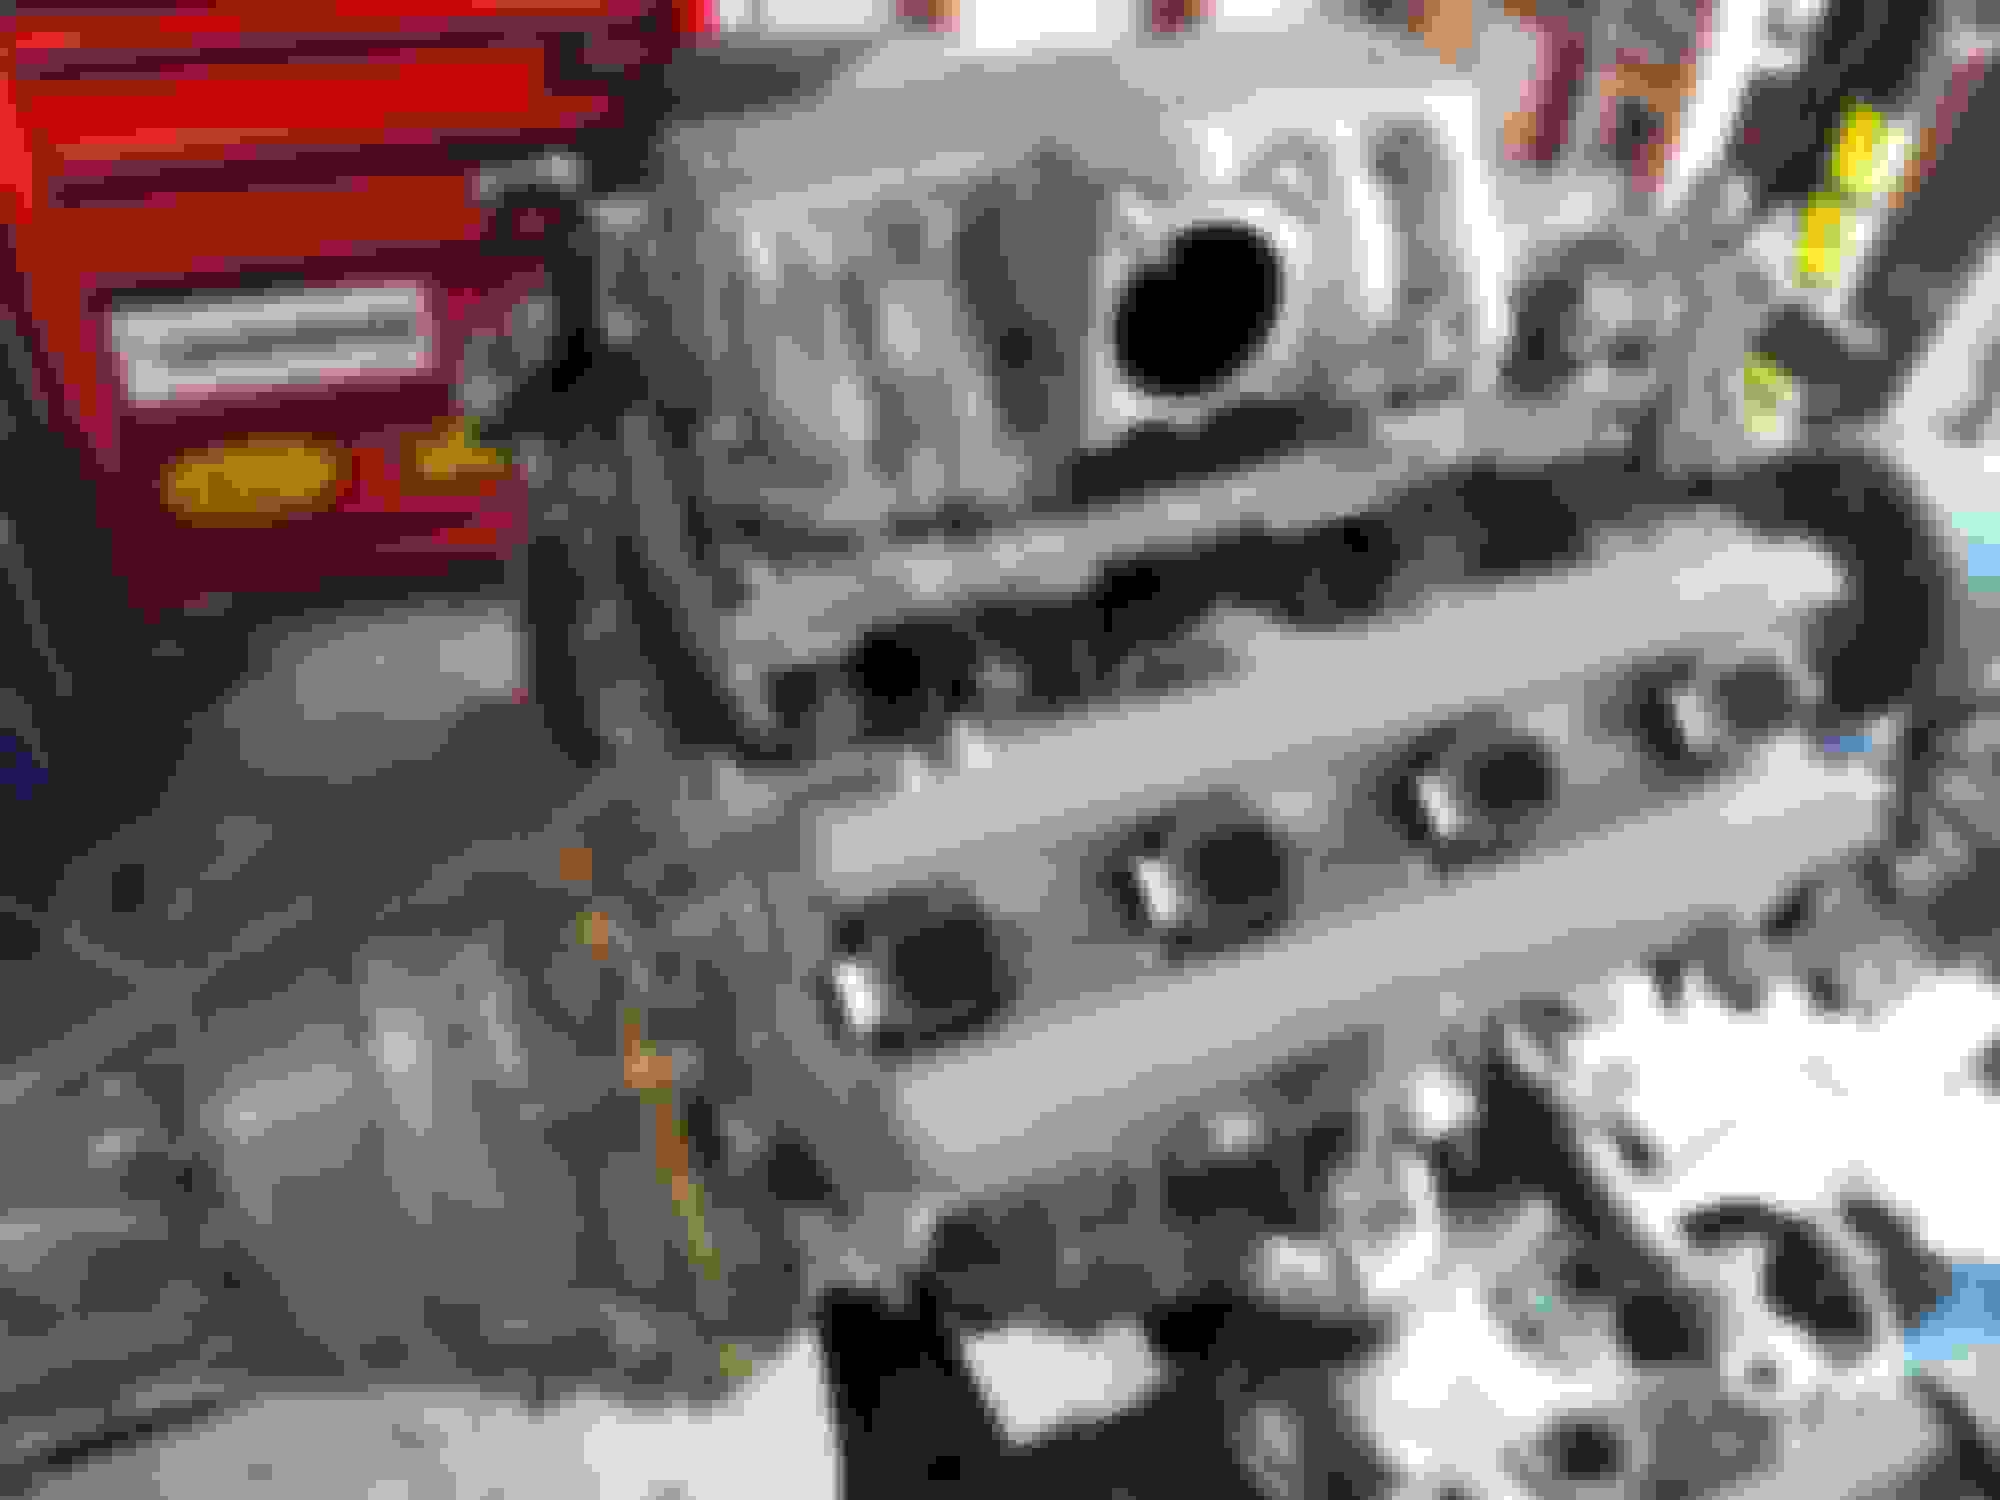
Installed the injectors, replaced the valve cover gaskets, painted them, and mocked up the 2uz coil packs. The fit was perfect after shaving down the bolt points.
Painted the engine bay an obnoxious color there are runs and overspray but its arguably better.(some bits will get touched up) Installed a new brake master cylinder that doesn't seep fluid or have ports for abs. Cleaned up the wiring and got it set up where it will most likely go, extended the LH lights, should be able to put shroud over it soon.
Next up will be brake lines, fuel system, rear diff, and finally megasquirt.(hopefully in that order)
Moved the driver side turbo back about an inch and down a bit, started on mocking up the downpipes. Between the frame rail and the motor mount the 3" is crushed into an oval to provide clearance when the motor moves under load, the pipe is held in with a crude tab for now.
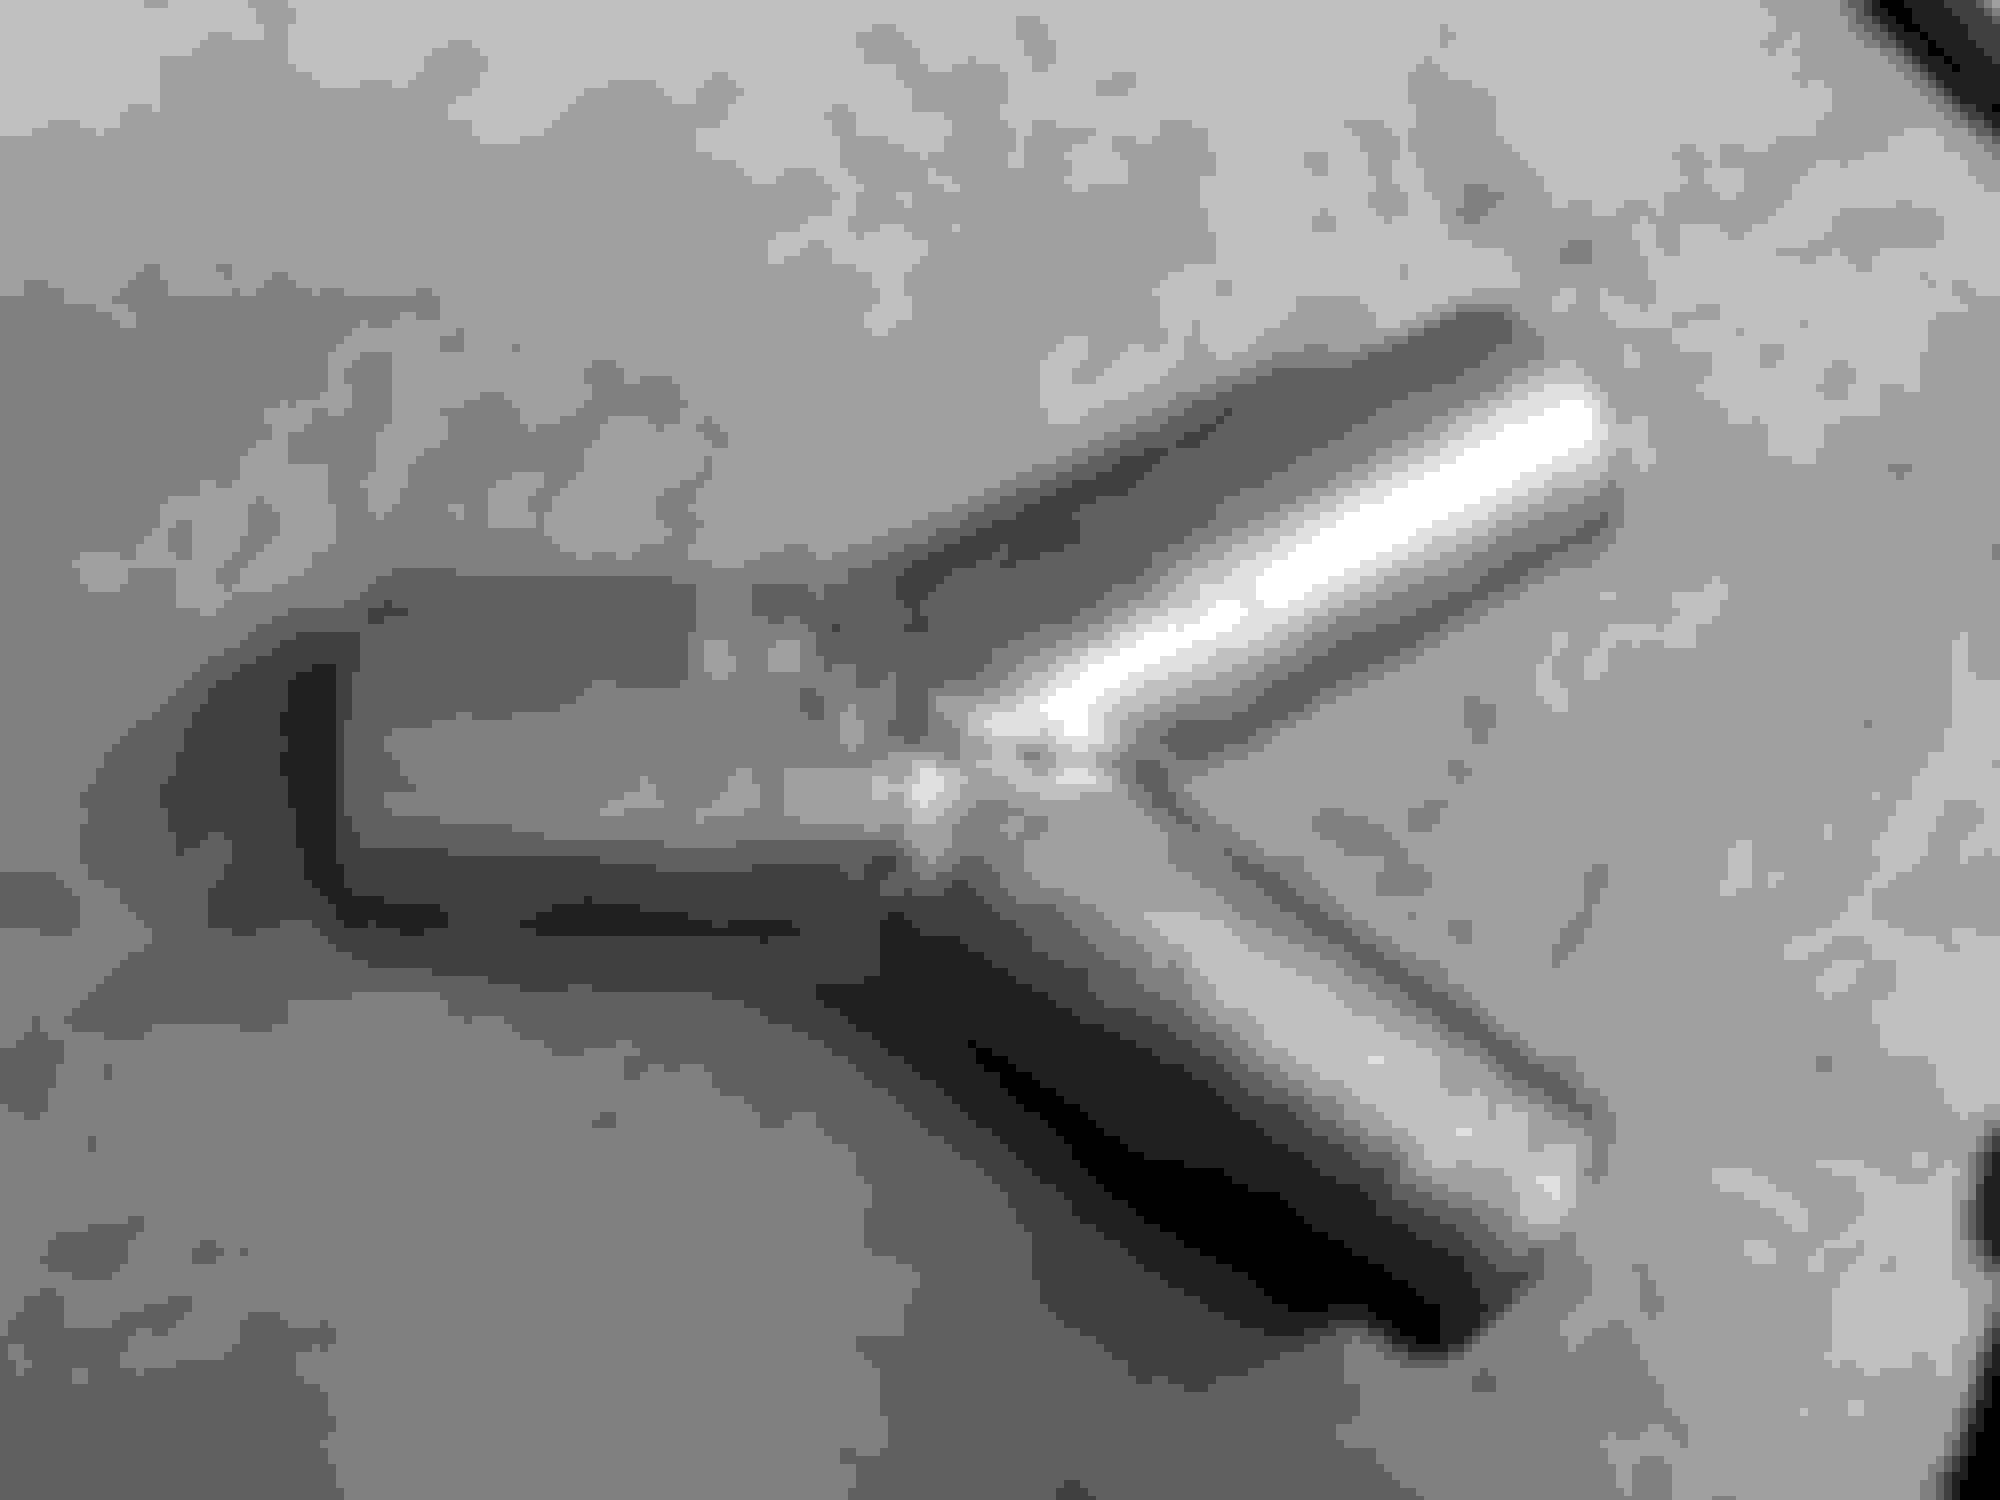
Made a Y pipe for the 2.5" into 3", the angles are hard to work with but I think it will get used anyways.
 11-11-18, 08:14 PM


 , and to find that 3.26 rear end you've got a load of other Lexus Models to chose from to pull that fit, SC430, LS, GS and I believe that's all.