When you click on links to various merchants on this site and make a purchase, this can result in this site earning a commission. Affiliate programs and affiliations include, but are not limited to, the eBay Partner Network.
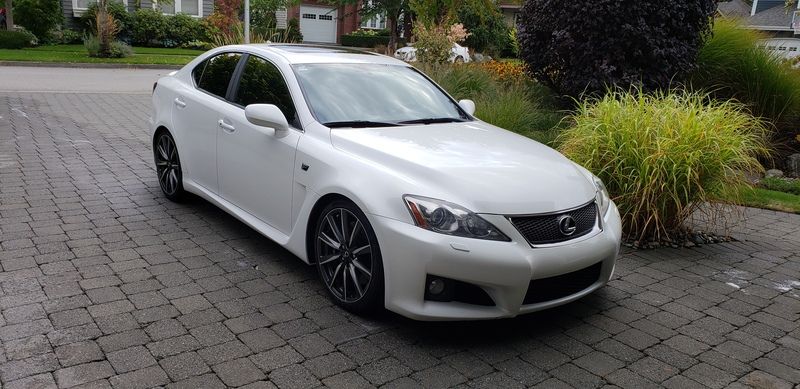
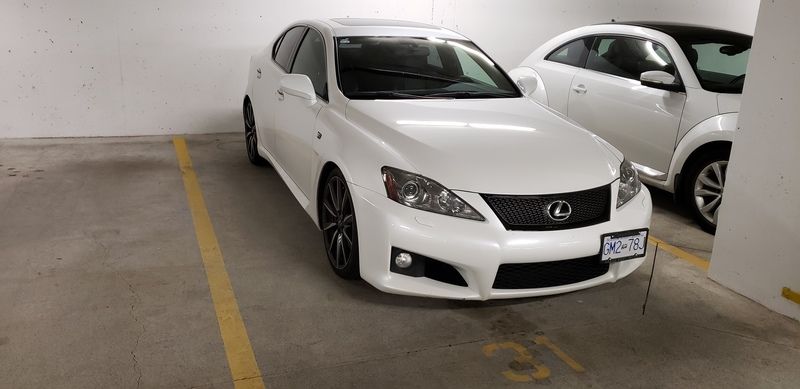
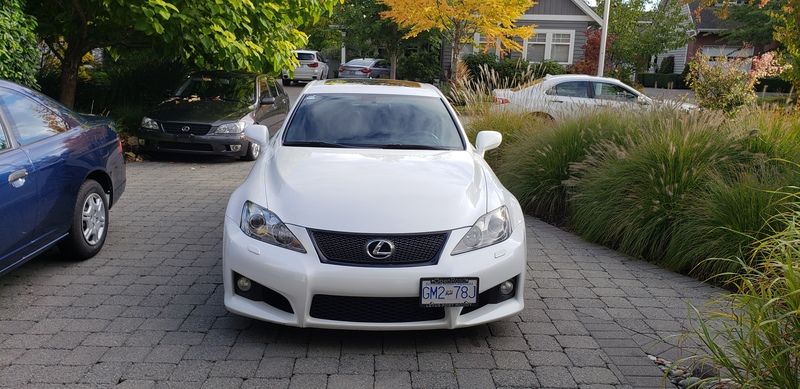
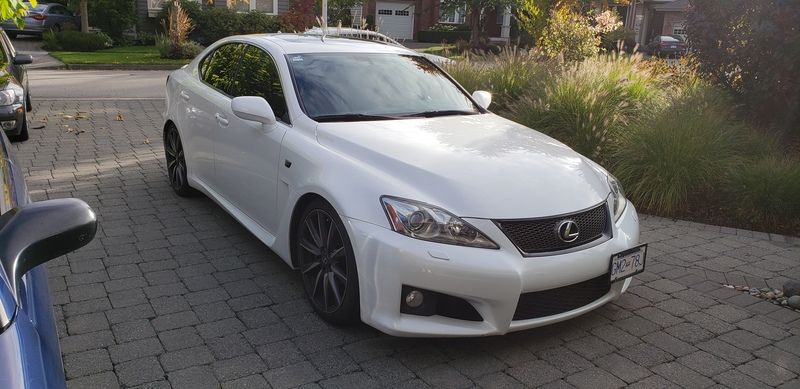
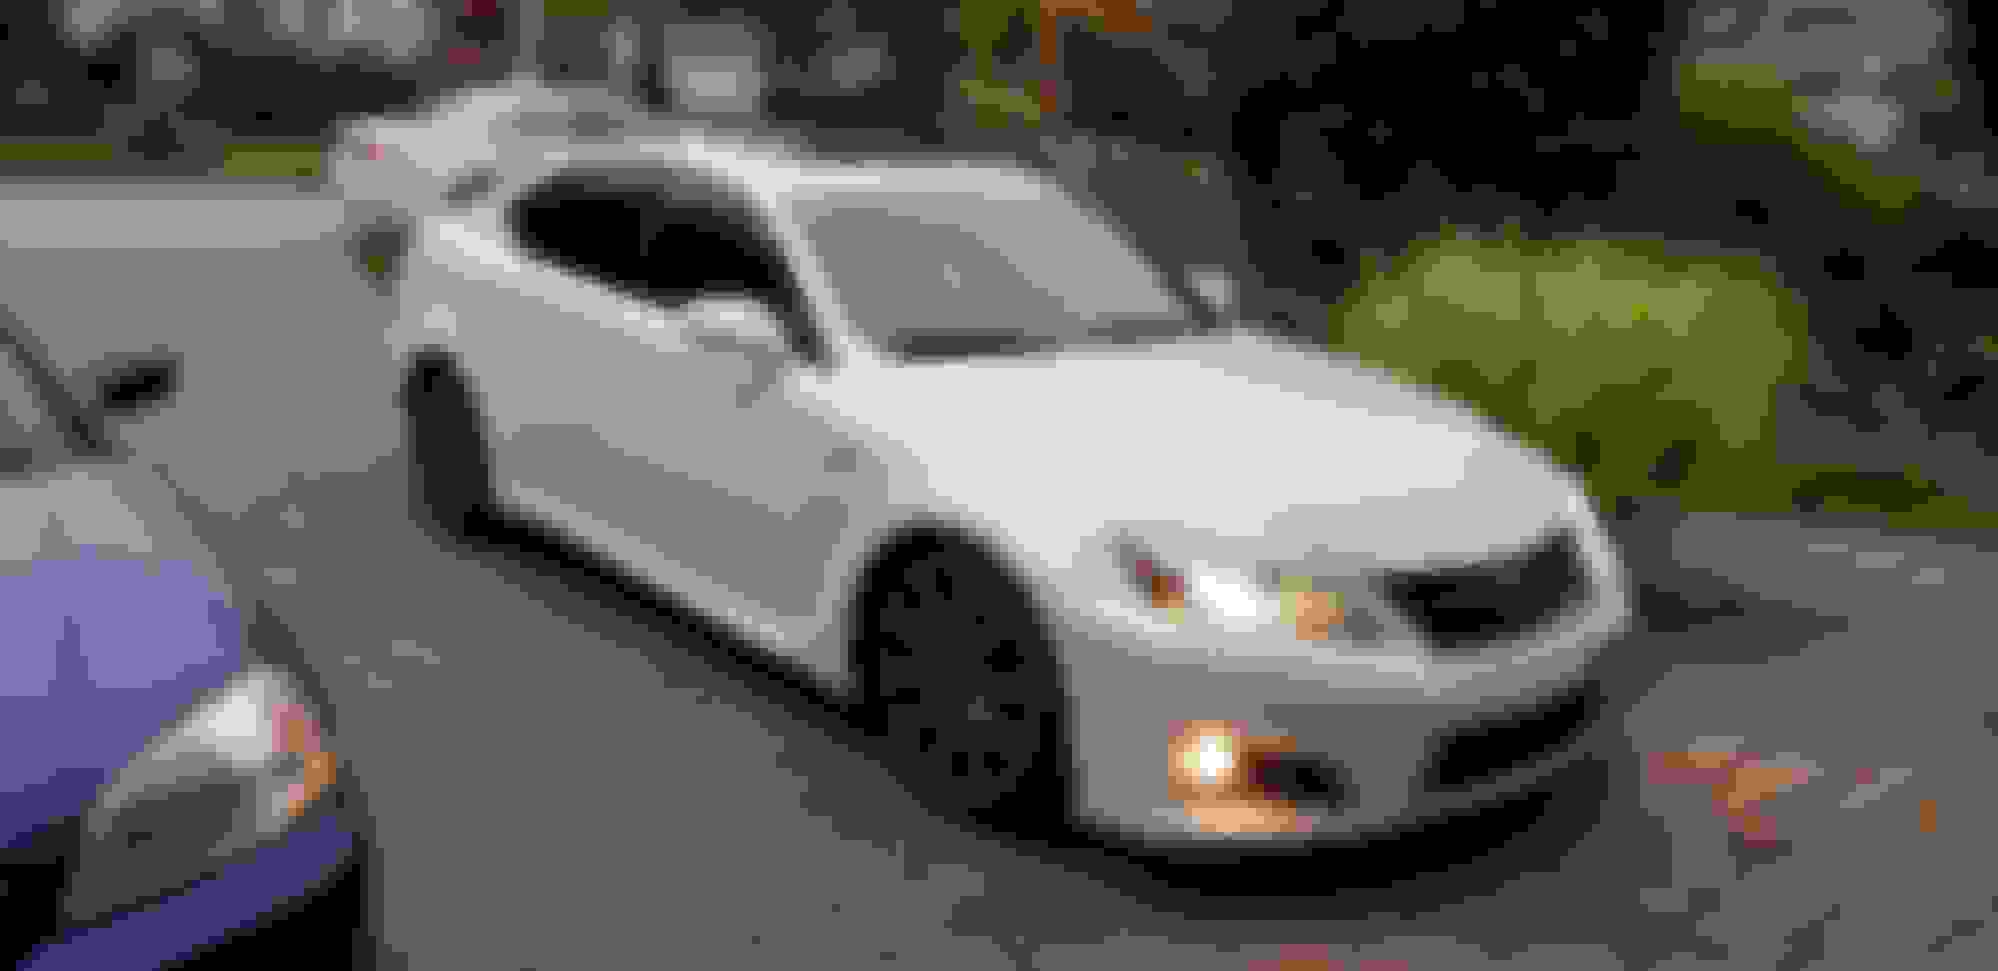
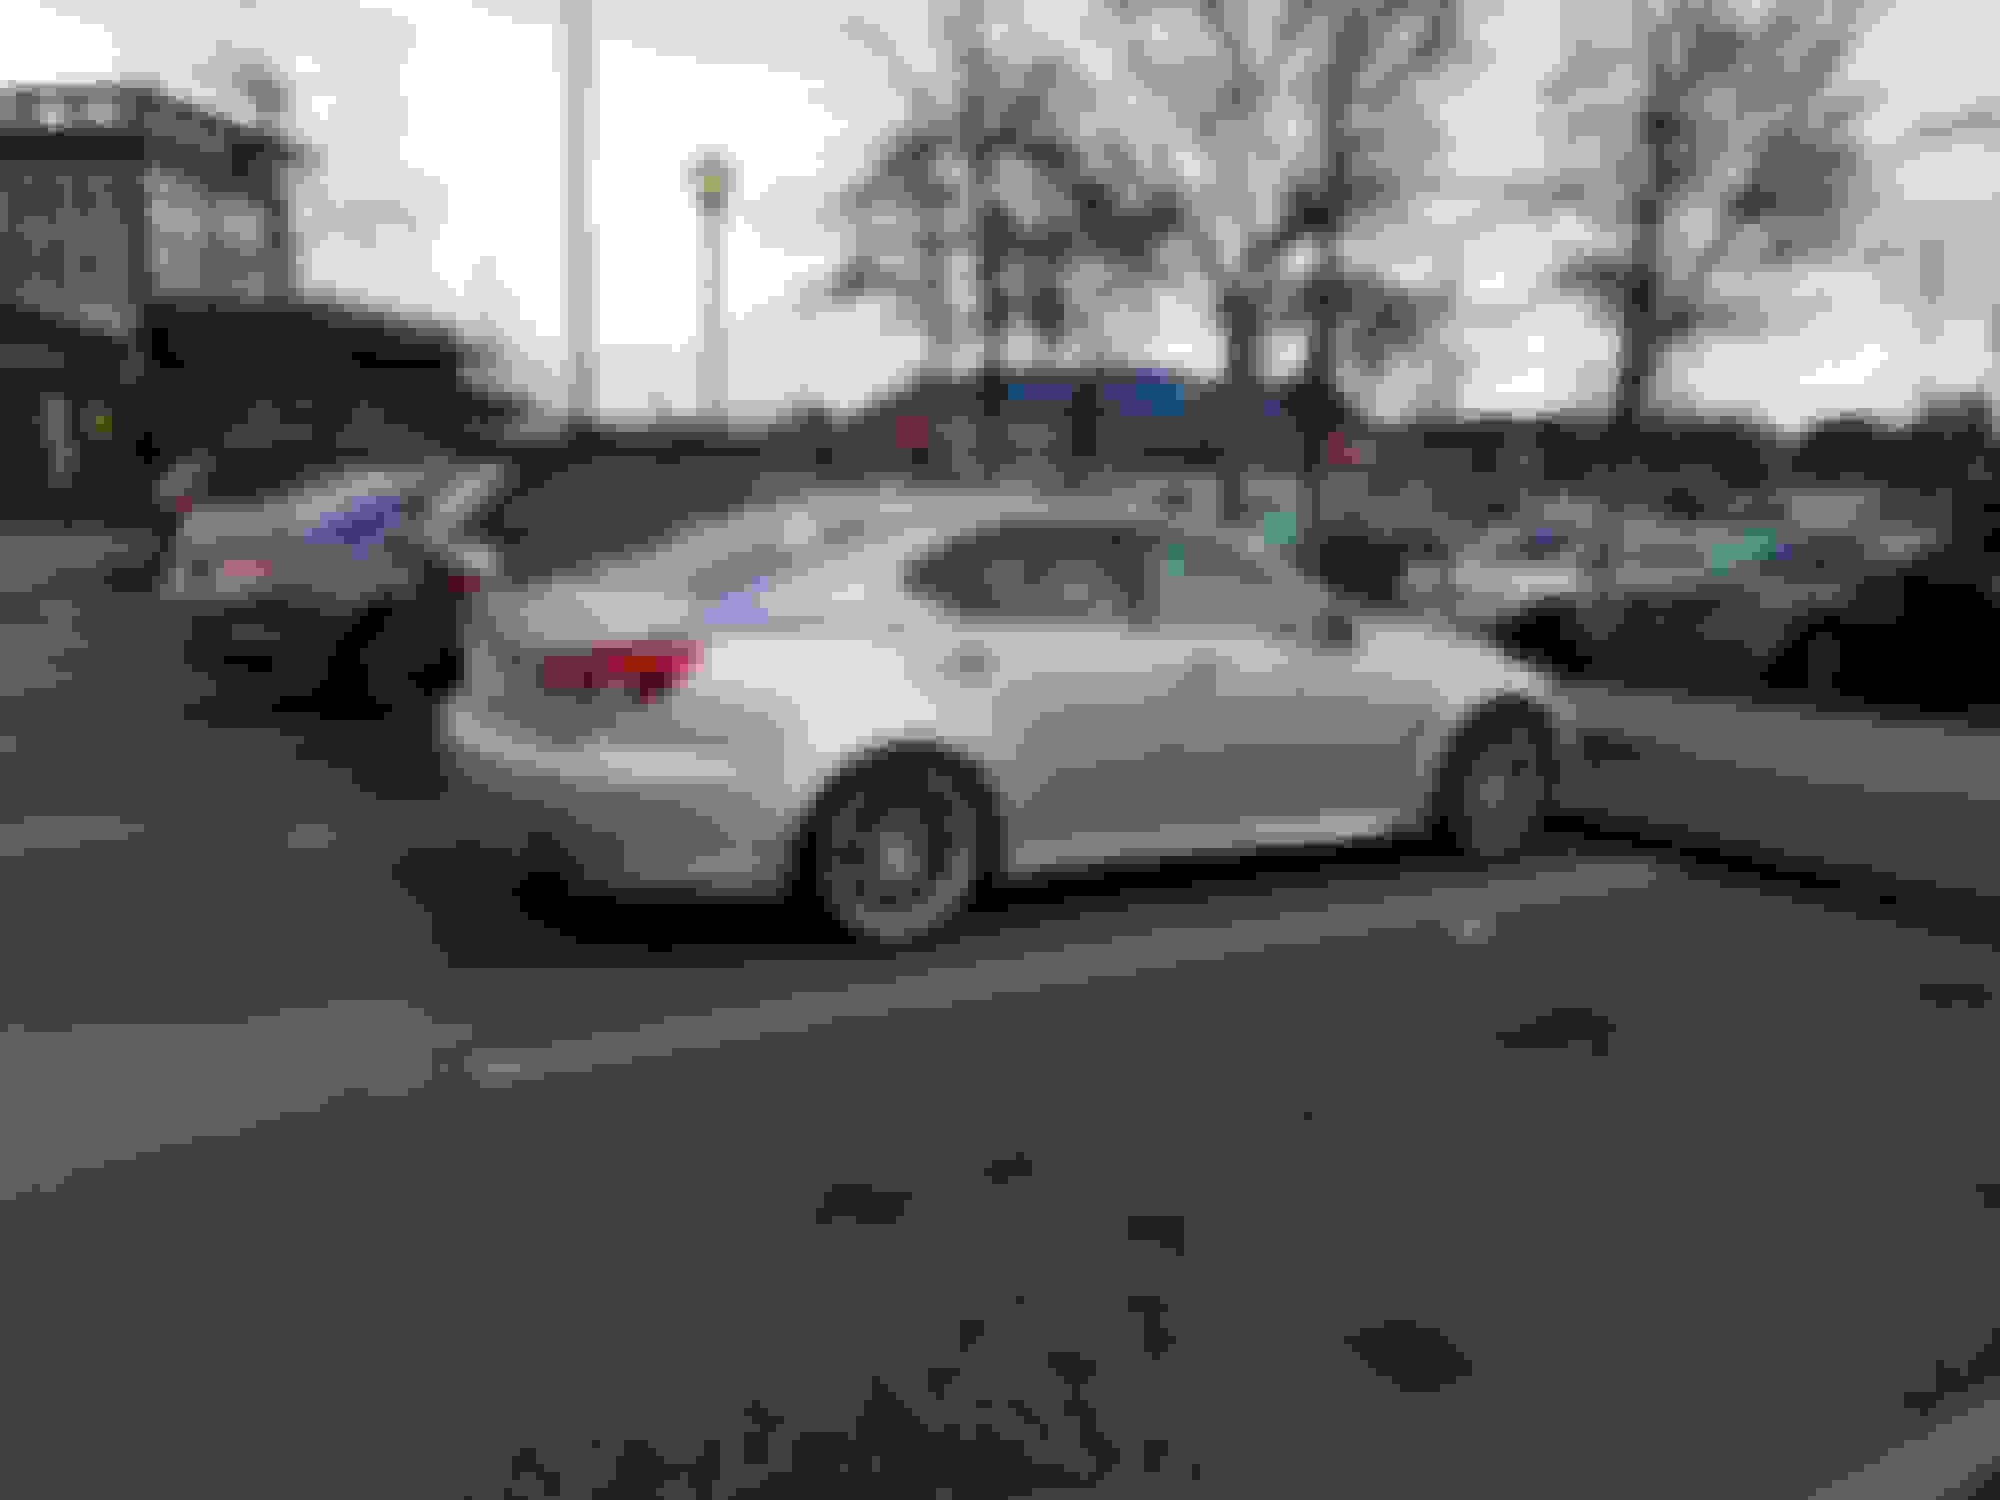
After keeping my eye open for a while, I upgraded my trusty 5 speed 2002 IS300 for this 2009 ISF. Making the move from manual to auto kinda scared me that it wouldn’t have the same driving feel and while that’s somewhat correct, boy is this car fun. I’m still getting used to paddle shifting and being able to know which gear i’m in easily when approaching corners (easier to remember where your shifter is than to keep looking down at the cluster...especially when we have the option to shift through 8 gears).
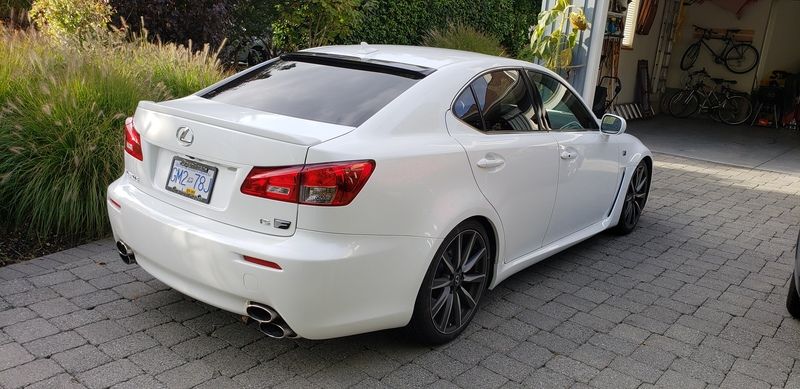
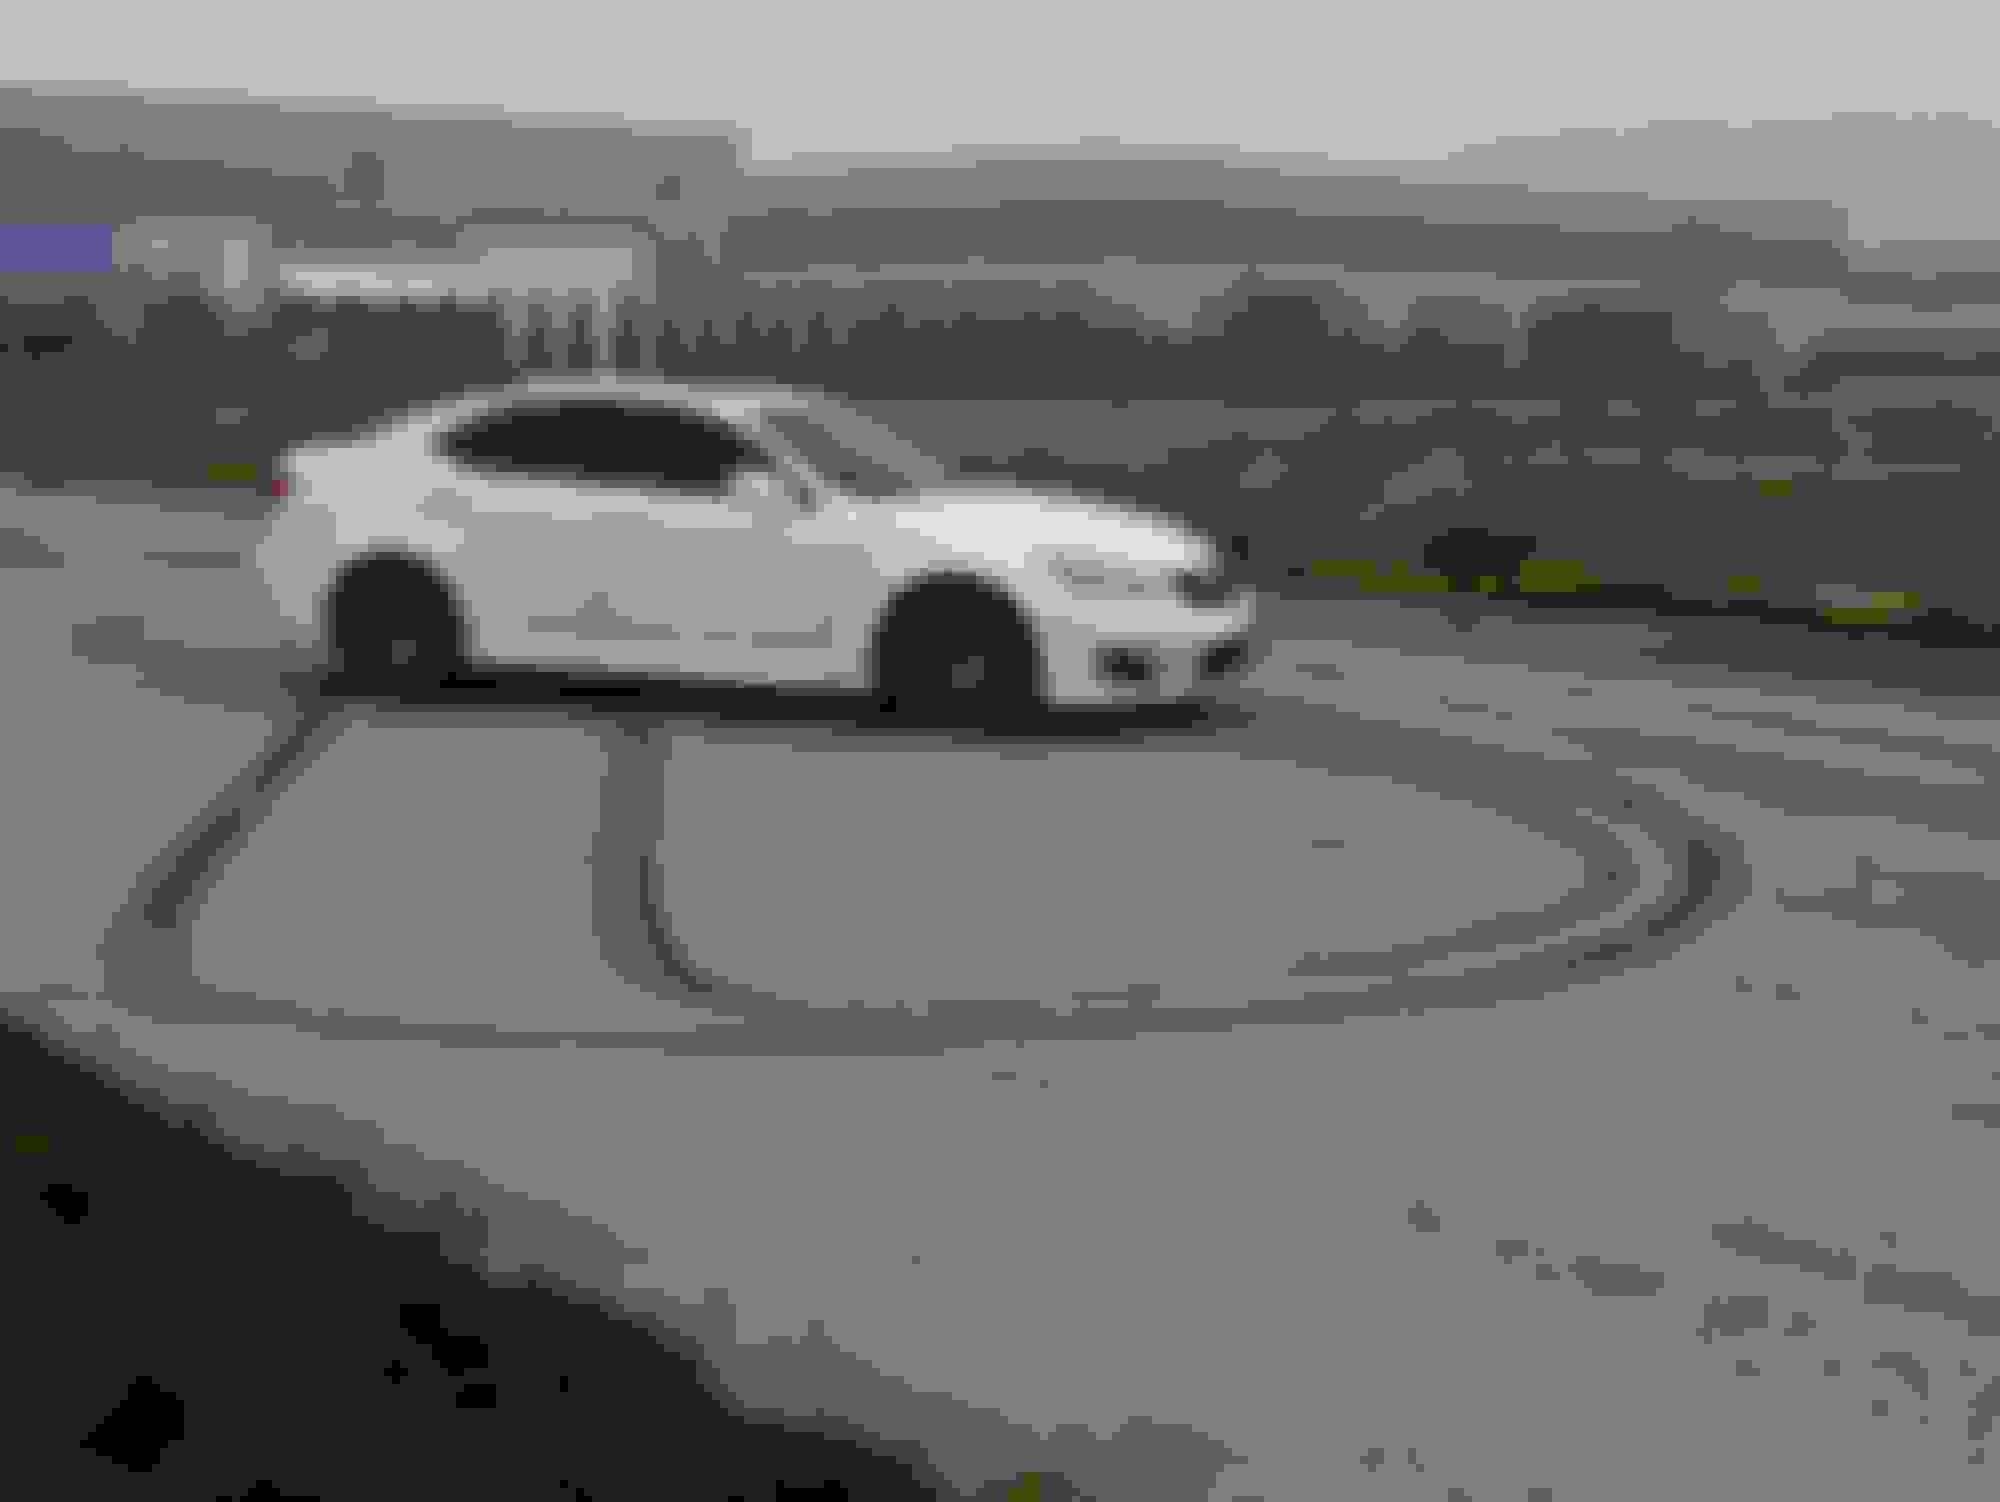
The car came with a few goodies already installed... KW V3 coilovers, Borla exhaust and Injen intake. I test drove one about a year ago that also had a Borla exhaust and i don’t remember it being this loud. I don’t think the cats are gutted as there’s no exhaust smell so i’m not sure why this is...or it’s all in my head. The car needed new tires right away when i got it so i got some Conti DWS06 on all 4 corners as I had those on my previous car and they were good for all year driving around here. After reading about people upsizing their tires to 275’s in the back, I still decided to stick with the OEM sizing to be appropriate size for the wheel width. If/when i get aftermarket wheels, i will most likely go wider wheel and wider tire then.
Anyone know what roof spoiler this is?
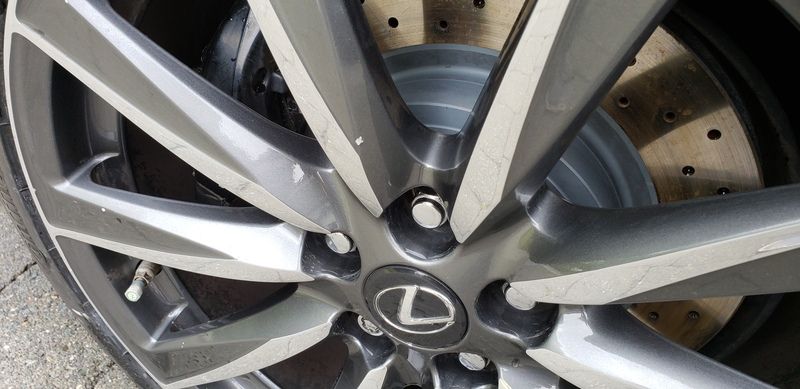
The wheels have some knicks in them so i picked up some Toyota Phantom Pearl Grey paint as per another thread on the closest touch up color...I tested one small knick and it’s not that great of a match (a bit darker than the wheel paint) so am going to keep my eye out for something else...open to suggestions.
I’m not a fan of these overlays and one of them was peeling so they were quick to get peeled off
Before:
After:
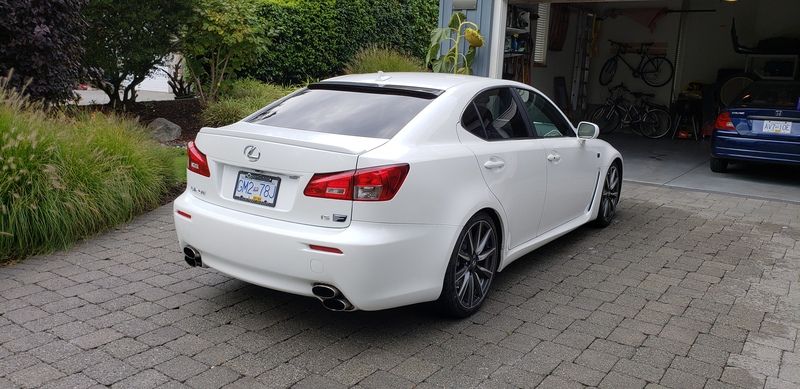
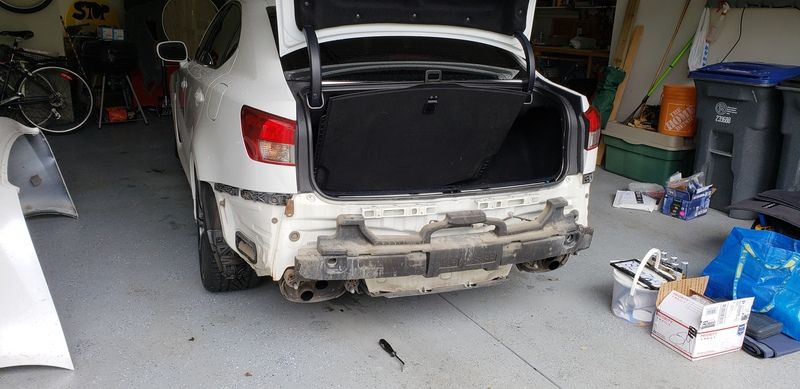
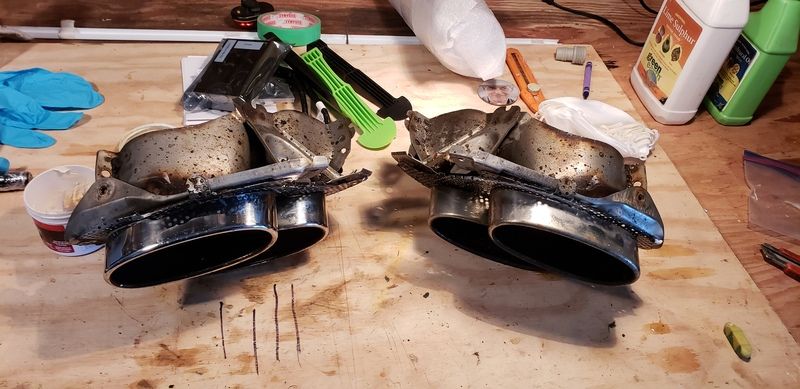
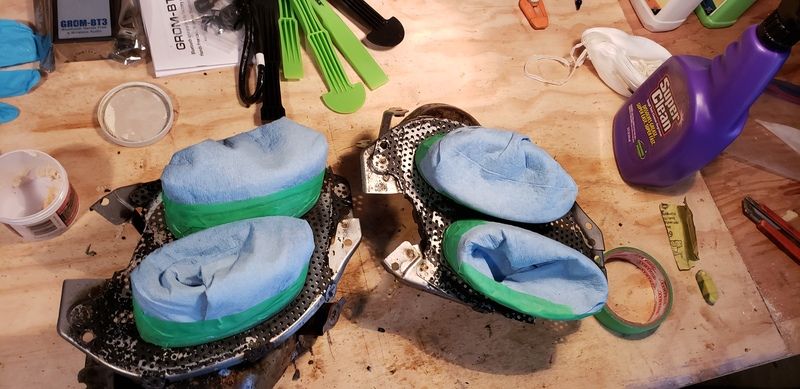
The car also had a scratch on the rear driver side corner that was fixed with horrible overspray so first little project was to take off the exhaust tips and polish them up and re-paint the metal grate. Silly me forgot to take an after photo but i think i need to do them again as something came up and i had to quickly piece it back together with not as many coats as I had wanted.
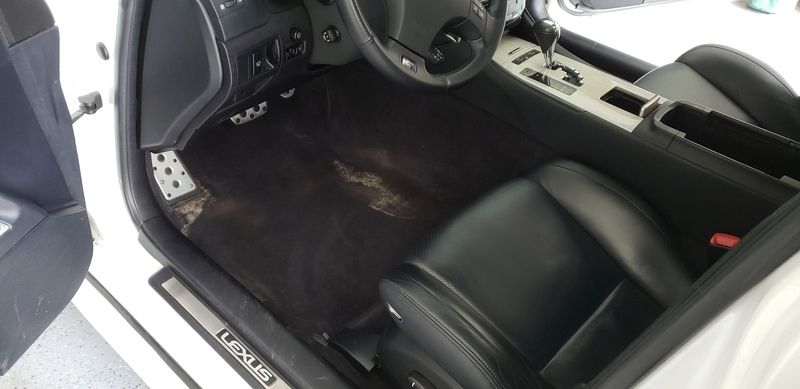
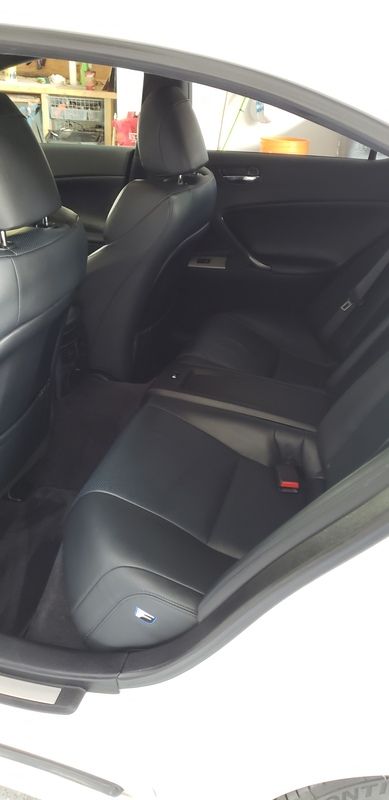
While the weather wasn’t great for us up in Canada-land, I gave the interior a good clean. There was some mud-like stain on the drivers side floor that i tried to get out with some carpet scrubber but couldn’t get it done completely...anyone got any carpet cleaning tricks? It’s like a hardened (almost solid) mud-like mixture embedded into the carpet.
Before:
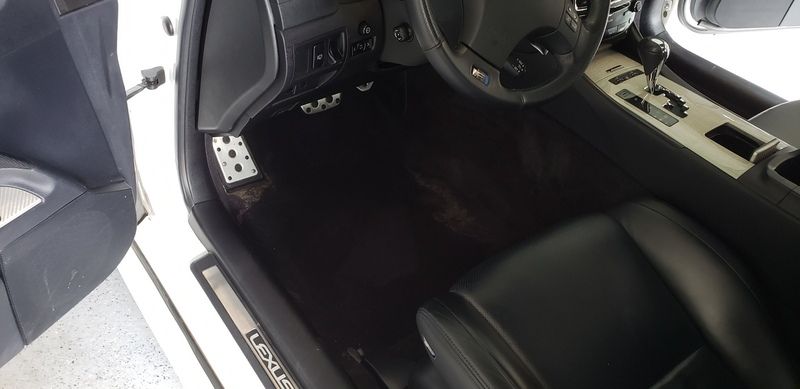
After….still some there:
Took my first attempt at vinyl wrap on the grill. The width of the wrap was a little shy so i had to stretch it a bit and ended up with some wrinkles but it’s not too bad...I will replace it eventually but it’s low priority for now.
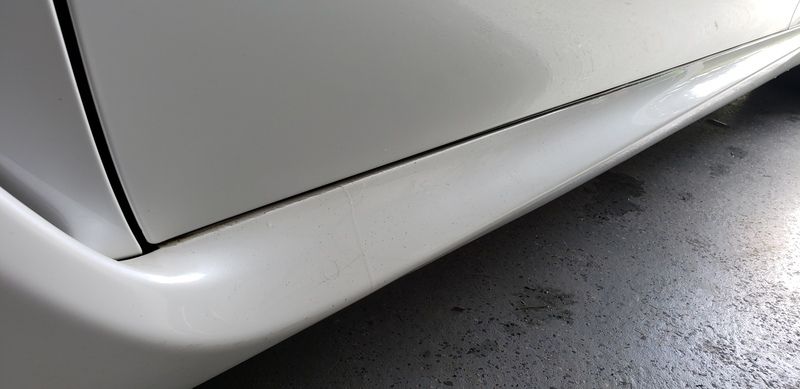
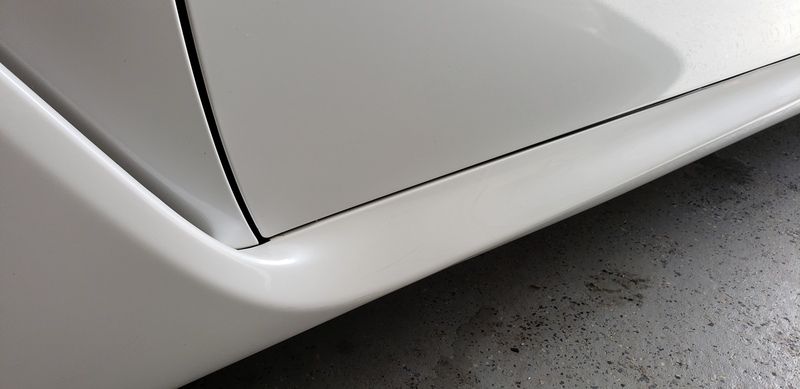
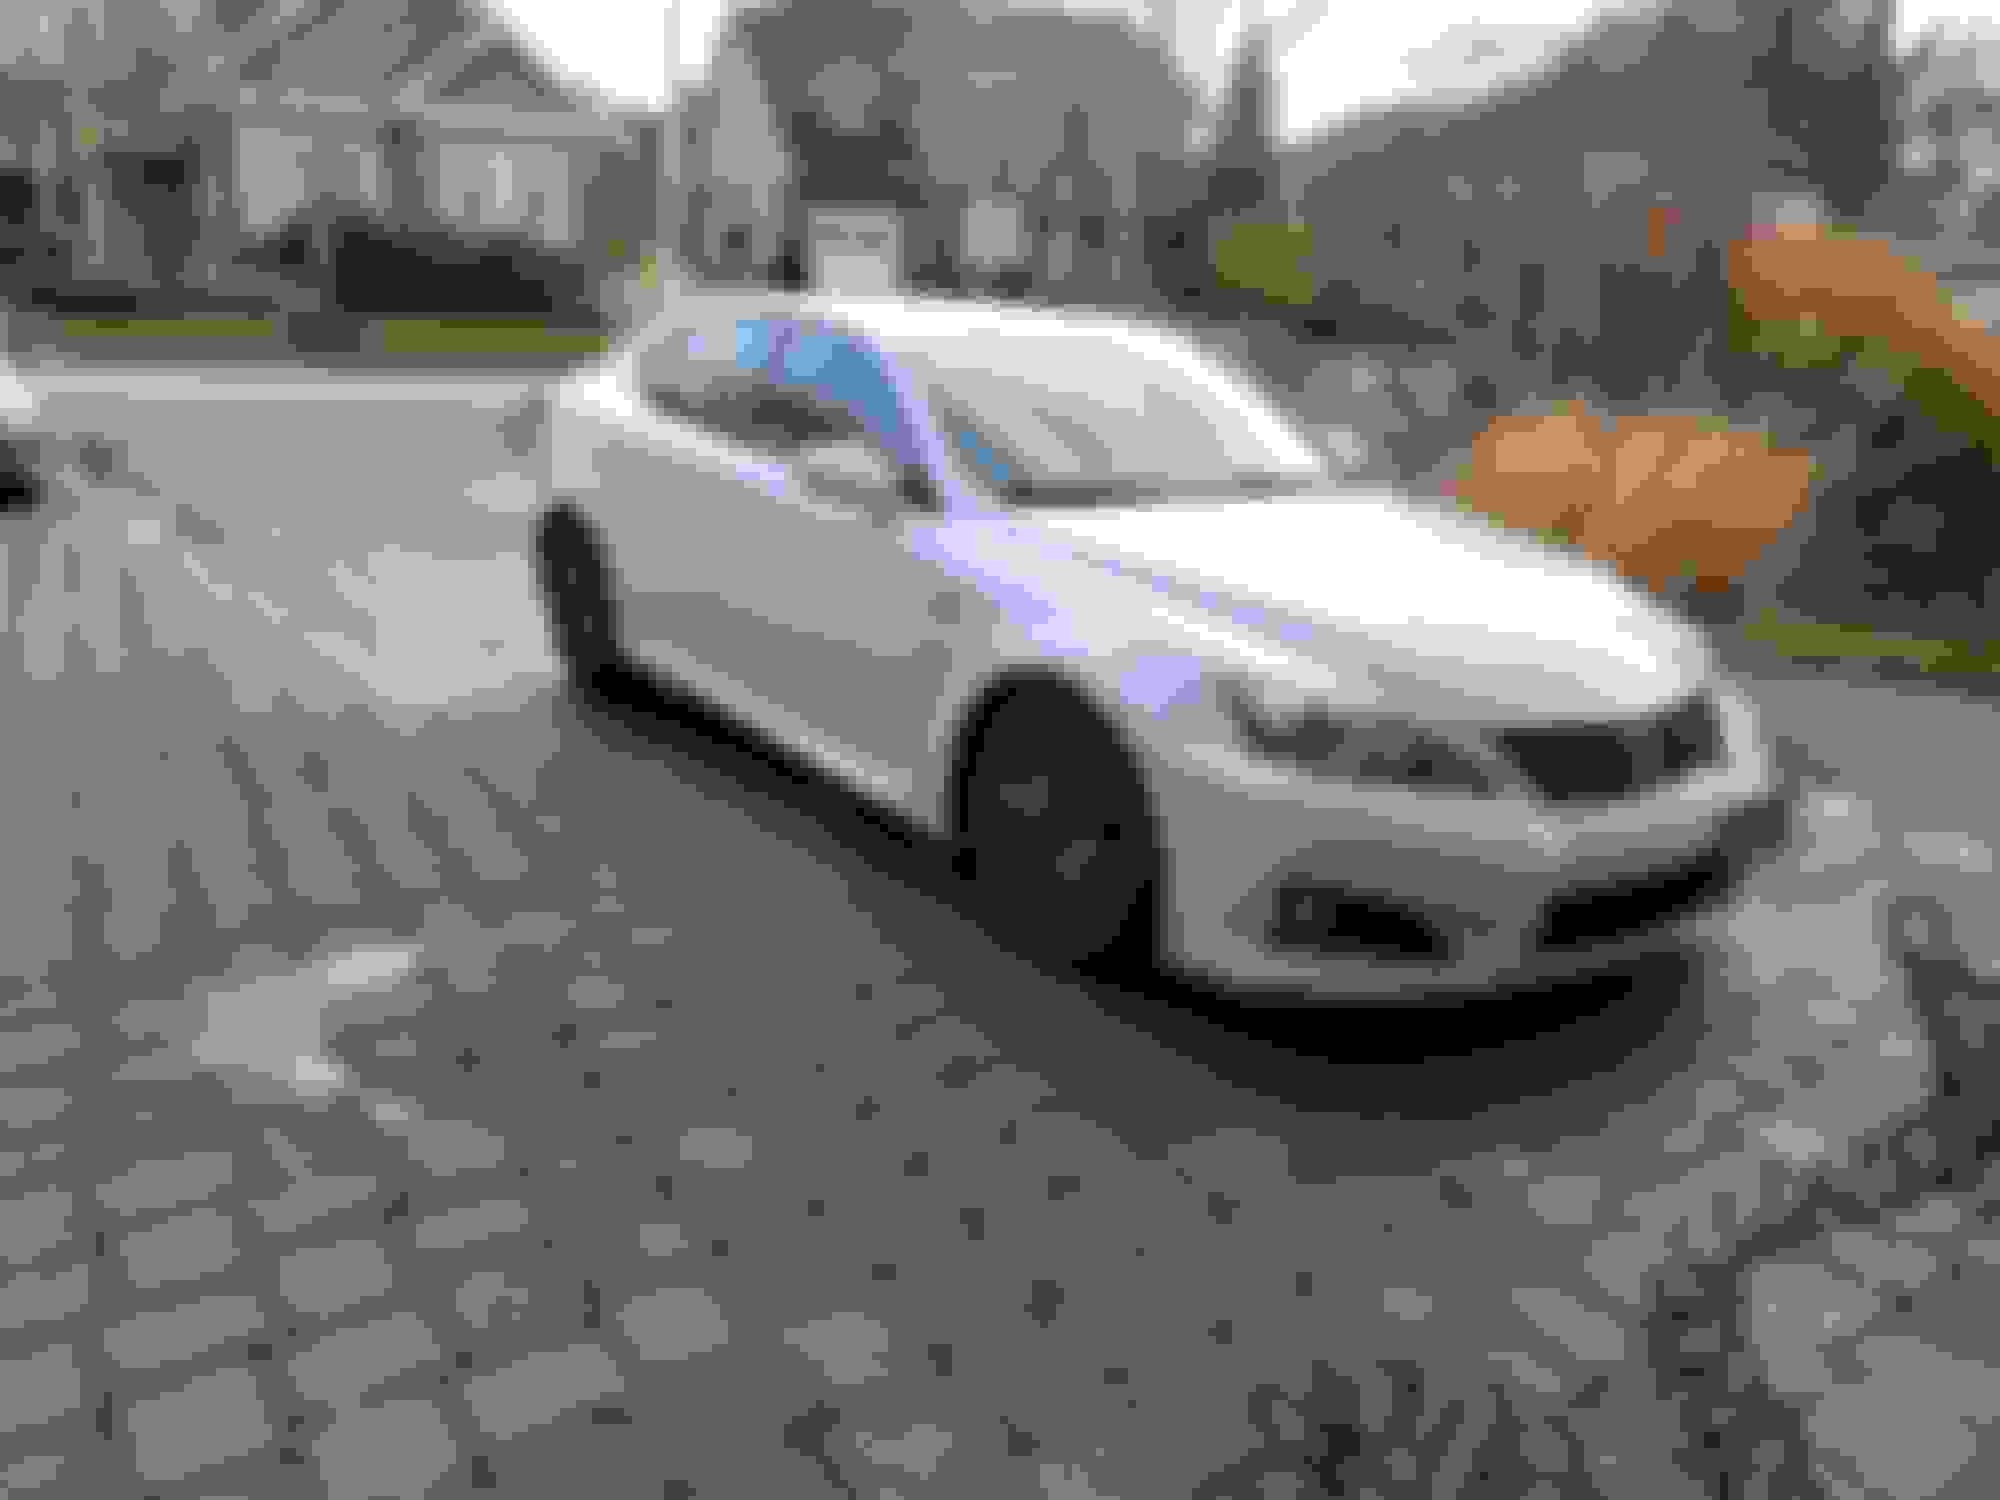
After a couple weeks, we finally had some decent weather so i got round to giving the car a clay bar, polish and wax. I bought the car from another province and had it shipped so i’m not sure if it was from that but there was a load of surface rust dots on the car, mainly the side skirts. These came out with the claybar but definitely took some time. Happy with how it turned out though, hope to get some proper photos of the car this week.
Next up: Install the RR Racing bushings, finish blacking out the chrome on the car, get the windows tinted and put some spacers on.
Before (not sure how visible these spots are in the pic):
Thanks man. What did you use to black out your window trim? After doing the grill i don't know how i'm going to wrap vinyl round that rear corner of the window...
Thanks man. What did you use to black out your window trim? After doing the grill i don't know how i'm going to wrap vinyl round that rear corner of the window...
i used Black out trim tape from pep boys, for the right corners I had to use multiple small pieces. You can�t really
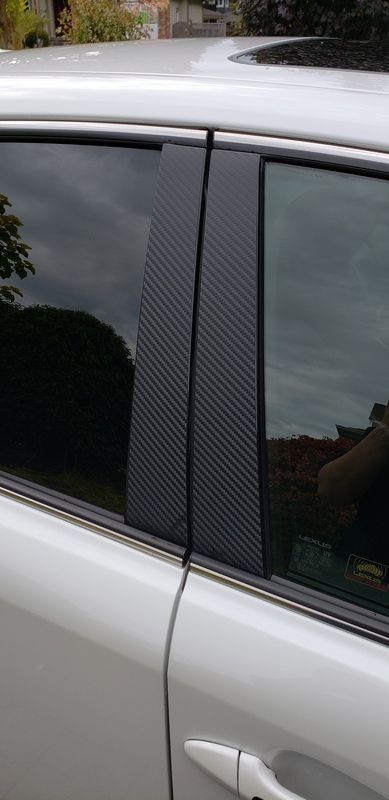
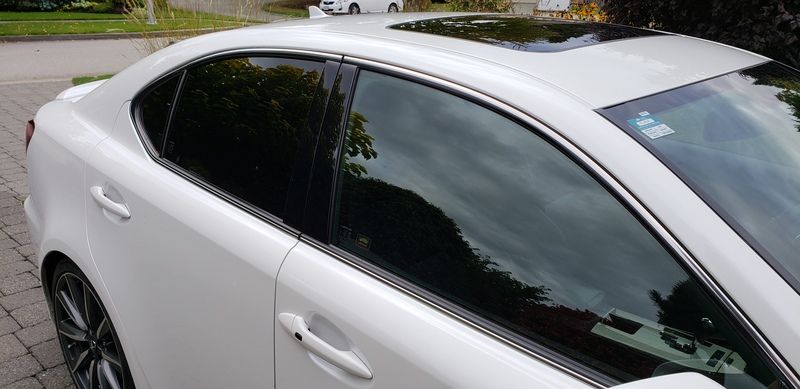
Blacked out the emblems and window trim today. I used plastidip on the emblems and some "blackout tape" on the window trim. I might do parts of the window trim again, I got progressively better from the first section to the last.
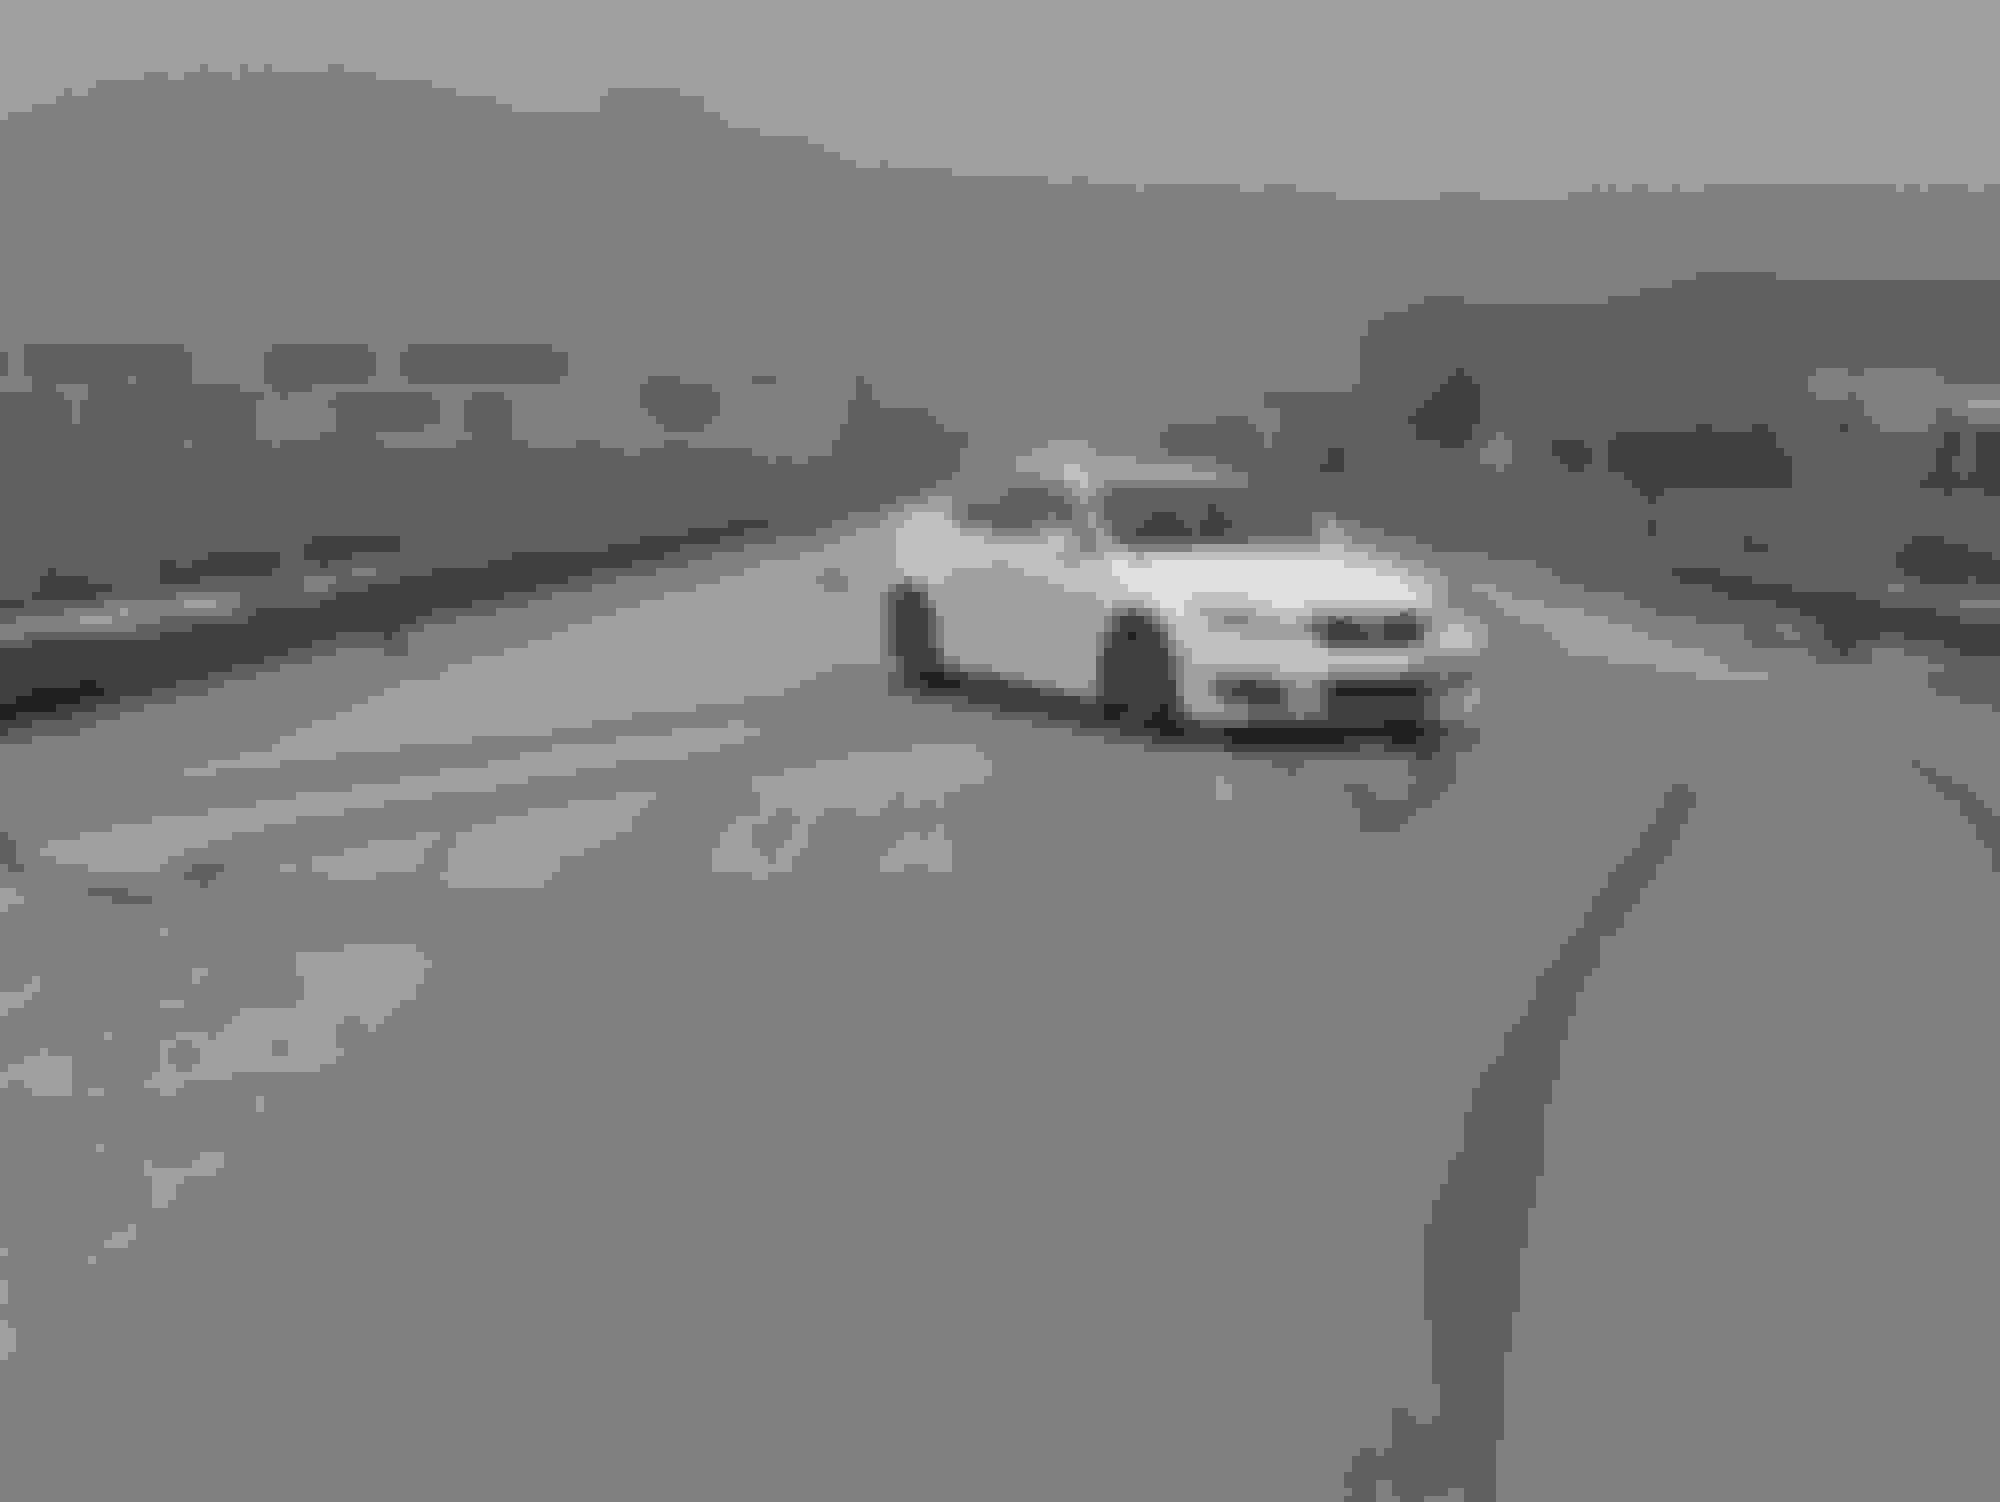
Picked up a spare rear bumper last night. I had manged to fit 2 bumpers and side skirts awkwardly in my old IS300 so I thought i'd have no problem fitting the bumper in the ISF to bring home....it fit but it was a tight fit. The guy I bought it off was swapping an ISF drivetrain into '72 Celica....very cool. It was something he was working in-between his customer projects so might be a while before there's any major progress but hoping to check it out one day. I picked up the spare bumper to experiment with some things and maybe try designing a semi-functional but mainly for looks diffuser as an alternative to the other ones out there.
A few updates from the past weeks. Got my RR Racing USRS installed as well as my tint done. When i was getting the USRS installed, i asked them to check out a slight squeak from something in the suspension up front. It turned out that the front driver coilover was a pretty shoddy install and the bolt at the bottom wasn't tightened all the way. No harm done and all tightened up now but the car handles SO much better now with the bushings and that squeak/movement fixed now. I also picked up some Stoptech pads to go in at some point in the next couple of months along with the first oil change in my ownership. I'll be doing the UOA with Blackstone when I do get it changed.
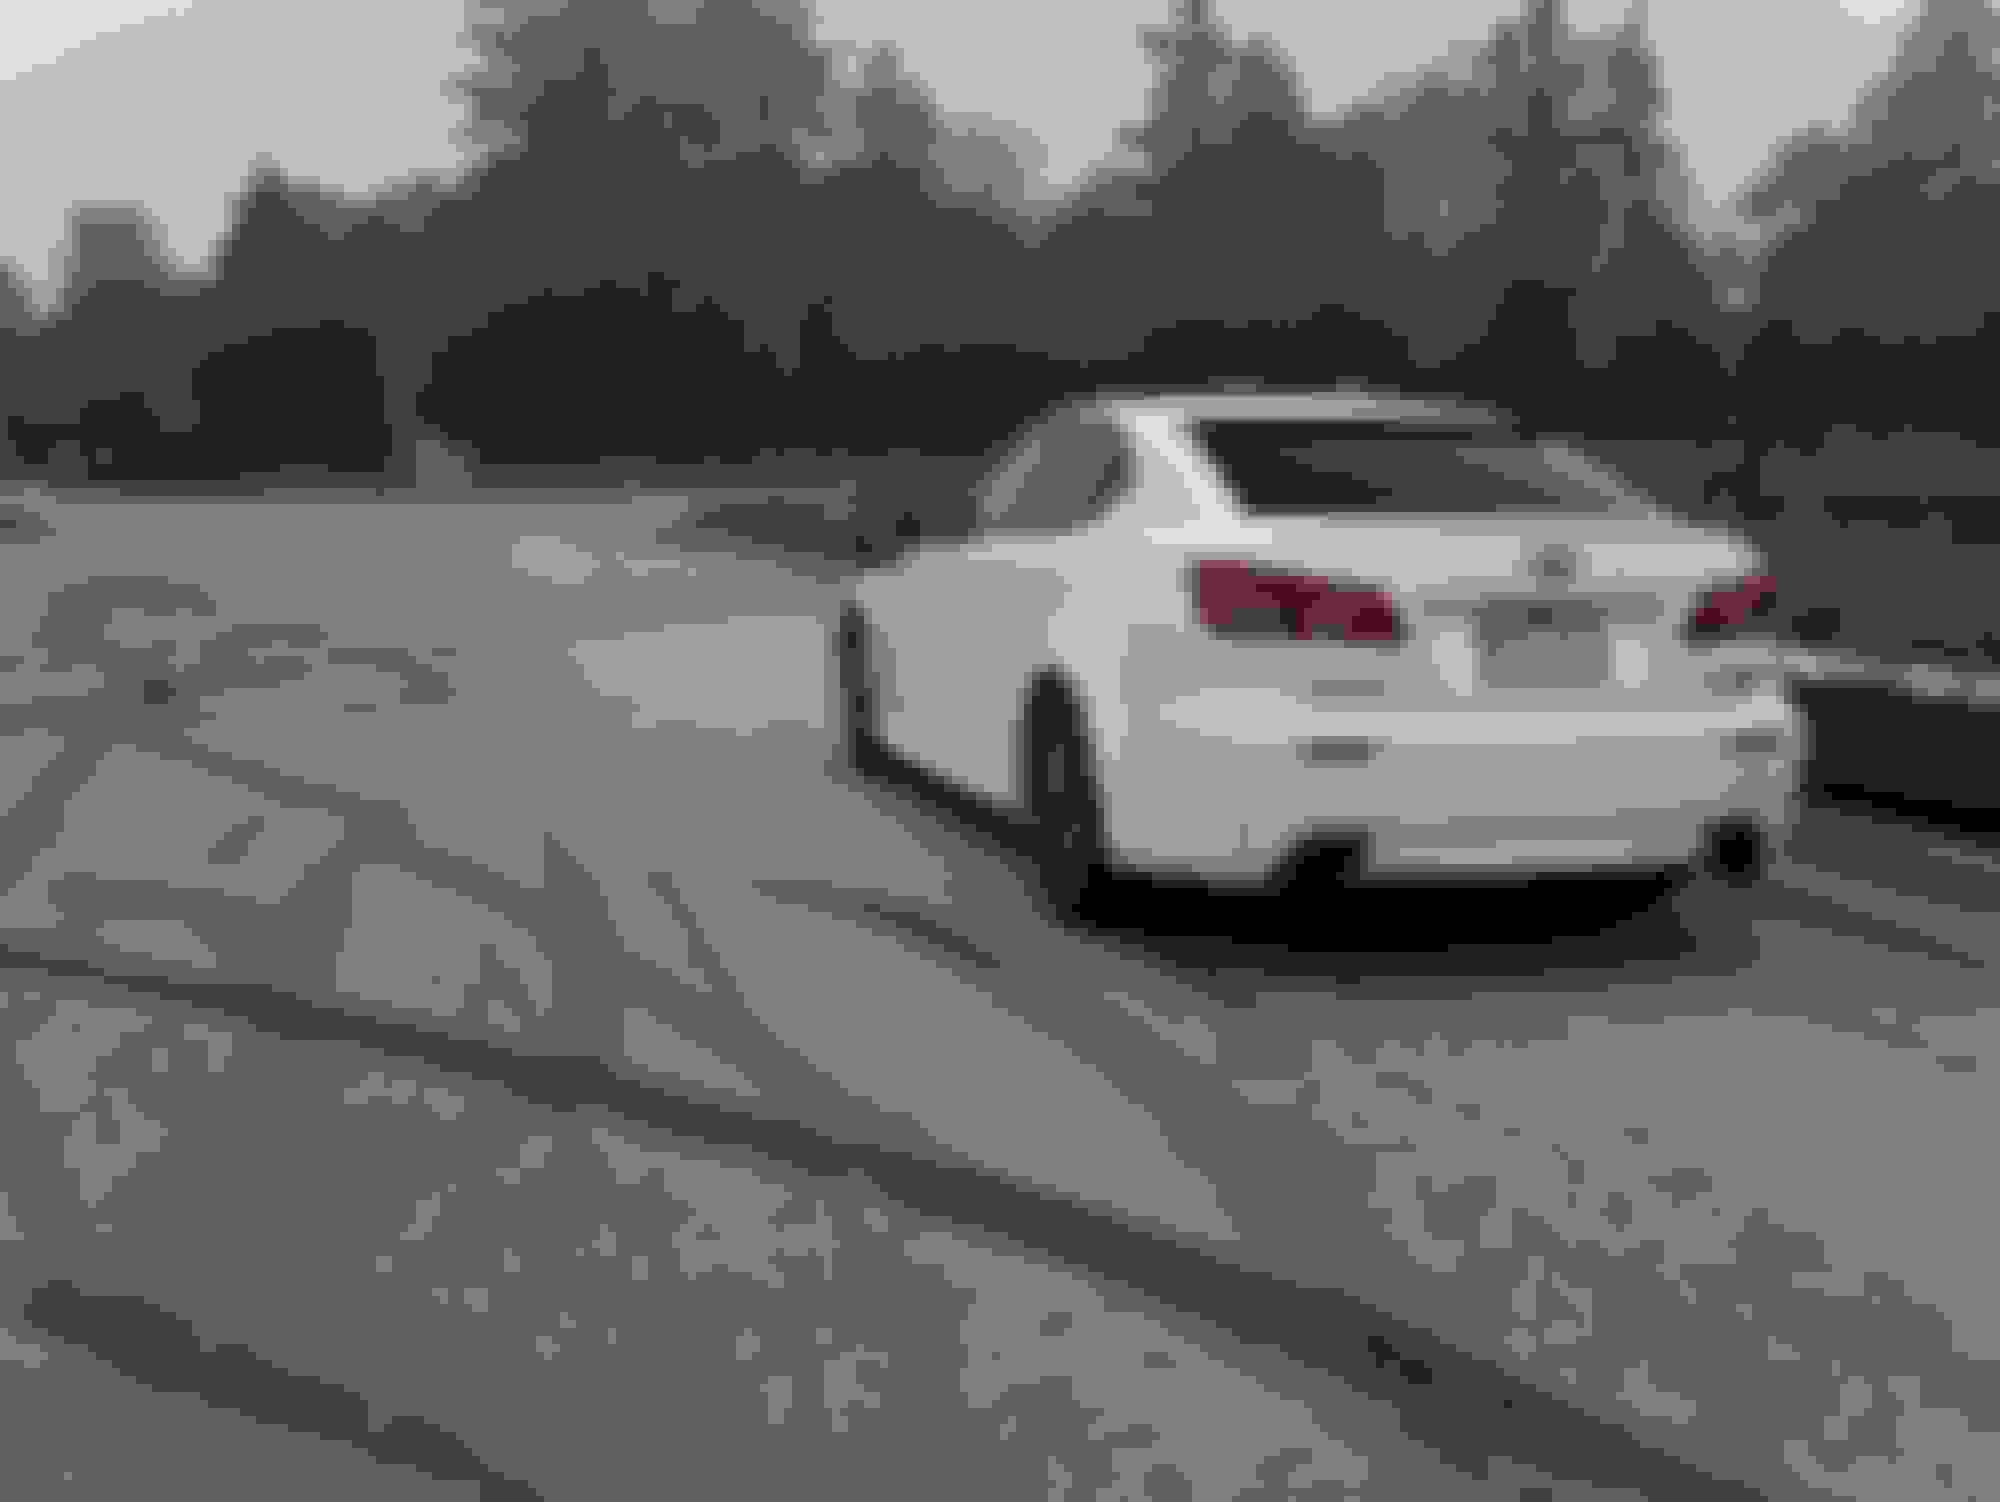
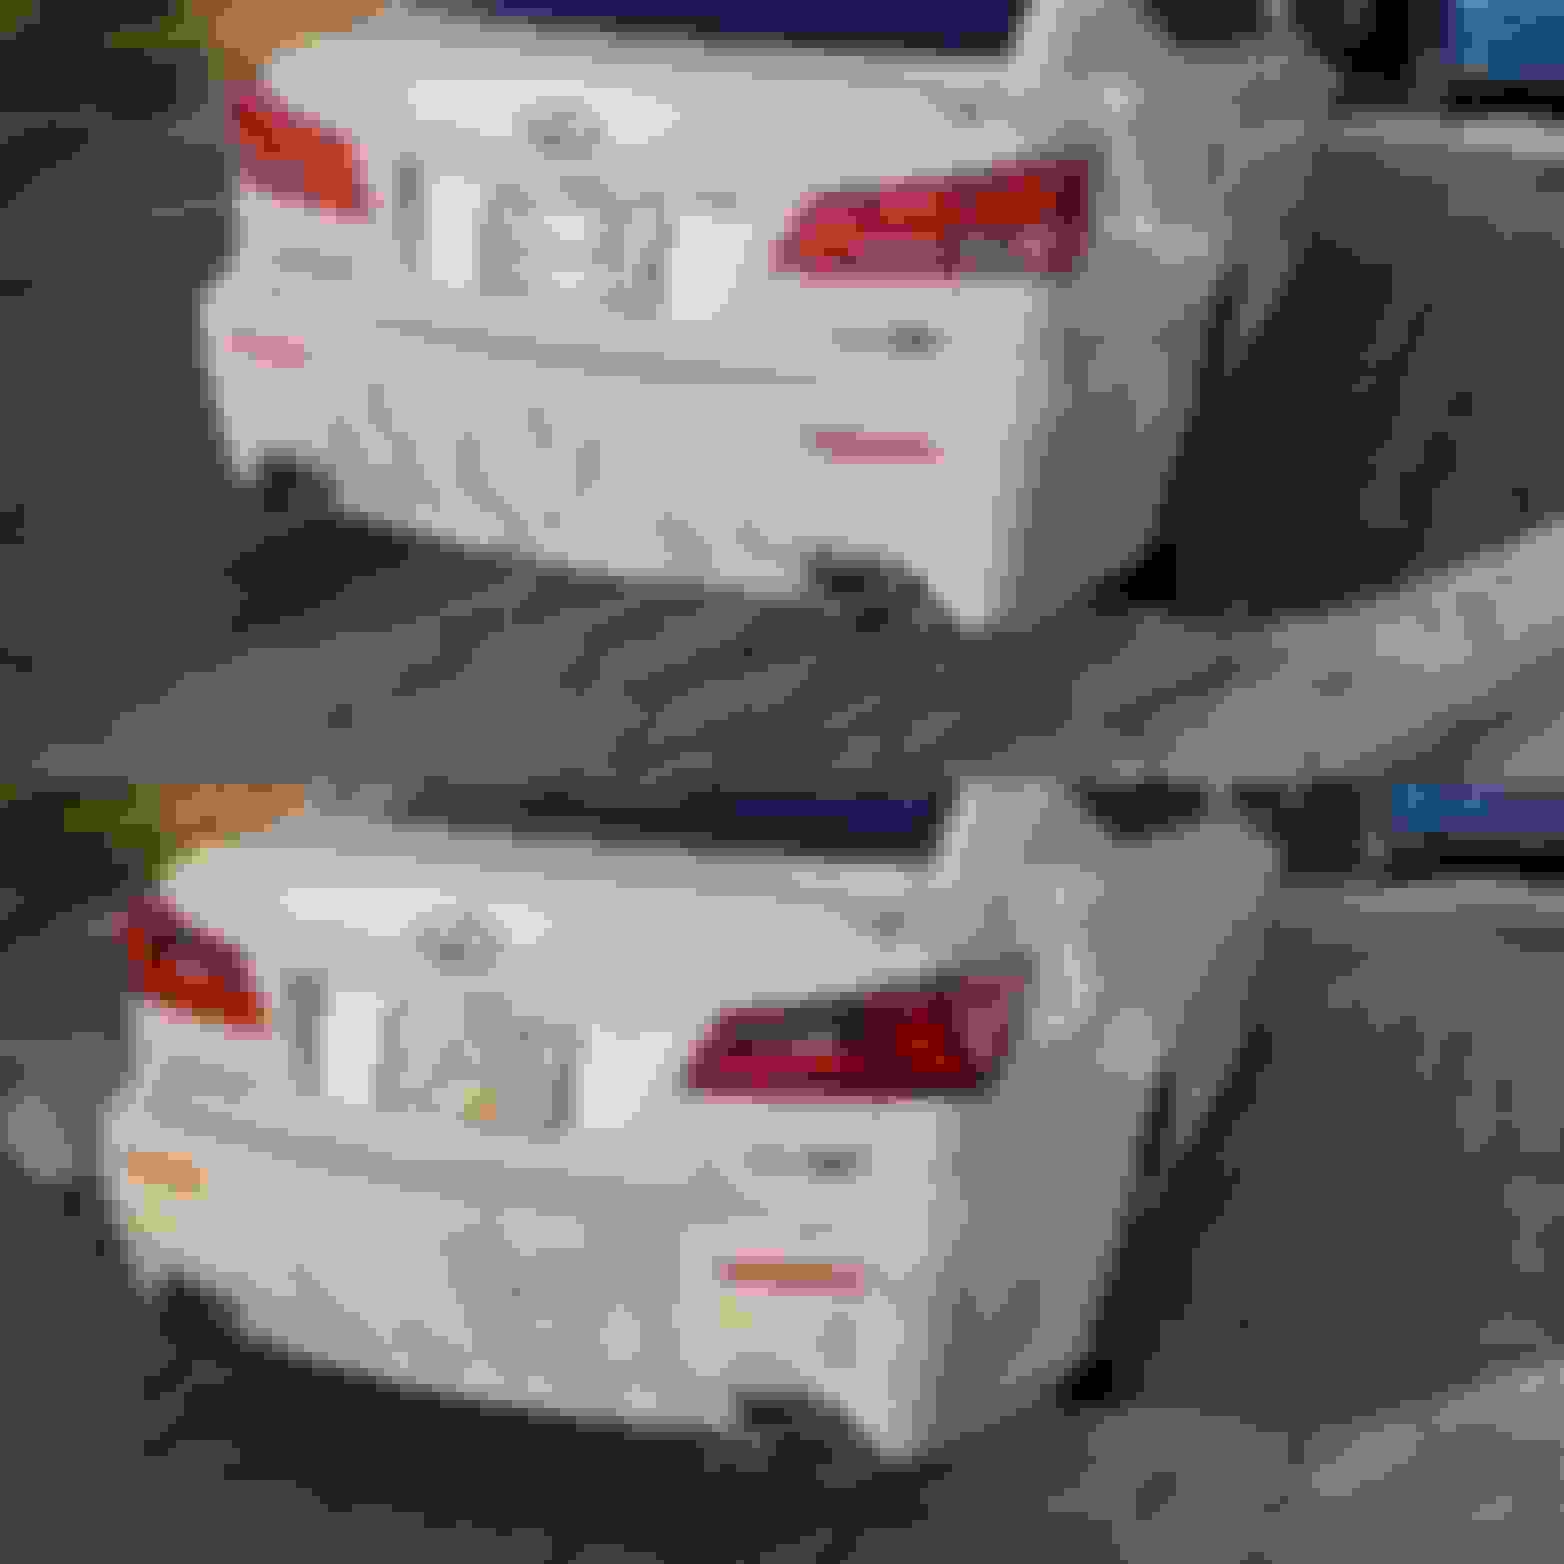
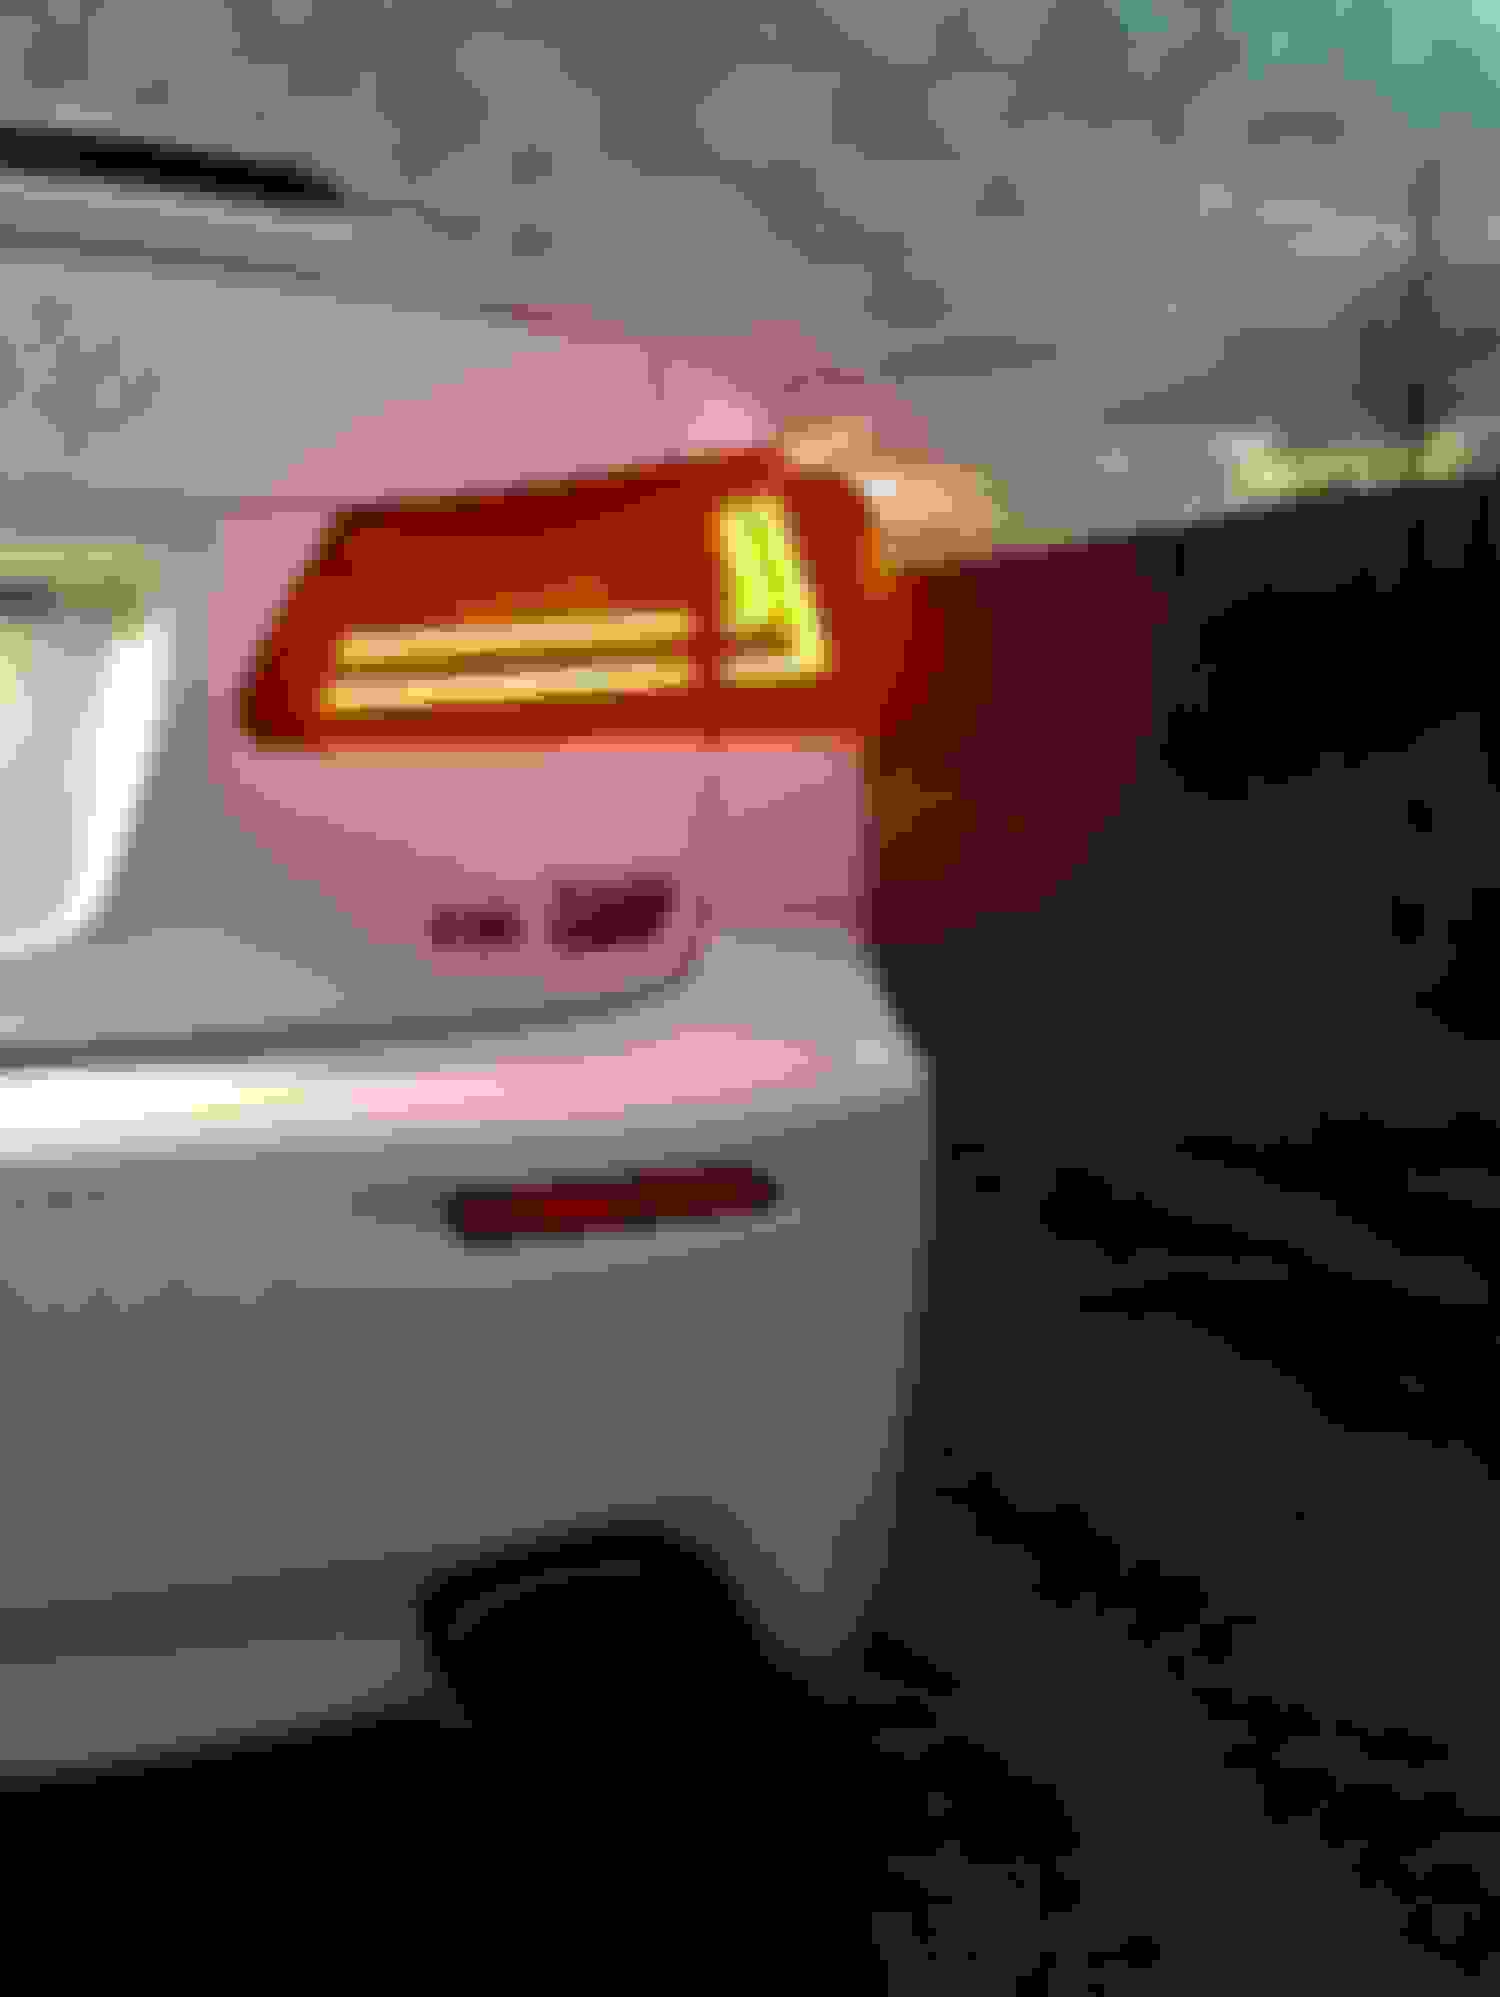
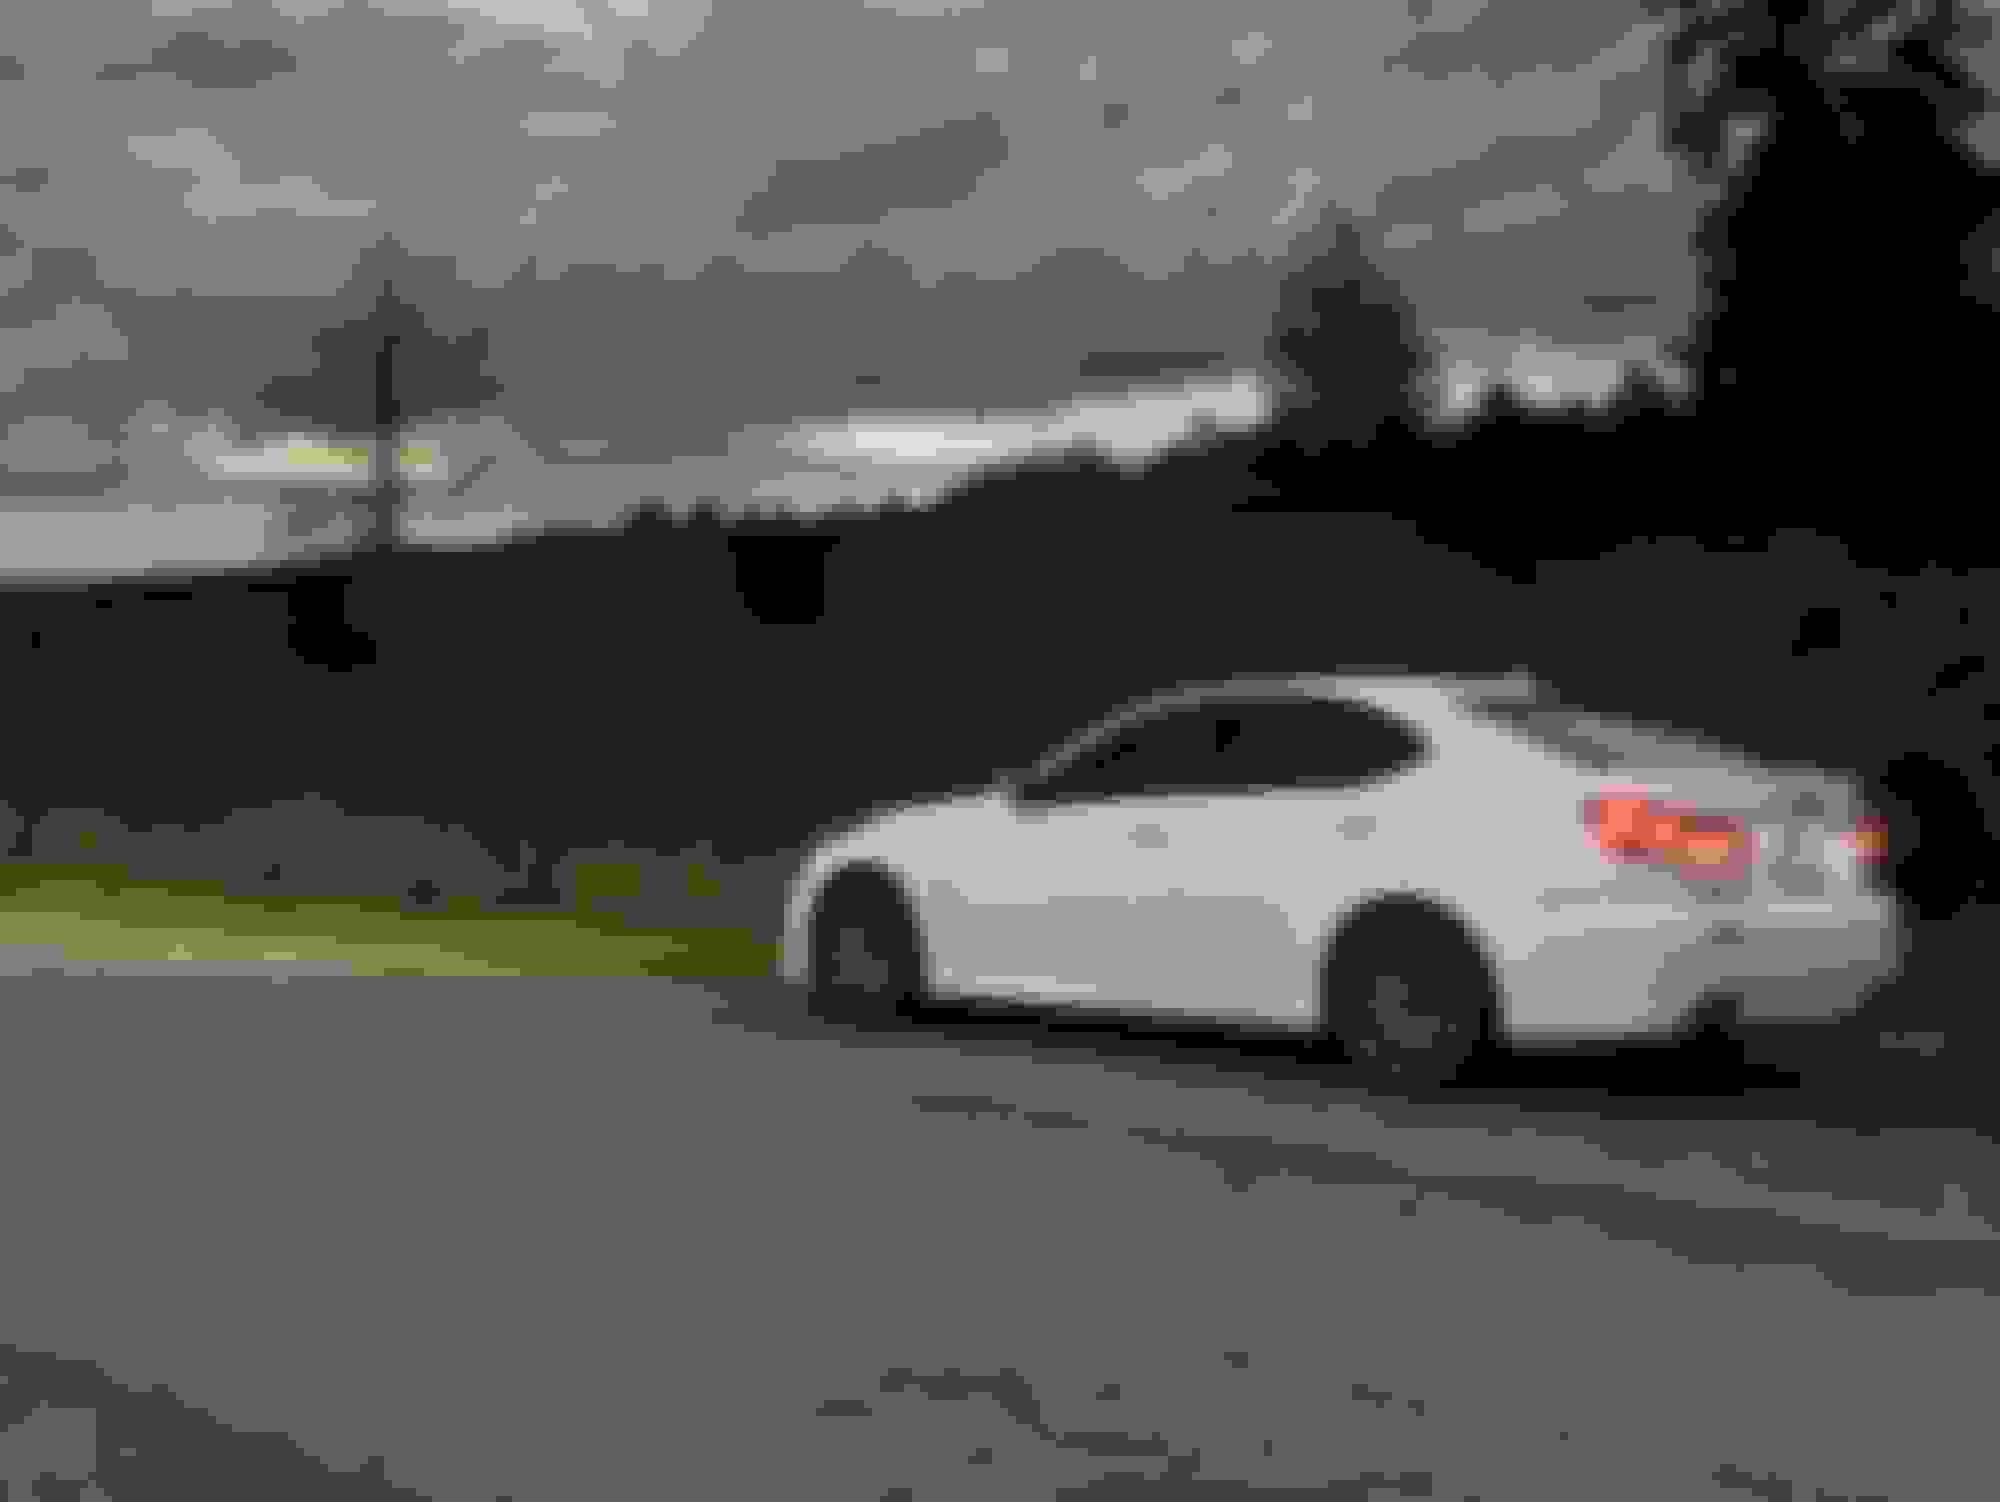
Got some VLand tail lights during the sales last week as well as a Bayson R front splitter lip. Put the VLands in today and looks like we are getting a week of sun so gave her a wash. Ill probably put the lip on in the spring or so when the weather gets better.
The VLand's had some light scratches on them when i was checking them out at home under lights. Once they were installed and out in daylight, the scratches were hardly visible. I'm confident that they'll be gone when i give them a polish when the weathers warmer.
Before and After:
Saw another F at the mall....anyone on the forums? or anyone in Vancouver area know them?
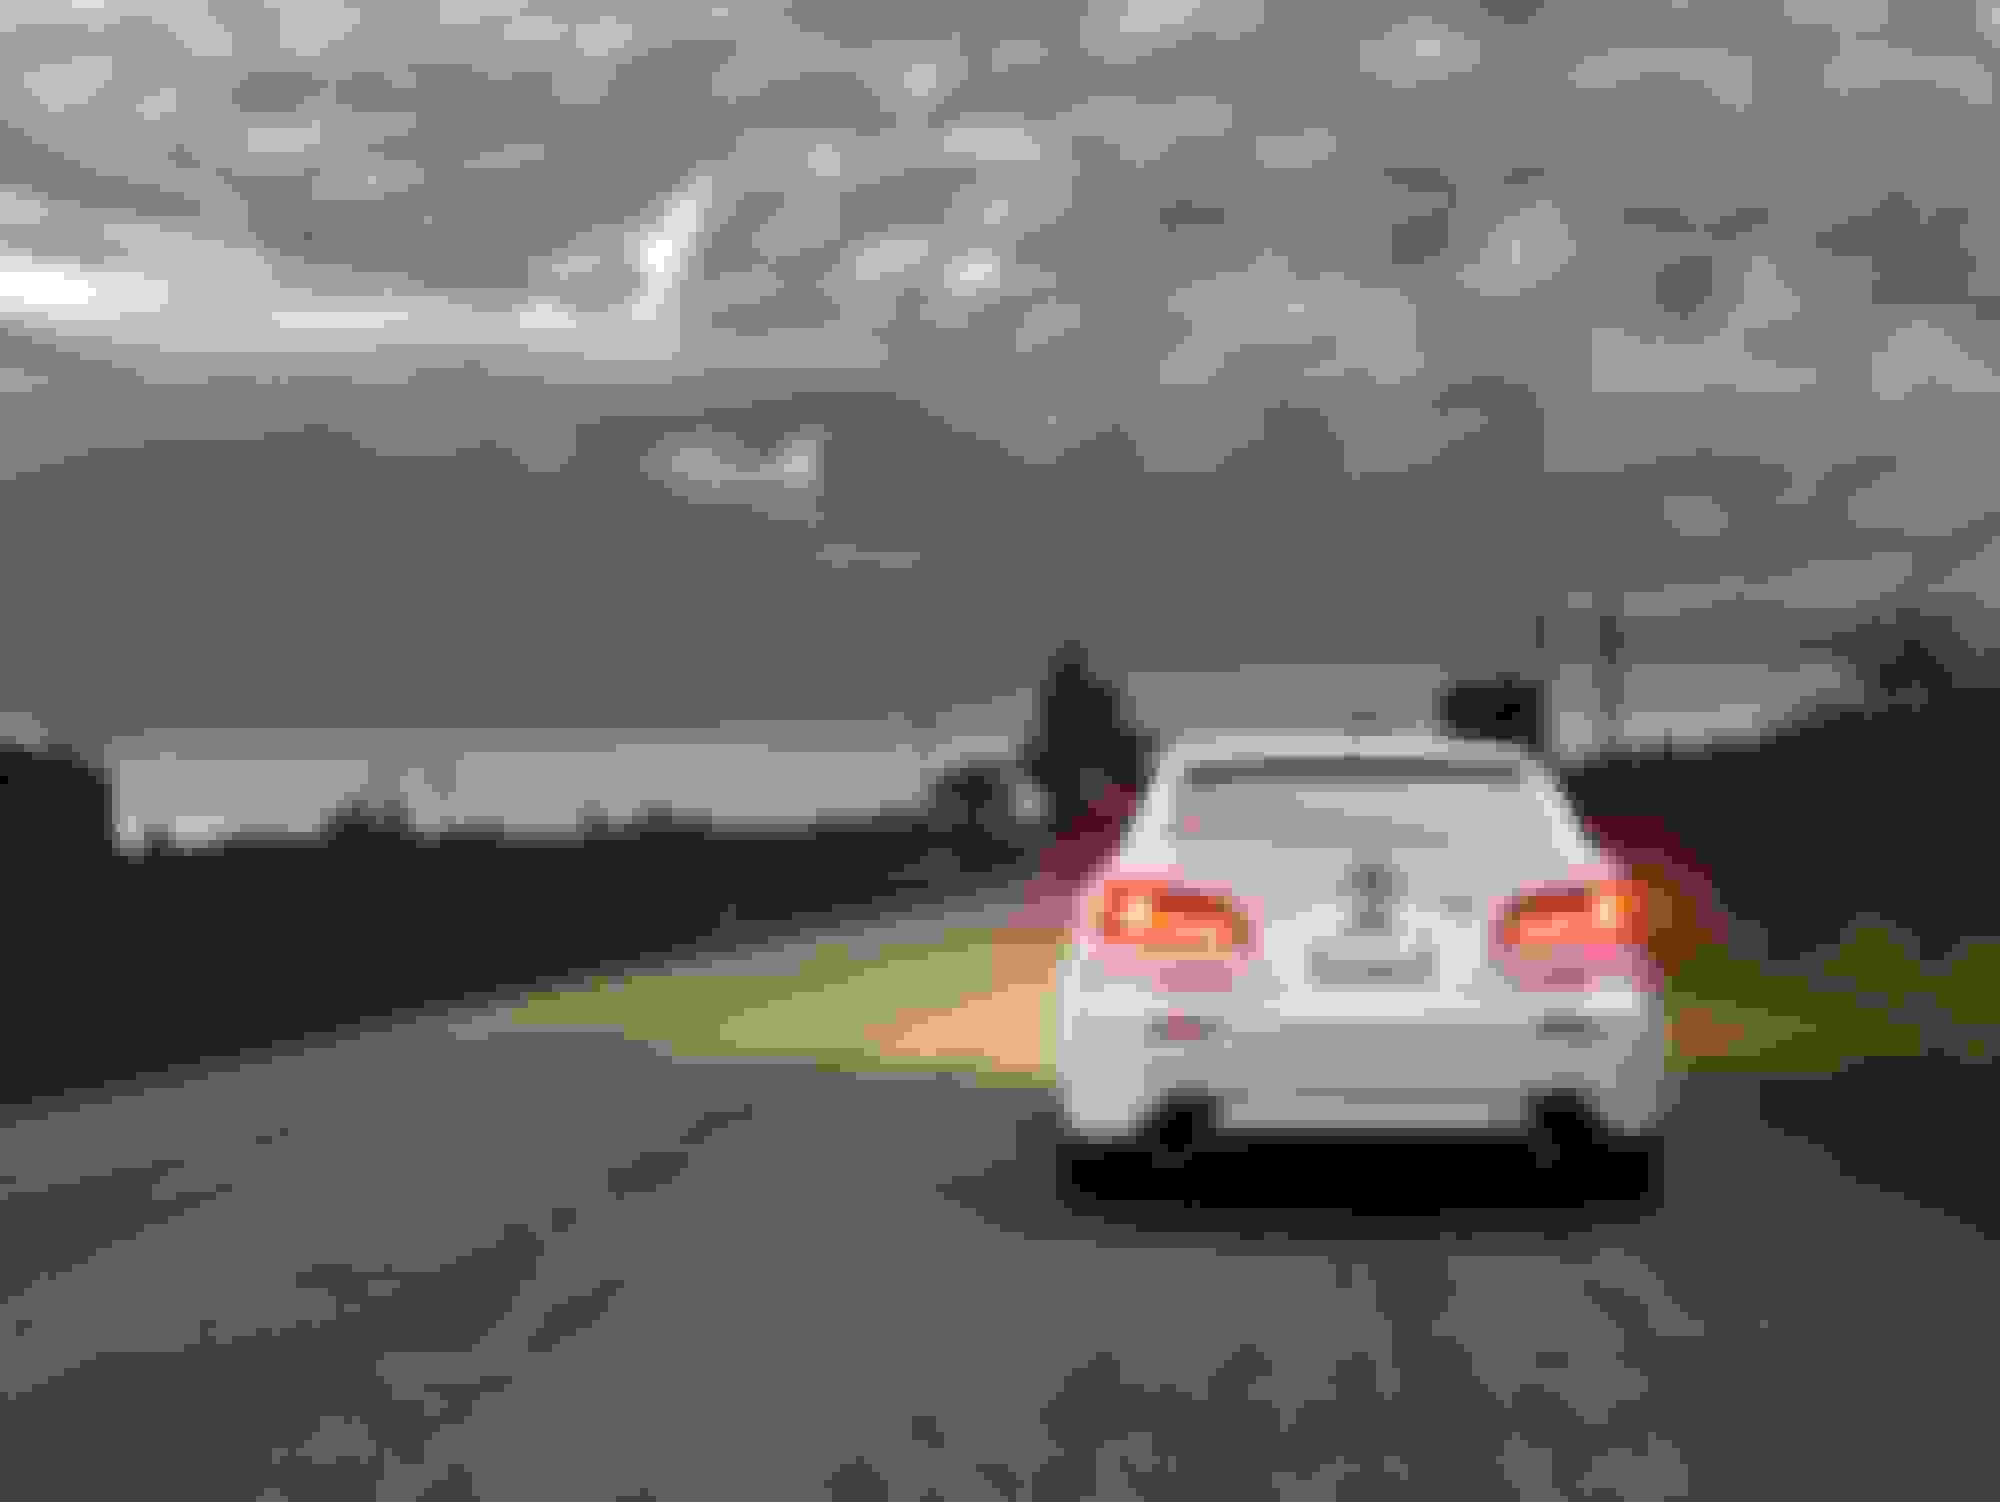
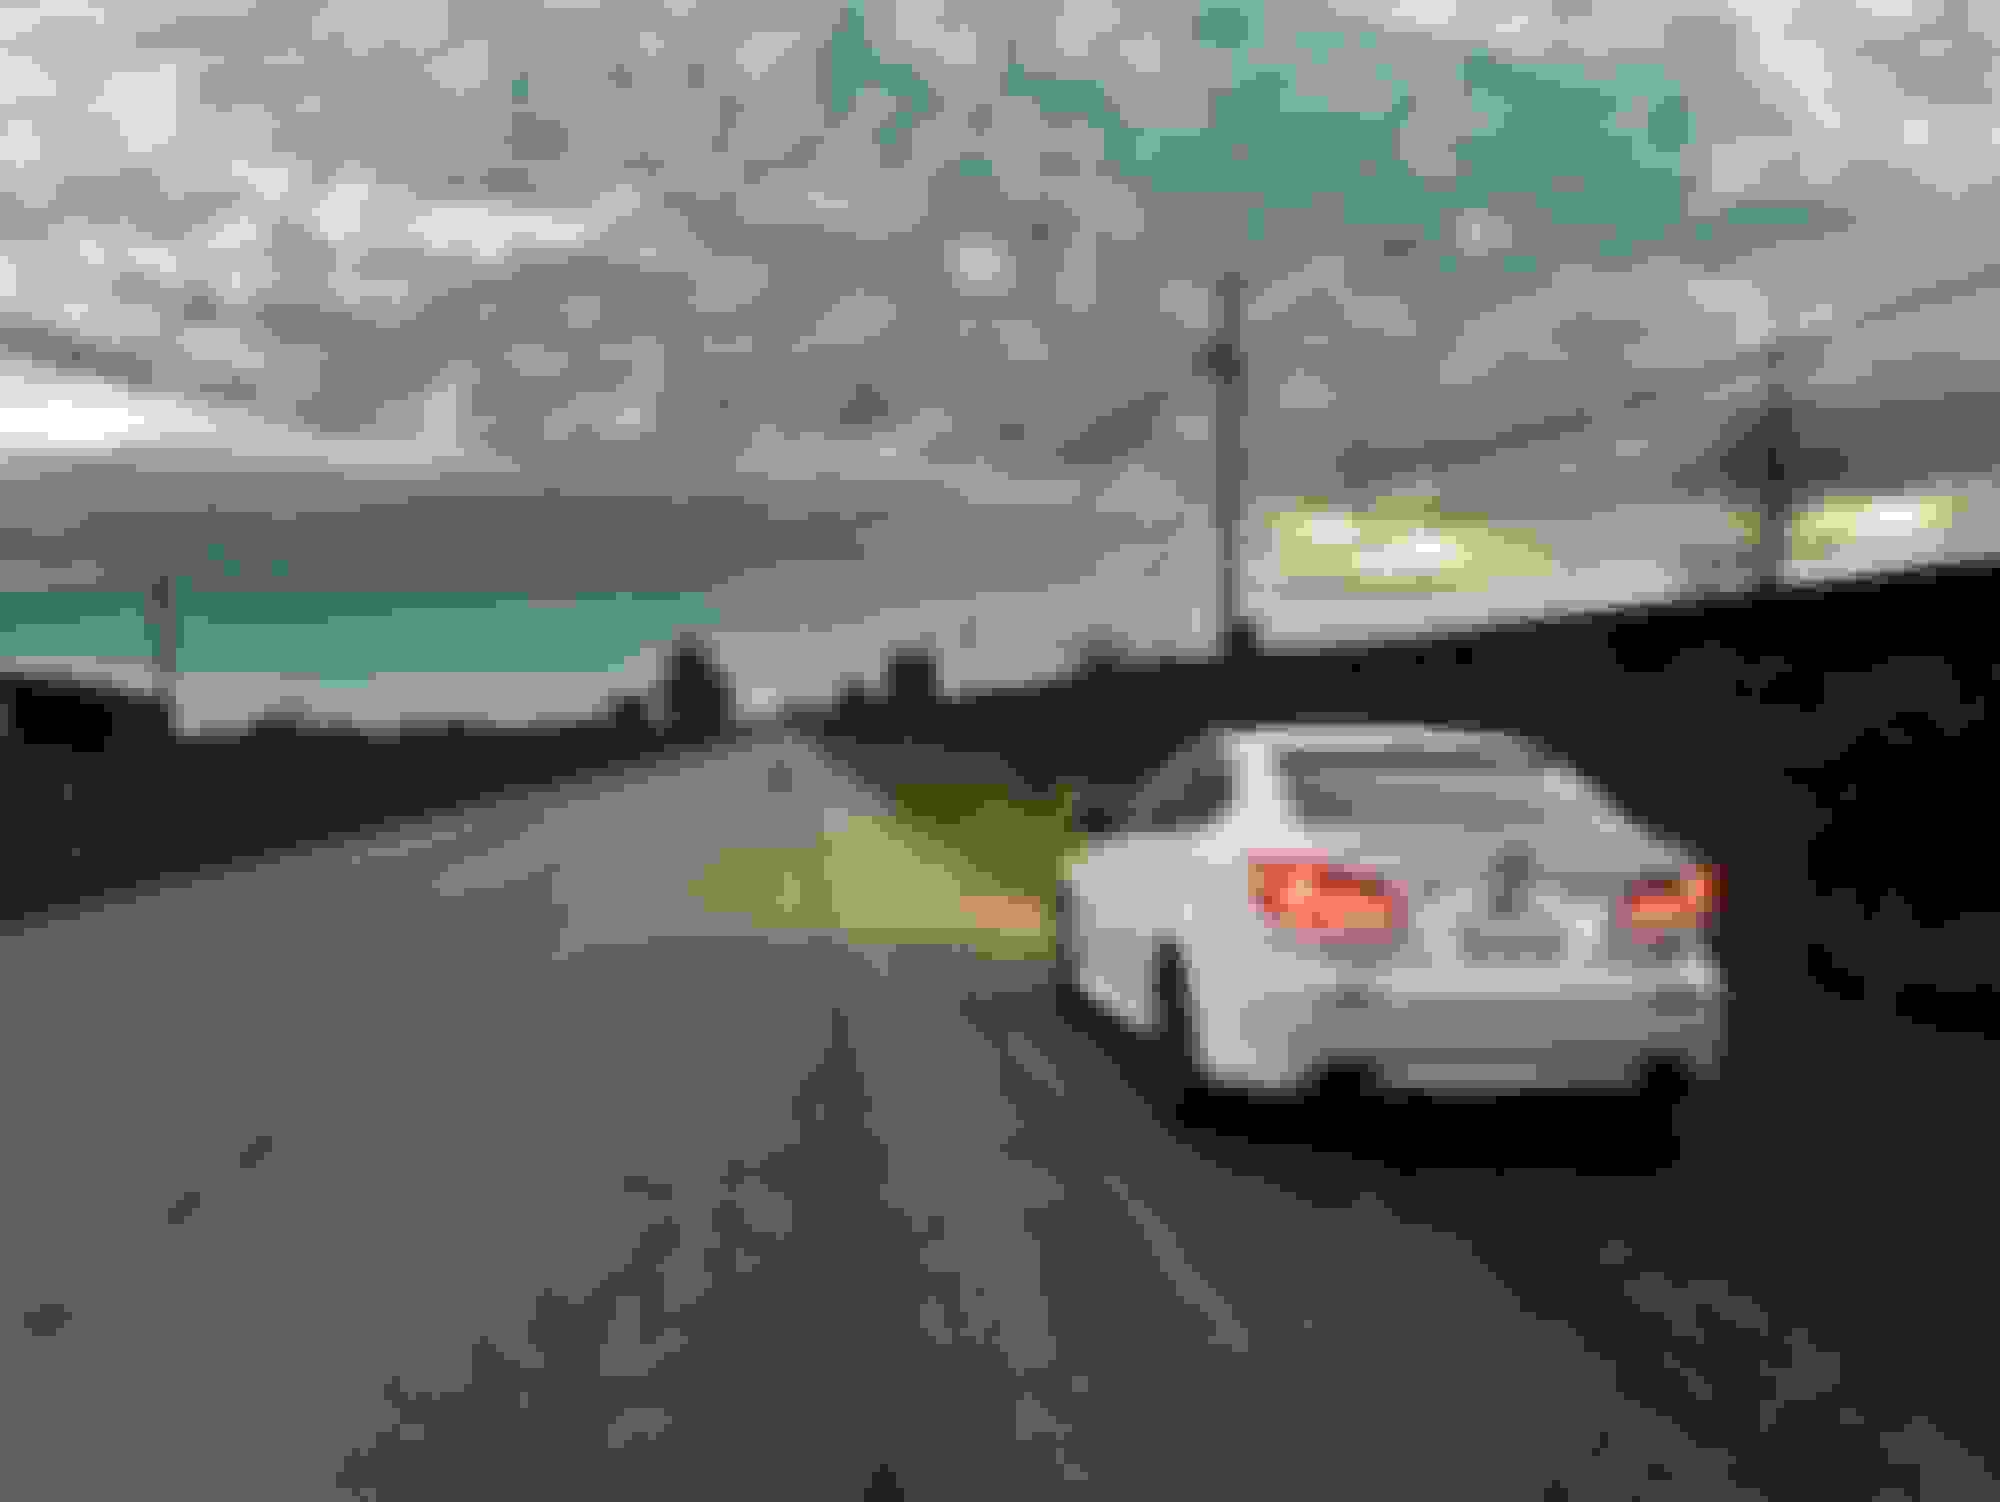
Snapped some photos on my way home earlier of the tail lights:
 09-22-18, 09:03 PM