Replacement Leather Interior - MERGED THREAD
 01-06-13, 08:01 PM
#1
Instructor
Thread Starter
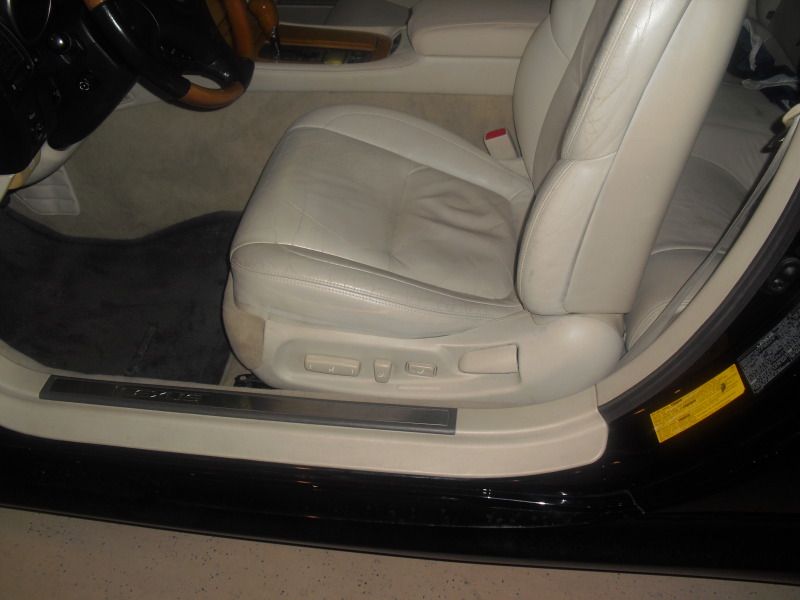
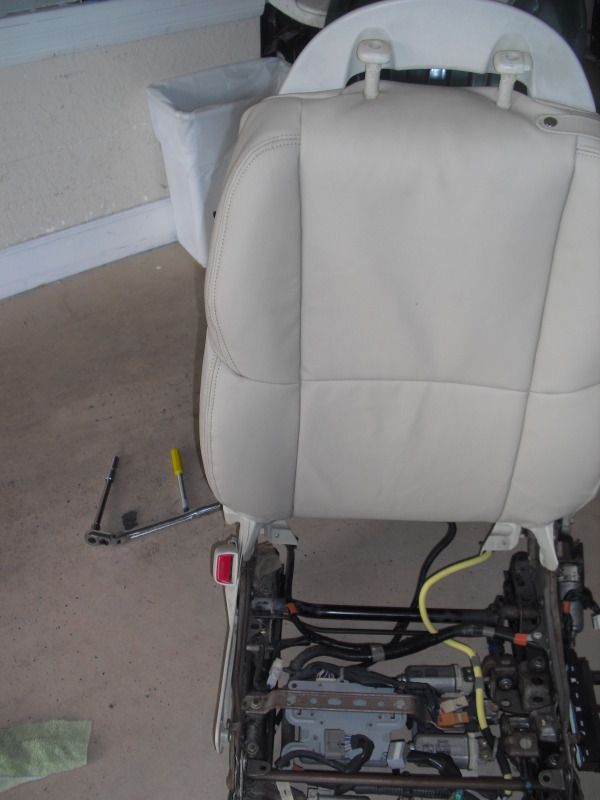
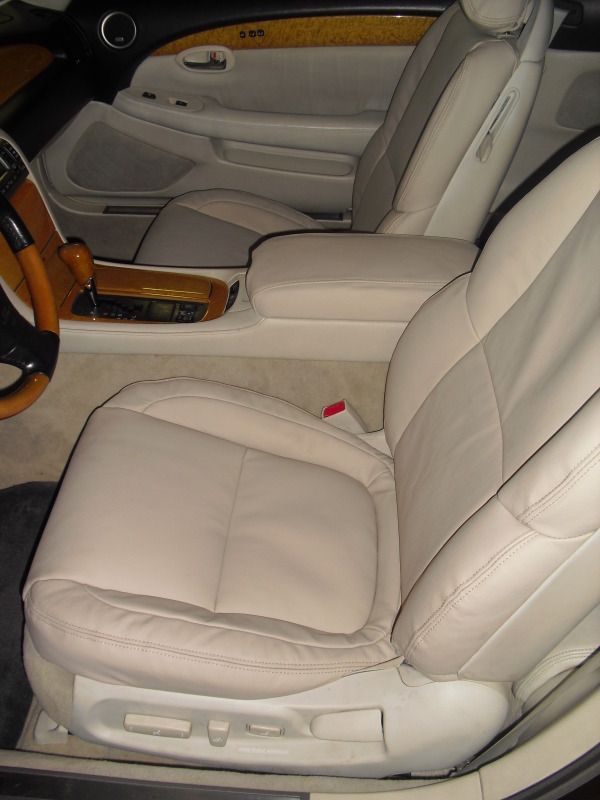
Just did my friend's SC430 Leather seat replacement.
I plan on getting mine soon
Tools needed:
Philips screw driver
Flat head Screw driver
10mm socket
12mm socket
14mm socket
Zip ties
Zip tie cutter
Exacto Blade
Scissors
Needle nose pliars (or pliars to remove the hog rings)
Electrical tape (to tape back the wires to their holders under the seat)
Needle and Thread (if you choose this route) or 3M Spray Upholstery Glue
Pictures should be step by step showing removal of the Driver seat from the car, removing leather covering, removing heating element, installing heating element, recovering seat.
Steps
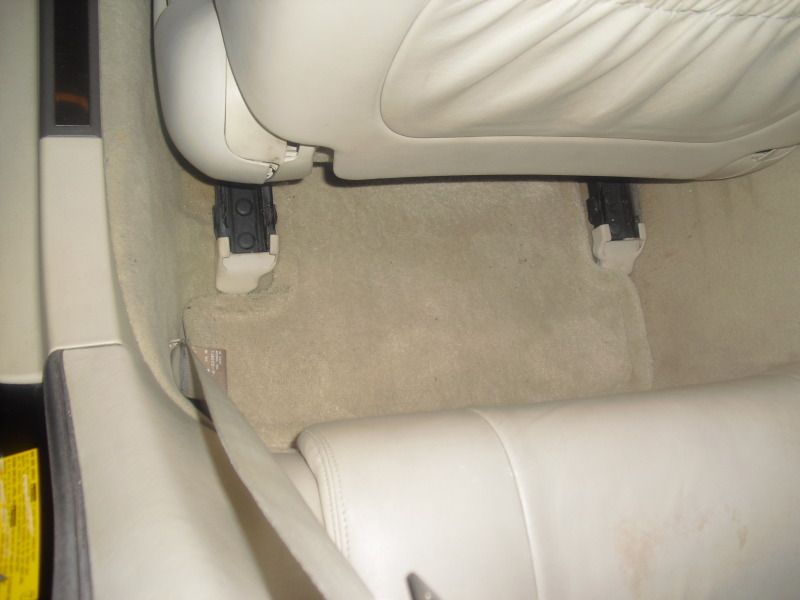
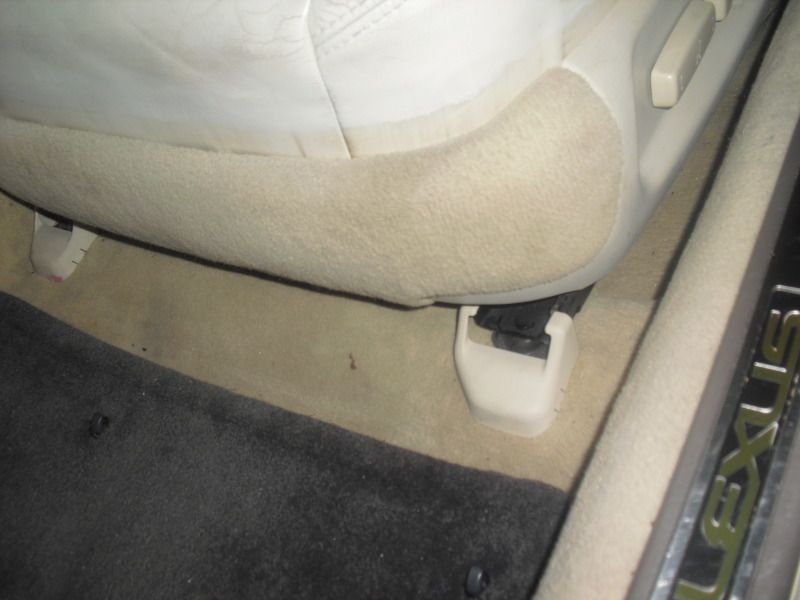
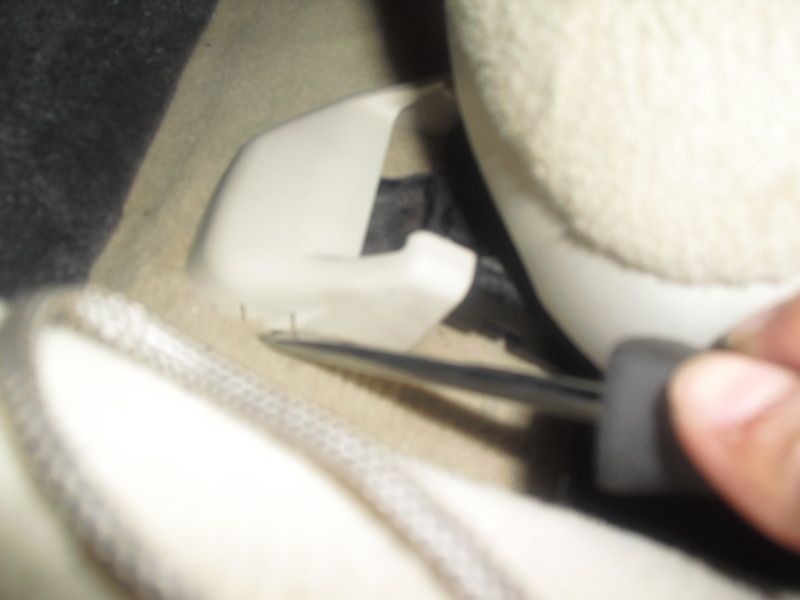
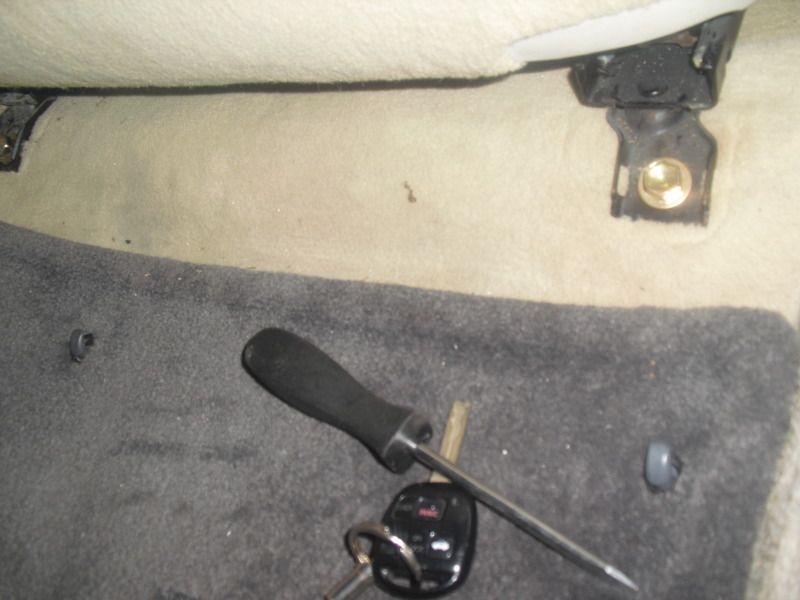
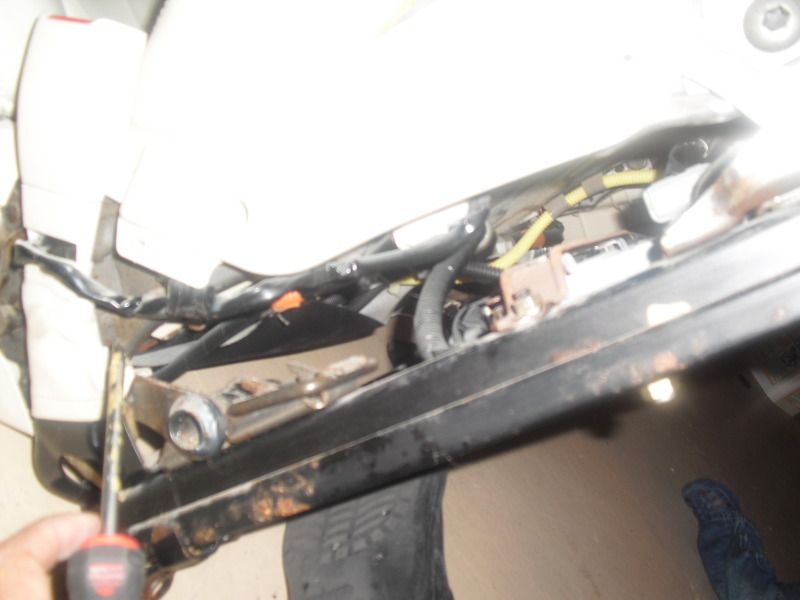
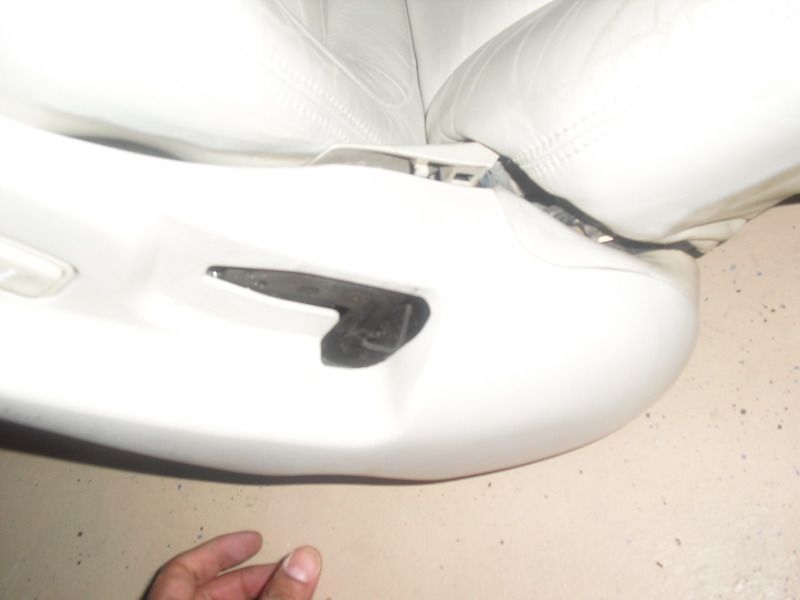
Remove plastic covers on seat feet
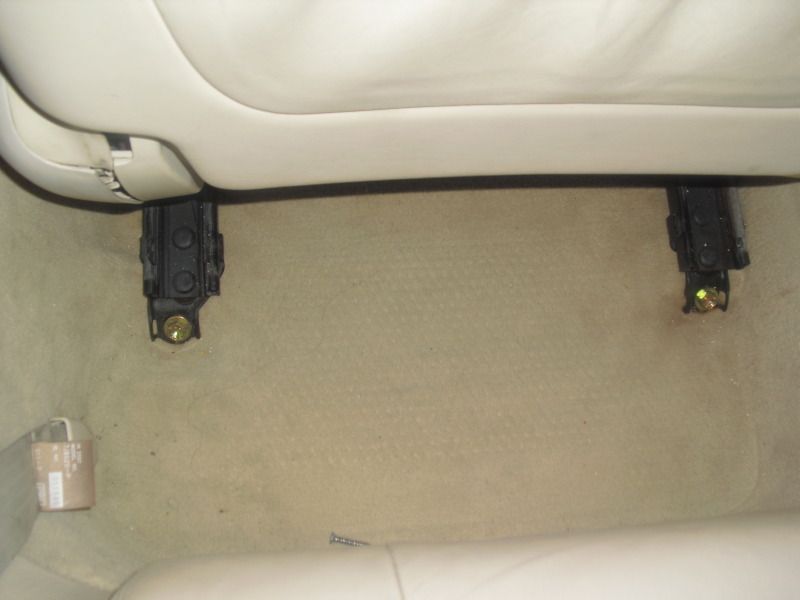
Remove 14mm bolts on front and back
Leave the seat in forward position, raised and no lumbar
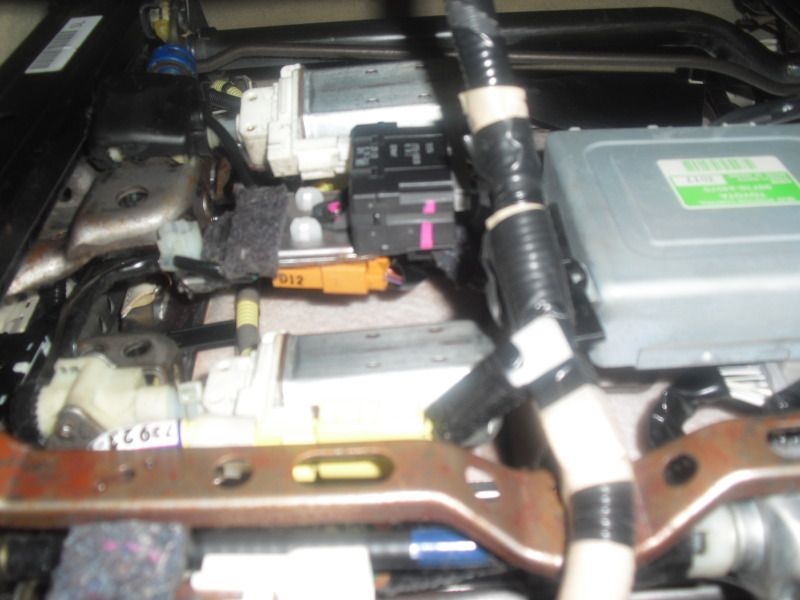
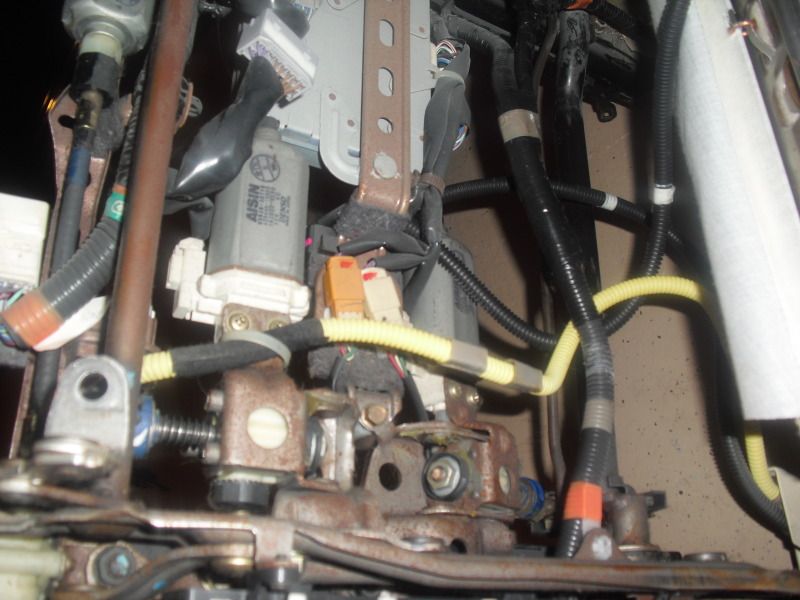
Remove battery terminals
Tilt seat back
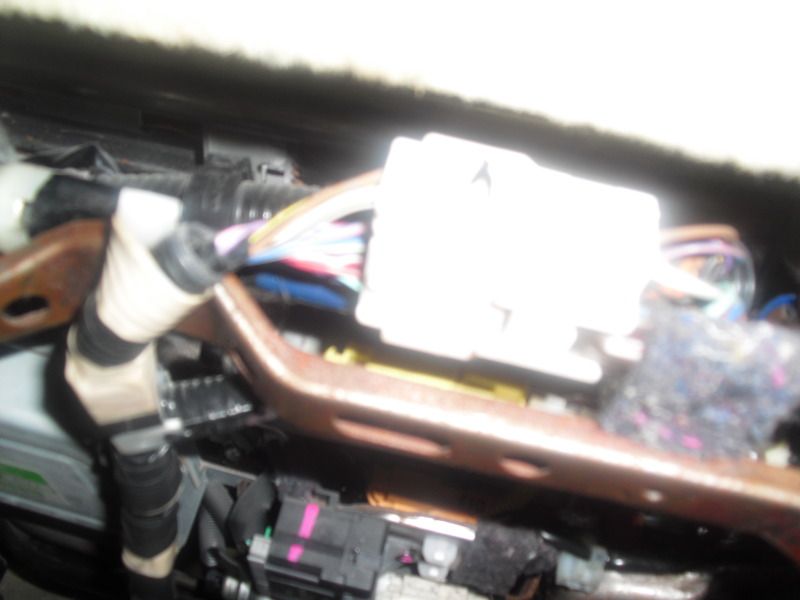
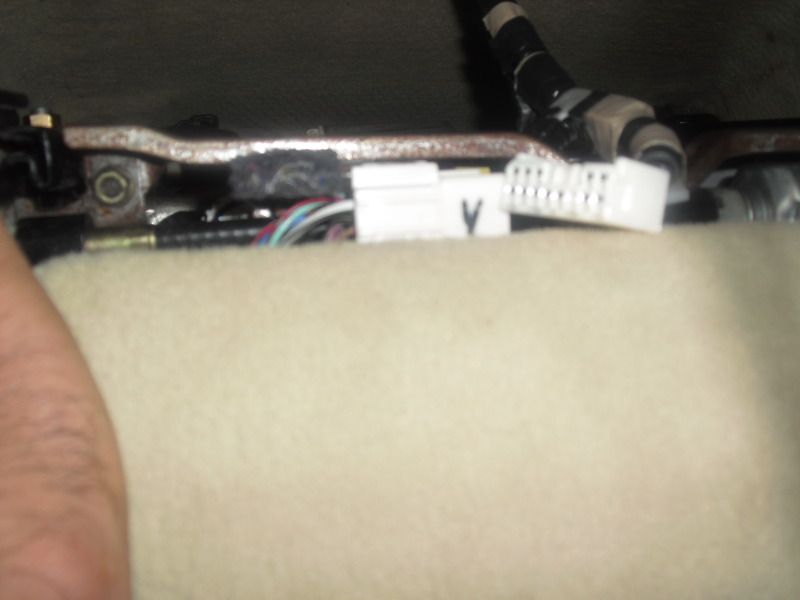
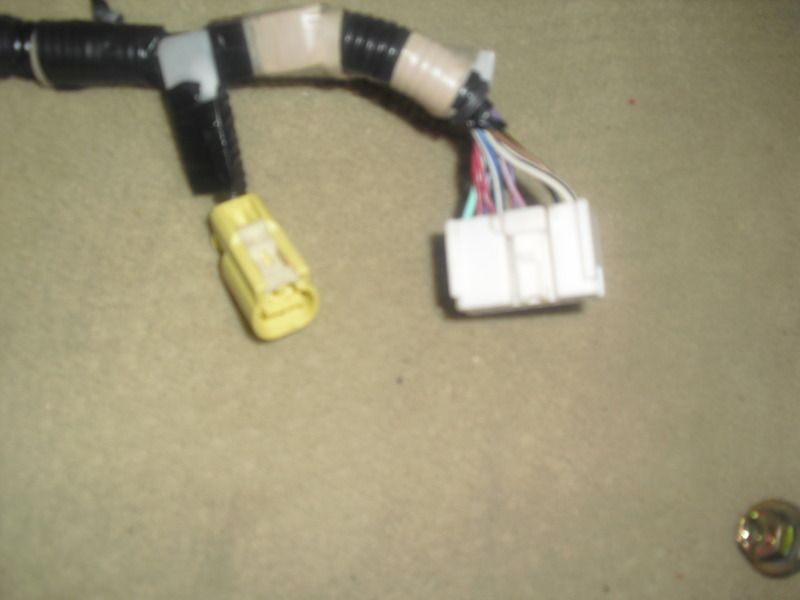
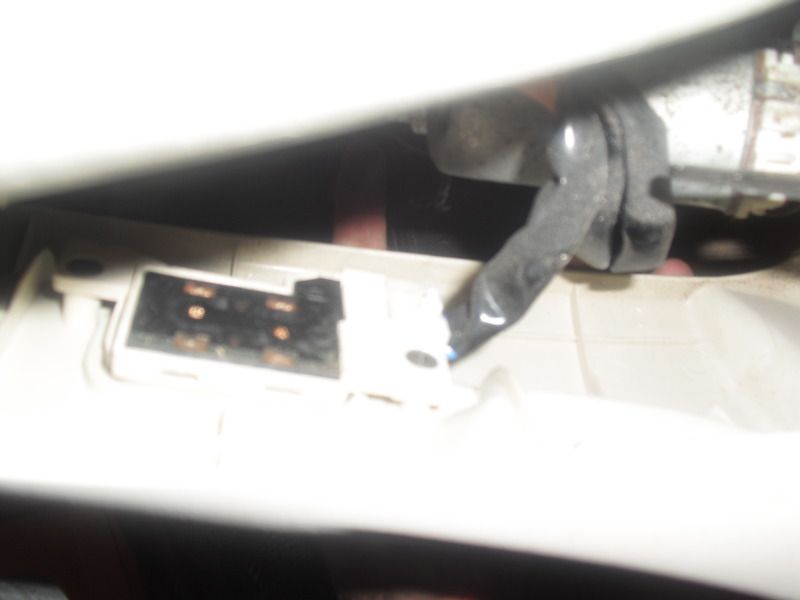
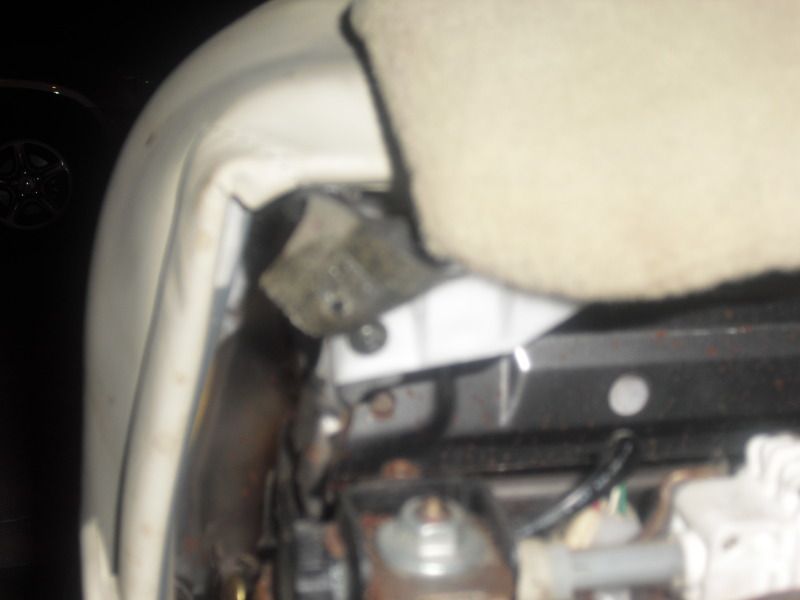
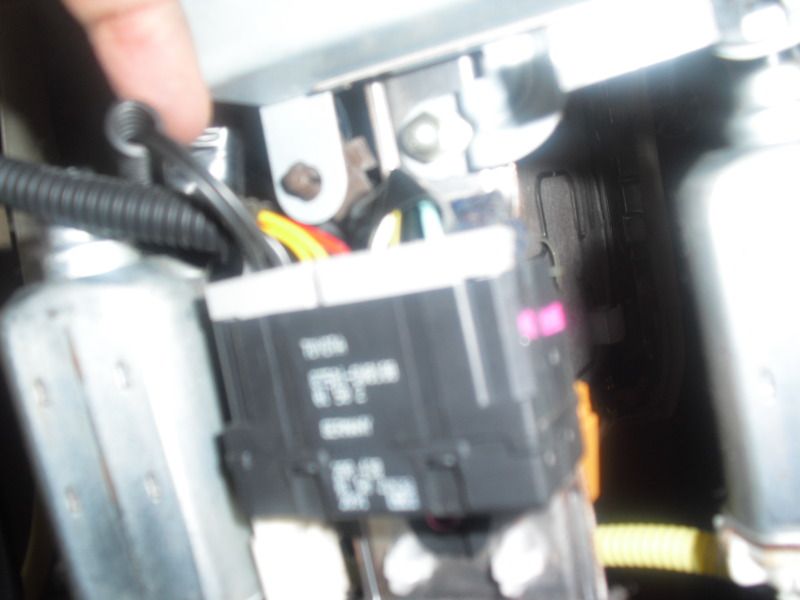
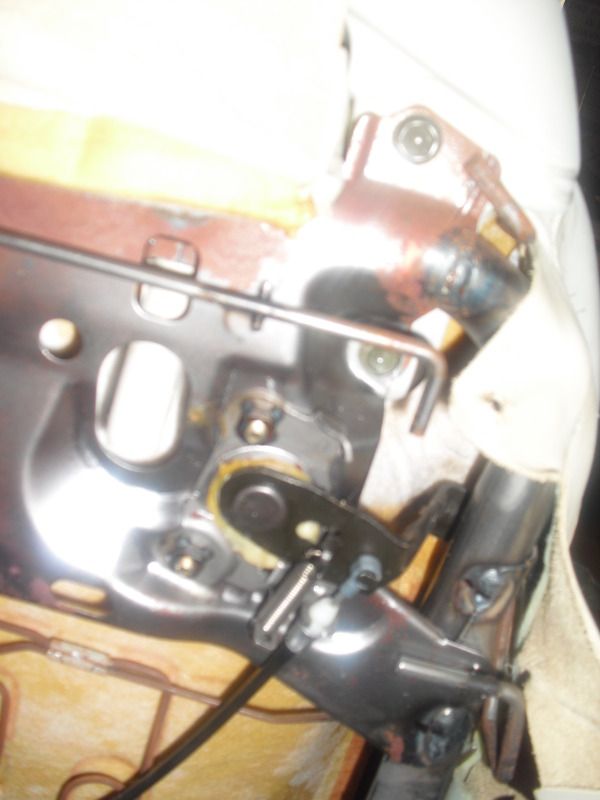
Remove the air bag plug (yellow) and grey/white plug (passenger seat has 3 If i remember right)
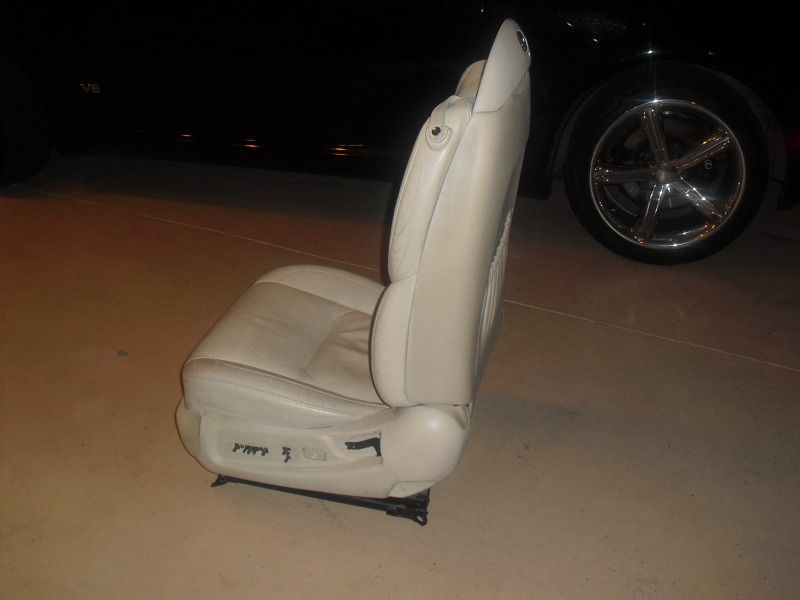
Remove the seat from the car
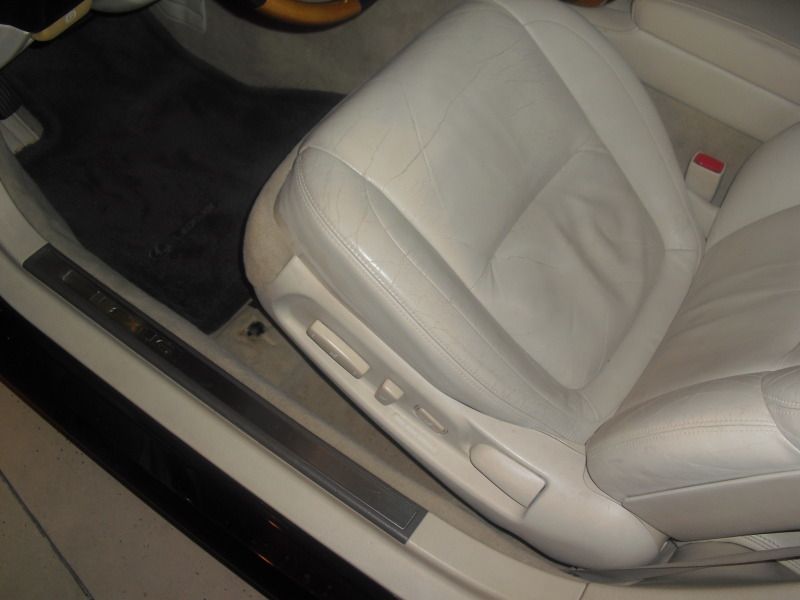
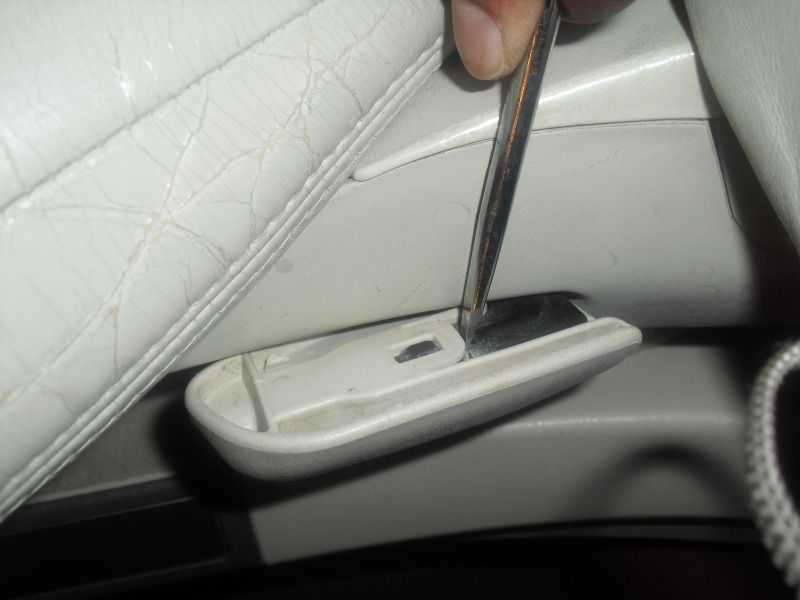
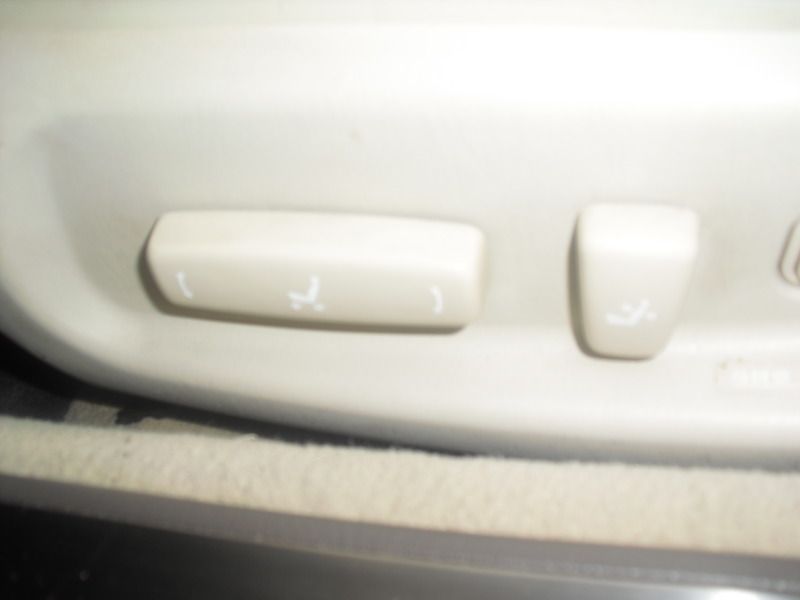
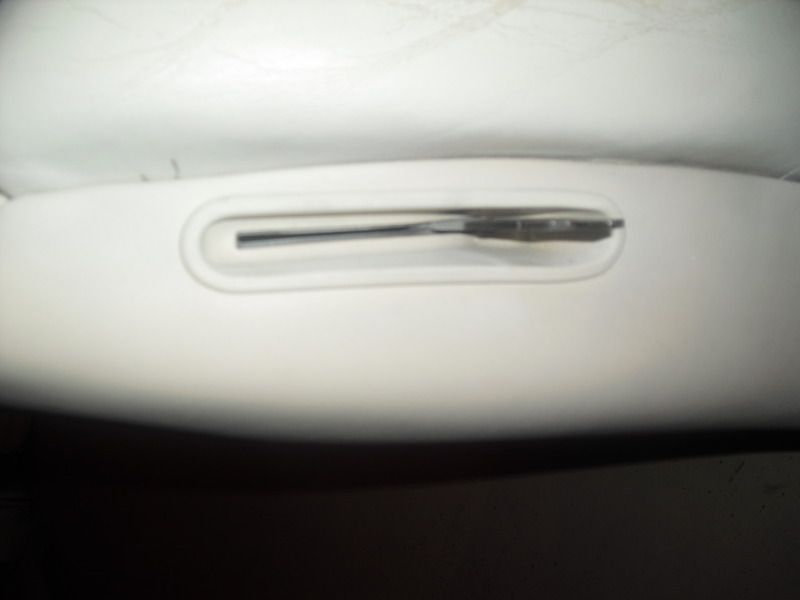
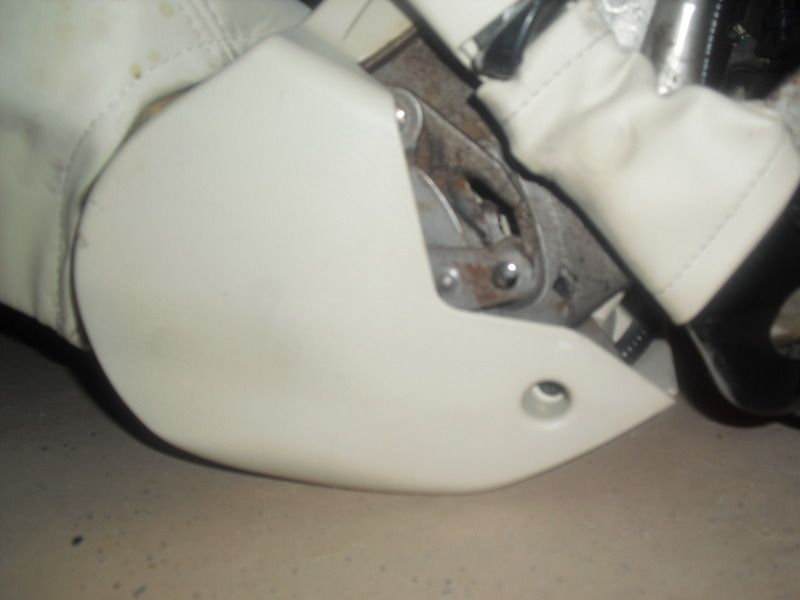
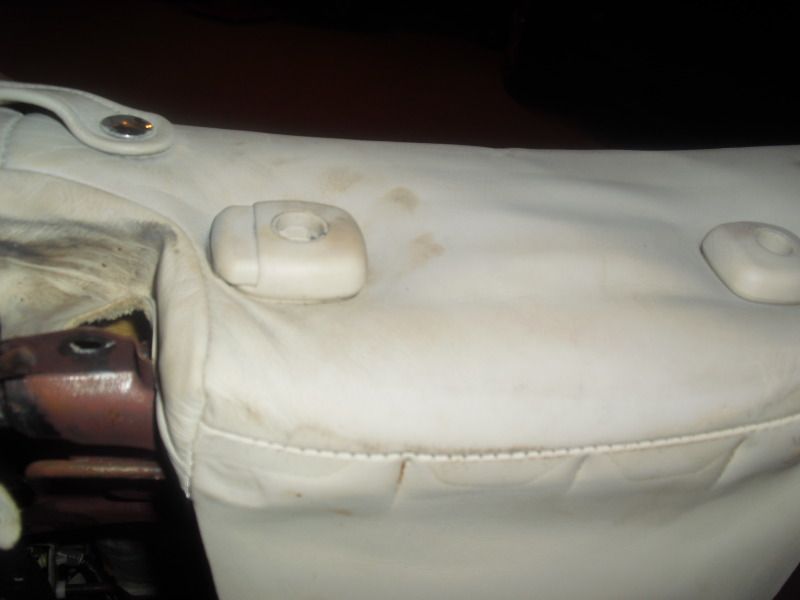
Remove the switch covers
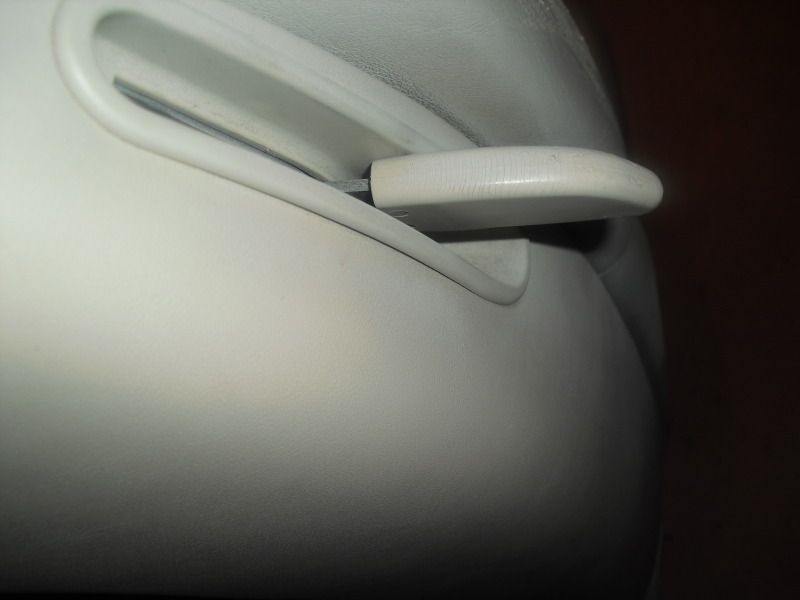
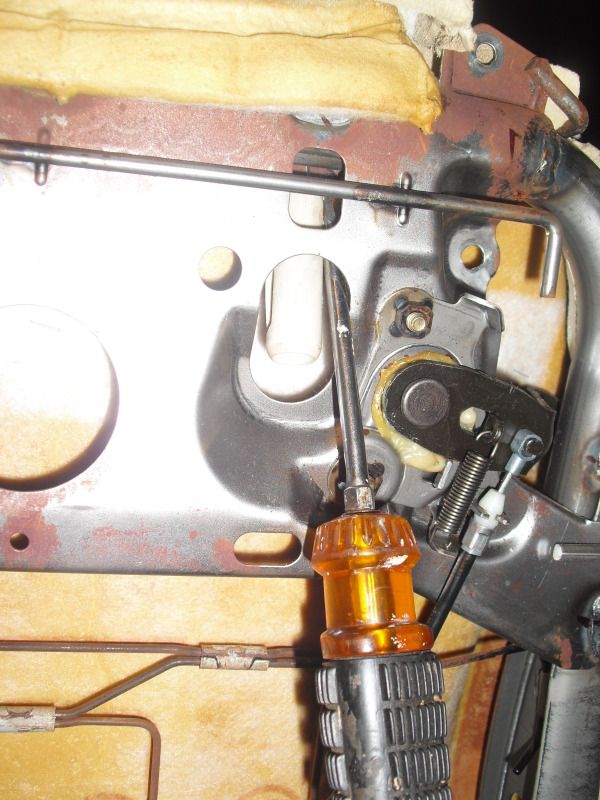
Remove the recline handle using a flat head screw driver and pry the clip (be careful not to break clip)
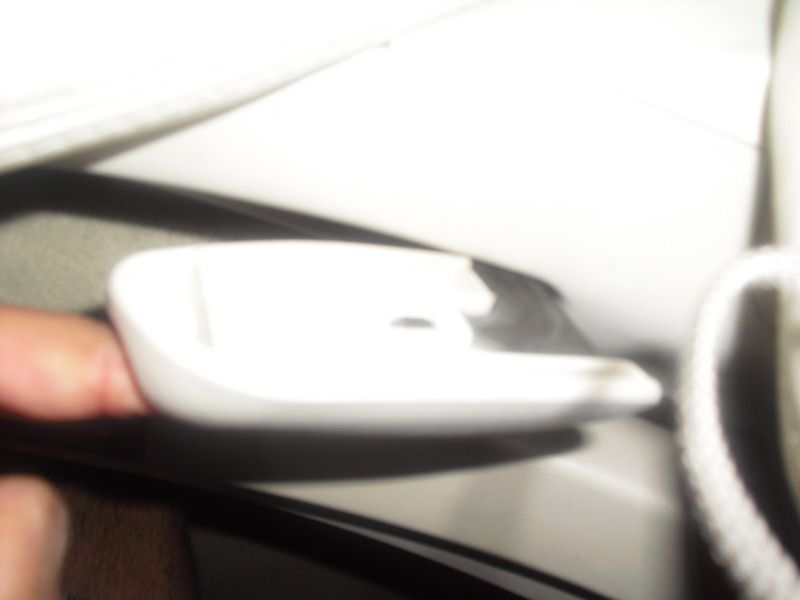
Remove the cover for the handle of the tlit lever (just pull straight out)
Tilt the chair forward and remove the 2 philip screws holding the rear panel of the seat
Pull the side with tilt handle first then with a downward movement pull off the rear panel
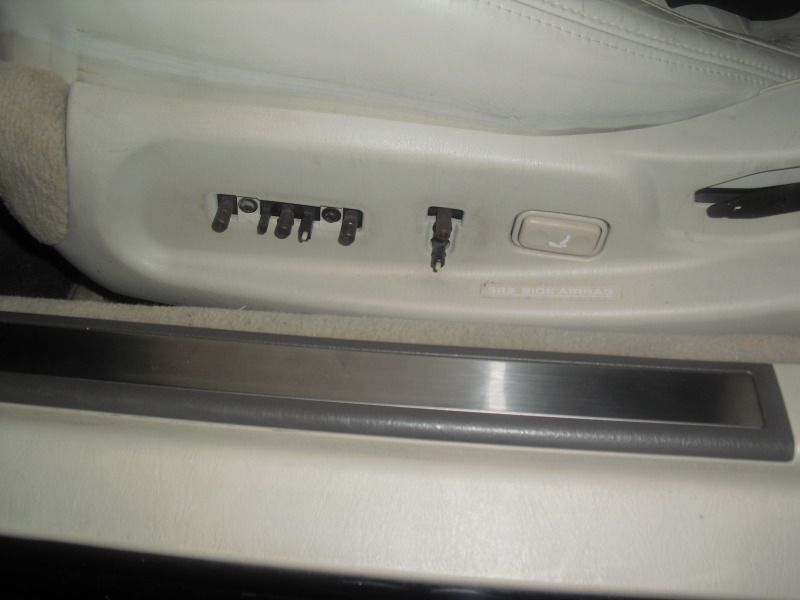
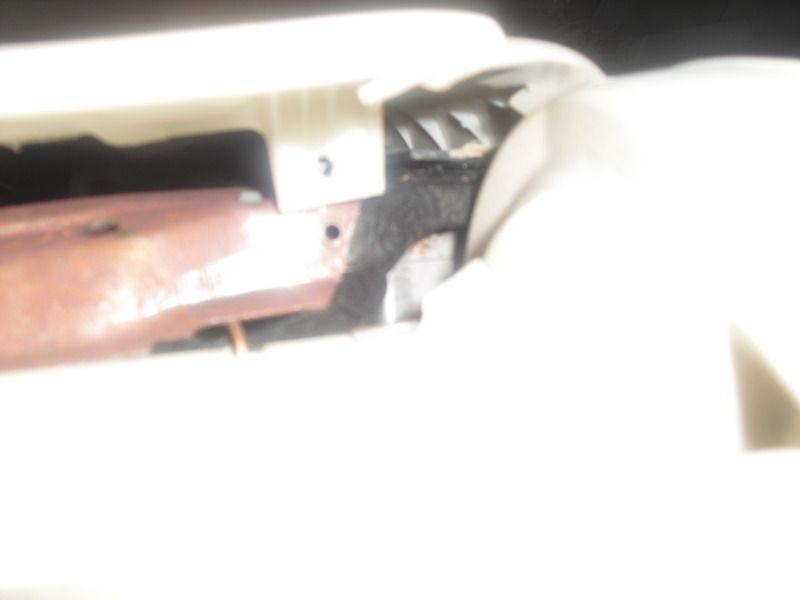
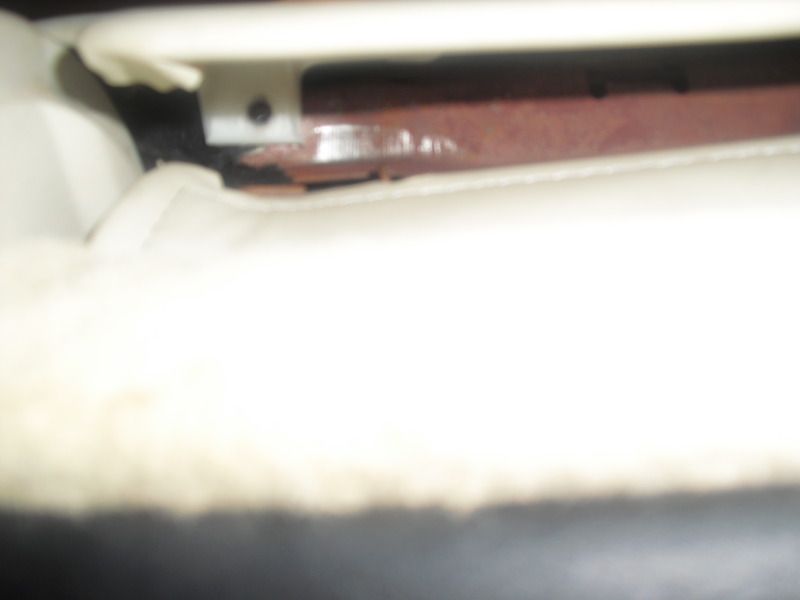
Remove 3 philip screws on the side control panel on the lower plastic piece of the seat
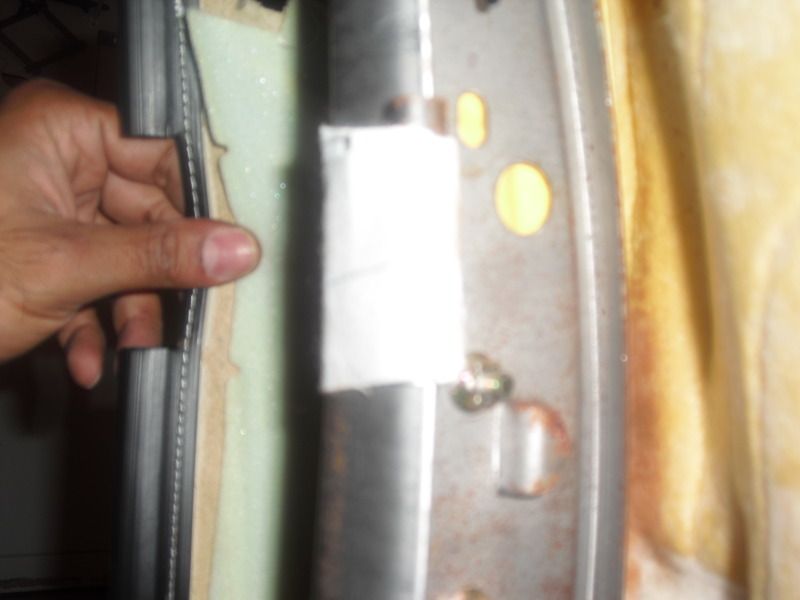
Remove 2 philip screws under the lower plastic (carpet area) There is one screw hidden under black tape.
Remove 2 screws on the opposite side lower plastic piece (you don't have to remove this piece just the 2 screws
Remove plug going to lumbar controls
You can now remove the entire lower plastic piece
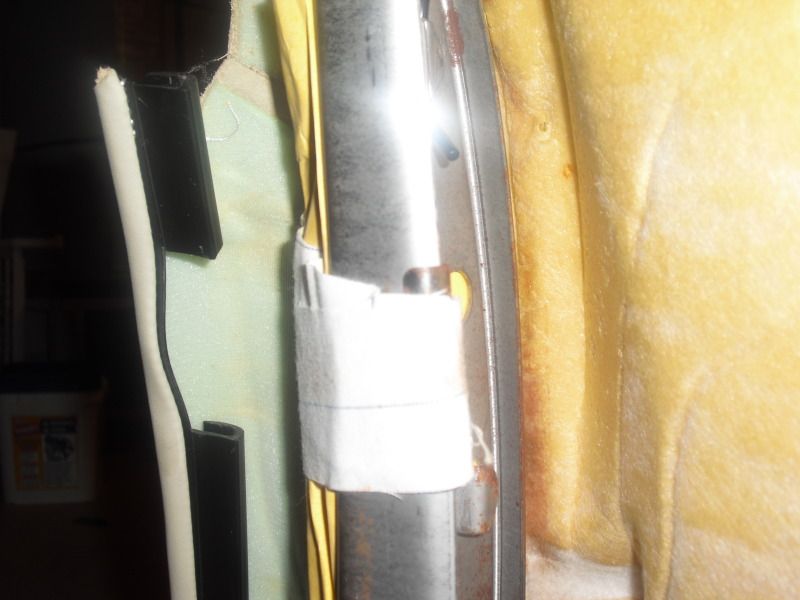
Removing backrest
Remove headrest
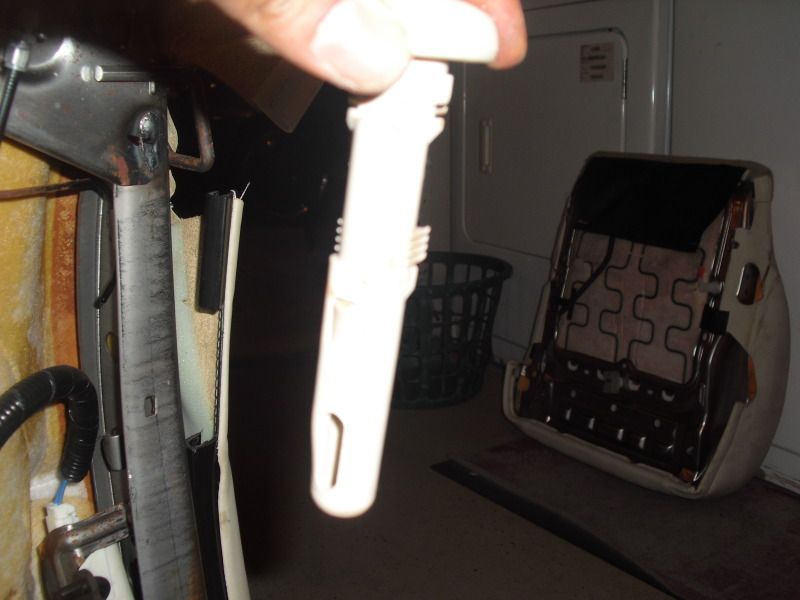
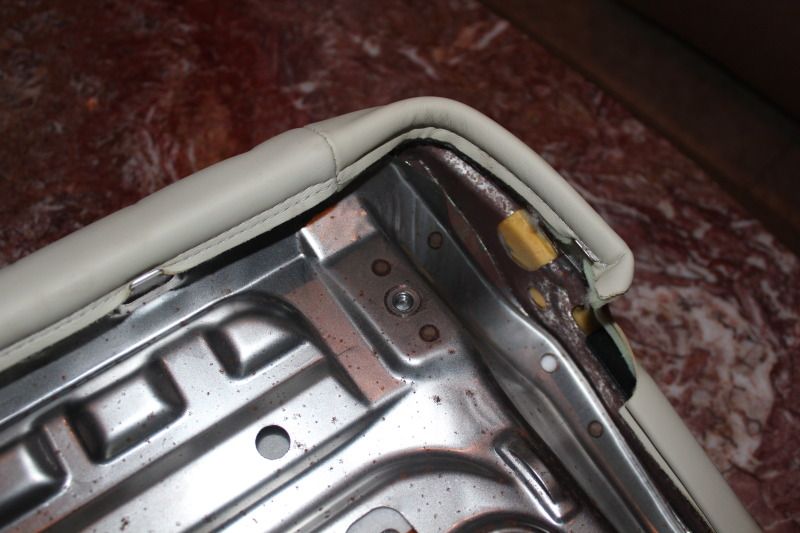
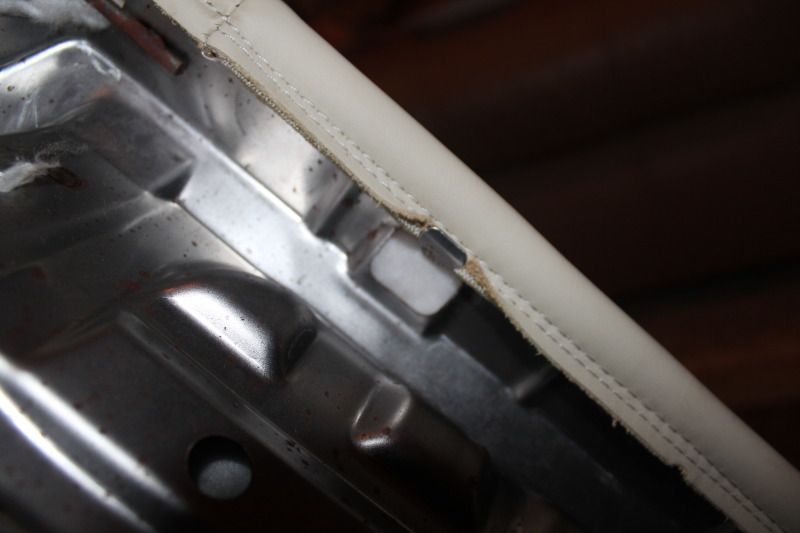
Slide off all plastic clips of the leather that is attached to the bare metal (wear gloves, the metal is very sharp)
Remove 4 10mm bolts holding the plastic piece behind the headrest. Slide up
Remove the headrest posts by using a flat screwdriver and pressing in the sides and pushing up
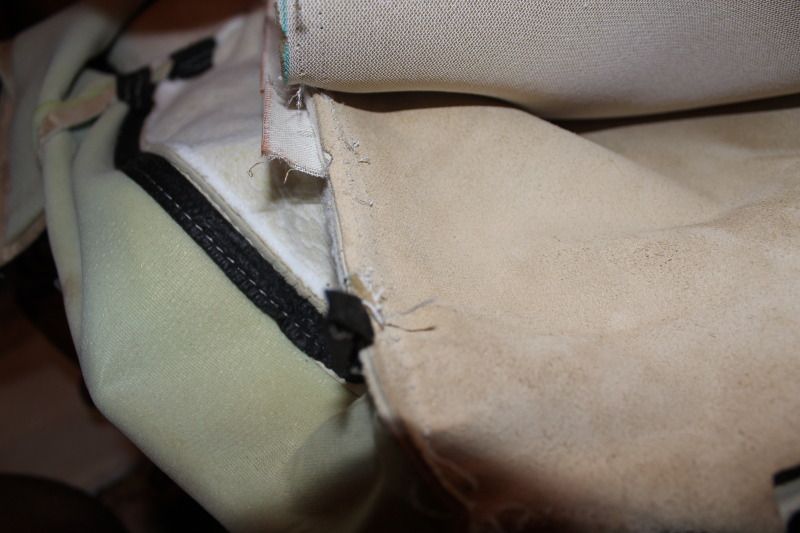
Remove 3 hog rings on the bottom part of the backrest
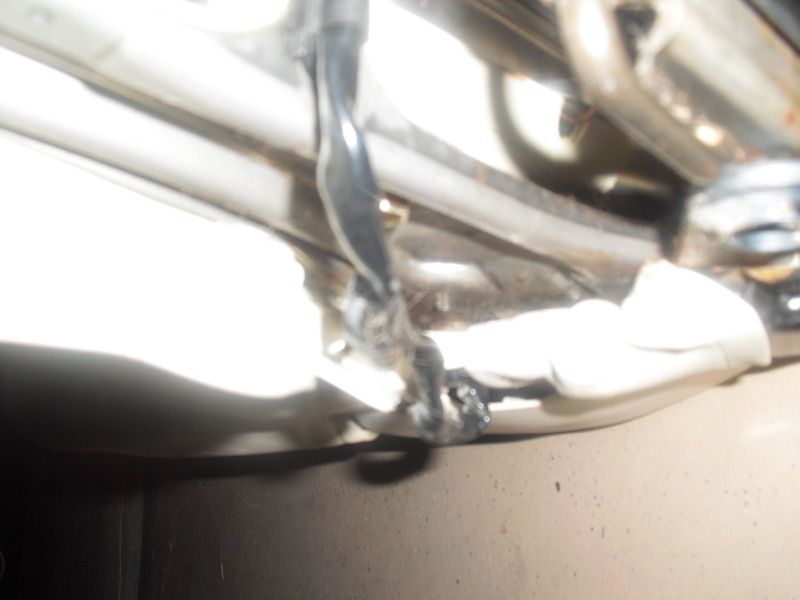
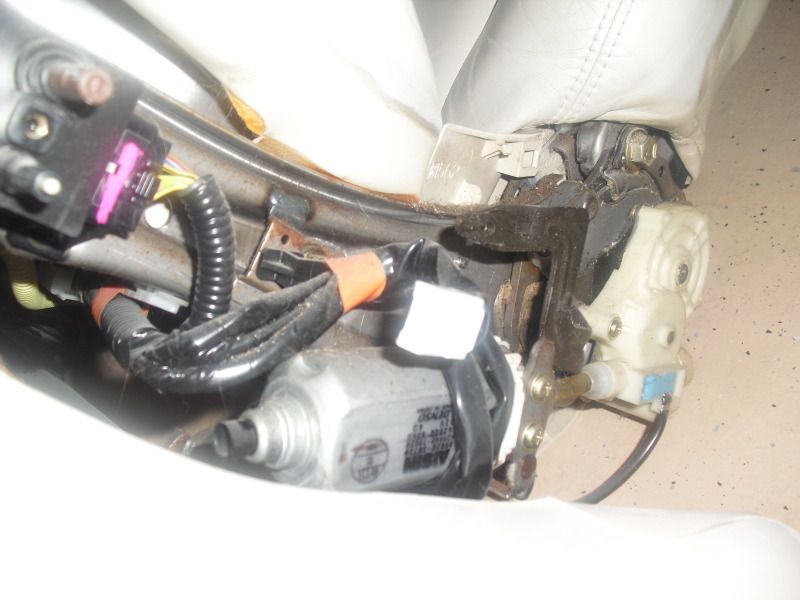
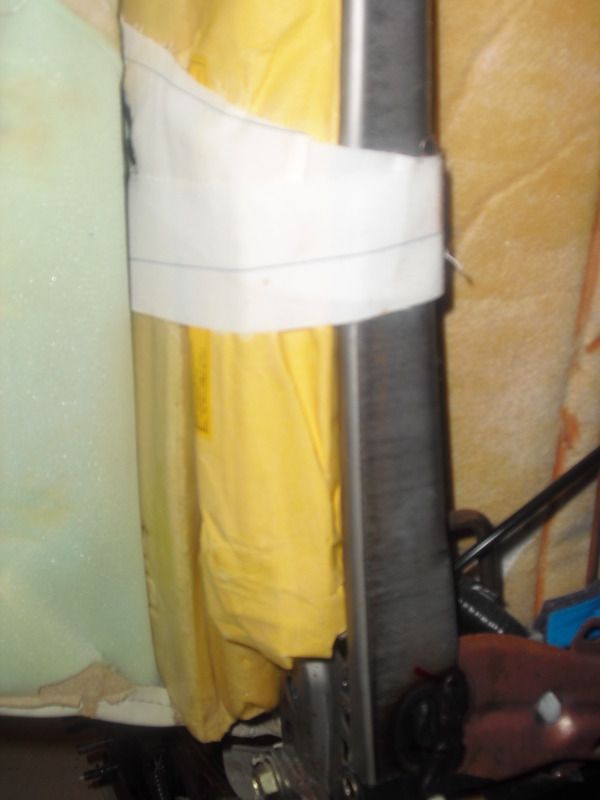
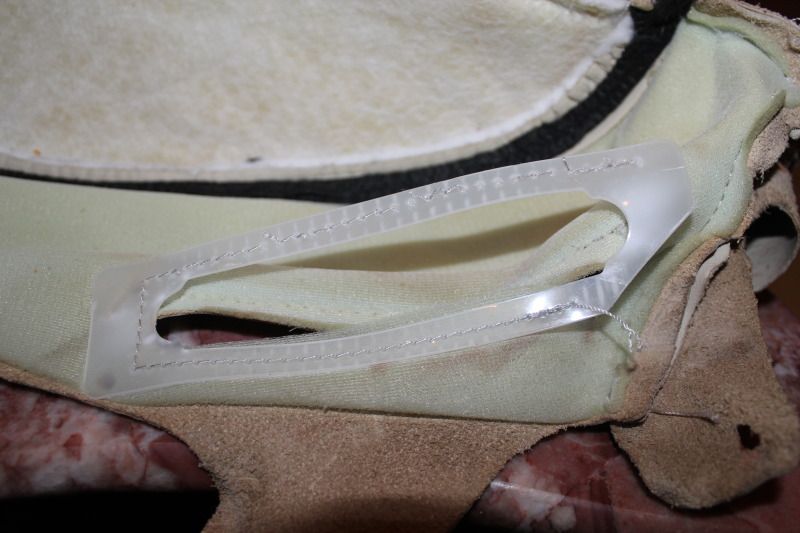
Cut strap going to metal clip from the air bag (the new leather has its own strap. you will need to reuse and sew the new strap to the metal clip, so remember how you took it off.
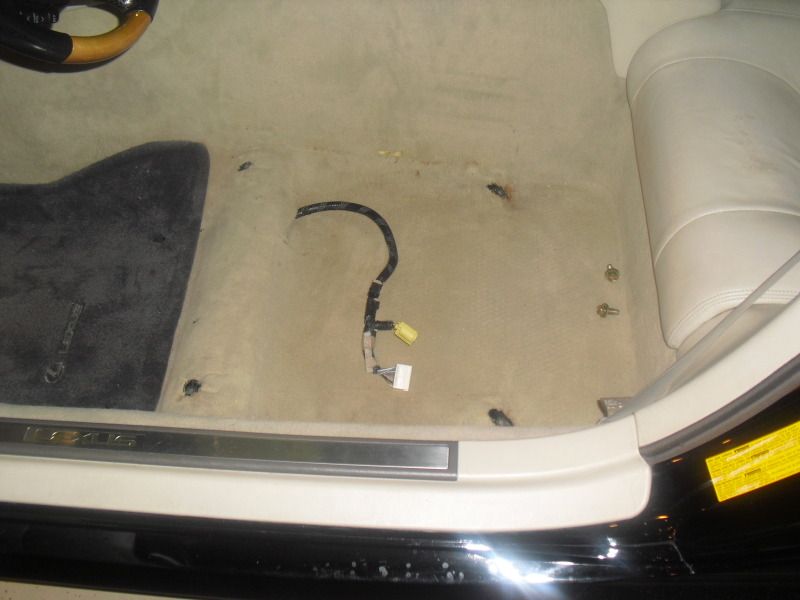
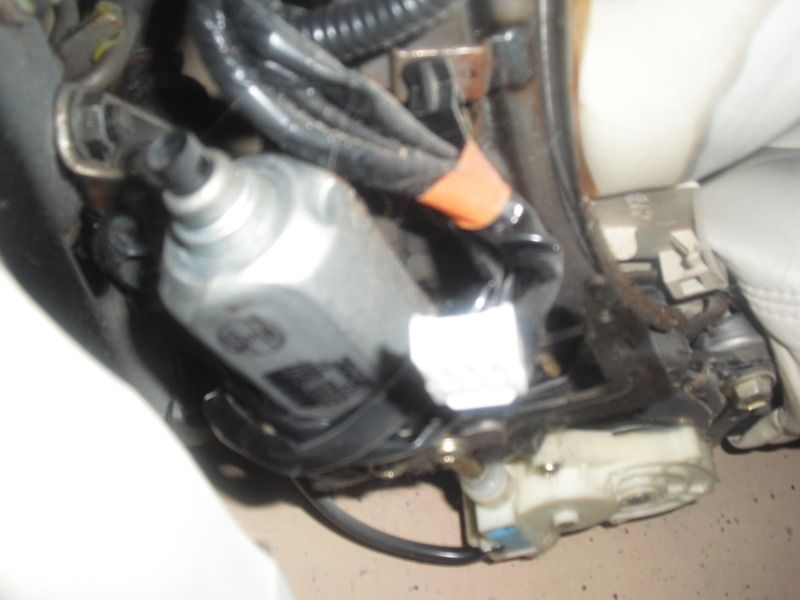
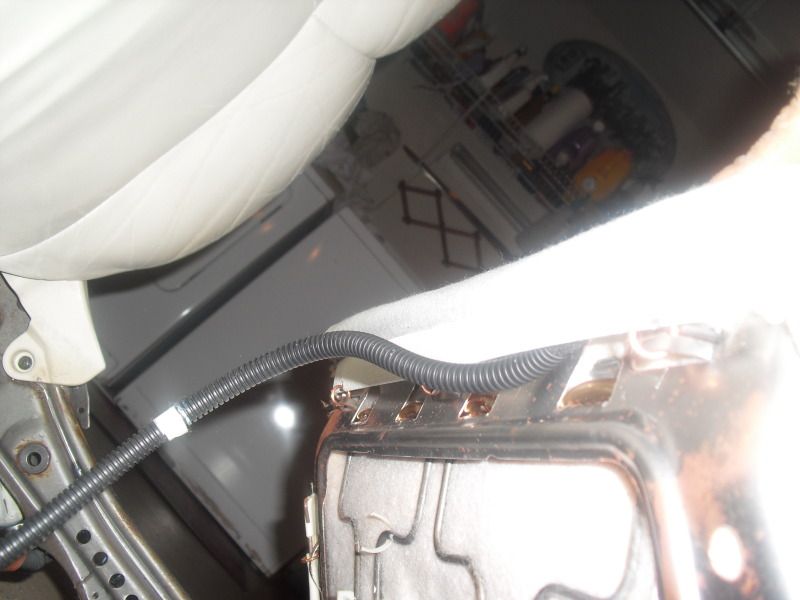
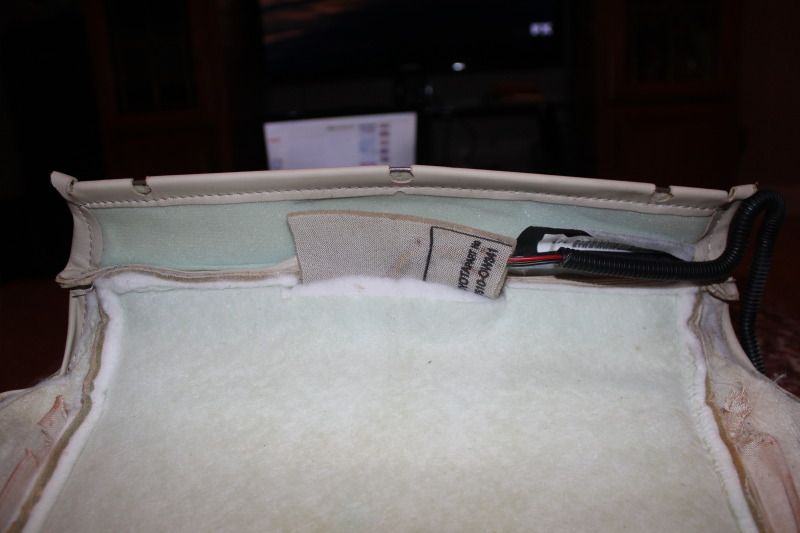
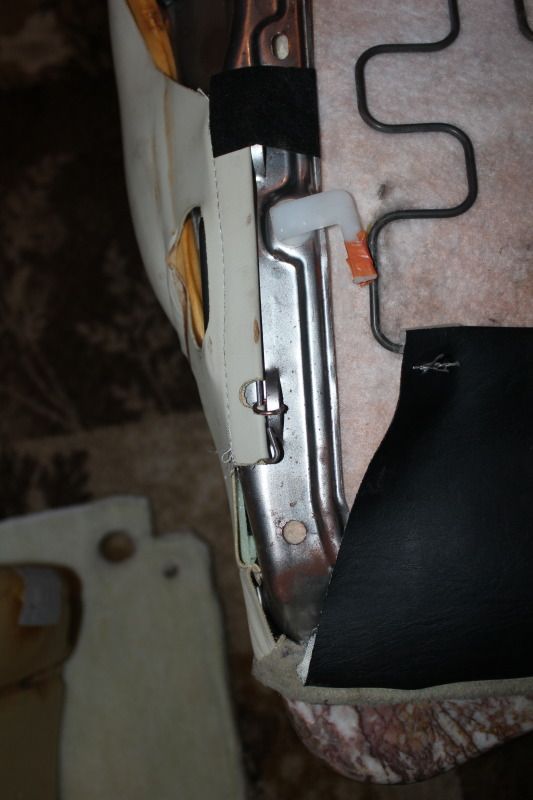
When removing the seat you will notice a wire coming from it, this is the heating element power be careful. Follow the wire and remove it. You will need to remove some additional plastic pieces on the side to pull the wire loom out.
You should be able to remove the entire backrest now
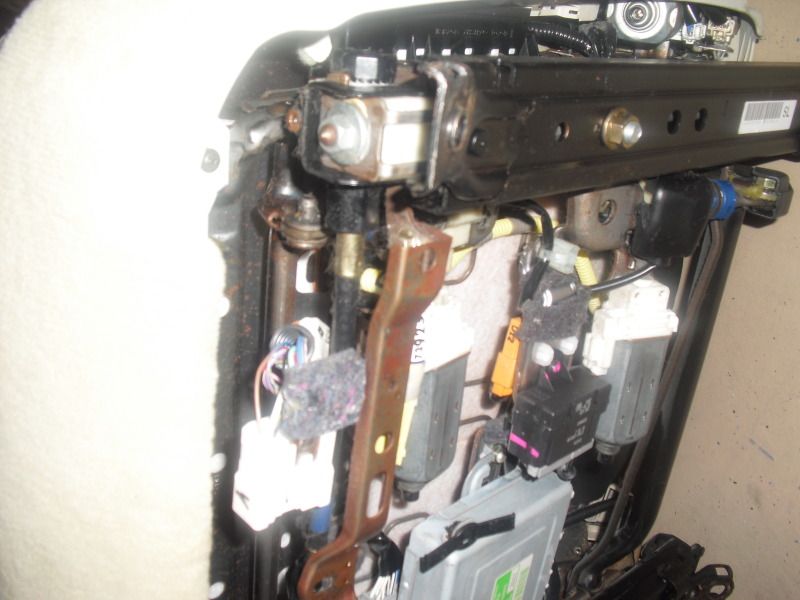
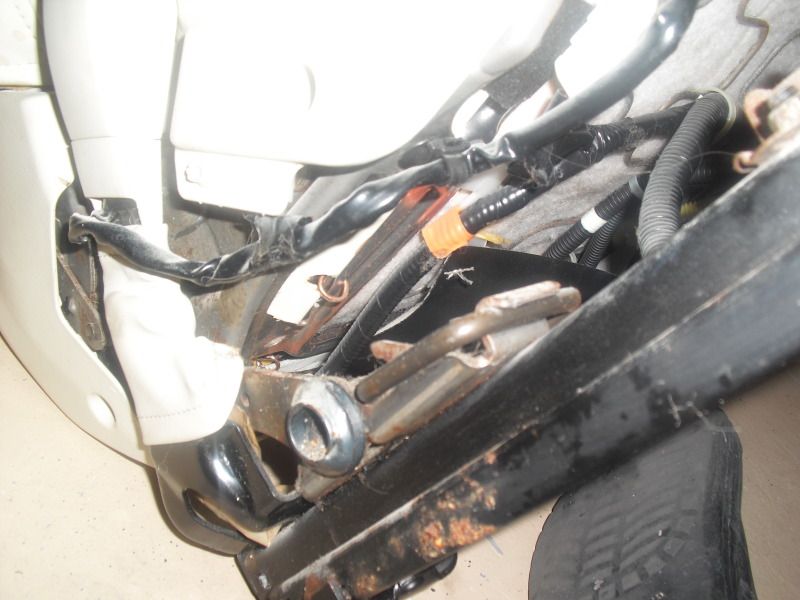
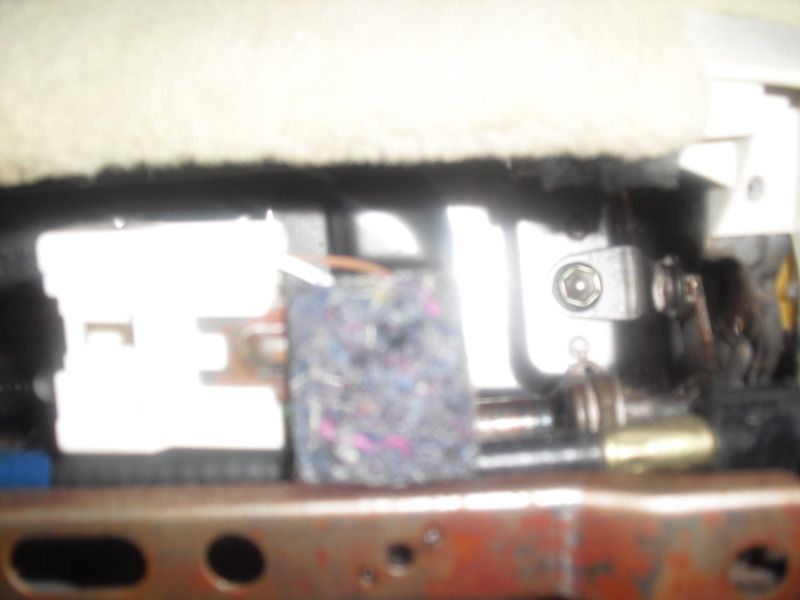
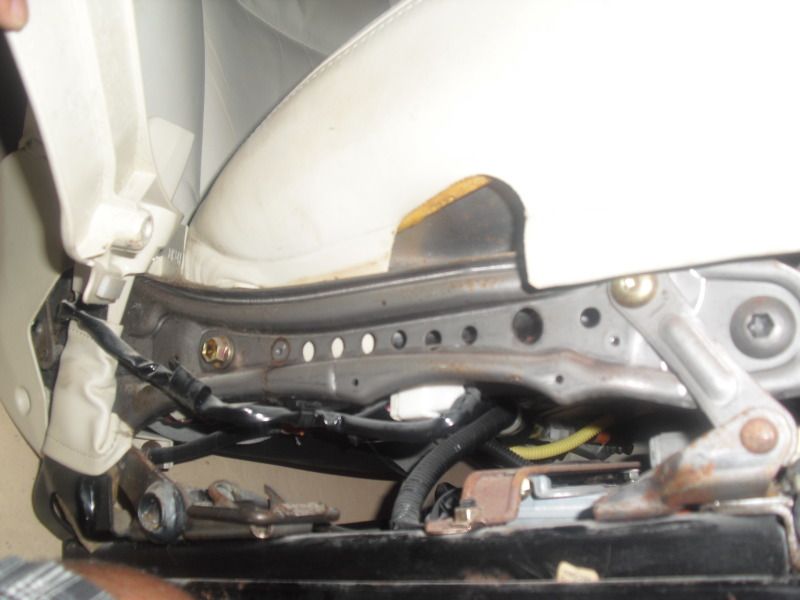
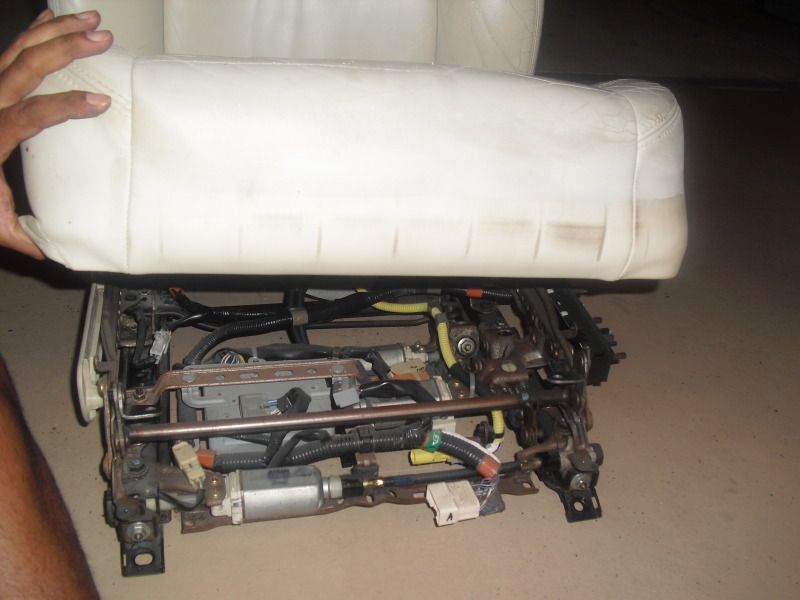
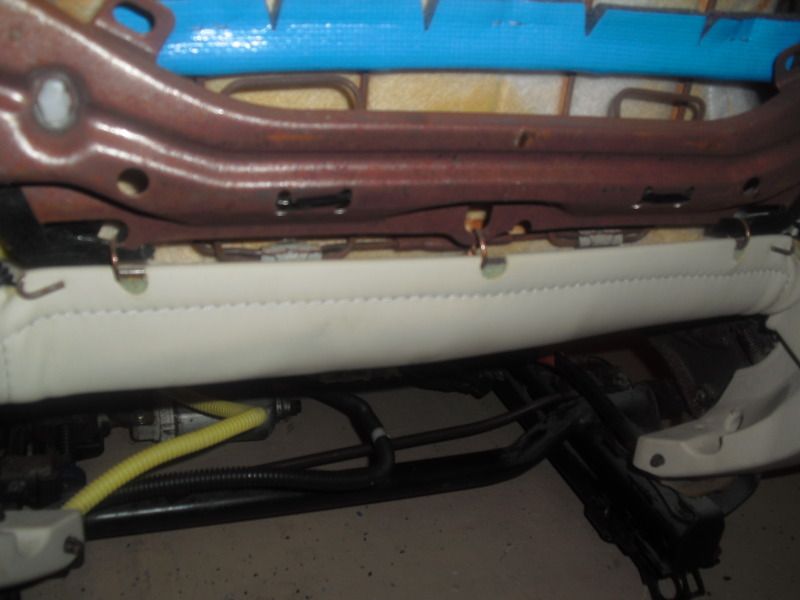
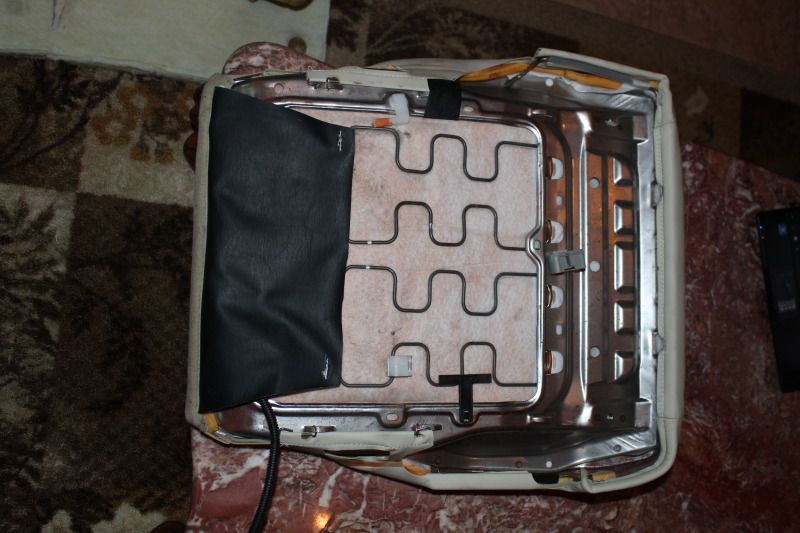
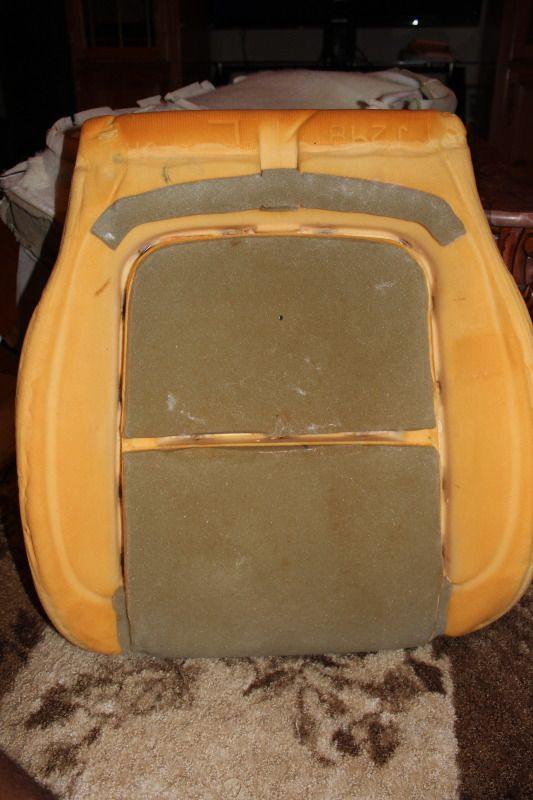
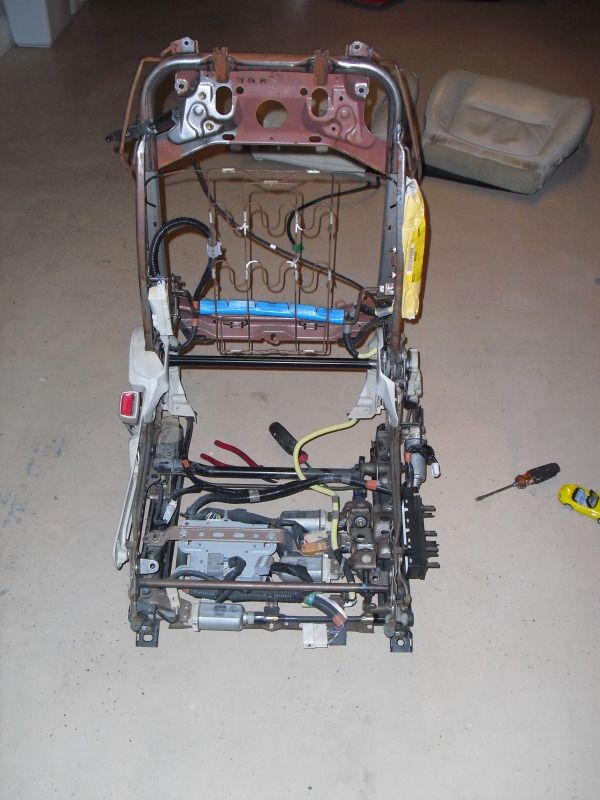
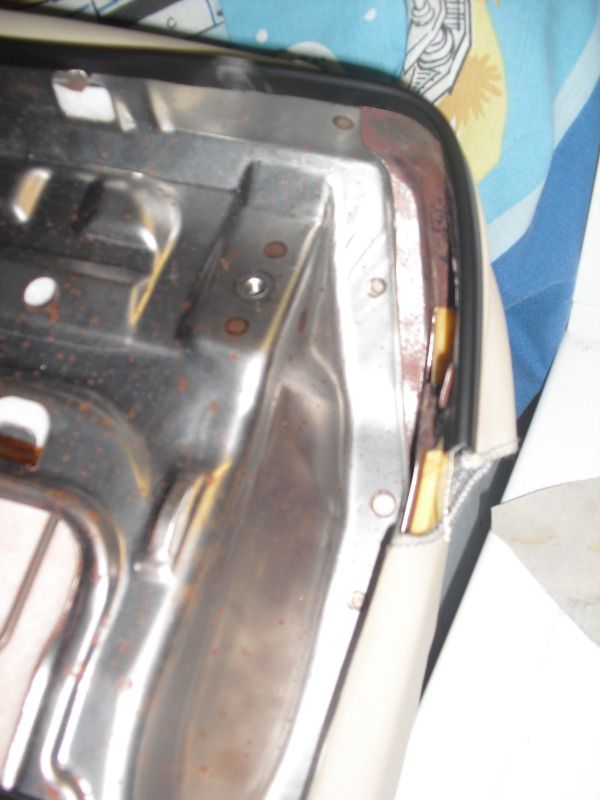
Removing lower seat:
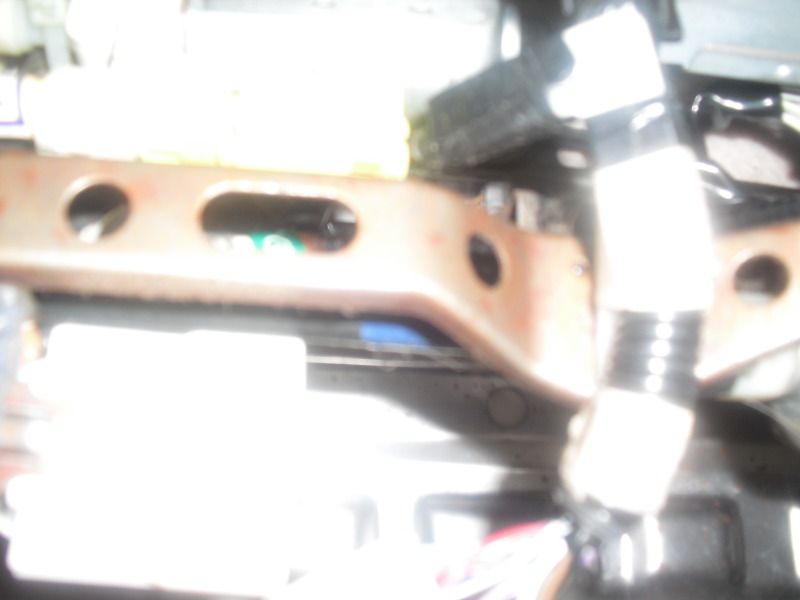
There is a metal frame holding the cushion.
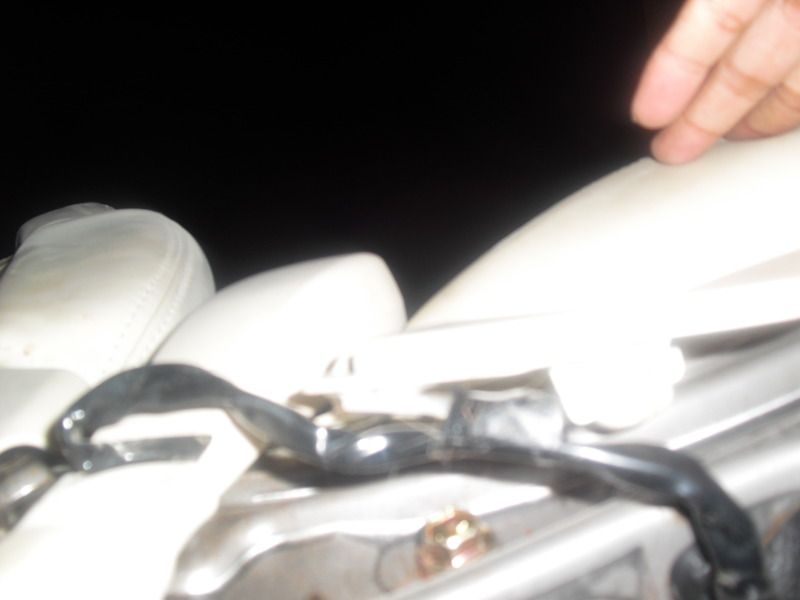
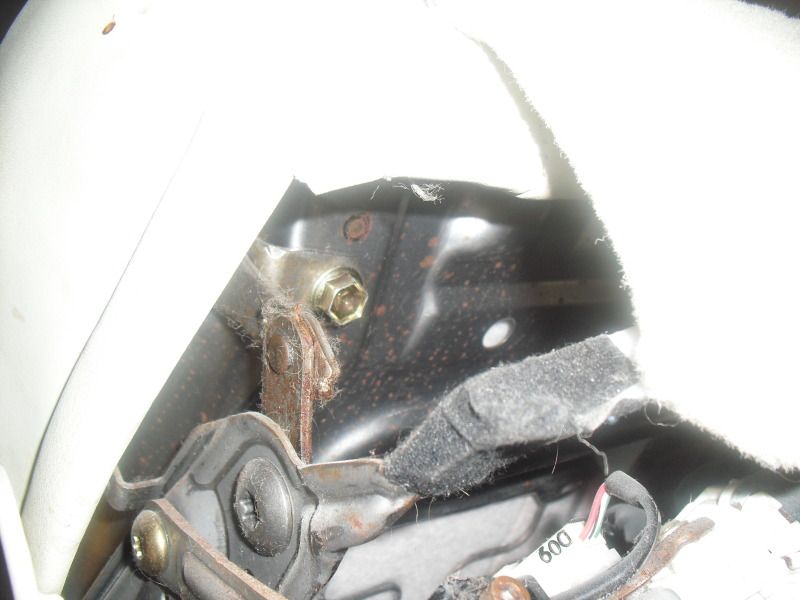
Remove 2 12 mm gold bolts from under the chair.
Remove 2 12 mm gold bolts from the side of the chair
Remove the heating element wire plug
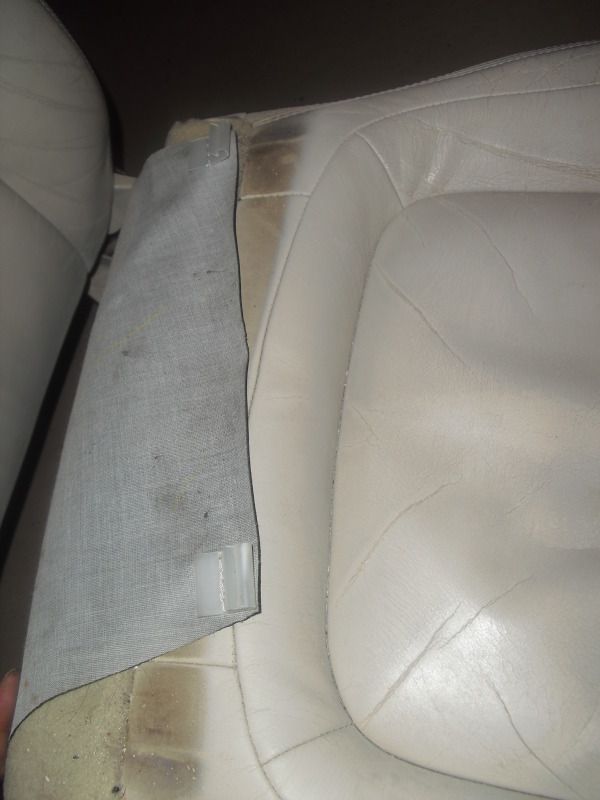
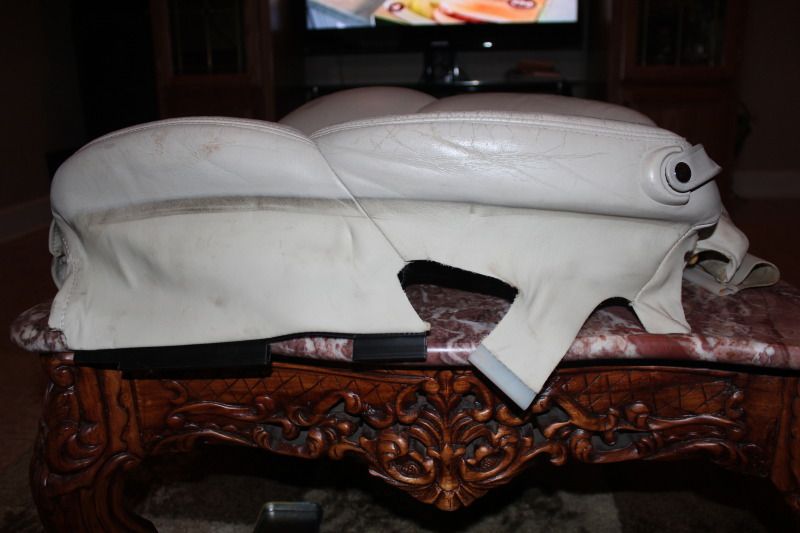
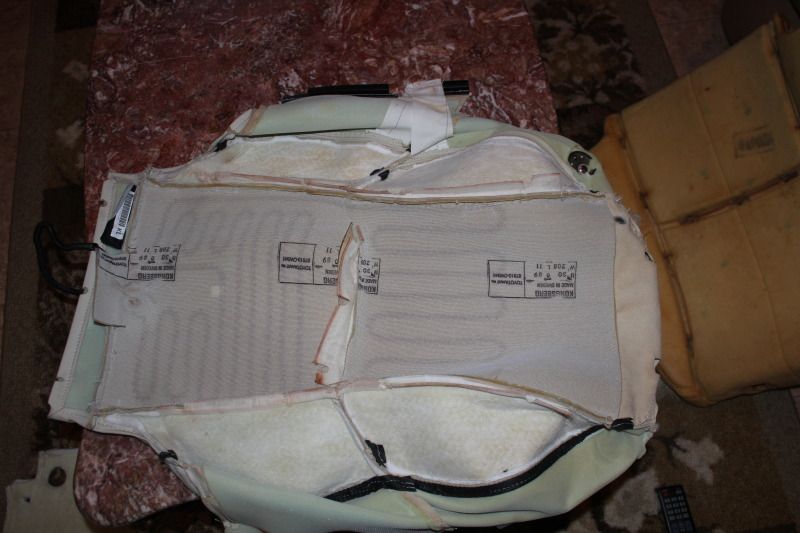
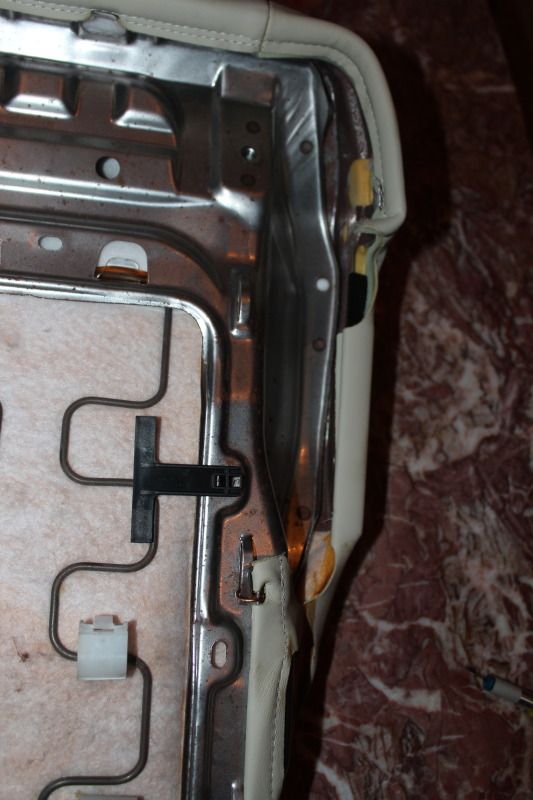
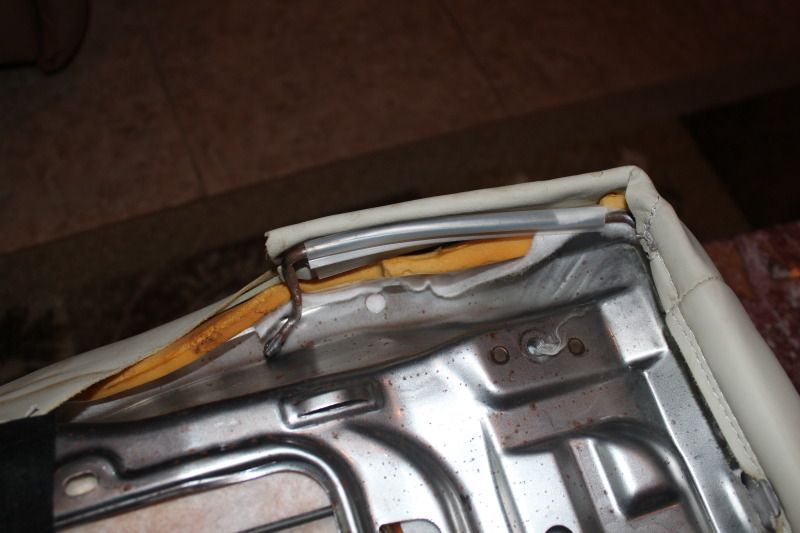
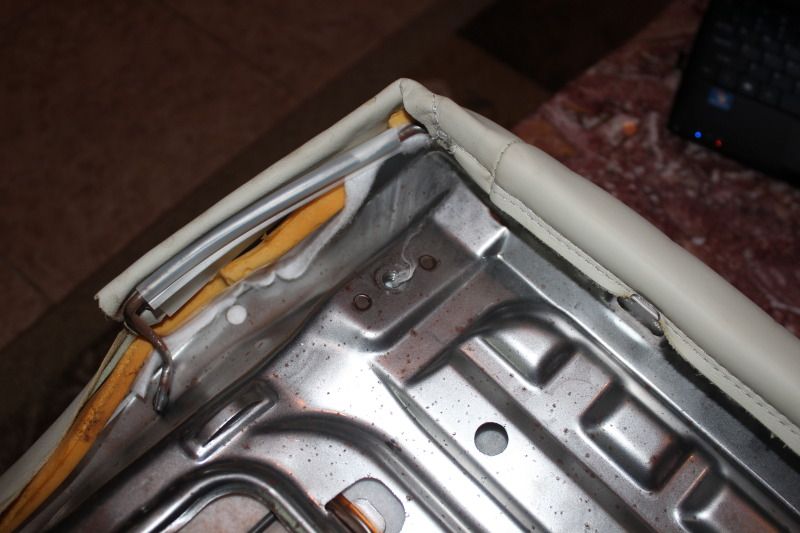
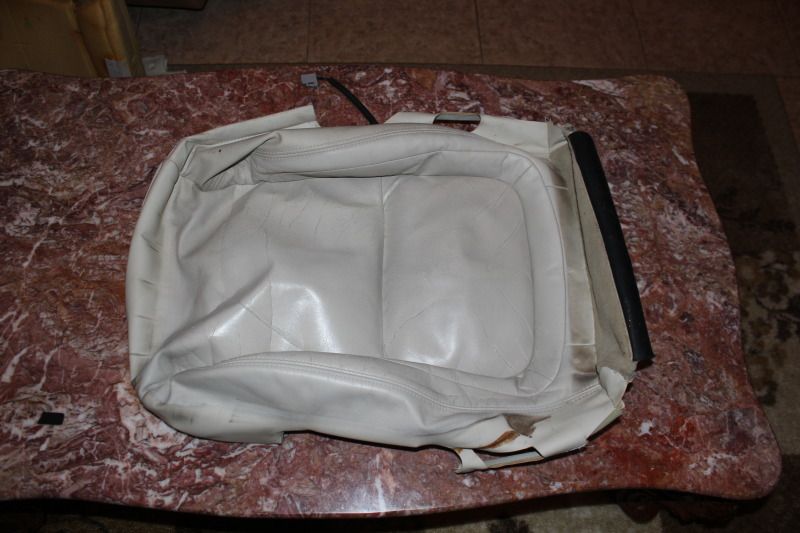
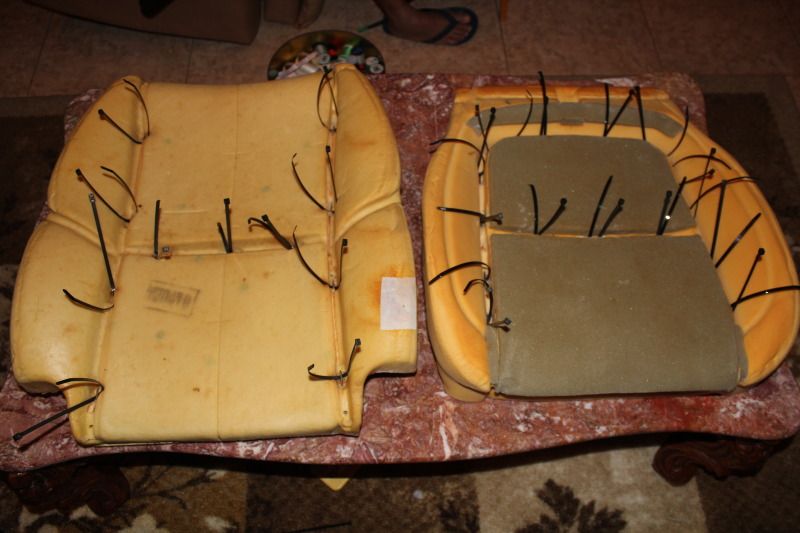
Leather and cushion:
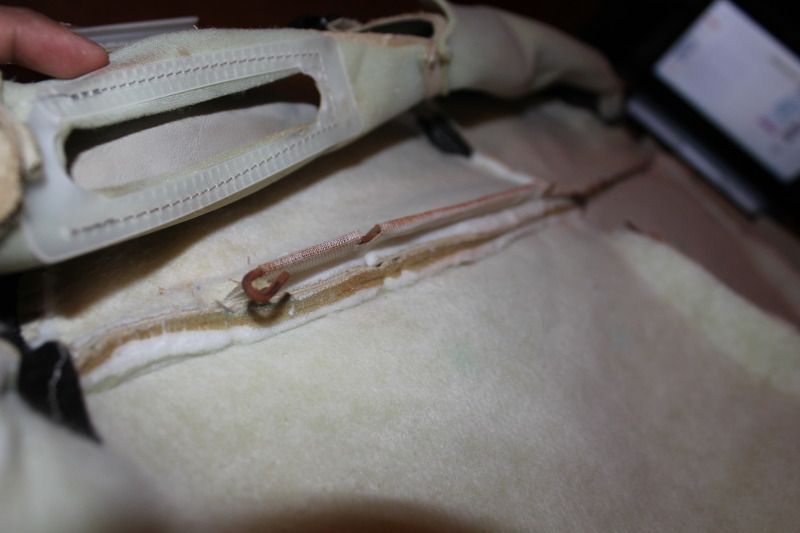
Remove all the hog rings by using a needle nose pliars and a turning motion to bend/break the rings
You will reuse the long metal inserts so do not discard them
Reinstall the long metal inserts in their designated sleeves (black fabric)
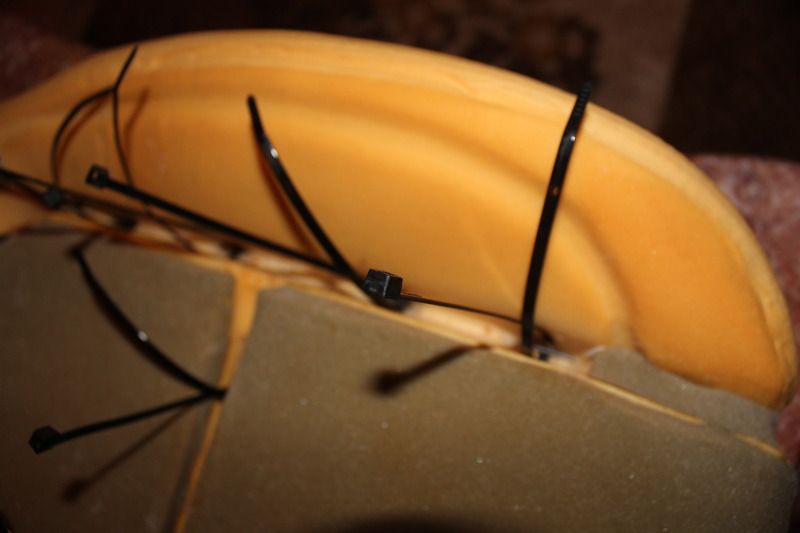
Prezip tie all the cushions ( I did not use new hog rings because they were impossible to get back in, zip ties held tighter in opinion)
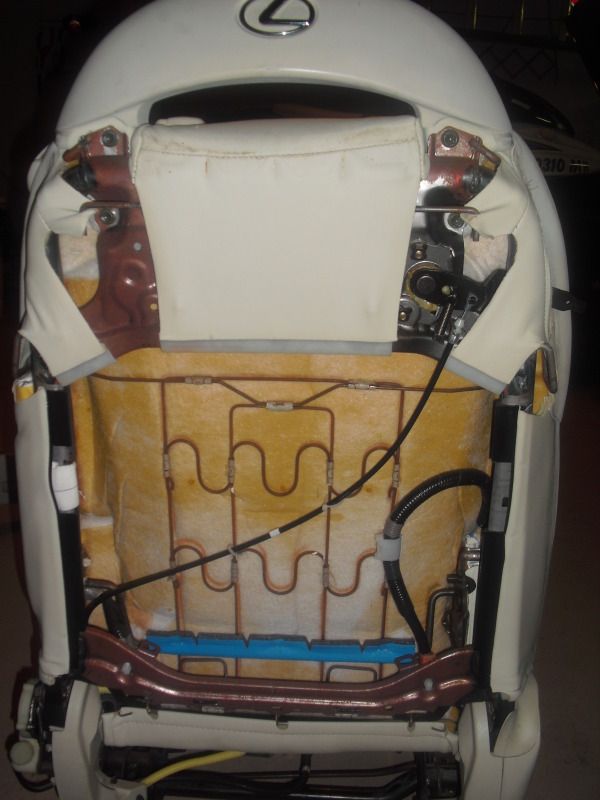
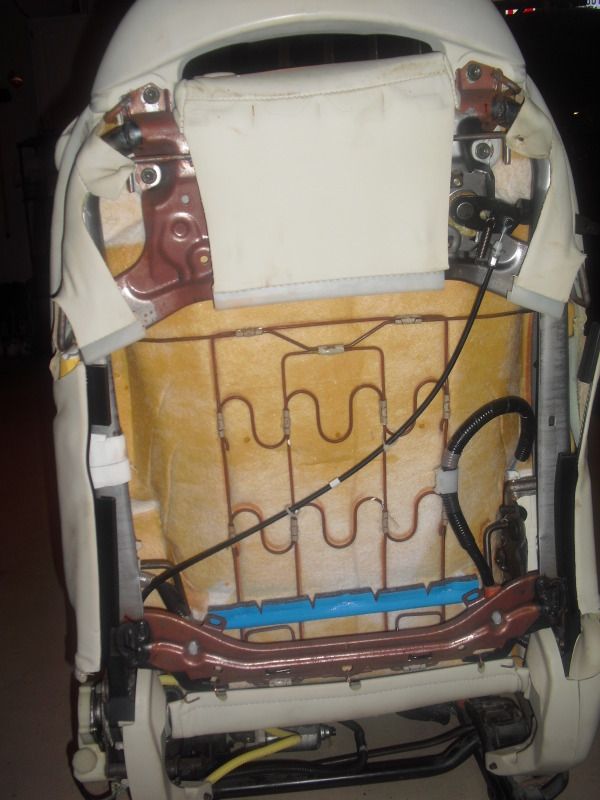
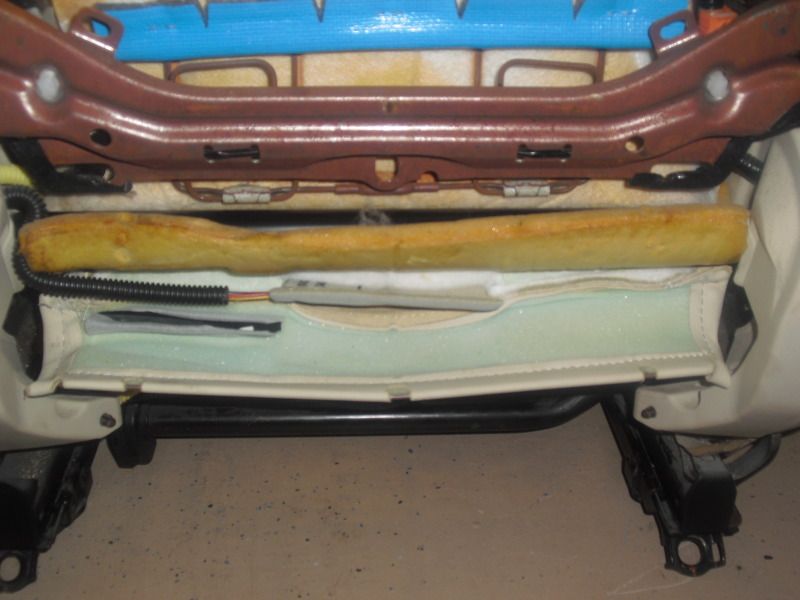
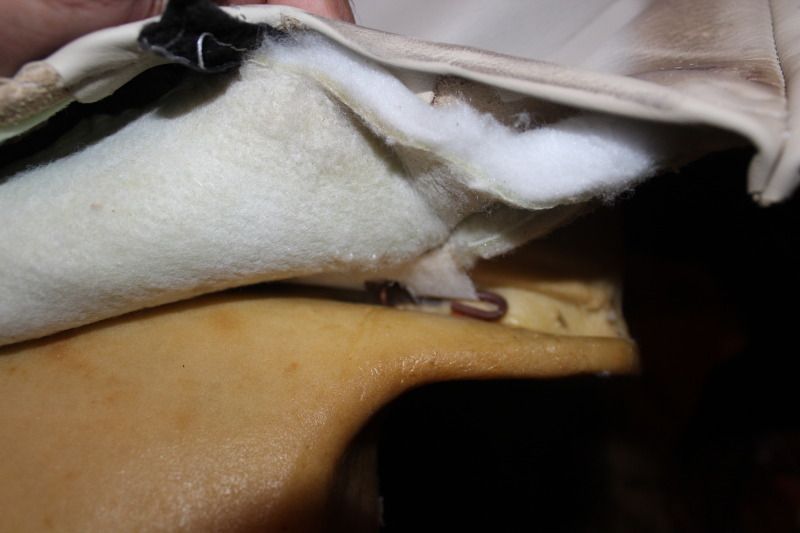
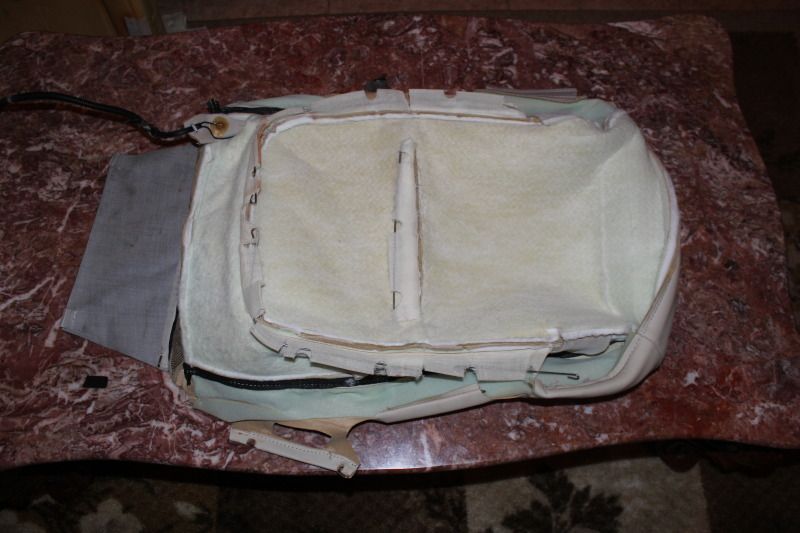
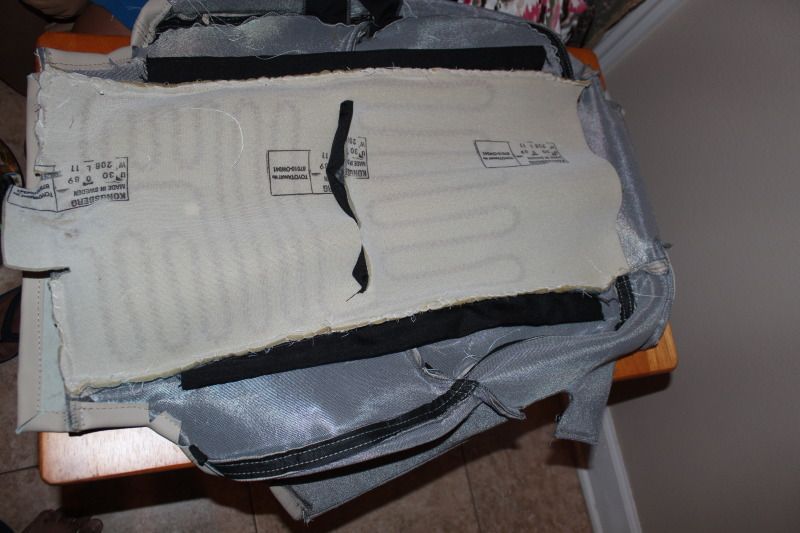
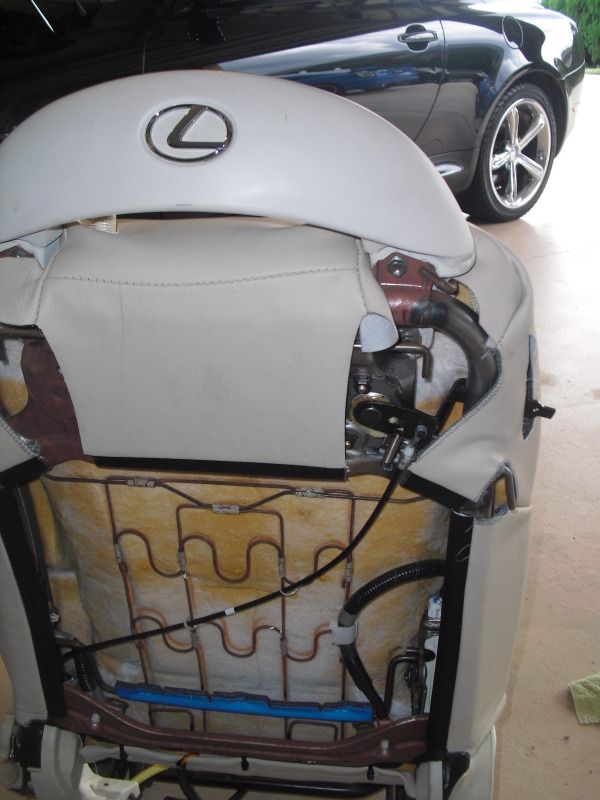
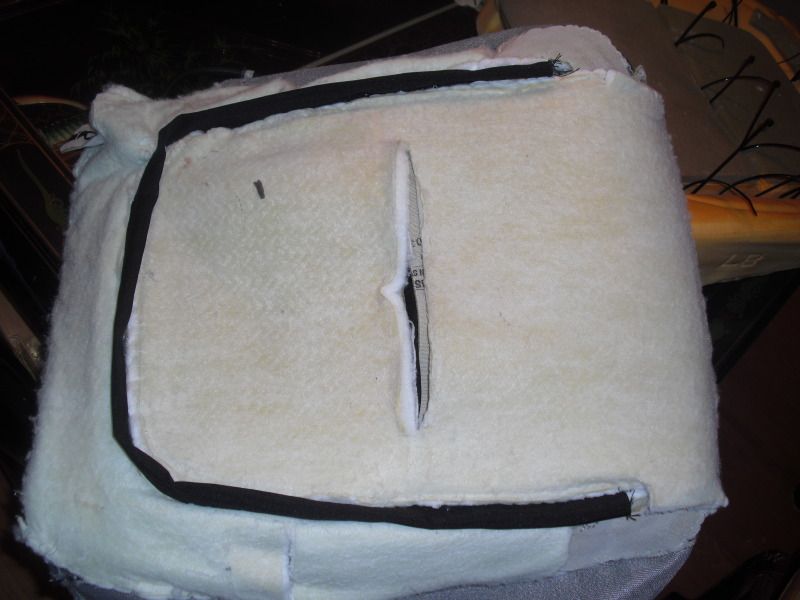
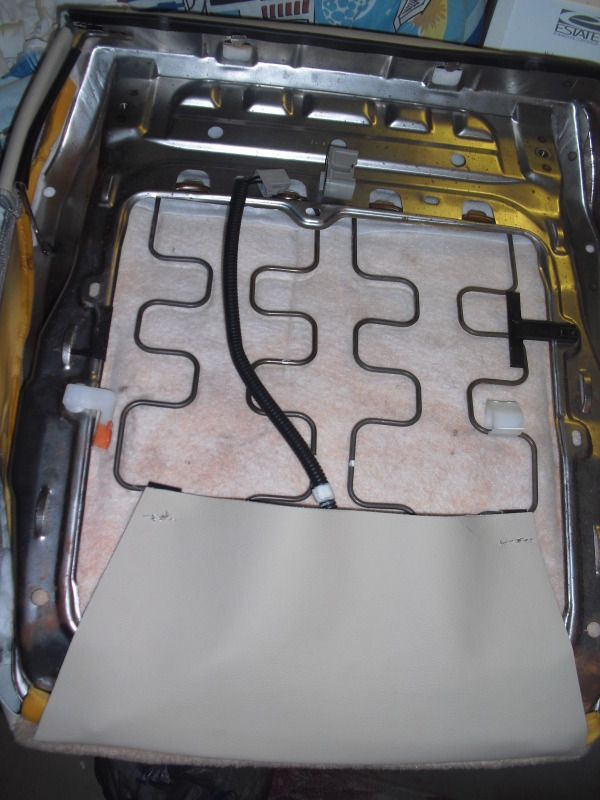
Heating element (that favorite option of your car)
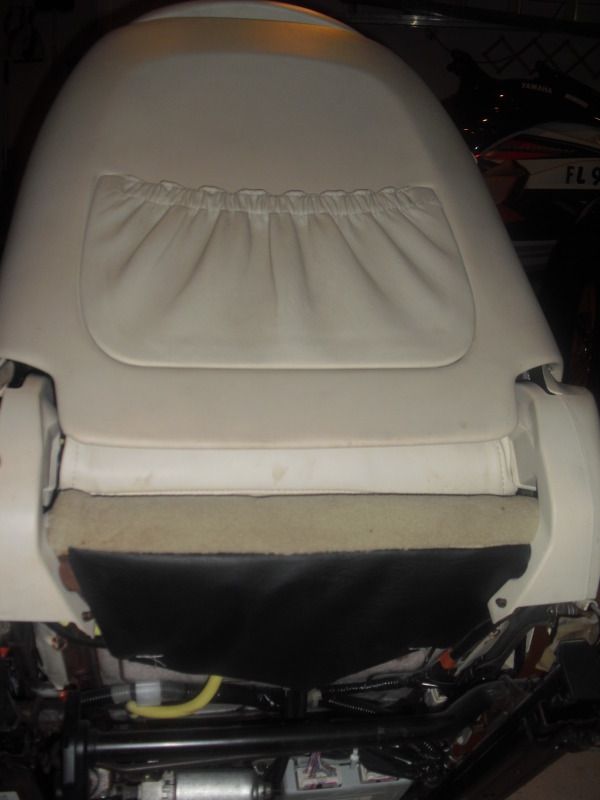
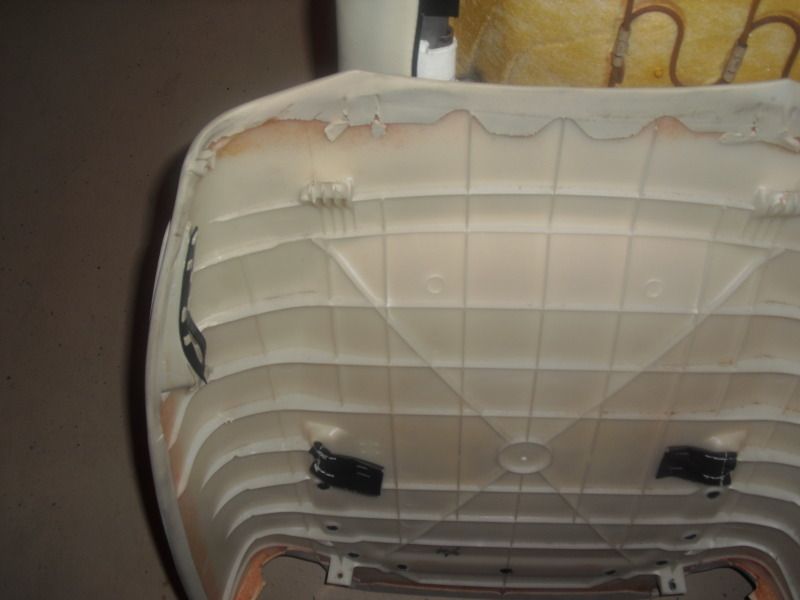
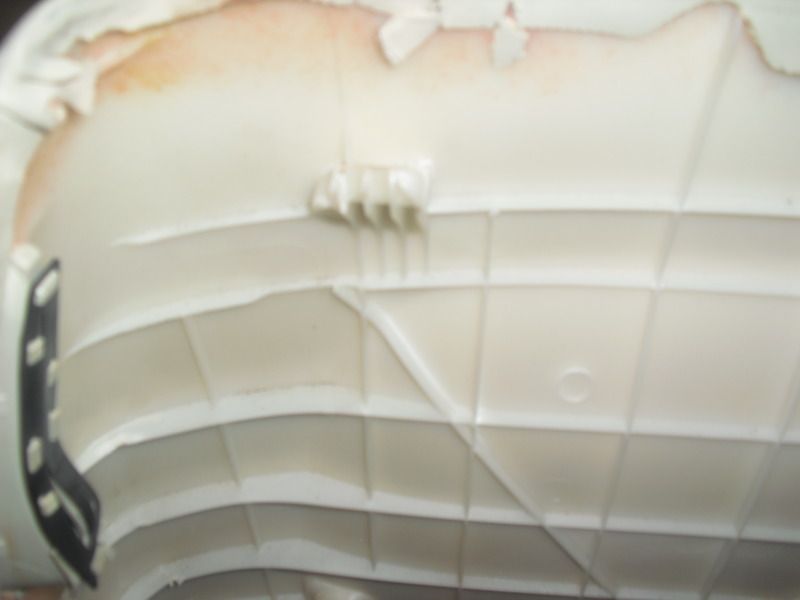
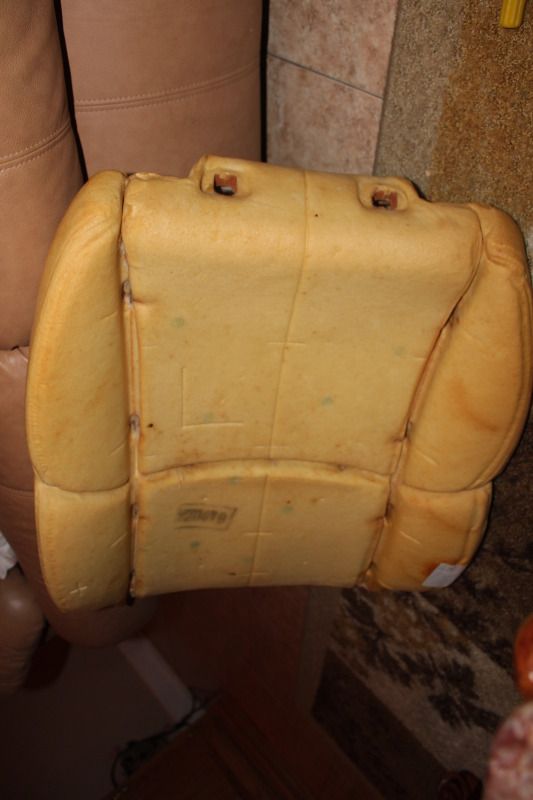
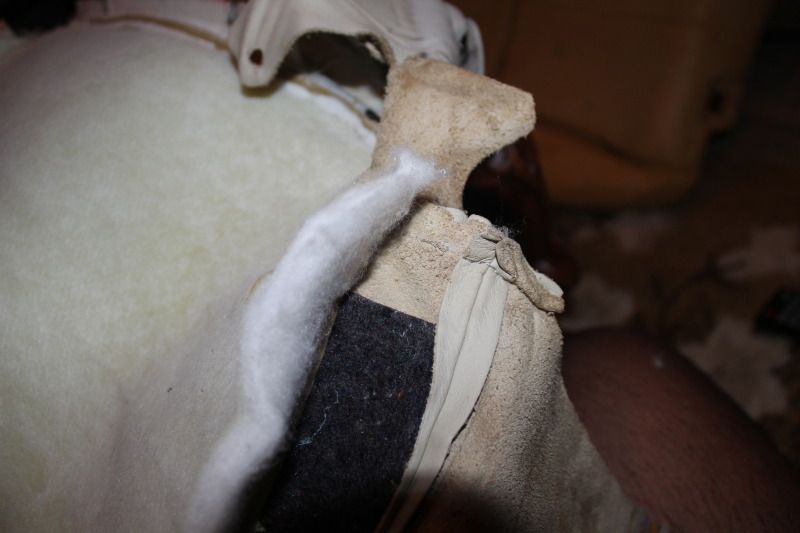
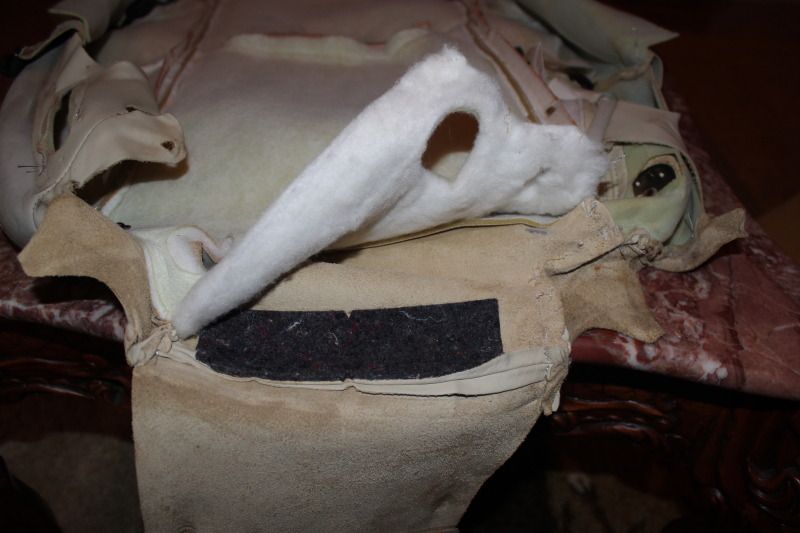
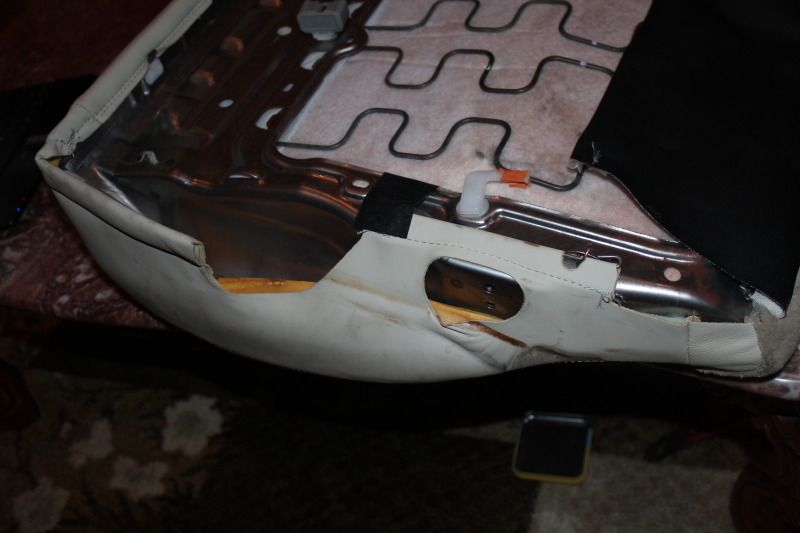
When you remove the leather you will notice cotton matting (white). Under the matting is the heating element in a fabric of its own.
Carefully cut the threads holding the cotton matting first
Then remove the threads holding the heating element fabric ( be careful, the heating element wires run very close to the edge.
Reinstall the heating element in the leather either by sewing (which I did) or 3M glue spray.
I was not sure how long the 3M glue spray would last so I chose to sew.
Reinstall everything in the opposite order.
Problems:
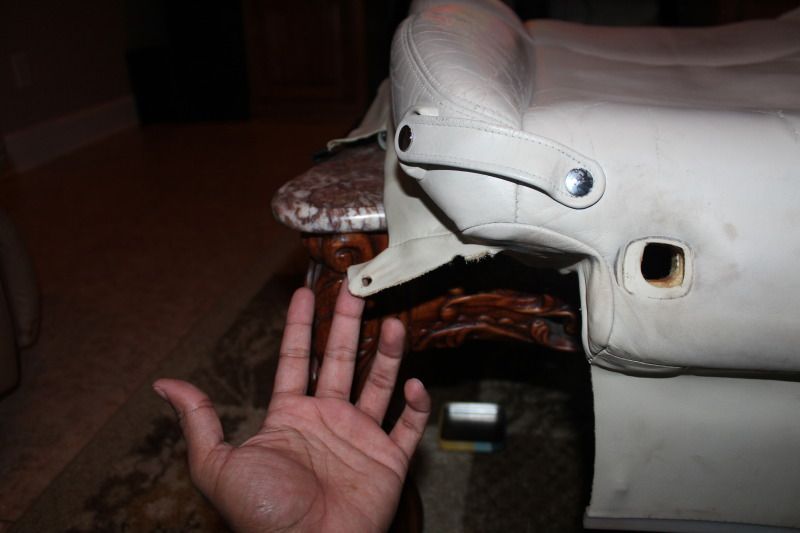
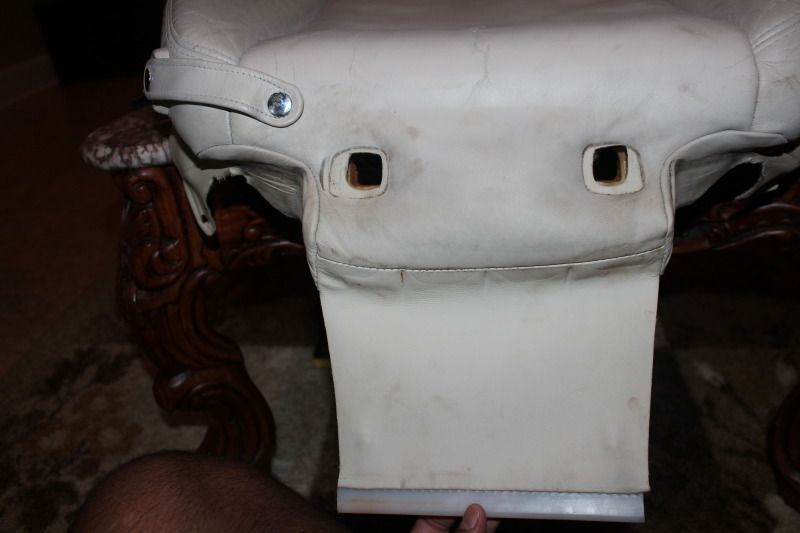
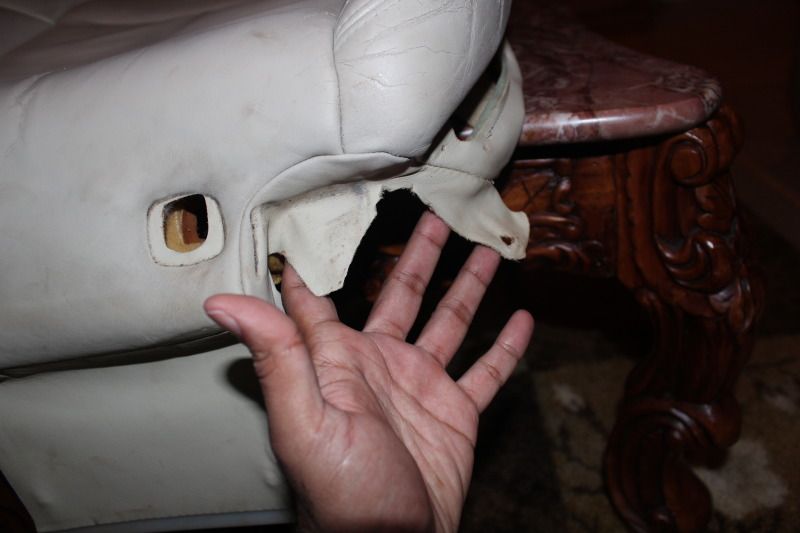
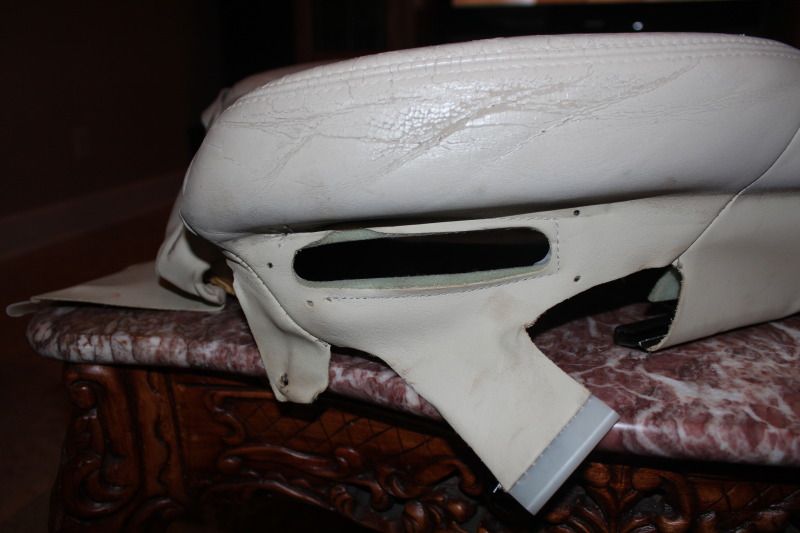
1. The leather came with pre drawn cut outs. One seat the lever to recline the seat was drawn on the opposite side (the side with the seat belt strap)
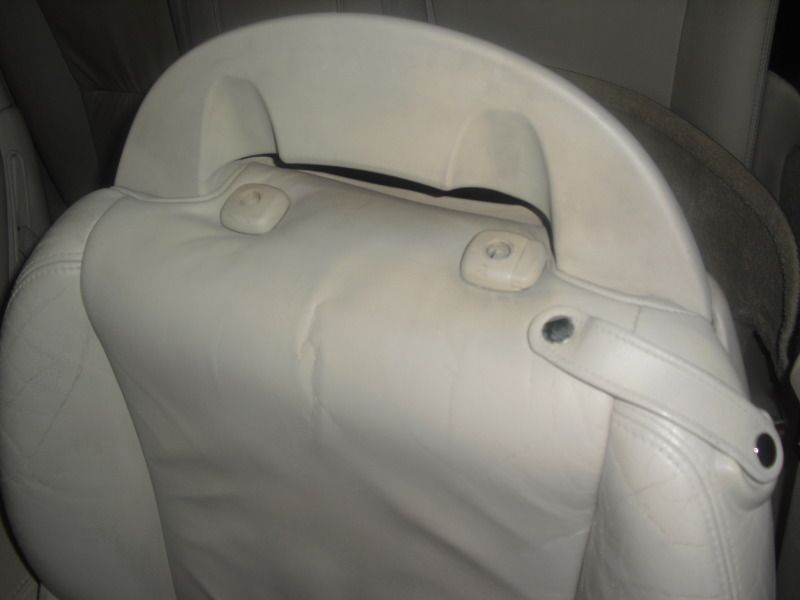
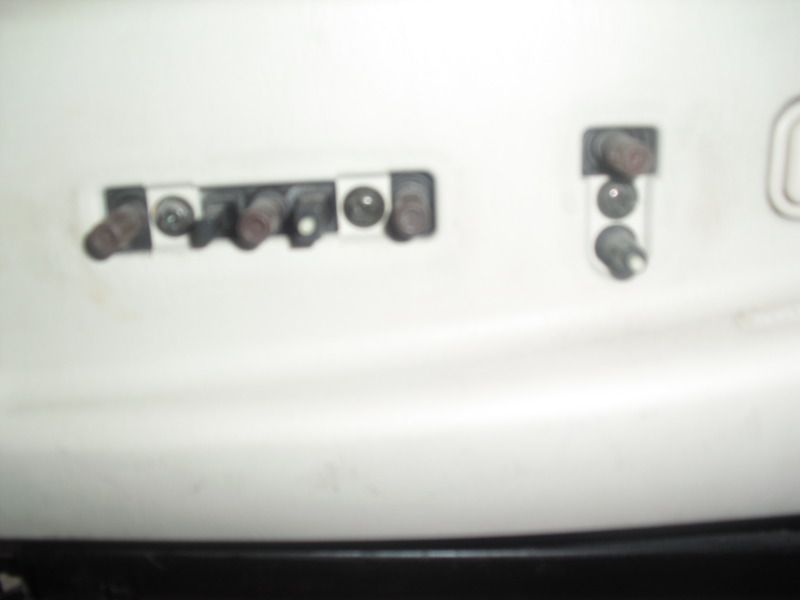
2. You will receive new magnets for the seat belt strap but must reuse the plastic bezel. The leather was a bit thicker so I had to use longer screws.
3. I reused all the cotton from the original seats by re-sewing it in the new leather for the driver seat. The passenger seat I used only the cotton covering the heating element. Both results were almost identical showing a few wrinkles (I am guessing over time it will smooth out)
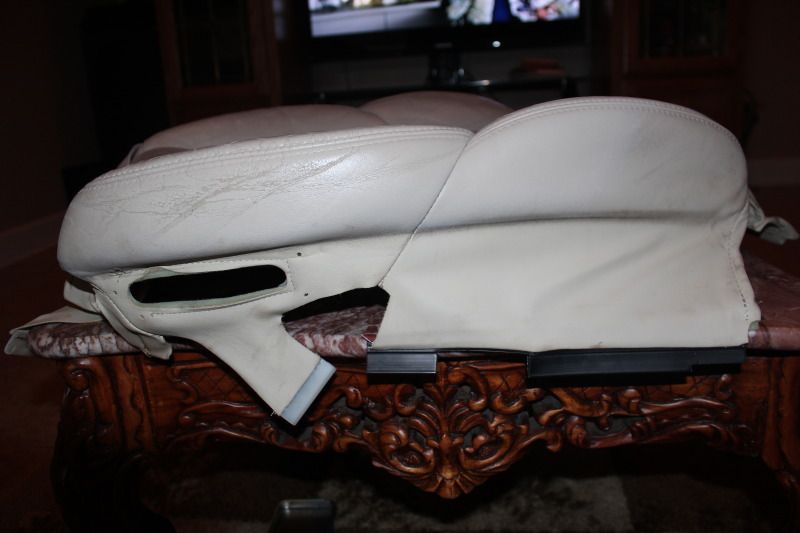
Overall impression:
I have taken the leather to a few leather shops whom all said they were amazed of the quality and the price.
It is well made.
The color is darker than the original but matches well because it comes with the arm rest.
The texture is a bit rougher but looks like it will last a long time.
The stitching was excellent.
Shipping was from China but the product was genuine leather with good foam backing
The new leather and foam looked and felt of higher quality than my lexus original.
The shipping took less than a week.
There is only one seller on ebay but was very helpful and is currently helping with the bad cut out.
Most leather shops were charging 250-$300 a seat to put my covers on.
It may be worth it because its very time consuming, especially if you plan on doing the sewing. Each seat took about a day (with breaks of course)
My experience with leather was 0
Special Thanks to user: "Adi" who's post inspired me and for all his insight on the product.
I plan on buying another set and doing a group buy if anyone else would like to jump on. Please PM me.


I plan on getting mine soon
Tools needed:
Philips screw driver
Flat head Screw driver
10mm socket
12mm socket
14mm socket
Zip ties
Zip tie cutter
Exacto Blade
Scissors
Needle nose pliars (or pliars to remove the hog rings)
Electrical tape (to tape back the wires to their holders under the seat)
Needle and Thread (if you choose this route) or 3M Spray Upholstery Glue
Pictures should be step by step showing removal of the Driver seat from the car, removing leather covering, removing heating element, installing heating element, recovering seat.
Steps
Remove plastic covers on seat feet
Remove 14mm bolts on front and back
Leave the seat in forward position, raised and no lumbar
Remove battery terminals
Tilt seat back
Remove the air bag plug (yellow) and grey/white plug (passenger seat has 3 If i remember right)
Remove the seat from the car
Remove the switch covers
Remove the recline handle using a flat head screw driver and pry the clip (be careful not to break clip)
Remove the cover for the handle of the tlit lever (just pull straight out)
Tilt the chair forward and remove the 2 philip screws holding the rear panel of the seat
Pull the side with tilt handle first then with a downward movement pull off the rear panel
Remove 3 philip screws on the side control panel on the lower plastic piece of the seat
Remove 2 philip screws under the lower plastic (carpet area) There is one screw hidden under black tape.
Remove 2 screws on the opposite side lower plastic piece (you don't have to remove this piece just the 2 screws
Remove plug going to lumbar controls
You can now remove the entire lower plastic piece
Removing backrest
Remove headrest
Slide off all plastic clips of the leather that is attached to the bare metal (wear gloves, the metal is very sharp)
Remove 4 10mm bolts holding the plastic piece behind the headrest. Slide up
Remove the headrest posts by using a flat screwdriver and pressing in the sides and pushing up
Remove 3 hog rings on the bottom part of the backrest
Cut strap going to metal clip from the air bag (the new leather has its own strap. you will need to reuse and sew the new strap to the metal clip, so remember how you took it off.
When removing the seat you will notice a wire coming from it, this is the heating element power be careful. Follow the wire and remove it. You will need to remove some additional plastic pieces on the side to pull the wire loom out.
You should be able to remove the entire backrest now
Removing lower seat:
There is a metal frame holding the cushion.
Remove 2 12 mm gold bolts from under the chair.
Remove 2 12 mm gold bolts from the side of the chair
Remove the heating element wire plug
Leather and cushion:
Remove all the hog rings by using a needle nose pliars and a turning motion to bend/break the rings
You will reuse the long metal inserts so do not discard them
Reinstall the long metal inserts in their designated sleeves (black fabric)
Prezip tie all the cushions ( I did not use new hog rings because they were impossible to get back in, zip ties held tighter in opinion)
Heating element (that favorite option of your car)
When you remove the leather you will notice cotton matting (white). Under the matting is the heating element in a fabric of its own.
Carefully cut the threads holding the cotton matting first
Then remove the threads holding the heating element fabric ( be careful, the heating element wires run very close to the edge.
Reinstall the heating element in the leather either by sewing (which I did) or 3M glue spray.
I was not sure how long the 3M glue spray would last so I chose to sew.
Reinstall everything in the opposite order.
Problems:
1. The leather came with pre drawn cut outs. One seat the lever to recline the seat was drawn on the opposite side (the side with the seat belt strap)
2. You will receive new magnets for the seat belt strap but must reuse the plastic bezel. The leather was a bit thicker so I had to use longer screws.
3. I reused all the cotton from the original seats by re-sewing it in the new leather for the driver seat. The passenger seat I used only the cotton covering the heating element. Both results were almost identical showing a few wrinkles (I am guessing over time it will smooth out)
Overall impression:
I have taken the leather to a few leather shops whom all said they were amazed of the quality and the price.
It is well made.
The color is darker than the original but matches well because it comes with the arm rest.
The texture is a bit rougher but looks like it will last a long time.
The stitching was excellent.
Shipping was from China but the product was genuine leather with good foam backing
The new leather and foam looked and felt of higher quality than my lexus original.
The shipping took less than a week.
There is only one seller on ebay but was very helpful and is currently helping with the bad cut out.
Most leather shops were charging 250-$300 a seat to put my covers on.
It may be worth it because its very time consuming, especially if you plan on doing the sewing. Each seat took about a day (with breaks of course)
My experience with leather was 0
Special Thanks to user: "Adi" who's post inspired me and for all his insight on the product.
I plan on buying another set and doing a group buy if anyone else would like to jump on. Please PM me.
Last edited by TriniLex; 01-06-13 at 09:45 PM.

The following users liked this post:
buddhi (04-17-21)


The following users liked this post:
buddhi (04-17-21)


The following users liked this post:
buddhi (04-17-21)


The following users liked this post:
buddhi (04-17-21)


The following users liked this post:
buddhi (04-17-21)


The following users liked this post:
buddhi (04-17-21)


The following users liked this post:
buddhi (04-17-21)


 01-07-13, 11:18 AM
#13

Awesome! Good job!
 01-08-13, 11:21 PM
#15
Rookie

Join Date: Feb 2002
Posts: 87
Likes: 0
Received 0 Likes
on
0 Posts
WOW~! thats amazing. I've done this to 3x 350z and my NSX. This looks like its a lot more work. Man I can't believe you want to it again!
Thank you for sharing..this will be very very help full If I do mine.
Thank you for sharing..this will be very very help full If I do mine.