When you click on links to various merchants on this site and make a purchase, this can result in this site earning a commission. Affiliate programs and affiliations include, but are not limited to, the eBay Partner Network.
DIY...the step by step telescopic steering write-up
Contents of this write-up -
_ Cowl and under cover removal
_ Steering bushing removal/replacement
_ Telescoping motor removal/replacement (refer to post #32-36 prior to installation)
_ Motor № / Year / Model Compatibility List
_ Possible fix for weak, squealing, squeaking motor
_ Manual steering wheel extension/retraction positioning with defective motor
_ Disable auto retract/tilt function
Tools required-
_ Cross+tip screwdriver, 1/4" drive ratchet,10mm and 5/16 socket
_ Parts - Bushing ( pn-45768 )
_ Materials - grease ( White Lithium grease in a spray can was used in this maintenance procedure)
_ Optional - towel to protect carpet, rag and hand cleaner
* Procedure performed on 2002 LS430....
******************* Cowl and under cover removal -
1) - Remove bottom cross+tip screw from steering column cowl - Pic #1
2) - Turn steering wheel to right to access and remove cross+tip screw - Pic #2
3) - Turn steering wheel to left to access and remove cross+tip screw - Pic #3
4) - Remove lower and upper cowl. You will need to gently bend lower cowl over telescoping **** - Pic #4
If you are having problems removing cowl, raise steering wheel by using tilt **** to assist in removal of lower half of cowl, then lower/tilt steering wheel to remove upper half
5) - Remove 10mm bolt from tilt motor wiring connector bracket and remove either as assembly or slide connector off of bracket prior to removing as it clips on bracket - Pic #5 & #6
6) - Remove under cover ( 2 -5/16/cross+tip screws ) - Pic # 7
Disconnect any wire connectors. Once all connectors and 2 +screws are removed , grab under cover on each side and pull towards rear of vehicle as it has male plastic 'clips/fasteners that snap into dash framing - Pic #8
7) Reassemble in reverse order
Pic #4 ---- Lower half cowl pulled over telescoping control ****
Pic #5 --- 10mm bolt to tilt motor wiring connector bracket
Pic #6 --- bracket removed as assembly
Pic #7 ----- Remove under body 5/16 screws 2 ea
Pic #8 ---- To remove pull towards rear of vehicle ... Note plastic clips/fasteners
************************************ Optional...
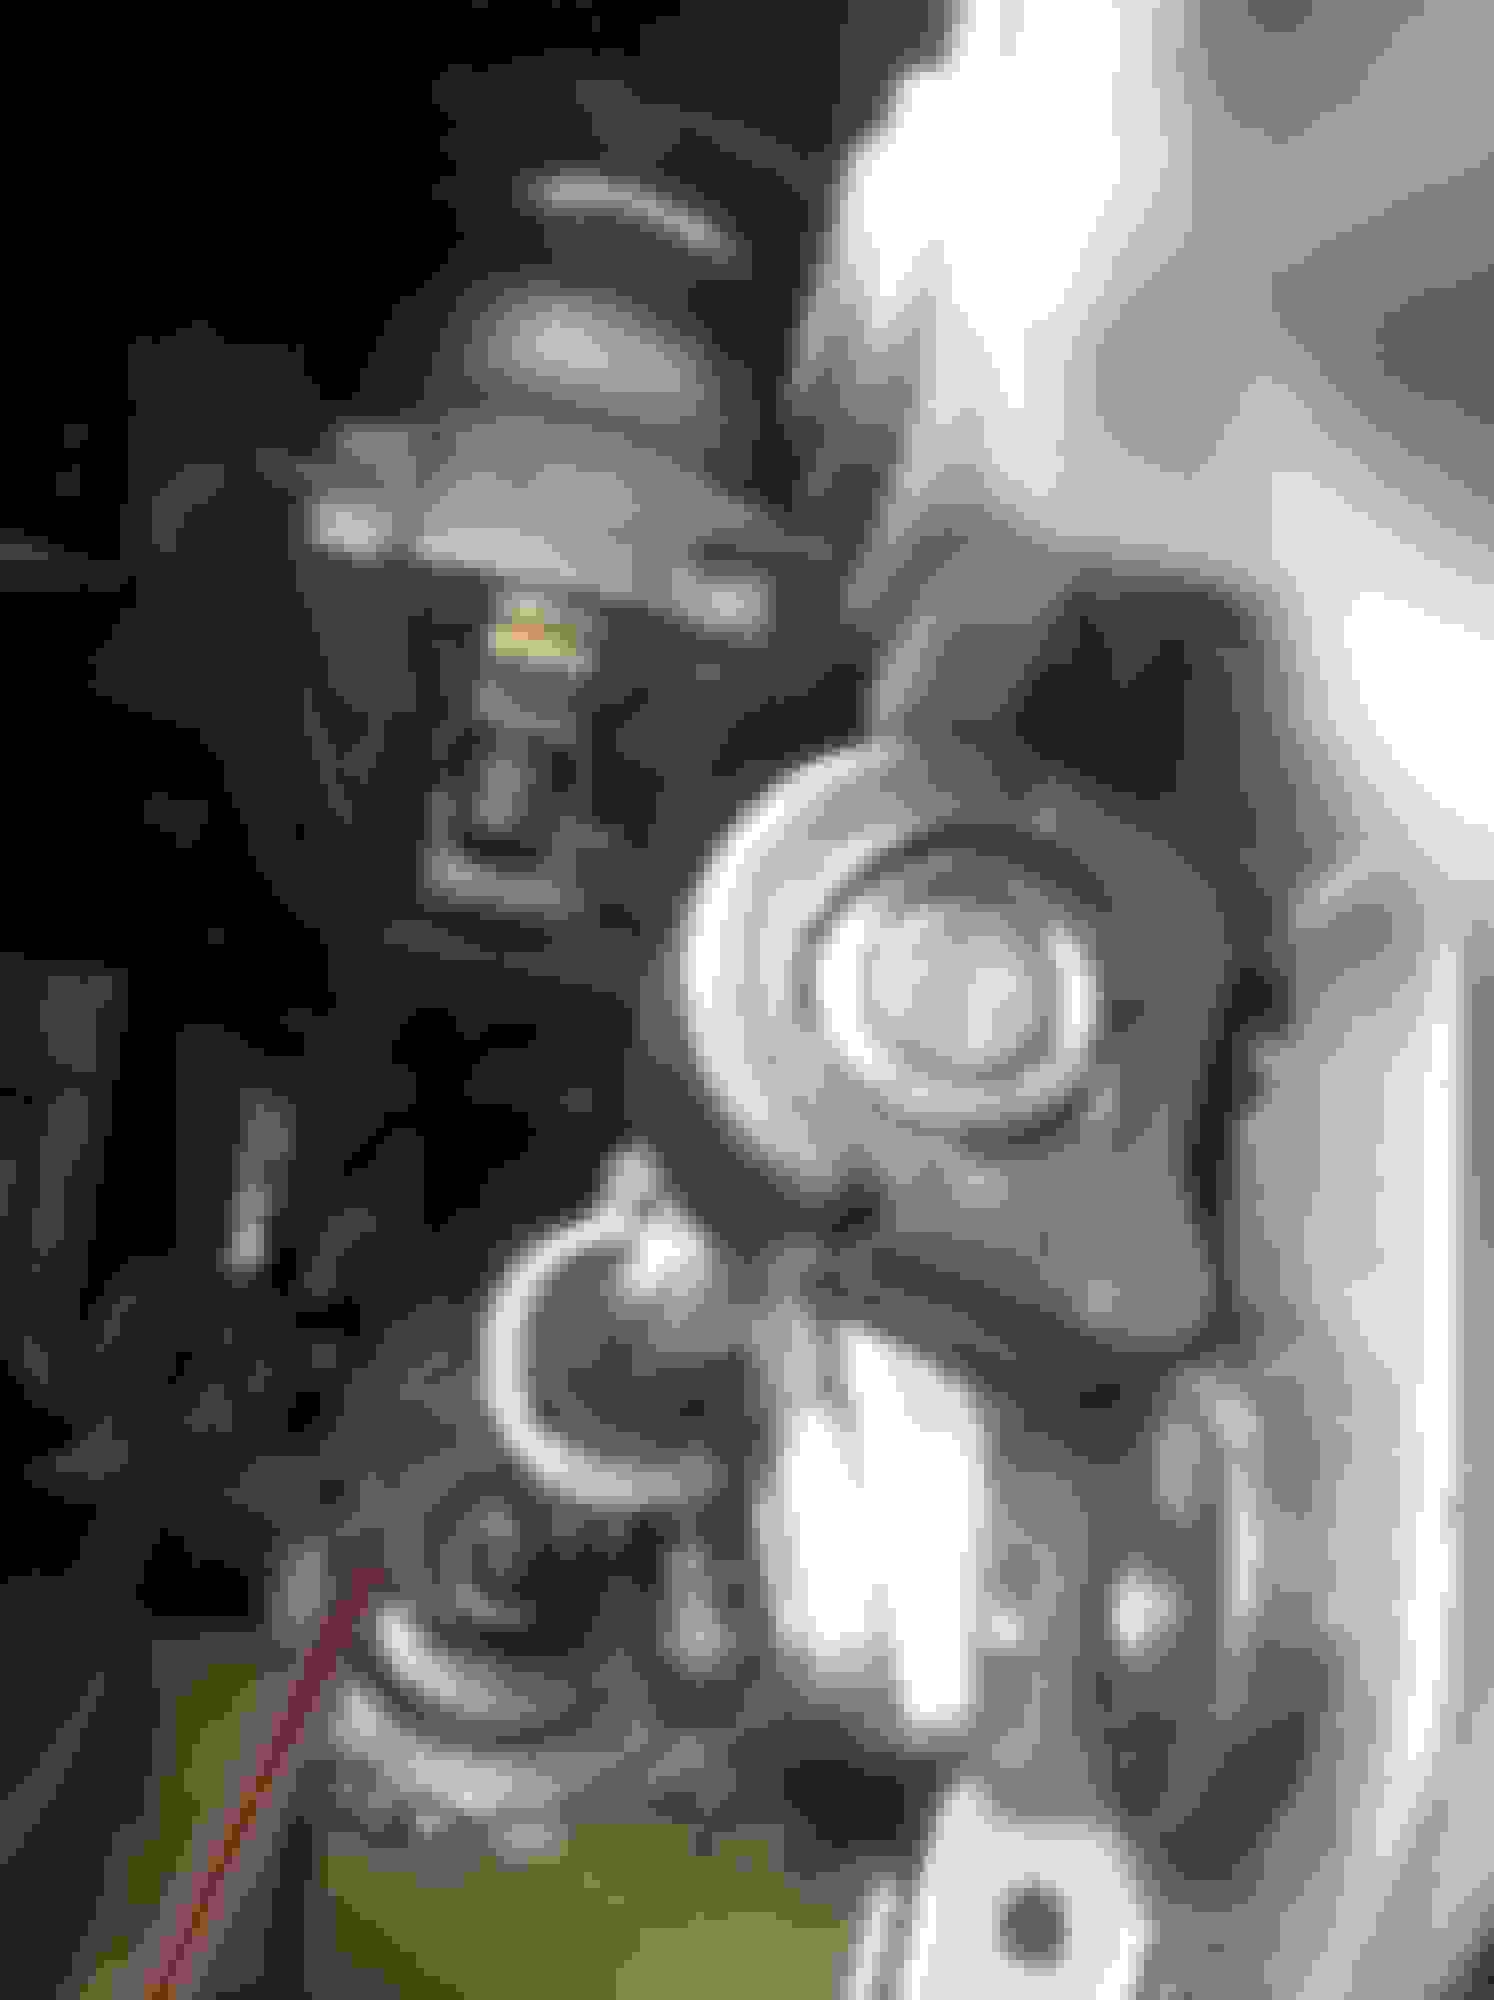
The picture below is of your tilt motor screw, operate tilt control **** for visual operation. You may desire to clean threads and lube since you have access to it at this time. If you're having problems with the tilt motor, search the forums as there are some great write-ups detailing shimming of gear or reversing the gear itself
*************************************
========================
Telescoping bushing/nut maintenance procedures -
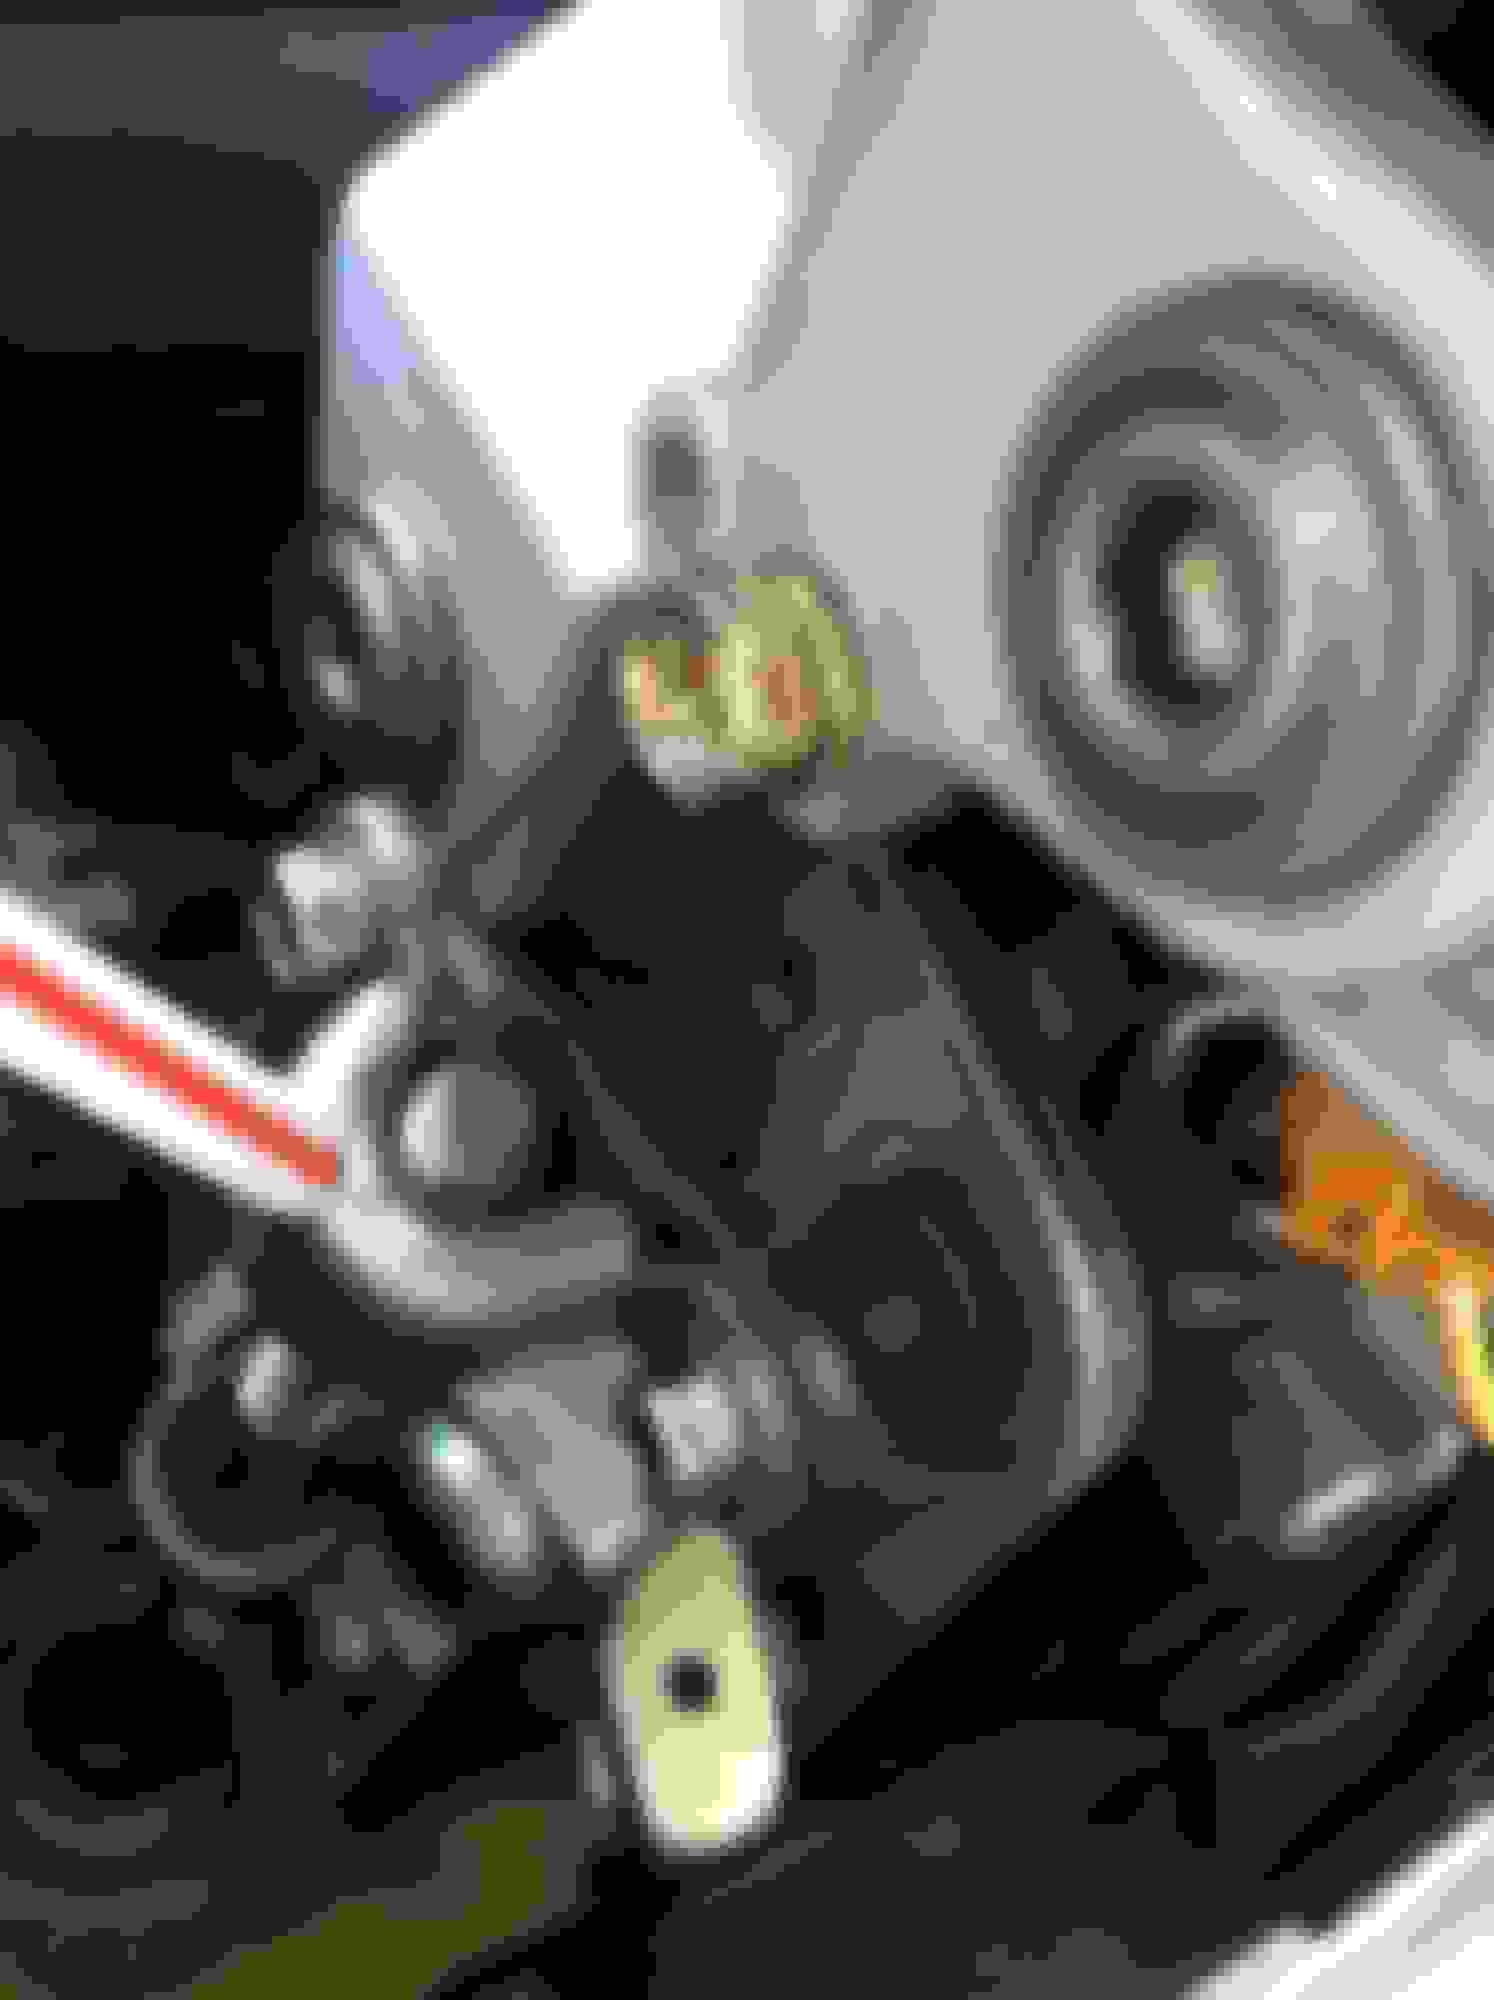
1) - Remove 2 -10mm bolts and bracket. Note - upper half of bracket is shorter in length than the lower half for reassembly purposes- Pic #1
2) - Remove bushing ( PN 45768 ) and inspect for any visible damage. Also check for softness as rubber has a shelf life and will deteriorate over time, especially when associated with any petroleum products like grease. A damaged bushing is known to cause binding and minor squeaking during retraction or extension of the steering wheel .
3) - Remove nut - Pic #3
4) - Clean bushing and nut, replace if defective. Clean threads of jackscrew and lubricate with white lithium grease - Pic #4
5) - Install nut, bushing and bracket. I found it is easier to start upper bolt first when replacing bracket
At this time, check for proper in/ out operation as this procedure may be all that is required depending on fault
* Note position of jackscrew in comparison to nut, this is the extended position of my steering wheel
* Auto tilt function will still work with a defective telescopic ( in/out ) motor whenever key is removed/inserted, hence if your auto tilt does not function whenever key is removed, you have an issue with the tilt motor, it has been programed by dealership not to function ( turned off) or you have a blown fuse. Scroll to bottom of page for fuse location.
Pic #1 --- Bracket
Pic #2 --- Bushing PN-45768
Pic #3 - Nut
Pic #4 ---- Nut and bushing removed, jackscrew greased with white lithium grease
>>>>>>>>>>>>>>>>
Removal/Installation of telescoping motor ....
1) - Remove 2 - 10mm bolts from motor bracket
2) - Remove the flex shaft -Pic # 2A - 2B
3) - Disconnect wiring connector from motor ( easiest performed if you let the motor hang freely after removing the bolts and flex shaft)
4) - Install in reverse order - you may choose to add grease to ends of flex shaft prior to assembly ( I'm sure that may draw some debate)
*** Note - If replacing telescoping motor only, the undercover is the only component that needs to be removed to gain access
*** Note - refer to post #32-36 prior to motor installation/replacement
Pic #2B -- Motor and flex shaft viewed from front side, downstream from jackscrew carrier bearing
<<<<<<<<<<<<<<<<<<
Motor № / Year / Model Compatibility List
LS430 01-06
Part № 89232-50041
LS430 03-06
Part № 89232-50050
LS400 99-2000
Part № 89232-50041
Currently the cheapest price for a new motor online is at www.lexuspartsnow.com for $287.81 and free shipping. If you find a cheaper price online, please share with the forum so we can make changes. Additionally, the compatibility list can be useful as a reference for those that may wish to try and locate a used motor in a salvage/parts yard
<<<<<<<<<<<<<<<<<<
{This step only for those that want to try and salvage a weak or noisy motor that bushing replacement did not correct fault and with the understanding that replacement may be necessary anyways.. The following worked for me}
1) - Bend back tabs with side cutter w/o breaking ( Pic _A)
2) - Disconnect wiring connector ( Pic_B)
3) - Disconnect electronic ribbon, pull back on black connector until it releases ( 1/4"), now gently pull electrical ribbon from connector ( pic_ C & D )
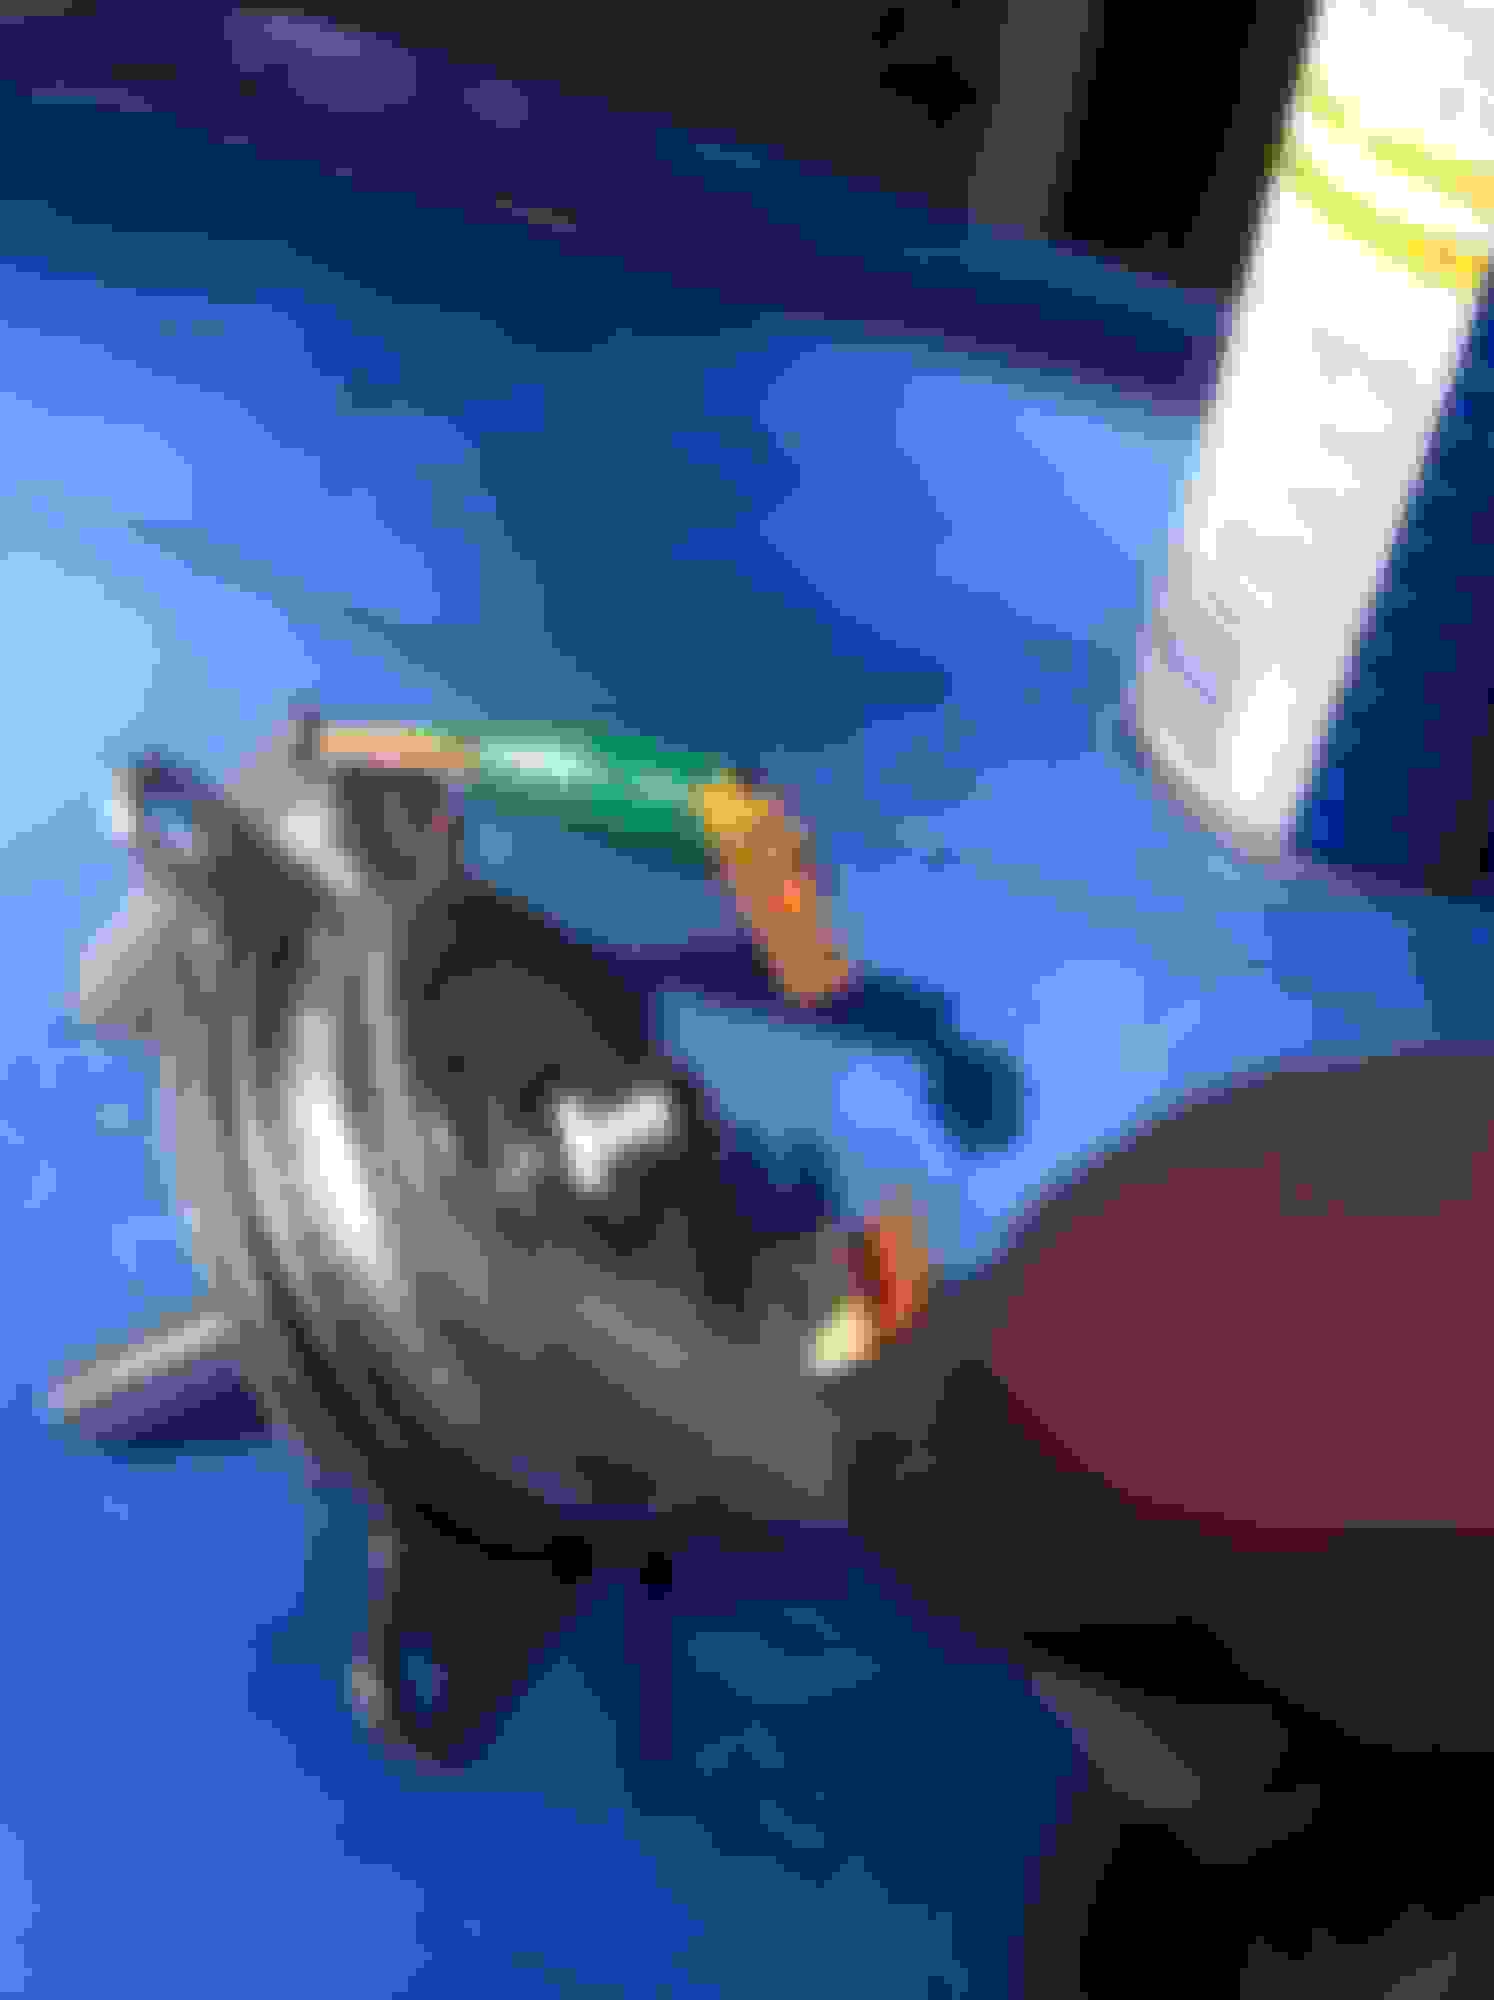
3) - Separate motor housing and spray vigorously inside of motor with wd40 or lubricant of choice. ( Pic_E)
5) - Reassemble ... bend tabs back with wide jaw pliers and reconnect connectors. When connecting electronic ribbon, grab from the sides and push firmly into connector, with other hand push connector forward to the closed position, locking ribbon in place
*** Note - my motor had a continuous squeal and lacked the power to extend or retract steering wheel whenever motor was activated in auto mode or manually . Complete disassembly of internal components not required. If this does not fix your motor , more than likely the electronic ribbon is bad. I also sprayed connectors with electrical cleaner and electrical shield to protect from moisture..
Pic_ A -- Bending tabs
Pic_B -- Disconnect connector
Pic_ C -- Pull back on black connector until it releases
Pic_D --- Pull electronic ribbon from connector
Pic_ E --- Housing separated and spraying with W-40
===================
Defective motor - Manual in/out adjustment
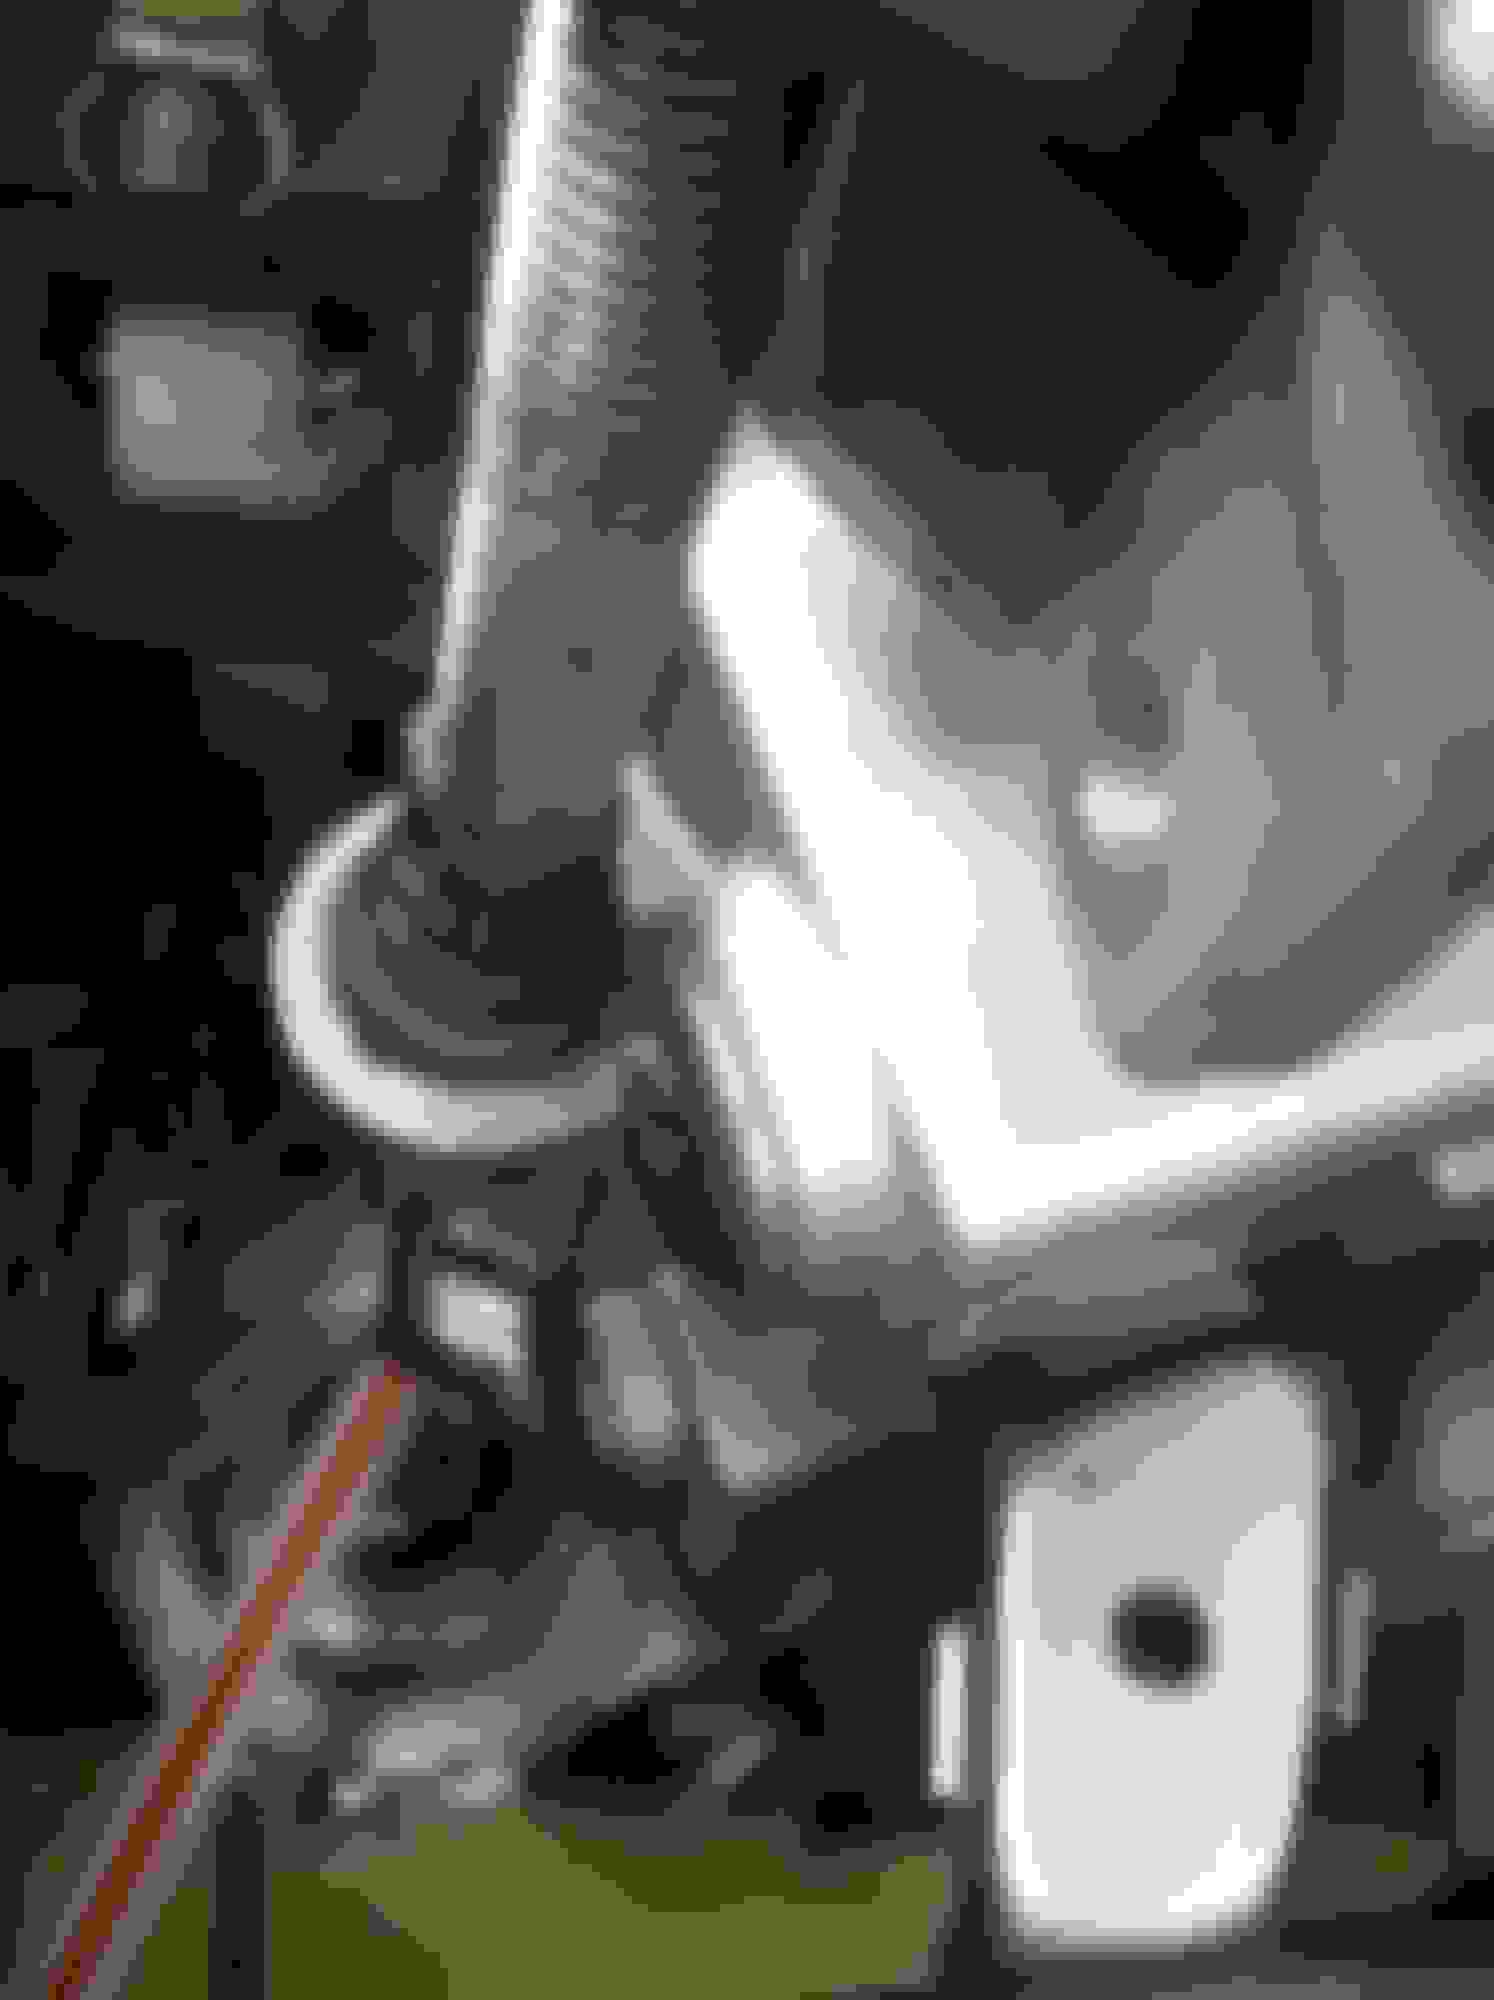
If telescoping motor is defective and you have no plans to replace the motor and the steering wheel is not extended or retracted to your liking, view the following picture for manual adjustment. There is a square nut on the screw shaft at the carrier bearing but I found it easiest at the motor where it aligns with the flex shaft as shown in picture, the motors shaft has 2 flat sides and can be manually turned by a open end or adjustable wrench. Turn clockwise to extend and counter clockwise to retract.
Manually turn with wrench here for permenant in/out setting
++++++++++++++
Disable auto retract/tilt function
To disable the auto retract/tilt function when key is inserted or removed w/o having the dealership program the task, remove fuse from fuse panel located on drivers floorboard next to the parking brake. Fuse is a yellow 20A located in upper left and labeled (TI & TE). On the vehicle this write-up reflects ( 02 Yr ) the steering wheel remained in the last position prior to fuse removal and neither tilt nor in/out functioned from control ****, basically disabled ..
Last edited by xtr3me; 10-08-14 at 09:55 PM.
Reason: Add motor compatibility list
Being that this car is my daily driver I'm going to pull the fuse for the tilt away feature. Seems like unnecessary wear and tear to the components.
Thanks for the write up friend.
Now if only there was a way to disable the auto lock/unlock. That's just killing those little door motors. Taking the door panel apart to fix a $5 motor was a bit annoying.
Excellent write-up and photos, xtr3me... Thank you!
My 2004 LS430 telescopic function stopped working a few months ago. Your write-up gave me the courage to take on this DIY today.
I took the motor apart and spray the inside with WD-40, followed with electrical component cleaner, then dried with compressed air. Now the motor turns but it's very weak. In fact, I can stop it with my hand. It's time for a new motor, I think.
I did a search online and found 2 part numbers for the 2004 LS430: 89232-50041 and 89232-50050. Does anyone know the difference? Does anyone know where I can get one for a good price (new OEM only)? LexusPartsNow.com lists them for $287.81 with free shipping.
It bites that your motor has seen it last days. I also noted the two different part numbers when I was searching. In 99 a TSB came out on the LS400 whereas the 50041 motor would replace the 50040. So it appears the 99-2000 LS400 should have the same motor. On Sewells website part number 50041 is listed for the LS430 01-06 and 50050 for LS430 03-06. Found nothing identifying the difference. I've added a Motor / Model / Year Compatibility List along with the website you provided to the thread. Good find..
Thanks
So a question for you or anyone that has worked in this area. Once the nut and Bushing PN-45768 are removed, how difficult is it to move the steering wheel in and out? Mine is nearly impossible for me to push or pull by hand.
When i removed the fuse I'm not able to tilt or retract the wheel with the **** on the side.. I guess removing the fuse leaves the wheel in the last place sat before fuse removal.
So a question for you or anyone that has worked in this area. Once the nut and Bushing PN-45768 are removed, how difficult is it to move the steering wheel in and out? Mine is nearly impossible for me to push or pull by hand.
Before taking any steps, try pushing/pulling on your steering wheel while continuously operating your control ****.This method is known to work with weak motors
All components must be installed for either manual or normal adjustments made by the control ****. If your motor does not operate, you will need to adjust by turning the motor shaft or the screw jack with an wrench
Originally Posted by KawiLex
When i removed the fuse I'm not able to tilt or retract the wheel with the **** on the side.. I guess removing the fuse leaves the wheel in the last place sat before fuse removal.
Verified and you're correct. Same findings on my 02 LS430. Corrections have been made to the write-up. Thank you for your feedback, just one of the many reasons why I love this forum.
I know this is slightly off subject but does anyone know how to manually adjust tilt? Mine is not working at all and is stuck at a lower than normal position. If i could raise it up just a tad it would make life a whole lot easier until i get a new replacement motor.
Before taking any steps, try pushing/pulling on your steering wheel while continuously operating your control ****.This method is known to work with weak motors
All components must be installed for either manual or normal adjustments made by the control ****. If your motor does not operate, you will need to adjust by turning the motor shaft or the screw jack with an wrench
Let's try this question again, once the nut and bushing are removed the motor is no longer physically connected to the telescoping function of the steering column, turning the screw will not move the wheel in and out since it is not connected without the nut and bushing. My question is how easy or difficult is moving the wheel with the motor physically disconnected? Is there some kind of brake or clutch that stops the wheel from moving in/out that needs to be released by the electric switch function?

 09-18-14, 10:02 PM