When you click on links to various merchants on this site and make a purchase, this can result in this site earning a commission. Affiliate programs and affiliations include, but are not limited to, the eBay Partner Network.
I wouldn't worry about the large subframe bolts. Large bolts have high shearing tolerances. Wire brush the heads nice and clean before attempting to loosen. Use impact quality sockets with a 1/2" drive and work the bolts back and forth in small increments. Torque is force x distance....the longer a cheater bar you have, the less effort to break the rust bond.
I wouldn't worry about the large subframe bolts. Large bolts have high shearing tolerances. Wire brush the heads nice and clean before attempting to loosen. Use impact quality sockets with a 1/2" drive and work the bolts back and forth in small increments. Torque is force x distance....the longer a cheater bar you have, the less effort to break the rust bond.
I still find these bolts can round off easy [under that much torque]. So an exact 6pt mm size sockets (no closest sae) and making sure that if you are using any extension, the angles are kept perpendicular, and a dose of penetrant overnight will do the trick. Once the bond is broken the bolts come off easy. If you own one of those hammer drivers, this is the time to dust them off and use them.
I still find these bolts can round off easy [under that much torque]. So an exact 6pt mm size sockets (no closest sae) and making sure that if you are using any extension, the angles are kept perpendicular, and a dose of penetrant overnight will do the trick. Once the bond is broken the bolts come off easy. If you own one of those hammer drivers, this is the time to dust them off and use them.
Salim
Metric sockets only on these cars! I dont know why people try to use SAE when there are no SAE fasteners on Japanese make cars. You will end up rounding bolt heads and get bloodied knuckles in the process.
A quick reference at the manual shows 135 ft/lbs original spec for the frame bolts. Of course it will take more to break the rust bond that has formed over the years.
The subframe bolts are vertical, kind of hard to use penetrant unless assembling.
How would you get to the threaded portion of these bolts in order to soak them with penetrating oil? Not obvious to me at all.
You really can't unless you can get above the subframe rail which is impossible. Applying heat and letting the penetrant wick it up might be possible but very dangerous in proximity of the gas tank, extreme care will need to be taken. Perhaps with a heat blanket to shield the area. I think its only a situation that brute force and loosening and tightening in gradual increments is key to loosen the threads.
Last edited by fastnoypi; Apr 29, 2016 at 10:04 AM.
I wouldn't worry about the large subframe bolts. Large bolts have high shearing tolerances. Wire brush the heads nice and clean before attempting to loosen. Use impact quality sockets with a 1/2" drive and work the bolts back and forth in small increments. Torque is force x distance....the longer a cheater bar you have, the less effort to break the rust bond.
You say that and then I think about the 19mm suspension bolts for the control arms whose heads eventually stripped with a metric socket and an impact wrench after about a week of penetrating oil. They aren't as big as the sub-frame bolts, but they are pretty large and were certainly tough to cut through. I'm not saying you can't get them off in one piece, I'm just saying we've got some rust here. lol I'm a little gun shy on the rear bolts right now.
You say that and then I think about the 19mm suspension bolts for the control arms whose heads eventually stripped with a metric socket and an impact wrench after about a week of penetrating oil. They aren't as big as the sub-frame bolts, but they are pretty large and were certainly tough to cut through. I'm not saying you can't get them off in one piece, I'm just saying we've got some rust here. lol I'm a little gun shy on the rear bolts right now.
sucks about your individual experience..it happens to all of us. There's still alot of variables of how square your sockets were on the bolt heads, quality of your sockets, etc.
Not all sockets are the same, tolerance differences can be found from manufacturer to manufacturer. I learned the lesson when i was broke in highschool with a cheap Stanley wrench set was not the same as Craftsman, Matco, Snap-On for the same size sockets. I would round off bolts and cause more damage than fixing things!
Other situations, you just have to try the tricks of the trade..like using heat, "shocking" rust free with hammer blows, incremental loosening and tightening till you can rotate a bolt a full 360, etc..
sucks about your individual experience..it happens to all of us. There's still alot of variables of how square your sockets were on the bolt heads, quality of your sockets, etc.
Not all sockets are the same, tolerance differences can be found from manufacturer to manufacturer. I learned the lesson when i was broke in highschool with a cheap Stanley wrench set was not the same as Craftsman, Matco, Snap-On for the same size sockets. I would round off bolts and cause more damage than fixing things!
Other situations, you just have to try the tricks of the trade..like using heat, "shocking" rust free with hammer blows, incremental loosening and tightening till you can rotate a bolt a full 360, etc..
Keep at it!
Every trick and then some was tried. The only thing left is welding a new head on to try some more. This was the absolute worst I've ever had. I'm actually surprised how bad things went.
I absolutely agree about the sockets. There can be a huge variance with them. And I really hate it when someone insists their SAE socket is equivalent to a metric size.
Every trick and then some was tried. The only thing left is welding a new head on to try some more. This was the absolute worst I've ever had. I'm actually surprised how bad things went.
I absolutely agree about the sockets. There can be a huge variance with them. And I really hate it when someone insists their SAE socket is equivalent to a metric size.
If you have the budget, i've had a great experience with Metrinch sockets. They work on SAE and Metric but work by gripping the sides of the fastener to avoid rounding edges. Made in the USA with lifetime guarantee. Pricey but worth it.
Craftsman has a "universal" lineup but their sockets are meant for light torque applications, lots of reviews say they break under automotive use. Maybe good for inside the house repairs.
After things have gone bad here are few things too try,
First order a replacement bolt/nut. There may be a lead time and you will need it.
Is the head of the bolt/nut developed a taper? If so use a grinder to remove taper.
It is a two person job. Get hold of a pipe wrench and get a tube (ideal tool is the pump rod of the floor jack). Pass it over the wrench handle. One person holds the wrench on the bold head and assists in getting a bite. The second provides the torque/leverage.
If the vehicle is drivable take it to a mechanic. Having the room to position under and air tools. Keep in mind you have to tackle more than just one bolt.
If the vehicle is drivable take it to a mechanic. Having the room to position under and air tools. Keep in mind you have to tackle more than just one bolt.
Salim
Oh we're way past the drive-ability part, lol. Here is a question for everyone:
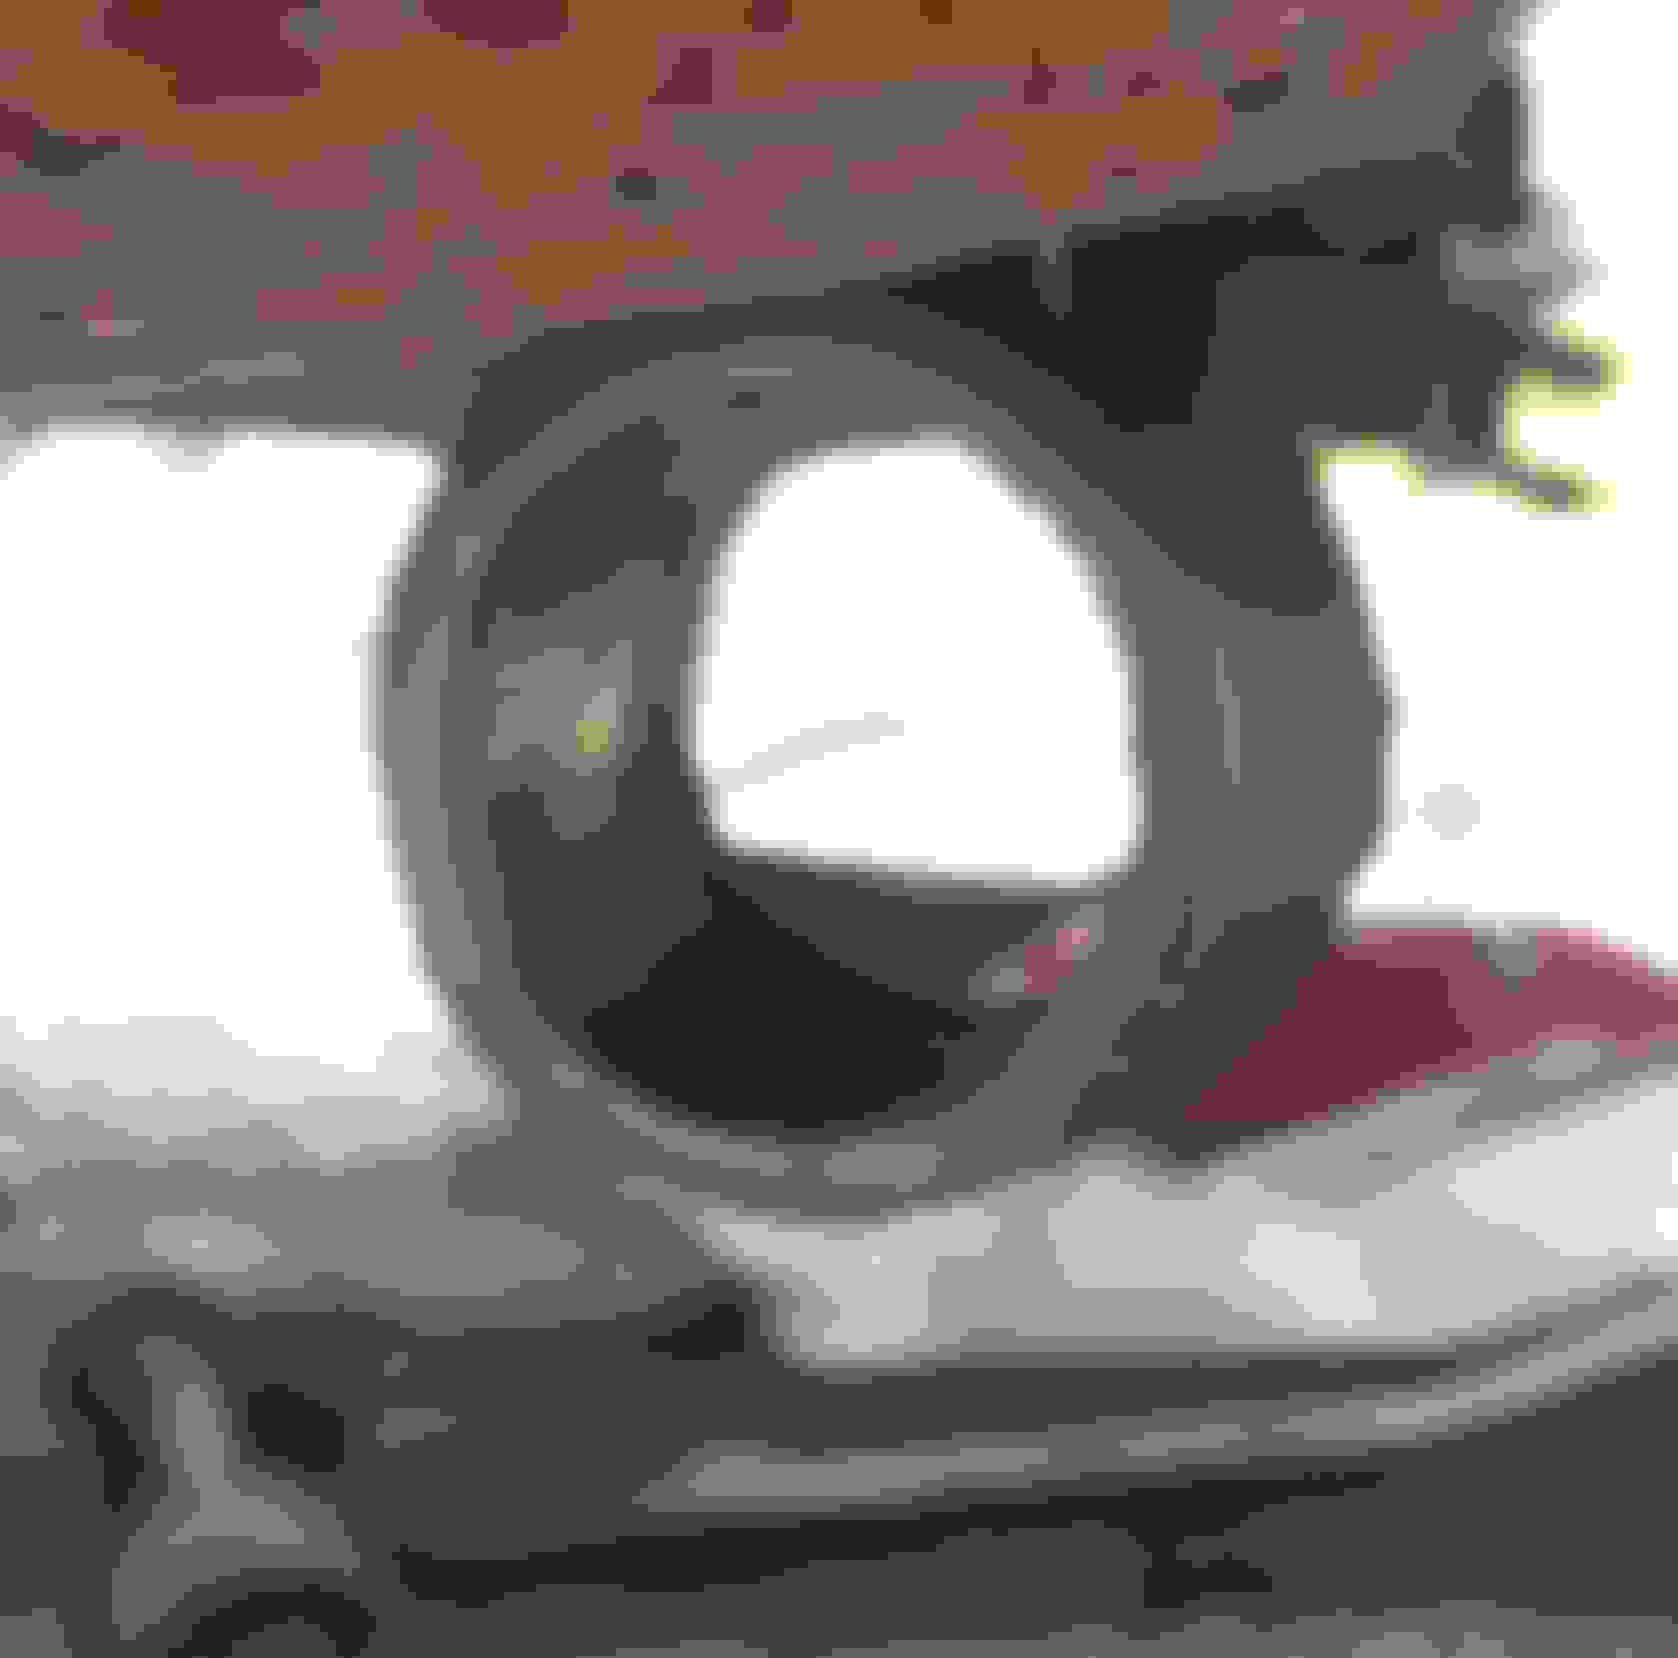
Trailing arm bushing at the hub: does it have an outer ring? I thought all bushings did, but they are out now and I'm not sure if there is a ring or if I'm seeing a casting seam. The new bushings I got are supposed to be installed without the outer ring (?!) and the instructions state to cut out the old ring. Does anyone know for certain?
which brand bushings did you get? any pics? For trailing arms i would have thought you keep the bushing shell if that is what you mean by ring. Is it a 2 piece style bushing replacement?
Last edited by fastnoypi; May 2, 2016 at 04:05 PM.
which brand bushings did you get? any pics? For trailing arms i would have thought you keep the bushing shell if that is what you mean by ring. Is it a 2 piece style bushing replacement?
Yeah, I don't know what to call it: outer ring, outer shell. The metal part that is supposed to go around the rubber part, not the inner sleeve that the bolt goes through.
No, it's a single piece, poly-something or other (my brain is getting into sleep mode). Before anyone starts, I don't care if it's better/worse than rubber. It looks like it'll fit the hole. At this point fitting in the hole is the only thing I care about. After that I'm only caring if it works well enough I can drive my car.
I called the company that manufactures/imports it and they were adamant that their bushing is designed to fit the hub without the outer shell/ring, which I just find strange, but I'm not a mechanic who knows anything. Anyone have any experience with poly bushings? Is this normal?
if the instructions state you cut the sleeve, then follow the directions. Typically the poly bushings come with lubricant. Use that or marine grade grease or you will be hearing sounds and squeaks forever .
This is a pic of what i was expecting on the right but maybe yours doesnt have shoulders.