When you click on links to various merchants on this site and make a purchase, this can result in this site earning a commission. Affiliate programs and affiliations include, but are not limited to, the eBay Partner Network.
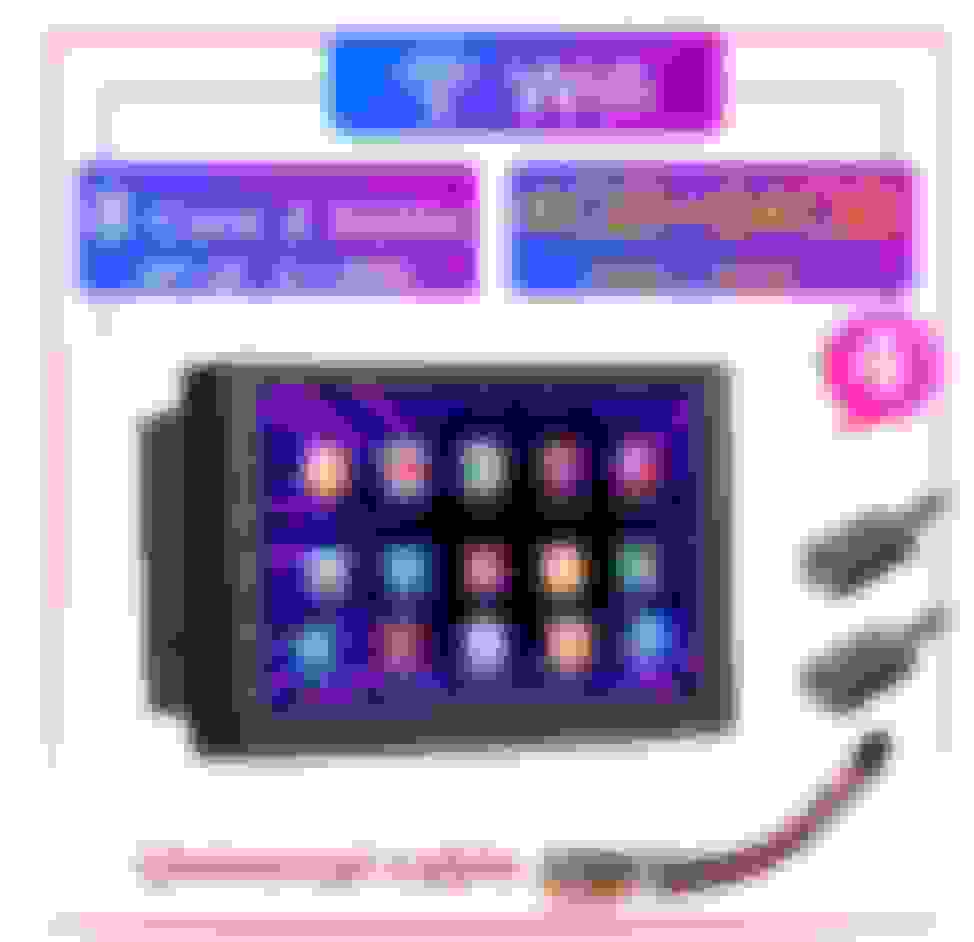
After a four week shipping time, my 8 core Carlaoer Android Car, double DIN finally arrived. I also ordered their wireless CarPlay adapter and had requested US map data be preloaded. Yes, they did it. Nice surprise was they shipped with Android 10 installed instead of 9.0
I selected this particular unit for its physical size, processor speed, storage, and DSP. My plan is to completely replace the SC430 navigation screen and its door assembly. I plan to use the (soon to be unused) door open and close buttons to switch audio source between the ML head unit, new Carlaoer and my car's iPod. I'll be injecting full quality audio into the ML amp's inputs using the same scheme I have used for my iPod, except this time I will have three sources to switch and will use existing buttons to do the selection. To that end, I obtained several positive and negative triggered latching DPST relay boards because I don't yet know the signaling on those navigation Open/Close button lines.
Also, got a Axxess ASWC-TOY-LEX steering wheel control adapter to convert the SC430 gateway ECU's digital AVC-LAN steering wheel control signals to an analog voltage signal the Caraloer can understand. I will lose steering wheel control for the ML head unit, but should gain steering wheel control of the Android and iPhone.
Don't go ordering what I have yet. I'm still testing and setting up on my bench, but thus far the Carloer is working very well with wireless CarPlay.
No dropouts or audio weirdness despite a good hour of play. Also made phone calls via CarPlay with good intelligible audio.
CarPlay is full screen and reconnects in about 20-30 seconds of restarting Android unit.
Auxiliary RCA audio output of the Carlaoer is about 2.5 volts peak to peak when loaded with my Klipsch portable amp. Like my iPod, it will probably be lower volume than the ML head unit, but I'm used to lowering the volume when audio source is set to the ML (not that I do that very often). Up to now, I've been listening to my iPod 99.9% of the time and rarely the ML head unit's audio.
I was concerned about standby battery drain, but it's a mere 8 ma once the Android goes into sleep. However, during startup, be aware that its B+ line will pull 800 ma in addition to the drain of the ACC power line.
My plan is to power the Carlaoer Android via the old navigation system's existing power harness. That should be OK because I'm not planning to drive speakers with Carlaoer. The existing ML amp will continue to drive my speakers with the ML head unit setting CD sound processing mode, volume, fade, etc.
Next up is removing the existing navigation assembly and probing the open and tilt button wires to see what signaling is sent when the buttons are pressed.
Last edited by Seattle SCone; Jan 1, 2021 at 04:24 PM.
You have to indicate your map preference in the ordering comments for them to know what to preload. Mine arrived set up for iGo and loaded with United States map.
[EDIT - The communication protocol for these buttons is more complex and not easily utilized. I eventually abandoned idea of using the AC module buttons]
Here are my notations on on Navigation Multidisplay connector pinouts in preparation for probing the lines. The six pin connector supplies ACC and B+ power, and probably has illumination control on pin 2. That will need some measurement of incoming voltage as panel lighting is varied.
Pins 10 and 21 on the 22 pin connector are the open and tilt wires coming from the AC system control module. I'm betting those simply go up or down in voltage when button is depressed. Could also be digital, but that seems too much engineering and less likely. Only measurements while the buttons are pressed will tell.
Last edited by Seattle SCone; Jan 15, 2021 at 05:21 AM.
Probing harness from car with with Multidisplay unplugged.....
Weird results on pin 20 (Open) line. Thus far, I don't see any voltage or waveforem changes on scope with presses of the Open button. Same on Tilt line and tilt button. Also, RE1, RE2 just seem to rise to 12 volts upon car power up. No changes detected thus far with button pushes. Those buttons on the AC control must be using a mechanism I had not anticipated. More investigation is needed.
Last edited by Seattle SCone; Jan 3, 2021 at 07:48 PM.
Nice! That's the same unit I'm running. You're making me wish I had an iPhone so I could have gone the wireless CarPlay route as well.
The wiring setup you have planned is a bit above my head, but regarding not seeing any voltage change at the open/tilt button - Do you have any other hardware unplugged? When installing my carlaoer, I removed the speedometer assembly to mount the navigation pcb behind it. Everything else was plugged in, but the tilt/open would not work. Once plugged in, my navigation unit began working again. I'm not sure if there are other hardware dependencies, but figured it was worth a mention.
Best of luck! I'm looking forward to seeing what you come up with!
Nothing else unplugged except the Mutlidisplay. I have found there is voltage present FROM the multidisplay when it is plugged in. Changes with open and closed state of the door, but I still am not picking up obvious voltage changes with button pushes. I think the multidisplay rather than the AC unit is the active end of the button system and they are using a digital signaling scheme. My plan to use latching relays and those buttons won't work, unless I modify the AC unit to get direct access to the button pads. That's more surgery than I wish to perform.
I'm going to inject into my existing iPod wiring scheme. Then reroute the iPod to auxiliary input of Android. That will still let me use all three sources albeit without using the AC module buttons.
Already have found the line level outputs are too low when fed into the ML amp that way. Now waiting for a line level changer to use the Android's speaker level outs. Alternative would be an amp on the line level output, but speaker to line level units are simpler approach.
As for physical mounting, I decided to use the sides and outer metal chassis of the multidisplay rather than fabricating an entire new mount. Makes it easier to accomodate the AC vents and fascia mounts. With the old multidisplay and door mechanism stripped out, there is plenty of room. Also was able to use the braces that came with the Android...
I connected the 6 pin power connector of the multidisplay to the android's power harness to obtain gnd, acc, b+, and illumination. That lets me avoid chopping into the car's in-built harness. Smoke test has already been passed and wireless CarPlay functions. The next is steering wheel control and audio level correction.
Will need to pull ML head unit to shift its steering wheel control connector to the steering wheel control adapter.
Yes. It works! I now have the ML head unit, my classic iPod, and Android car all available as sound source. Wireless CarPlay is something this car was needing. Nice to have it updated.
Rather than trying to write another step by step, I'm only going to cover things I found of particular note. Others have done more detailed step by step.
First, protect your leather and plastic covers with cloth and masking tape. The sharp edges of pry tools and even the radio, AC, and multidisplay can make nasty cuts and scrapes to your nice interior.
Masking tape the front and inner side surfaces of leather before removing or inserting components.
When I was working on testing the Carlaoer unit, I needed to place it atop the ML head unit door. A cloth kept me from scratching it up. Alternatively, close the head unit door.
The harness you see taped up is my new audio & steering wheel network harness. Once plugging into my android assembly, it carries audio out from android, audio in from ipod, and steering wheel network to Axxes steering wheel interface.
Tip: Stuff some cloth into spaces below bolts before removing bolts. That might save you from a headache retrieving a screw or bolt from the transmission tunnel.
Last edited by Seattle SCone; Jan 6, 2021 at 12:59 PM.
Steering wheel control of the Carlaooer Android unit DOES work with Axxess ASWC-TOY-LEX steering wheel interface. You unplug the 6 pin network plug from back of ML head unit and connect that plug into jack of ASWC-TOY-LEX unit. That diverts the digital steering wheel signaling to Axxess ASWC-TOY-LEX. That converter then outputs a usable signal on its brown wire. That brown wire connects to the Carlaoer Key-1 wire. There is no need to connect the brown/black wire of the ASWC-TOY-LEX. Just one KEY-1 wire is needed.
Of course, the ASWC-TOY-LEX also needs ACC power and GND connected. I simply tapped those from the power feed of my Carlaoer.
On my 2002 SC430, only the 6 pin plug needed to be moved to the ASWC-TOY-LEX . On some later years, the larger ASWC-TOY-LEX plug also needs to be moved to maintain network.
I made up an audio cable and steering wheel harness. The new harness has the two network wires going to the former head unit 6 pin. It also has audio input from my iPod and output to armrest audio input. That audio input is the one I added years ago to inject audio into the ML audio system.
Hard to see in this pict, but the harness is to multipin jack so I can detach the android assembly readily.
B+, ACC, and GND power for android and ASWC-TOY-LEX are taken from pre-existing power jack of multi-display module. I cut the old jack from the multi-display harness and re-used the connector. That gets me power without altering the car's harness.
Last edited by Seattle SCone; Jan 6, 2021 at 01:03 PM.
The line level outputs of the Carlaoer were too low amplitude. A Scosche LOC80 line level converter was needed to convert front left and right speaker outputs into audio signals usable with my existing iPod audio input injector https://www.clublexus.com/forums/lex...s-at-last.html
With the Scosche at max gain, audio ouput is perfect for my ML audio injection with android volume at 25 to 35. Going higher on the Android can result in some clipping.
The line level converter and ASWC-TOY-LEX were both mounted inside my hollowed out multidisplay chassis with 3M-VHB tape. Tessa tape neatened up the wire bundles.
Be sure to let the ASWC-TOY-LEX program itself and test that the android can learn the steering wheel controls BEFORE buttoning things up. You may need to press the ASWC-TOY-LEX reset button to force a relearn if things are not working. (Turn on ACC power, press 3 seconds, release and let it learn. Once the light quits flashing, turn off car. Turn on again and try to teach the android the steering wheel buttons. Took me a few rounds to get it right because I had powered up/down the ASWC-TOY-LEX without letting it properly program itself the first time.
You can also see the wireless Carplay adapter (white rectangular) has been mounted with VHB tape towards front of the chassis, under the android unit.
TIP: be mindful of which touchscreen icon you touch before learning a button. I didn't notice that some of my finger presses were registered on the wrong icon. That made things a bit confusing. There is a little checkmark that appears under the icon as a button is learned. That can help clue you in on whether you're doing it correctly
Last edited by Seattle SCone; Jan 6, 2021 at 01:07 PM.
I attached the GPS antenna to under surface of dash just above where the mutidisplay mounts. 3M VHB tape once more was ideal since the supplied sticky on the GPS antenna was on bottom of antenna and too thin.
Installation complete except for needing to 3D print a new surround with USB jack mount. I've temporarily left the 2nd USB jack sticking out with a slight protrusion. Once I get the surround made, I'll have the jack near flush.
In the end, the ML unit continues to control the ML amp's volume, fade, treble, bass, and audio processing mode. I keep mine in CD mode.
My old iPod audio input accepts audio from the Android. iPod is connected to android's auxiliary audio input.
BTW, I didn't connect any video cameras because my SC430 is already set up with a mirror dash cam and displays a rear camera full time. No need for another backup camera on the android.
Bravo! I'm glad to see you were able to get everything sorted out and steering wheel controls work. Your work always impresses me. That Carplay addition is pretty damn sweet too! I can't wait to see what the final setup looks like once you get the printed surround fitted.
Thanks. It's really nifty to simply get in car, start ignition and have CarPlay automatically connect to phone in my pocket and start playing music right where it left off.
I'm thinking my long serving iPod will get little use now that the phone is taking over music duty.
Automatic reconnection process takes about 30 seconds.However, it won't occur if you quit CarPlay on the Android. Then you must restart it manually.
Here is a view that includes my mirror dashcam that serves as my full time rear view to eliminate our horrible B-pillar blind spot. As you know, merges sometimes hold a hidden car in that huge blindspot.
Before my rearview camera, that blind spot very nearly got one of my friends (on a motorcycle) killed. No more such incidents since adding that wide view rear camera.
Last edited by Seattle SCone; Jan 6, 2021 at 01:48 PM.
Thanks. It's really nifty to simply get in car, start ignition and have CarPlay automatically connect to phone in my pocket and start playing musing right where it left off.
I'm thinking my long serving iPod will get little use now that the phone is taking over music duty.
Automatic reconnection process takes about 30 seconds.However, it won't occur if you quit CarPlay on the Android. Then you must restart it manually.
Here is a view that includes my mirror dashcam that serves as my full time rear view to eliminate our horrible B-pillar blind spot. As you know, merges sometimes hold a hidden car in that huge blindspot.
Before my rearview camera, that blind spot very nearly got one of my friends (on a motorcycle) killed. No more such incidents since adding that wide view rear camera.
I dig the rear view cam! My tacoma came from the factory with the backup camera integrated into the rear view mirror, so I'm more comfortable using that setup. Which unit did you use? I may go that route instead of wiring my camera into the android.
Mine is a AUTO-VOX X2 Mirror Dash Cam, but is older model, no longer available. More current models have since been released.
I painted my stock mirror flat black so it visually blends in with the dashcam. You have to be looking for the dashcam to notice it. With the light tan stock rearview mirror color, the dashcam stuck out like a sore thumb.
I really like my rear view camera, but some caveats:
1. You need to wipe down the rear camera periodically to keep it clean.
2. Rain is a problem if rear license plate camera location (note that I'm near Seattle and using it successfully)
3. Objects in wide, rear view ARE closer than they appear. Takes a bit to get accustomed to that.