When you click on links to various merchants on this site and make a purchase, this can result in this site earning a commission. Affiliate programs and affiliations include, but are not limited to, the eBay Partner Network.
This one comes at the request of ShawnOK and a few others here.
I ordered up a spare seatbelt receiver off eBay to experiment with and was surprised that the mod is pretty simple. Took me about 30 minutes including cleaning up the parts.
Since I am doing this on a receiver that is already removed from the car, I unfortunately won't be covering how to remove them. You will most likely need to remove your seats and then there will be two bolts on the receiver bracket to remove. Finally, an electrical plug needs to be unclipped.
There is no way to do this mod while installed in the car, so you will need to take the receivers out and bring them to the bench.
Let's get started.
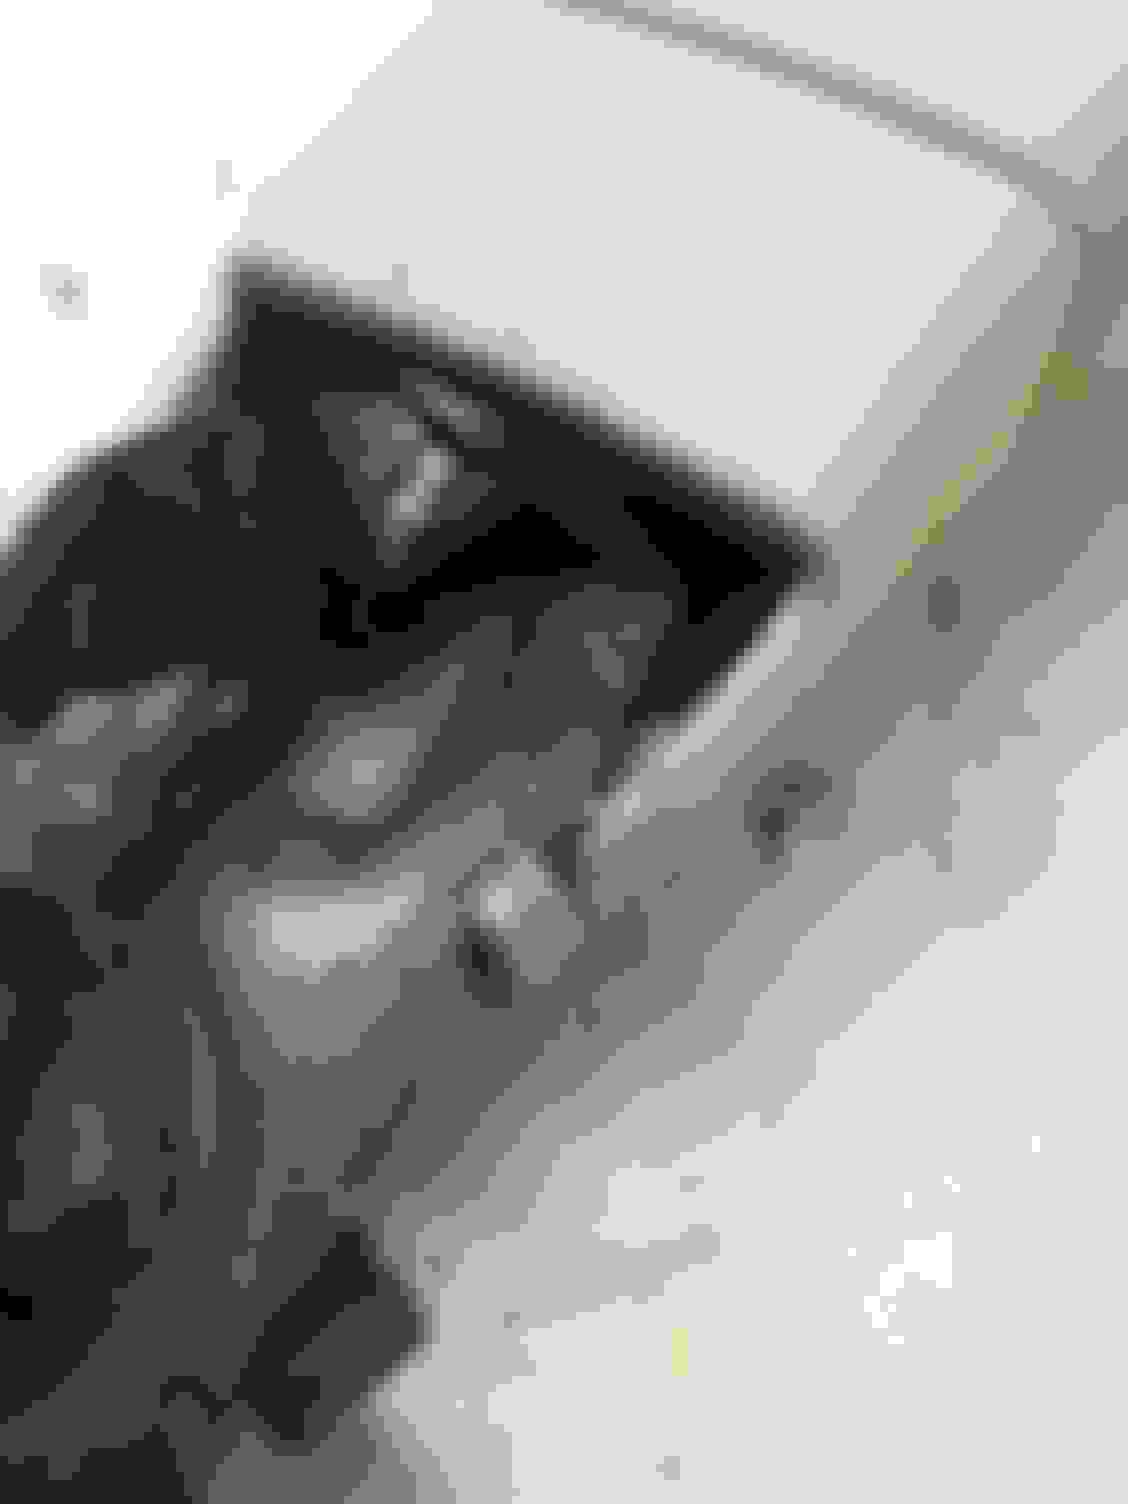
Yours will have a leather skirt over the metal bracket and the bottom half of this cover. I cut it off this one because it was pretty damaged anyway. You should be able to lift it up to gain access to the two clips you see above. Just release the clips and pull the plastic cover down.
To separate the two halves of the receiver, I inserted a large trim tool in the back end and pried it up near the sides. There are two large clips holding the halves together near the bottom. After those clips are released, you can slide the top half down a bit. This next picture will show you what the cover looks like and what I mean by sliding it.
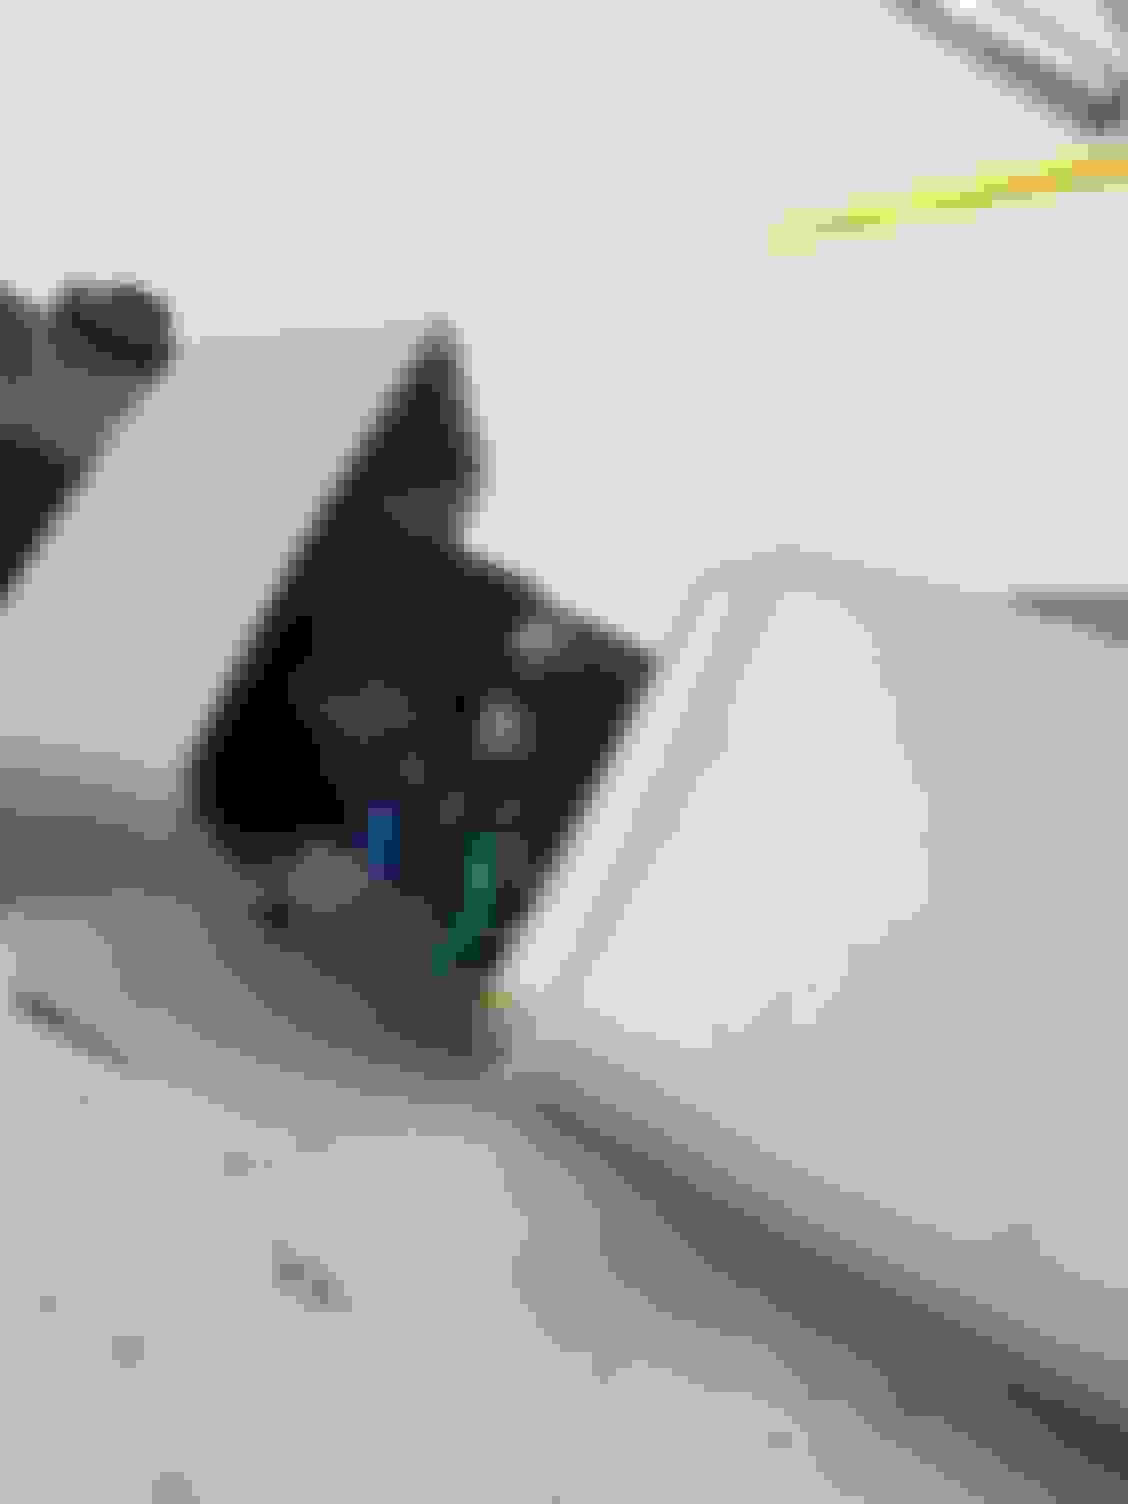
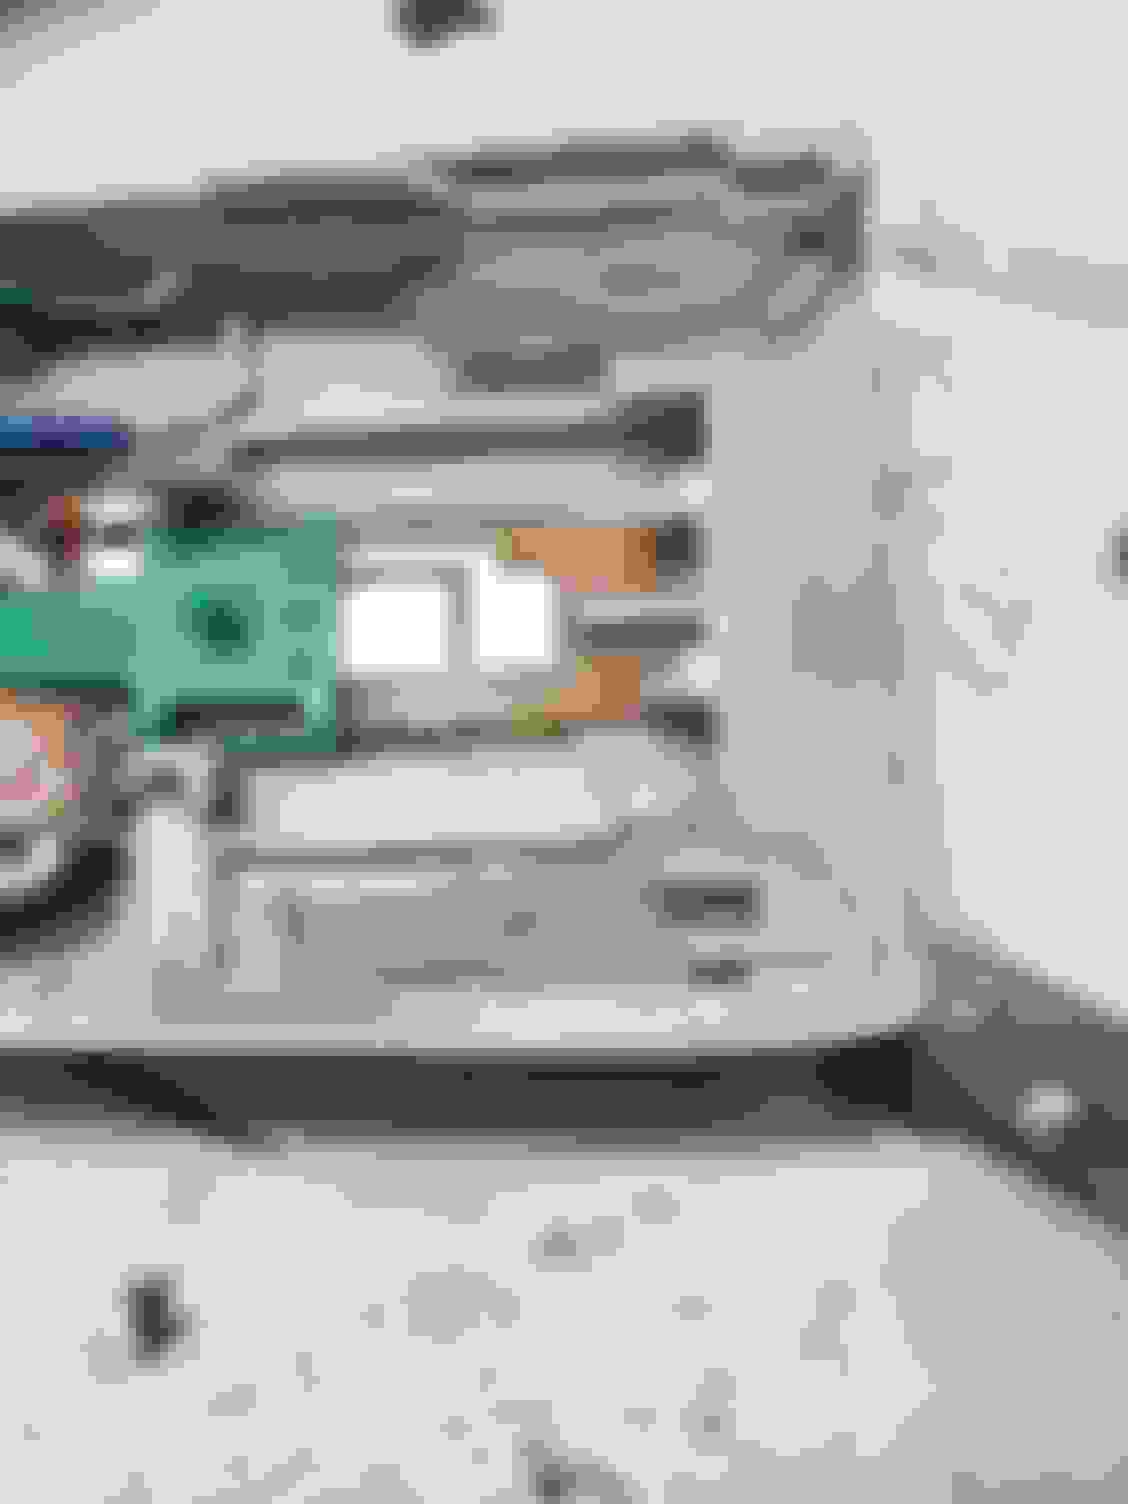
Once you get the two halves apart, you should be looking at this. The lights are underneath the receiver mechanism.
The receiver mechanism is held in with two plastic clips at the bottom, and a metal tab sits underneath the plastic edge at the top. Release the clips, and then you can just slide the receiver mechanism out.
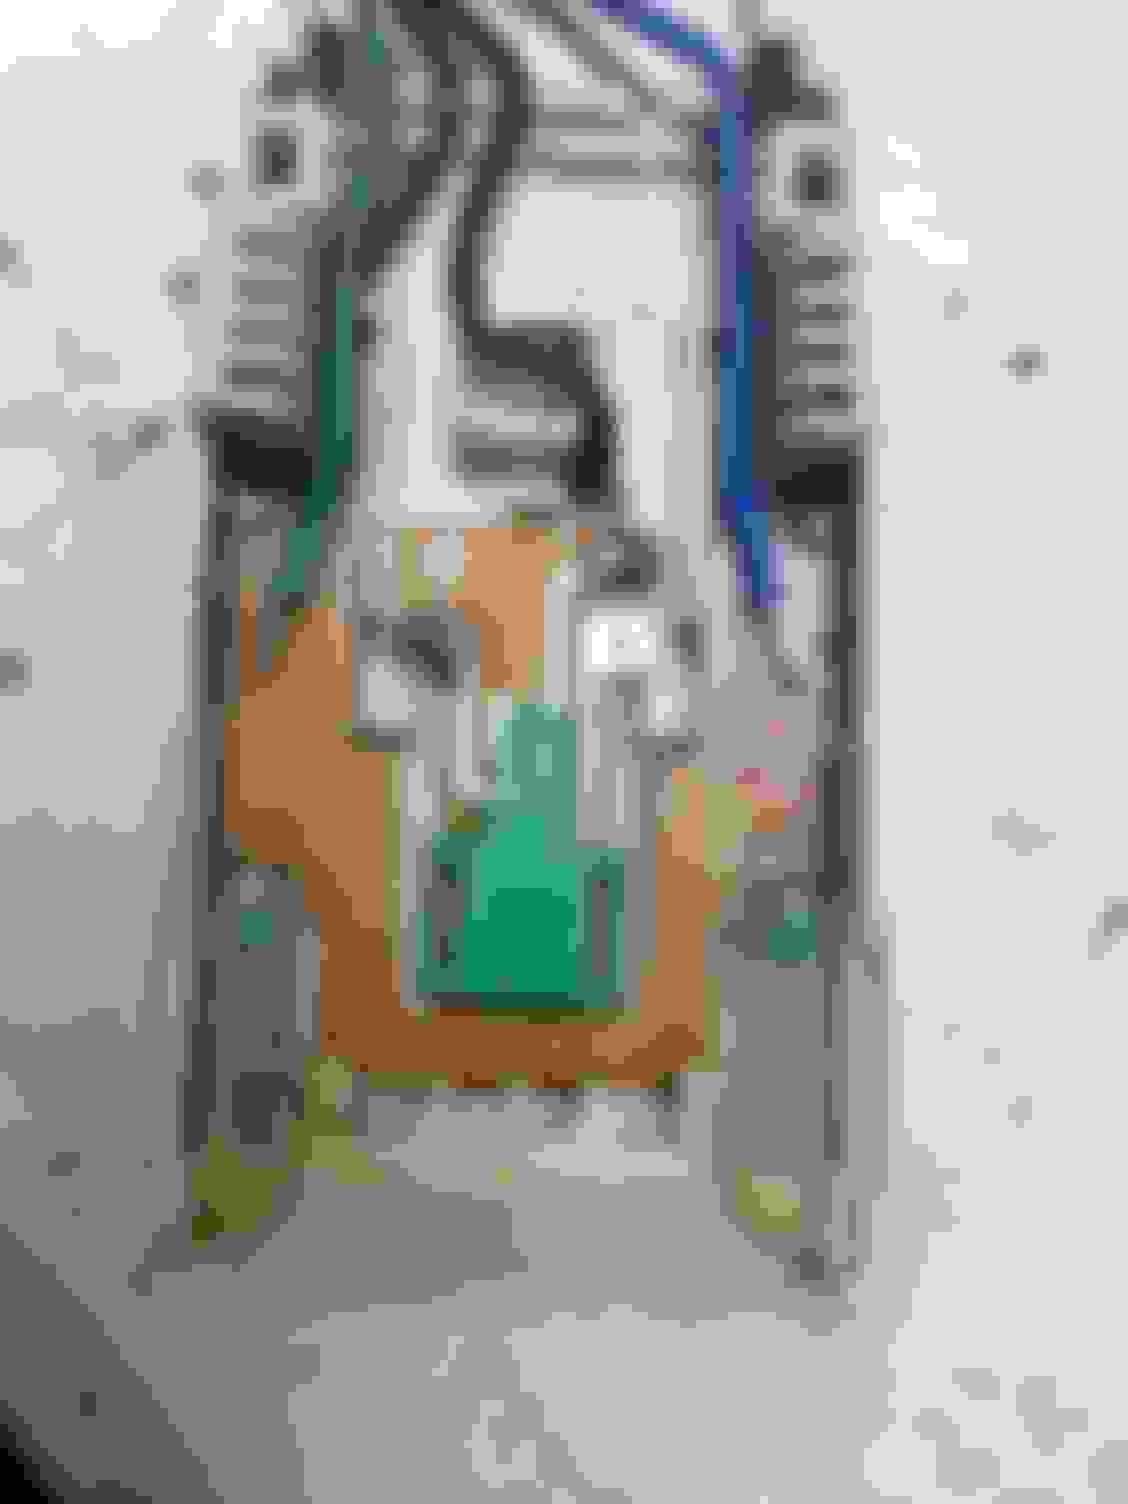
And now you are looking at this:
Refer to this picture later for the wire routing when re-assembling.
The lights are two green 3mm LEDs soldered on a PCB in series. The PCB is just held on with two plastic clips at the bottom edges. Pop those clips and you can lift out the PCB to de-solder the LEDs and install 3mm LEDs in your choice of color and brightness.
But before you do, slide off the translucent 'light pipes' and clean them up while you are in there.
Just push them back and they will slide right off. I just wiped mine down with some multipurpose cleaner and a paper towel.
While I was in there, I also cleaned the switch contacts with rubbing alcohol and a q-tip. Might as well clean up as much as possible while you have it all apart. It will probably be as filthy as this one was.
When inserting the new LEDs, do it so that the flat bottom of the LEDs line up with the edge of the PCB just like the originals. You will bend them down and then bend the leads in the opposite direction on the underside. Make sure to match the polarity. It is marked on the bottom side, but I forgot to take a picture of the bottom side.
After installing the new LEDs and snapping the PCB back in place, you are ready to re-assemble. This is just a reverse of the disassembly above, so refer to those pictures if needed.
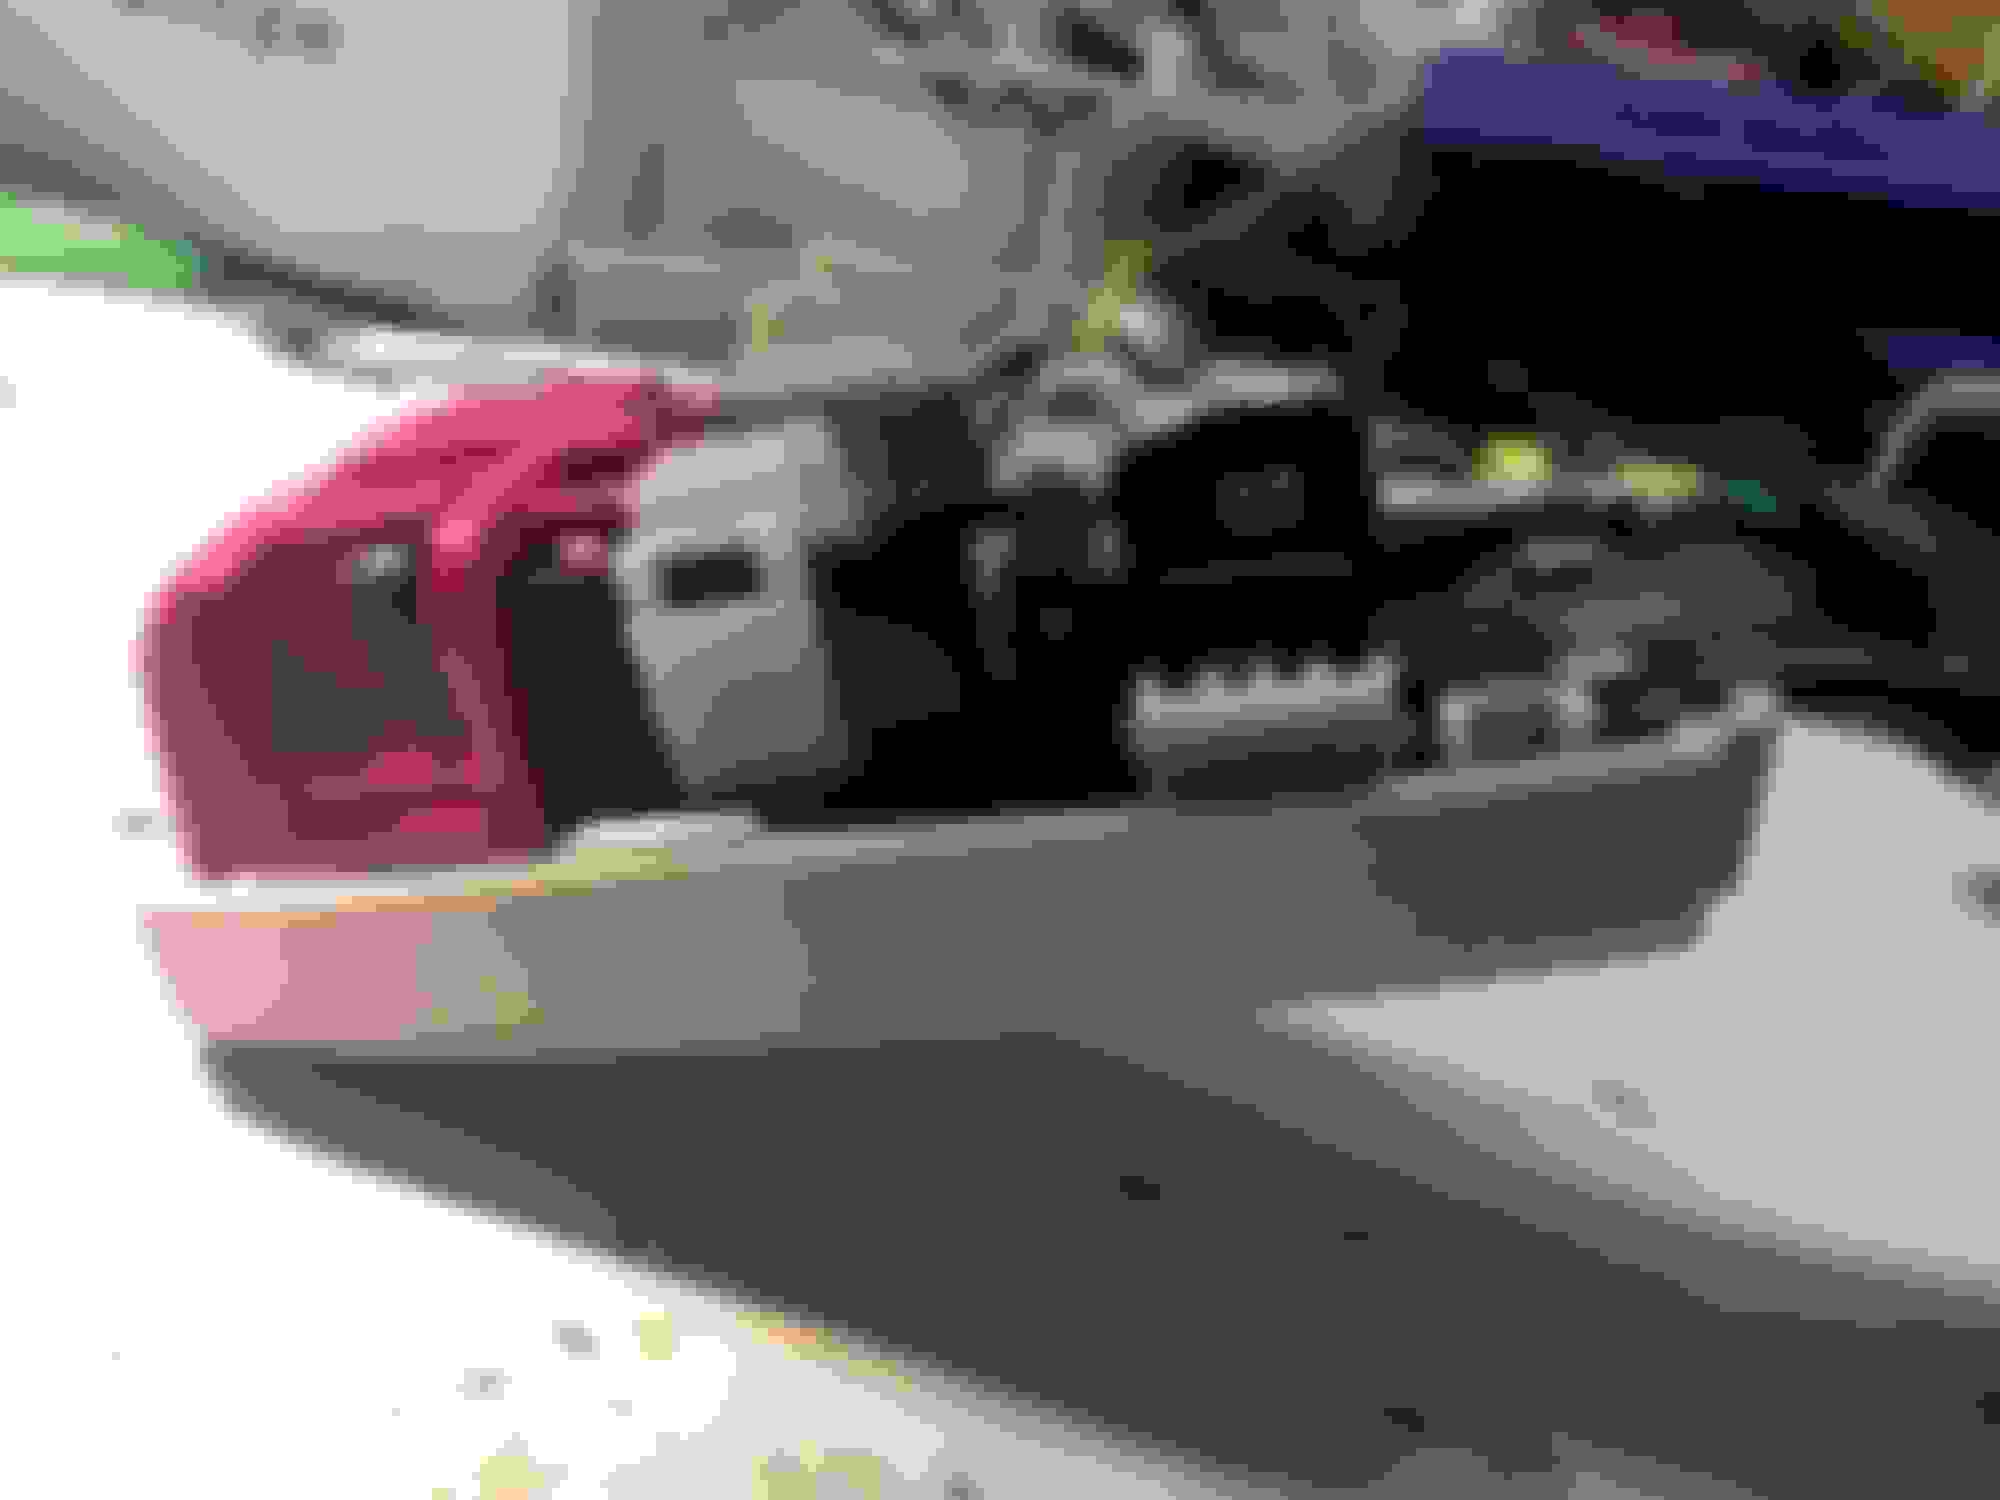
Note carefully the routing of the wires. Push them down into the notches in the sides so that they are not pinched by the receiver mechanism. Otherwise, you will have trouble snapping the receiver mechanism back in place and if you keep squeezing you will damage the wires. This might be a little frustrating as they will want to move out of place when trying to get the receiver mechanism back in. Be patient.
Finally, make sure that green switch slider is all the way up to the top so that the mechanism will line up with it. Otherwise the switch won't work. It did look like it would self-align once you push the red receiver button after assembly, but I wouldn't count on it. Better to line it up now.
Snap the receiver mechanism back in place making sure the plastic clips snap over the metal edges. Keep track of your wiring and wrangle them as best as possible into the notches on the very bottom edge. There isn't a ton of pressure there, so it shouldn't damage the wiring, but do the best you can.
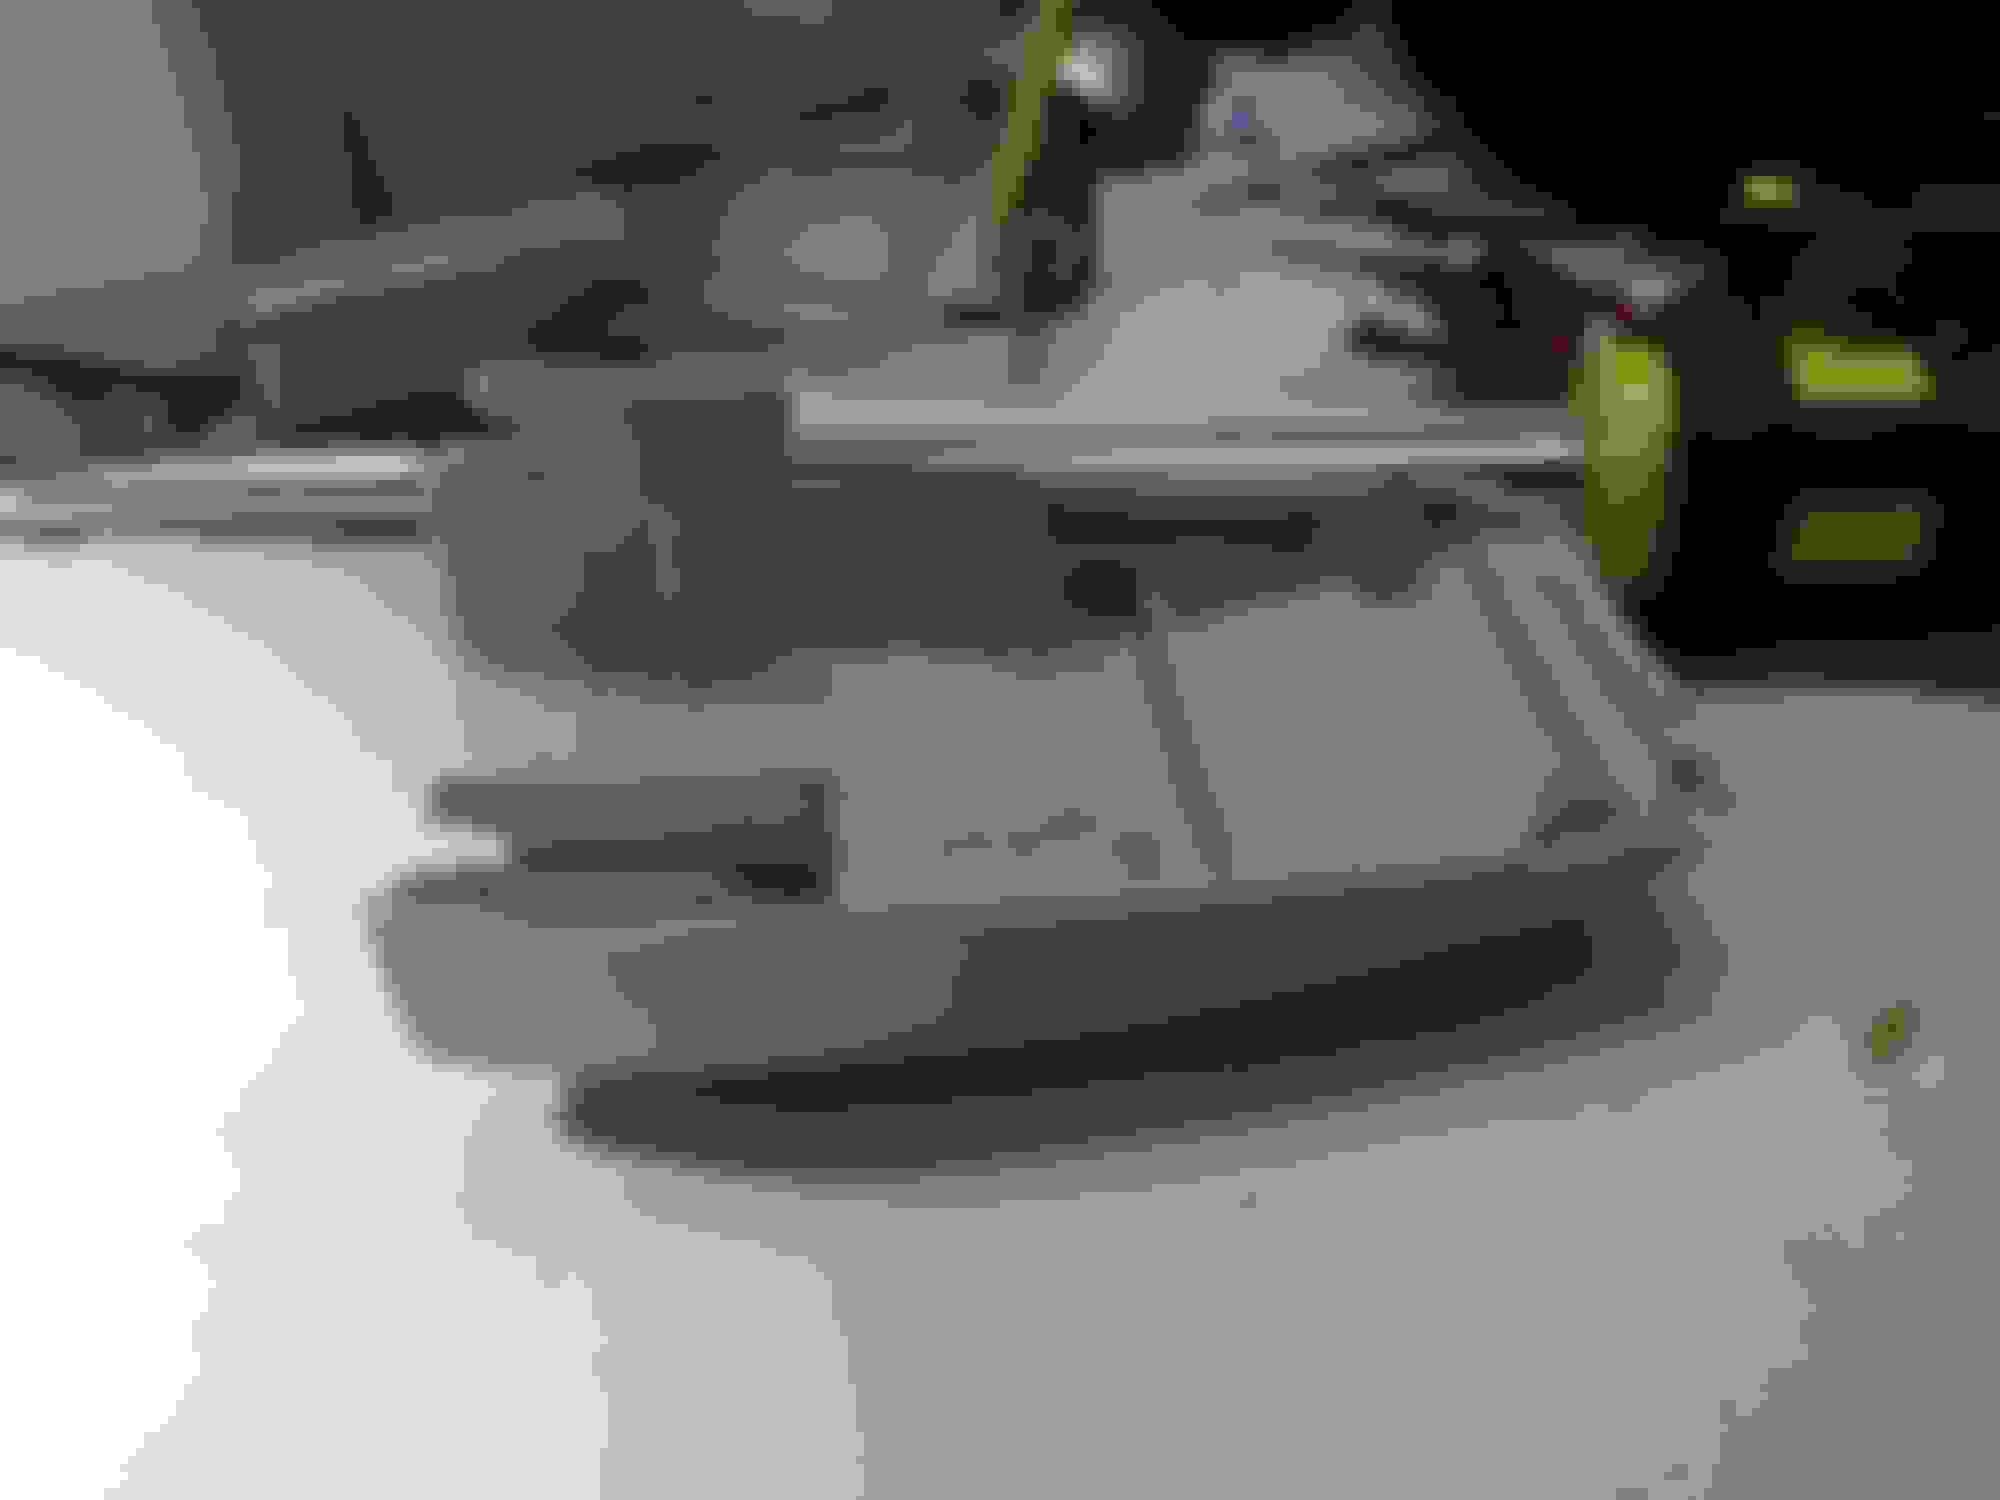
Once the receiver mechanism successfully snaps in place, attach the top plastic cover half by sliding the top notch into place until the halves are even at the top and then squeeze the two halves together until they snap back together.
Then put the bottom plastic cover with the leather skirt back in place and snap the clips back on to the metal bracket.
So awesome! I'm ready to get this going! If I get to this mod this week, I will do a DIY for the seat removal unless someone beats me to it! Thanks Retro!
ShawnOK, looking forward to a write up for removing the seats and receivers. I will end up needing that myself when I get a chance to do mine.
I am hoping the pictures mostly speak for themselves. It really wasn't difficult at all and I think once you get the halves apart, all the various clips are obvious.
The only thing that might be a 'gotcha' is if you don't properly line up that green switch slider. But when I looked at how it fit in there, I think it would snap into place as soon as you push in the receiver button anyway.
Awesome! I noticed this light the first day I got my SC, and I wanted to make it a brighter green, or go for blue or purple, and then wanted to get the same color lights for the Lexus logo on the door sill which is uncovered when you open the door..
Awesome! I noticed this light the first day I got my SC, and I wanted to make it a brighter green, or go for blue or purple, and then wanted to get the same color lights for the Lexus logo on the door sill which is uncovered when you open the door..
If you do a search, you will find a thread or two where people tackled the door sil lights. The yellow/gold color is a filter and the light is all sealed up. However, if you use a bright enough light, it will overcome the yellow color.
I am also planning this for a future upgrade, but plan to make all new modules to replace the whole light.
Herrres the door sill DIY. I'm really glad I did mine. I get lots of compliments on mine, especially from valets and the runners at the Lexus Service Bay...
https://www.clublexus.com/forums/sc430-2nd-gen-2001-2010/771026-door-sill-scuff-plate-diy-upgrade-and-color-change.html
Did the seatbelt receiver mods for ShawnOK with bright white LEDs as well as the radio controls on the steering.
Shawn had already removed the part and shipped them to me. Swapping out the LEDs in all three pieces took less than an hour to do. Very easy mod.
Since you are not keeping the old LEDs, snip off the leads and it will make the de-soldering work quick and simple. Just heat and pull them out. Then clean up with braid.
I did learn one new thing while doing his seatbelt receivers. Before re-attaching the top plastic cover, you should push in the button to make sure the halves line up perfectly.
Always snap the two halves apart from the bottom. This way if you nick the plastic a little, it will be unnoticed. The cover you want to snap off is the half on the button side.
I have already started a DIY to add to this thread of step by step instructions on how to remove the seats and get to the seat belt receivers on both sides. I want to take better pics, so once I get the parts back from Retro and start the reinstall, I will upload something that should very helpful. Thanks again, Retro!
Got it done! Couldn't do it without my buddy, Retro! Here's the DIY to remove the seats and furthermore the seat belt receiver. I created it as a word doc, as it was pretty pic heavy. Hope this is helpful. I tried to be specific and lots of the photos have RED circles and lettering to indicate the steps. I hope I didn't miss any steps, but I'm sure anyone that starts down this road will be able to handle any minor steps I neglected or breezed over. Pics in the next post!
Grrrrr. the doc is too large. I will have to reduce images and repost the DIY to THIS post. Sorry
Had to change it to pdf... If anyone needs the original word document to edit, please let me know and I will email it.
 11-14-15, 10:32 AM