SC430 - 2nd Gen (2001-2010)

Nat's SC430 Build Thread

Thread Tools
 
Search this Thread
 
Old 10-02-15, 12:13 PM
  #46  
Nat
Lexus Test Driver
Thread Starter
iTrader: (1)
 
Nat's Avatar
 
Join Date: Jun 2006
Location: CA
Posts: 1,443
Likes: 0
Received 11 Likes on 9 Posts
Default

Hood, doors, trunk and the whole V-Vision kit were removed yesterday for primer. I was fortunate to be sponsor by BASF Glasurit paint so that's what we'll be using for this project.


Parts in the paint booth.


The whole car completed with primer. I really like how the molded over fender turn out.
Old 10-02-15, 09:06 PM
  #47  
texsexlex
Racer
iTrader: (3)
 
texsexlex's Avatar
 
Join Date: Jan 2009
Location: texas
Posts: 1,714
Received 112 Likes on 97 Posts
Default

Nat this project is looking good !!!!
Old 10-03-15, 07:59 AM
  #48  
Cube
Rookie
 
Cube's Avatar
 
Join Date: Aug 2015
Location: brunei muara
Posts: 89
Received 4 Likes on 4 Posts
Default

Impressive.
Old 10-04-15, 10:47 AM
  #49  
WIL44
Instructor
 
WIL44's Avatar
 
Join Date: Jan 2011
Location: London UK
Posts: 1,001
Received 87 Likes on 47 Posts
Default

Fantastic work, can't wait to see the finished car in paint.
Old 10-06-15, 01:26 PM
  #50  
Nat
Lexus Test Driver
Thread Starter
iTrader: (1)
 
Nat's Avatar
 
Join Date: Jun 2006
Location: CA
Posts: 1,443
Likes: 0
Received 11 Likes on 9 Posts
Default

Car has been primered and is now ready to go in the booth for paint.


The right way to paint...strip as much down as possible.


The trunk...fully strip.
Old 10-06-15, 01:53 PM
  #51  
ShawnOk
Pole Position
iTrader: (1)
 
ShawnOk's Avatar
 
Join Date: Mar 2013
Location: Oklahoma
Posts: 2,169
Received 89 Likes on 76 Posts
Default

Nat, it looks like you're doing some awesome work! Excited to see this competed! Just a question, can you possible do a Quick DIY on taking out/putting back the seats. I feel like I want to remove mine in the near future and any photos or steps will be really helpful. Hopefully you will oblige. Thanks.
Old 10-06-15, 02:14 PM
  #52  
Nat
Lexus Test Driver
Thread Starter
iTrader: (1)
 
Nat's Avatar
 
Join Date: Jun 2006
Location: CA
Posts: 1,443
Likes: 0
Received 11 Likes on 9 Posts
Default

Shawn...I'll do my best to take pictures when we put everything back together.

Originally Posted by ShawnOk
Nat, it looks like you're doing some awesome work! Excited to see this competed! Just a question, can you possible do a Quick DIY on taking out/putting back the seats. I feel like I want to remove mine in the near future and any photos or steps will be really helpful. Hopefully you will oblige. Thanks.
Old 10-06-15, 04:06 PM
  #53  
Nat
Lexus Test Driver
Thread Starter
iTrader: (1)
 
Nat's Avatar
 
Join Date: Jun 2006
Location: CA
Posts: 1,443
Likes: 0
Received 11 Likes on 9 Posts
Default

Car is now in the paint both. First coat of white paint.


First coat of Porsche Carmine Red on the V-Vision front bumper. We will do 3 coats of red.


First coat of red on the rear V-Vision rear bumper using BASF Glasurit paint.
Old 10-07-15, 01:59 PM
  #54  
Nat
Lexus Test Driver
Thread Starter
iTrader: (1)
 
Nat's Avatar
 
Join Date: Jun 2006
Location: CA
Posts: 1,443
Likes: 0
Received 11 Likes on 9 Posts
Default

Rear bumper is done with the accent colors. I decided to go with black and gunmetal fins to give it an additional dimension.


Still needs to be cut and polish.
Old 10-07-15, 07:21 PM
  #55  
veritek
Lexus Champion
 
veritek's Avatar
 
Join Date: Jan 2003
Location: GA
Posts: 2,537
Likes: 0
Received 0 Likes on 0 Posts
Default

Haven't been on CL in a while and this is what I come back to, just WOW!!!! This is an epic SC build, heck, an epic build PERIOD!!! Love the direction you took with the different color enhancements with the rear bumper too. Can't wait to see the finished masterpiece.
Old 10-08-15, 10:33 AM
  #56  
Nat
Lexus Test Driver
Thread Starter
iTrader: (1)
 
Nat's Avatar
 
Join Date: Jun 2006
Location: CA
Posts: 1,443
Likes: 0
Received 11 Likes on 9 Posts
Default

Originally Posted by veritek
Haven't been on CL in a while and this is what I come back to, just WOW!!!! This is an epic SC build, heck, an epic build PERIOD!!! Love the direction you took with the different color enhancements with the rear bumper too. Can't wait to see the finished masterpiece.
Thank you...hoping to make the deadline by 10/26. Crunch time...
Old 10-08-15, 10:36 AM
  #57  
Nat
Lexus Test Driver
Thread Starter
iTrader: (1)
 
Nat's Avatar
 
Join Date: Jun 2006
Location: CA
Posts: 1,443
Likes: 0
Received 11 Likes on 9 Posts
Default

Here is the front bumper painted.


Still waiting for the grille to come back from powder coating.
Old 10-08-15, 11:23 AM
  #58  
WIL44
Instructor
 
WIL44's Avatar
 
Join Date: Jan 2011
Location: London UK
Posts: 1,001
Received 87 Likes on 47 Posts
Default

Love this.
Old 10-08-15, 12:39 PM
  #59  
Nat
Lexus Test Driver
Thread Starter
iTrader: (1)
 
Nat's Avatar
 
Join Date: Jun 2006
Location: CA
Posts: 1,443
Likes: 0
Received 11 Likes on 9 Posts
Default

Originally Posted by WIL44
Love this.
Thank you...just trying to meet the standards set from some of the veteran SC430 owners on CL.
Old 10-08-15, 12:52 PM
  #60  
Nat
Lexus Test Driver
Thread Starter
iTrader: (1)
 
Nat's Avatar
 
Join Date: Jun 2006
Location: CA
Posts: 1,443
Likes: 0
Received 11 Likes on 9 Posts
Default

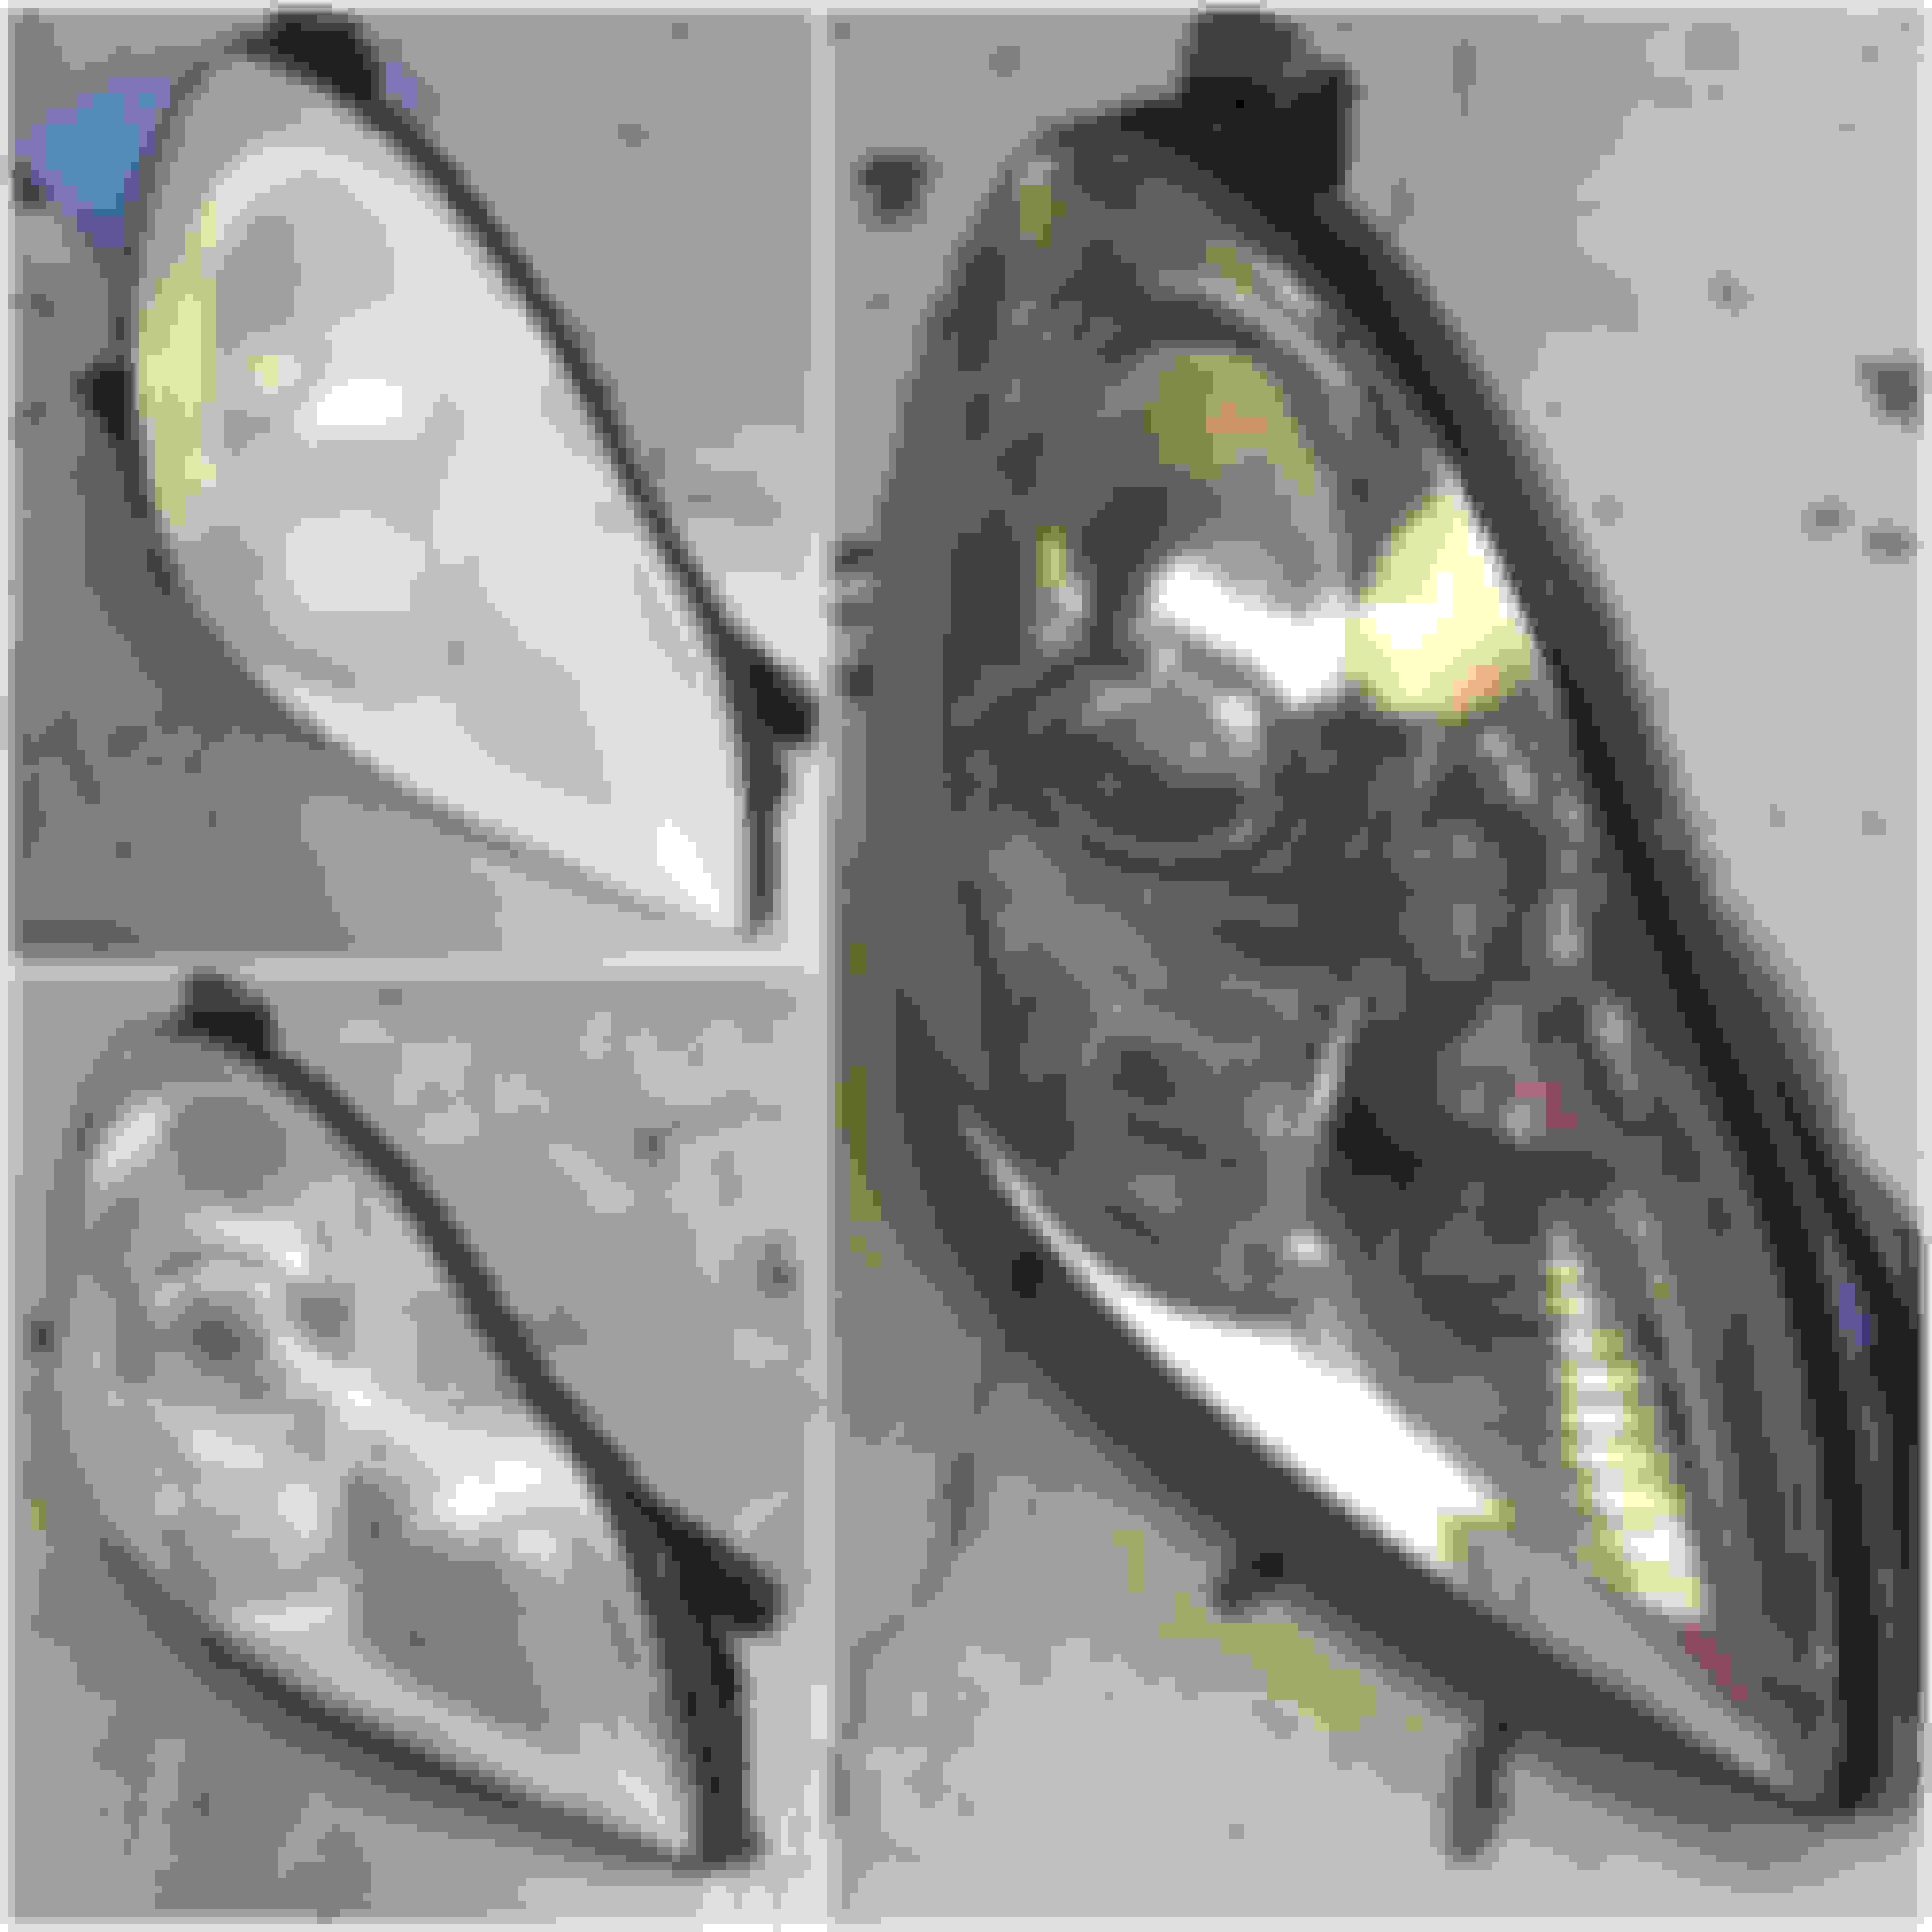
Since the headlights are already removed, i figure now is the only opportunity to clean it up. I started out wet sanding with 600 grit sandpaper, then moving to 800, 1000, 1200, 1500, 2000, 2500 and then 3000. Just need a clear coat and it should look close to being new.


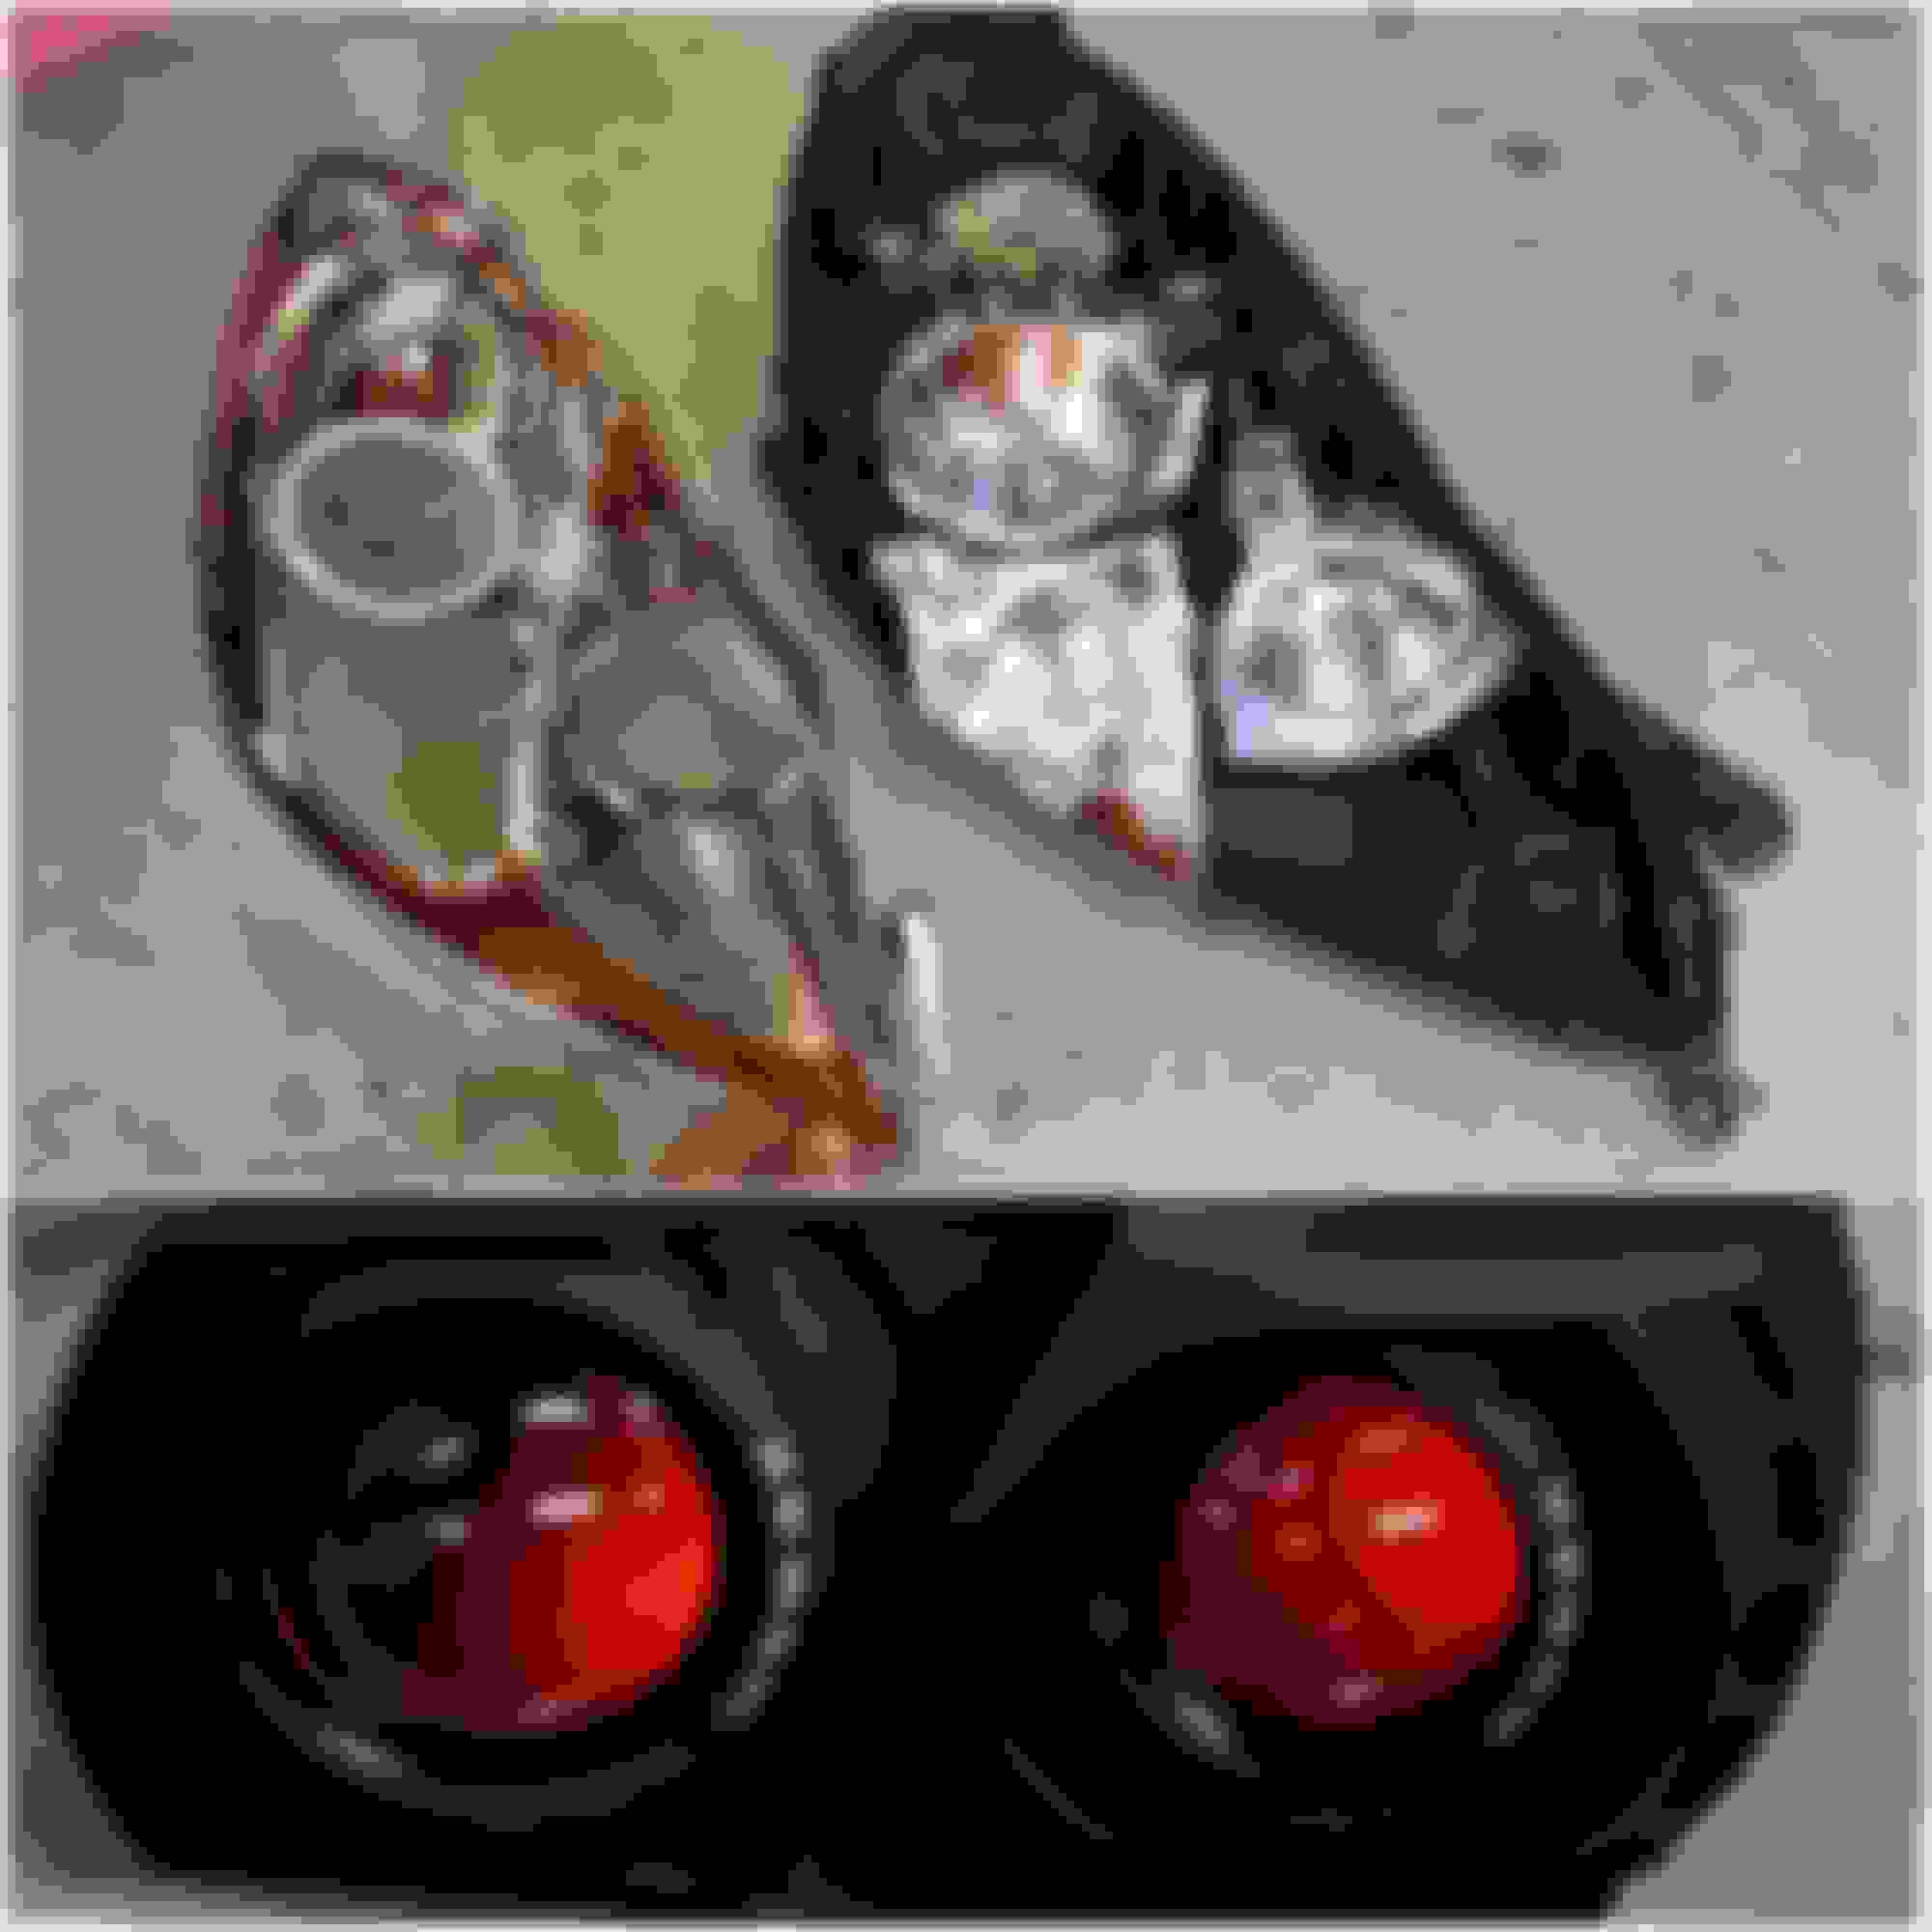
With the headlights out, I decided to remove and paint the housing. Looking into painting it black to give it a modern look like some of the newer cars nowaday. Going to do a demon eyes on this setup too. Not sure how it's going to turn out though.


Quick Reply: Nat's SC430 Build Thread


All times are GMT -7. The time now is 03:25 AM.