When you click on links to various merchants on this site and make a purchase, this can result in this site earning a commission. Affiliate programs and affiliations include, but are not limited to, the eBay Partner Network.
Wow, Bgw. How long did that take you? That looks rather involved.
My door lock just started acting up in the last couple of weeks, so I need to do something about it also. When the lock has been in the sun, it acts up but once it cools down, it works fine. So I need to do something fairly soon.
Wow, Bgw. How long did that take you? That looks rather involved.
My door lock just started acting up in the last couple of weeks, so I need to do something about it also. When the lock has been in the sun, it acts up but once it cools down, it works fine. So I need to do something fairly soon.
actually it wasn't that bad, I just took a bunch of picks and just threw them up here...i just didn't feel like cleaning everything up...one of my worst writeups.
you describe my door locks...again, it was not the difficult and I plan to do the passenger side one of these days.
it took about three hrs.
Here are are a few more pics...hope I don't repeat any.
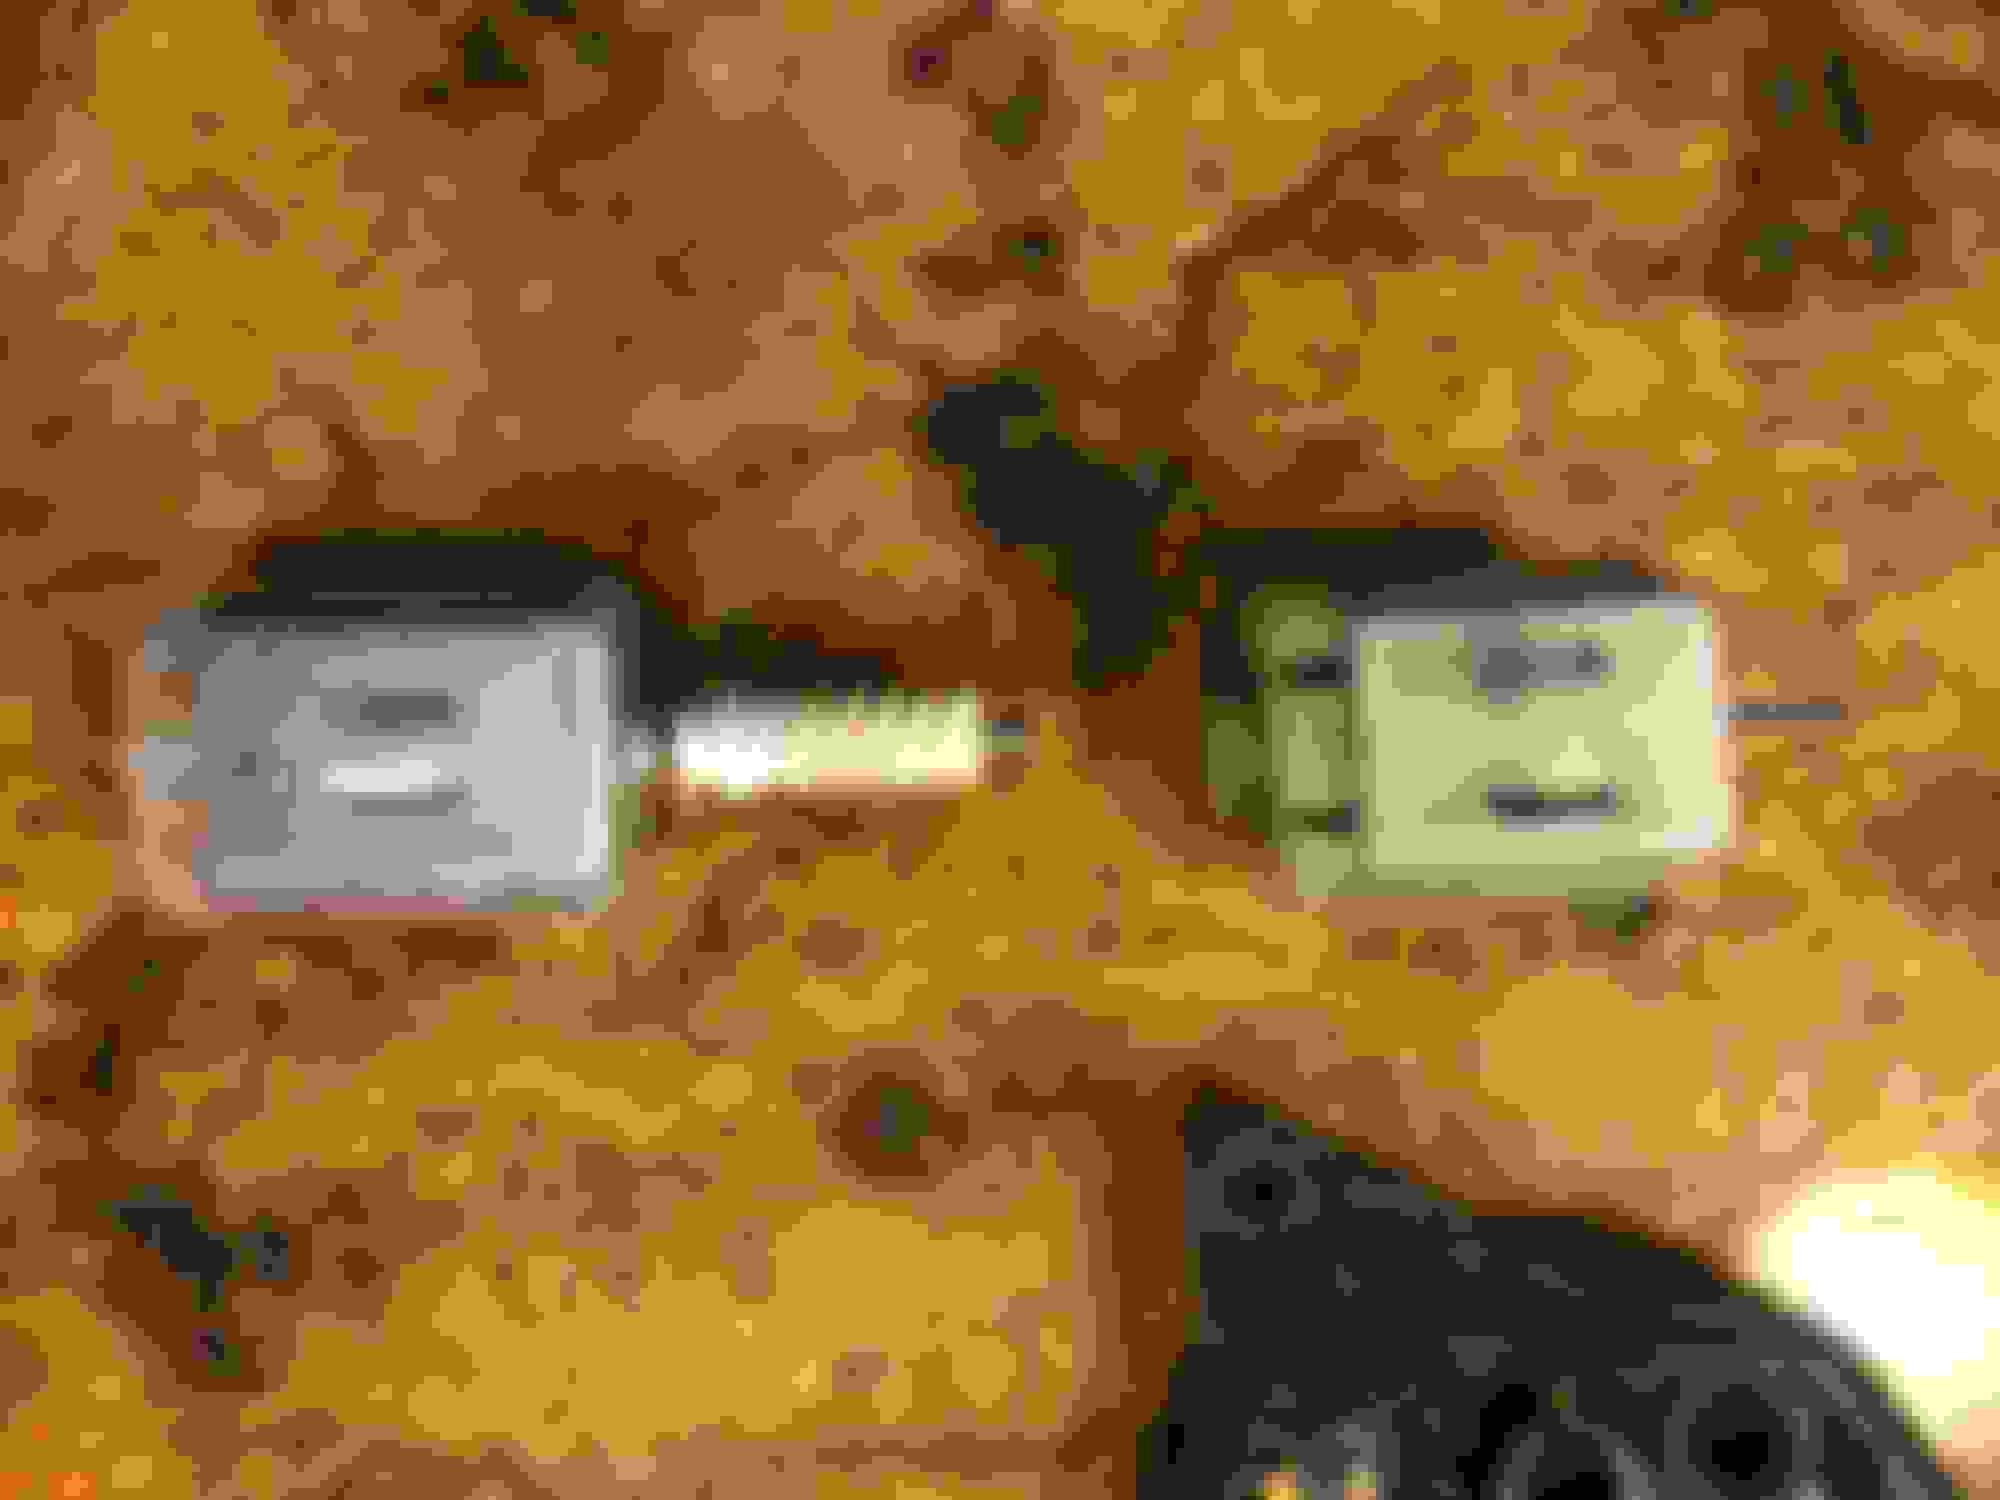
I hope this is the correct motor for the SC430, I ordered part number Mabuchi Nichibo FC280PC-22125 with a flat shaft or D shaft, it has a notch and standard size. I also ordered the chrome Walkera Gear puller.
The motors were $6.25ea and the puller was $12.20. Ordered on eBay.
Hope this helps Harold, if not, let me know...
no glass removal, plenty of room when it's up.
my biggest pain was the little door unlock rod, after I removed the yellow clip, I had to pull it because it had a detent.
I got an error on the Jameco site but if it is the same motor as you listed before, I've seen it. I ordered the one you listed on ebay last night. (I ordered two just to be prepared for the other side to go bad.)
Thanks! I just ordered two motors on ebay per your link. My door locks work fine so far, but since these motors are cheap, $12.50 for two delivered, I thought it was well worth getting a couple of spares while they are available and identified.
I thought I would let you all know that Rockauto sells the Aisin door lock actuators
$137 for the left and $140 for the right...they also come with new cables.
I finally got mine replaced yesterday and today and have attempted to do a DIY. BGW and others who have done this, please point out anything I missed or need to change and I'll update it.
Use “Front Door Components.pdf” to identify parts and use “Front door overhaul instructions.pdf” to go along with these instructions. (The instruction numbers are matched through #4, afterwards it changes. Also, refer to Bgw's pictures above.) Lower the window before starting.
Use a plastic panel remover or flathead screwdriver (with tape over the end to protect the leather).
Stick it under the switch assembly at the triangle on the figure.
The screwdriver might need to be pushed in enough to release the clip, otherwise, just pry the assembly up.
The leather tucked in under the assembly might need to be pulled back to prevent the clip from grabbing it on the way out. (Just take it slow and careful.)
Remove the assembly from the arm rest and disconnect the connector. (Press down on the connector locking release to disconnect the connector.) Note: there is one connector on the driver’s side and two on the passenger’s side switch assembly. They are different connectors and shouldn’t be capable of being re-hooked up incorrectly.
Remove Door Inside Handle Bezel # 2 [69298A/98-93]
Use the same prying instrument as in step one. The bezel should pop out fairly easy as shown, though it can stick on occasion.
Remove Front Door Window Upper Bracket Garnish [67492B/98-92] (This is the little triangle speaker cover.)
Grab the garnish at the top (or pry with the above prying instrument) and it will pop loose fairly easily.
Remove Front Door Trim Board Sub-***’y [67602/98-92]
Remove the three hex head screws at the bottom of the door panel under the rubber weather-stripping.
Remove the 2 Phillips head screws at the rear end of the door panel.
Remove the 1 Phillips head screw under the arm rest near the rear inside the gap.
Remove the 1 Phillips head screw behind the door handle lever.
Remove the 1 Phillips head screw inside the window switch assembly hole.
Poke the center of the two plastic pins at the front of the door that are near the speaker. This will release them.
Using the pry tool above or one with a broader blade (preferably with a split end), pry behind the door panel behind the two clips at the forward end of the door panel. (First push in the center part and the clip will release.)
Using a pry tool, pry behind the door panel to release the several hidden clips along the bottom of the panel.
Pulling the bottom part of the panel out a few inches, reach behind the panel to disconnect the following:
i. 2 cables connected to the door handle and door lock (cables are in the middle with green on the bottom),
ii. Connector for the seat memory switches (upper front),
iii. Connector for door lamp (bottom rear).
Lift door panel from the bottom pulling it away from the door frame a few inches.
Lift door panel mainly from the rear and slide to the rear, then set it off to the side.
Open the window at this point so that it won’t be in your way. (You’ll have to reconnect the window switches temporarily to do that.)
Pull the plastic cover loose from the door. (See BGW’s picture.)
Start at the top rear and pull it about � way down.
Disconnect the two cables from the brown clip. (Remember for later that these two cables crossover each other before clipping in here.)
Remove the center piece by taking the 4 bolts out. Set it aside.
Detach the locking mechanism. (See BGW’s picture.)
Using a T30 driver, remove the 3 bolts at the rear of the door surrounding the locking mechanism.
Pop out the plastic hole cover and loosen the T30 screw inside. There should be a plastic piece that will hold the screw after you loosen it, so don’t try to remove it.
On the outside of the door, grip the lock piece and pull it straight out. It should come out fairly easy, though you might need to use a plastic prying tool to help it start.
Pull the outside door handle backwards slightly and then out and remove it.
Disconnect the locking mechanism (see BGW’s picture.)
Looking through the opening in the door, find the golden rod inside the door, disconnect the yellow plastic retainer, only at the bottom. The top remains intact.
Tug the golden rod at the top to pull it loose. If that is too difficult, what I did was the following:
i. Put a couple of the 3 screws back in at the back of the door to stiffen the mechanism.
ii. Stick a flathead screwdriver through the lock retaining screw hole (then one you loosened to remove the lock). Looking through the hole, you can see the rod. Place the blade of the screwdriver across the rod as much to the top as possible and hit the screwdriver head once or twice and it should dislodge the rod.
iii. Then remove the 3 screws at the back again
Remove the T30 screw about 6” below the hole where the cables come out.
Remove the Phillips head screw to the right of the hole where the cables come out. (Access to the screw is through the rear most hole in the tubular bracing piece.)
Remove the entire mechanism down through the door pulling the cables with it.
You’ll have to pull it down and then back through the large opening in the door.
Disconnect the wiring harness from the bottom of the mechanism.
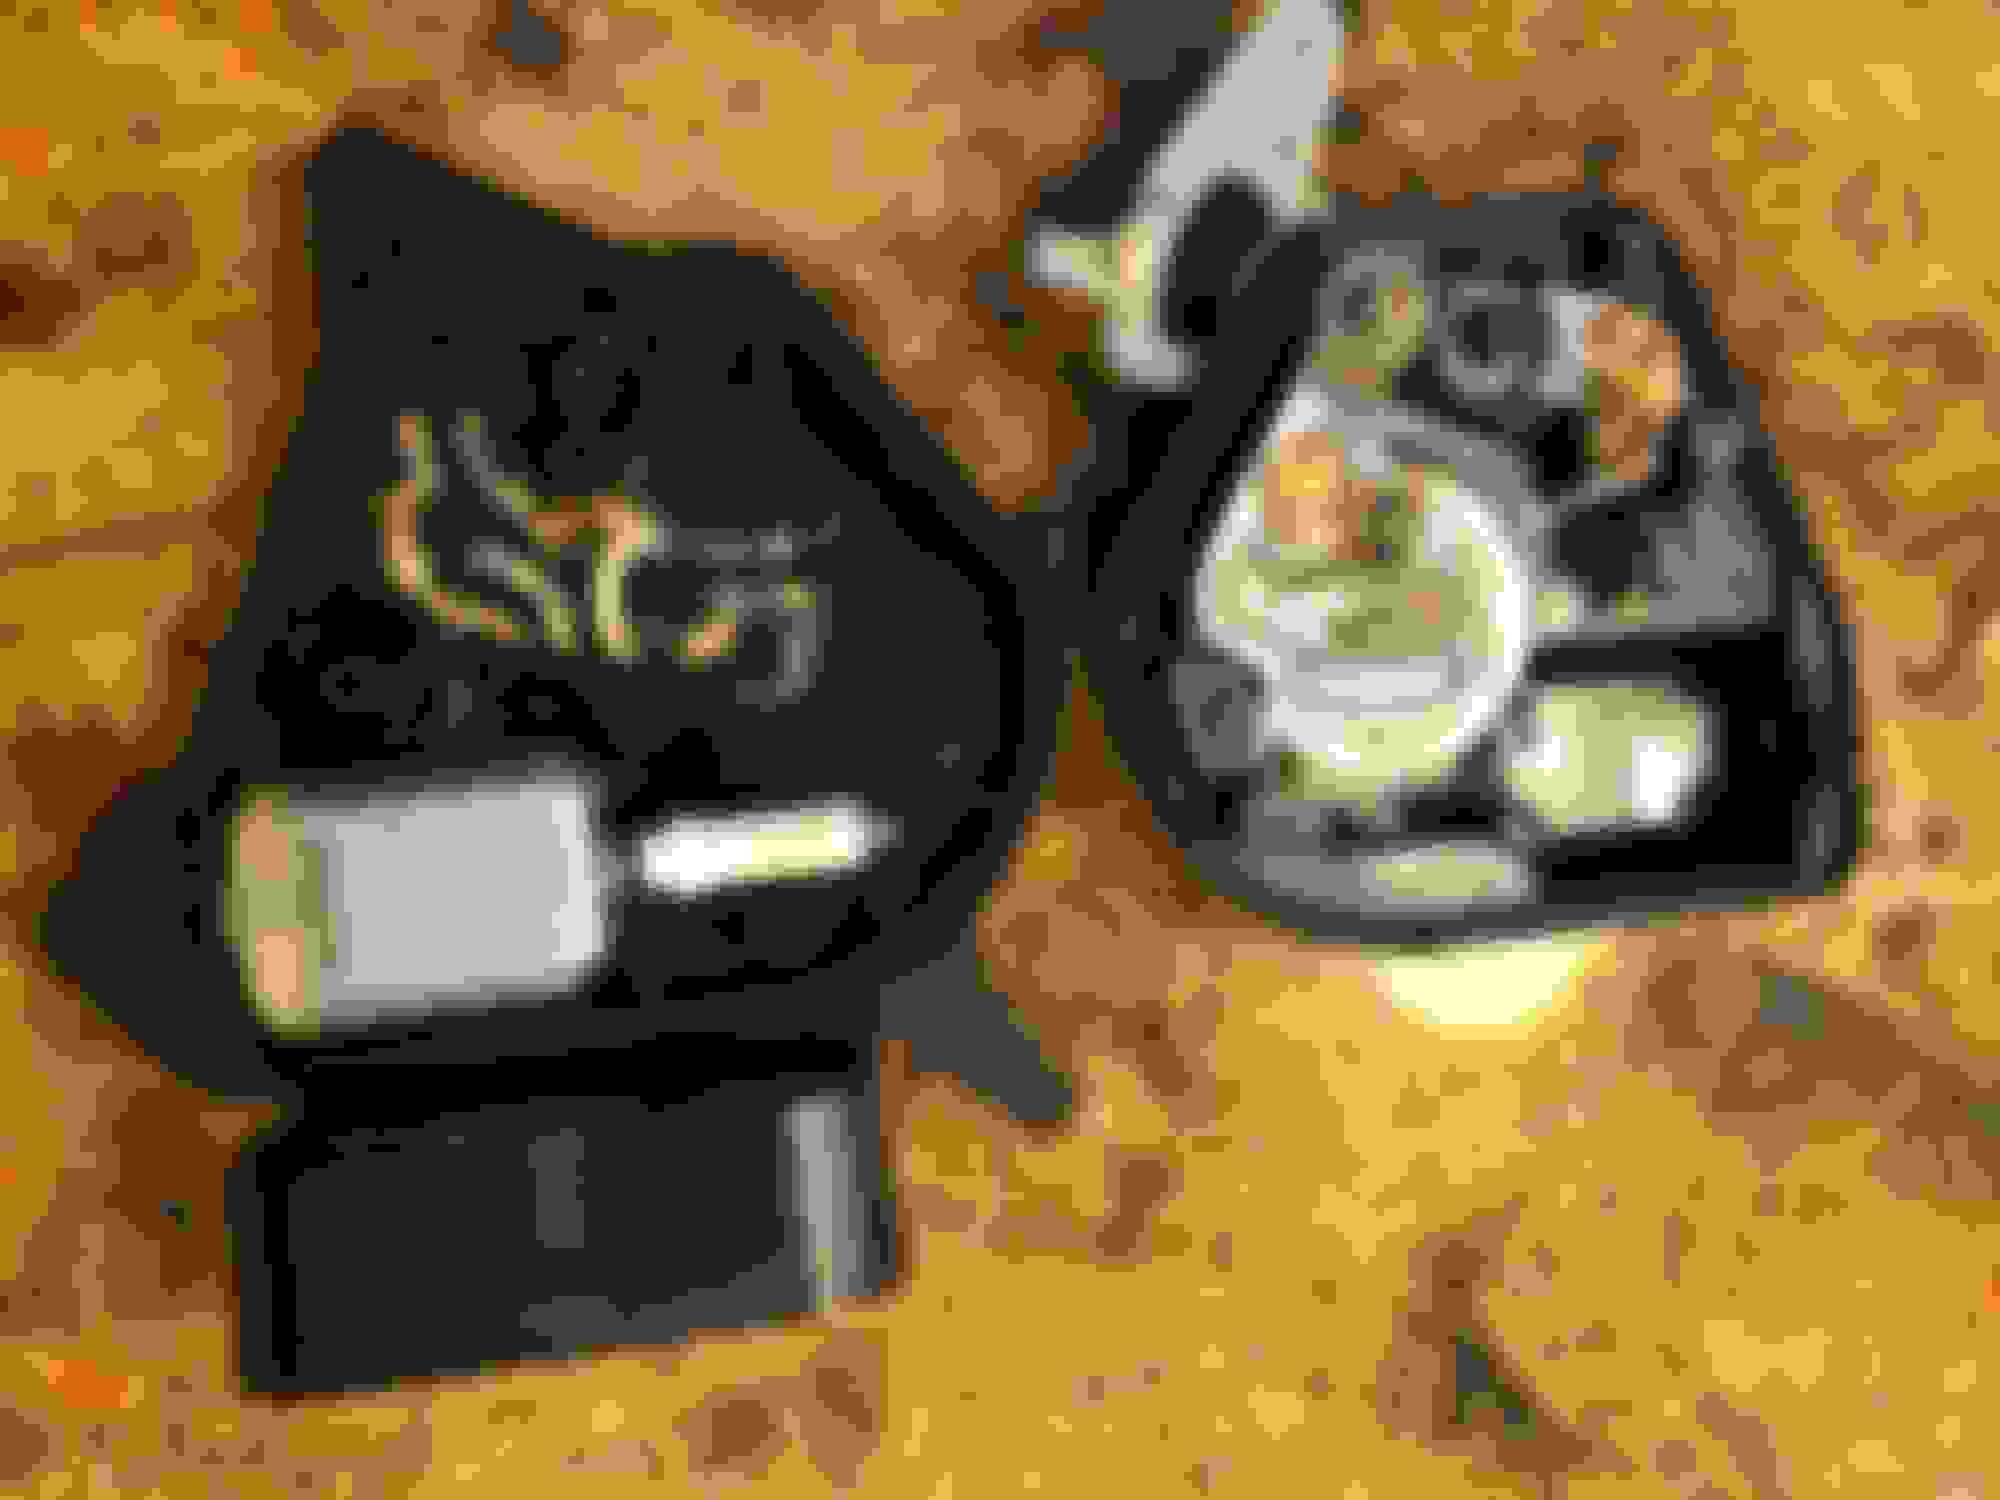
Remove the control housing from the locking mechanism assembly. (See BGW’s pictures.)
There are two screws on one side of it (the side not covered by the plastic cover) and a third on the other side (the side covered by the plastic cover). Remove the third screw.
Remove the plastic cover. Two key items to be attentive to:
i. There are two metal pieces sticking through the side of the plastic, one of which overlaps the plastic. The plastic will have to slide out from under it.
ii. At the top of the cover where it curves over the top of the locking mechanism, on the inside the locking mechanism has a piece that slides inside a plastic pocket.
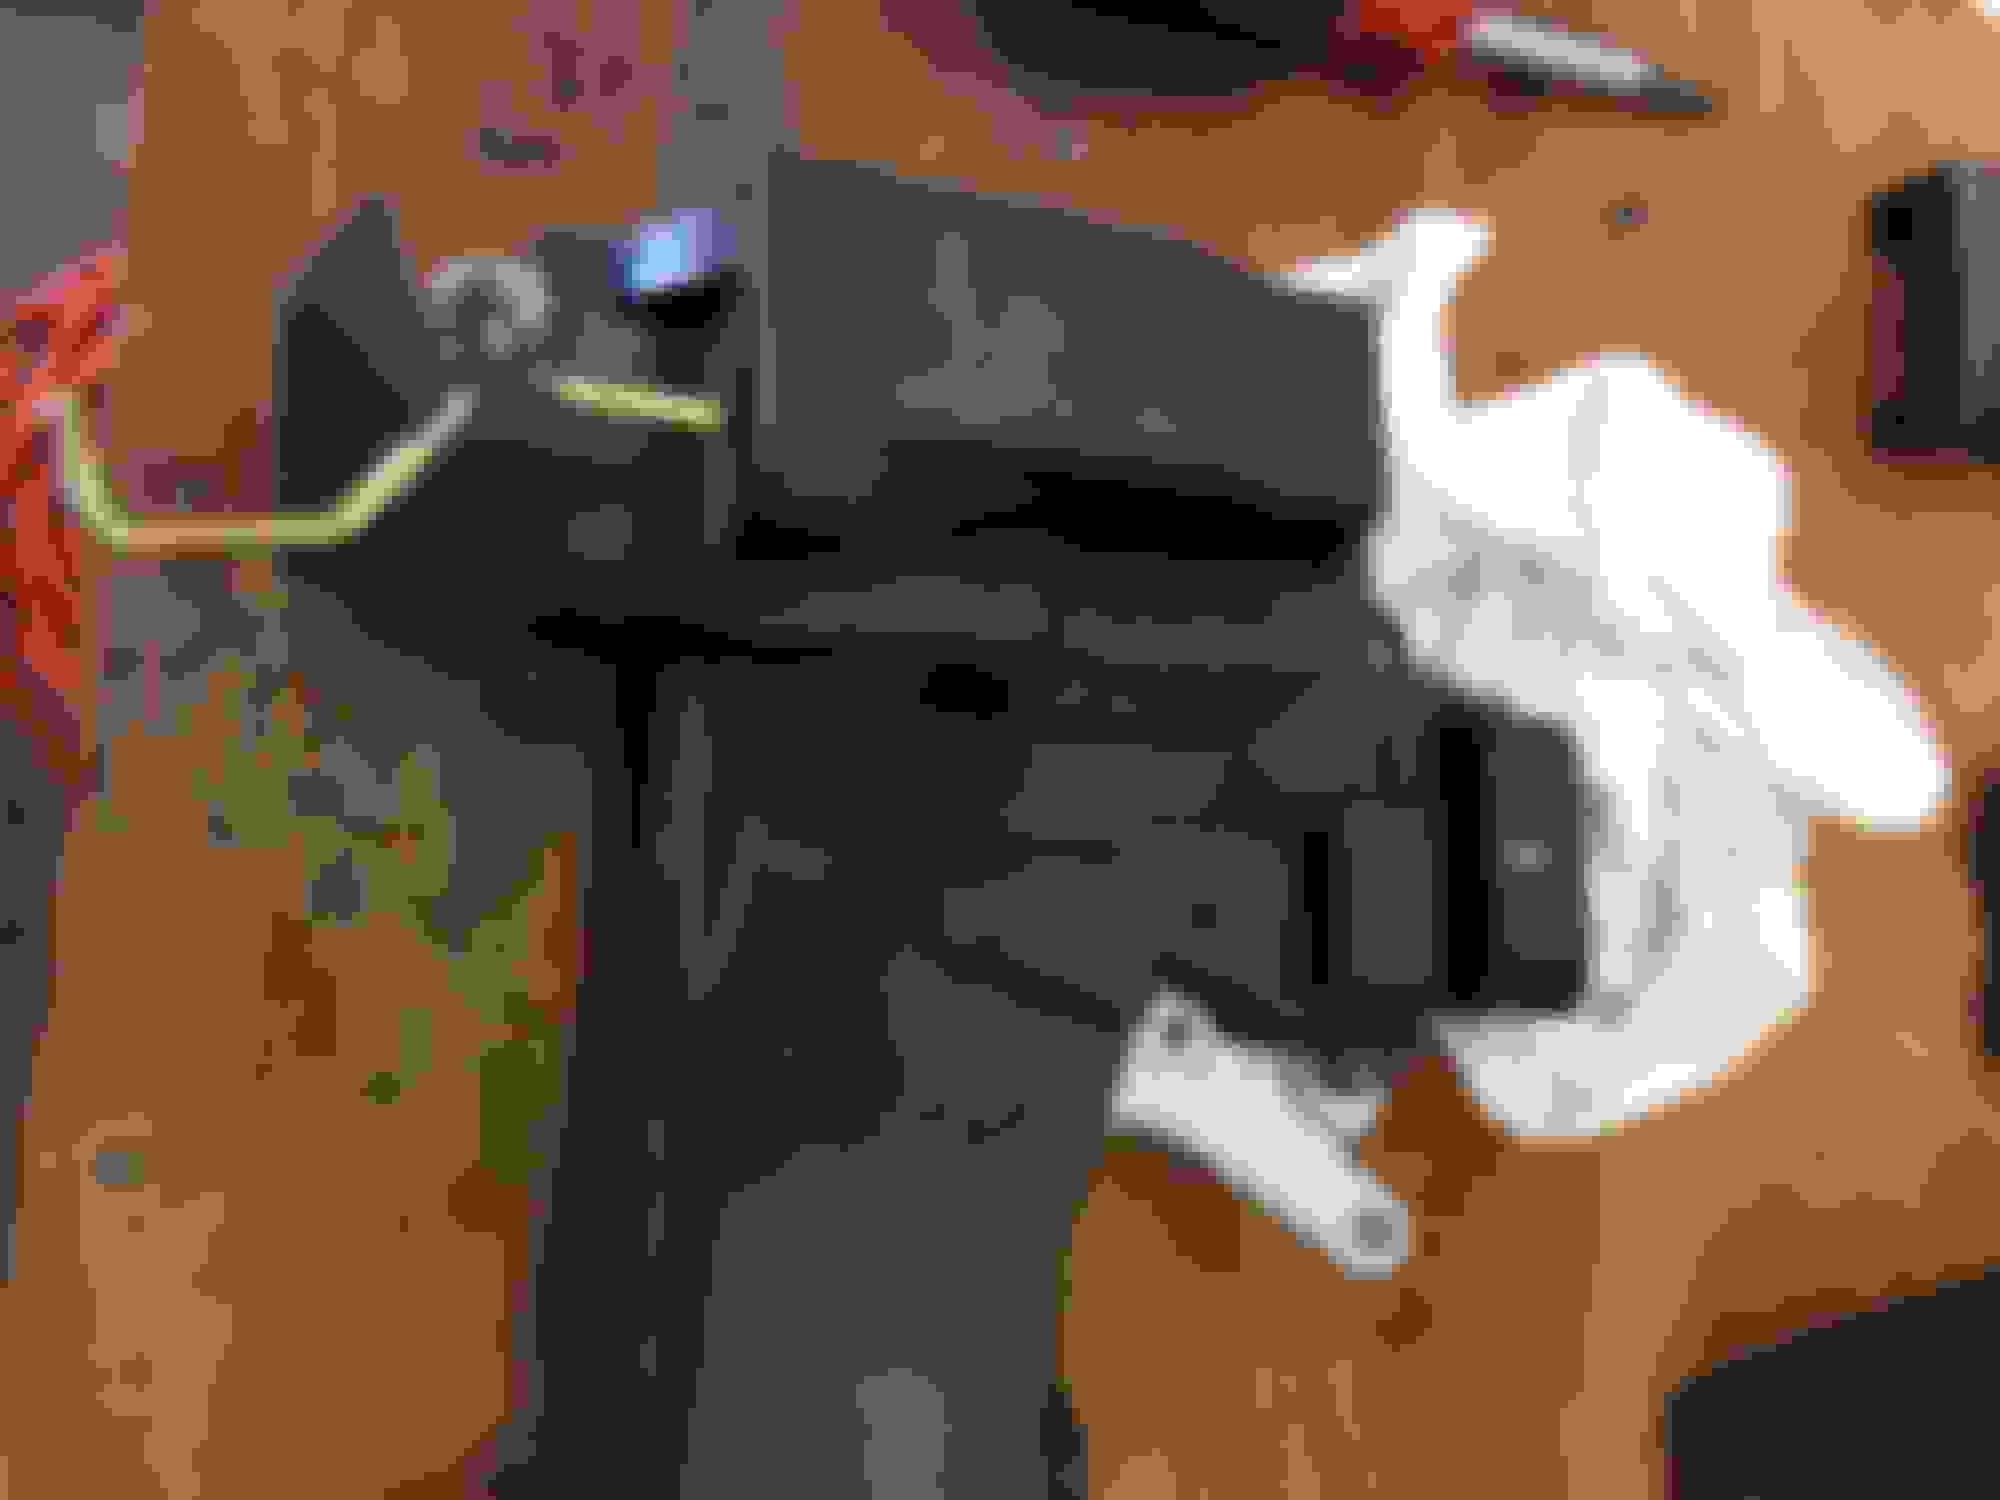
Disconnect the cable from the control/motor housing.
Disconnect the long metal rod with a hook at the end from the control housing. Slides loose.
Remove the other two screws that go through the metal brace and into the control housing.
There’s probably something else here also but you’ll see it when you are at this point.
The control housing should be loose now.
Open up the control housing. Use small flathead screwdrivers to pop open the case along the seam. (Work your way around it until it opens.) I suggest doing this with the side that is molded around the motor on top.
Pull the motor out.
Either clean up and repair that motor or replace it with a new one. (If replacing it with a new motor, pull the gear off of the original motor and place it on the new one.)
Put the motor back in its place making sure that the contact go back into the motor.
Make sure that the axle for the gear is still in the gear, if not, place it back in.
Get some epoxy or JB Weld or some sort of glue and glue the housing back together. Make sure it snaps back together. (It will seem like the housing will snap back together and be firm enough but it will not hold. The torque on the motor will make it twist inside the housing and pop it back open. Unfortunately, yes, that is knowledge from experience after reassembling the door partially.) Be sure to allow the glue to cure properly before reconnecting the housing to the connector. (Also from experience.)
Reassemble the control/motor housing back into the locking mechanism. Be sure to look at the pictures and pay particular attention to the close up pictures of the assembly to know where certain parts must go together, like the little gray plastic piece that must go through the inner hole of the metal piece.
Reassemble everything in reverse order.
Make sure to remember that the cables cross over before the clip in the door.
You might want to test the lock and door handle before proceeding with reattaching the plastic sheet cover.
Before reattaching the door panel, roll the window back down as it will make it easier to reinstall the panel. (The panel has to be raised at the back and tilted out at the bottom and then slid back into place.)
Pop all the panel plastic pieces back into the door. Reinstall the two plastic pins that go through the door. (Pull the center piece back out of the pin about a �” to release it and once installed into the door holes, push the pins in flush.) Reinstall all the screws and bolts. Put the door handle plastic cover back in, front first and pop the back in. Reinstall the window control back in by connecting the cable back up, slide the front in first and pop the back in.
Harold, you my friend did an OUTSTANDING job with those instructions!
they certainly made this thread complete! Now I should go back and rearrange the pictures and number them, that way you could put numbers in your instructions!
BTW, on a scale of 1-10 how would you rate this job, 1=easiest.
I give it a 6.
 04-19-17, 12:36 PM