SC430 - 2nd Gen (2001-2010)

Megan install in pictures

Thread Tools
 
Search this Thread
 
Old 05-02-12, 12:00 PM
  #31  
WIL44
Instructor
Thread Starter
 
WIL44's Avatar
 
Join Date: Jan 2011
Location: London UK
Posts: 999
Received 86 Likes on 46 Posts
Default

Originally Posted by nktuner
Hi Wil44,
Very good write-up ! I am going to need it in 2 weeks when my Megan Coilovers arrived !
Thank You !
You are more than welcome nktuner, if I can be of any more help please ask on the forum or PM me. I have lots more photo's.
Good luck, it is not difficult, but be sure to follow poqman's post to remove the trunk linings, that's the hardest part. The side panels that cover the damper bolts are a bit tricky, need a bit of 'wiggling' to get them out. When I recently converted to air I cut a 4"1/2" hole in them, so that I will not need to take them out in the future.

Best regards
Steve
Old 05-02-12, 04:54 PM
  #32  
Poqman
Lead Lap
 
Poqman's Avatar
 
Join Date: Aug 2009
Location: Poquoson, VA
Posts: 647
Likes: 0
Received 23 Likes on 12 Posts
Default

One of the decision's you have to make is how to provide access to the rear coilover adjustments. Make sure you mark the center of the shock location from below before removing the trunk interior. I drilled a 1-1/2" diameter hole, bought a metal plug and drilled it for the adjustment **** and then painted it all grey. Here's how my turned out.


Good luck on your project!
Old 05-02-12, 05:23 PM
  #33  
Z3NK1
Lead Lap
iTrader: (2)
 
Z3NK1's Avatar
 
Join Date: Sep 2006
Location: Calgary, AB
Posts: 542
Received 23 Likes on 15 Posts
Default

^^ wow that's clean, nice work
Old 05-03-12, 12:40 PM
  #34  
WIL44
Instructor
Thread Starter
 
WIL44's Avatar
 
Join Date: Jan 2011
Location: London UK
Posts: 999
Received 86 Likes on 46 Posts
Default

Originally Posted by Poqman
One of the decision's you have to make is how to provide access to the rear coilover adjustments. Make sure you mark the center of the shock location from below before removing the trunk interior. I drilled a 1-1/2" diameter hole, bought a metal plug and drilled it for the adjustment **** and then painted it all grey. Here's how my turned out.


Good luck on your project!
Very smart job poqman, I decided to cut bigger holes so that I can remove the dampers without disturbing the linings, but I have not found anything to cover the 4"1/2" holes yet. I am sure I will find or make something, but can't see it being as clean as your job.

Best regards
Steve
Old 05-03-12, 10:57 PM
  #35  
nktuner
Rookie
 
nktuner's Avatar
 
Join Date: Apr 2012
Location: wa
Posts: 57
Likes: 0
Received 0 Likes on 0 Posts
Default

Hi All,
Thank you for all the advise !
Will pm or post if i start to do the replace.
Thank You !
Old 04-19-17, 04:49 PM
  #36  
BCT
Lead Lap
 
BCT's Avatar
 
Join Date: Aug 2012
Location: Kentucky
Posts: 591
Received 34 Likes on 33 Posts
Default

Originally Posted by WIL44
This is probably dumb question. I have camber bolt about half way out, but then it just spins and spins without getting out further. Is the bolt threaded all the way to the end? Or the middle part of the bolt is smooth/without thread, so then I just need to pull it out? I do not want to just try to pull out the bolt and break something else in the process.
Old 04-20-17, 12:02 PM
  #37  
WIL44
Instructor
Thread Starter
 
WIL44's Avatar
 
Join Date: Jan 2011
Location: London UK
Posts: 999
Received 86 Likes on 46 Posts
Default

Originally Posted by BCT
This is probably dumb question. I have camber bolt about half way out, but then it just spins and spins without getting out further. Is the bolt threaded all the way to the end? Or the middle part of the bolt is smooth/without thread, so then I just need to pull it out? I do not want to just try to pull out the bolt and break something else in the process.
Hi BCT
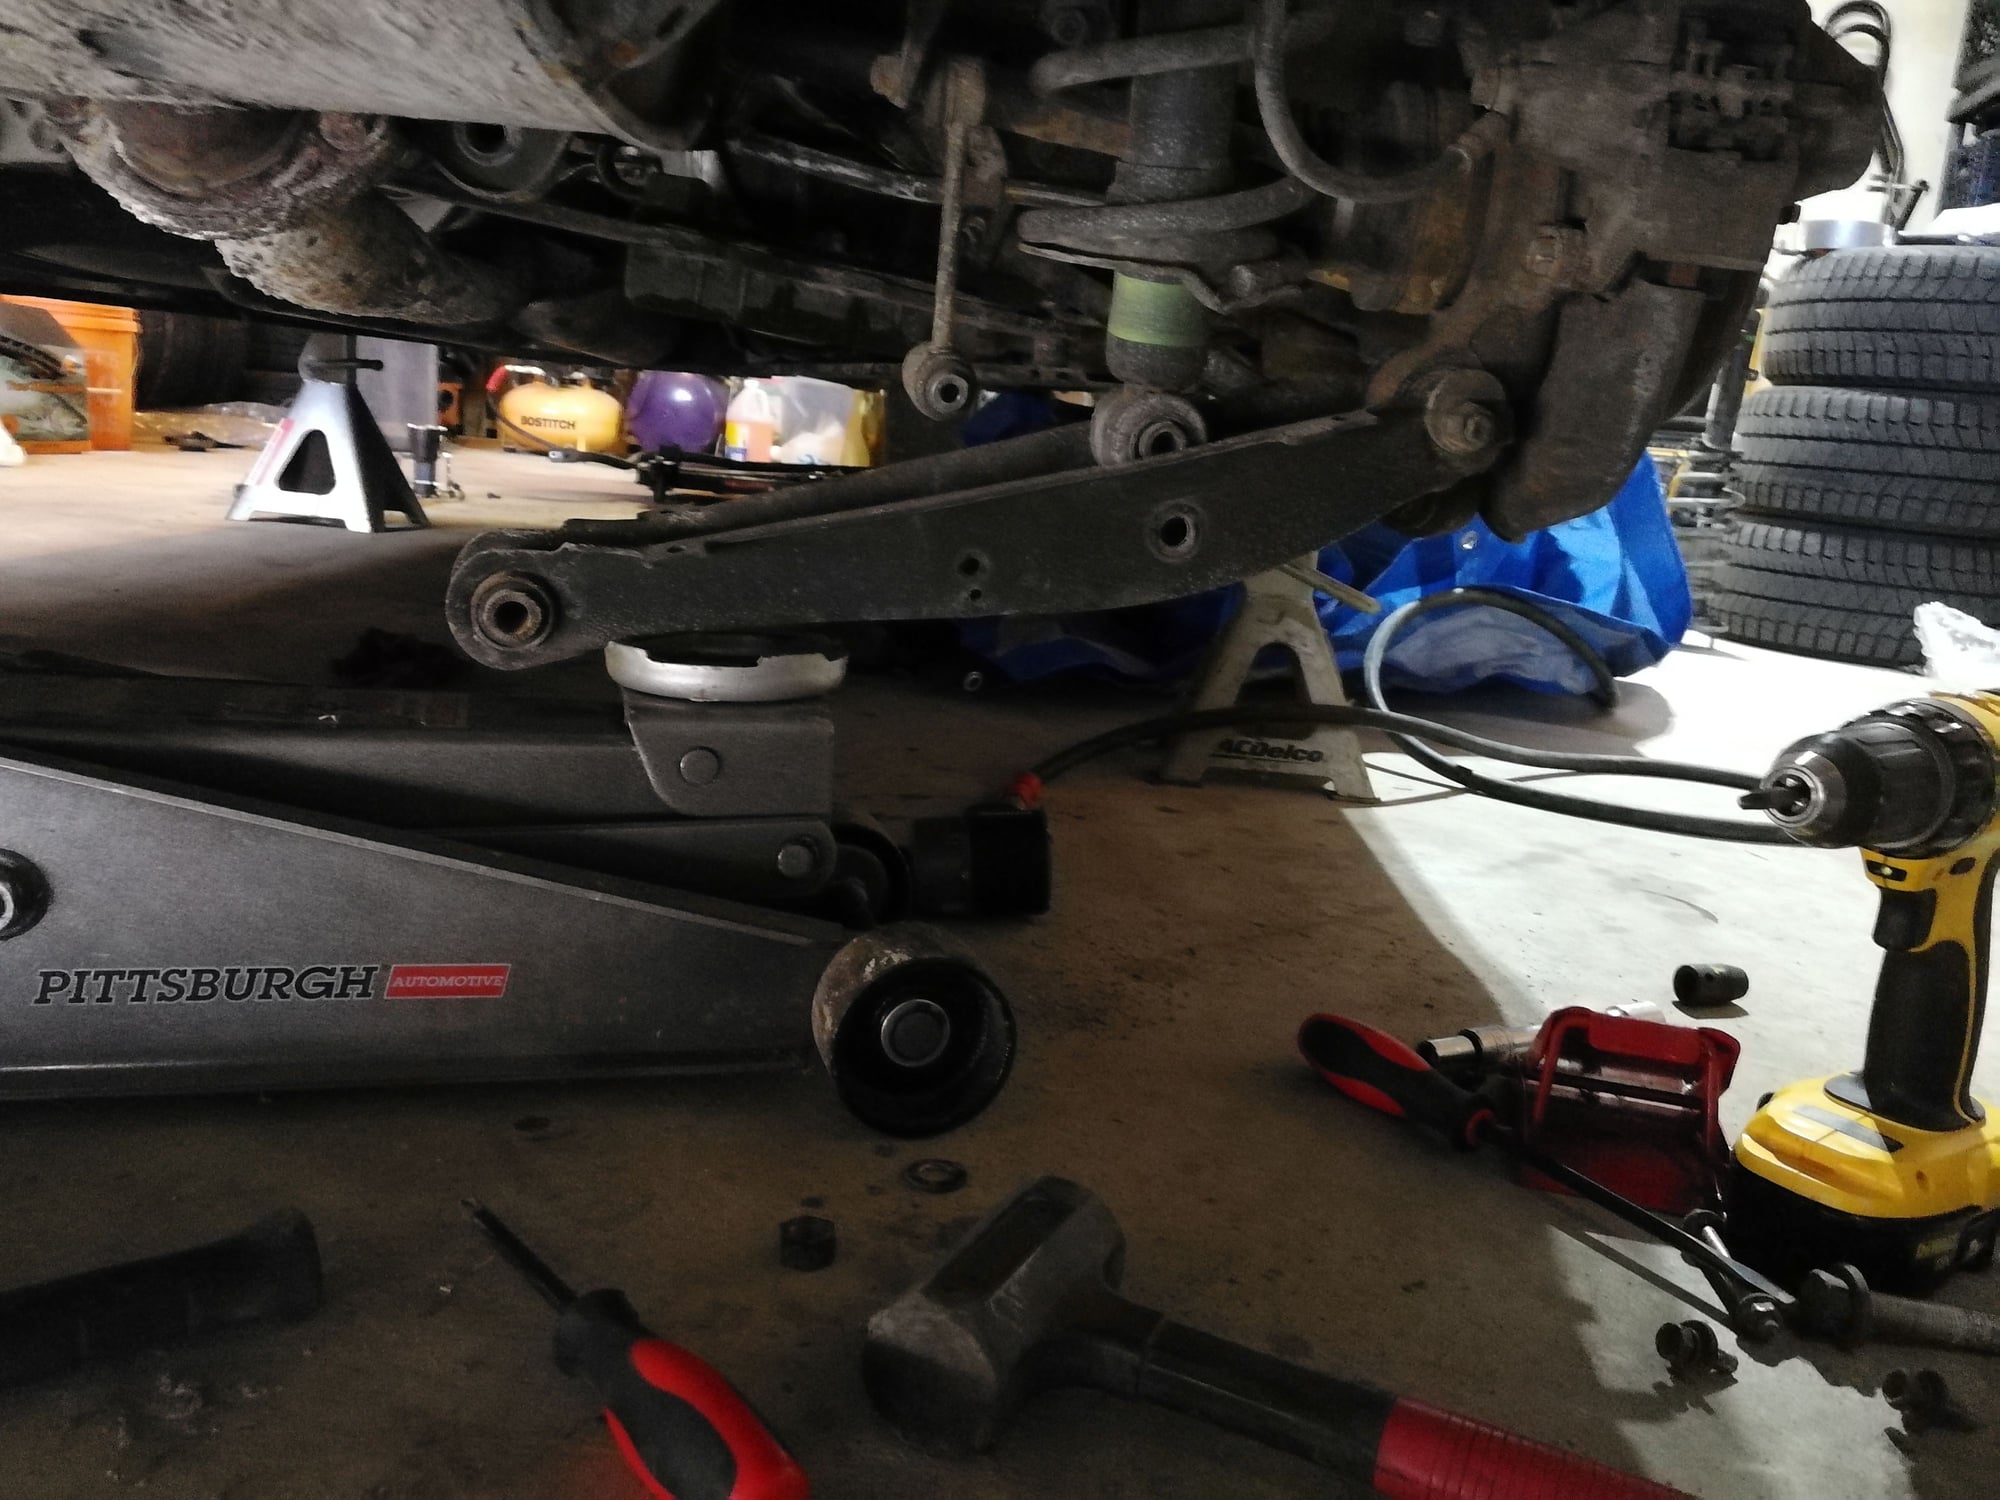
Its just a standard bolt threaded at one end. Probably just corrosion holding it back. Easiest way is to gently punch it out with a smaller diameter bolt or a punch. Also may help to take the weight of the hub off the bolt with another jack.
Cheers
Steve
The following users liked this post:
BCT (04-20-17)
Old 04-20-17, 01:48 PM
  #38  
mandyfig
Moderator
 
mandyfig's Avatar
 
Join Date: Apr 2007
Location: GA
Posts: 12,298
Received 407 Likes on 359 Posts
Default

Hello Steve, long time no hear! How everything across the pond?
Old 04-25-17, 11:37 AM
  #39  
WIL44
Instructor
Thread Starter
 
WIL44's Avatar
 
Join Date: Jan 2011
Location: London UK
Posts: 999
Received 86 Likes on 46 Posts
Default

Originally Posted by mandyfig
Hello Steve, long time no hear! How everything across the pond?
Hi Mandy
Good to hear from you.
All good over here, waiting for summer to arrive!!
Just noticed you have made 10,000 posts, my goodness.
Hope all is good with you and your family.
Cheers
Steve
Old 04-27-17, 03:44 AM
  #40  
BCT
Lead Lap
 
BCT's Avatar
 
Join Date: Aug 2012
Location: Kentucky
Posts: 591
Received 34 Likes on 33 Posts
Default

How long did you guys drive around with the new Megan coilovers to get it settle down before having an alignment? The reason I asked is because on my passenger side, the camber bolt do not have the nut. Not sure why, I am guessing either it fell out or some dumb tech took it off and never put it back on. I ordered a new nut from the local dealer (pretty expensive for nut), but obviously my camber is really messed up. I was planning to drive it around a bit to settle the new coilovers, but do not want to messed up my tires.
Old 04-22-20, 12:26 PM
  #41  
digitatc
Instructor
 
digitatc's Avatar
 
Join Date: Feb 2017
Location: ca
Posts: 758
Received 263 Likes on 182 Posts
Default

The installation guide is excellent so I'm making a PDF out of all the pictures to make it easier for people to print out while also adding the torque specs for all the related components.
Full credit to WIL44 since he did all the hard works.
Attached Files
The following 6 users liked this post by digitatc:
430in303 (05-11-21), Bgw70 (04-23-20), GmanSC (04-22-20), joemg (04-23-20), Neil E (04-22-20), WIL44 (11-25-20) and 1 others liked this post. (Show less...)
Old 04-23-20, 11:30 AM
  #42  
WIL44
Instructor
Thread Starter
 
WIL44's Avatar
 
Join Date: Jan 2011
Location: London UK
Posts: 999
Received 86 Likes on 46 Posts
Default

Originally Posted by digitatc
The installation guide is excellent so I'm making a PDF out of all the pictures to make it easier for people to print out while also adding the torque specs for all the related components.
Full credit to WIL44 since he did all the hard works.
This is excellent digitatc, thank you. I would not have thought of putting it together like that. Brilliant, makes me want to do it all over again lol.
Old 11-24-20, 07:08 PM
  #43  
RC51
Driver
 
RC51's Avatar
 
Join Date: Oct 2020
Location: CA
Posts: 55
Received 4 Likes on 4 Posts
Default

Originally Posted by WIL44
This is excellent digitatc, thank you. I would not have thought of putting it together like that. Brilliant, makes me want to do it all over again lol.
Nice job and documentation. Thanks for this!!
Old 03-28-21, 01:37 PM
  #44  
Andreiu
Driver
 
Andreiu's Avatar
 
Join Date: Feb 2020
Location: MI
Posts: 58
Received 25 Likes on 19 Posts
Default 6

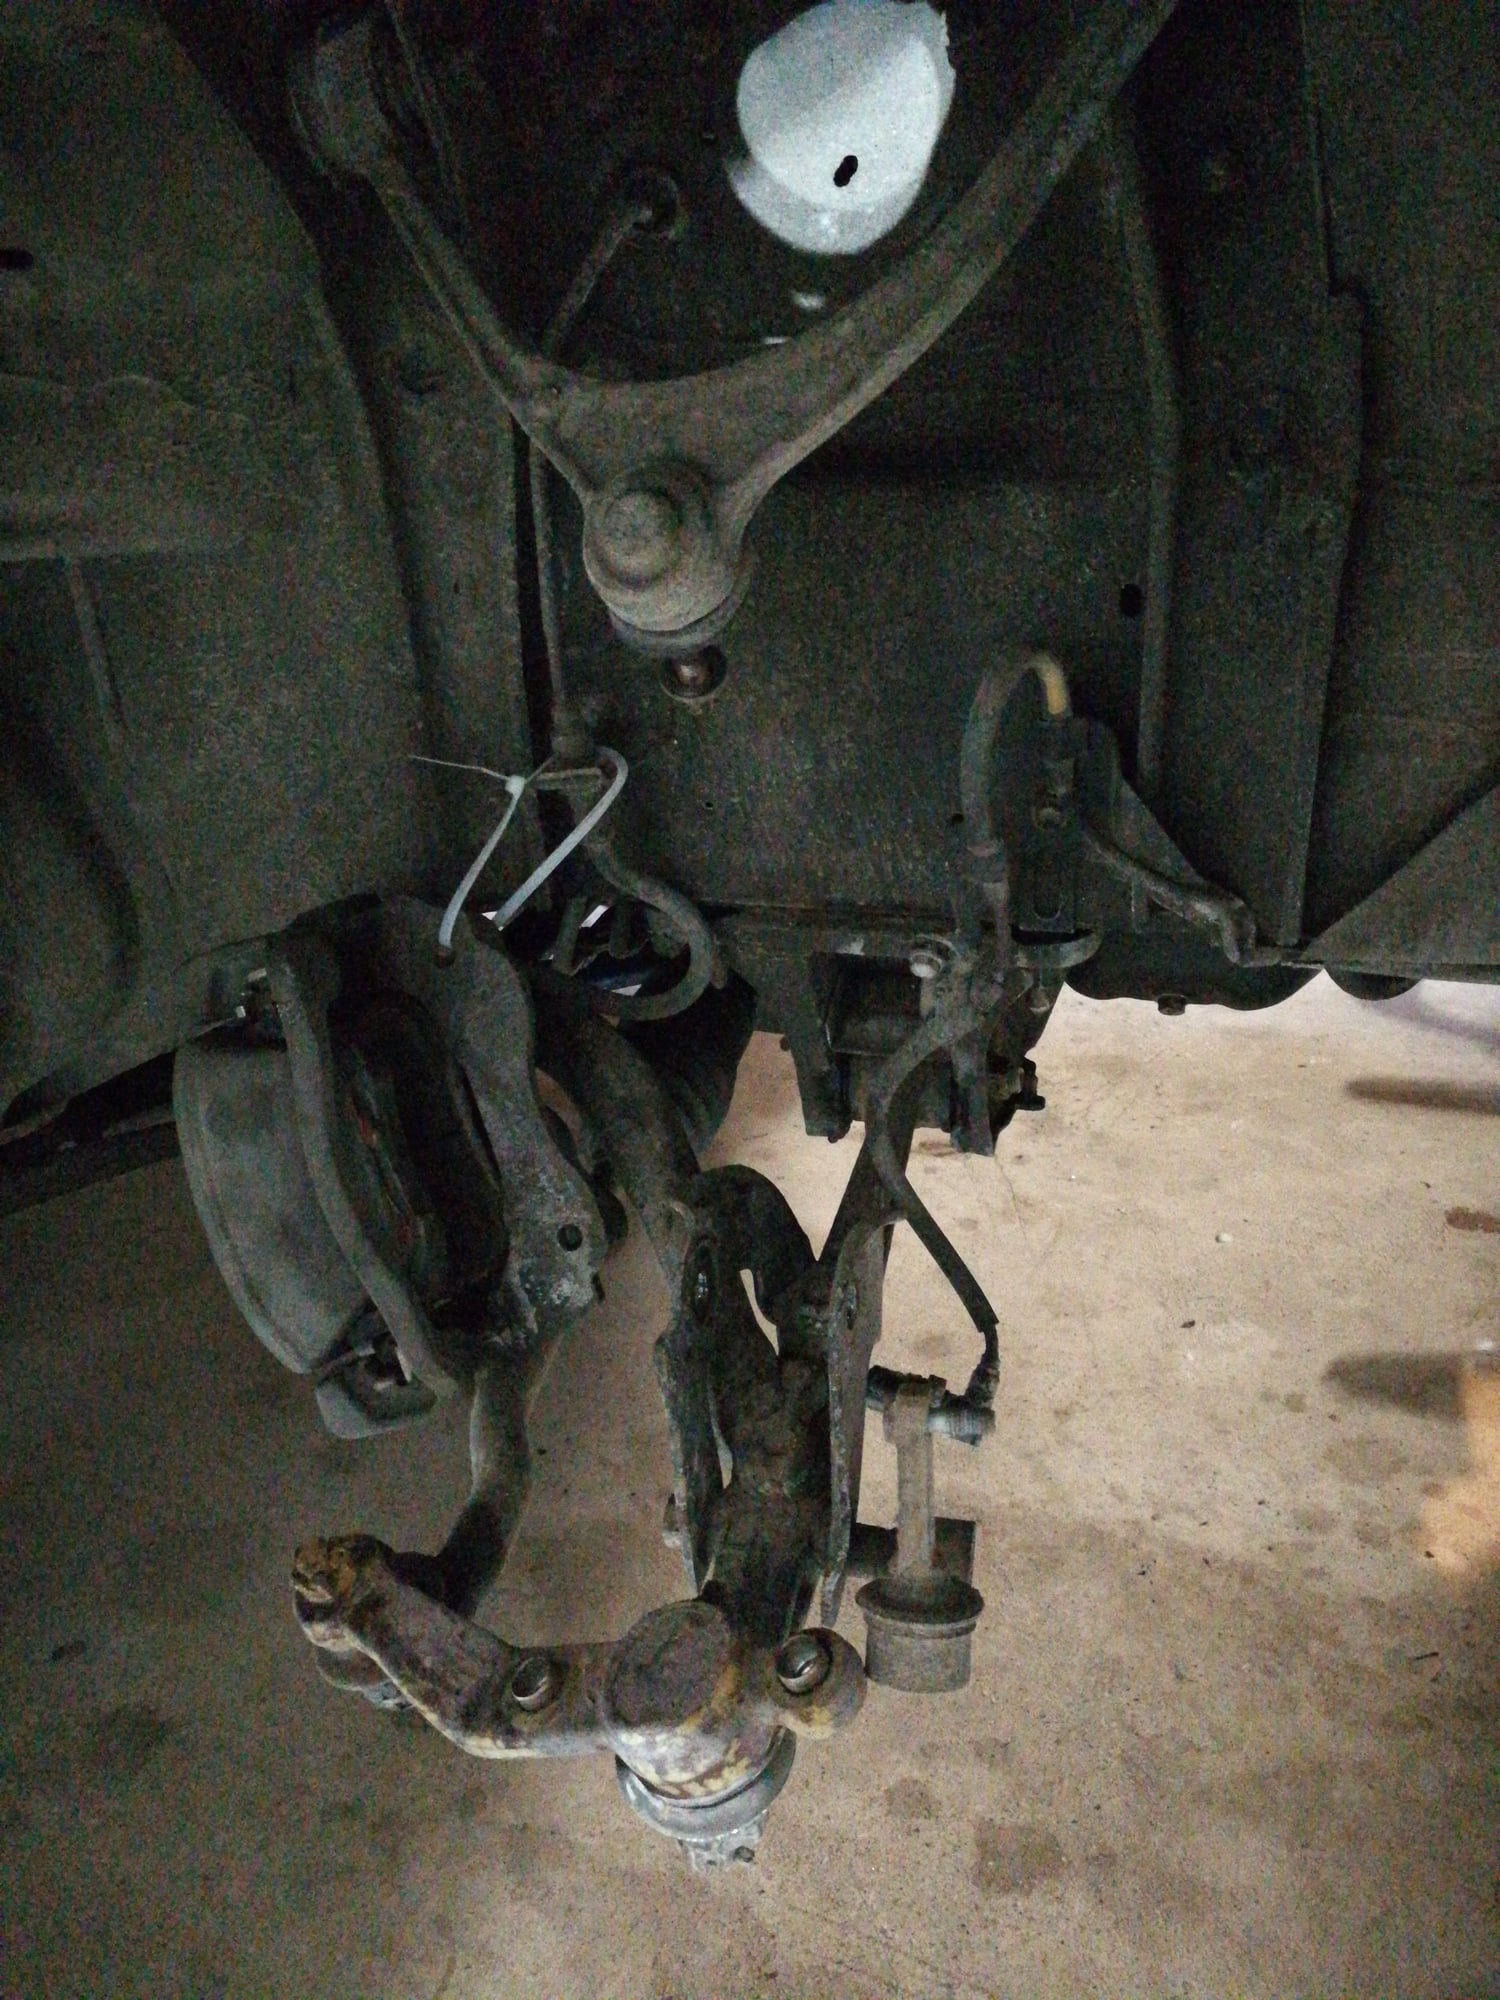
No need for an alignment if you remove from the inside bolt in the rear and you leave the front lca attached and keep about same ride height if anyone is just replacing shocks or sways or keeping oem height on your coilovers.


​​
The following users liked this post:
WIL44 (03-29-21)
Old 03-28-21, 10:17 PM
  #45  
RC51
Driver
 
RC51's Avatar
 
Join Date: Oct 2020
Location: CA
Posts: 55
Received 4 Likes on 4 Posts
Default

[QUOTE=Andreiu;11022110]No need for an alignment if you remove from the inside bolt in the rear and you leave the front lca attached and keep about same ride height if anyone is just replacing shocks or sways or keeping oem height on your coilovers.


Thank you, I had been contemplating exactly this. Much appreciated.


Quick Reply: Megan install in pictures


All times are GMT -7. The time now is 12:04 PM.