Notices
SC - 1st Gen (1992-2000)

97 SC300 - silentbob

Thread Tools
 
Search this Thread
 
Old Jun 24, 2019 | 06:58 AM
  #31  
RudysSC's Avatar
RudysSC
Pole Position
10 Year Member
Liked
Loved
Community Favorite
 
Joined: Feb 2012
Posts: 2,392
Likes: 1,219
From: CO
Default

You got a lot done! Nice work man.
Reply
Old Jun 24, 2019 | 08:55 AM
  #32  
silentkill's Avatar
silentkill
Thread Starter
Advanced
5 Year Member
Liked
Loved
Community Favorite
 
Joined: Jun 2017
Posts: 652
Likes: 227
Default

Originally Posted by RudysSC
You got a lot done! Nice work man.
thanks Rudy!

Yep gonna need that dust cap delete haha.

Reply
Old Jun 28, 2019 | 10:40 PM
  #33  
silentkill's Avatar
silentkill
Thread Starter
Advanced
5 Year Member
Liked
Loved
Community Favorite
 
Joined: Jun 2017
Posts: 652
Likes: 227
Default

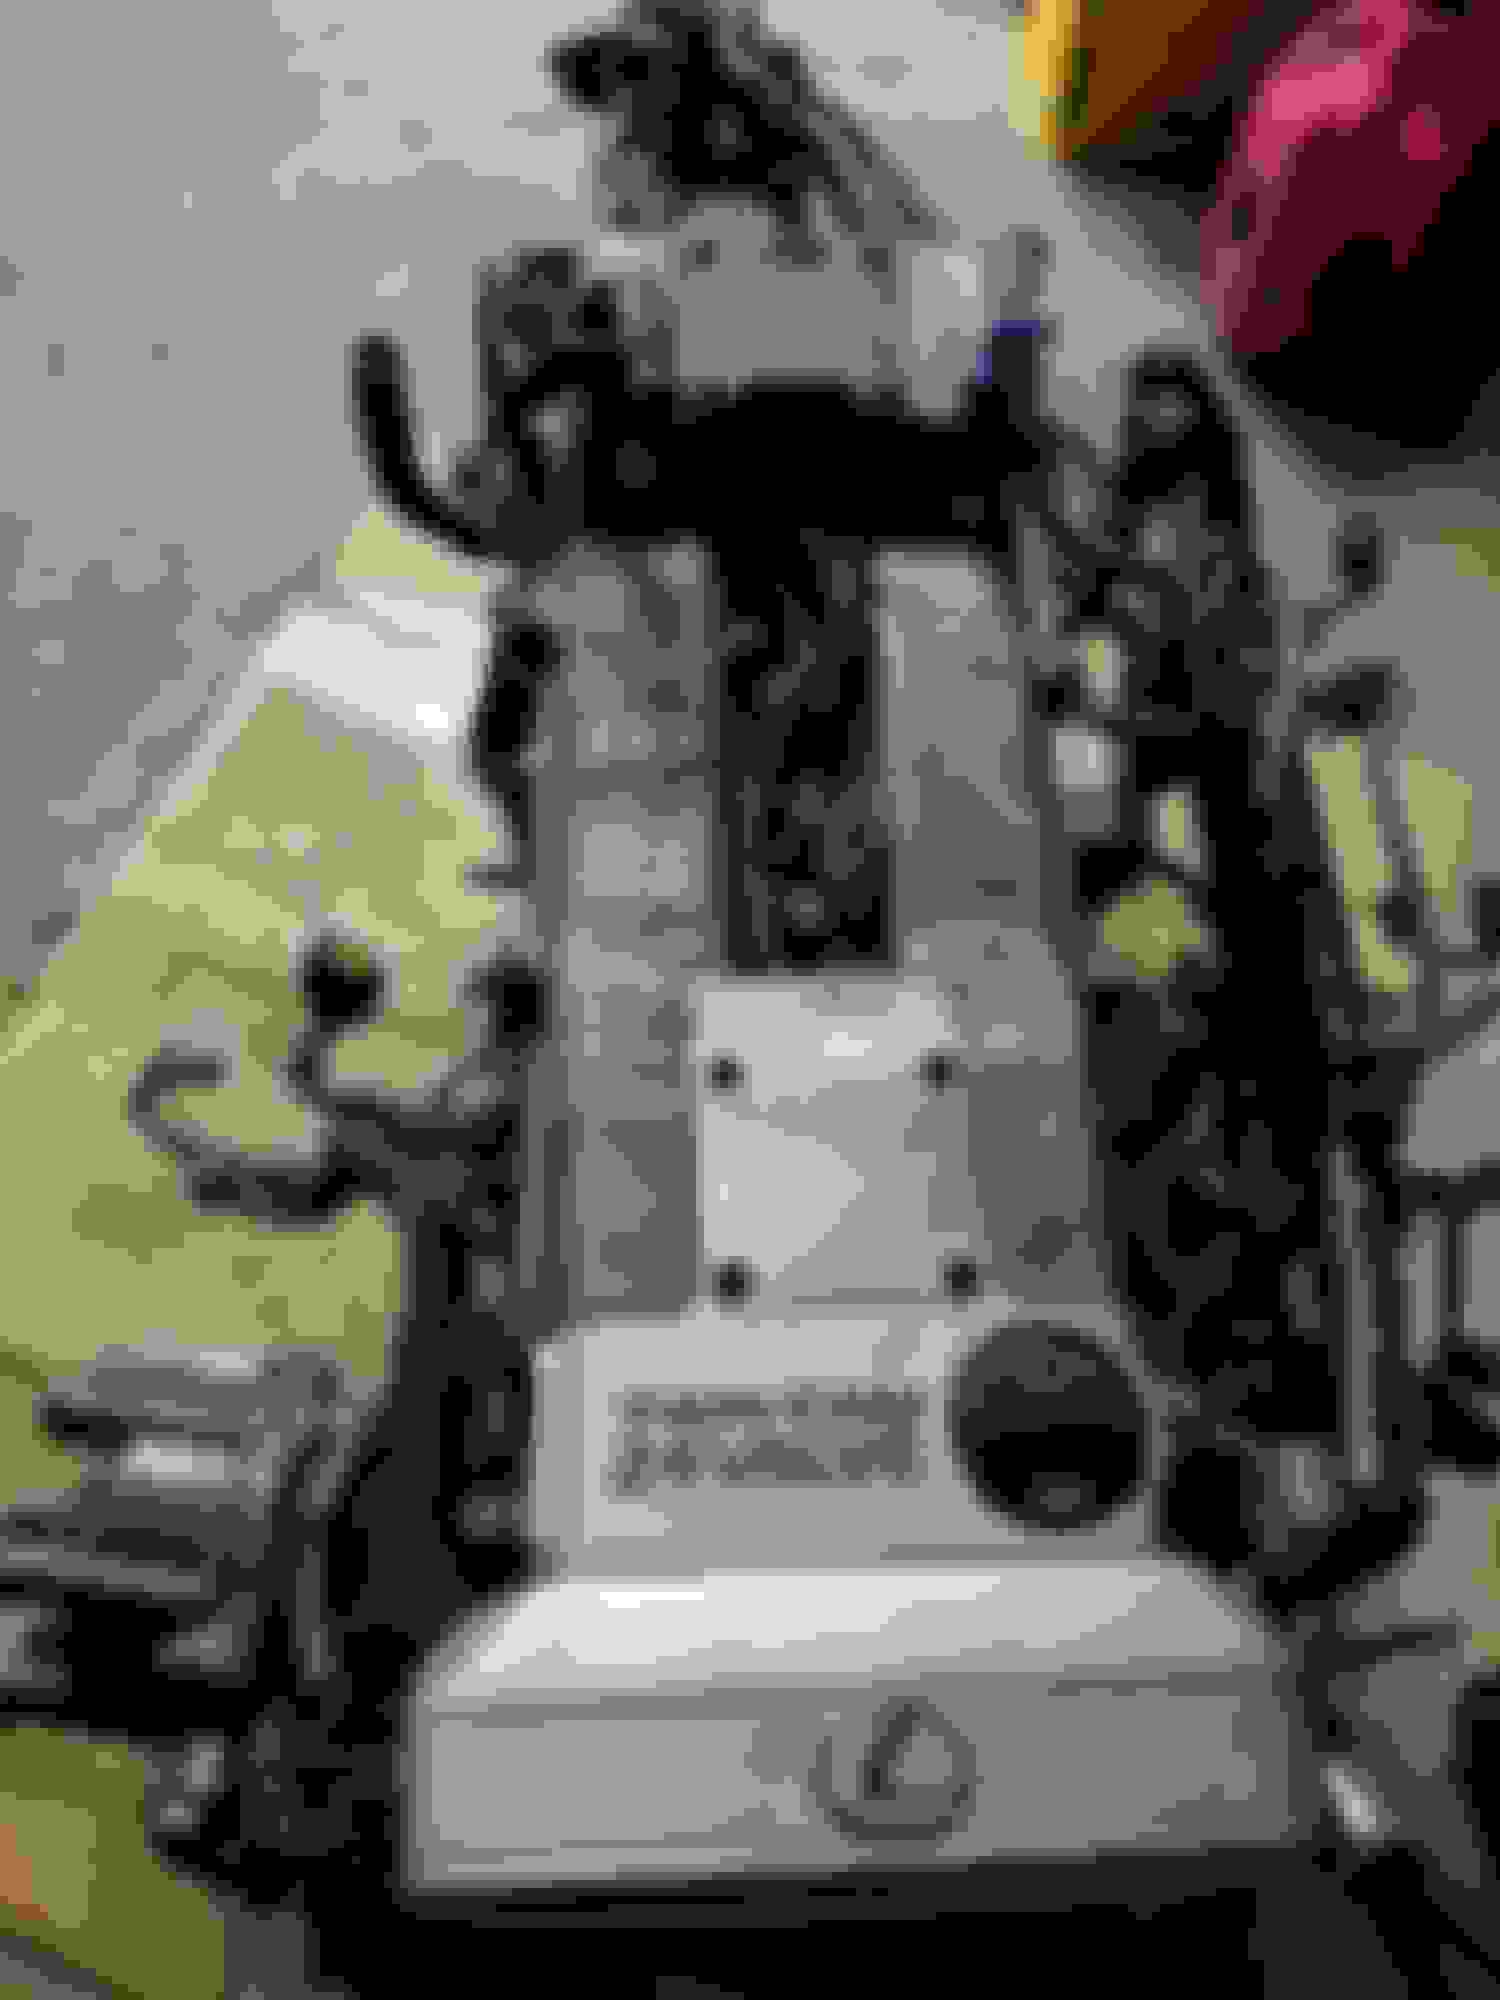
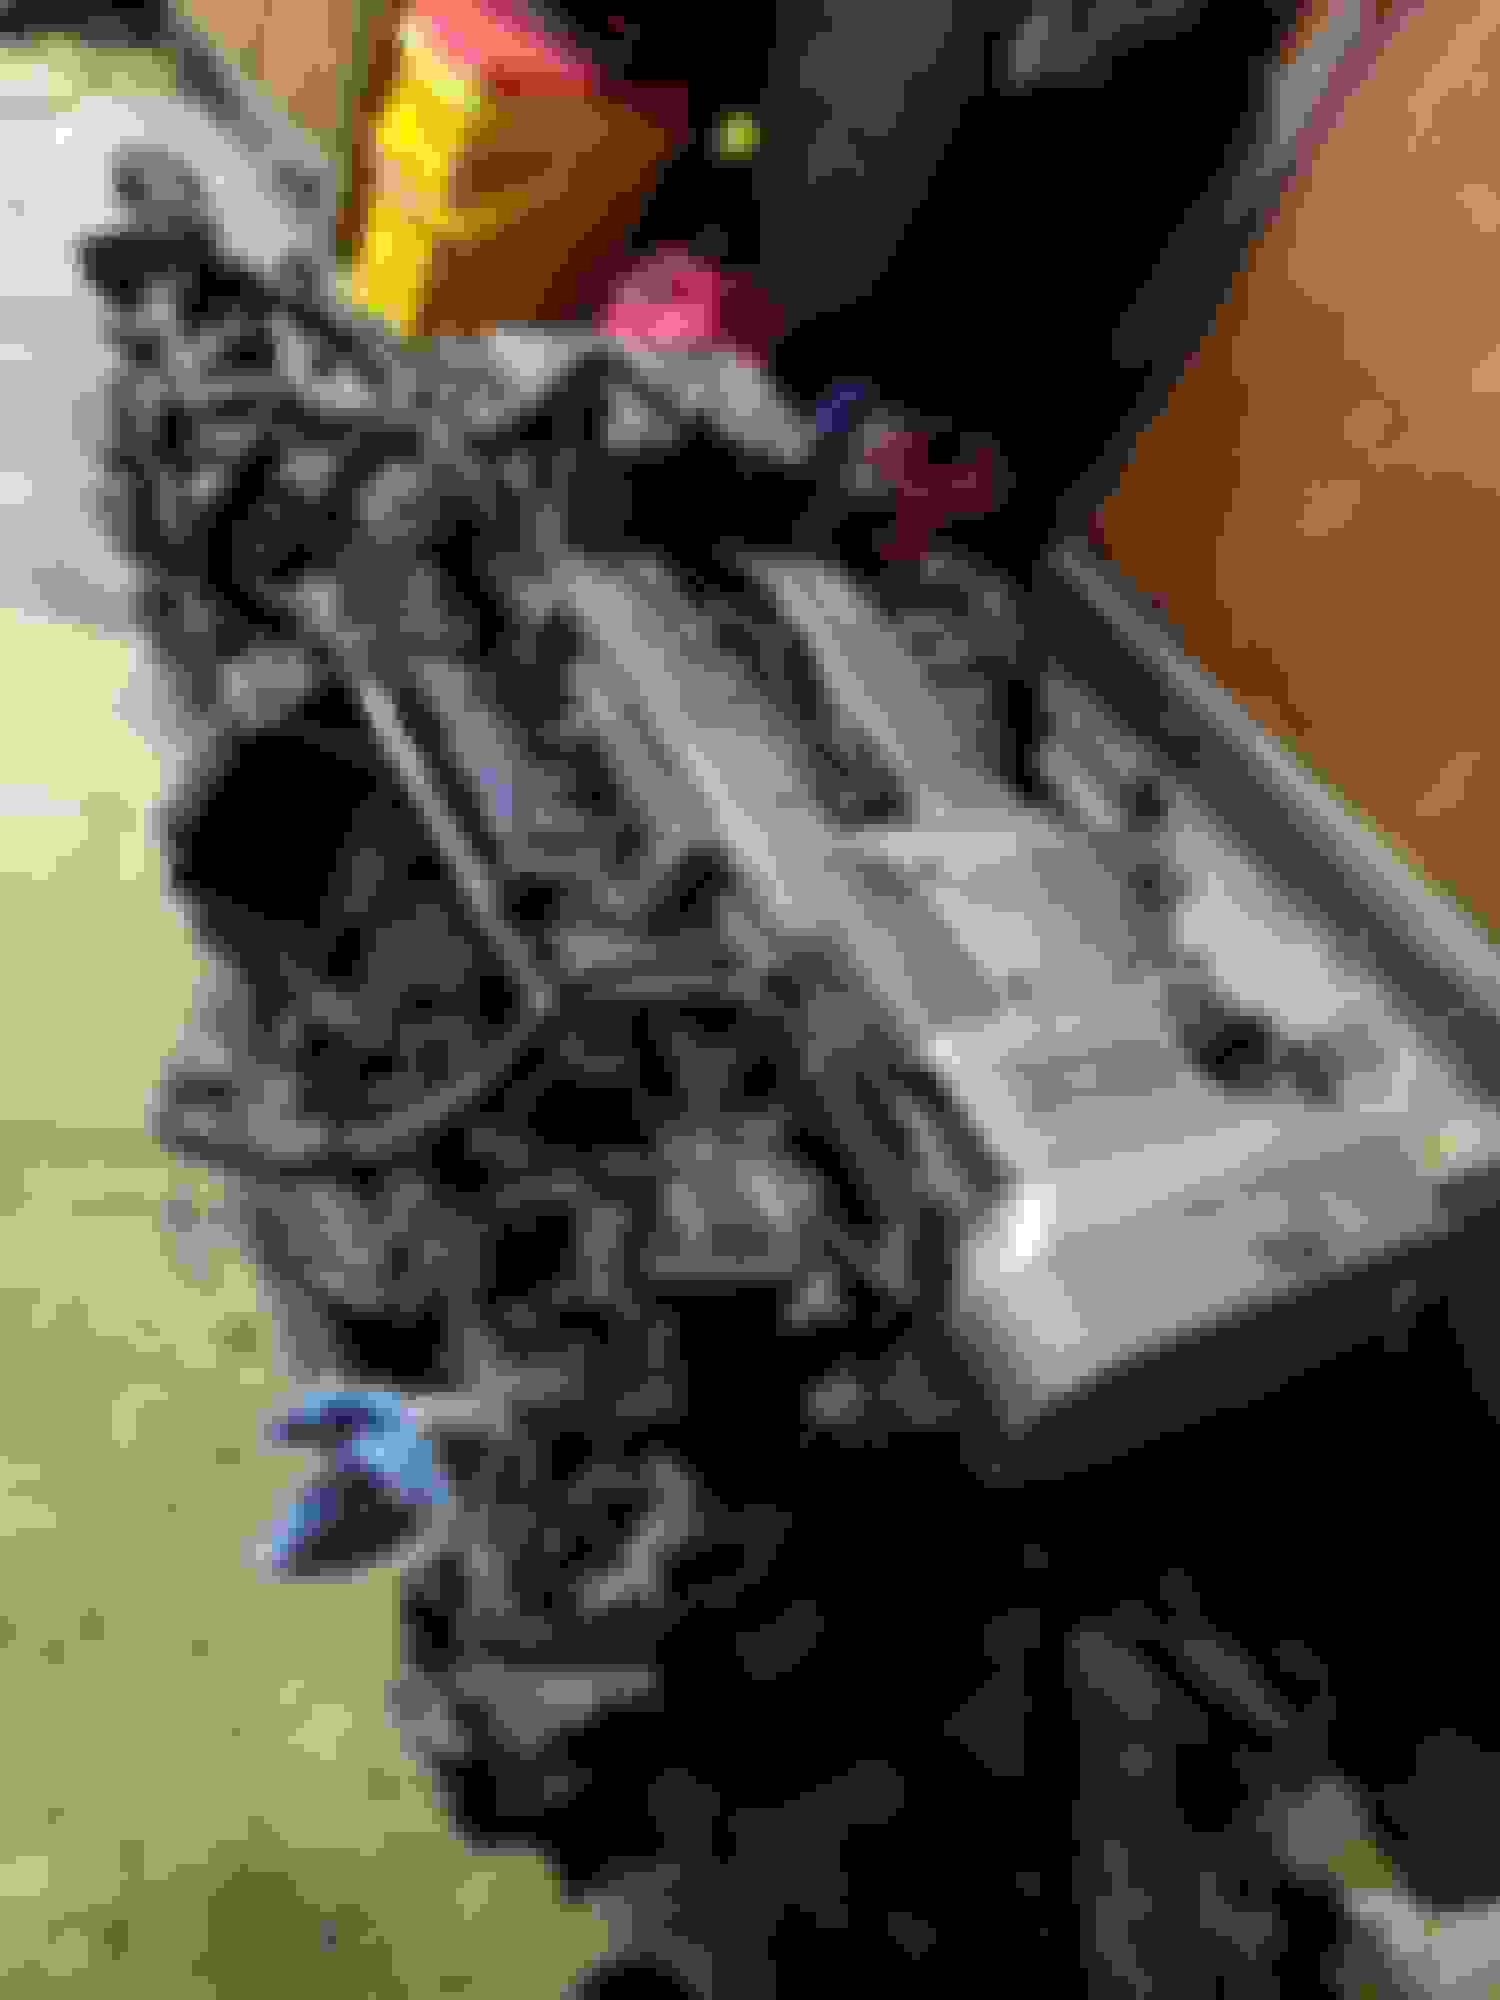
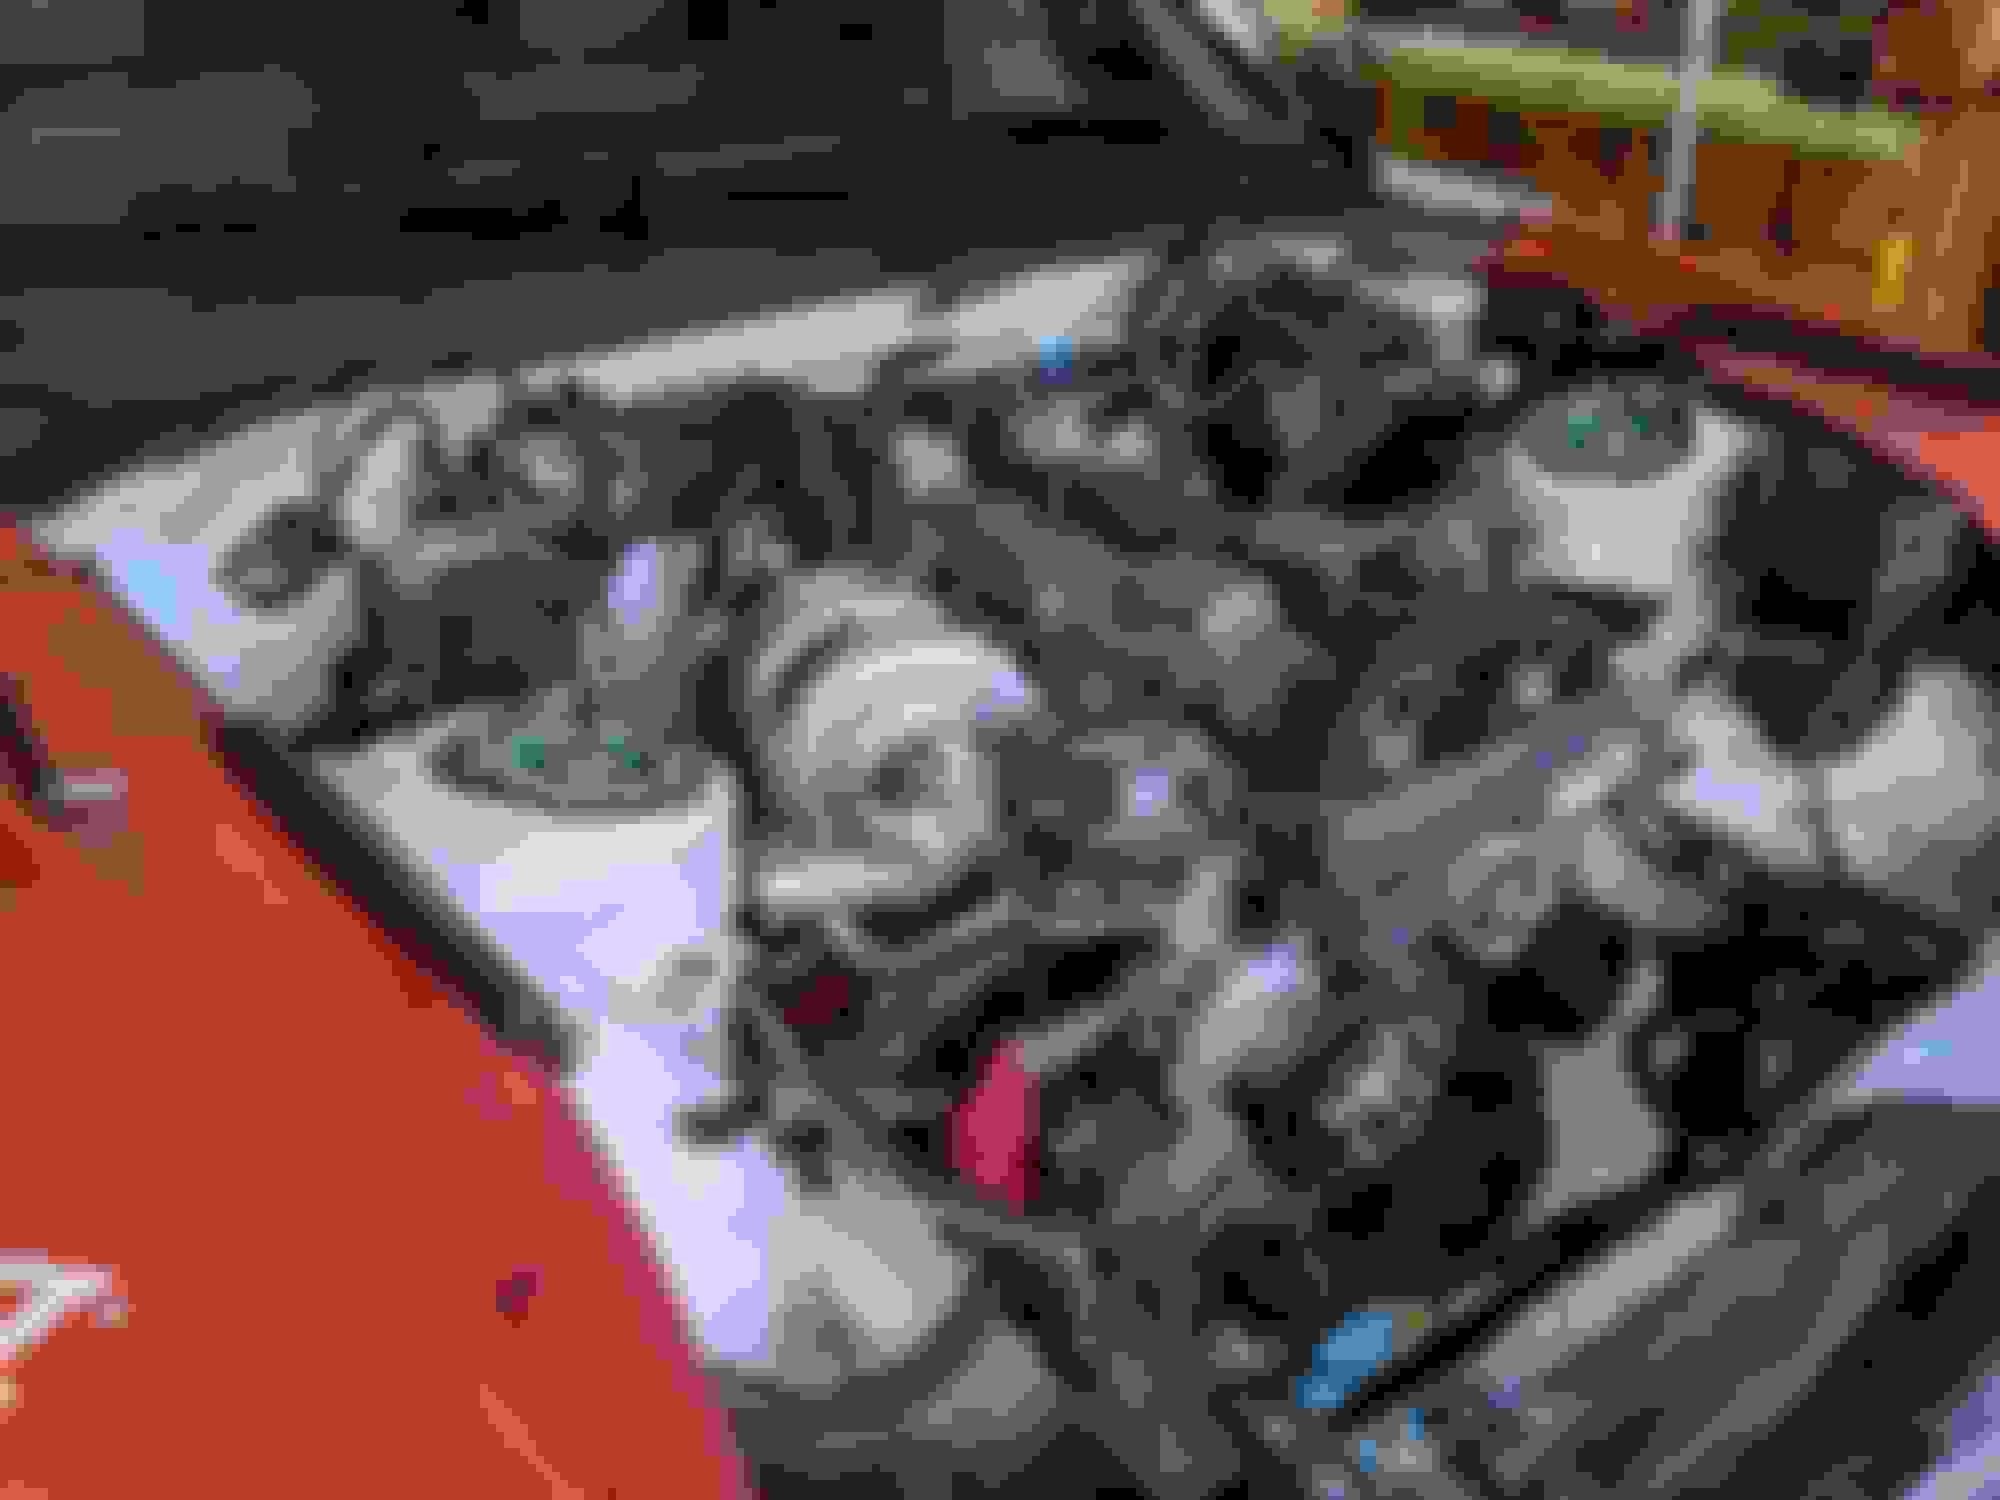
Head is installed with GTE gasket. I cleaned up the carbon the best i could short of removing the pistons and soaking them. Cams tomorrow + tbelt/waterpump, idler, belt.


Reply
Old Jun 29, 2019 | 01:35 PM
  #34  
99ROLLA's Avatar
99ROLLA
Driver School Candidate
 
Joined: May 2019
Posts: 6
Likes: 1
From: CA
Default

Very clean build, looking forward to seeing more!
Reply
Old Jul 8, 2019 | 06:36 AM
  #35  
silentkill's Avatar
silentkill
Thread Starter
Advanced
5 Year Member
Liked
Loved
Community Favorite
 
Joined: Jun 2017
Posts: 652
Likes: 227
Default

Some more progress!

I've wired up the wasted spark coils using Ali's wiring guide on it, instead of using an ignitor though i ran the trigger wires straight to my ecu plug using some old auto trans pins this way the entire setup will truly be plug and play with the Emu.

From what Ali has told me i will need to run a wire from my body plug for tach to the emu as well. I have a few more wiring changes to make but i can save those for in the car really, things i can think of off the top of my head, move TPS and IACV wiring to the drivers side for the FFIM.

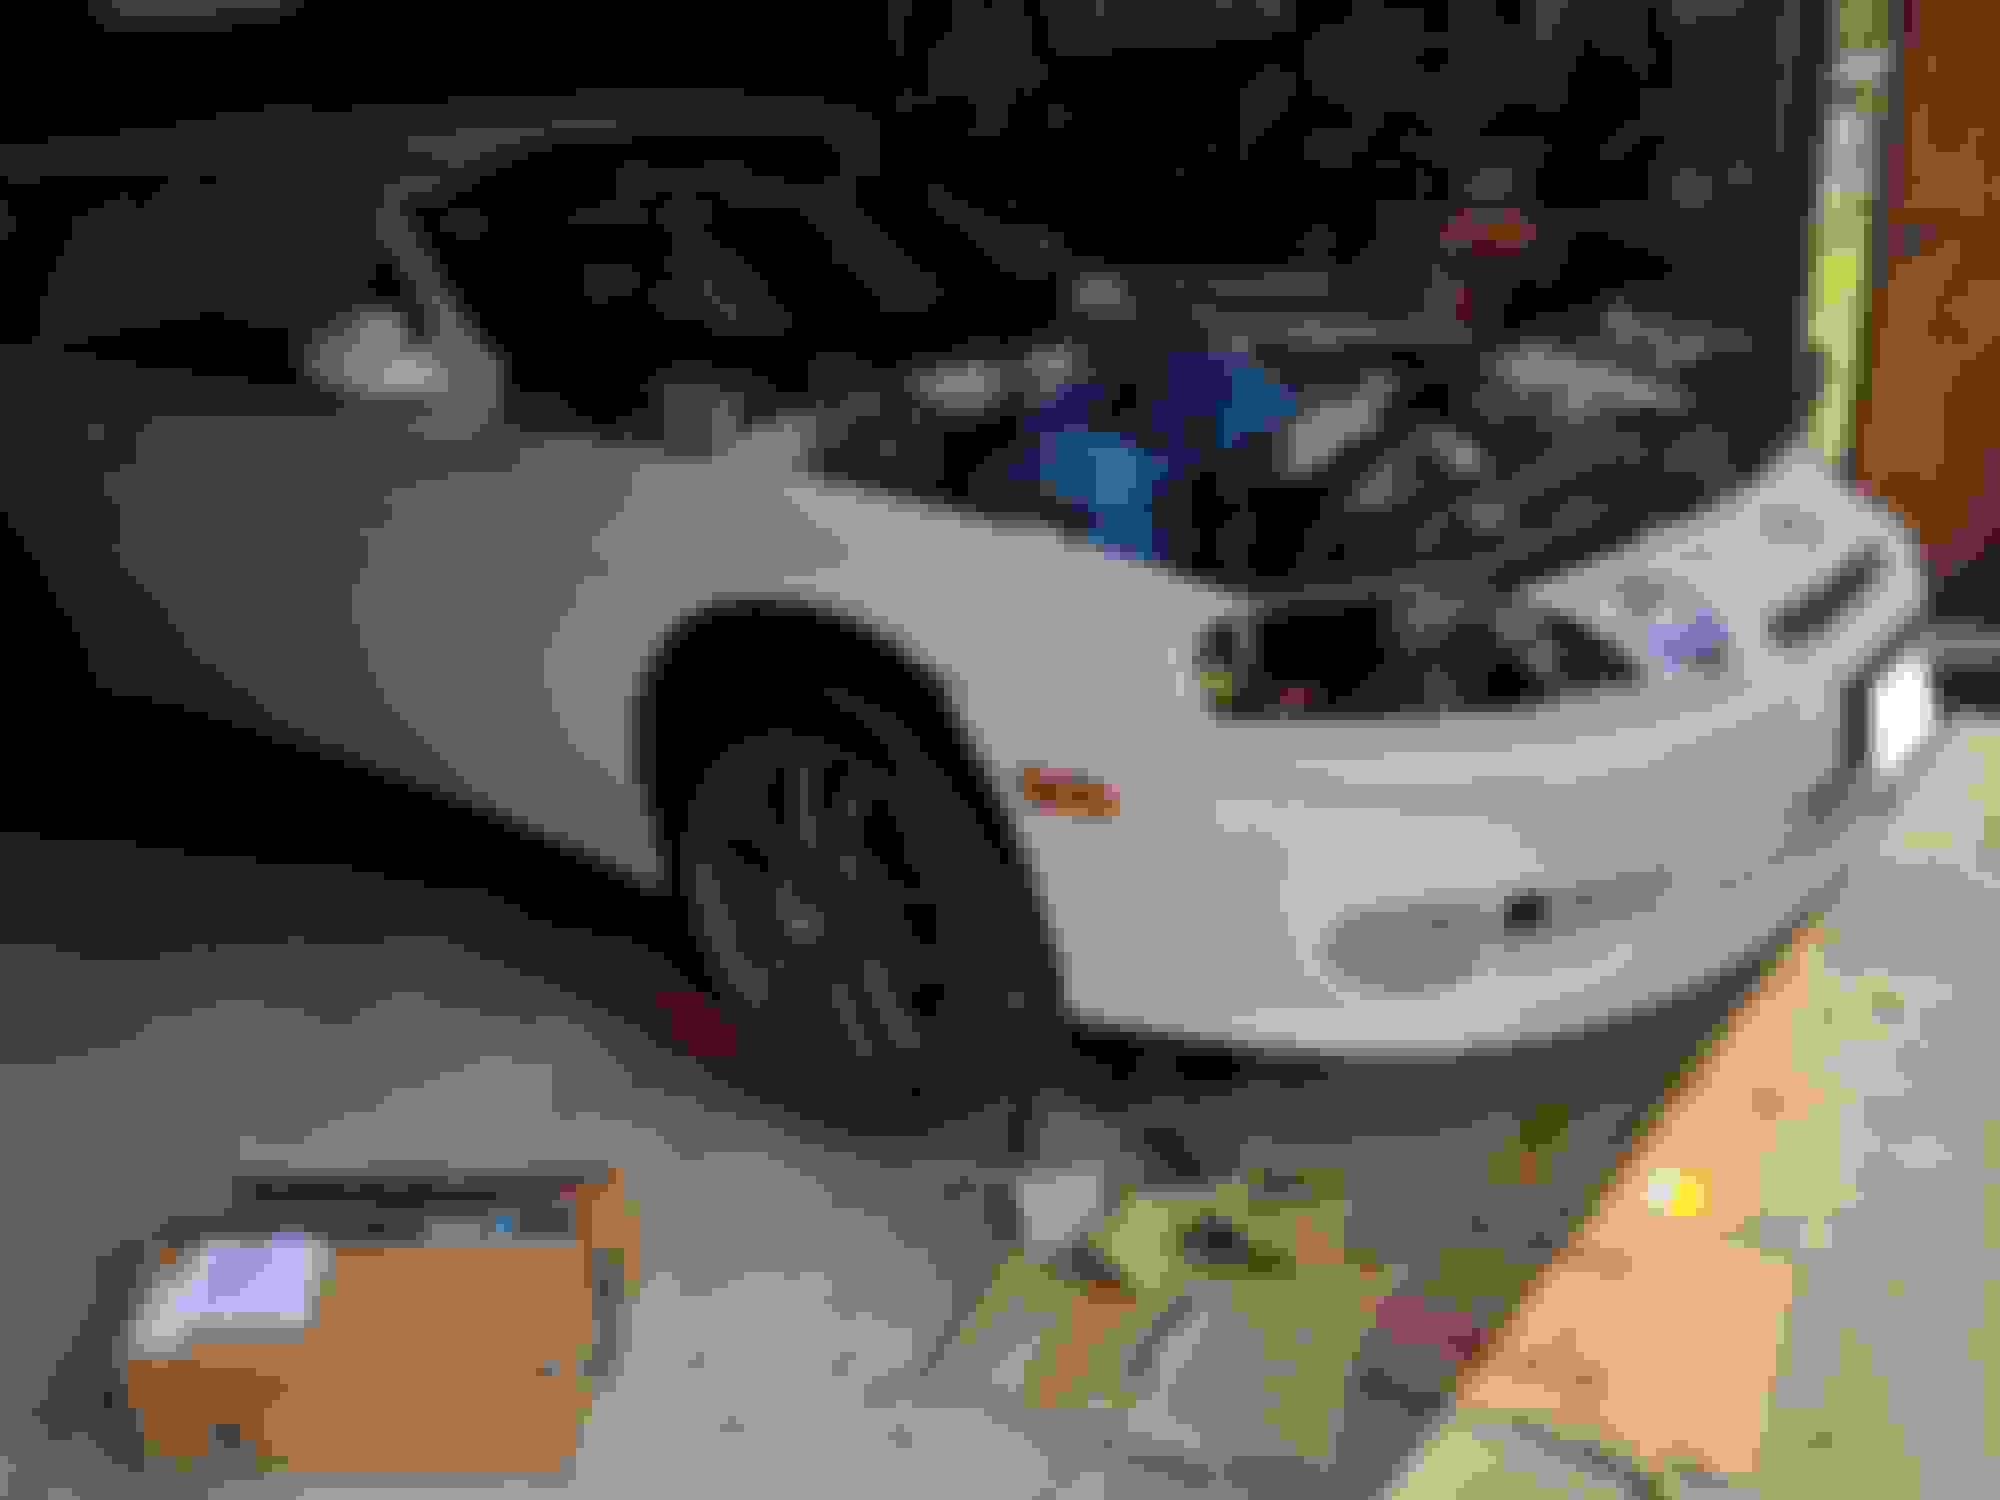
But now i think i can install the engine back in the car! ( after i pan swap )


Reply
Old Jul 8, 2019 | 09:05 AM
  #36  
RudysSC's Avatar
RudysSC
Pole Position
10 Year Member
Liked
Loved
Community Favorite
 
Joined: Feb 2012
Posts: 2,392
Likes: 1,219
From: CO
Default

Excellent work - you're wasting no time!
Reply
Old Jul 14, 2019 | 07:07 PM
  #37  
silentkill's Avatar
silentkill
Thread Starter
Advanced
5 Year Member
Liked
Loved
Community Favorite
 
Joined: Jun 2017
Posts: 652
Likes: 227
Default

My new wheel setup, i need larger tires but i love the contrast/style of these against the white. Much better than the flashy wheels.


Engine is installed
turbo kit semi-fitted
Test fit turbo/manifold/downpipe (need to extend midpipe to meet the factory Ypipe for this year)


Peep the VVTI Coils and nice fitment here


Clock the turbo down and get a silicone 90'? idk yet


Definitely looks mean, i love it.


Last edited by silentkill; Jul 14, 2019 at 07:20 PM.
Reply
Old Jul 15, 2019 | 04:03 PM
  #38  
MNtyler's Avatar
MNtyler
Rookie
 
Joined: May 2018
Posts: 58
Likes: 6
From: MN
Default

This looks clean! keep up the good work bud!
Reply
Old Jul 25, 2019 | 11:26 AM
  #39  
silentkill's Avatar
silentkill
Thread Starter
Advanced
5 Year Member
Liked
Loved
Community Favorite
 
Joined: Jun 2017
Posts: 652
Likes: 227
Default

Ali has talked me out of e85 and 600hp for now, so i think i will end up getting Walbro 450+ID1050x and utilize the stock fuel rail/regulator/damper, etc.

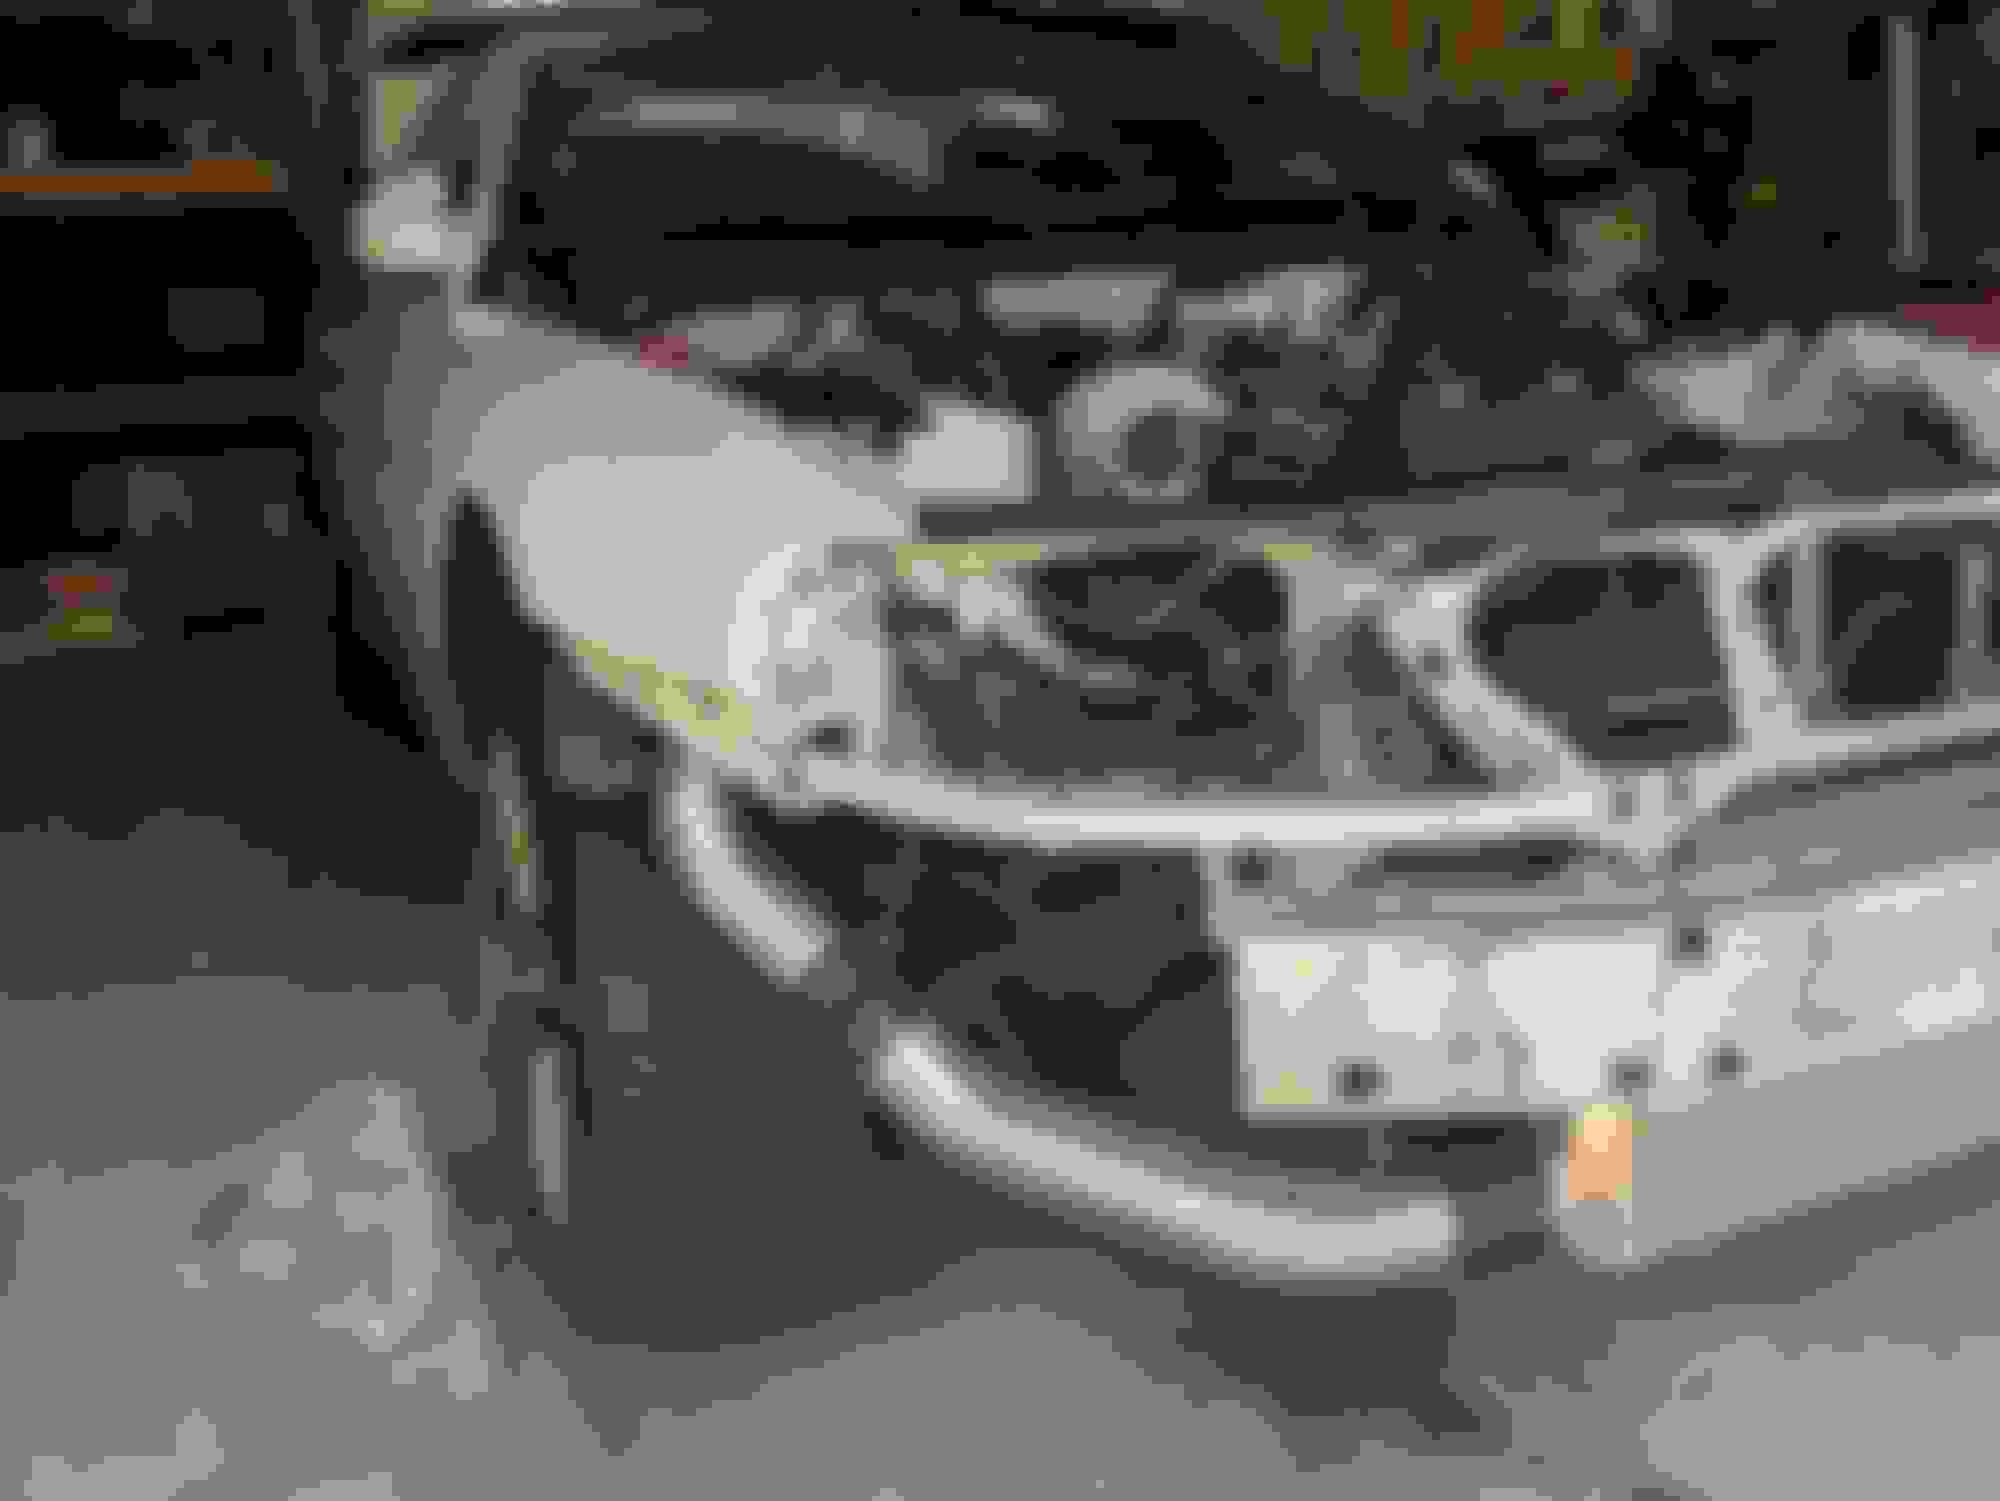
Which means i just need to figure out the FFIM, drop some parts on it and fiddle with getting it running! excited to not have to relocate the battery as well.

Also i got the shifter in, impressive improvement on the sloppy gears in the w58 when you change the plastic bushing inside the shifter housing. 1 & 2 have no slop, the gears right of that have increasingly more but definitely better than before!

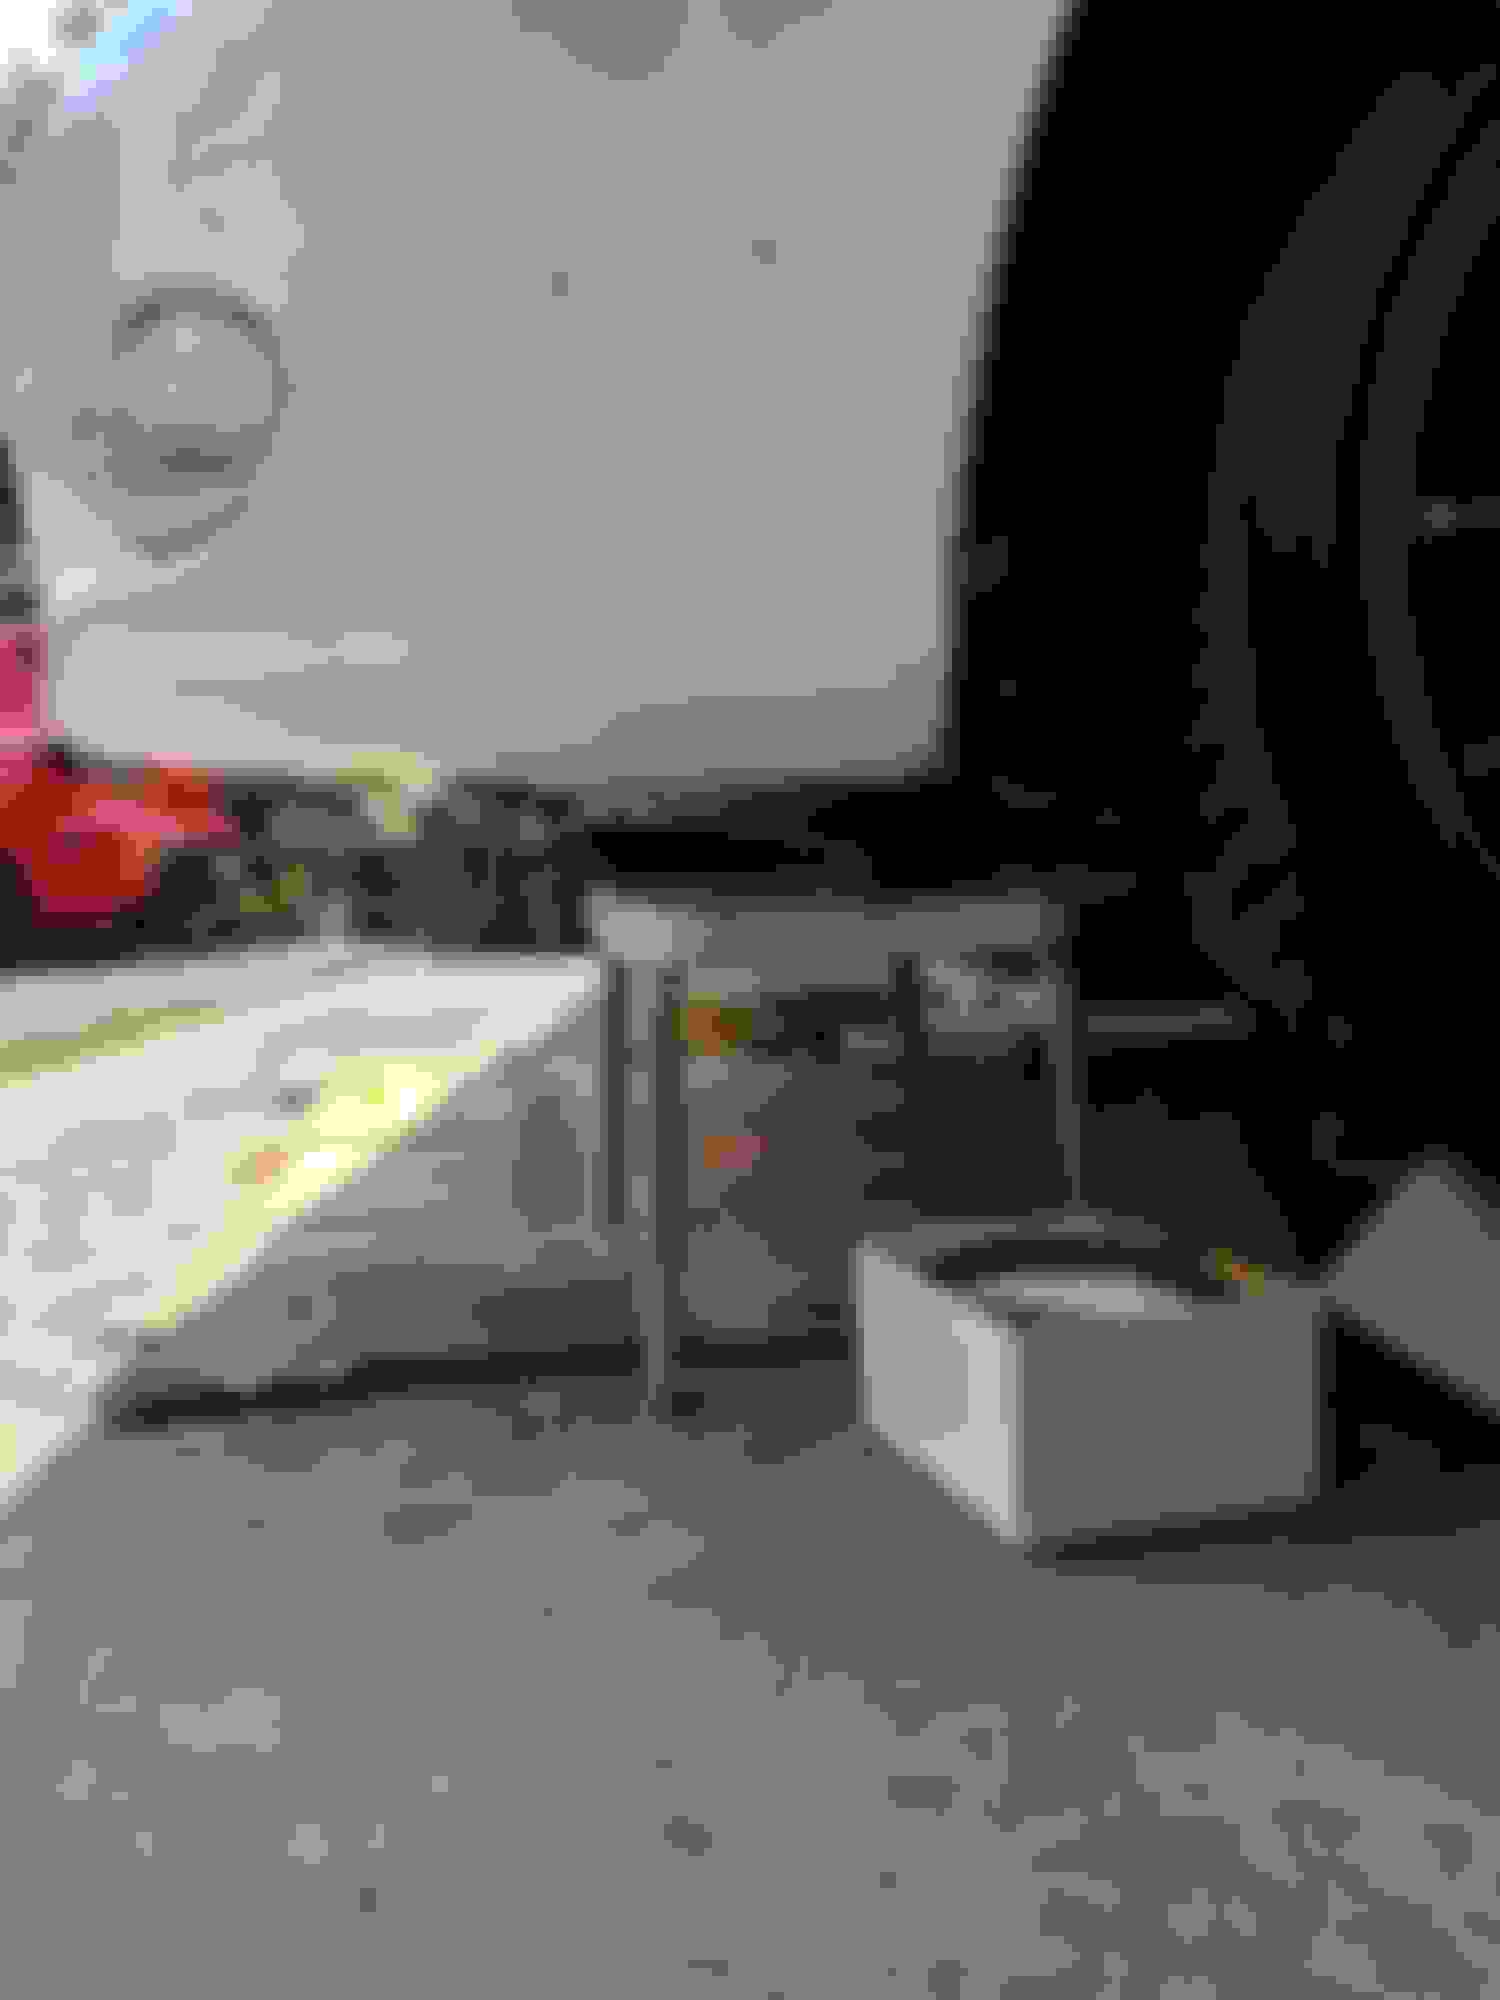
Things i have learned about the CX kit, i bent the brackets for the stock coolant bottle and removed the front one, fits perfect!

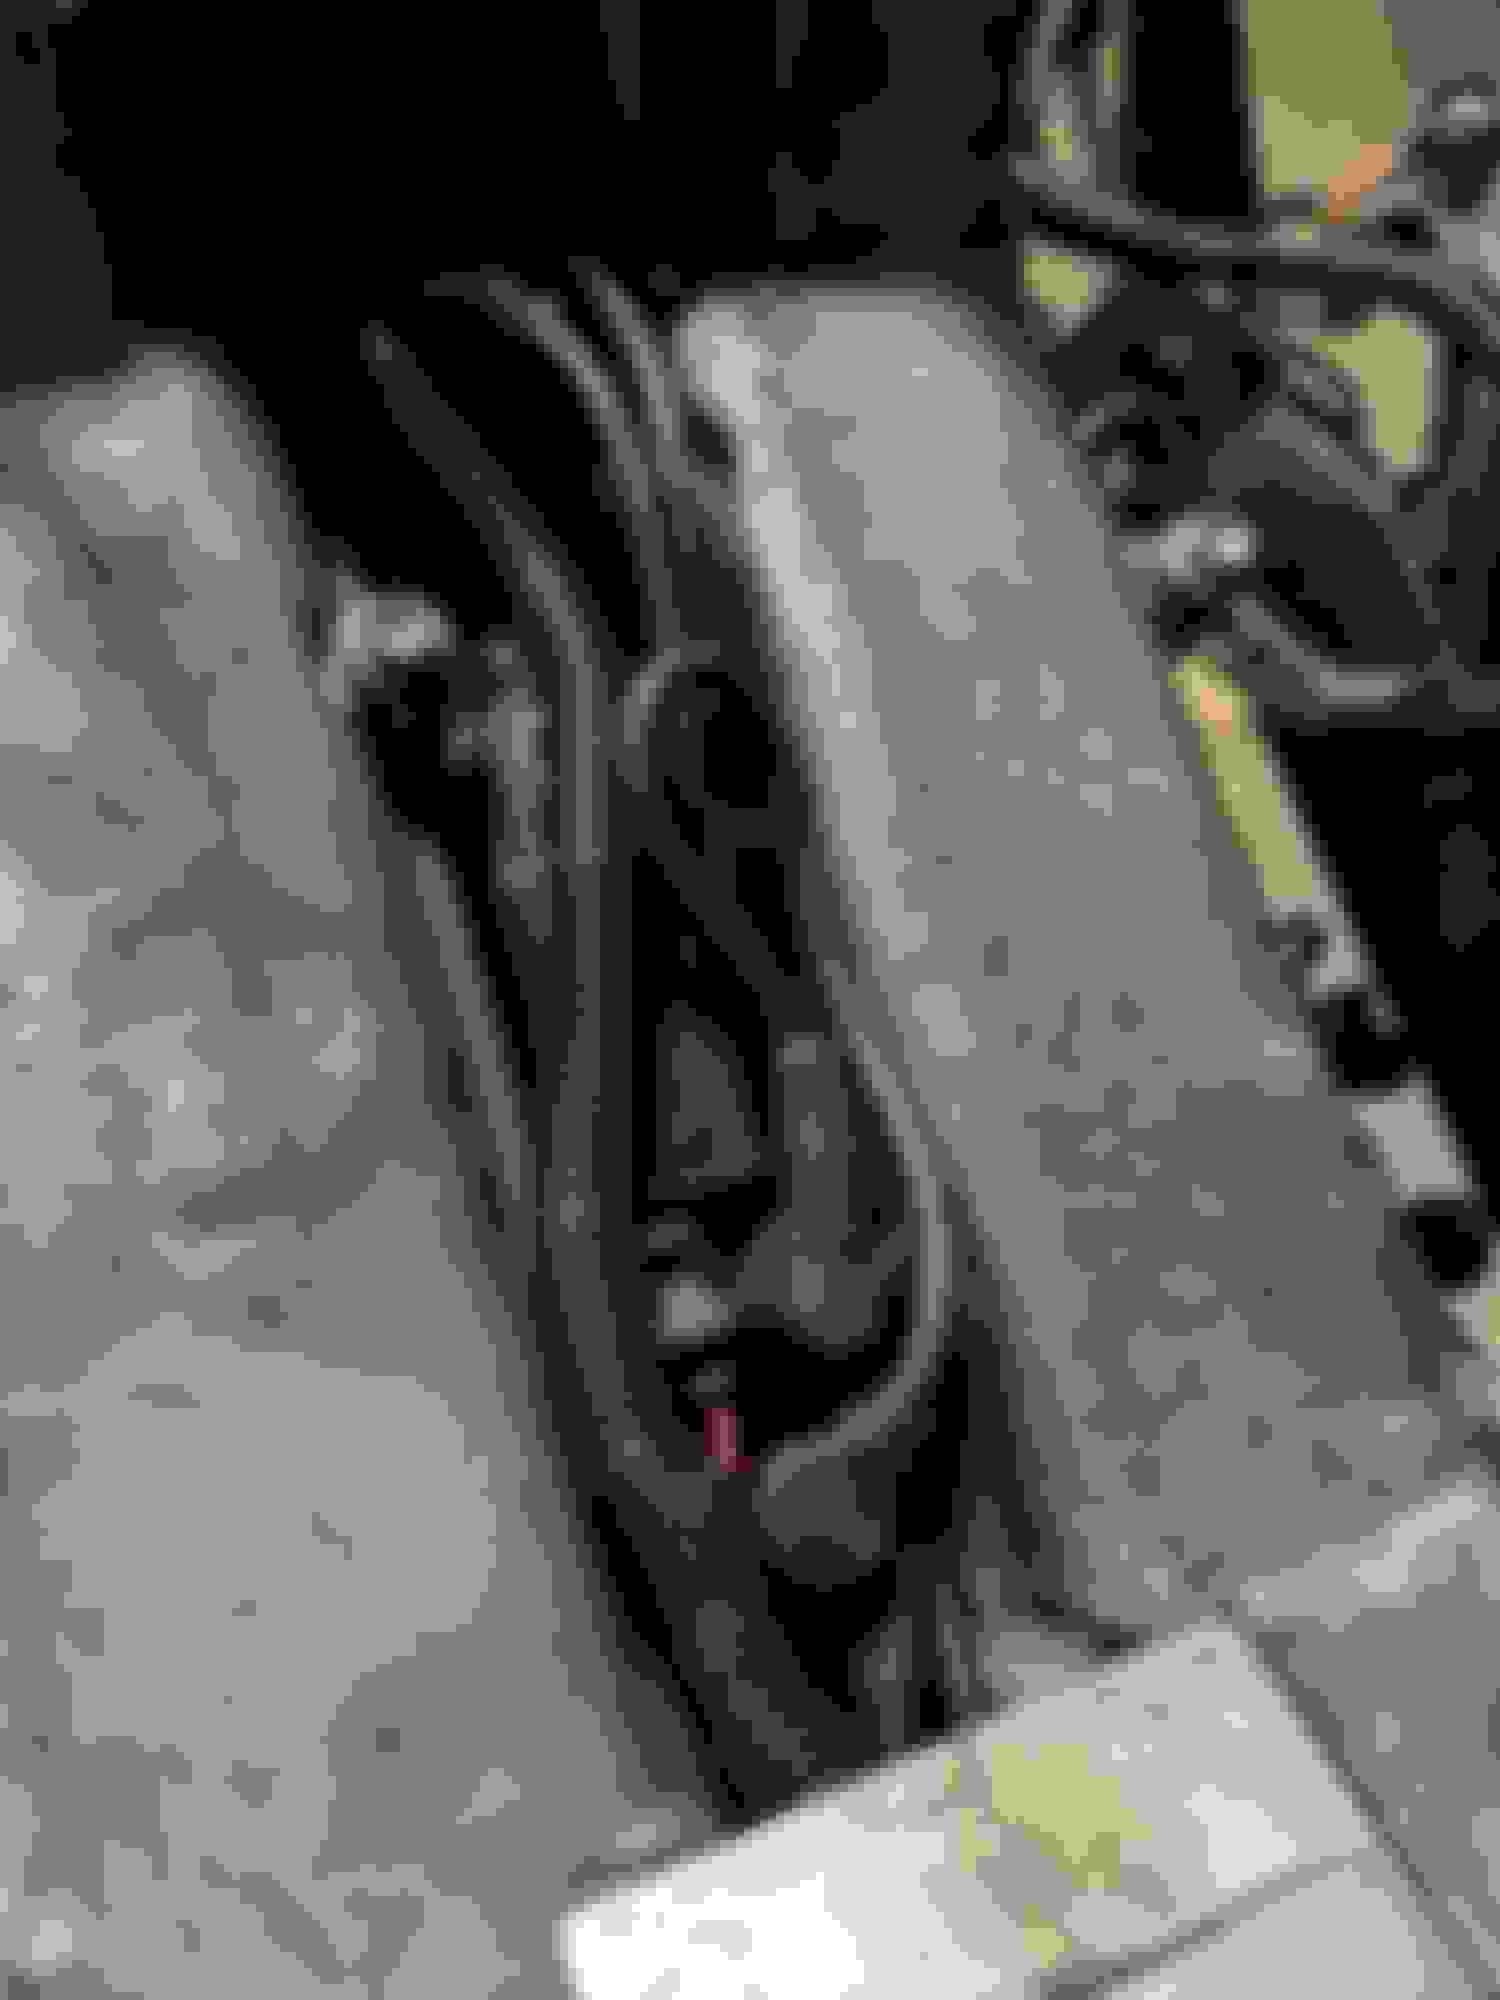
The drivers side pipe with BOV runs right into the stock power steering cooler lines on my 97, i will have to get some rubber and give them more slack so i can fit the bov in there. i'll snap a better picture of that later.


Reply
Old Jul 25, 2019 | 12:13 PM
  #40  
Ali SC3's Avatar
Ali SC3
Lexus Champion
CL Folding 100,000
15 Year Member
Liked
Community Favorite
iTrader: (10)
 
Joined: Oct 2007
Posts: 10,806
Likes: 469
From: CO
Default

Looks really good, I didn't even realize you had a build thread lol. Some just get rid of the factory PS "cooler" and loop the 2 hardlines together with a hose, or you can install one of those little aftermarket guys, or bend it out of the way, give it more slack etc.. sounds like you got it.
And that GE motor looks fresh, I am glad you decided to build up the one already in the car. Looks like you are really close!
Reply
Old Jul 25, 2019 | 12:53 PM
  #41  
silentkill's Avatar
silentkill
Thread Starter
Advanced
5 Year Member
Liked
Loved
Community Favorite
 
Joined: Jun 2017
Posts: 652
Likes: 227
Default

Originally Posted by Ali SC3
Looks really good, I didn't even realize you had a build thread lol. Some just get rid of the factory PS "cooler" and loop the 2 hardlines together with a hose, or you can install one of those little aftermarket guys, or bend it out of the way, give it more slack etc.. sounds like you got it.
And that GE motor looks fresh, I am glad you decided to build up the one already in the car. Looks like you are really close!

I was wondering when you were going to pop in here! haha.

So far very pleased with how it's turning out, its been a fun adventure. Not easy like all of the domestic v8 build's ive done but i'm always up for a challenge.

I will say putting this engine with trans back in the car was a 30min ordeal versus the c6 z06 i did that took HOURS to mate back up.
Reply
Old Jul 25, 2019 | 01:15 PM
  #42  
Ali SC3's Avatar
Ali SC3
Lexus Champion
CL Folding 100,000
15 Year Member
Liked
Community Favorite
iTrader: (10)
 
Joined: Oct 2007
Posts: 10,806
Likes: 469
From: CO
Default

Yup, once you pull that radiator out there is a ton of room to work the engine in and out. A second pair of hands to slip in the driveshaft while its going back in makes life easier also.
Reply
Old Jul 28, 2019 | 02:52 PM
  #43  
silentkill's Avatar
silentkill
Thread Starter
Advanced
5 Year Member
Liked
Loved
Community Favorite
 
Joined: Jun 2017
Posts: 652
Likes: 227
Default

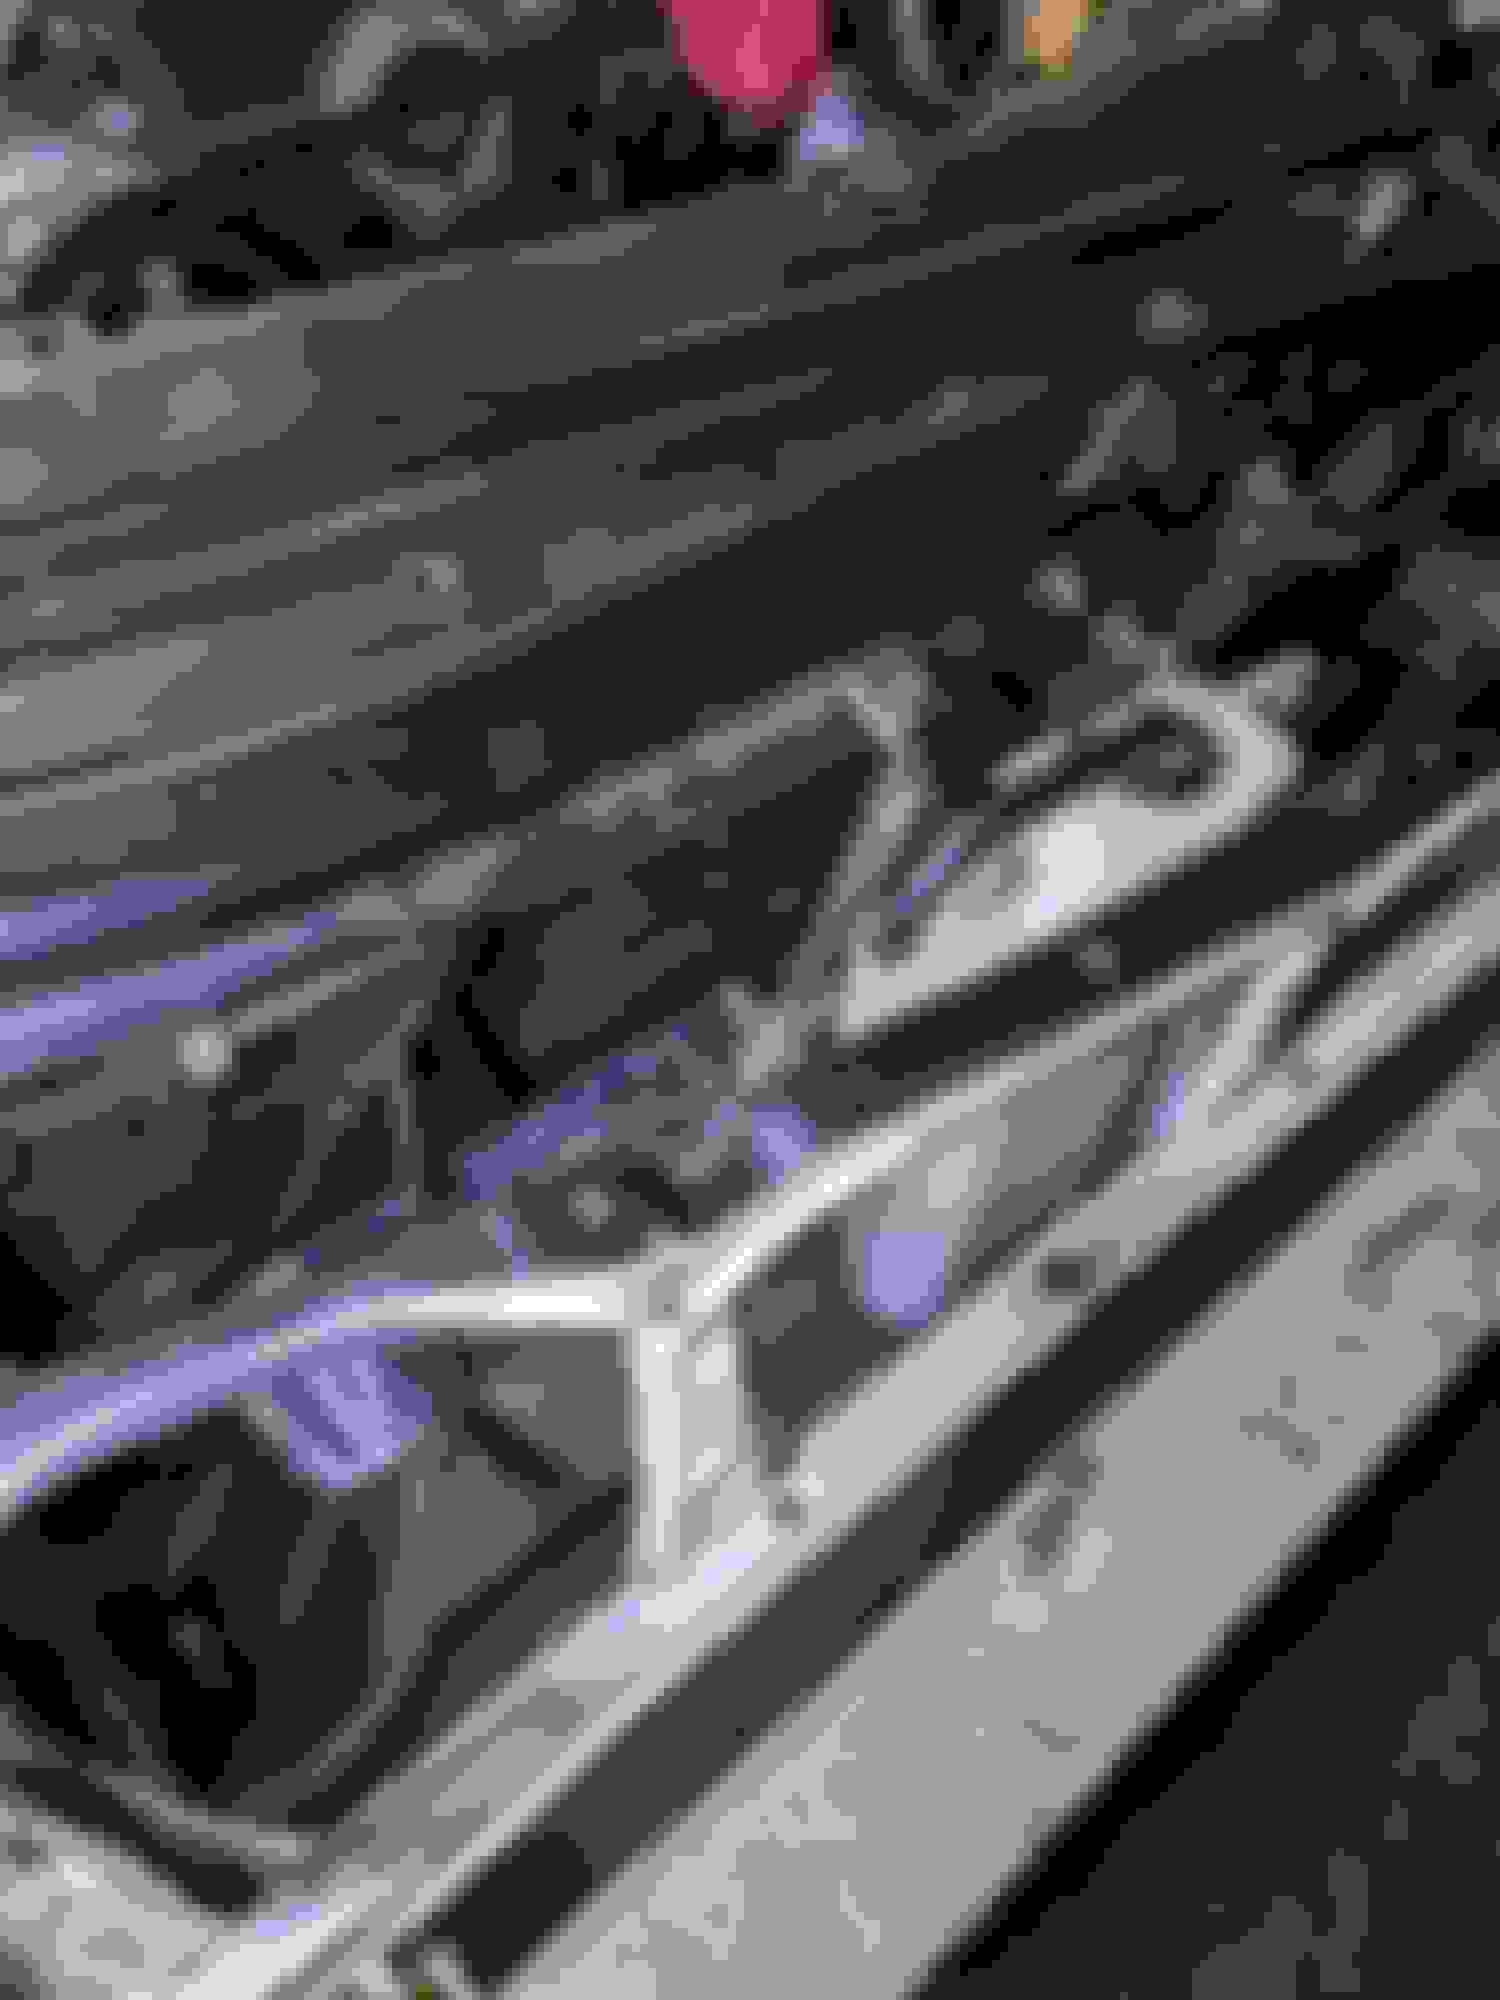
more progress! don't judge my silicone 90, i'm gonna run it until it pops off lol. JK i will probably get a alum 90 welded on before i get past any serious boost numbers. We'll call that my w58 saver.


I don't have the drivers side up all the way yet so thats why its hanging. I LOVE how it looks in the bay though it's gonna be nice. I did test fit the coolant hose slightly. I'll need to do some hacky stuff with that and shorten it i'm sure.
Reply
Old Aug 4, 2019 | 07:19 PM
  #44  
silentkill's Avatar
silentkill
Thread Starter
Advanced
5 Year Member
Liked
Loved
Community Favorite
 
Joined: Jun 2017
Posts: 652
Likes: 227
Default

Test fit the bumper first time since the front mount, not bad! I miss it looking like a car.


Not super excited about this driver side IC pipe, not sure what to-do to make it better without relocating the washer tank.


IC looks awesome up in the grill
Reply
Old Aug 4, 2019 | 07:22 PM
  #45  
silentkill's Avatar
silentkill
Thread Starter
Advanced
5 Year Member
Liked
Loved
Community Favorite
 
Joined: Jun 2017
Posts: 652
Likes: 227
Default

Manzo midpipe fitment is 8/10, it kinda pulled the stock catback forward a little but it looks like it will work. #ebay errythang


going to wrap the down, mid a bit and the manifold.
Reply


All times are GMT -7. The time now is 11:25 PM.