When you click on links to various merchants on this site and make a purchase, this can result in this site earning a commission. Affiliate programs and affiliations include, but are not limited to, the eBay Partner Network.
I wish someone would install one correctly with all the hardware done. I'd like to be able to see what "mods" are going to need to be done before I install mine. From what I've seen so far with pics posted that hasn't happened yet. Come on Gerrb, get yours on !!!
Shane
I just got mine literally 5 minutes ago .. hahaha..
First impression -> Super Happy cause they seem to be so solid and tough with the way they have been constructed. I was comparing them with my 97 bumper ... seem to be thicker . Damn you break this thing .. you got a bigger problem to fix !!!!!!!!!!!!!!!!!!! I had a Shine kit before that I sold and I have seen the original Auto Couture ... this version is definitely the best .
Not too worried about install cause in any aftermarket body part , there would always be some work and certain degree of creativity needed on the part of the installer to fit things nicely and take care of imperfections . There is so much room for adjustments on these kind of parts . They are not like a turbo , intake or exhaust manifolds or other parts that once you tighten all the bolts .. that is it.
I will try to find time tomorrow to install them ... for tonight got to let them expand . Thanks Irving , you guys did good on these products !
EDIT : Woke up and bumpers where basically in shape . I still have some wavy area at the bottom but that can easily be taken cared of by a heat gun now. Truly am amazed on how solid these damn thing are and am sure everyone who got into the group buy can attest to it.
Yea I'm just waiting on more screws like I told you a long time ago. The previous owner lost like half of them. Had to ziptie both of the side lol. I think everything is spot on except for that top part which would be fine if I pulled it up a bit more and screwed down tighter. Also underneath on the bottom one spot seems to unfold outward toward the ground. Would a heat gun fix it.
Also anyone know if there is a good product to mount the license plate because I don't want to drill holes in mu new baby haha.
OK. So between my last post and this one we had a customer come through, and it was their lucky day! Free install, anyone?
Step One (not pictured):
Remove factory bumper. IF you DO need images for this step, PLEASE DO NOT PROCEED ANY FURTHER.
Step Two (not pictured):
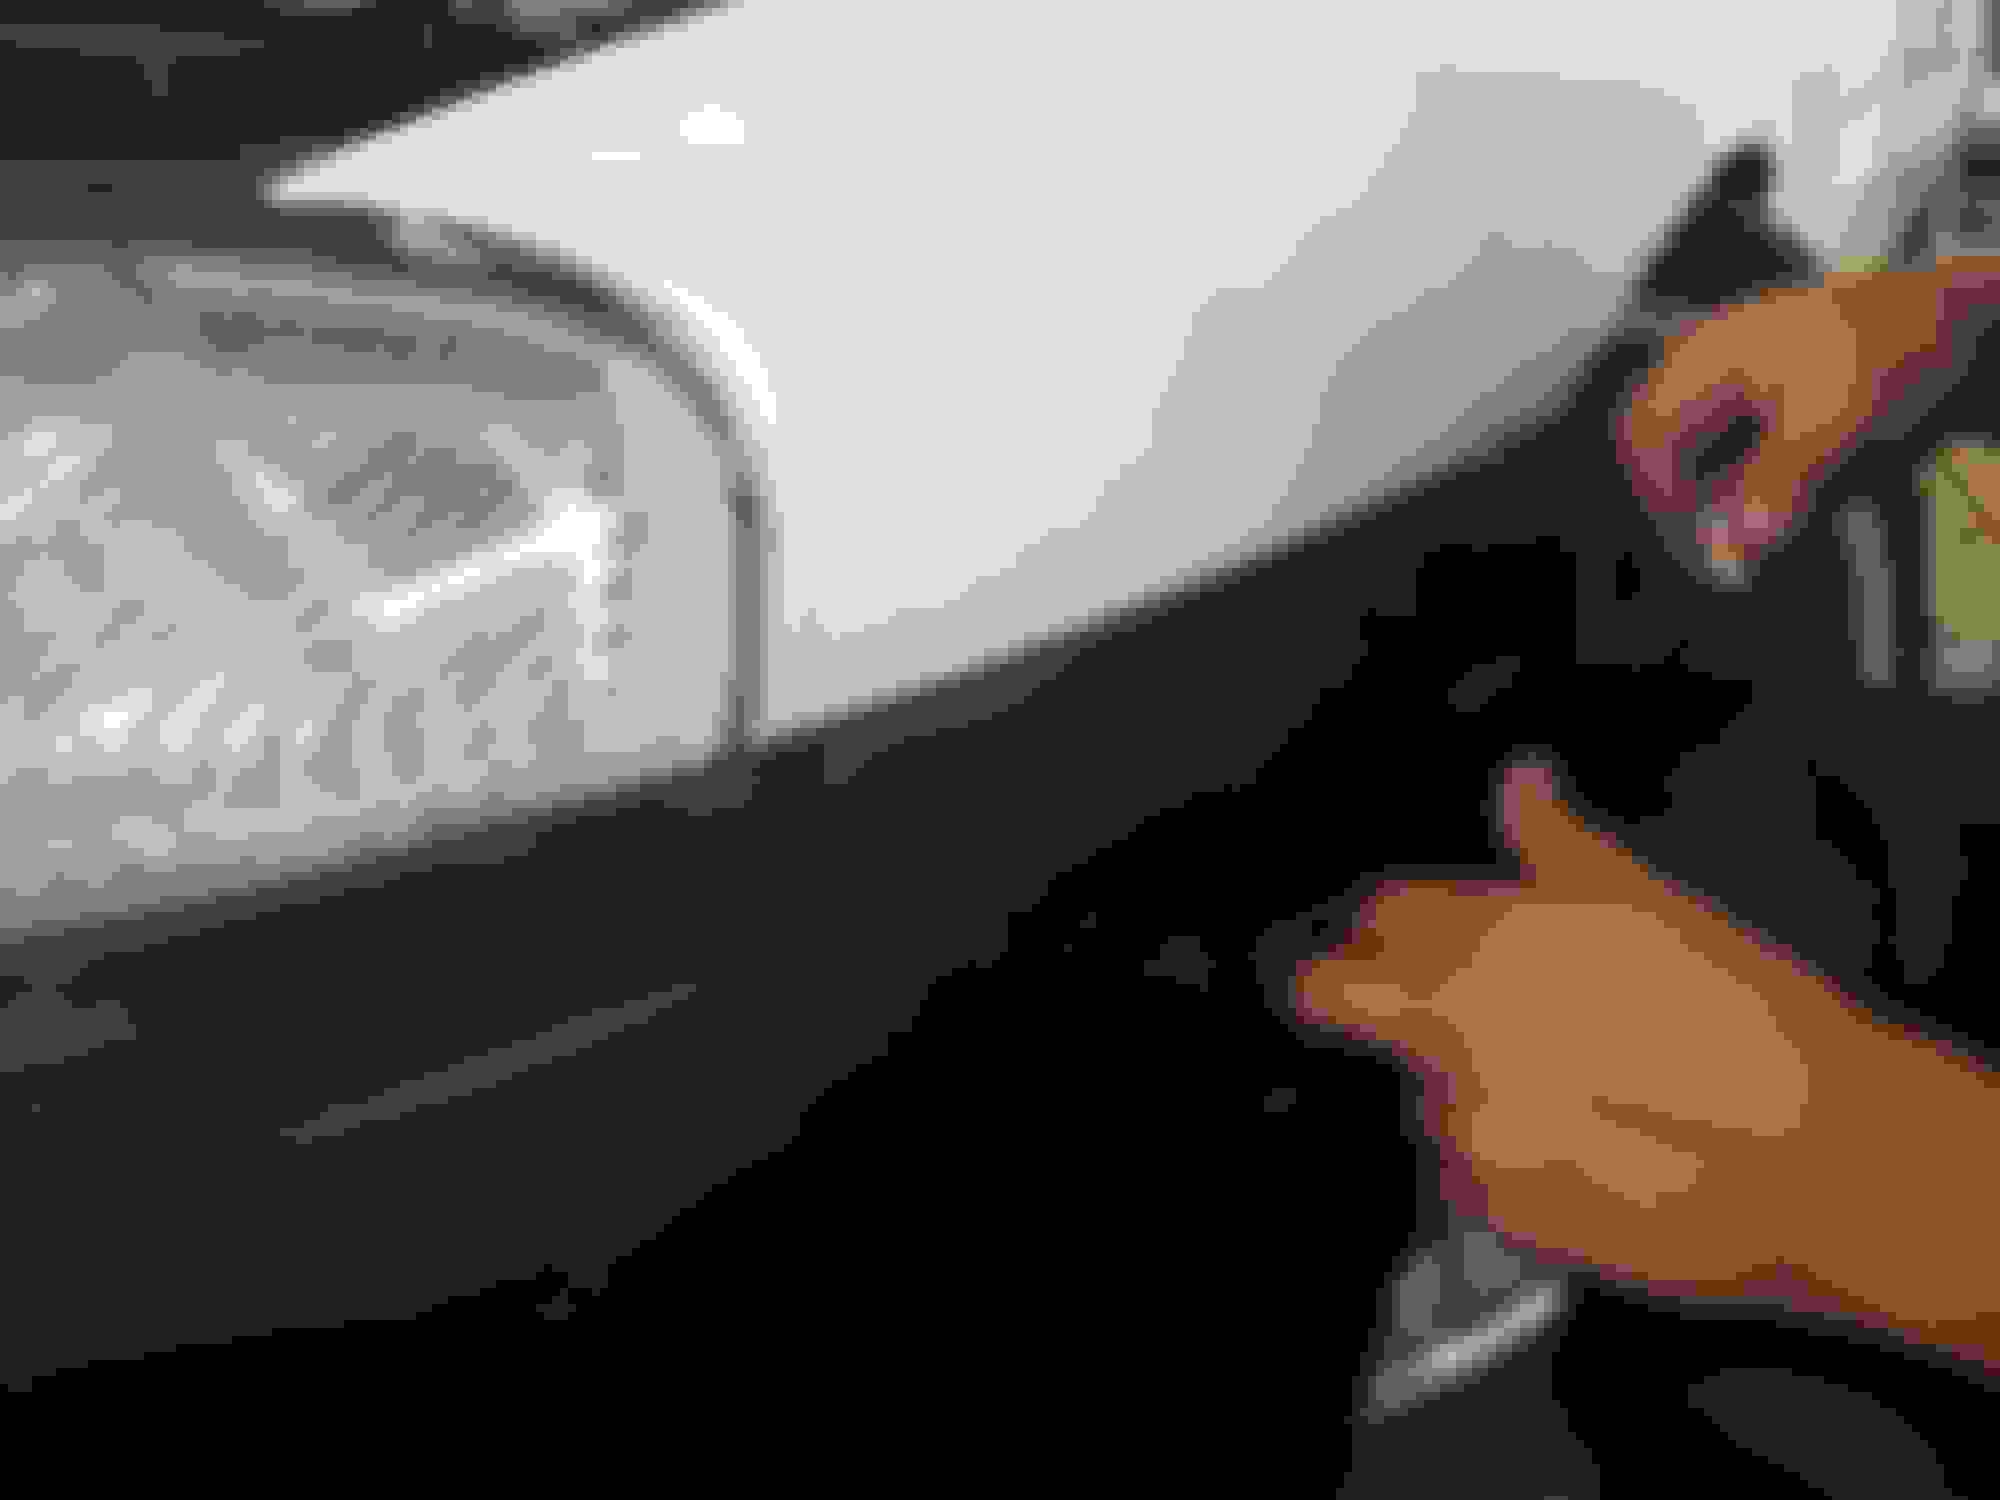
Drill two holes on the outer edges of the top center area. These will hold the bumper steady while you and your friend (a minimum of two people are required to do adjustments and tighten) install the part and fine tune the holes.
Step Three:
Remove the brackets from your factory bumper. Using a marker or clay pen, mark where the holes for the brackets will go. Using a drill, slowly drill the holes that the bolts from the bracket will come through.
Step four: Line up the bolts with the openings on your fender, and tighten the bolts down. The result should look like this:
Step Five:
Repeat step three on the other side .
Step Six:
Using the body lines on the hood and bumper, loosen and tighten the top bolts to ensure proper alignment. The body lines on the hood should transition smoothly into the body lines on your Aero Craft bumper. This is also the time to ensure your high beams are correctly lining up with the opening.
Step Seven: Put away tools:
*NOTE*: WE RECOMMEND PROFESSIONAL INSTALLATION. ANY DAMAGE TO YOUR VEHICLE/ YOURSELF DURING THIS PROCESS IS STRICTLY YOUR FAULT. American Plastic Technologies, LLC will not be held liable.
Even if you are alone , you should be able to install it . The secret is drilling those two top outer holes a little bit bigger than your bolt or screw so you have room to move the bumper left , right , up or down. Once you have aligned the bumper in all places tighten those two bolts then start marking / verifying the pre-marked notches for holes if they line up. If not place a mark where the holes should be drilled and then......... drill..... bolt ..... you are done.
I haven't even drilled or bolted mine.. just laid it in there and I don't see any reason why you guys should not be able to fit it in properly. It is so flexible that adjusting it is a breeze. How you tighten certain areas plays a role. If there are certain areas that hasn't gone back to the shape it should be, use a heat gun. Just be creative but I will give this product 9.8 out of 10. Hahaha.. the missing 0.2 is for minor imperfections which truly one should close an eye on them since we paid less than the Shine Kit , more than 100% less than the original AC kit and this is a lot better.
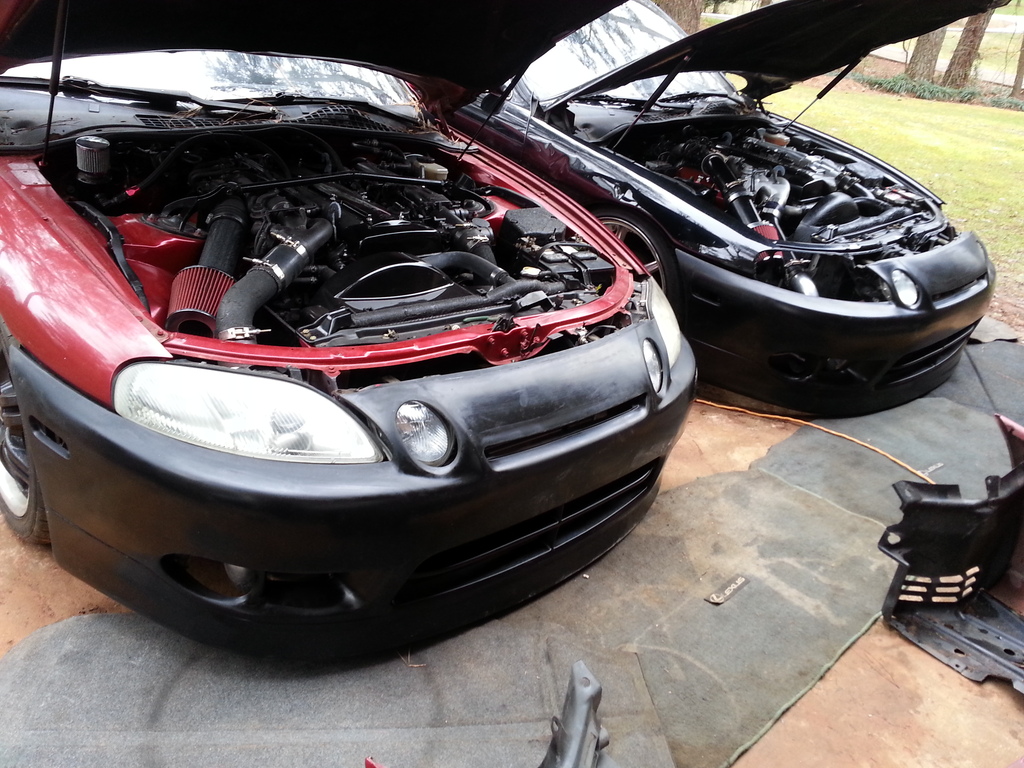
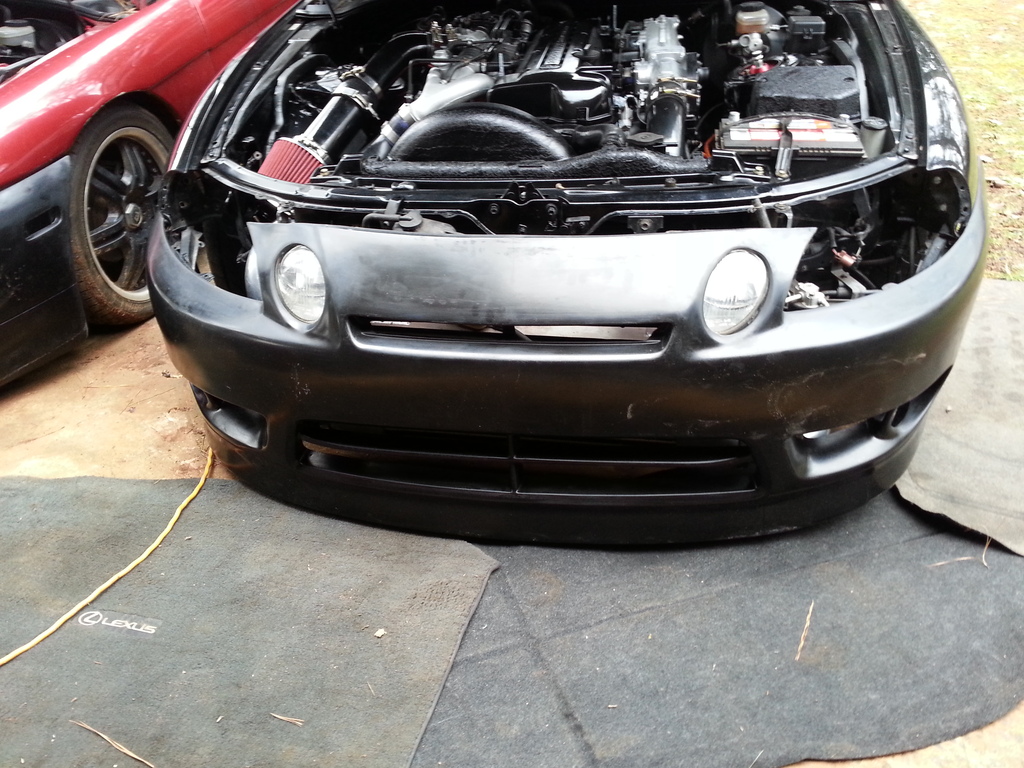
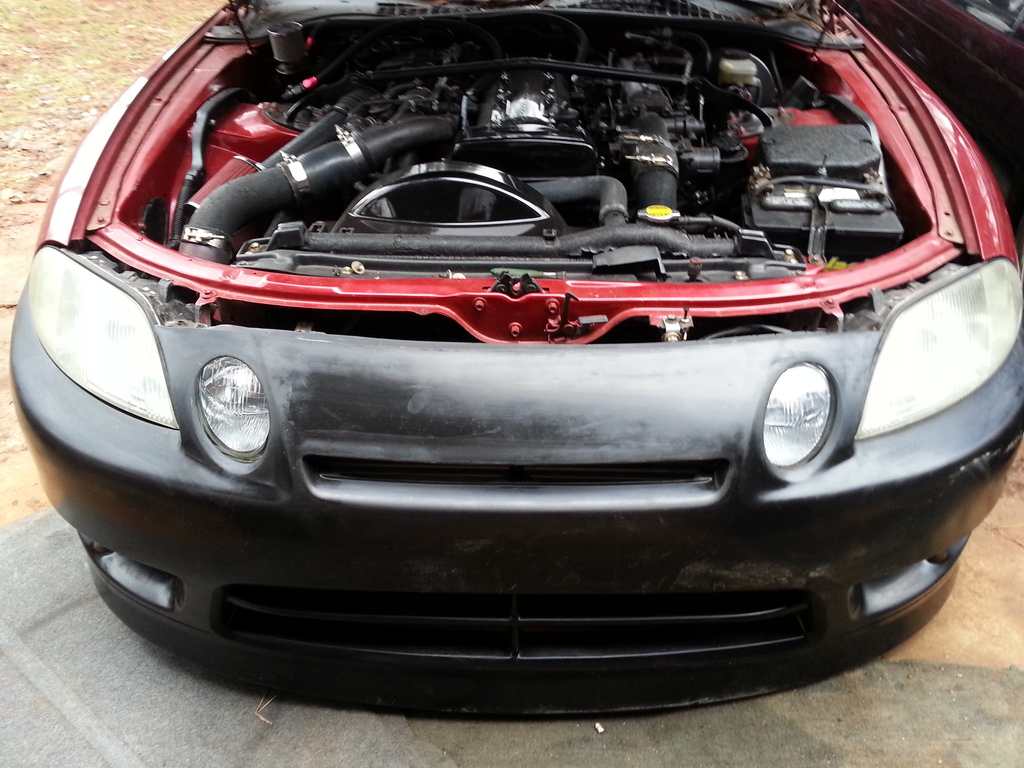
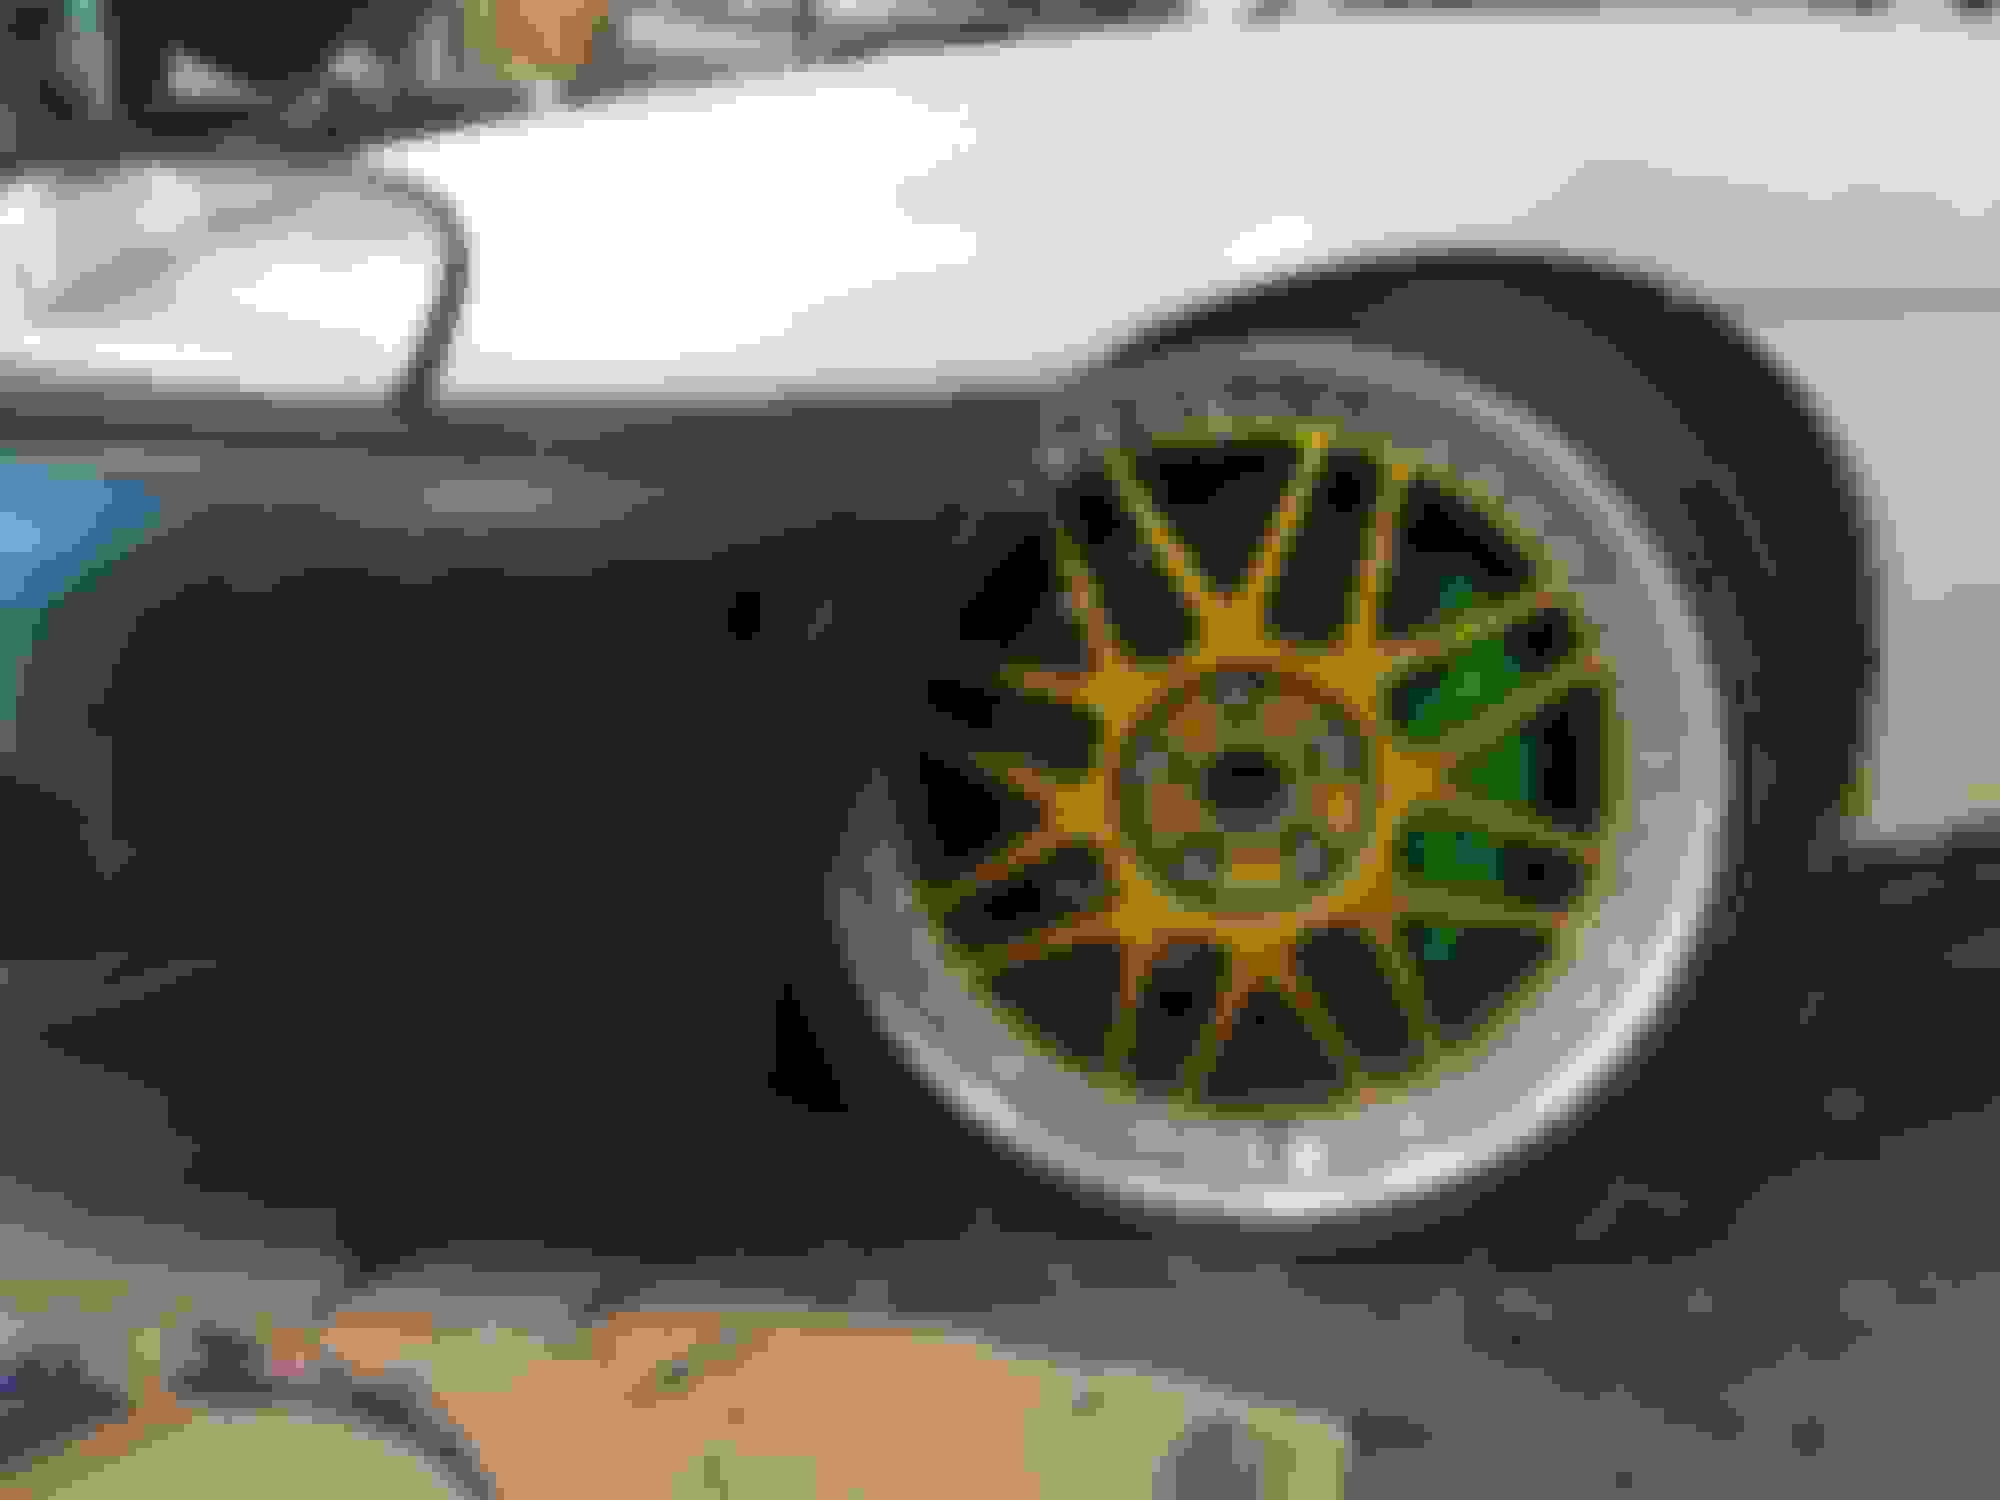
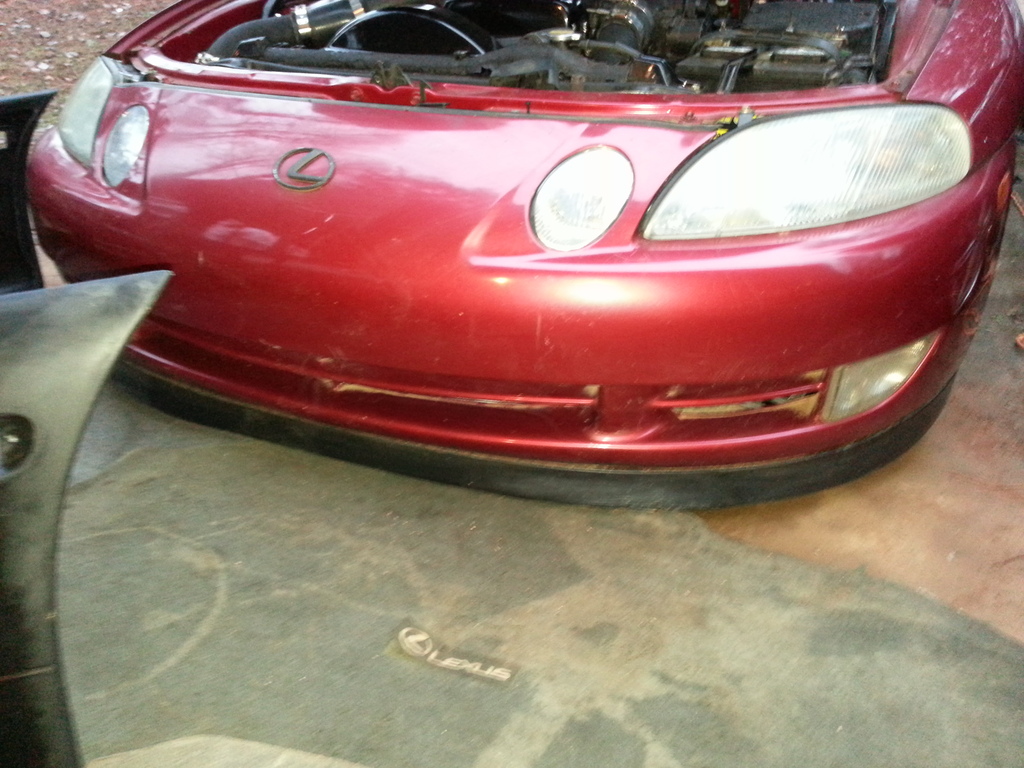
I guess Red Mamba Two wouldn't get the Aero Craft Kit after all. I placed both cars on the lowest dip of my drive way to see if I will have problems... RM2 won't make it.Both bumpers now barely have 1 centimeter of space from the pavement. The AC kit lowers the front at least 1 1/4 " to 1 1/2" ... and even with my 92 bumper plus lip it is already right there on the pavement. When I got this car, the lowering springs they installed made the car so low . And the dip on my driveway is nothing compared to other dips on some roads. So I guess the other AC kit is going into Red Mamba One or The Old Man's Tan . They are higher due to the meat they have on their tires being drag radials.
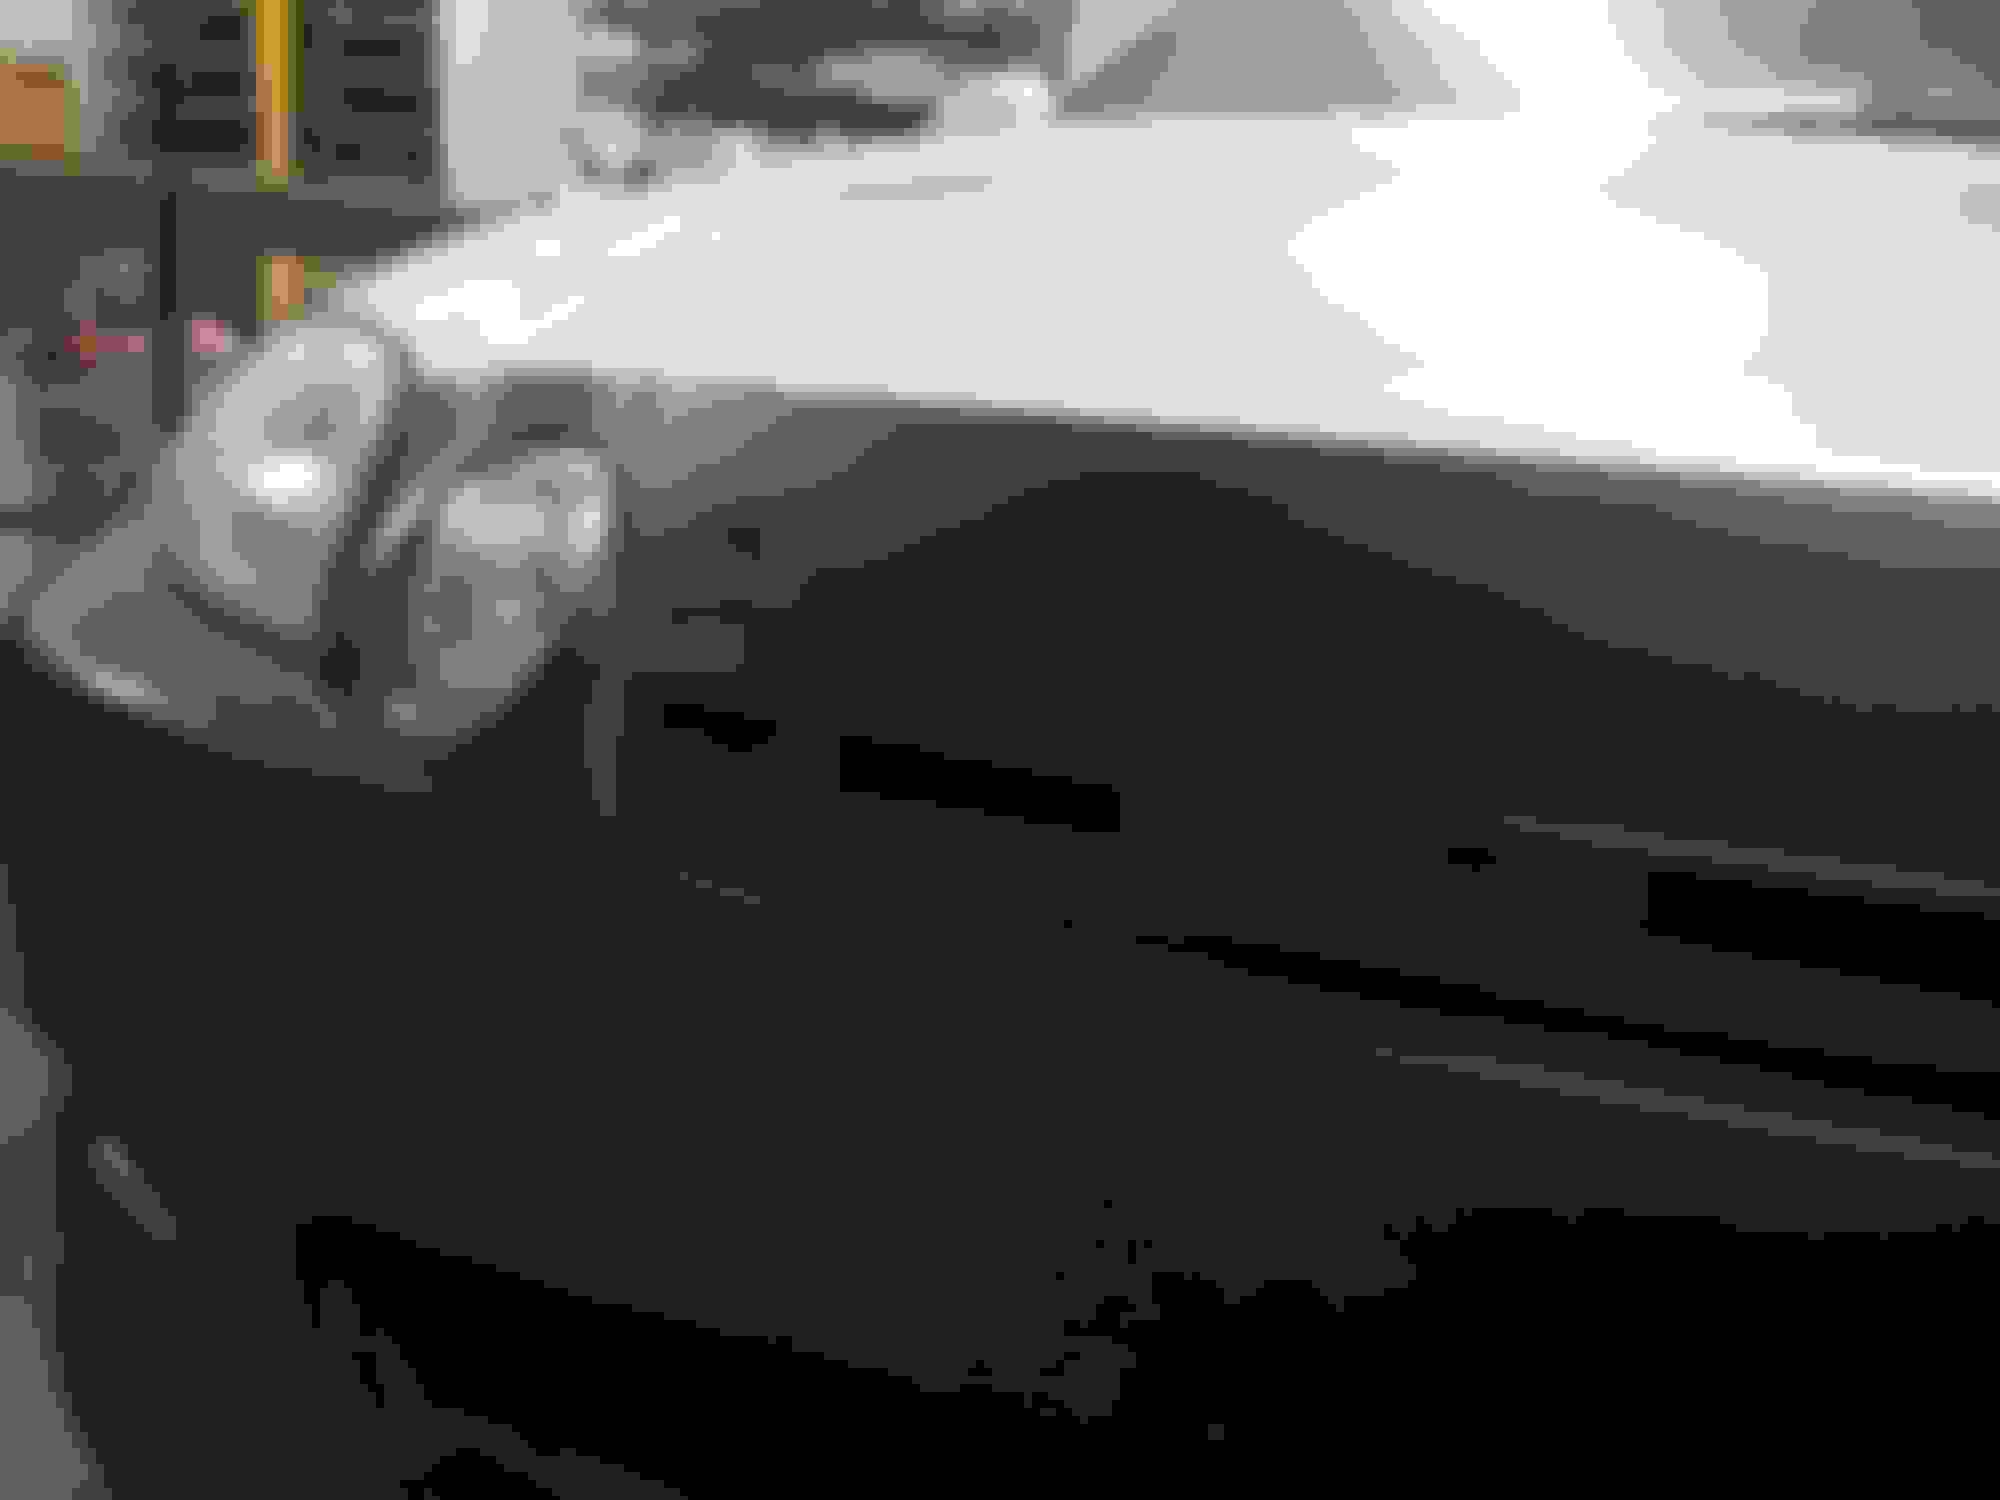
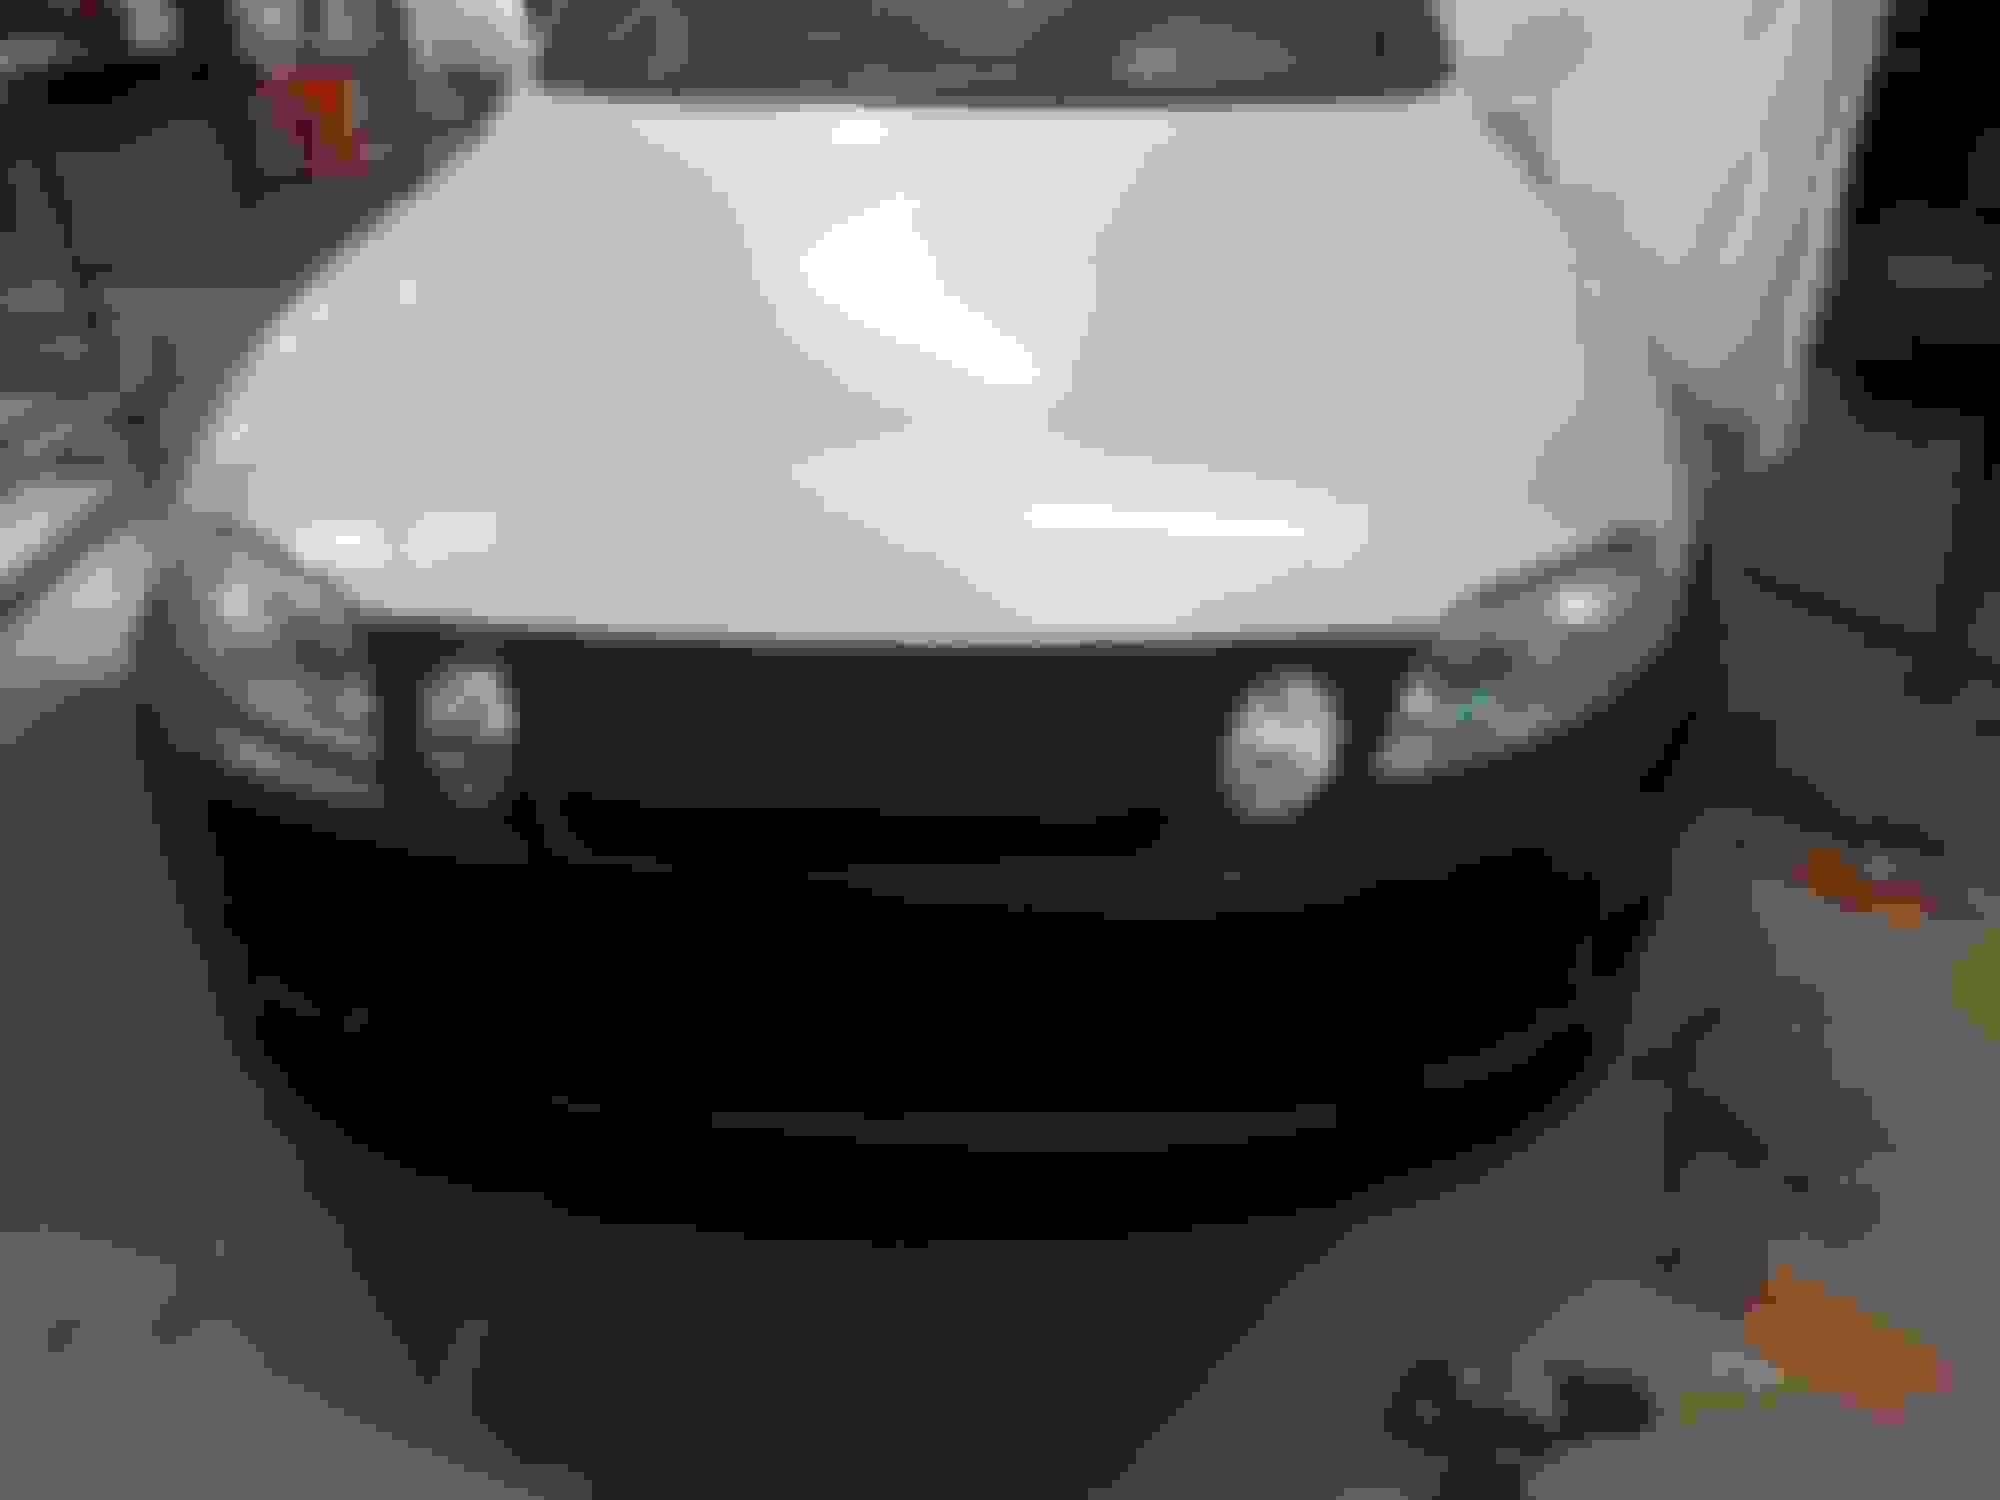
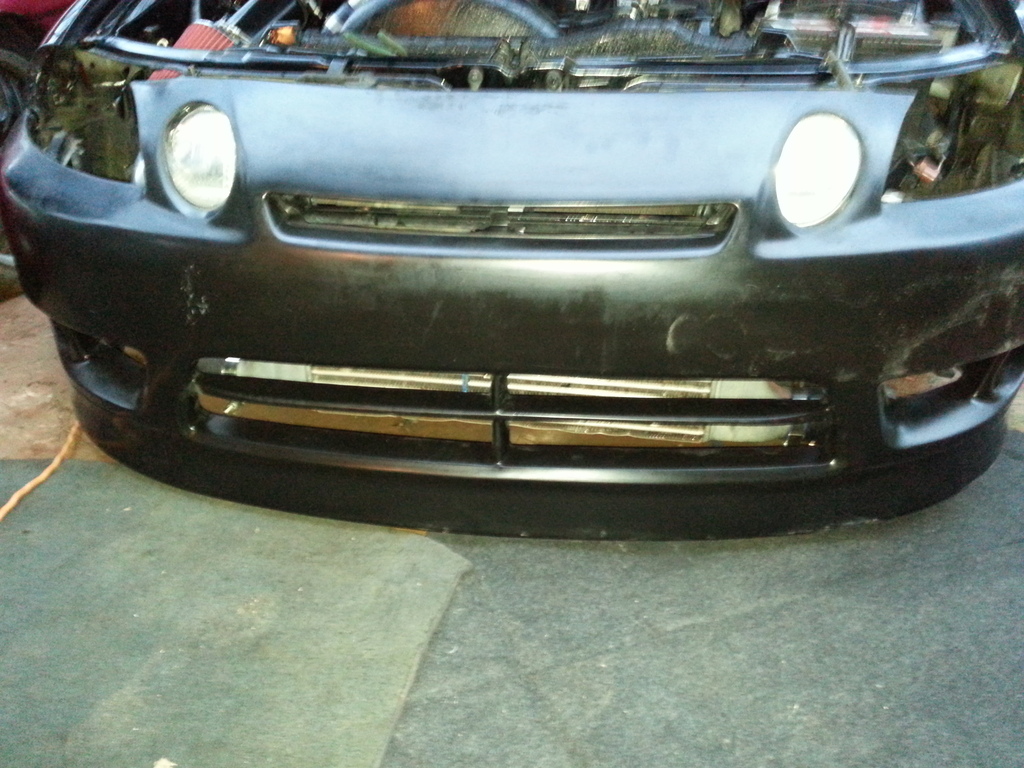
The Black Pearl .......bumper just laid on top.. not a single bolt in.
Irving - for my applications , I really want the side skirts and rear . Though it doesn't look bad, you can tell the bottom of the front bumper is a bit lower especially from maybe 10 feet away. And besides I like the rear bumper where its lower lip with that line across is more pronounced. I personally would like that bottom body line of the front bumper match with something on the side . So if we need to delay that side and rear group buy just to get more people into it , please do so. Most especially people are getting their tax refunds starting February.
I guess I was wrong in my initial ride height measurement for RM2 , the AC kit will fit after all .. . AC Kit ... win in looks , win in construction , win in price ... APTech scoring a hat trick , lol !
Both bumpers still laid only on top .. no bolts yet
Looks great. You can slot those holes with a dremel as well to allow for even more adjustment.
Steve
Thanks Ryan & Steve . The install is as easy as it can be. I should be done by the end of the day. For now got to run some errands . The secret is aligning things properly ..then drill the holes at the right spot then bolt. Do not just drill the pre-marked notches for the holes. Your car might have had some work in the past and those pre-marked hole notches may not align with yours. The right placement of holes spells the fact whether things will be aligned or not . Many of the pre-mark notches for the holes are on spot though. The grill and fog lights have no pre-marked notches for bolts but are easy .
Almost done with Red Mamba Two ,, will take it for a spin and use it for my errands before I work on the Black Pearl. Will take some pictures out there .
Apt I have a soarer emblem that I am going to put on the bumber with 3m tape. Do you have any input on how I should do it to make sure it adheres good. And I also agree with Gerrb on extending the group sale on the rear and side. Will post update pics once I grab the extra screws this weekend.
If you heat the location where you will be placing the emblem, it will help the 3M to adhere to the bumper much better. If you do not have a heat gun, you can use a hair dryer. I am not sure how the temps are where you live, but they have been in the 50's and 60's here in the evenings (hence the need for the hair dryer/heat gun).
Apt I have a soarer emblem that I am going to put on the bumber with 3m tape. Do you have any input on how I should do it to make sure it adheres good. And I also agree with Gerrb on extending the group sale on the rear and side. Will post update pics once I grab the extra screws this weekend.
I don't know if they make it thin enough for an emblem but the strongest 3M tape is called VHB (very high bond). There is also an prep product called adhesion promoter or something like that. This combo works really well. Id see if they make a thin version for your emblem.
Or, see if you fall in love with that clean, naked nose.
 01-27-16, 04:29 PM


 .
. 


 . The secret is drilling those two top outer holes a little bit bigger than your bolt or screw so you have room to move the bumper left , right , up or down. Once you have aligned the bumper in all places tighten those two bolts then start marking / verifying the pre-marked notches for holes if they line up. If not place a mark where the holes should be drilled and then......... drill..... bolt ..... you are done.
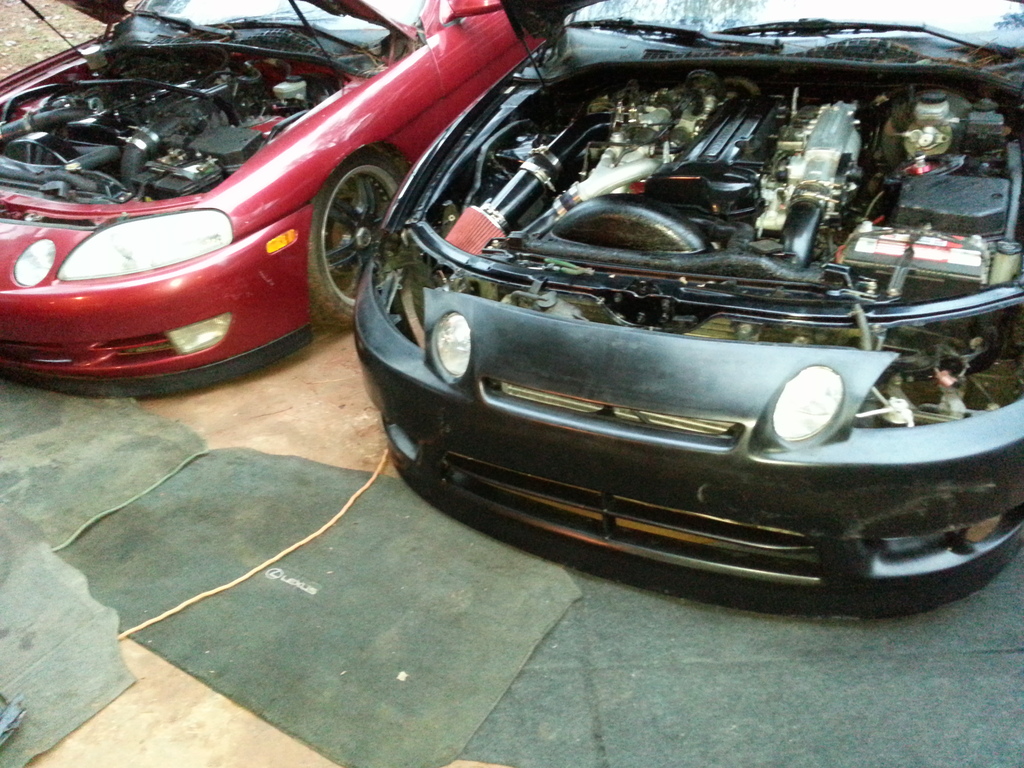


 . AC Kit ... win in looks , win in construction , win in price ... APTech scoring a hat trick , lol !