SC300 stereo system and interior rebuild


 07-29-11, 11:21 AM
#17
Driver
Thread Starter
 07-29-11, 11:23 AM
#18
Driver
Thread Starter
Very nice man I'm just about at that stage now. I just finished up my radio trim in silver as well. I got replacement leather in black now i just need to decide what to do about carpet
07-29-11, 12:49 PM
#20
Keeper of the light
iTrader: (17)
I see you've thrown Scott some money. I'm convinced Hybrid is good, I am just waiting for Scott's next always entertaining presentation speech......which may happen on your DIYMA thread if he is paying attention. 
 07-29-11, 01:42 PM
#22
Driver
Thread Starter
Pioneer, Mosconi, Gladen Audio, Genesis, Morel
Yeah Scott does have some awesome speeches. There's a lot of knowledge in the guy I wish I knew half of what he does.

 07-29-11, 06:30 PM
#26
Driver
Thread Starter
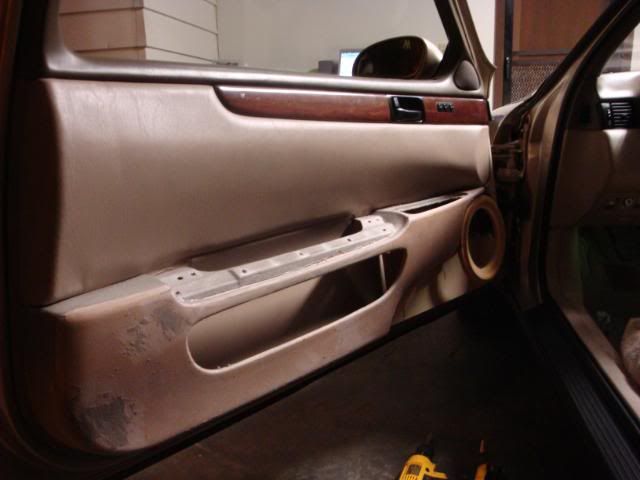
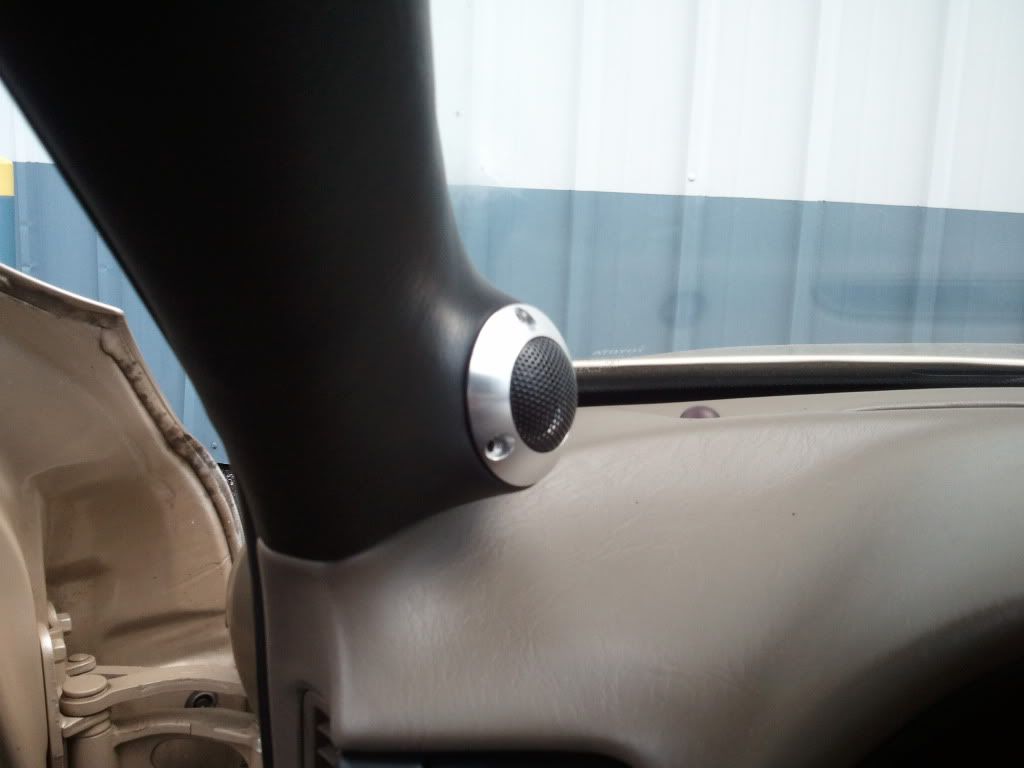
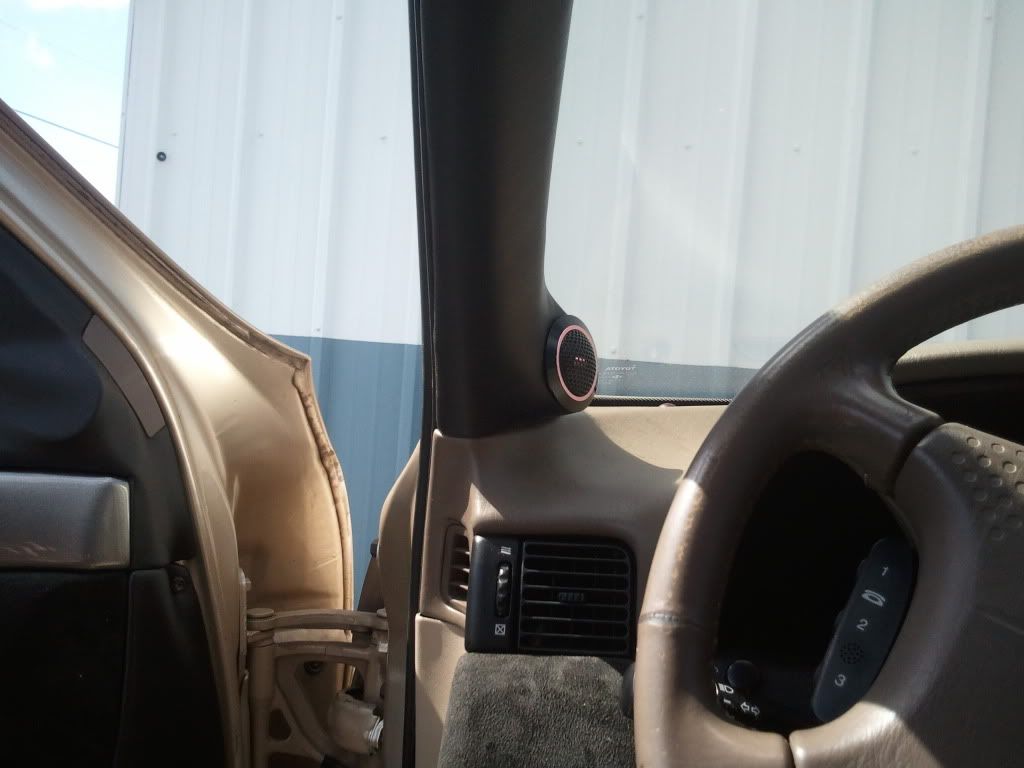
Alright it's tweeter pod time. When i did the first build on this car I made new pods in place of the factory tweeter location but in time I felt it lacked depth and height so it was time to do some A pillar pods.
You can kind of see what the factory tweeter location looked like at the top of the door
I didn't take any build pics of these but these are the old pods I did the first time to house a set of L1 PRO SE's
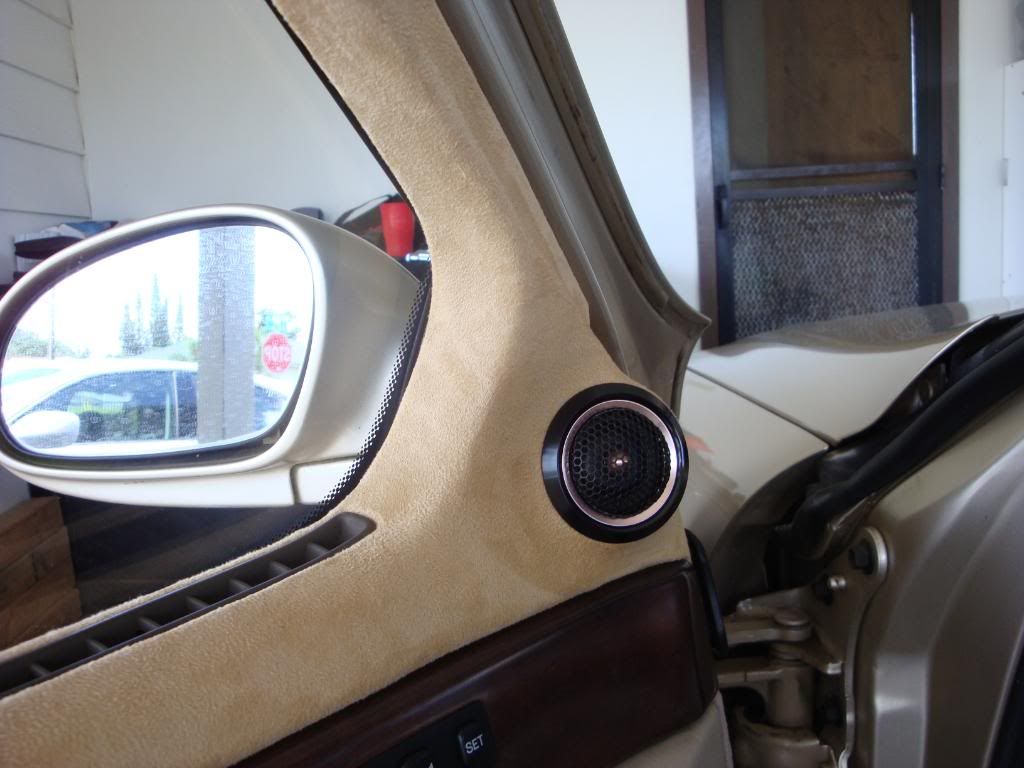
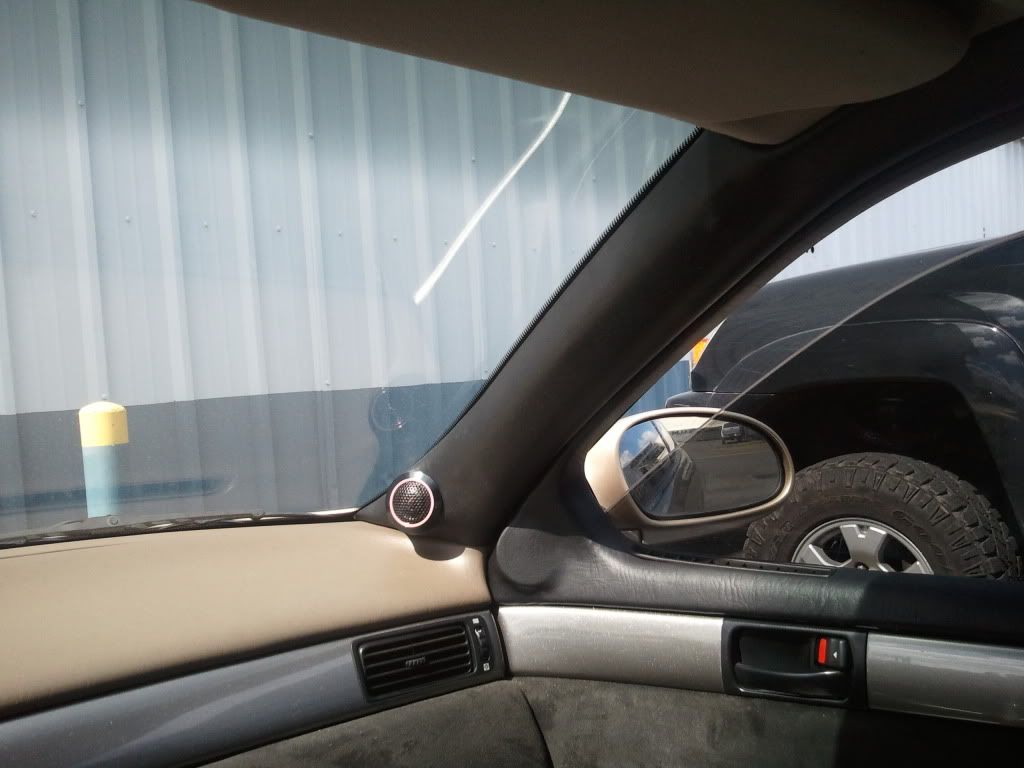
Then on to the A pillar. When I built these I decided to try the L1V2 first but keep the option open to go with L1PRO SE's or L1 PRO R2's. The outer diameter of the two tweeters are the same so the external shap of the pod wouldn't need to change but the tweeter opening would need to. So I actually built them to house the R2's and just fit a spacer ring inside that allowed me to screw in the L1V2. I wish I took pics of this when I built it.

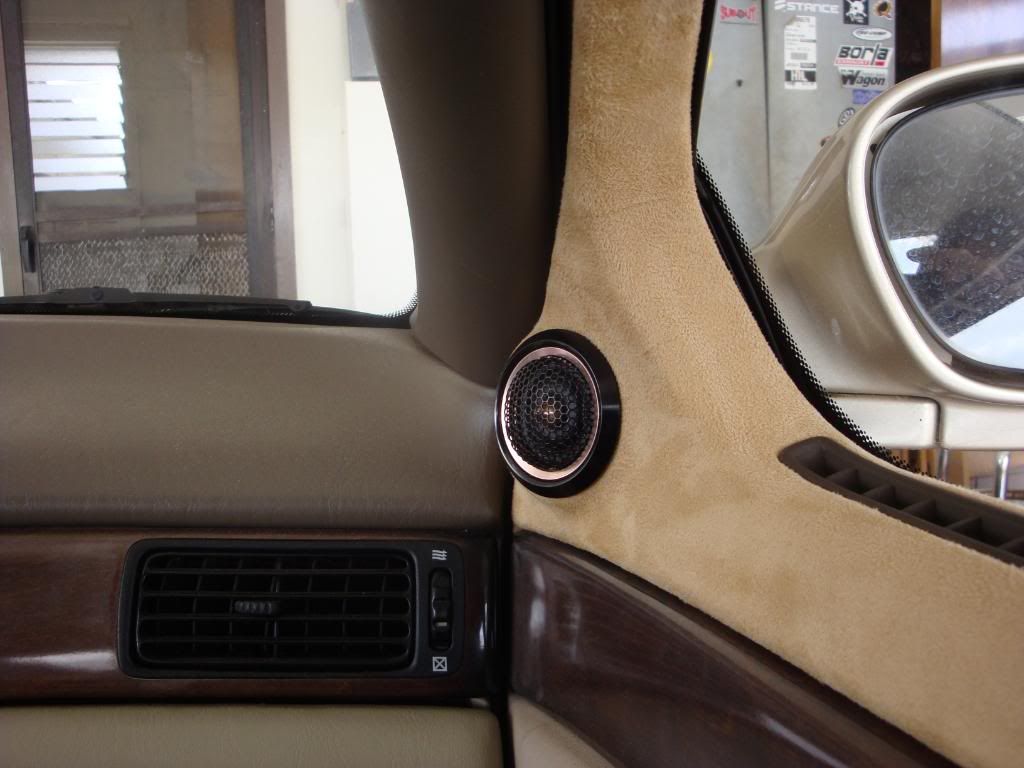
So now all I had to do is pop the spacer ring out and I decided to rewrap the pillars at the same time
You can see in this picture that I wrapped the old tweeter pod in black vinyl but I still have the spot there for the tweeter. I'm thinking of making some Hybrid Audio logos and sticking um in there
You can kind of see what the factory tweeter location looked like at the top of the door
I didn't take any build pics of these but these are the old pods I did the first time to house a set of L1 PRO SE's
Then on to the A pillar. When I built these I decided to try the L1V2 first but keep the option open to go with L1PRO SE's or L1 PRO R2's. The outer diameter of the two tweeters are the same so the external shap of the pod wouldn't need to change but the tweeter opening would need to. So I actually built them to house the R2's and just fit a spacer ring inside that allowed me to screw in the L1V2. I wish I took pics of this when I built it.
So now all I had to do is pop the spacer ring out and I decided to rewrap the pillars at the same time
You can see in this picture that I wrapped the old tweeter pod in black vinyl but I still have the spot there for the tweeter. I'm thinking of making some Hybrid Audio logos and sticking um in there
 08-03-11, 01:44 AM
#29
Driver
Thread Starter
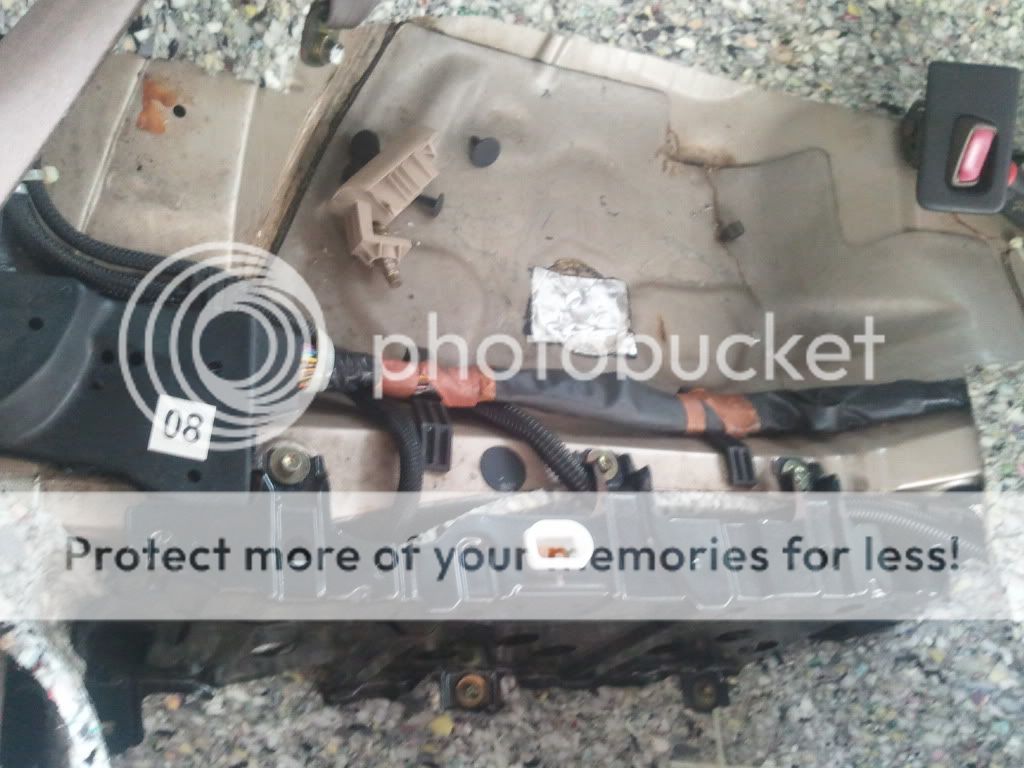
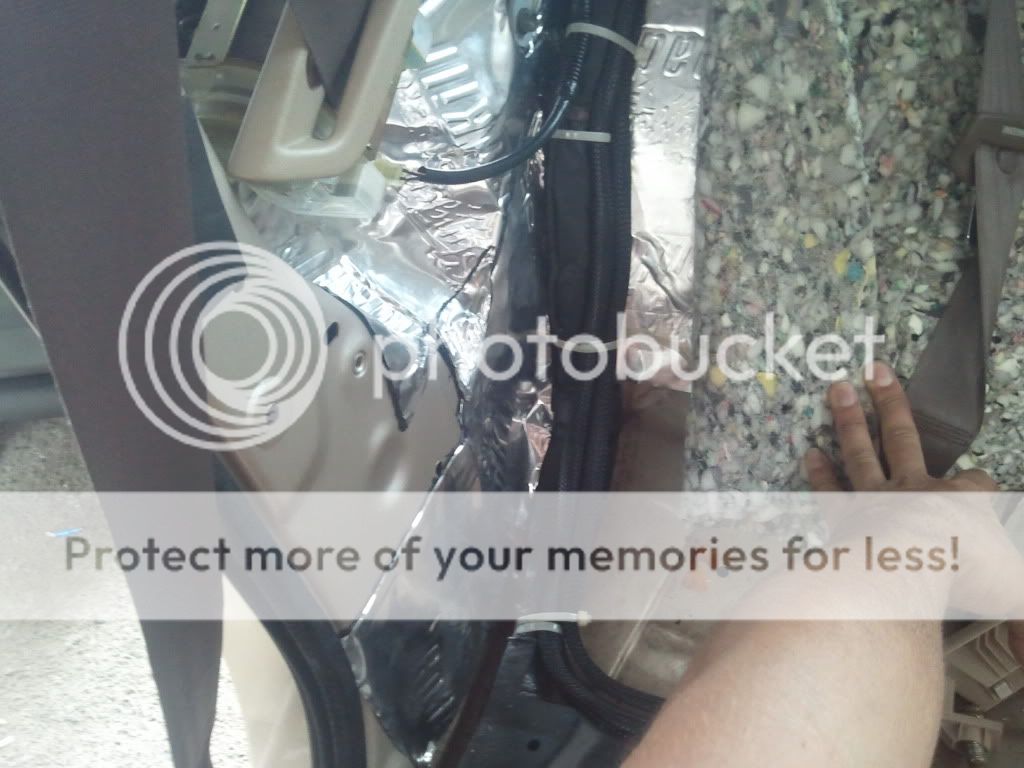
Little update. I pulled out most of the interior today (seats, carpet, center console, most of the dash and some other things) Then I pulled out all of the old wiring I had in there so I could make room for the new wires. You'll probably notice the foam padding on the floor, that was from the first install I did. There is a layer of deadening material directly on the floor and then I glued the 1/2 inch foam over that which helped to cut down noise pretty drastically. I didn't go crazy with the deadening because the car is pretty quiet to begin with so I didn't have to go over board. I didn't take pics of it the first time but I'll take some as it is now.
Speaker wires all Rockford, 3 sets per side all techflexed and tagged
12ga midbass
12ga midrange (if I decide to go 3 way)
16ga tweeter

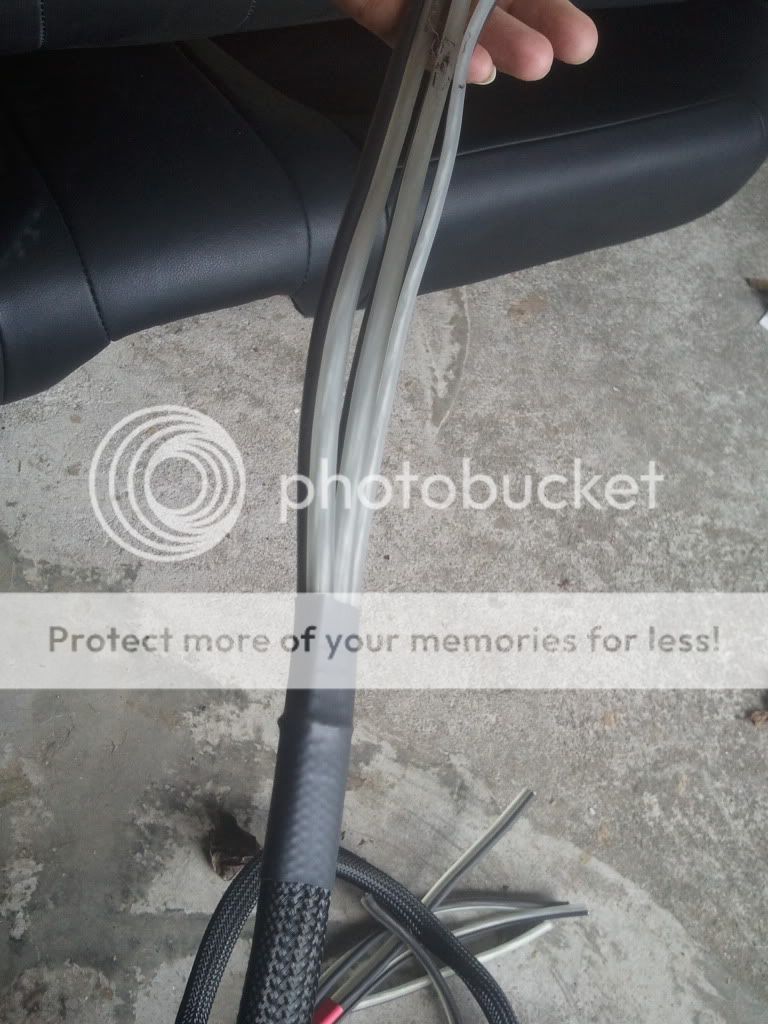
Power wire 1/0 Rockford also techflexed
Power wire and speaker wire runs on driver side
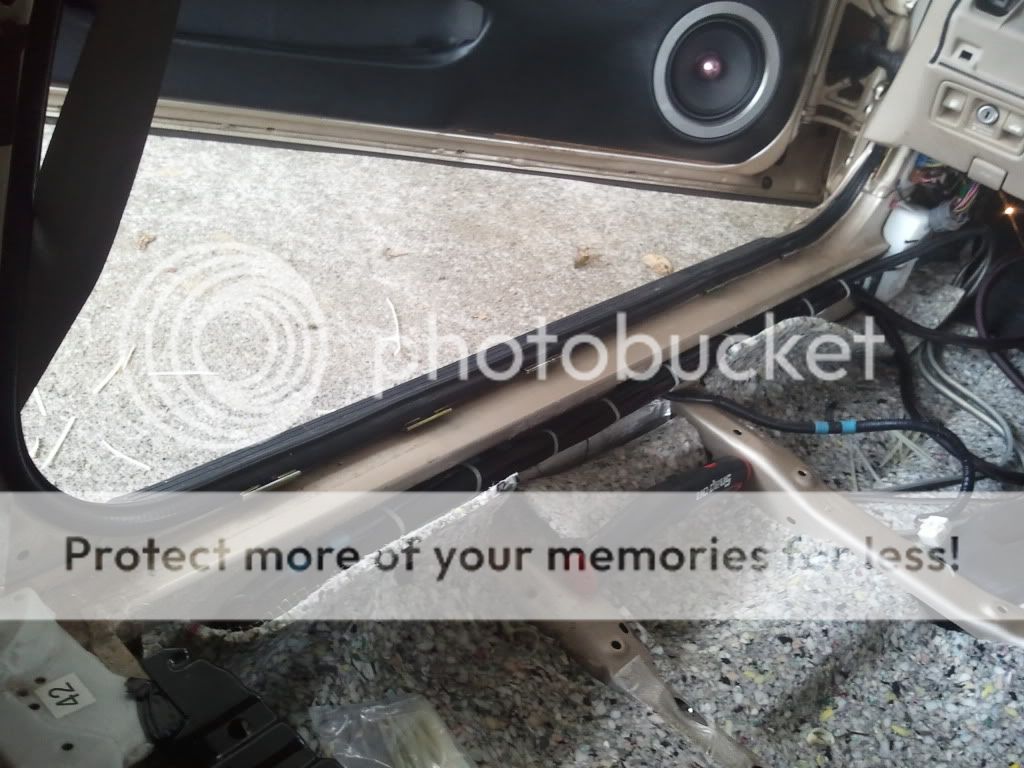
Speaker wire run on passenger side
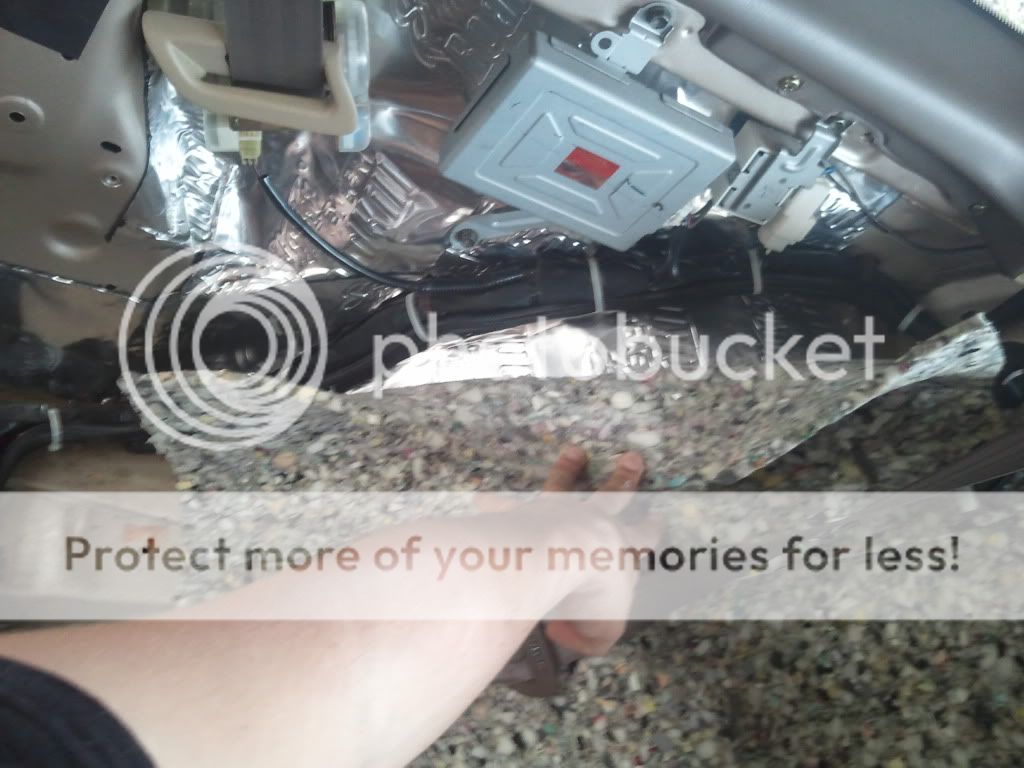
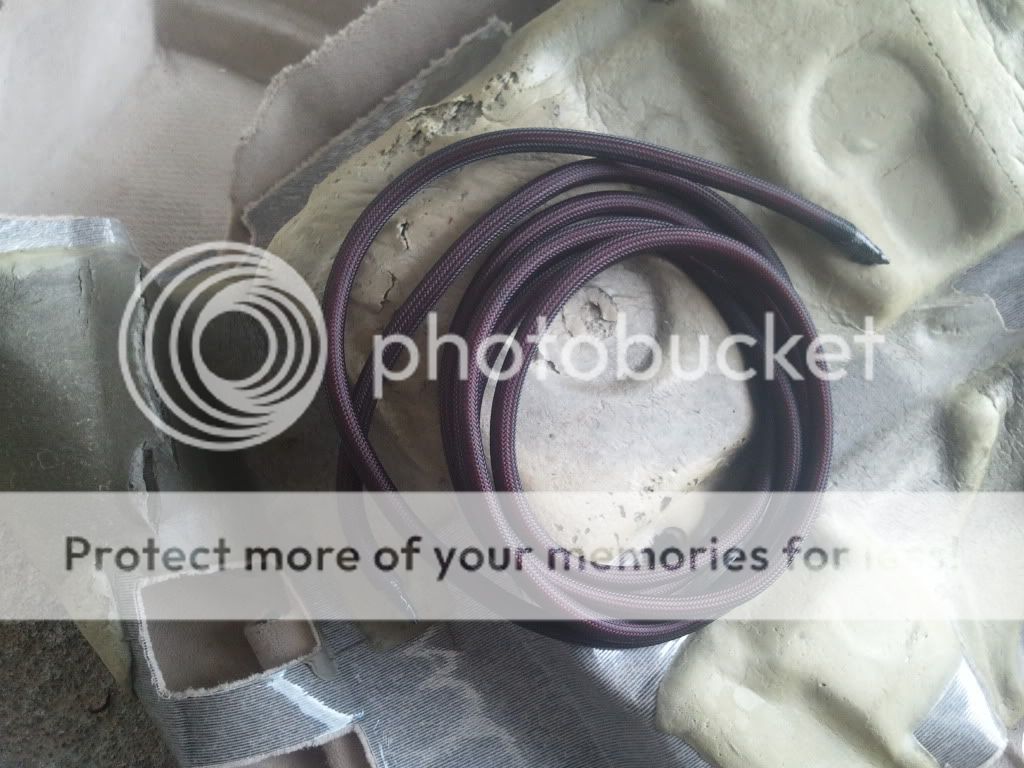
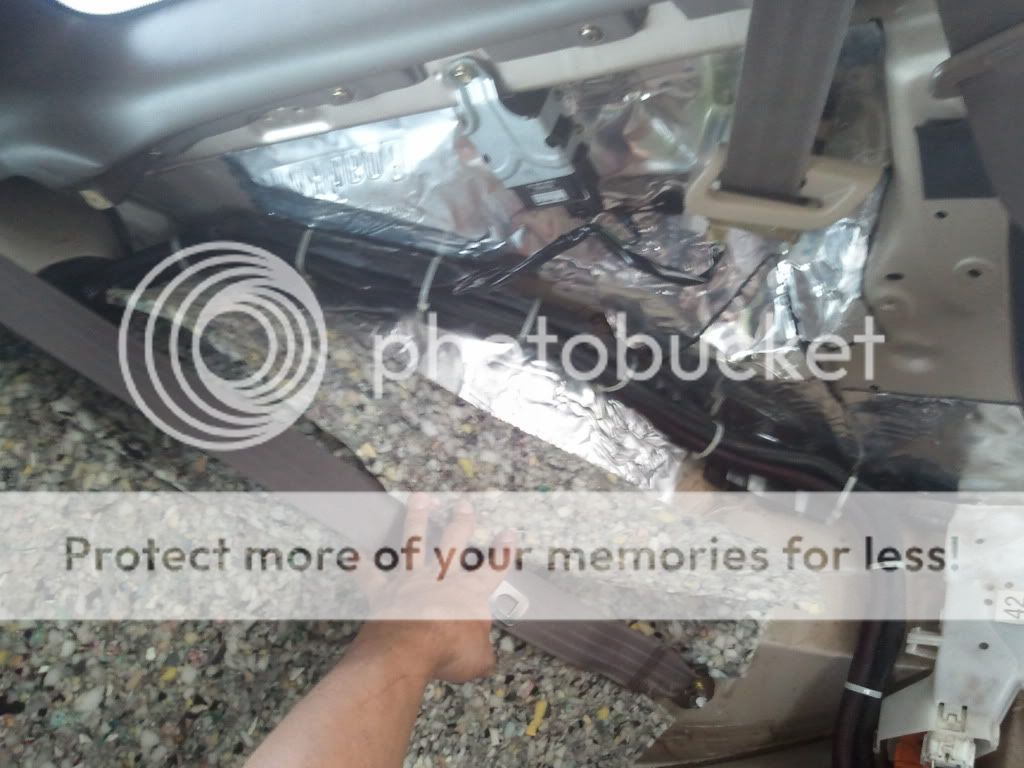
Fiber optic cable, IP Bus cable, Remote wires and cable for basscube techflexed and run down the center and over to the passenger side with the speaker wires
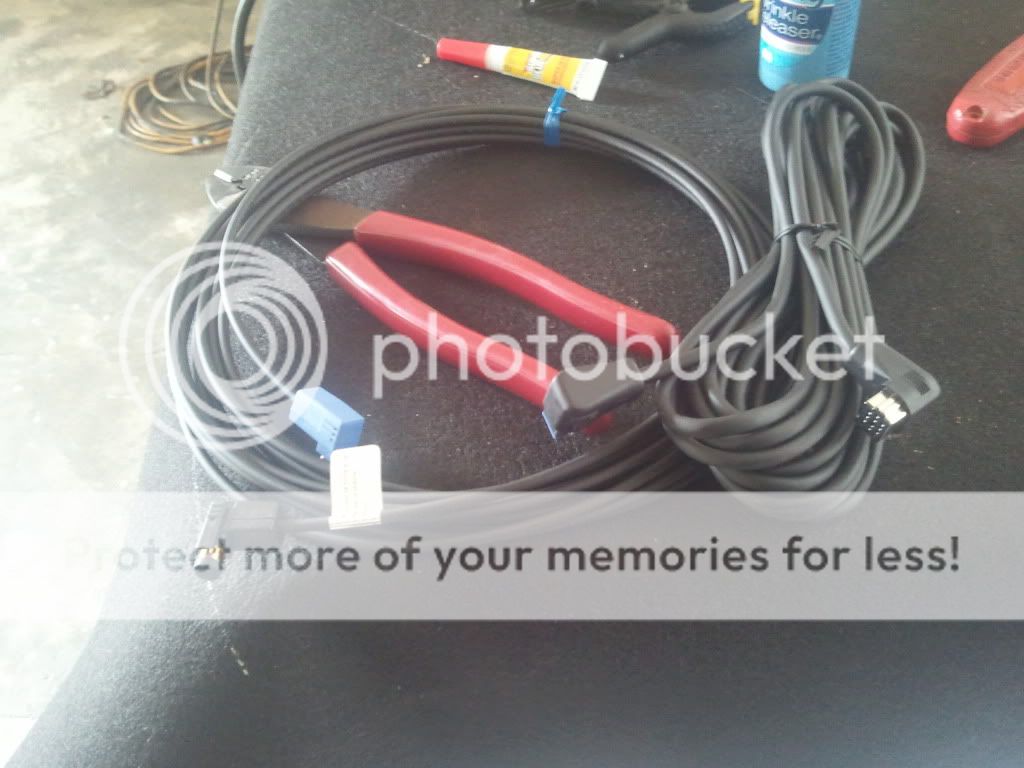
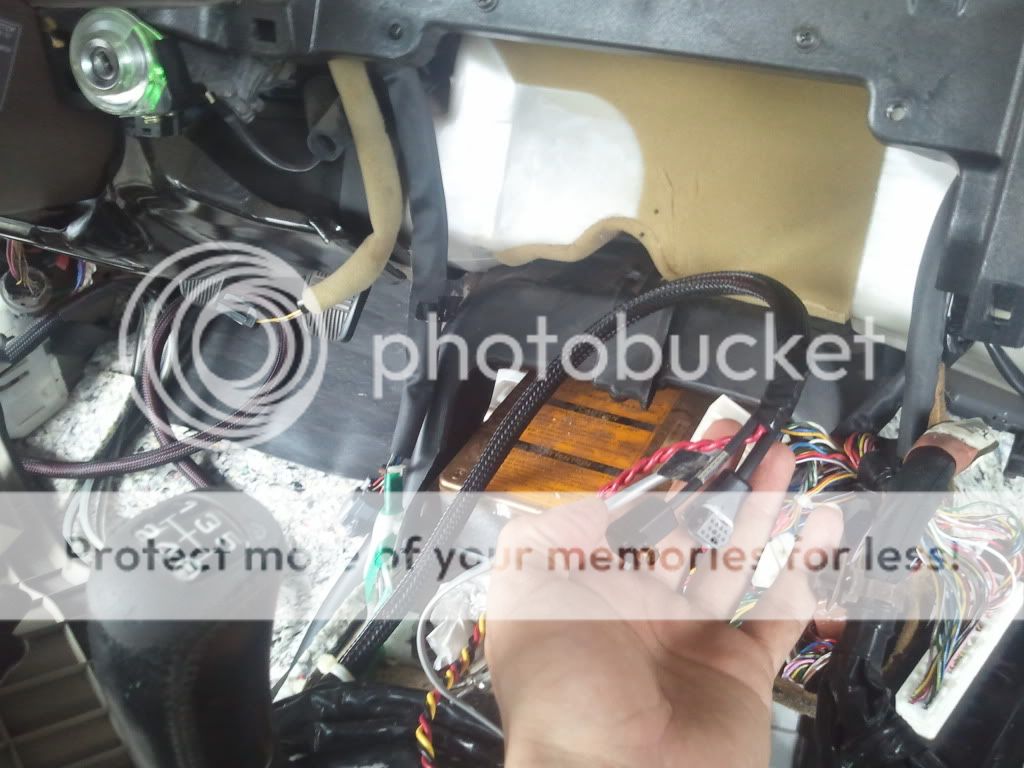
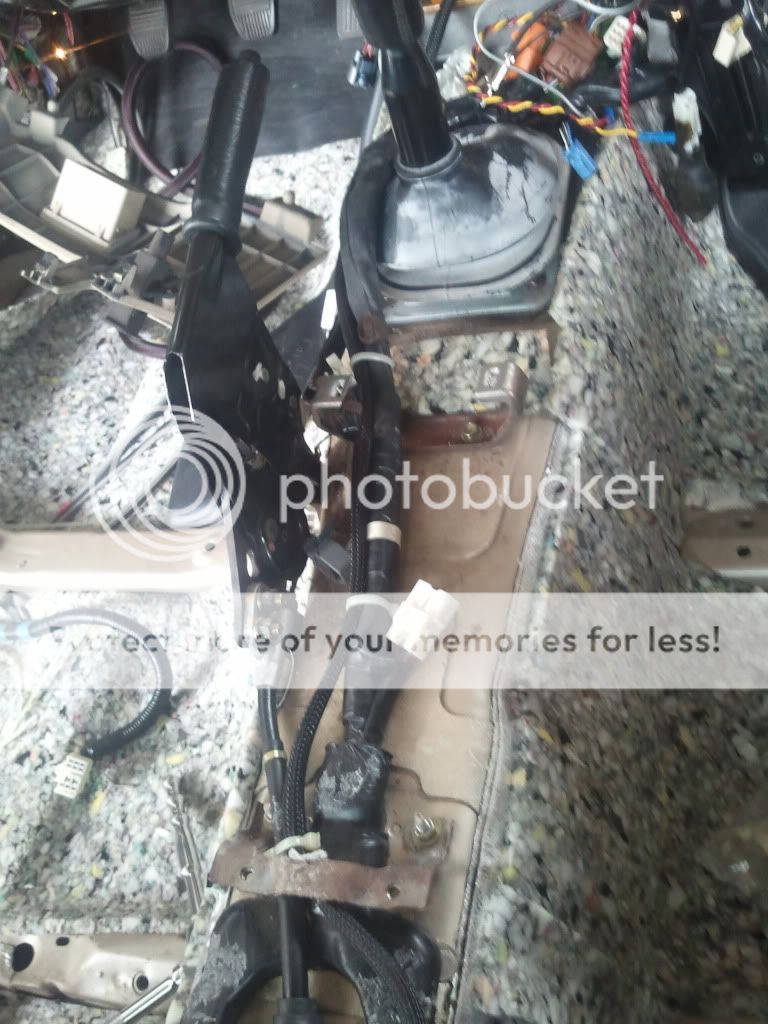
I used some loom on top of the techflex in certain areas that seemed like it might get tight
Speaker wires all Rockford, 3 sets per side all techflexed and tagged
12ga midbass
12ga midrange (if I decide to go 3 way)
16ga tweeter
Power wire 1/0 Rockford also techflexed
Power wire and speaker wire runs on driver side
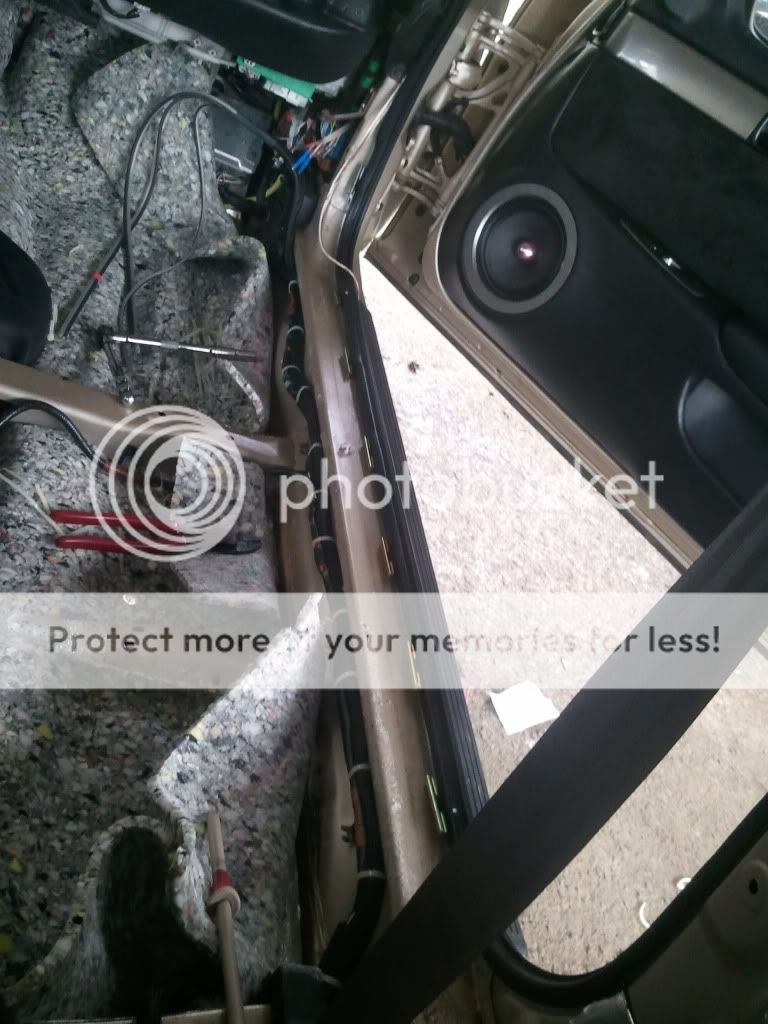
Speaker wire run on passenger side
Fiber optic cable, IP Bus cable, Remote wires and cable for basscube techflexed and run down the center and over to the passenger side with the speaker wires
I used some loom on top of the techflex in certain areas that seemed like it might get tight
08-03-11, 01:45 AM
#30
Driver
Thread Starter
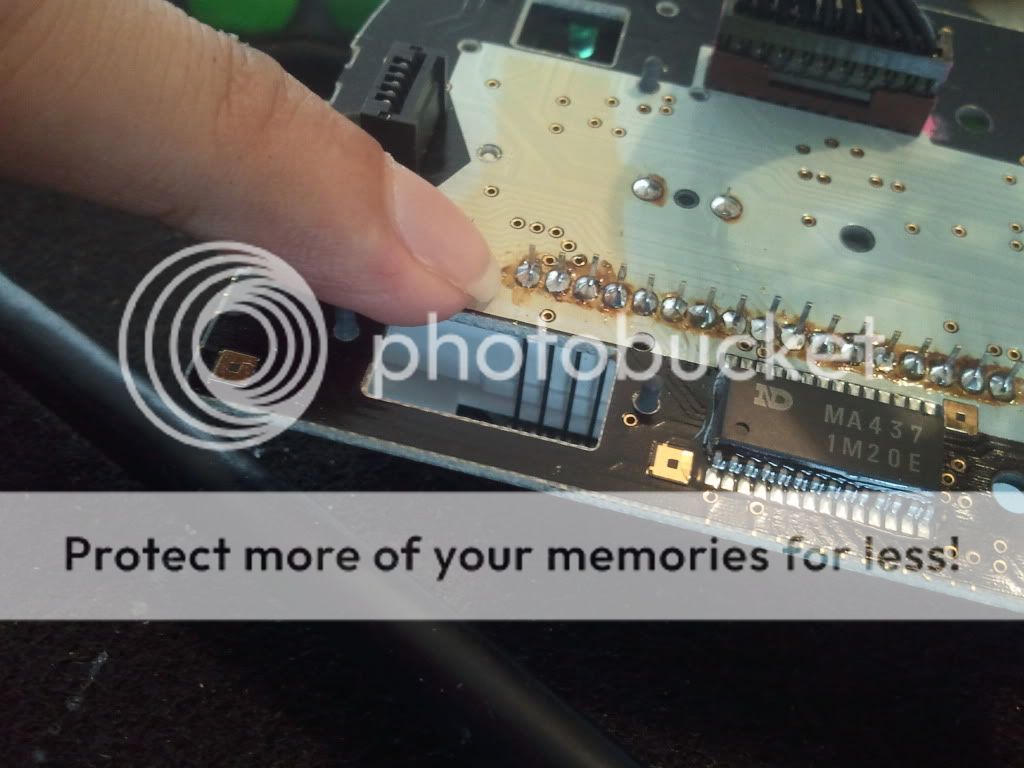
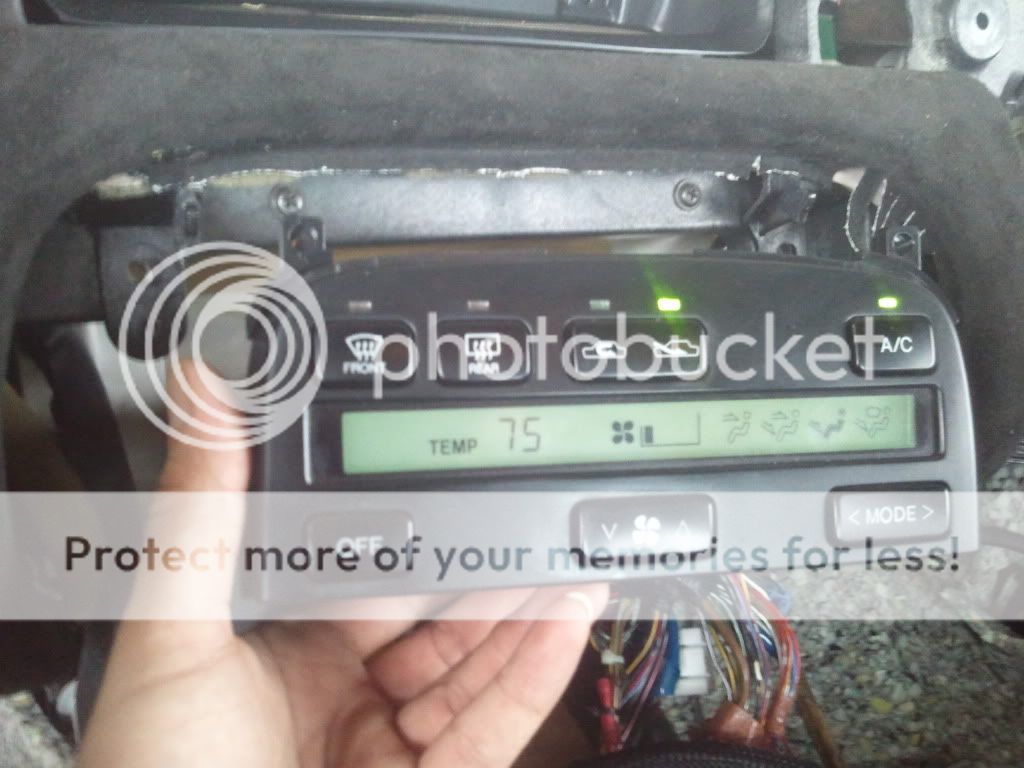
Also decided to do a little soldering project. The LCD screen for my ac controls were bleeding out and I could only see half of the screen and rather than spend 100+ on a used one that will probably do the same eventually I ended up buying a new LCD screen and replaced it myself.
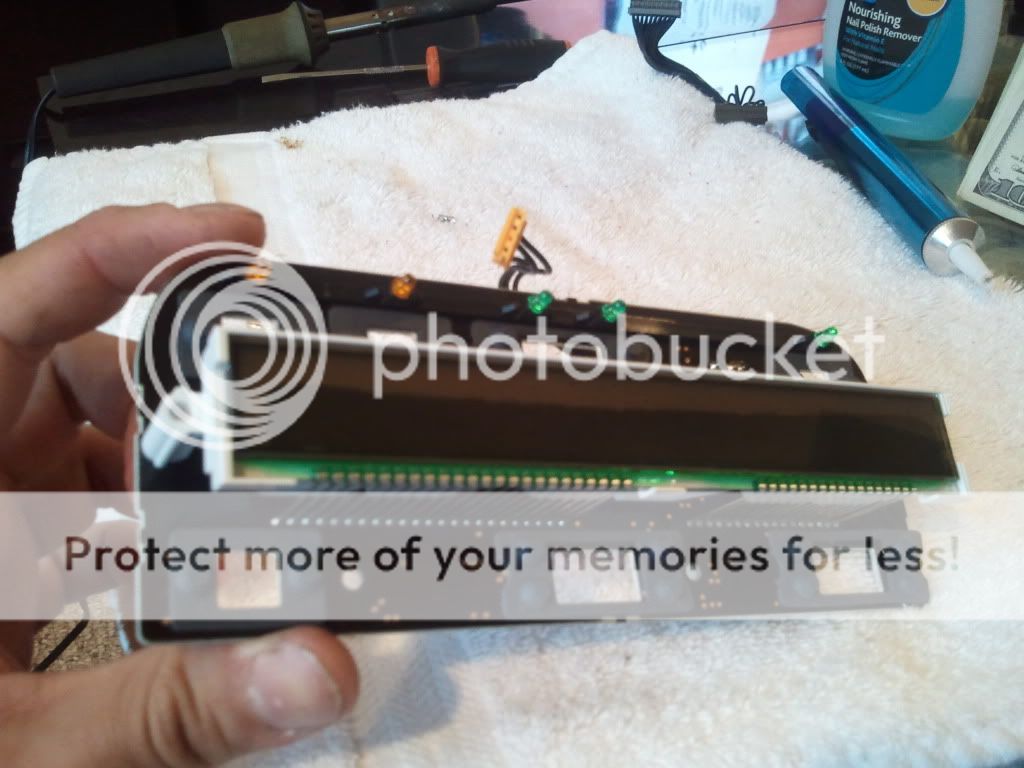
half of the board done just got another 5 million to go on the other side and then I have to solder it all back, how fun
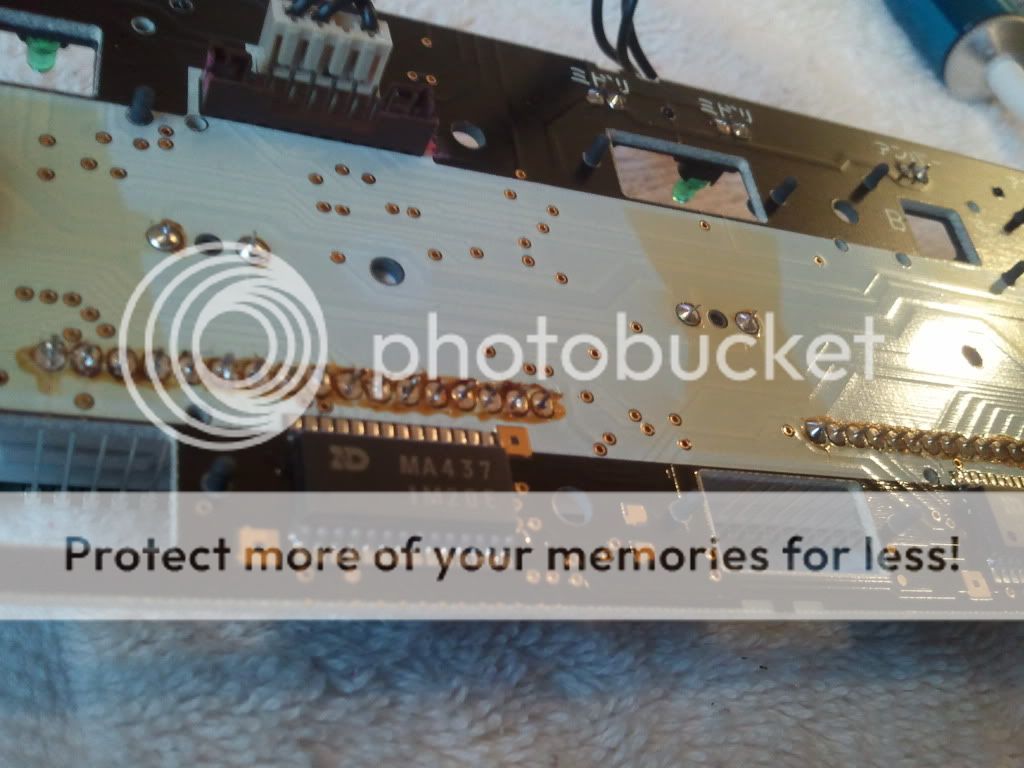
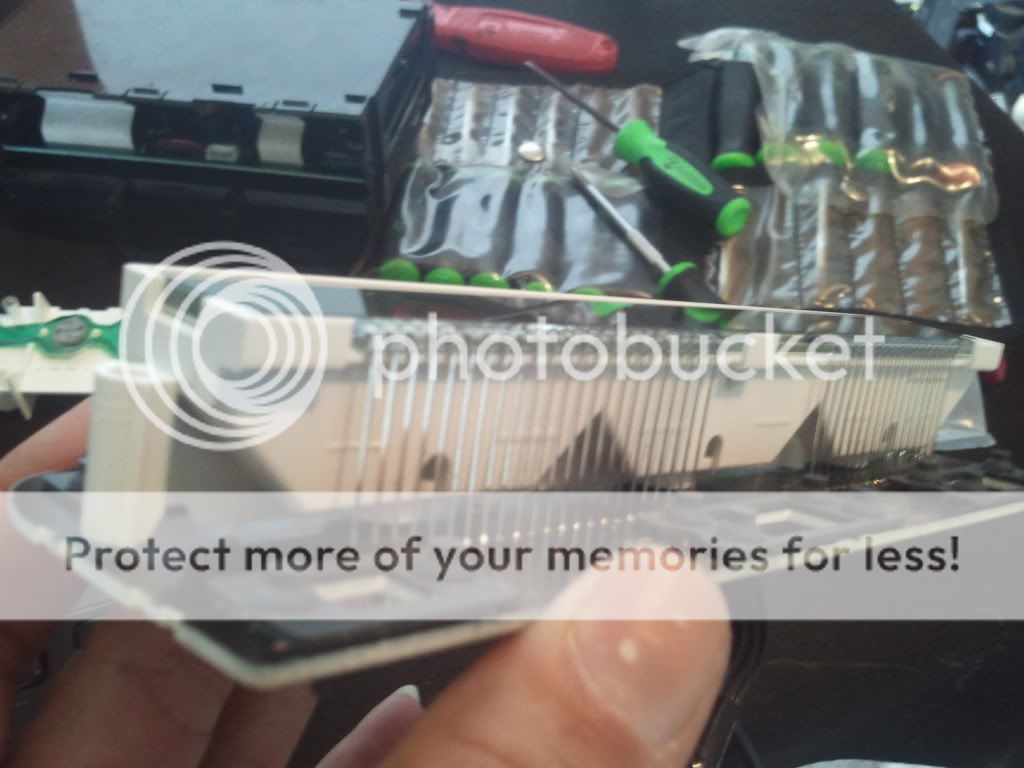
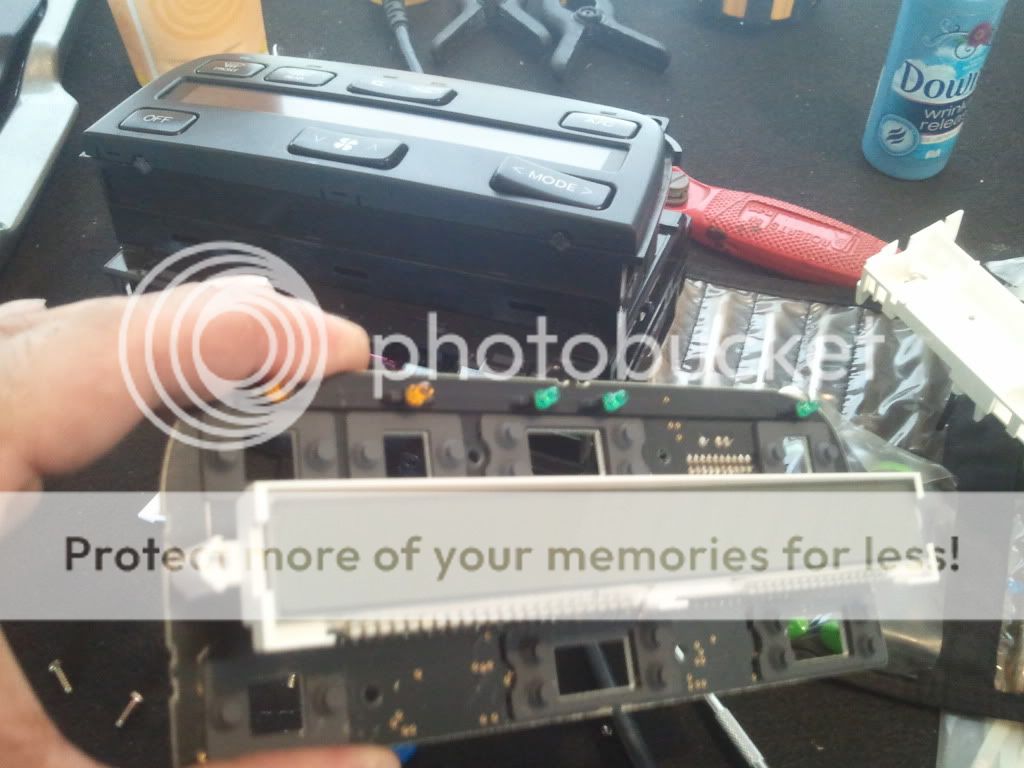
All soldered back up just have to reassemble and test
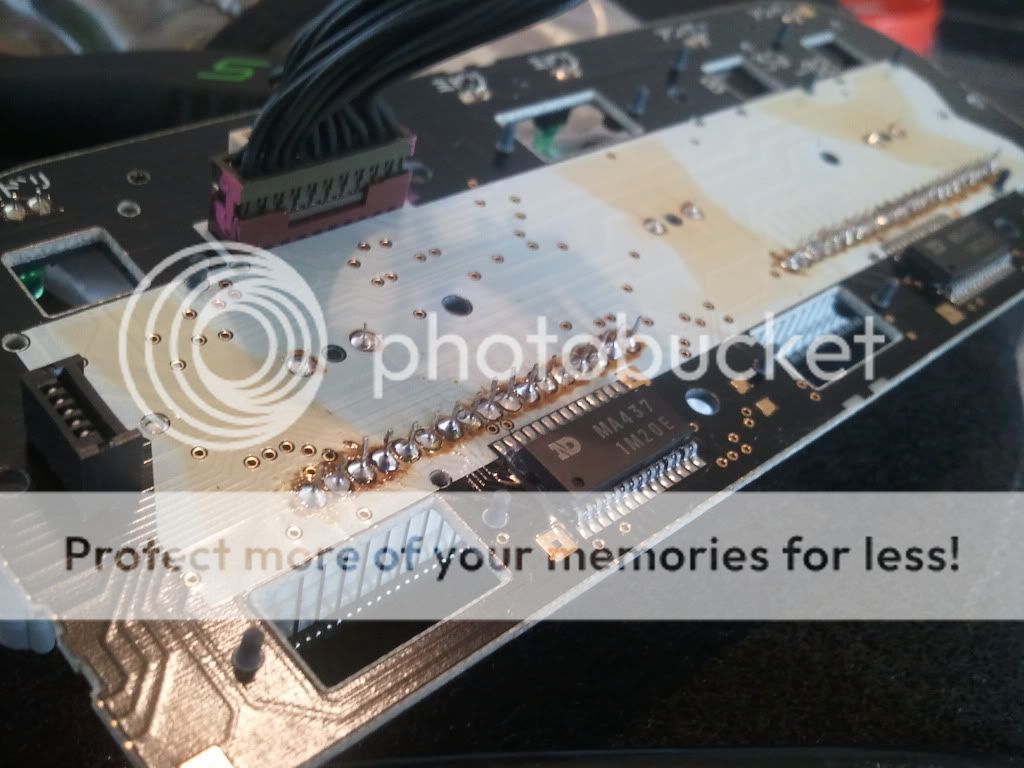
the size of the contacts next to my pinky
half of the board done just got another 5 million to go on the other side and then I have to solder it all back, how fun
All soldered back up just have to reassemble and test
the size of the contacts next to my pinky