When you click on links to various merchants on this site and make a purchase, this can result in this site earning a commission. Affiliate programs and affiliations include, but are not limited to, the eBay Partner Network.
It looks like it could add more drag to the car. I have read online that you could lose up to 1MPG with the mudguards installed.
Huh.... never thought of that. Given their position behind the wheels, I wouldn't expect a lot of additional drag, but it's logical that it would create some. Probably not enough to matter/notice.
I think I'm the minority here, because whenever I buy my new car, I always ask the dealer to take off the mugs guard, or minus the mug guard price if they don't take it off, then I drive home and take them off my car first thing myself. For me the mugs guard just ruin the look of any car. I had to buy a few cars and now my garage still have all of them brand new mugs guard.
did anyone with running boards have to take them off to install the mud guards?
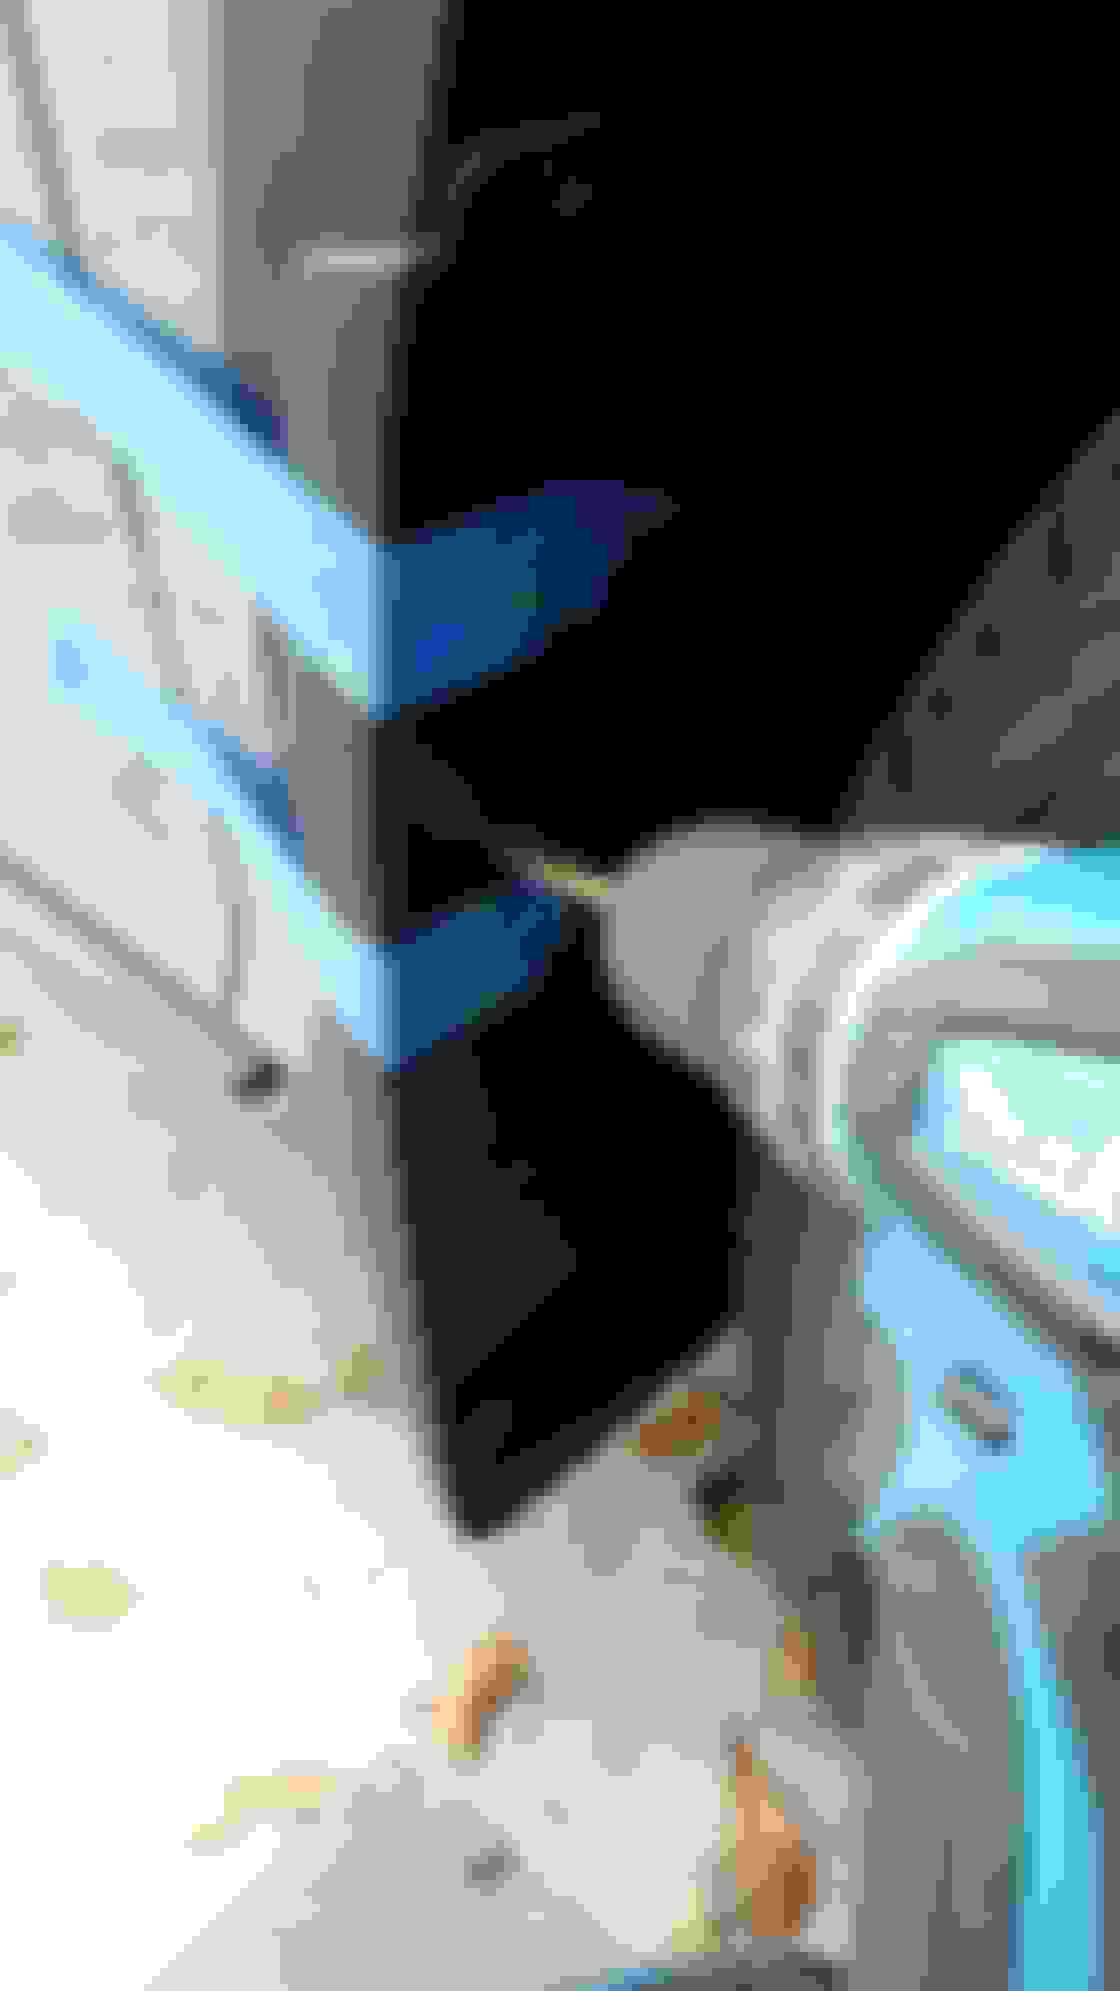
I have the running boards and today installed the mud guards on '17 RX350. No need to dismount the running boards, it's a lot of work if you decide to. Instead, you can modify the installation of the front flaps. You will need to remove one bolt most forward or front of the running board and then follow the entire preps of drilling the three holes on the wheel well. And then continue to drill on the 4th hole at the bottom of the flare (Fig 4-2). This will be tight and need to pull it out as much as you can without breaking it. Make sure you conduct a dry fit of the flap to ascertain the hole and then install the spring clip. Install the flap and screw for this particular mount (even before you start on the wheel well. Tighten it while making sure the flap is seated properly. Note: With running boards installed, mounting "D" (fig. 4-2) is covered as soon as you push back in the flare. So you want to install this mounting screw before you push or tuck in back the flare.
Thereafter, install the spacer at the wheel well and then push back in the flare (with the flap already half way installed) to the fender. With holes aligned, screw in the wheel well. And then the last bottom screw. Replace the running board bolt and you are done.
Another option is to not install the screw on the designated letter "D" mounting (Fig. 4-2 of the installation instruction) and instead just use double sided VHB tape. This will be a lot easier.
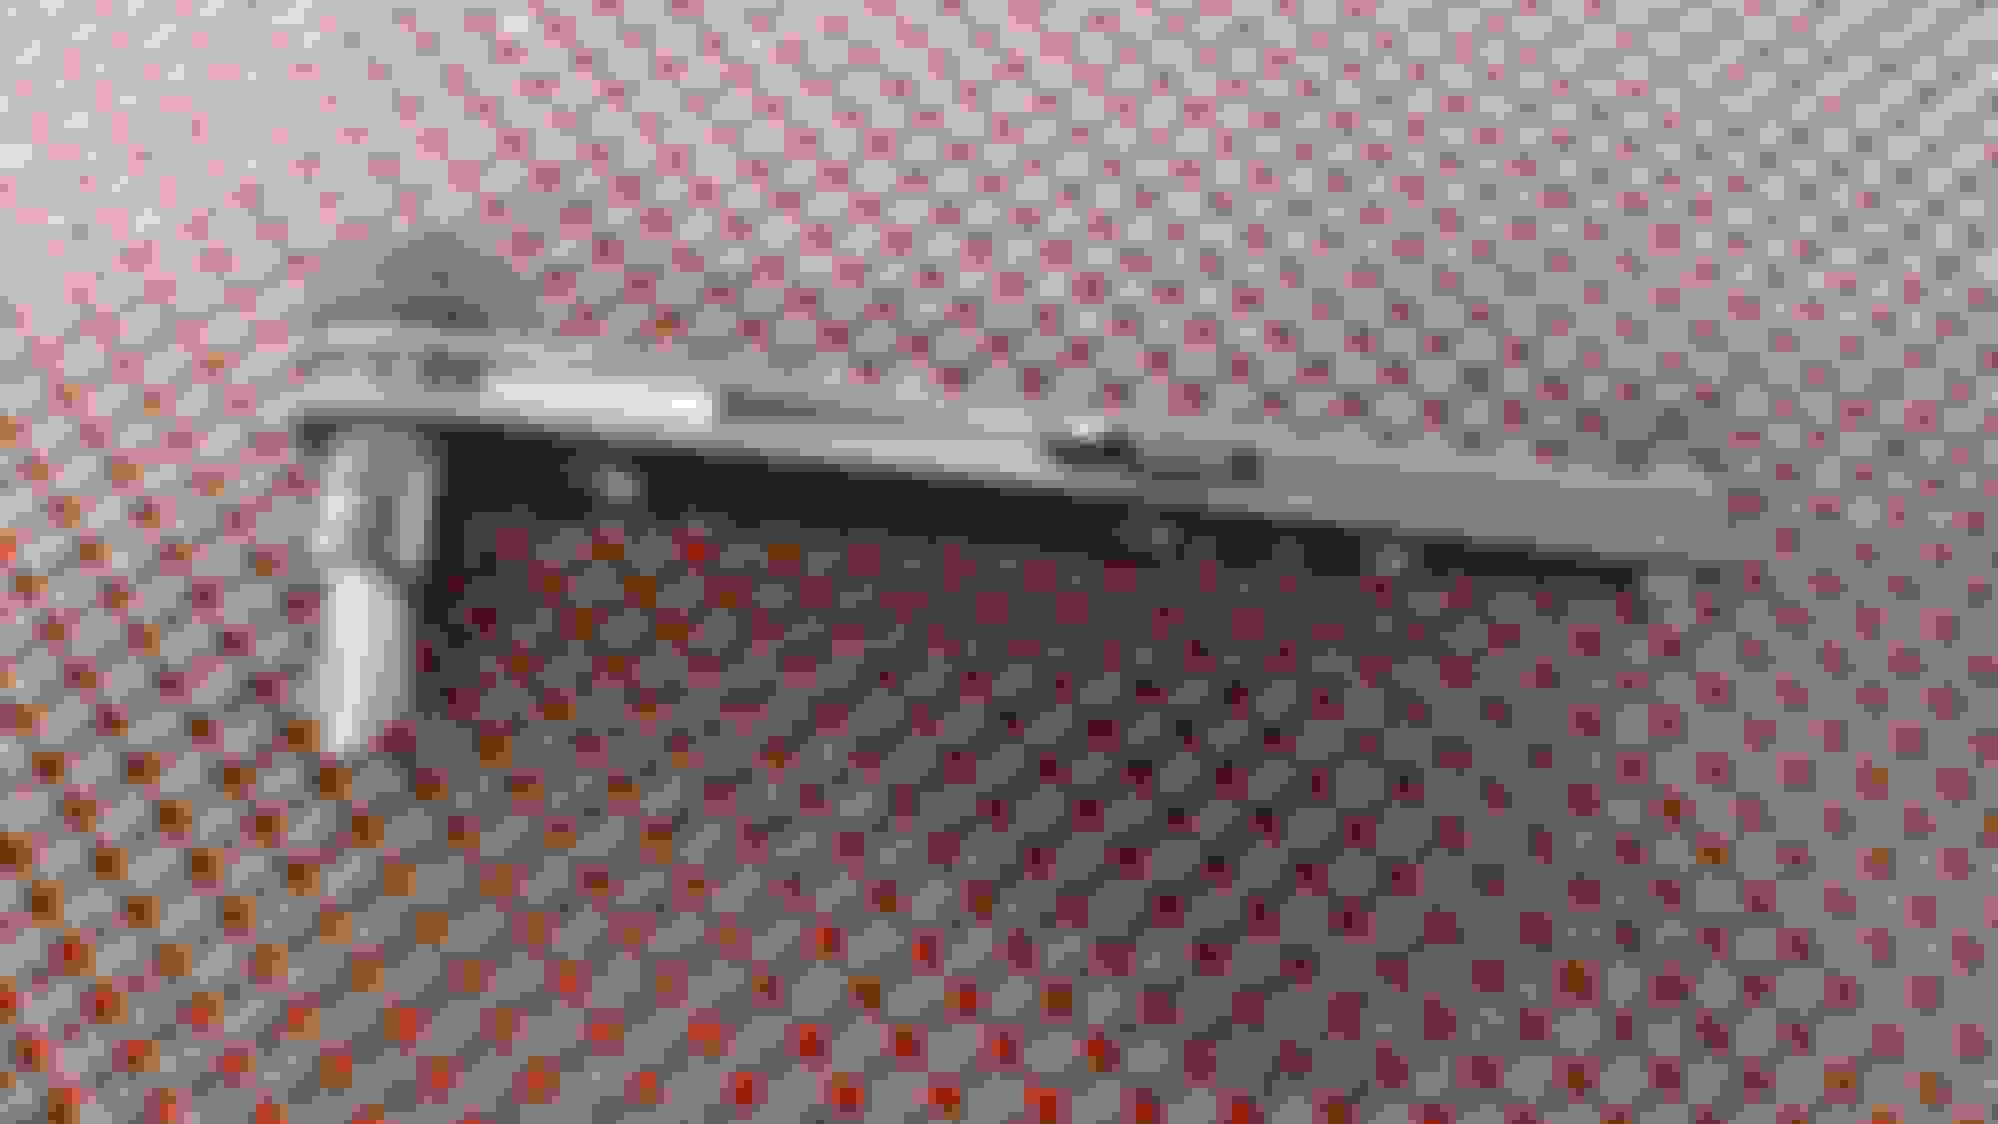
Just got these installed took about 1.5hrs. Just follow the PDF instruction provided in this thread but had to examine it a few times as the illustration and orientation is a bit confusing. For the rear make sure you have a tool with a small clearance for phillips screw. Attached a few pictures below, good luck and have fun.
Ratcheting Phillips Drilling Front fender Complete
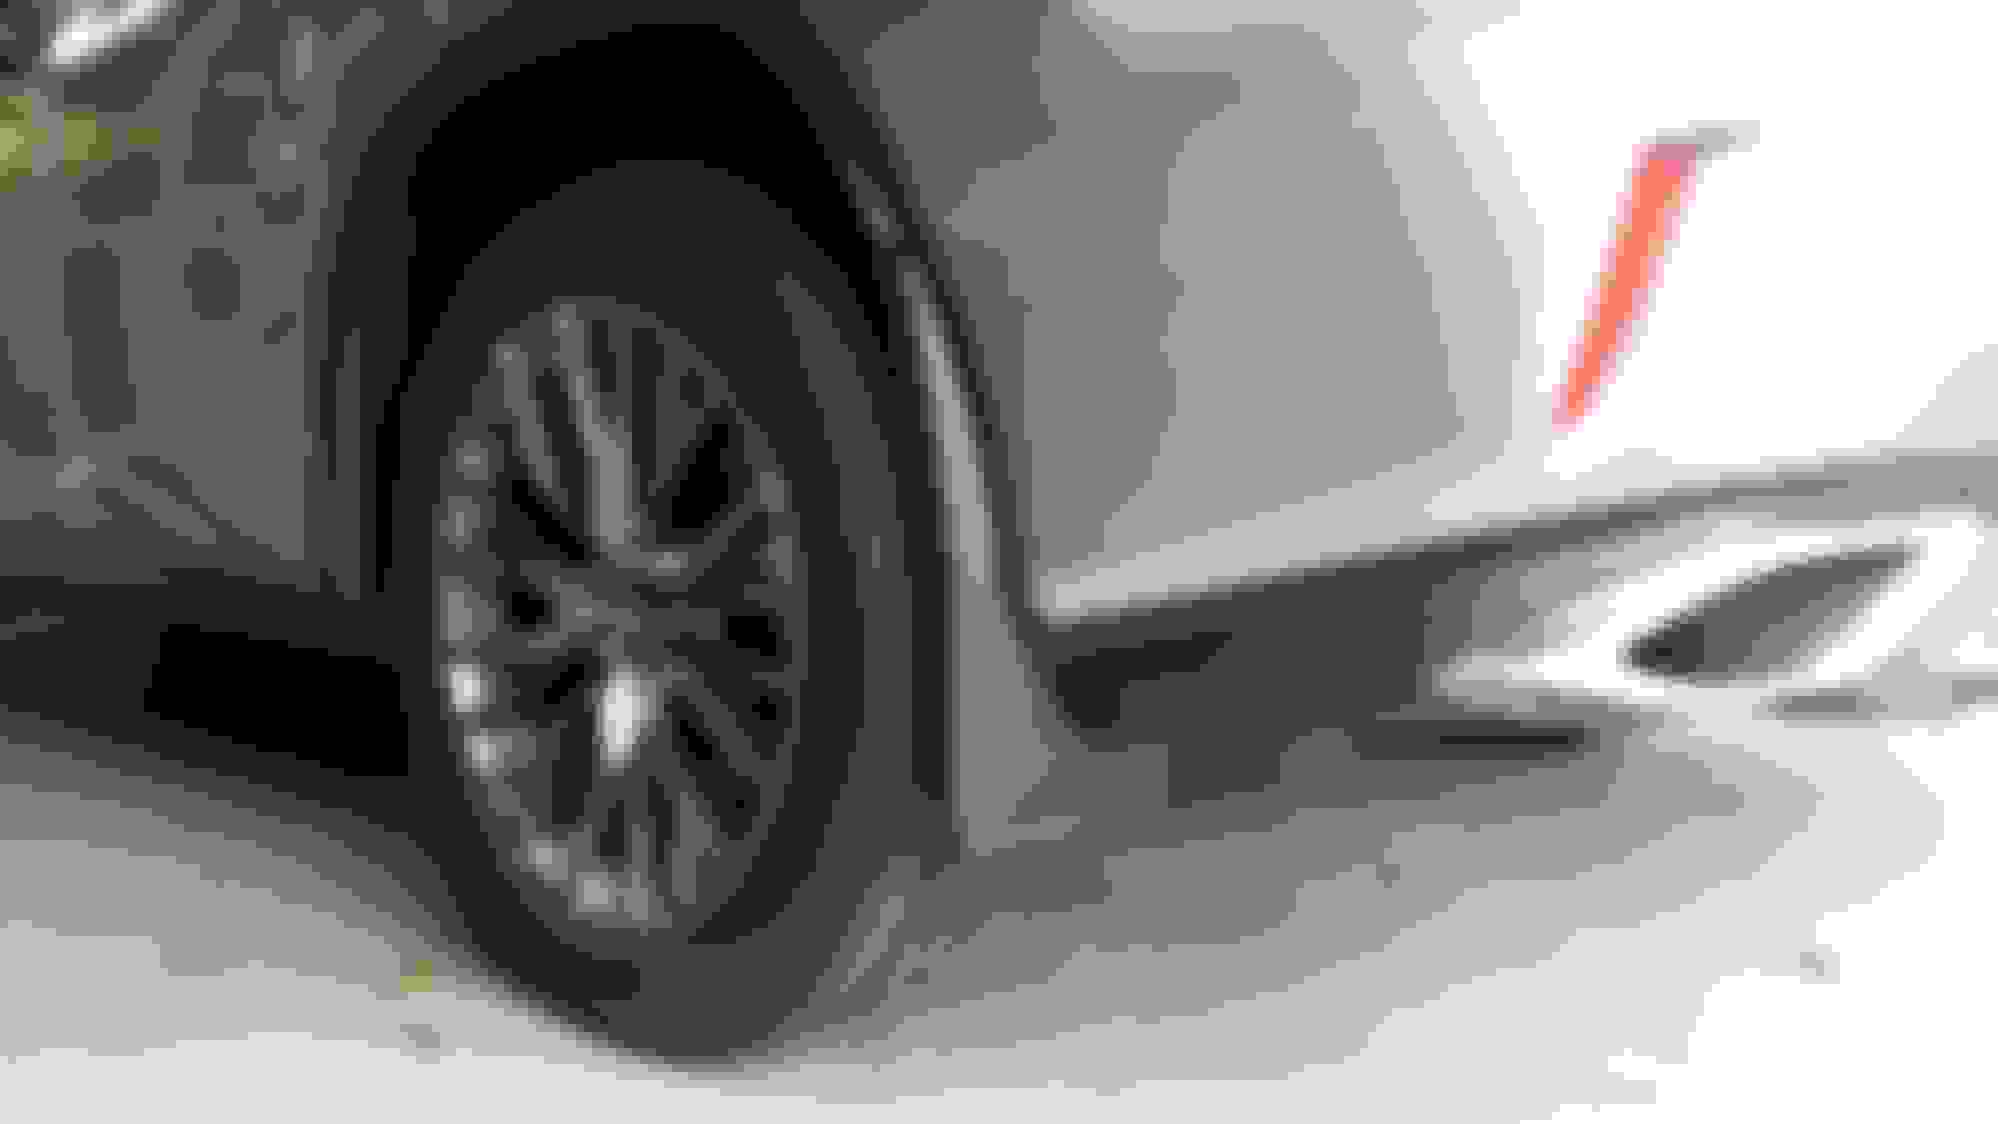
The mud guards add a nice aesthetic detail. Does the black on aftermarket mud guards clash with the black around the wheel well?
Can't comment on aftermarket mud guards but these match the wheel well 100%. Might be my phone camera or lighting but car is only 1 month old and parked in garage. Mud guard P/N
can you please post pics of the running boards and the mud flaps together i did the running boards few weeks after getting my rx. just want to get a visual idea what both look like like together.
Originally Posted by Jiggz858
I have the running boards and today installed the mud guards on '17 RX350. No need to dismount the running boards, it's a lot of work if you decide to. Instead, you can modify the installation of the front flaps. You will need to remove one bolt most forward or front of the running board and then follow the entire preps of drilling the three holes on the wheel well. And then continue to drill on the 4th hole at the bottom of the flare (Fig 4-2). This will be tight and need to pull it out as much as you can without breaking it. Make sure you conduct a dry fit of the flap to ascertain the hole and then install the spring clip. Install the flap and screw for this particular mount (even before you start on the wheel well. Tighten it while making sure the flap is seated properly. Note: With running boards installed, mounting "D" (fig. 4-2) is covered as soon as you push back in the flare. So you want to install this mounting screw before you push or tuck in back the flare.
Thereafter, install the spacer at the wheel well and then push back in the flare (with the flap already half way installed) to the fender. With holes aligned, screw in the wheel well. And then the last bottom screw. Replace the running board bolt and you are done.
Another option is to not install the screw on the designated letter "D" mounting (Fig. 4-2 of the installation instruction) and instead just use double sided VHB tape. This will be a lot easier.
 04-12-16, 03:43 PM


 i did the running boards few weeks after getting my rx. just want to get a visual idea what both look like like together.