When you click on links to various merchants on this site and make a purchase, this can result in this site earning a commission. Affiliate programs and affiliations include, but are not limited to, the eBay Partner Network.
Yeah, it doesn't really make a lot of sense why you can get a pair of lighted sill plates for the RX for less than $100. If I want the same for my 2020 GX....lol...$550 for the pair. Apparently it is set up the same way, with a wire already sitting there ready to be connected to. $500 may be too much to waste on little lights.
Put my sills in today. Absolutely the easiest thing I�ve ever done to a car. No issues popping the old ones off and the new clipped in in under a minute.
Just got a new to me 2016 RX350 and first thing I did was install LEDs in the 4 doors and 3 in the hatch area as well as both visors -
Also just put my sills in - got from OEM vehicle parts - easy to pop off and install in a few minutes - light looks nice - got the white light and the black plastic is a perfect match for the rest of the car
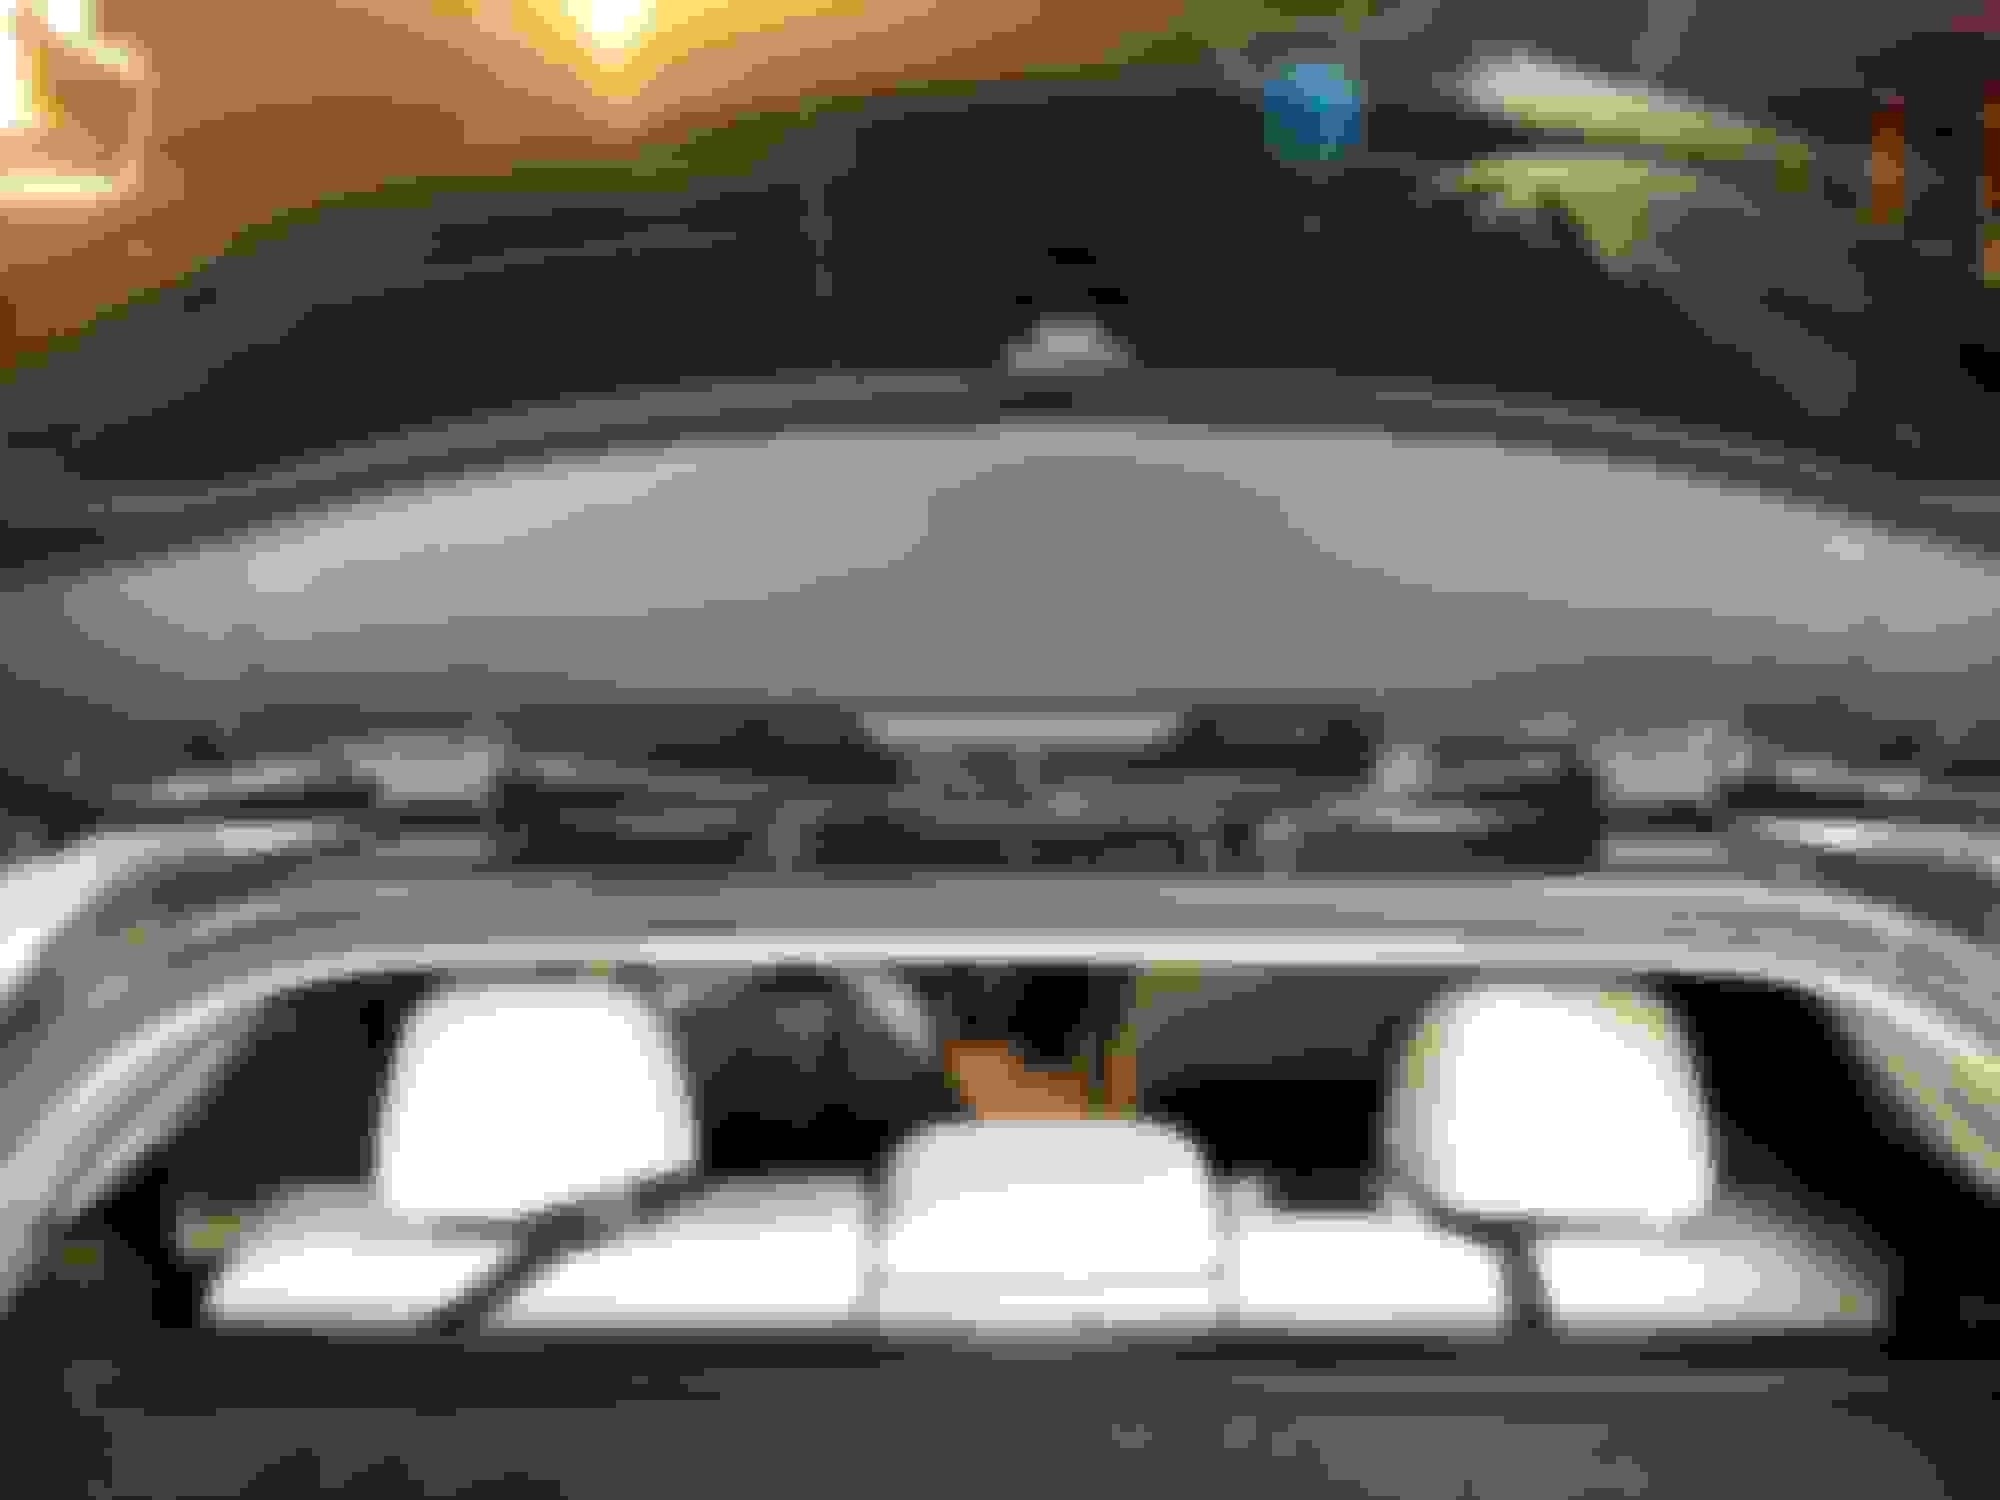
I installed a Viofo A129 Pro Duo last week and it wasn't too hard to install. Like others I tapped into the hazard fuse and the power outlet fuse. There's really only two difficult things with the installation: 1. Accessing the fuse box (which is in maybe the most awkward location possible) and 2. Getting the rear camera cord through the rubber hoses to get to the back door. I went through the rightmost hose shown in the picture which seemed to have the most room in it.
If anyone has any questions on the install let me know!
Fuse taps going into hazard lights (for always on power) and power outlet no. 1 (for ACC power) Camera on front windshield Camera on back window
I installed a Viofo A129 Pro Duo last week and it wasn't too hard to install. Like others I tapped into the hazard fuse and the power outlet fuse. There's really only two difficult things with the installation: 1. Accessing the fuse box (which is in maybe the most awkward location possible) and 2. Getting the rear camera cord through the rubber hoses to get to the back door. I went through the rightmost hose shown in the picture which seemed to have the most room in it.
If anyone has any questions on the install let me know!
Looks great. I am looking at the same unit so I may take you up on the offer. I am buried in house projects right now but plan on an install later in the summer. Was a little worried about difficulty of the rear camera.
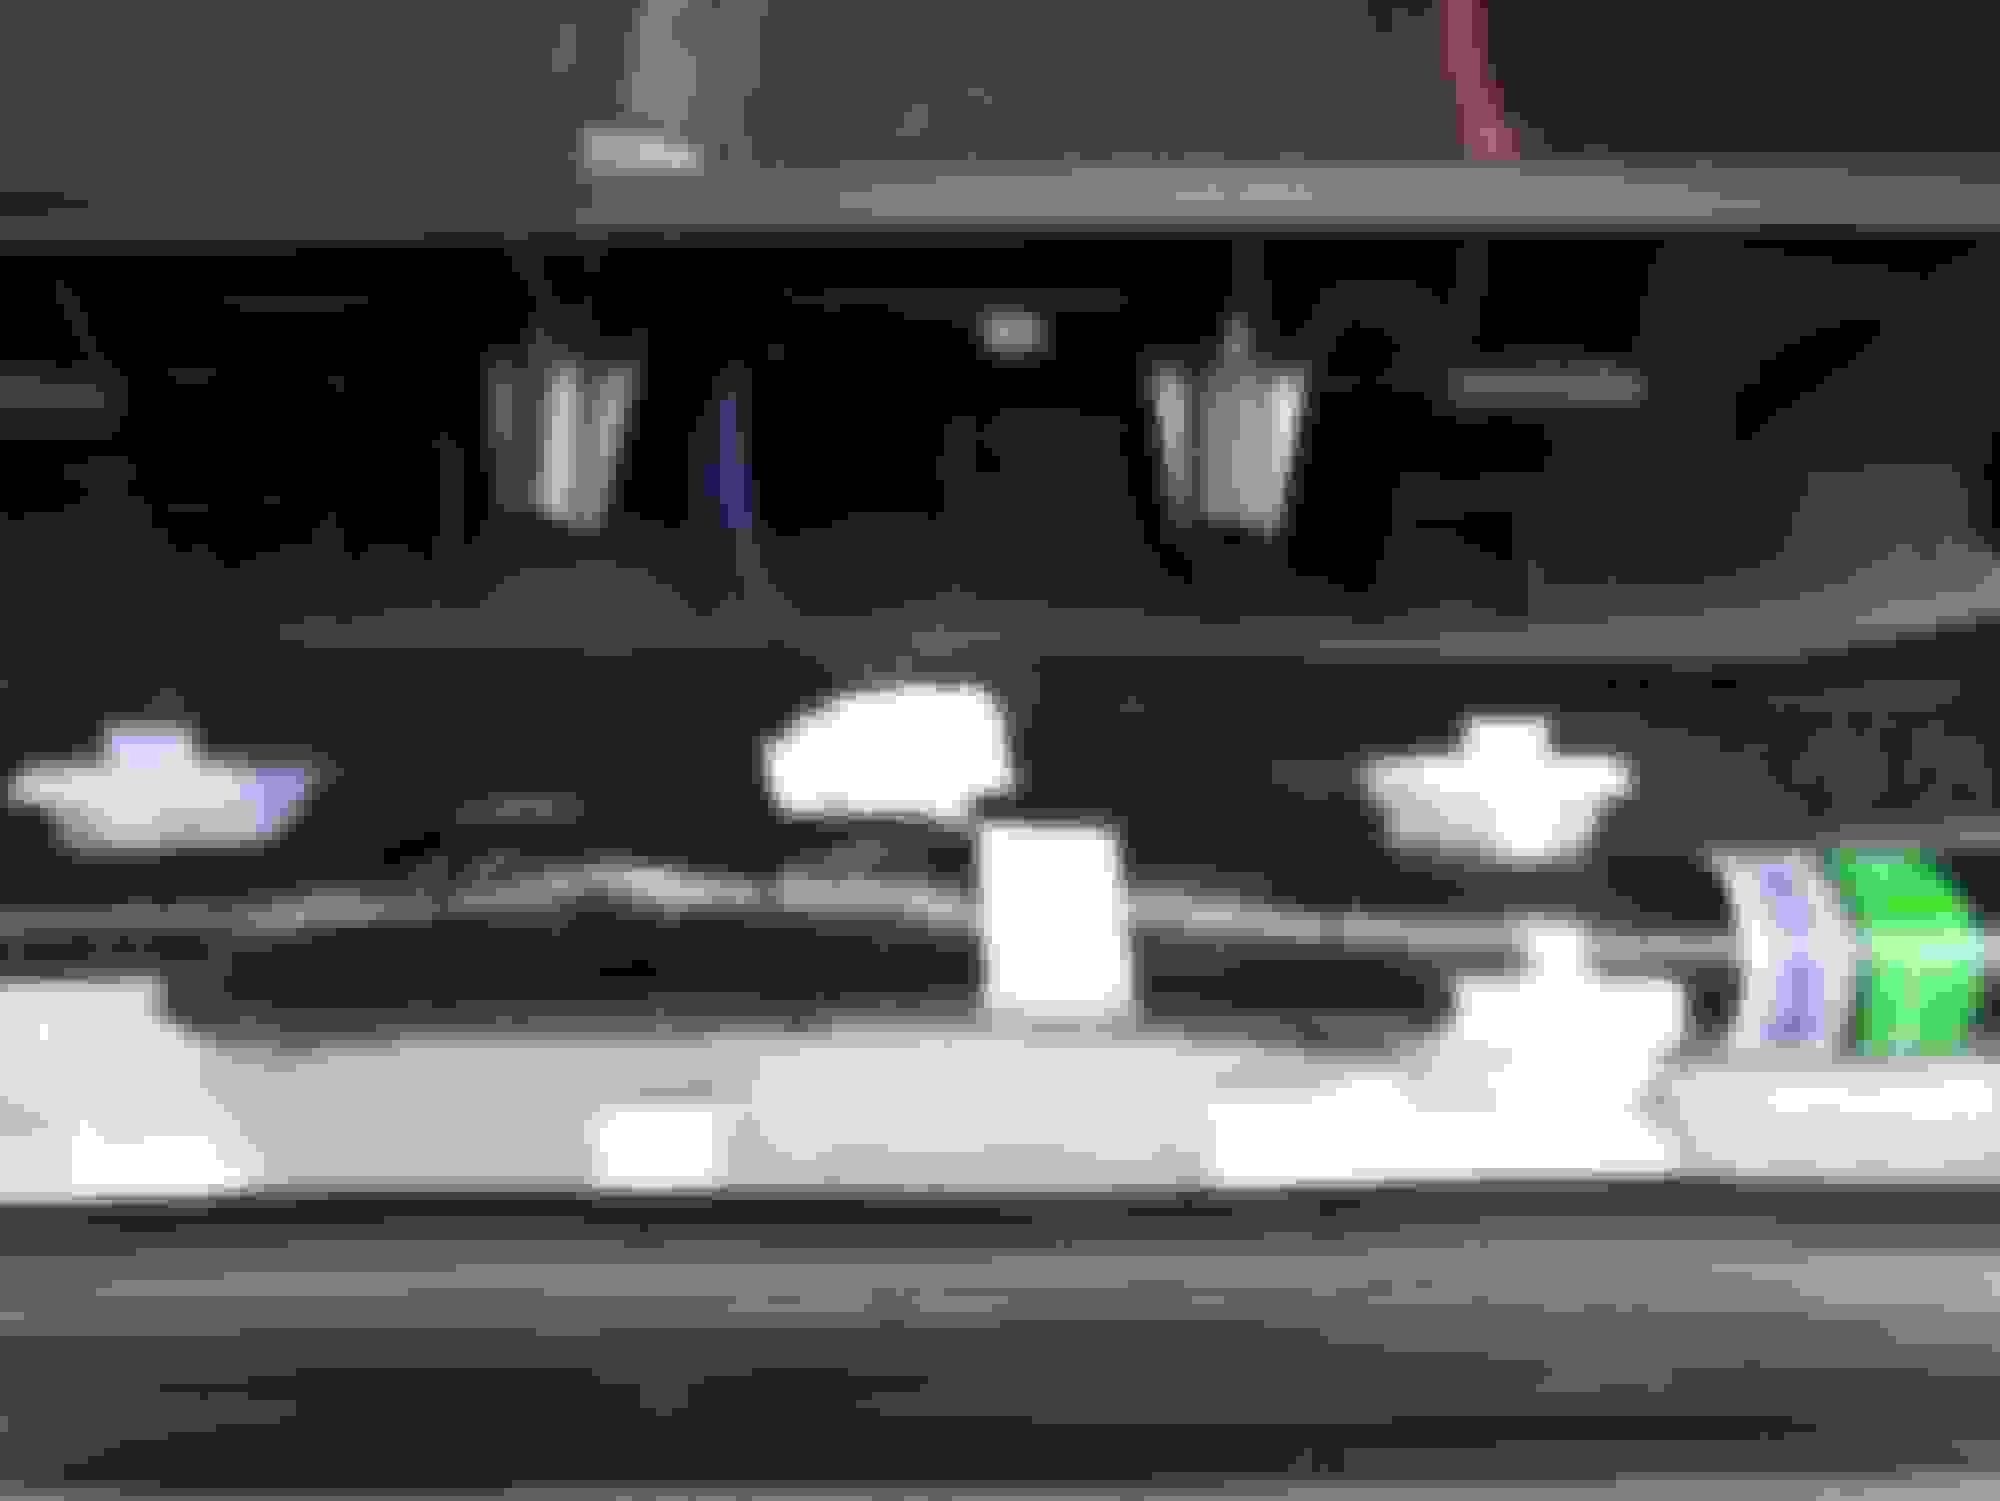
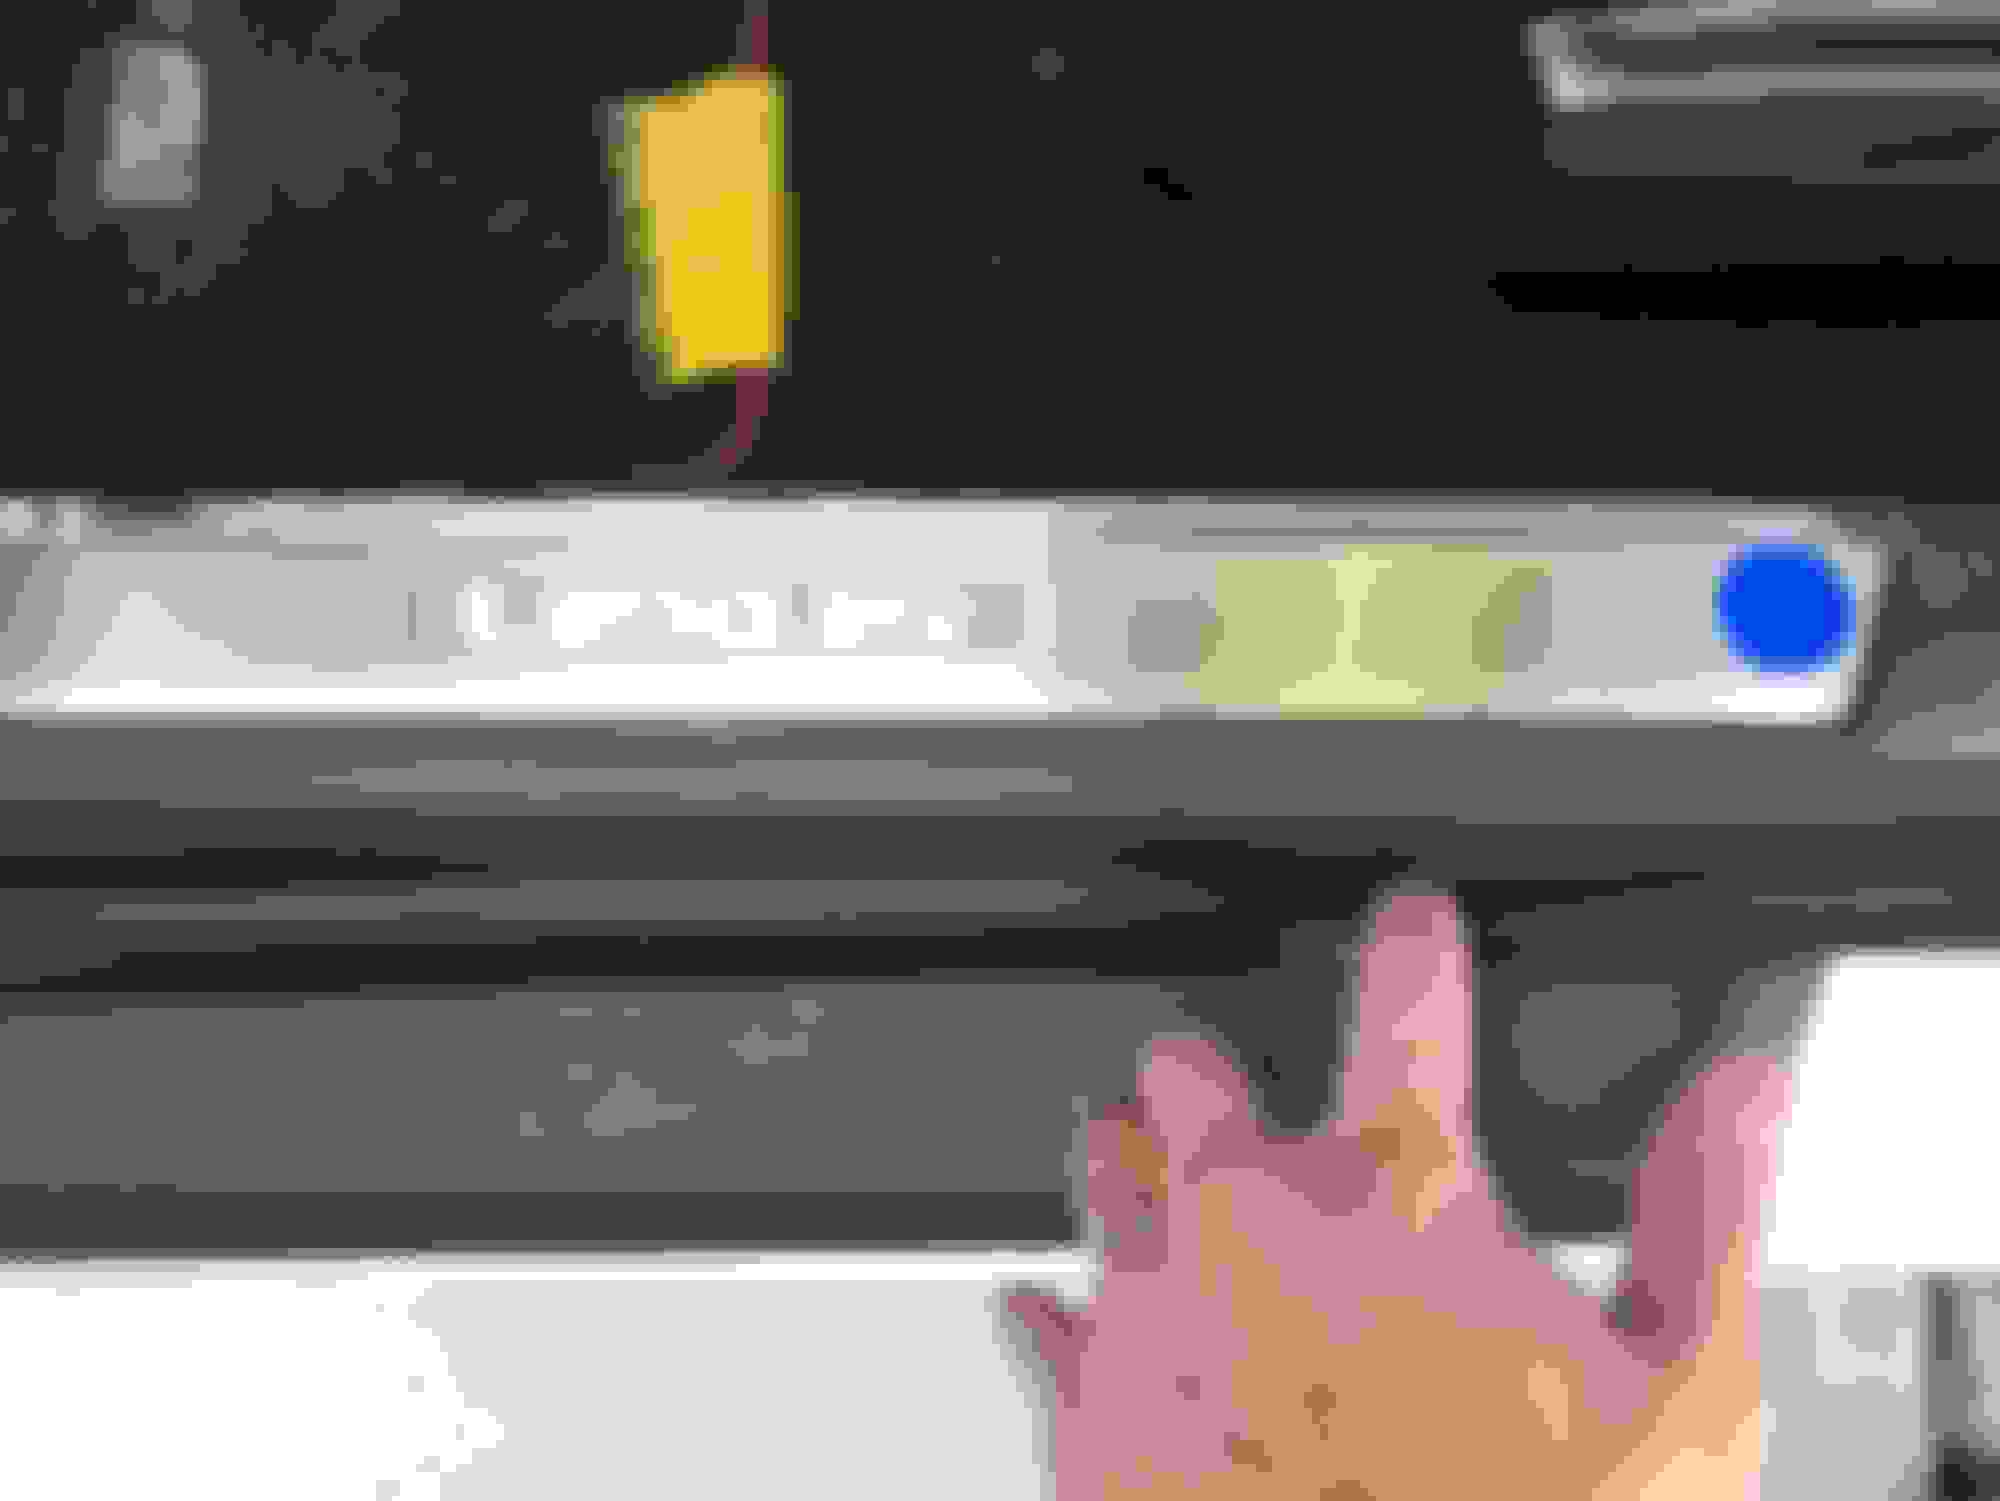
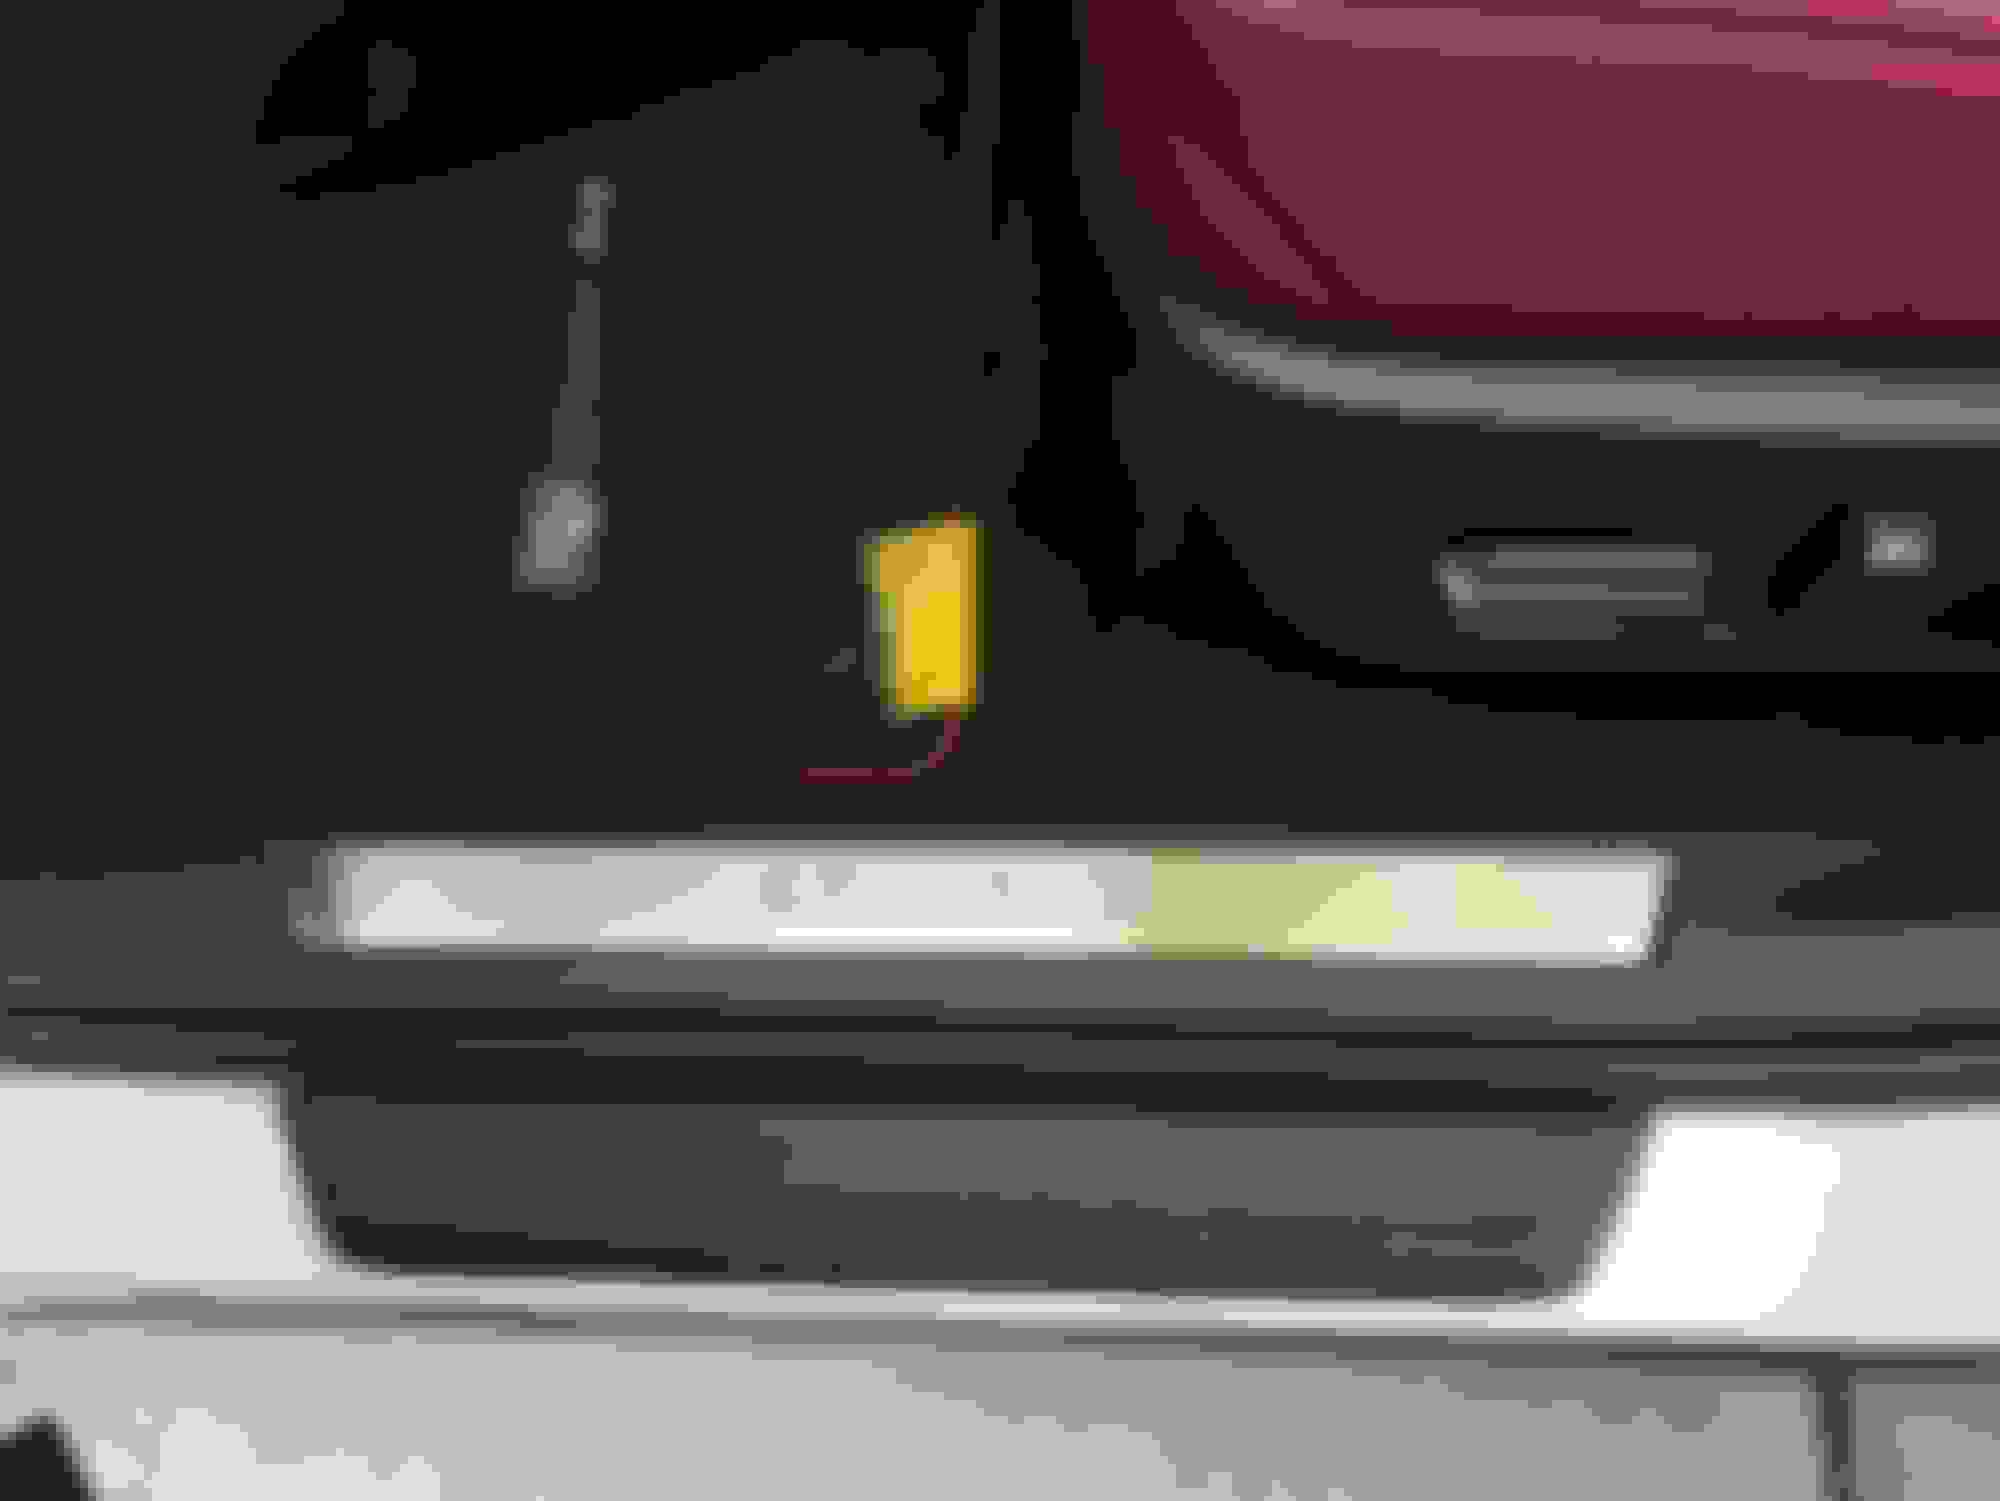
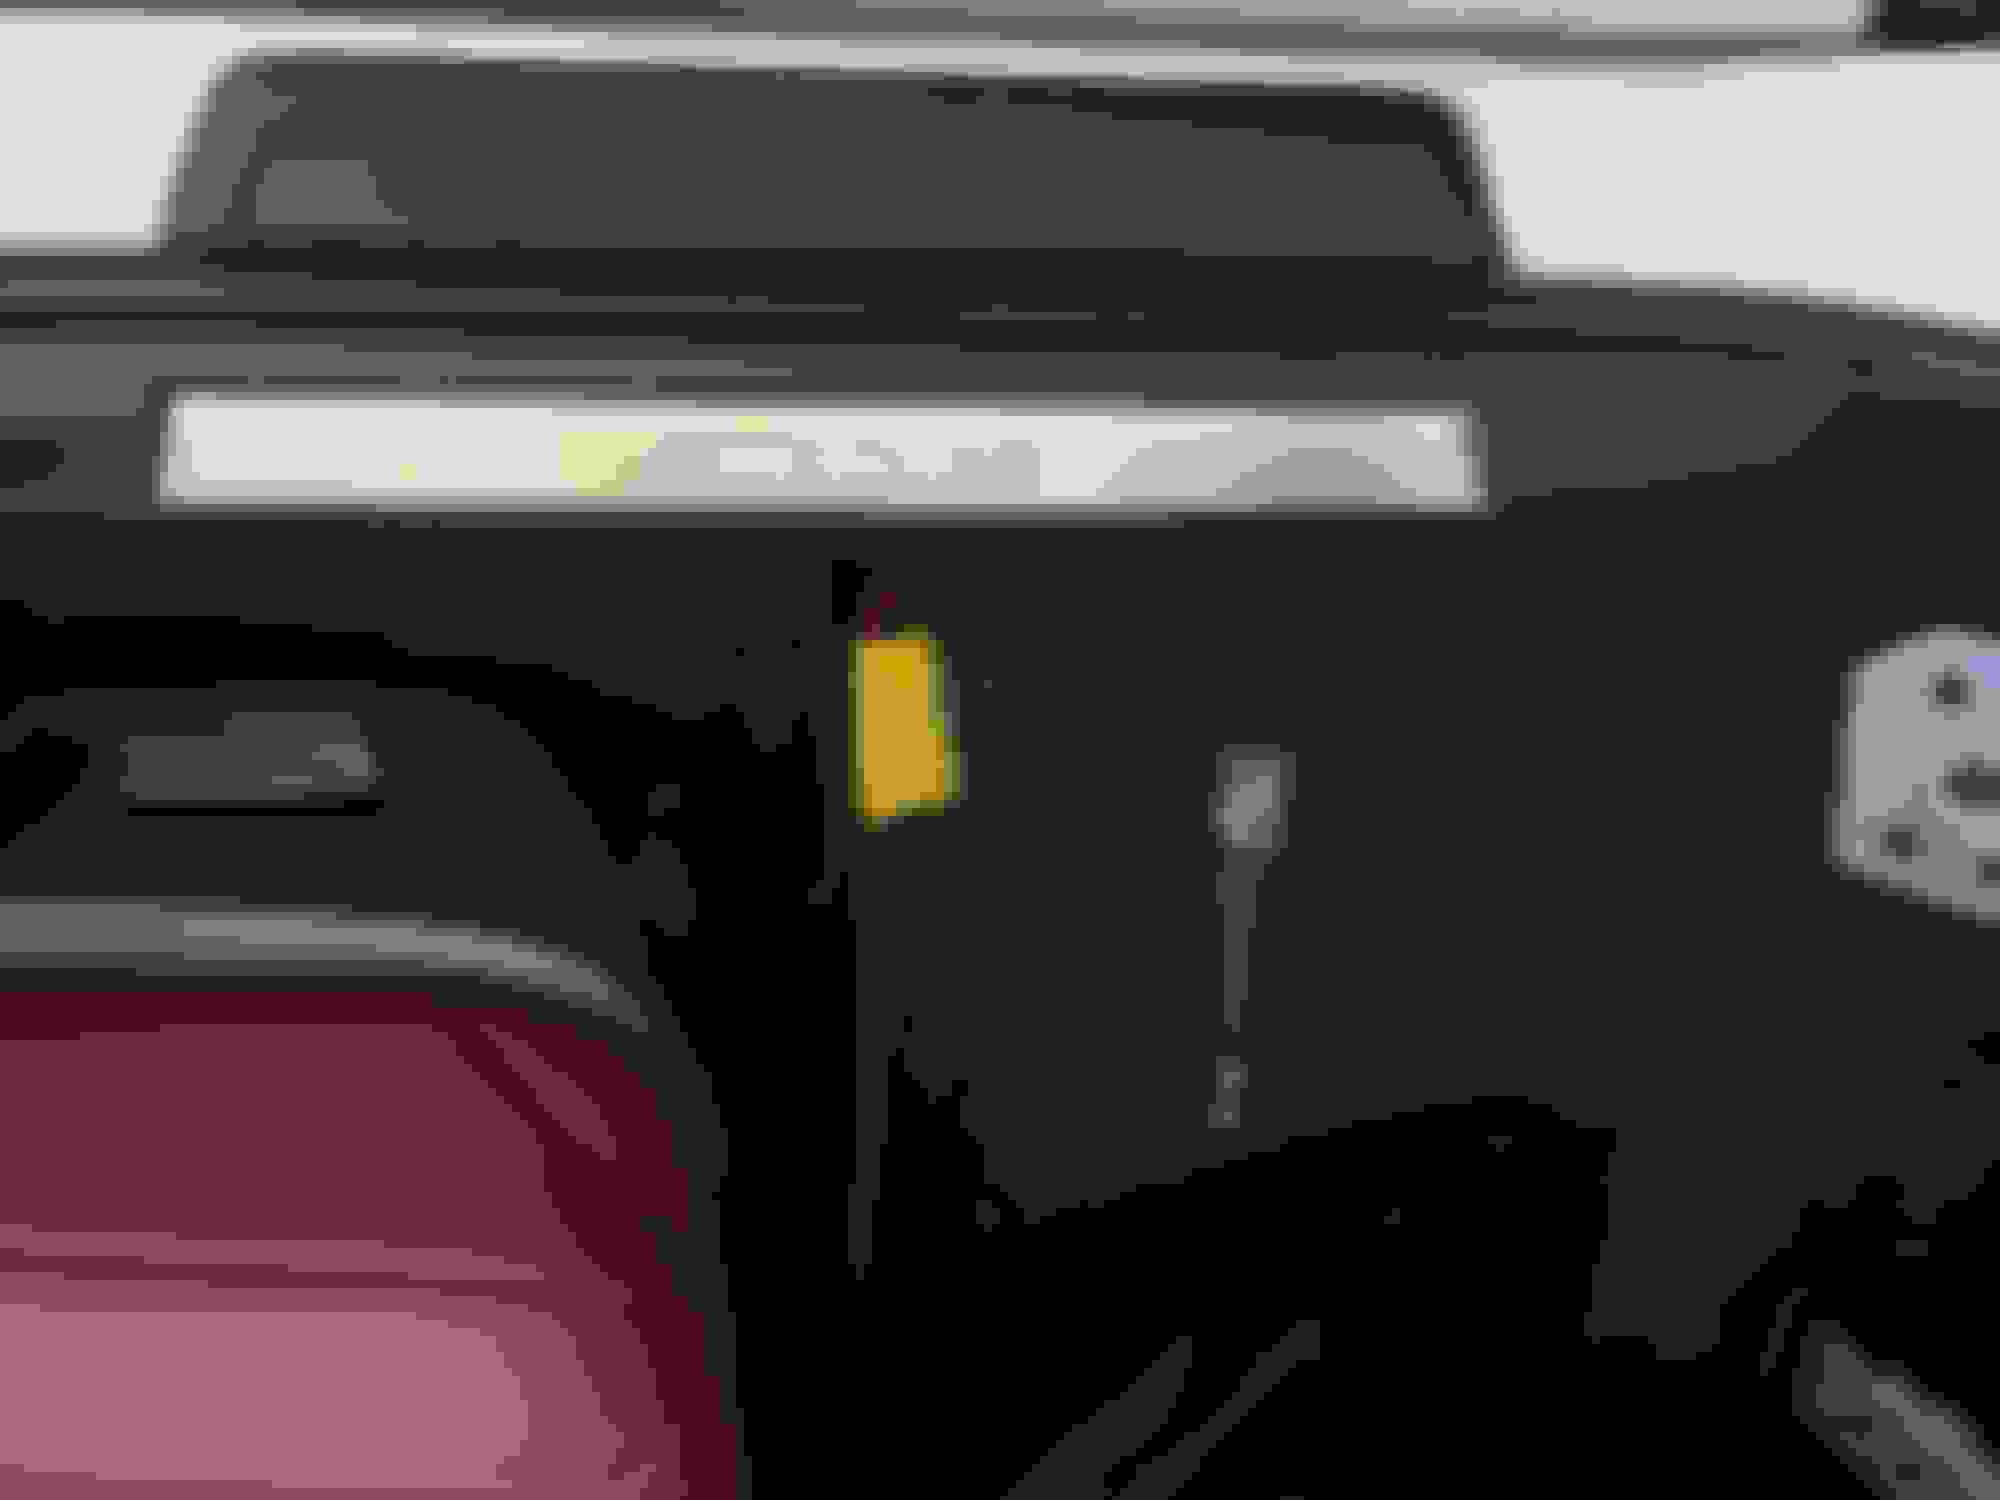
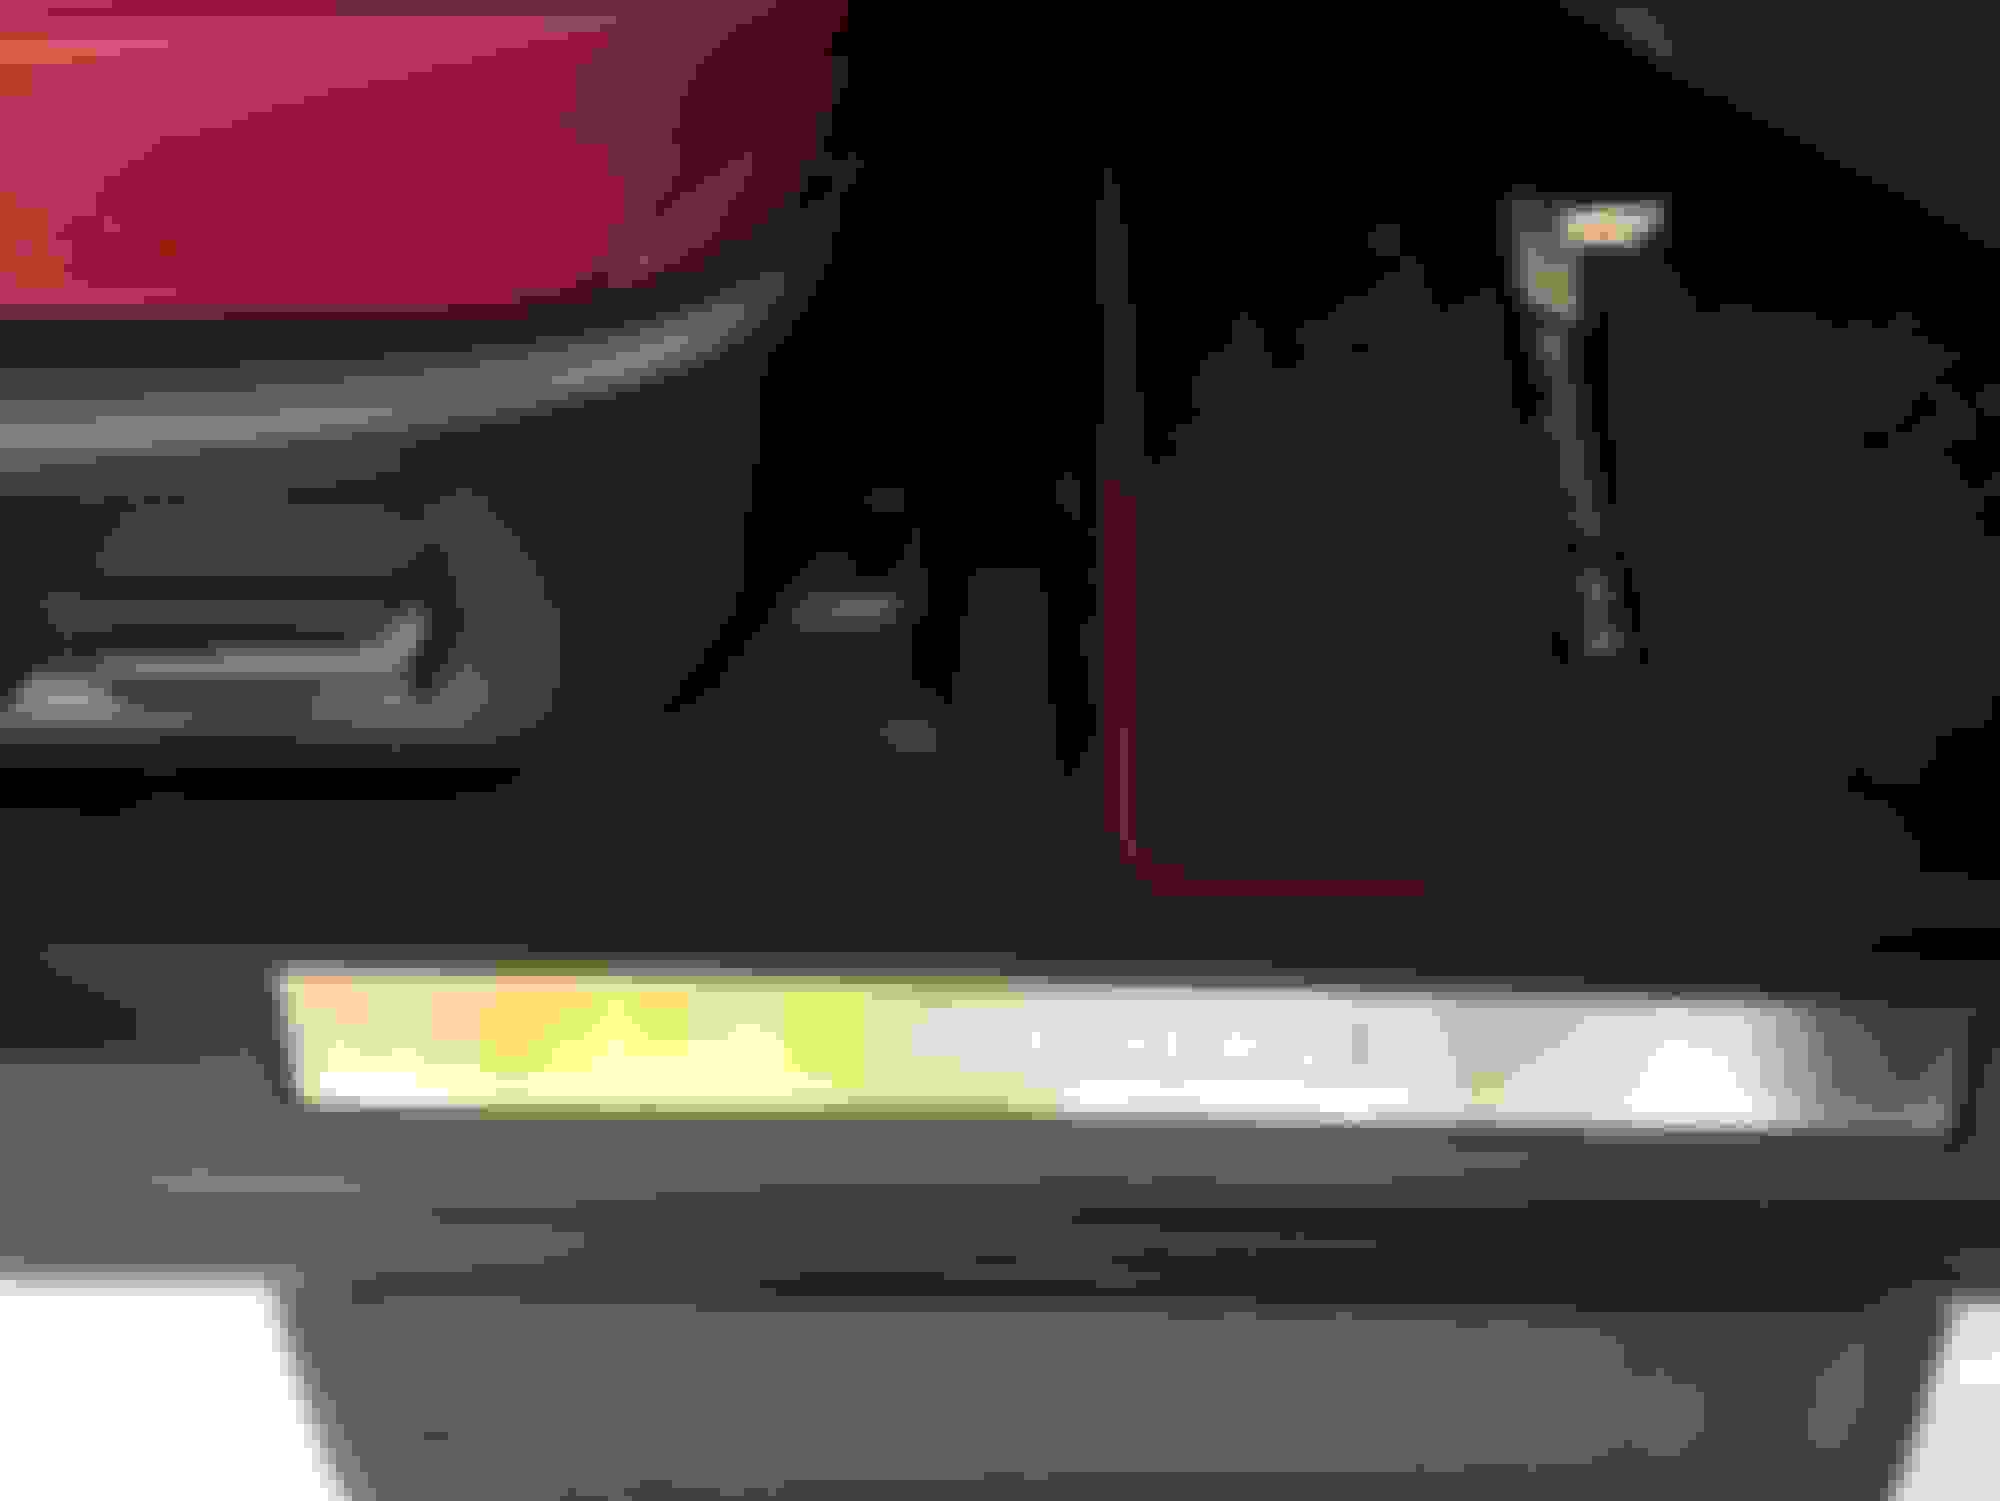
Also did the door sill swap and it was not even 5 mins per side. You do need a lot of force to remove it tho, a lot more than you would think. Best way it to lift each corner a bit and pull towards the center console, once you have a pop on both sides work your way to the middle from inside the car. Then go back to the corners and lift straight up. It'll make sense when its off as theres two sets of clips per corner, one facing the center console and then one on the top. The passenger side's wire retaining clip worked well but I uploaded a picture of the drive side, there's no possible way to attach the wire to the factory wire holders. But I carefully laid it down and it didnt pinch the wires so it should be fine. Just make sure when you're reinstalling to just do the reverse. Push one corner in, then the other, then pull the weather stripping out and work your way to the middle while pulling the weather stripping to to pinch and damage it.
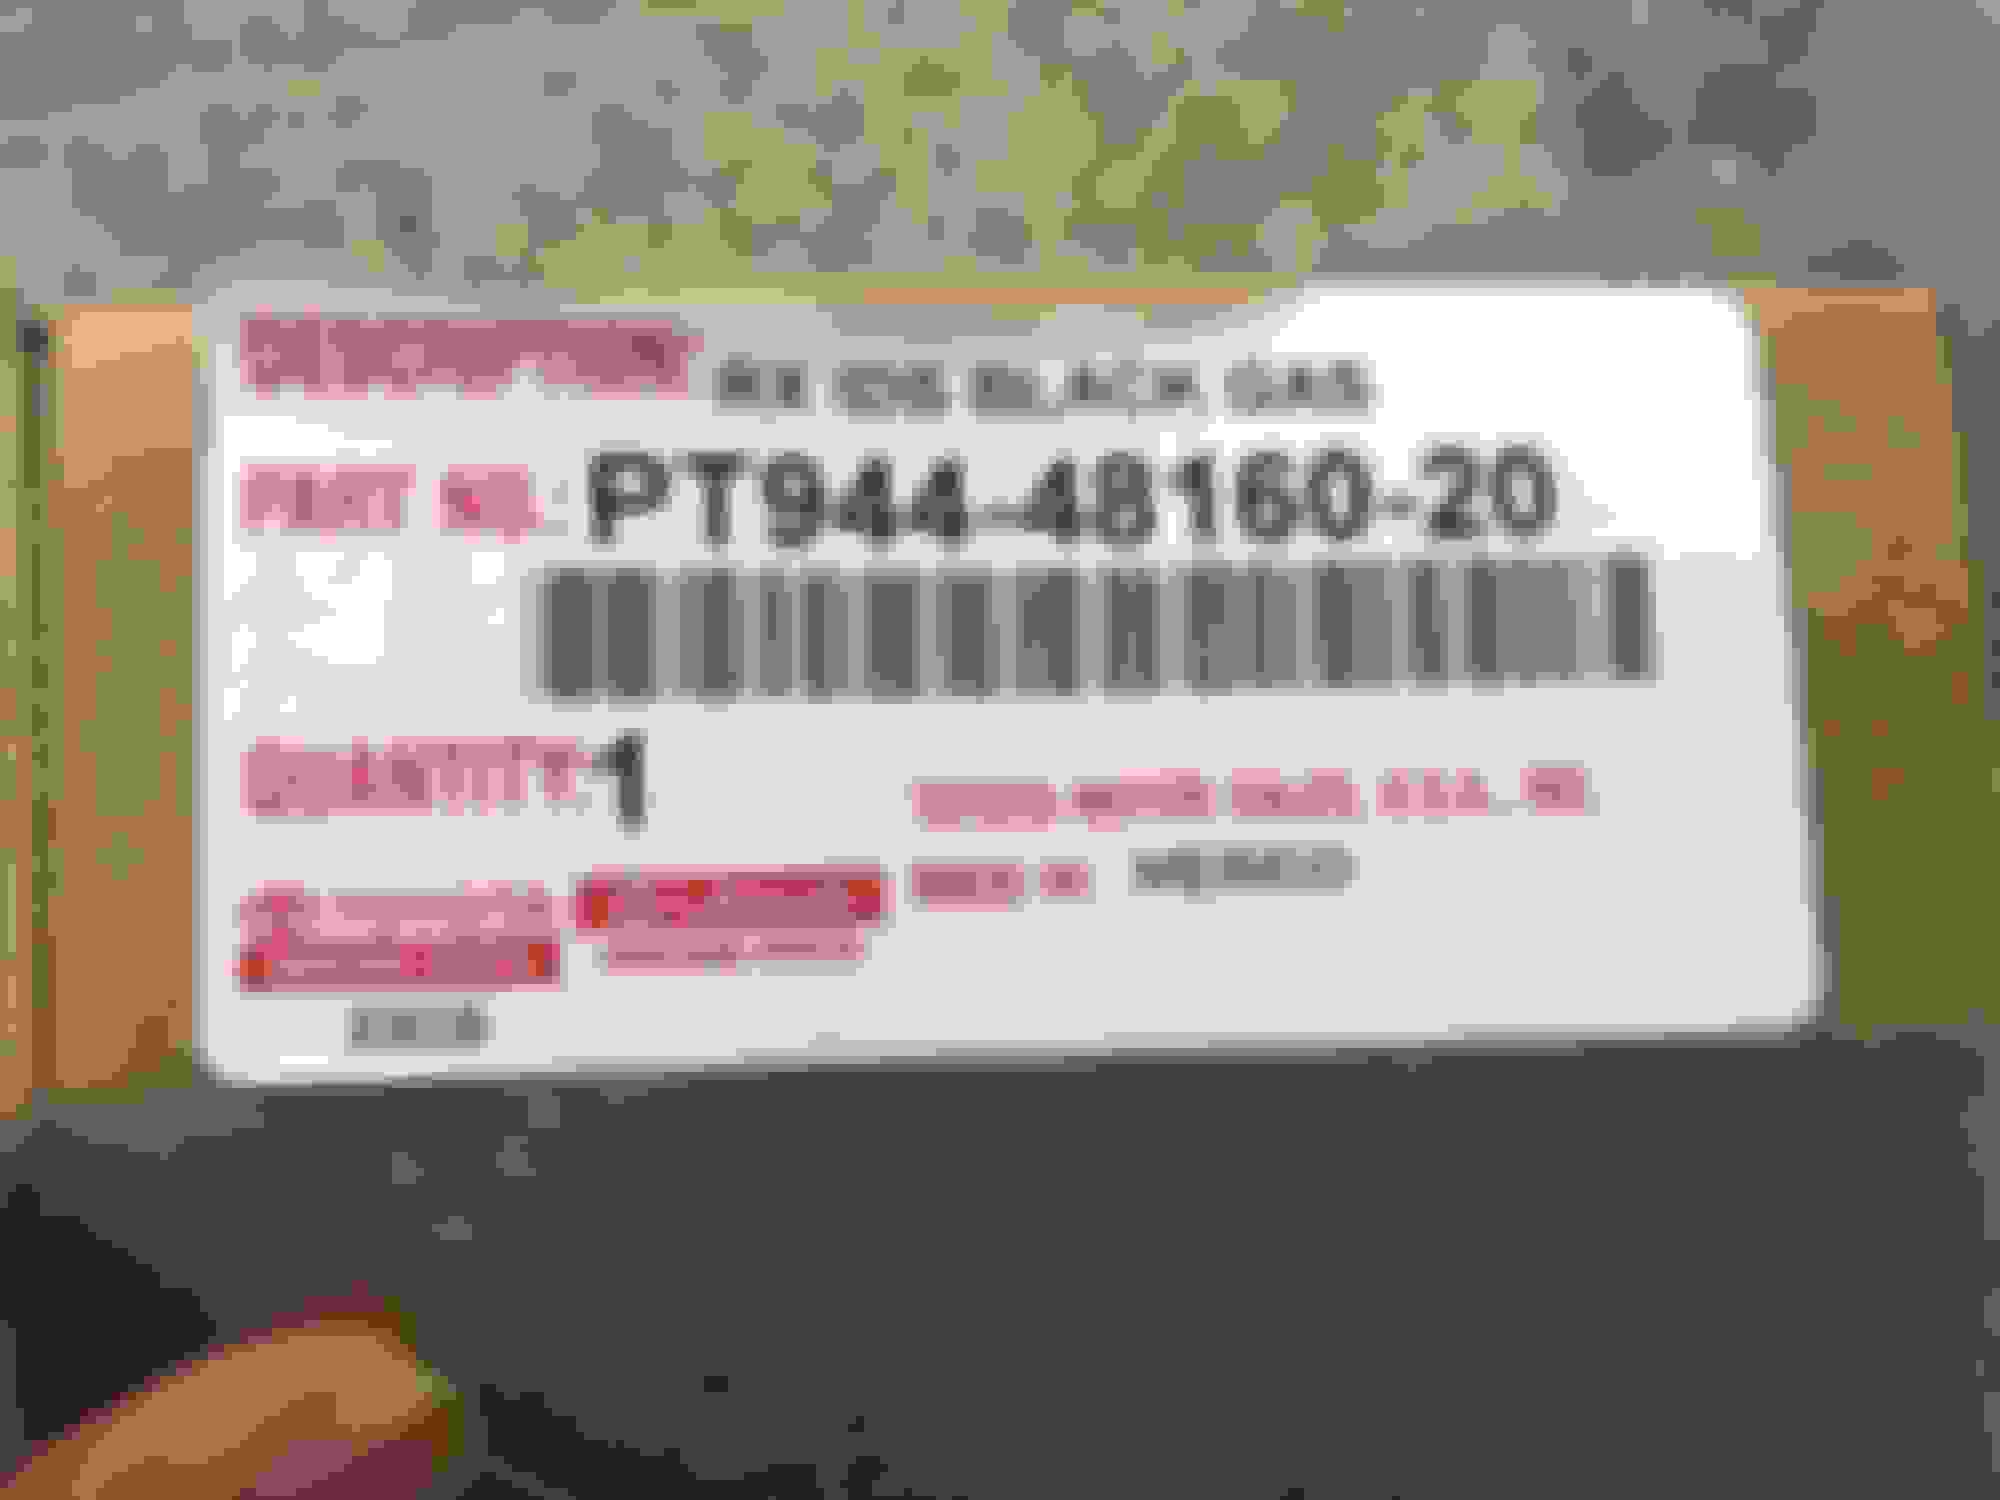
heres the part number for the white, was 82 dollars shipped with the promo code
both corner clips facing the center console pulled out and all you need to do here is pull each corner up and it comes out
driver side wire cant use the factory wire holder to the left or right but it should be fine..?
I like it a lot, pretty bright but not horribly bright at night time.
I installed a Viofo A129 Pro Duo last week and it wasn't too hard to install. Like others I tapped into the hazard fuse and the power outlet fuse. There's really only two difficult things with the installation: 1. Accessing the fuse box (which is in maybe the most awkward location possible) and 2. Getting the rear camera cord through the rubber hoses to get to the back door. I went through the rightmost hose shown in the picture which seemed to have the most room in it.
If anyone has any questions on the install let me know!
I think that I am about ready to purchase and do the install. Just wondering if you have any feedback regarding how it is working. What do you like/dislike? Do you use the parking function? Any other insights or recommendations greatly appreciated. Thanks
I think that I am about ready to purchase and do the install. Just wondering if you have any feedback regarding how it is working. What do you like/dislike? Do you use the parking function? Any other insights or recommendations greatly appreciated. Thanks
No complaints so far, it's been working great for me. It is my first dash cam so I can't compare to other ones, but I've had no issues. The iPhone app works okay for me and I was able to download some of the videos to my phone over the camera wifi.
For the parking mode, I have the voltage shutoff on the
set to the highest (most conservative) setting. I rarely park on a busy street so it's not a big deal to me to have, but I seem to be getting roughly 45 minutes before it shuts off. Enough for me for when I go grocery shopping or something like that. My car battery is also 4 years old so a newer battery may last longer.
To get the rear camera cable installed, I basically followed the video below. The lubrication was critical to be able to pull the cable through.
No complaints so far, it's been working great for me. It is my first dash cam so I can't compare to other ones, but I've had no issues. The iPhone app works okay for me and I was able to download some of the videos to my phone over the camera wifi.
For the parking mode, I have the voltage shutoff on the hardwire kit set to the highest (most conservative) setting. I rarely park on a busy street so it's not a big deal to me to have, but I seem to be getting roughly 45 minutes before it shuts off. Enough for me for when I go grocery shopping or something like that. My car battery is also 4 years old so a newer battery may last longer.
To get the rear camera cable installed, I basically followed the video below. The lubrication was critical to be able to pull the cable through.
I think that I am going to get the camera and the parking hardware kit. Can you tell me or link to the fuse tap kit that you also had to use?....I don't think that it is included with the parking hardware kit...or is it. Sorry for the questions but I am going to try this early next week and I want to be sure to have all parts. Thanks!
I think that I am going to get the camera and the parking hardware kit. Can you tell me or link to the fuse tap kit that you also had to use?....I don't think that it is included with the parking hardware kit...or is it. Sorry for the questions but I am going to try this early next week and I want to be sure to have all parts. Thanks!