When you click on links to various merchants on this site and make a purchase, this can result in this site earning a commission. Affiliate programs and affiliations include, but are not limited to, the eBay Partner Network.
Backed into partially opened garage door and fortunately only loosened the top cover of the spoiler/rear upper brake light assembly...then it blew off somewhere on the highway! I only need the top cover, anybody know where I could find one.
BLACK in color but I could have it painted, so any color ok.
I have the same problem but my car is white. Did you get the cover only or you have to buy the whole spoiler? Can you tell me where to get it please. Thank you
The paint on my rear roof spoiler has gone bad. I would like to remove the spoiler to either have it painted or paint it myself. Can anyone guide me through removing it?
What color is your car? Some Lexus paints are 3 stage and difficult to make match unless experienced. You may be better off going to a few body shops for estimates. They could probably paint it without removal. Good luck.
You should double check with your Lexus dealer to see if they will Goodwill a repair. It is only 4yrs old after all. If the rest of the paint looks good and only the spoiler is faded, I would fight hard for a Goodwill repair...paint failure on a 4yr old Lexus is not acceptable unless it is definitely your fault.
If it is actually your fault, I would see about buying a used part. It may be easier and cheaper than repainting.
I have the exact same issue with the rear spoiler on my '10 RXh. It looks like someone took 40 grit sandpaper and just scrubbed it from front to back. We did not even notice it until we had owned the car for a couple of months. I clay barred it to no real benefit. Then I used my random orbit polisher to high grit wet sand and polish, and it's better, but still nothing like the rest of the vehicle.
What I learned is that the rear spoilers are painted with a single stage system (base color and clear combined). My plan has been to remove it and do a full 3-stage repaint with a primer/filler, base coat, and 2-3 coats of clear on top of that. I can do it on the car, but removal would make the job a lot easier to get right. I'm not worried about blending into the roof at all. Heck... just painting it gloss black would be a huge improvement! My RXh base color is Smoky Granite Mica.
All of the above said, I would also like to see a "How to..." on removing the rear spoiler. So the question still remains open... Does anyone have any guidance on the spoiler removal process (not the painting choices)?
This is for 3rd generation RX's from 2010-2015. I did this on a 2013, so be mindful that there may some variations between model years.
Part number: 76085-0E914
At the time of this writing, this is a new part number and the unit ships primed. You'll have to get it painted. Prior versions of this used to come painted and you'd order using your paint code. It ran me $300 to have it painted. On top of the $950 for the part.
Our stock unit made contact with a garage door. They unfortunately do NOT sell just the painted part. You need to buy the entire unit.
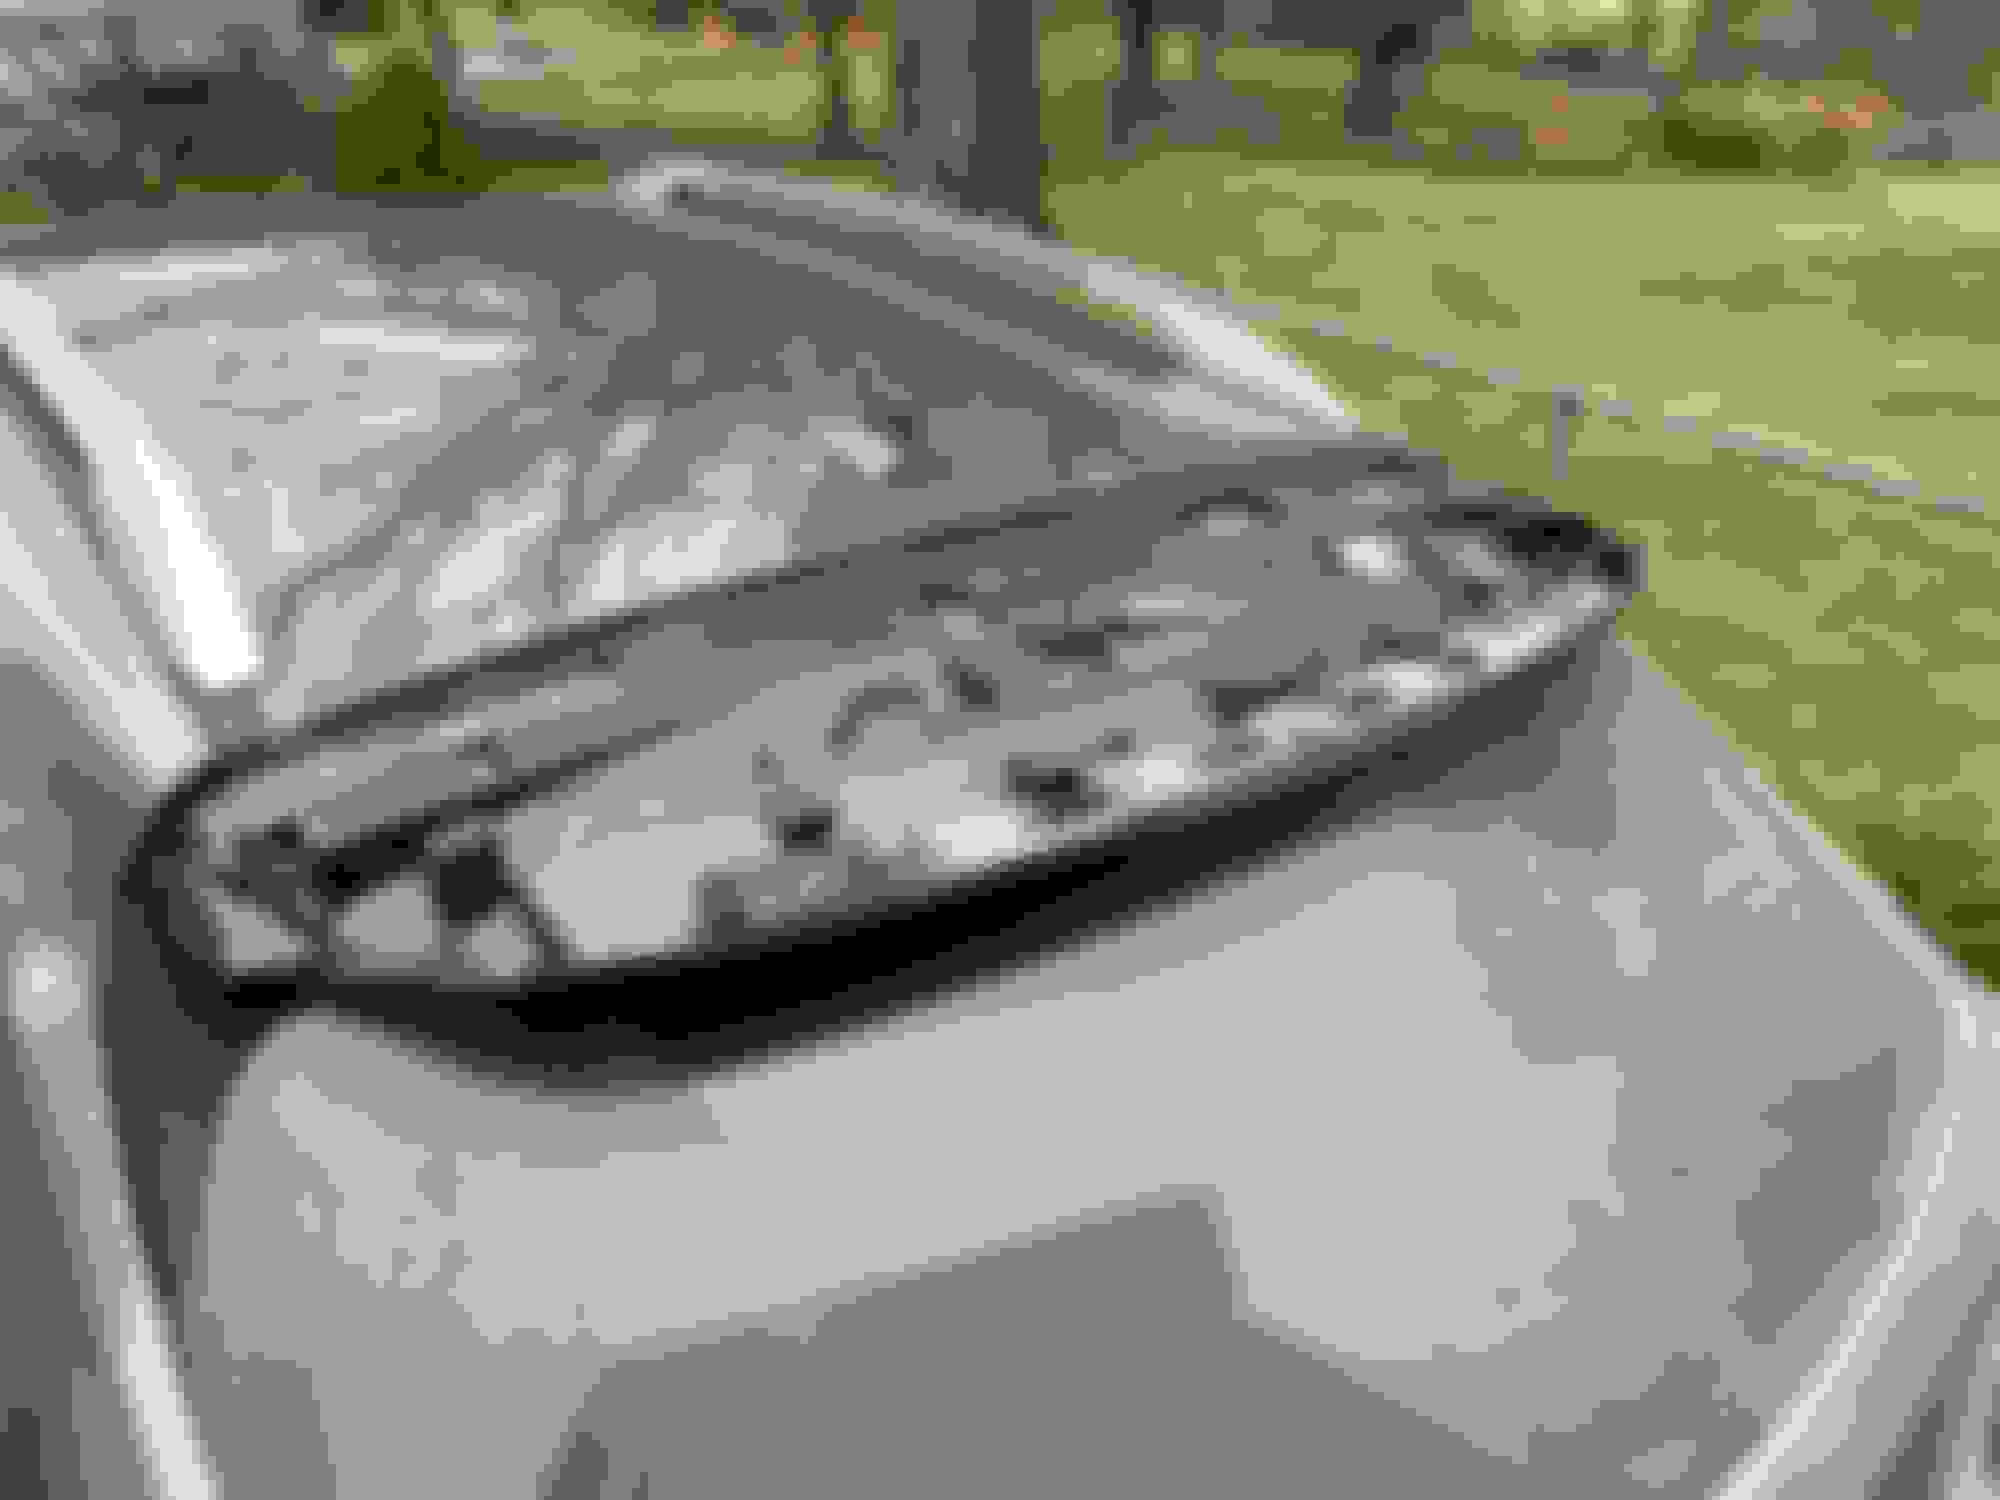
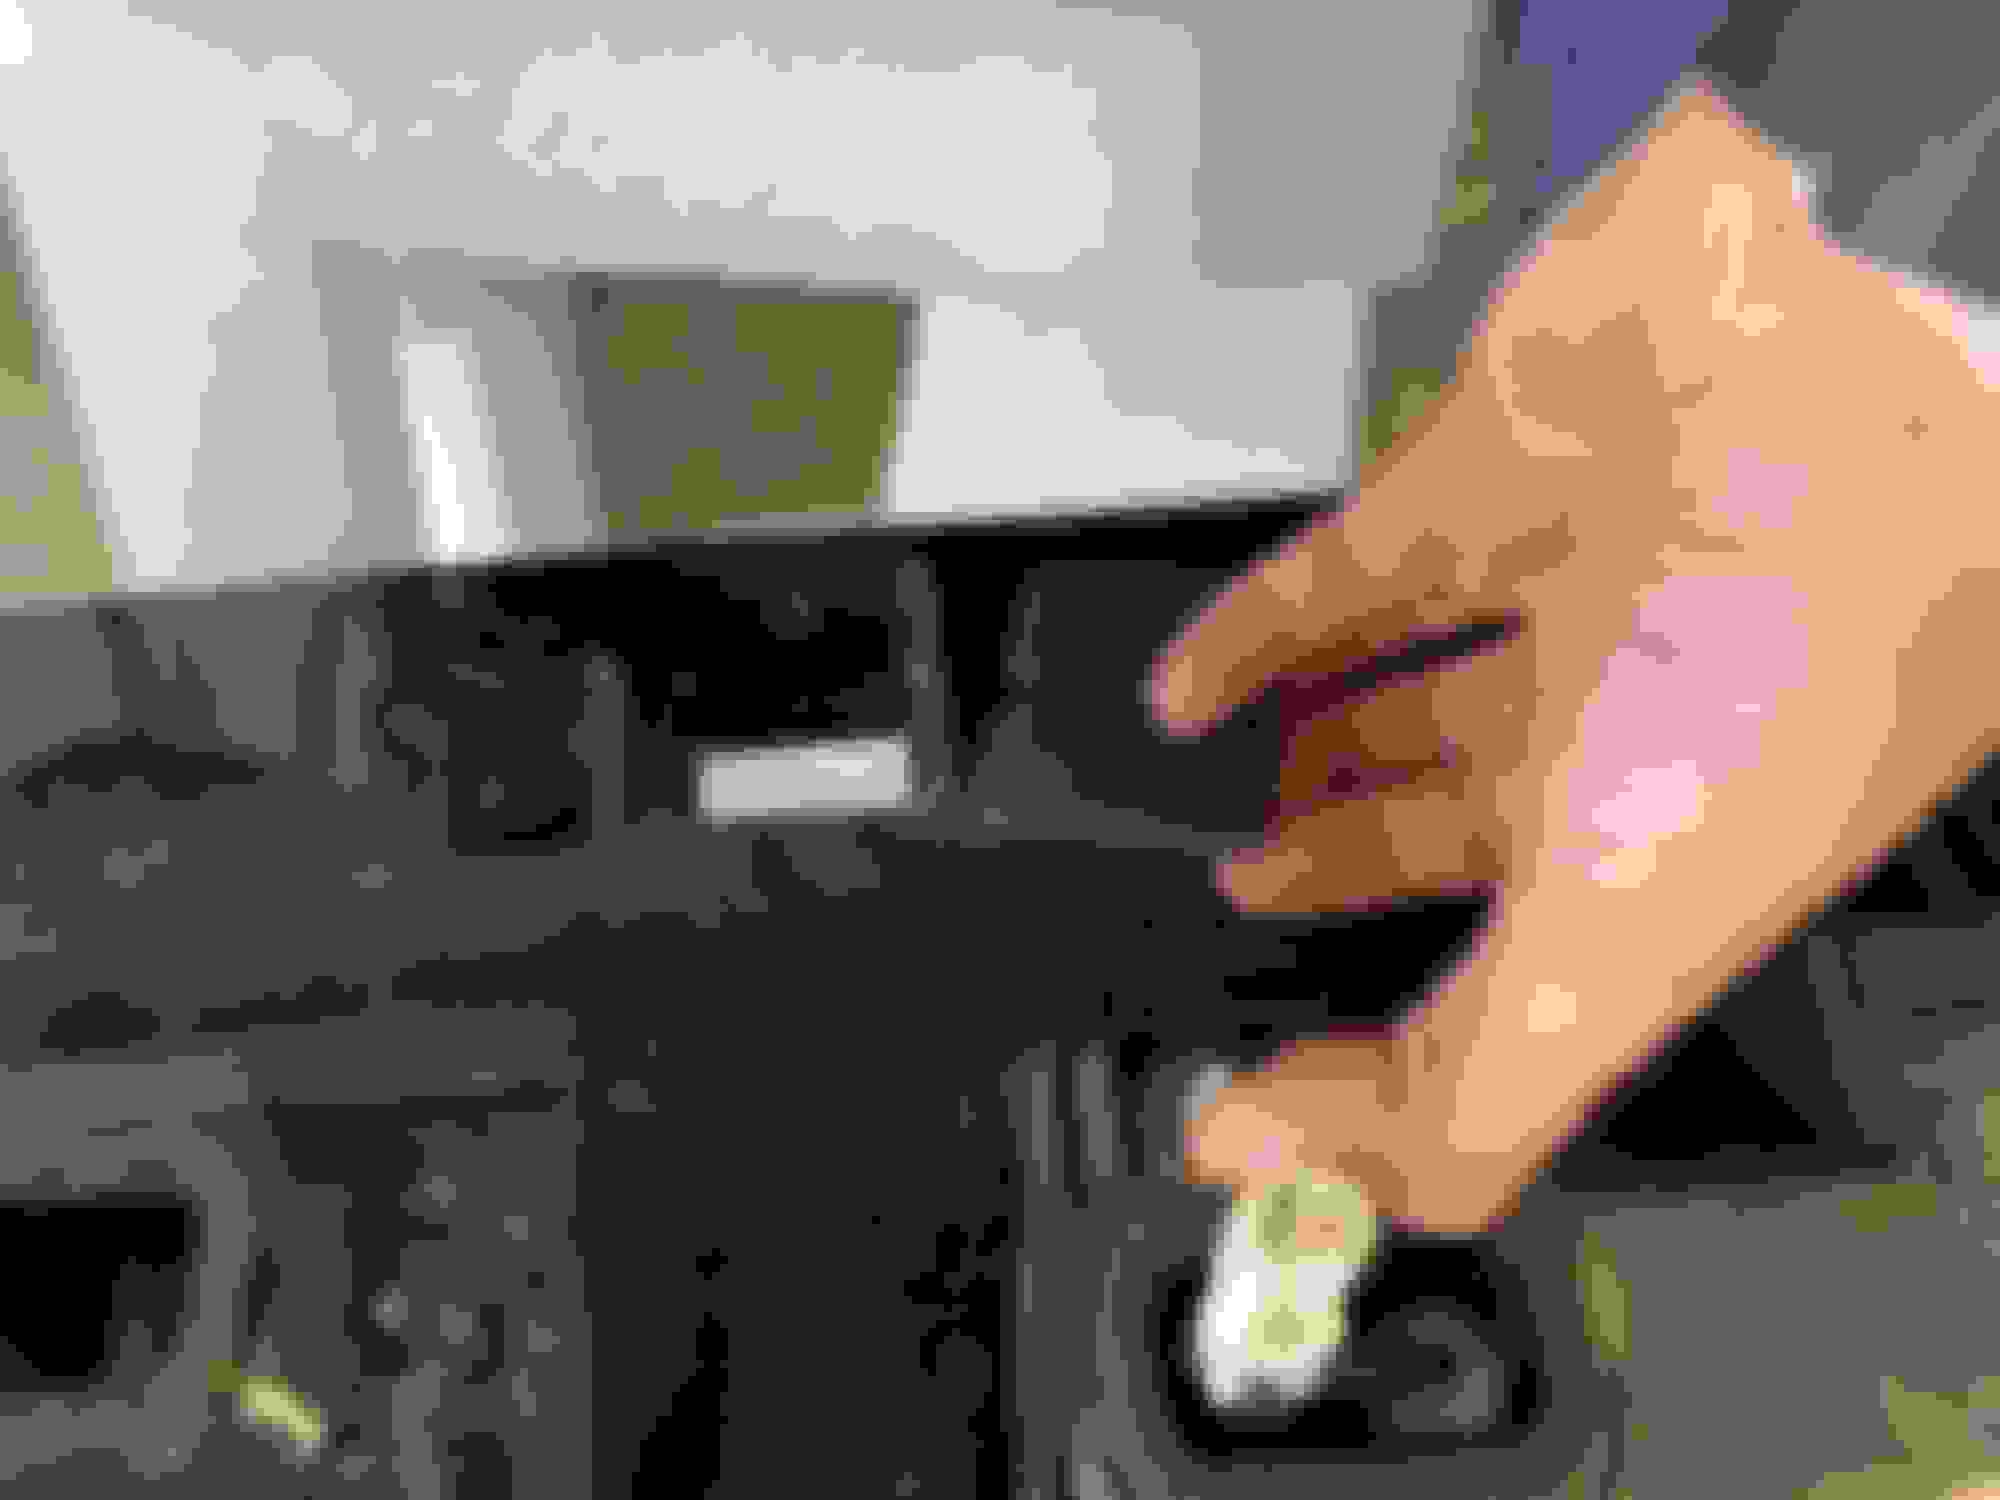
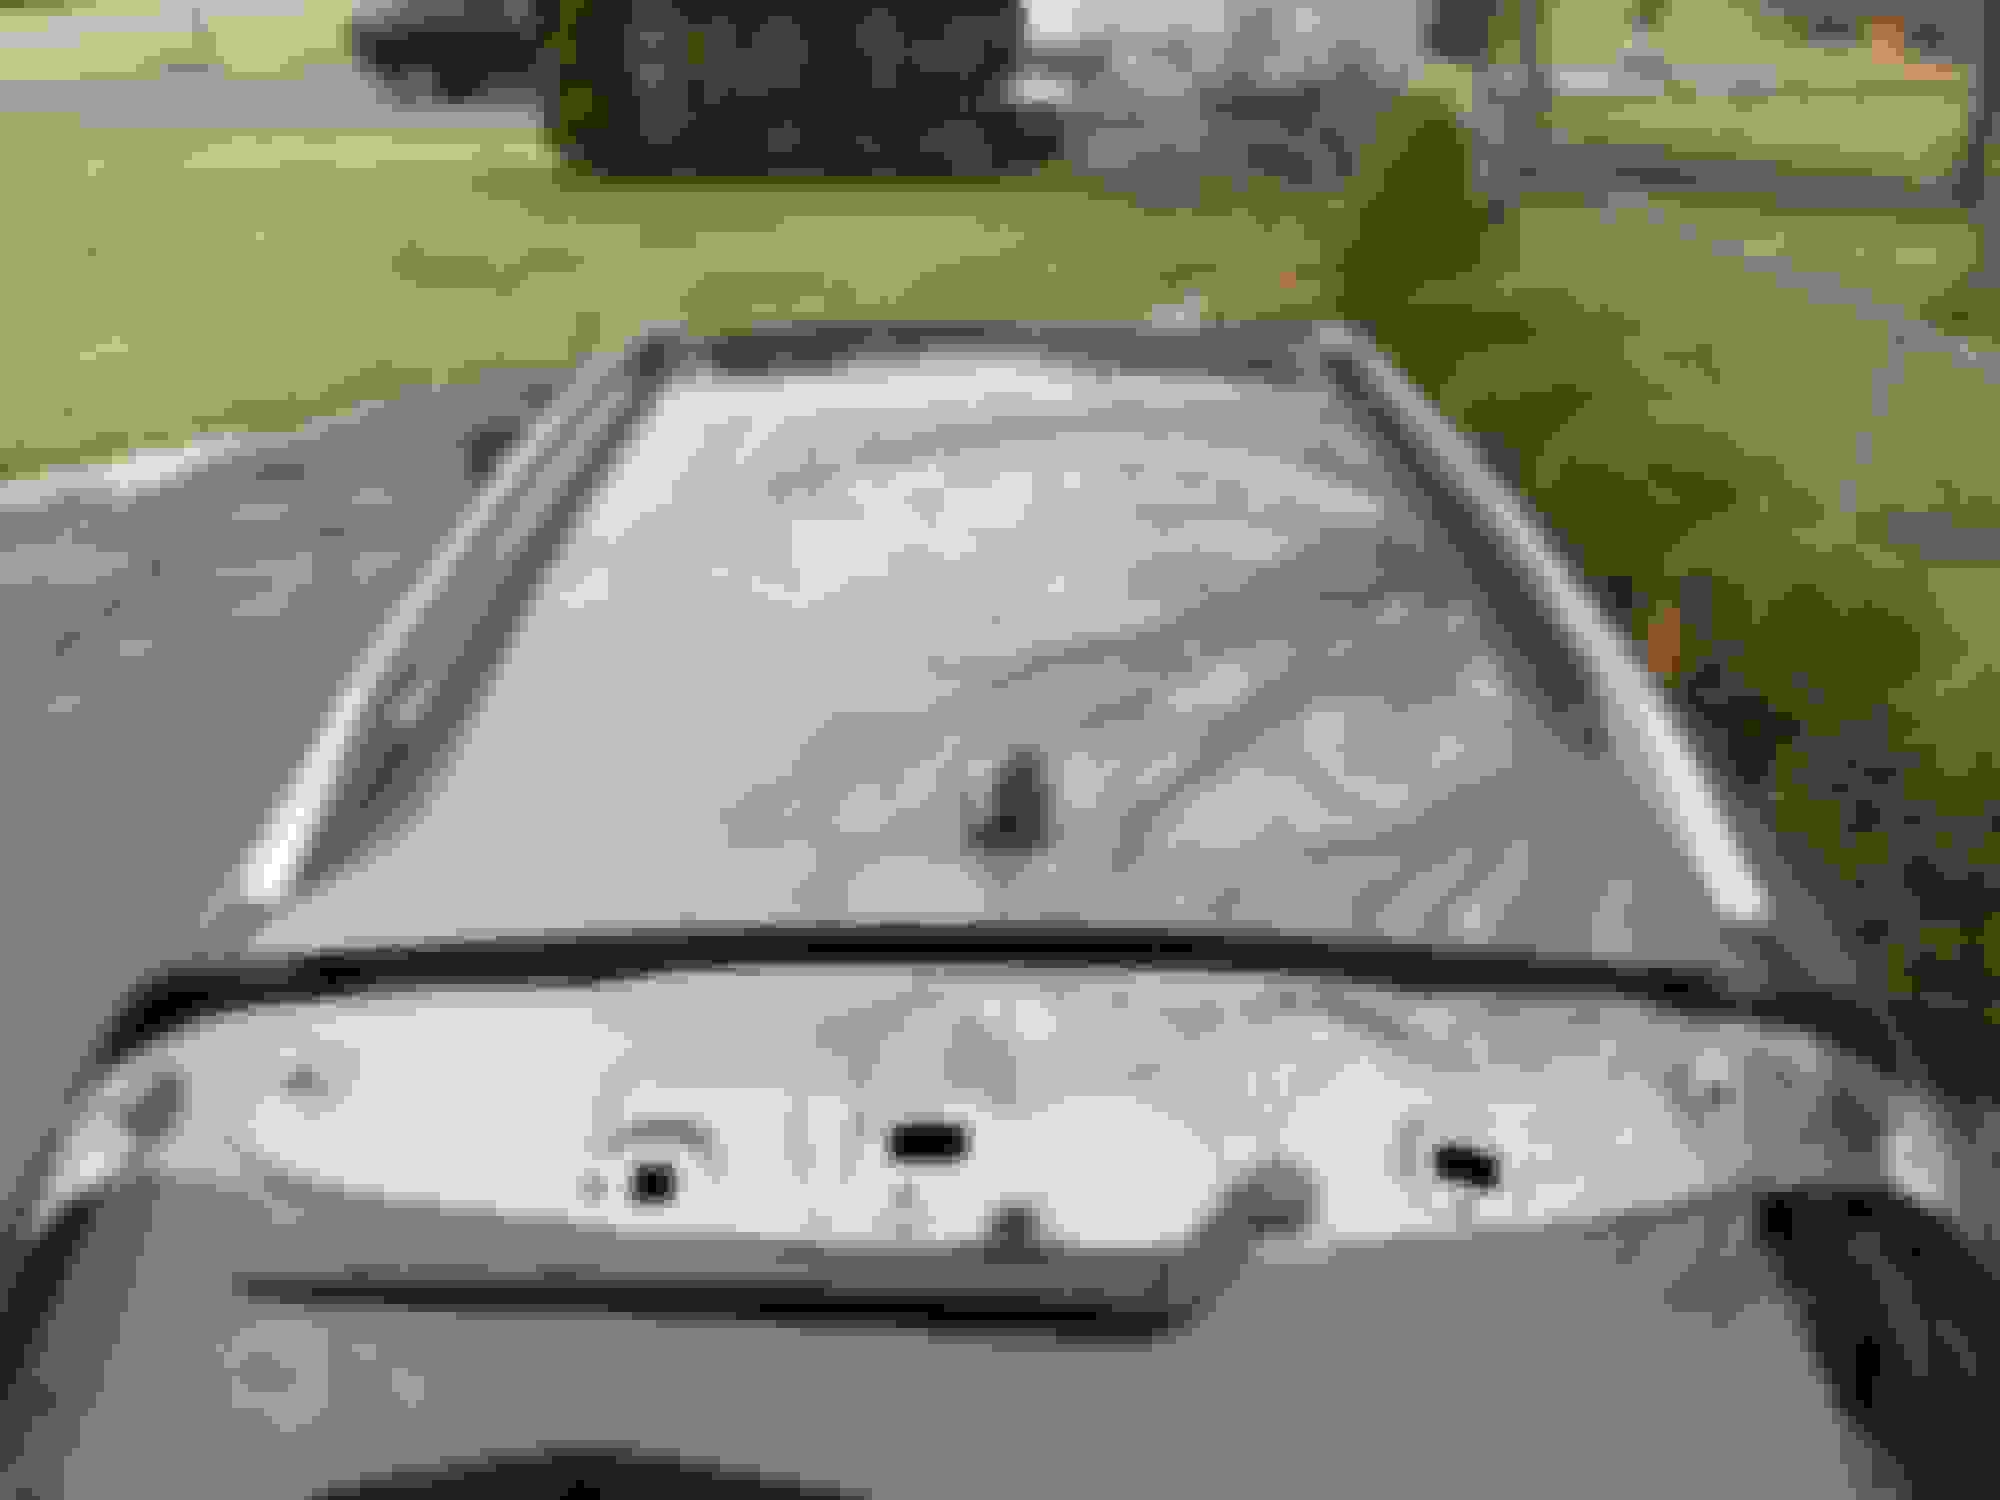
Start by opening the hatch and removing the trim from the top of the rear glass. It's held in with clips and may require a little effort. Work with both hands a section at a time.
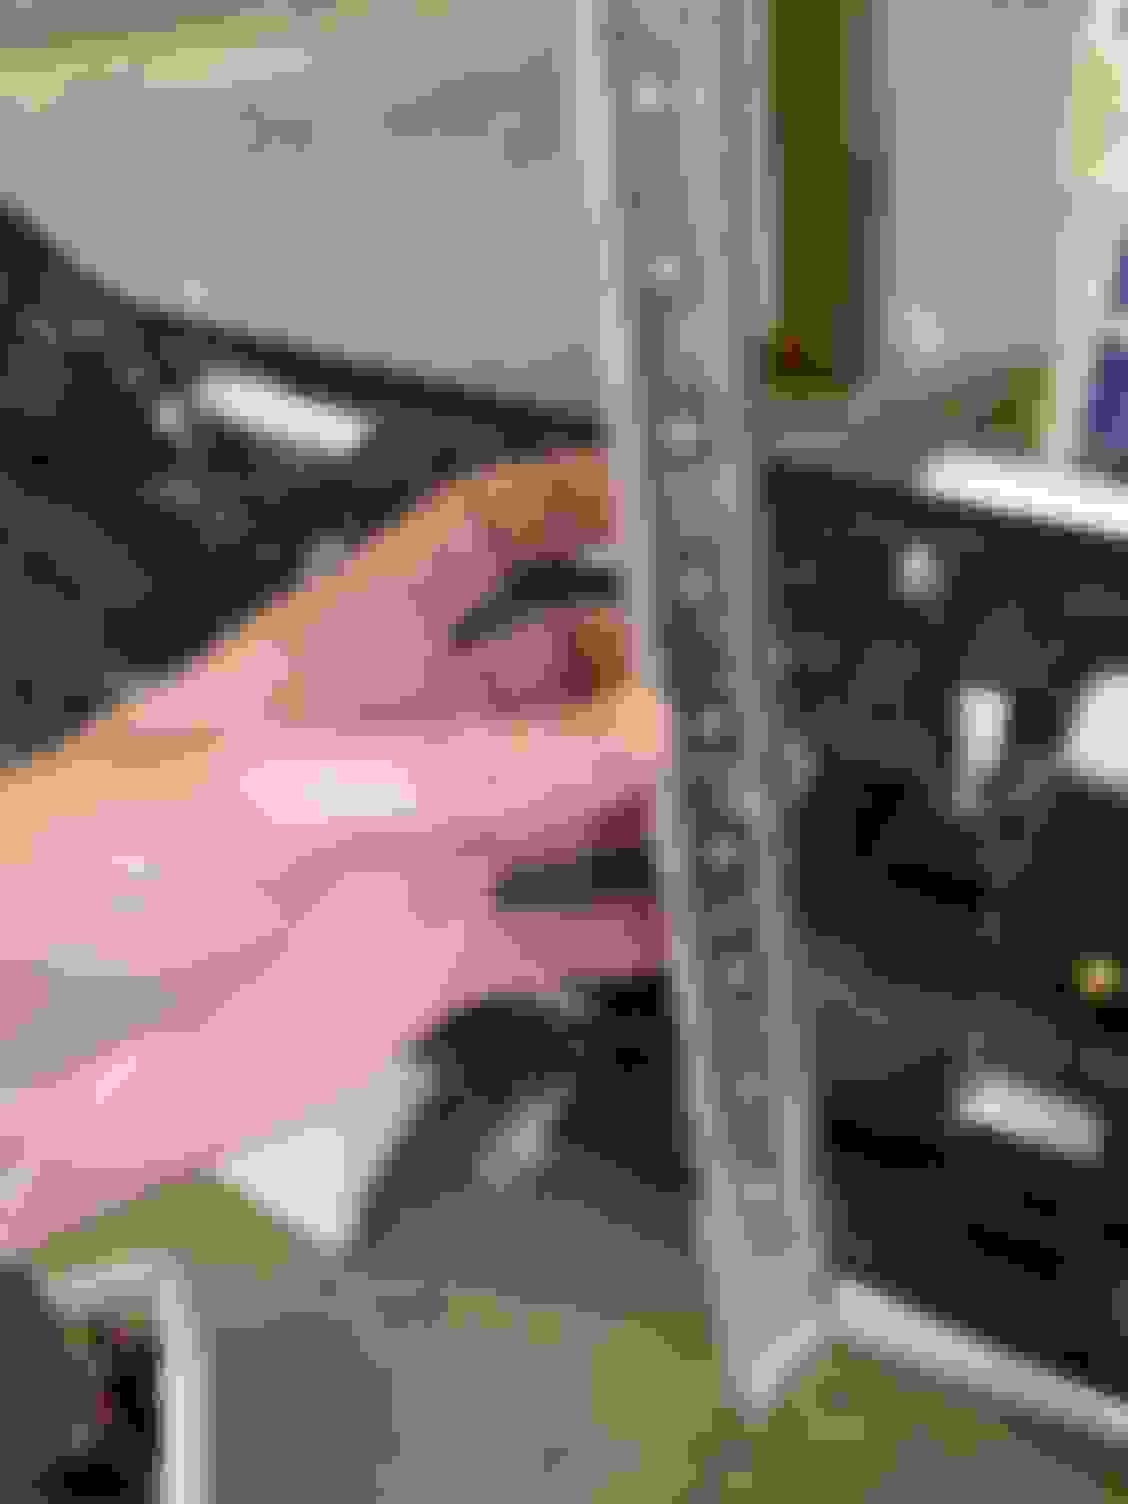
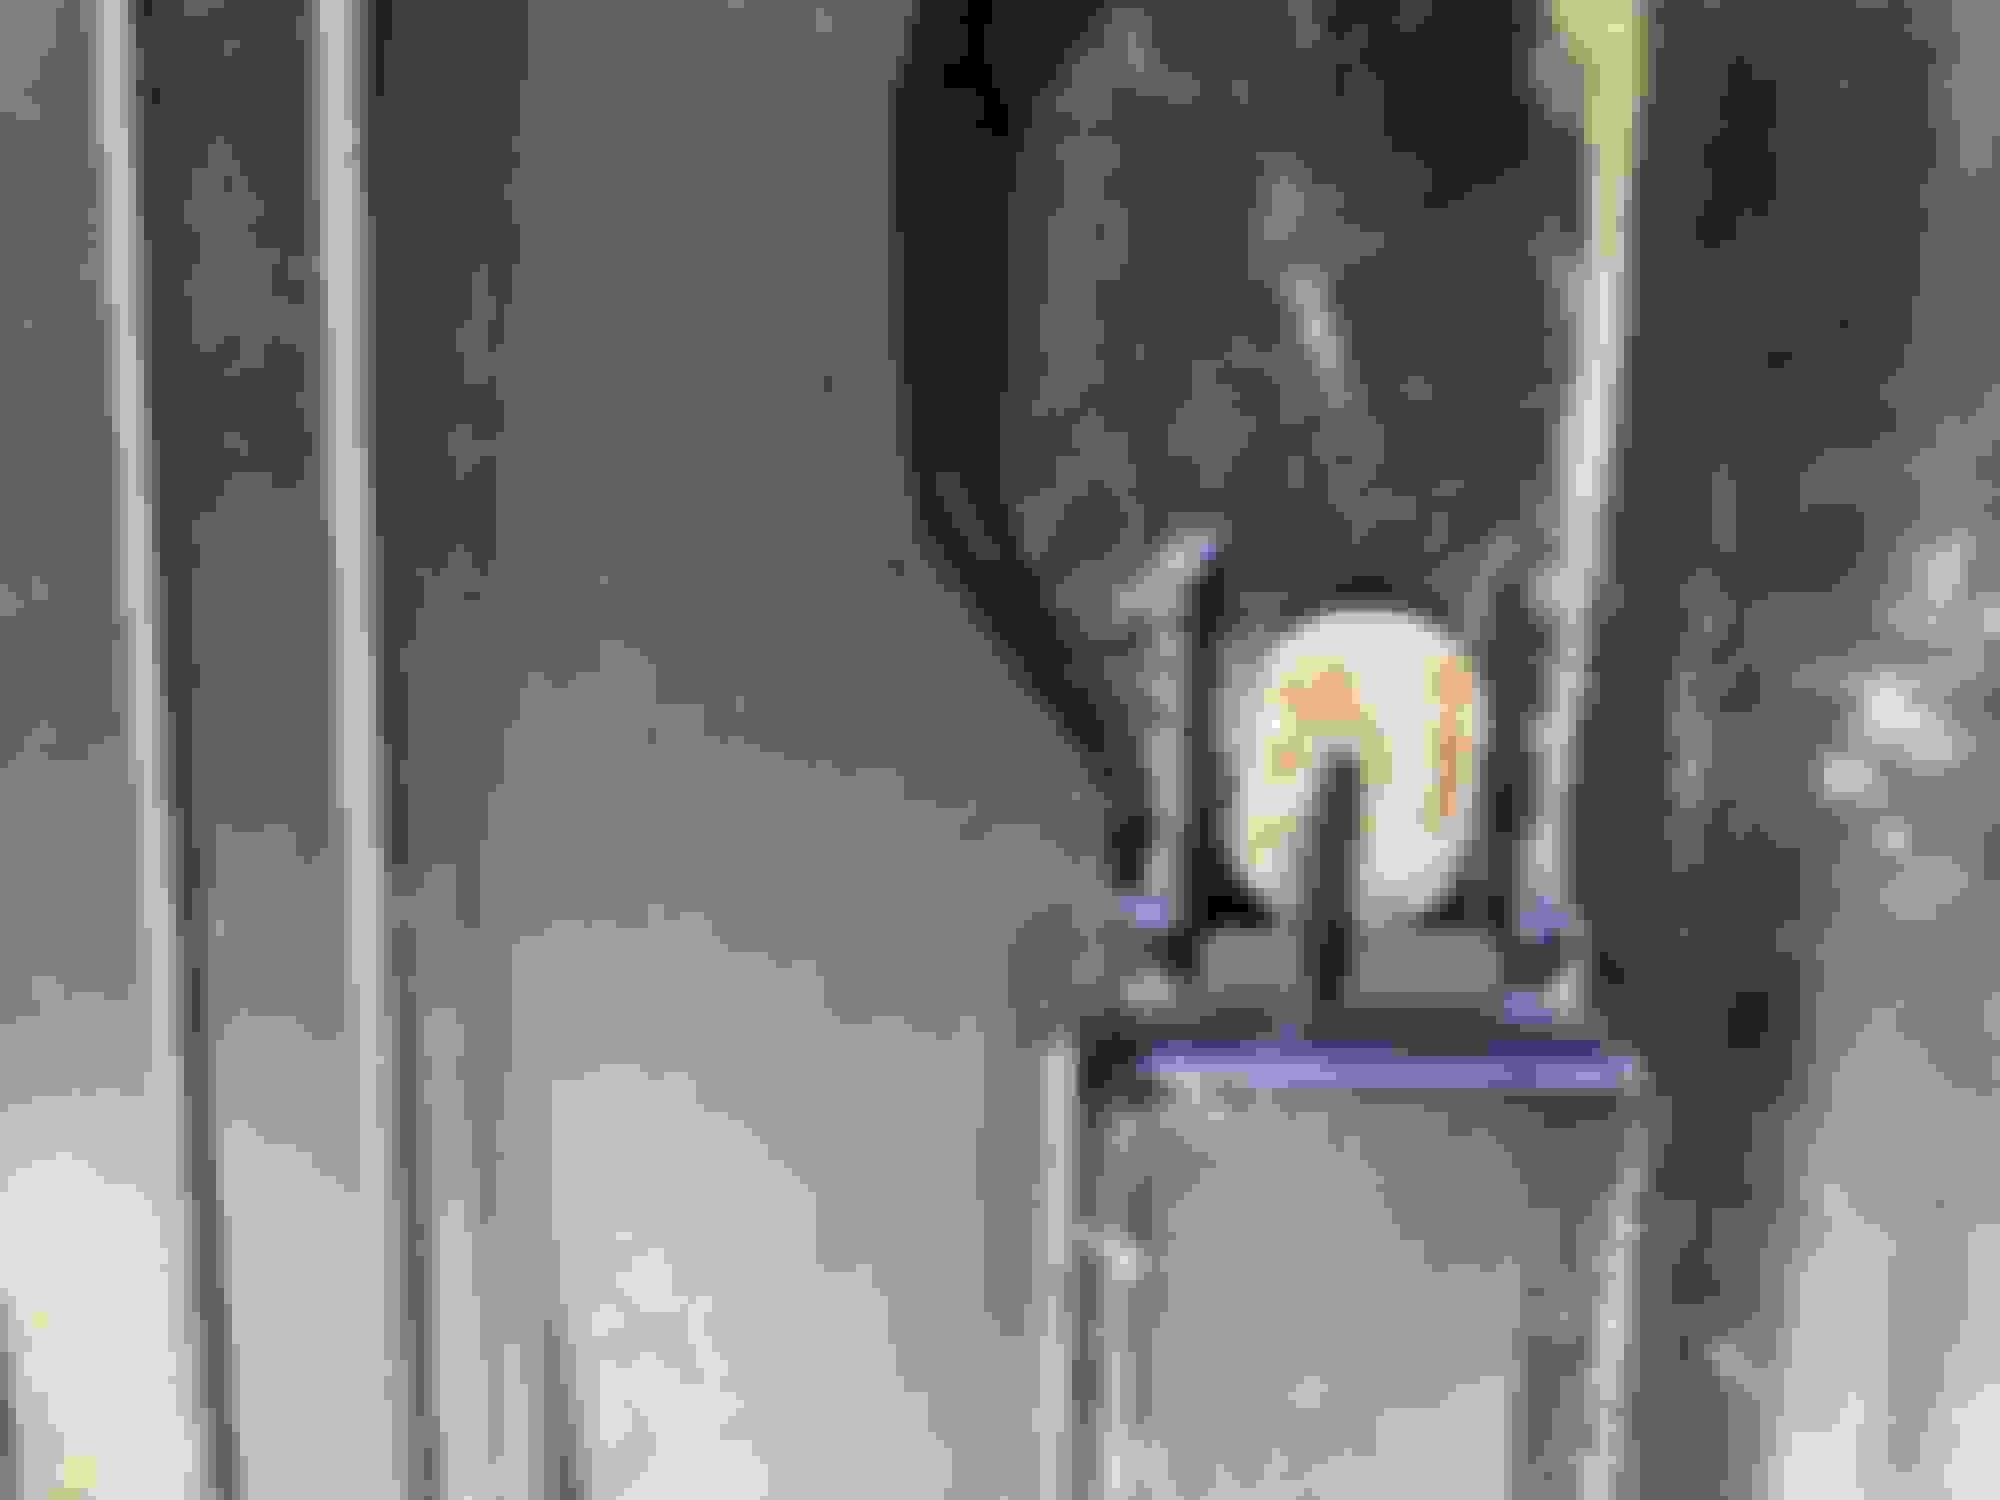
Once that's removed, you'll have access to three nuts holding the spoiler on; there are five in total. The next two are under the black grommets. Simply remove those grommets to access the nuts; one on each side of the hatch.
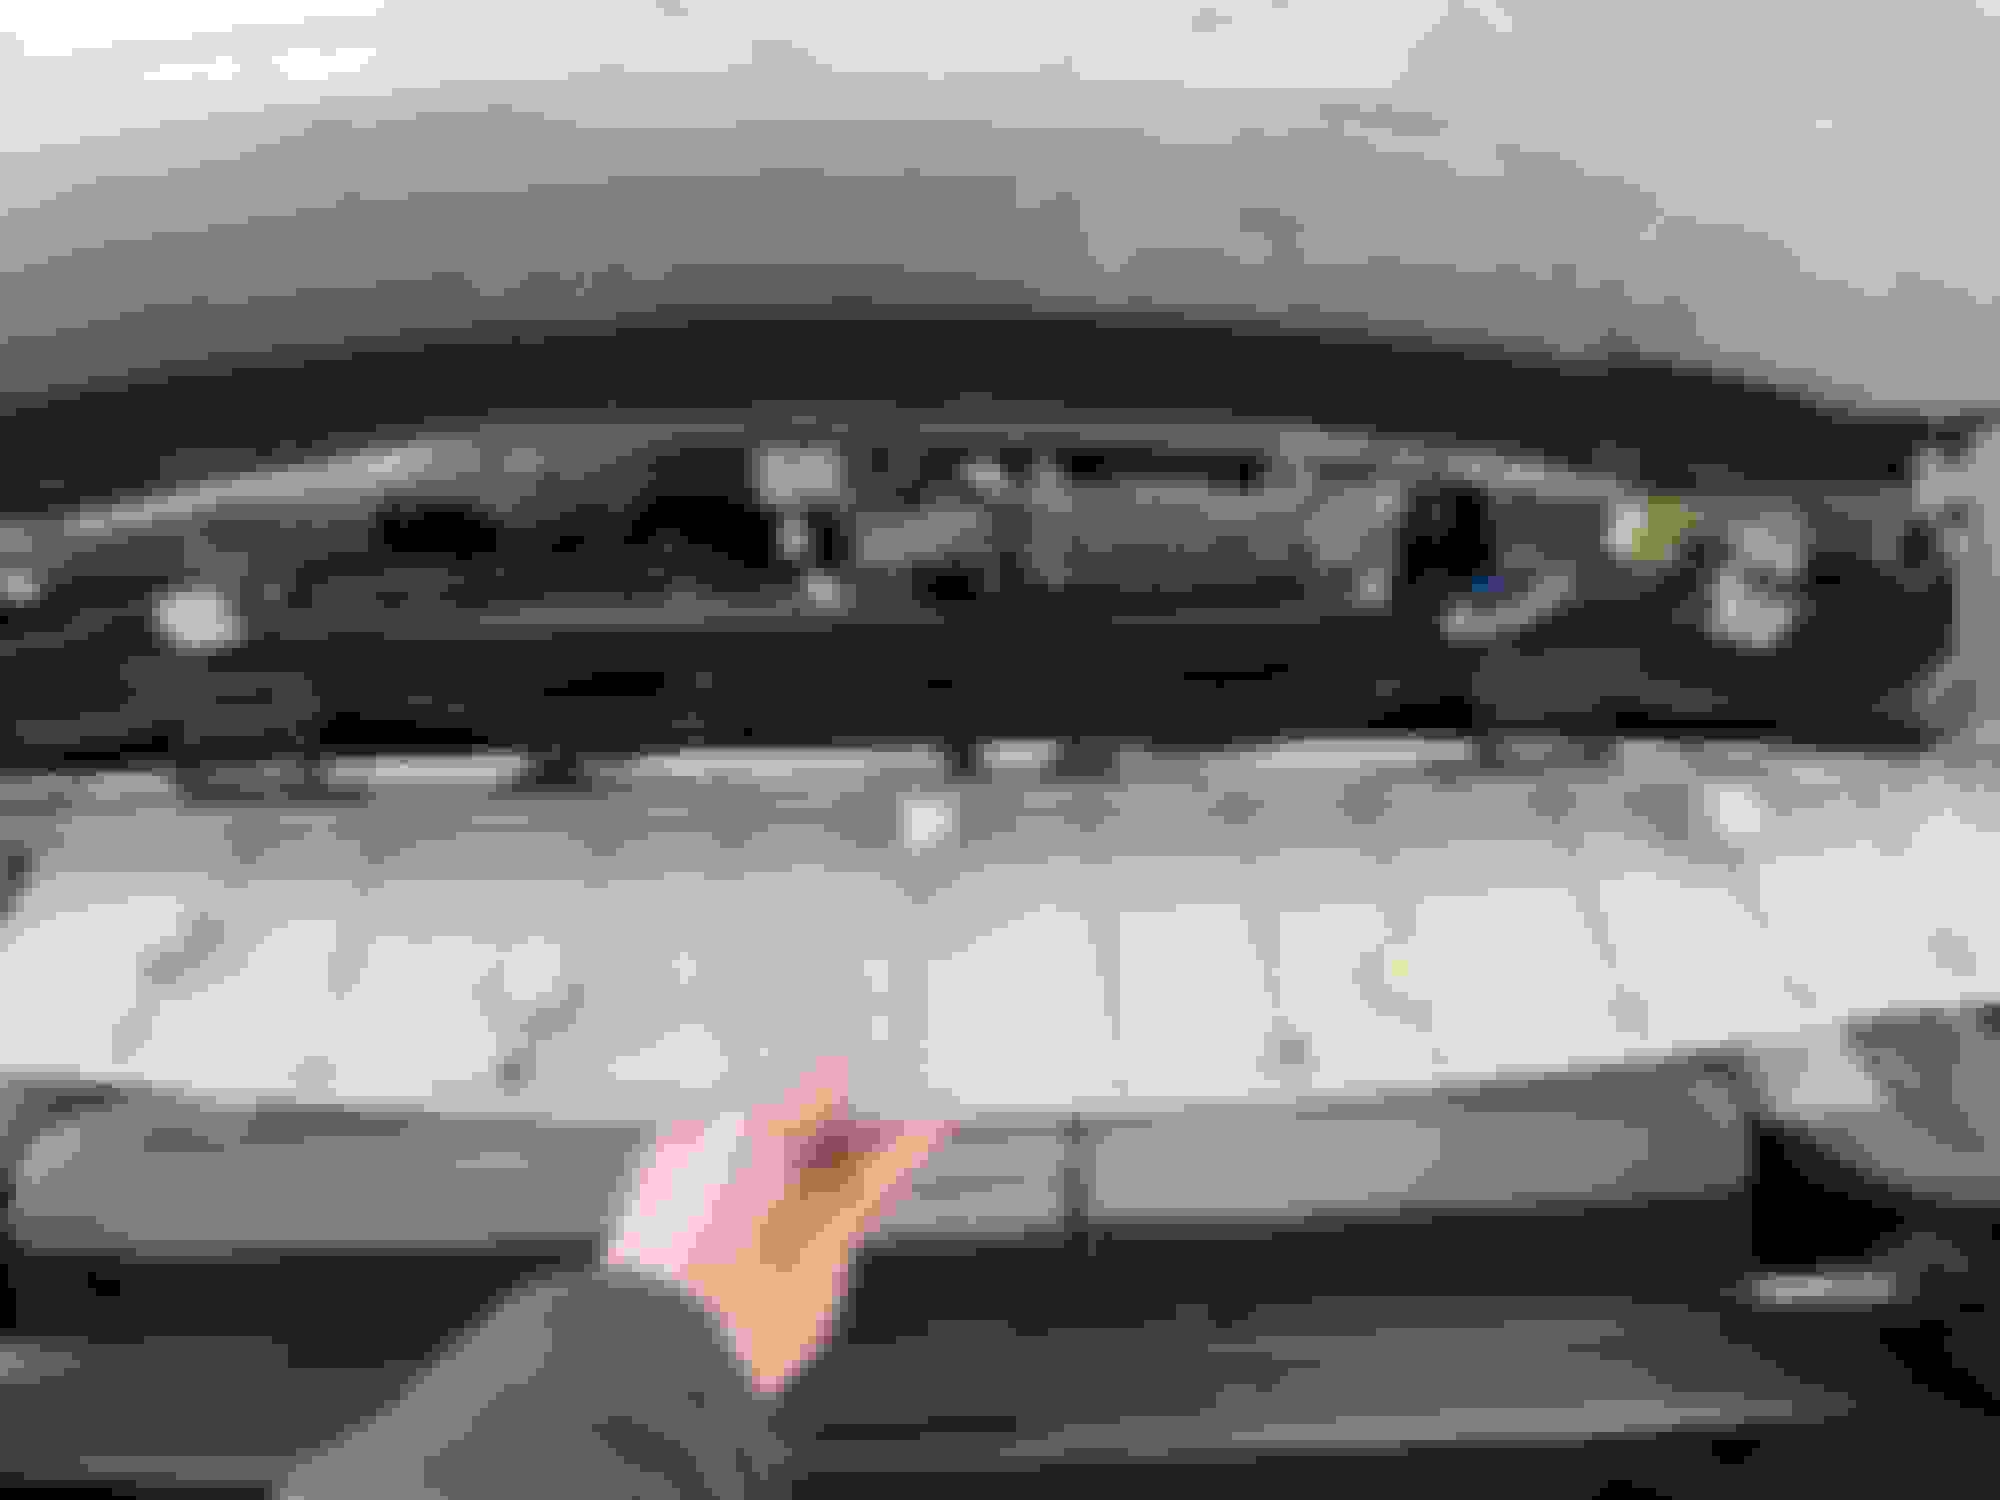
You'll also want to disconnect the two electrical connections before removing the spoiler. I believe one is for the wiper, the other for the third brake light.
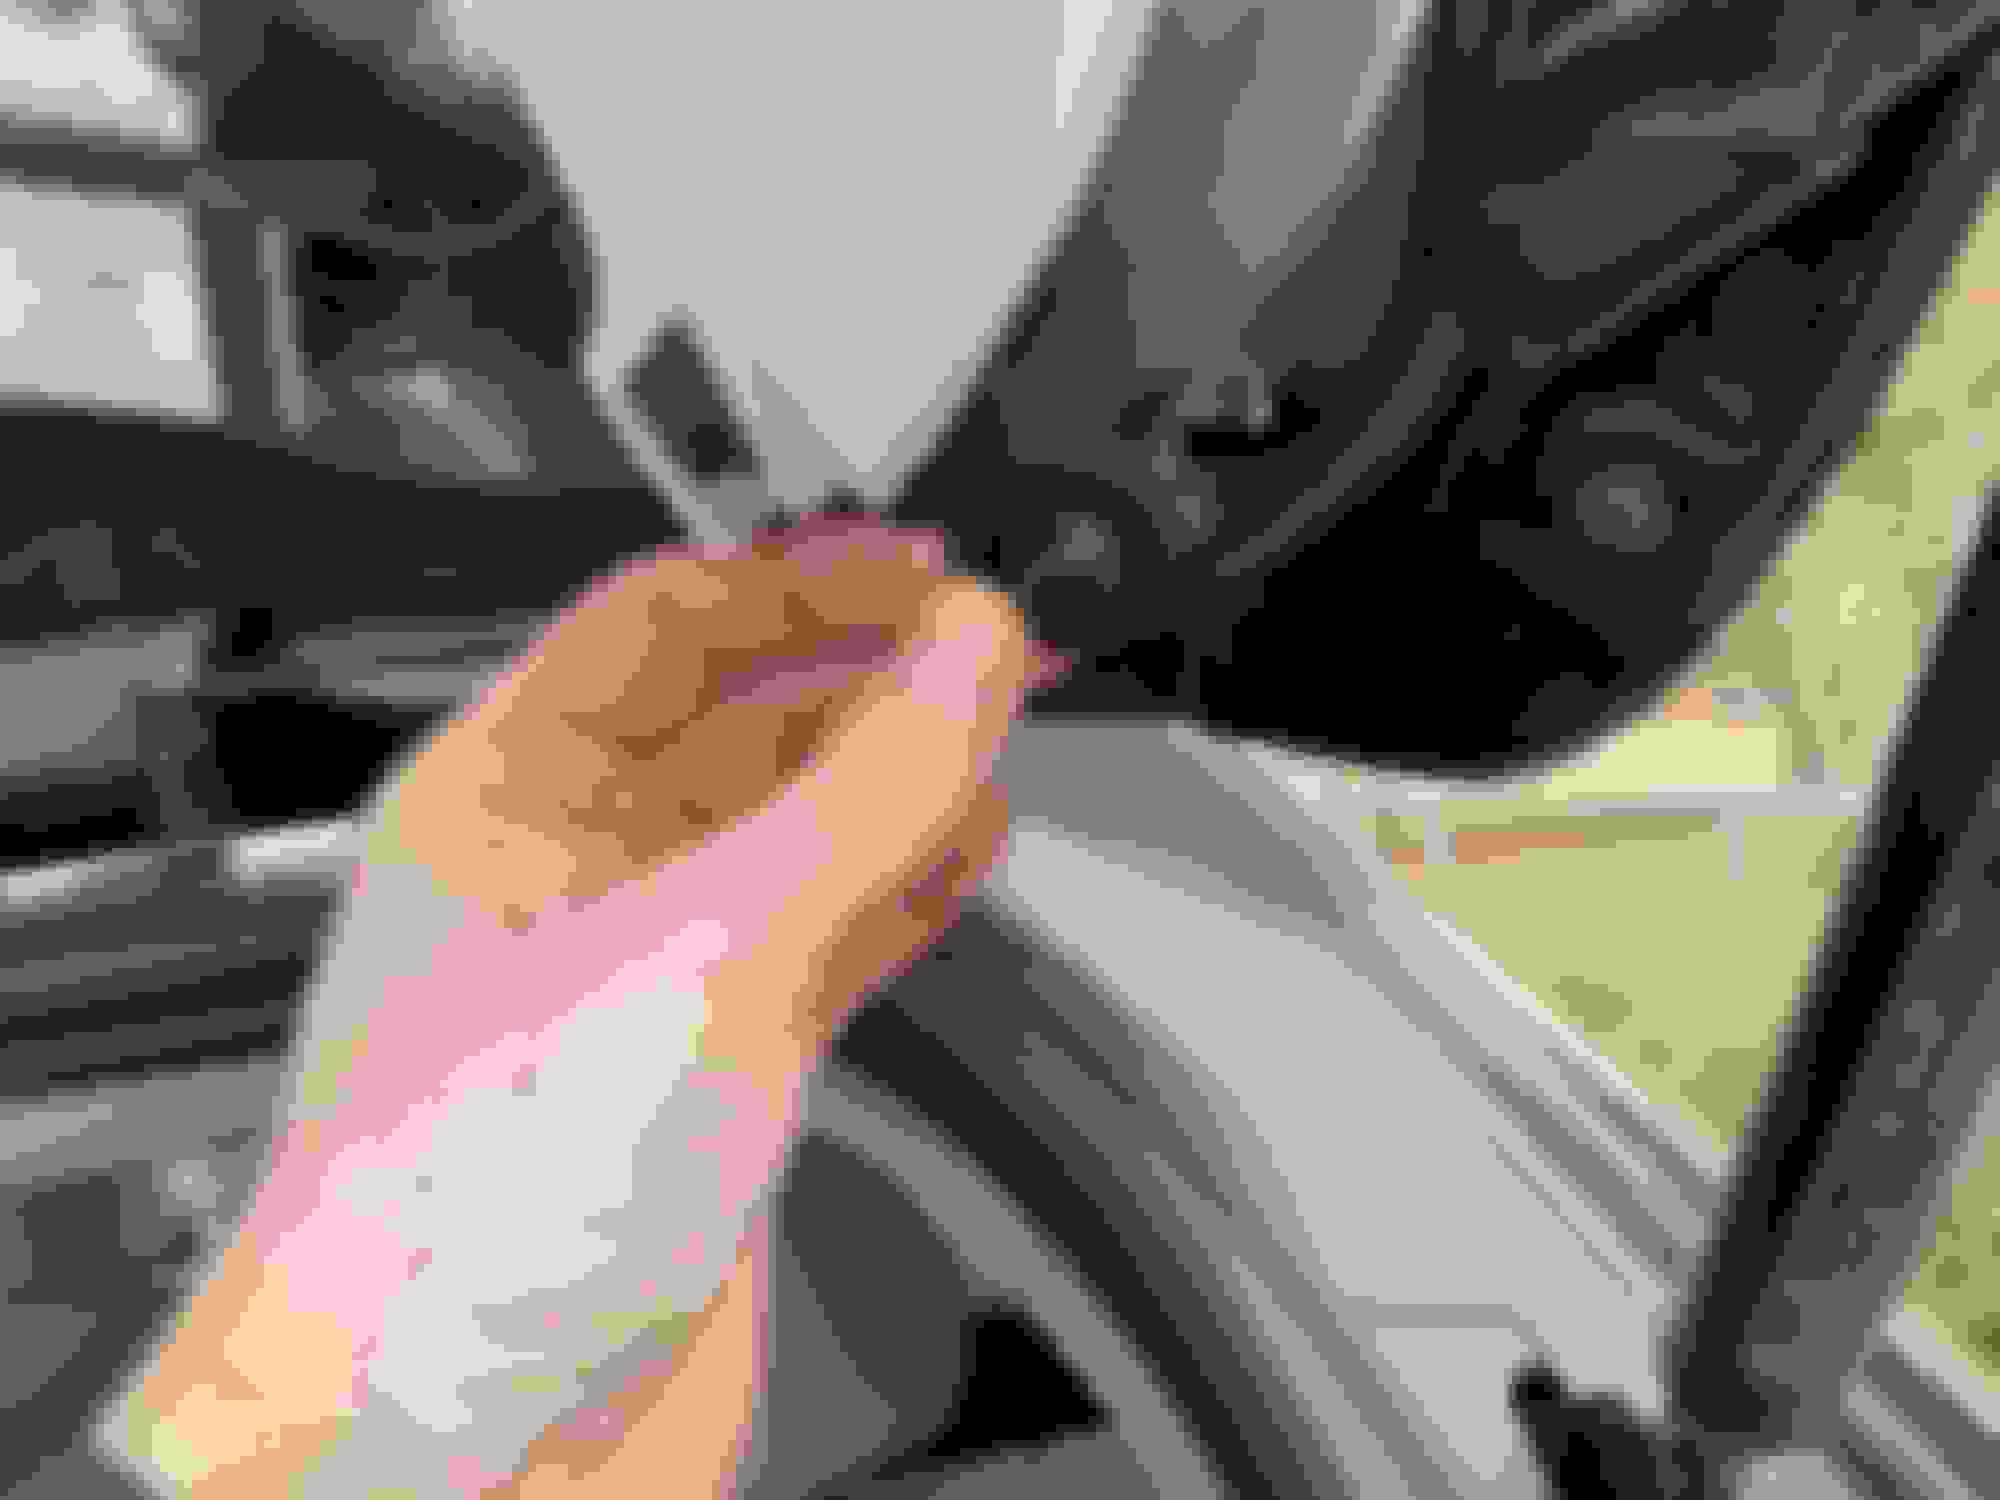
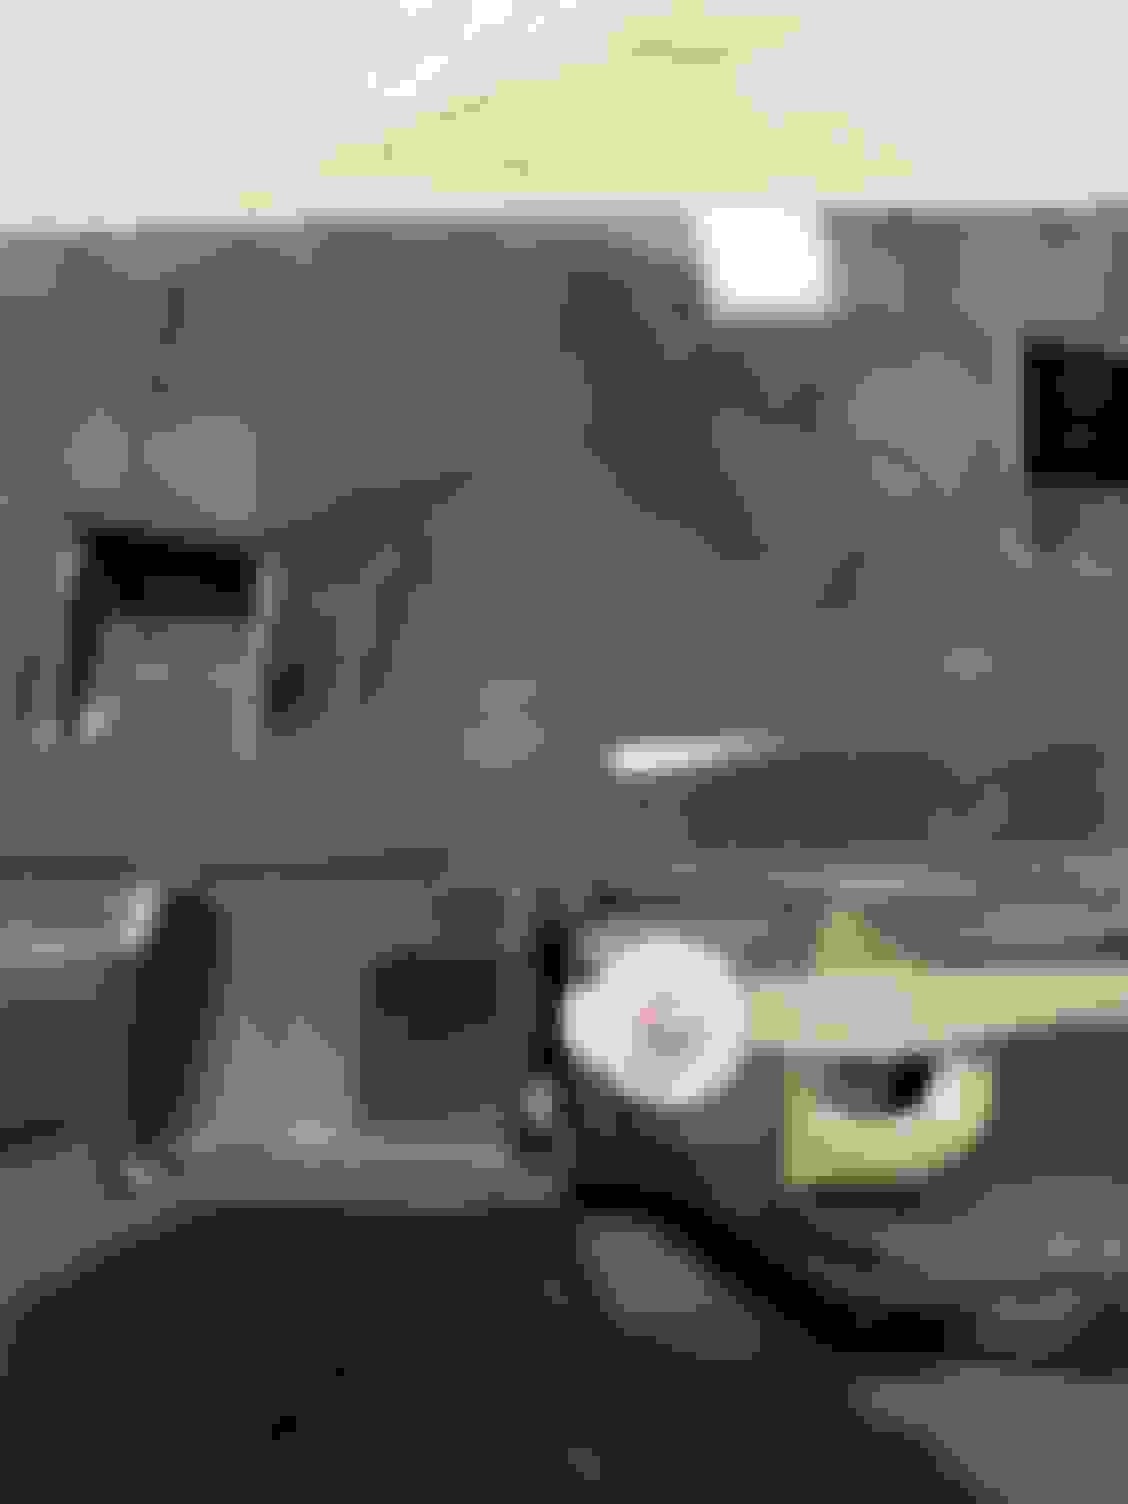
Remove the 5 nuts with I believe a 10mm socket. Once those are removed, you'll have to use a little effort to get the spoiler off of the hatch. It's still held in with a few clips. The first time I removed this. I used the 10mm socket and gently pushed up on one of the bolts(on the passenger side). That caused one of the clips to disengage. I was then able to lift the spoiler from the passenger side and the other clips released.
Upper trim removed. You can see the clips that hold it in place. Remove these grommets(one on each side) to access the last two nuts. Removed!
Last edited by Skier76; 01-01-20 at 11:28 AM.
Reason: Added wiring info.
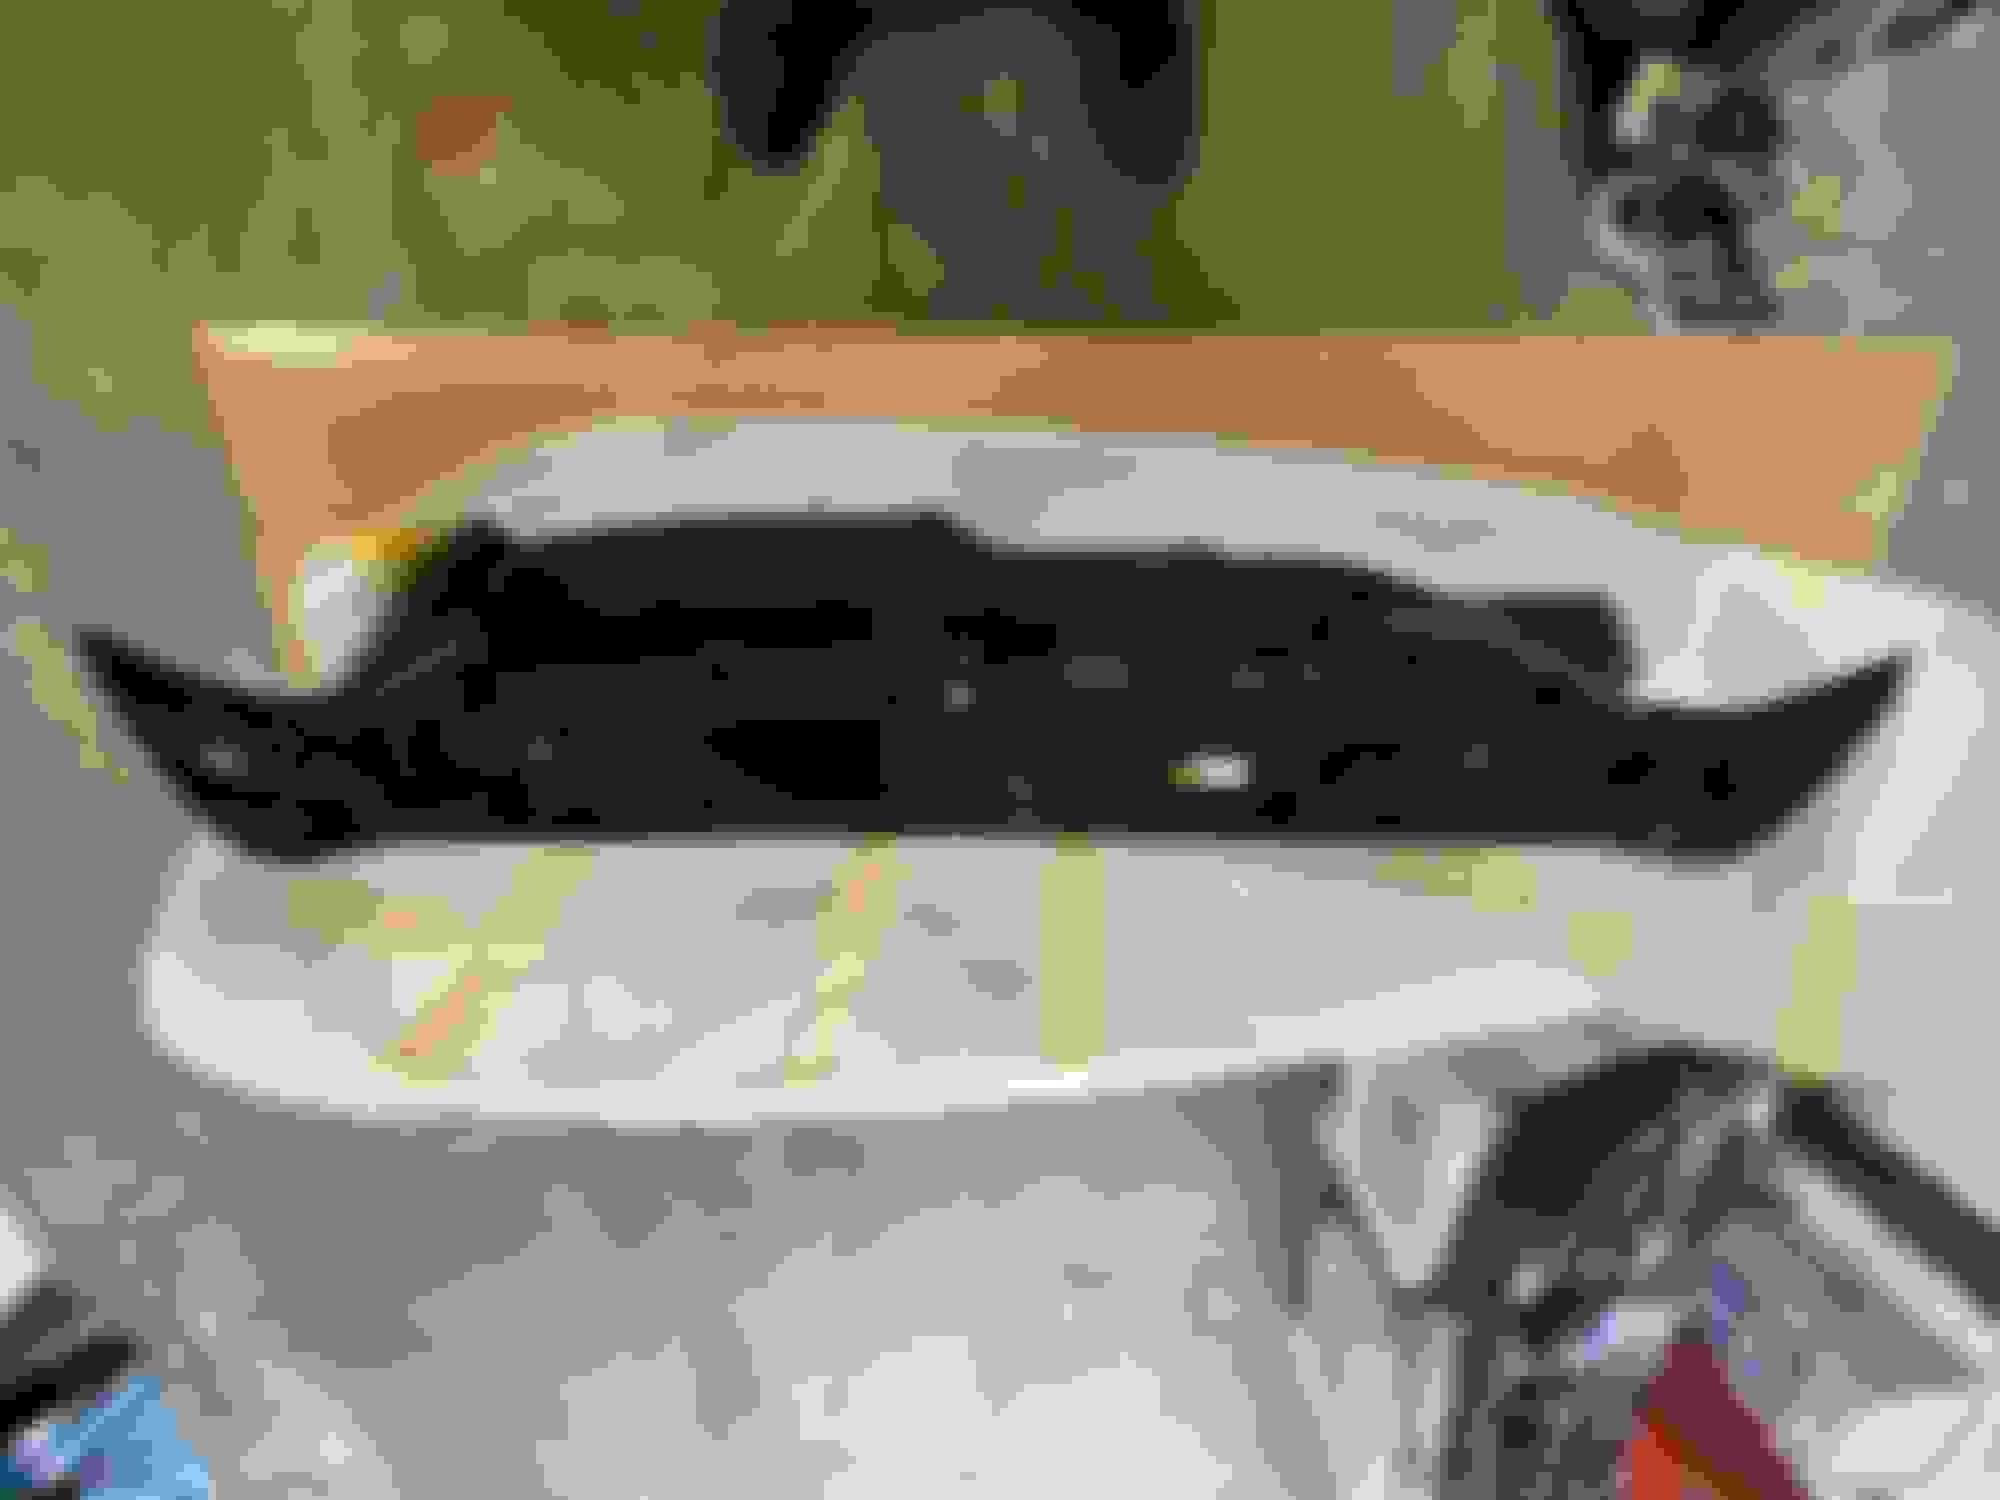
I'm posting a pic of the underside of the new unit so you can see how things look and will line up with the holes in the hatch.
Despite the cost of this thing, you'll still have to swap over your third brake light. It's a fairly straight forward procedure and just takes a few minutes.
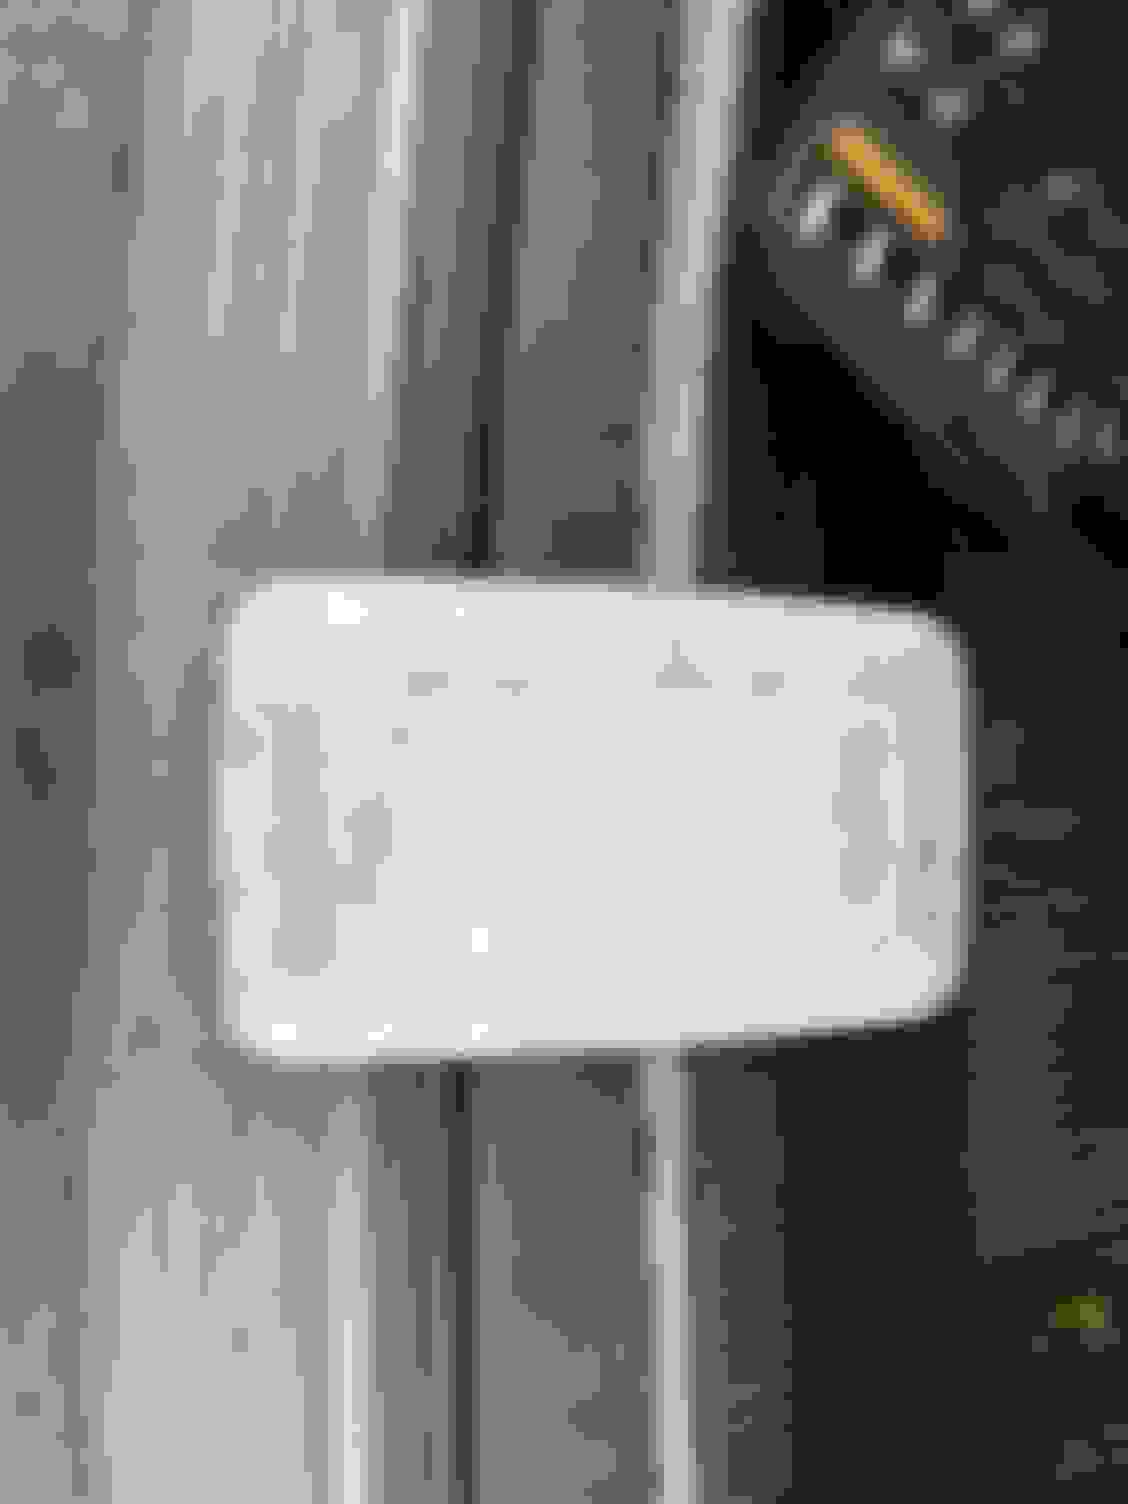
Pop off the two covers using a flat blade screw driver. You'll then have access to the two screws that mount the light to the unit. Unscrew those to remove the light. You'll then want to undo the wiring connector that connects the light to the spoiler. This took a bit of pressure to release. Installation on the new unit: Slide it in place, put in the screws, clip it in.
I posted a pic of the light itself because LEDs are pretty neat and it's cool how you can have a clear housing that emits red light.
Underside of the new spoiler. Accessing the mounting screws. Wiring clip for the light. A look at the LED third brake light.
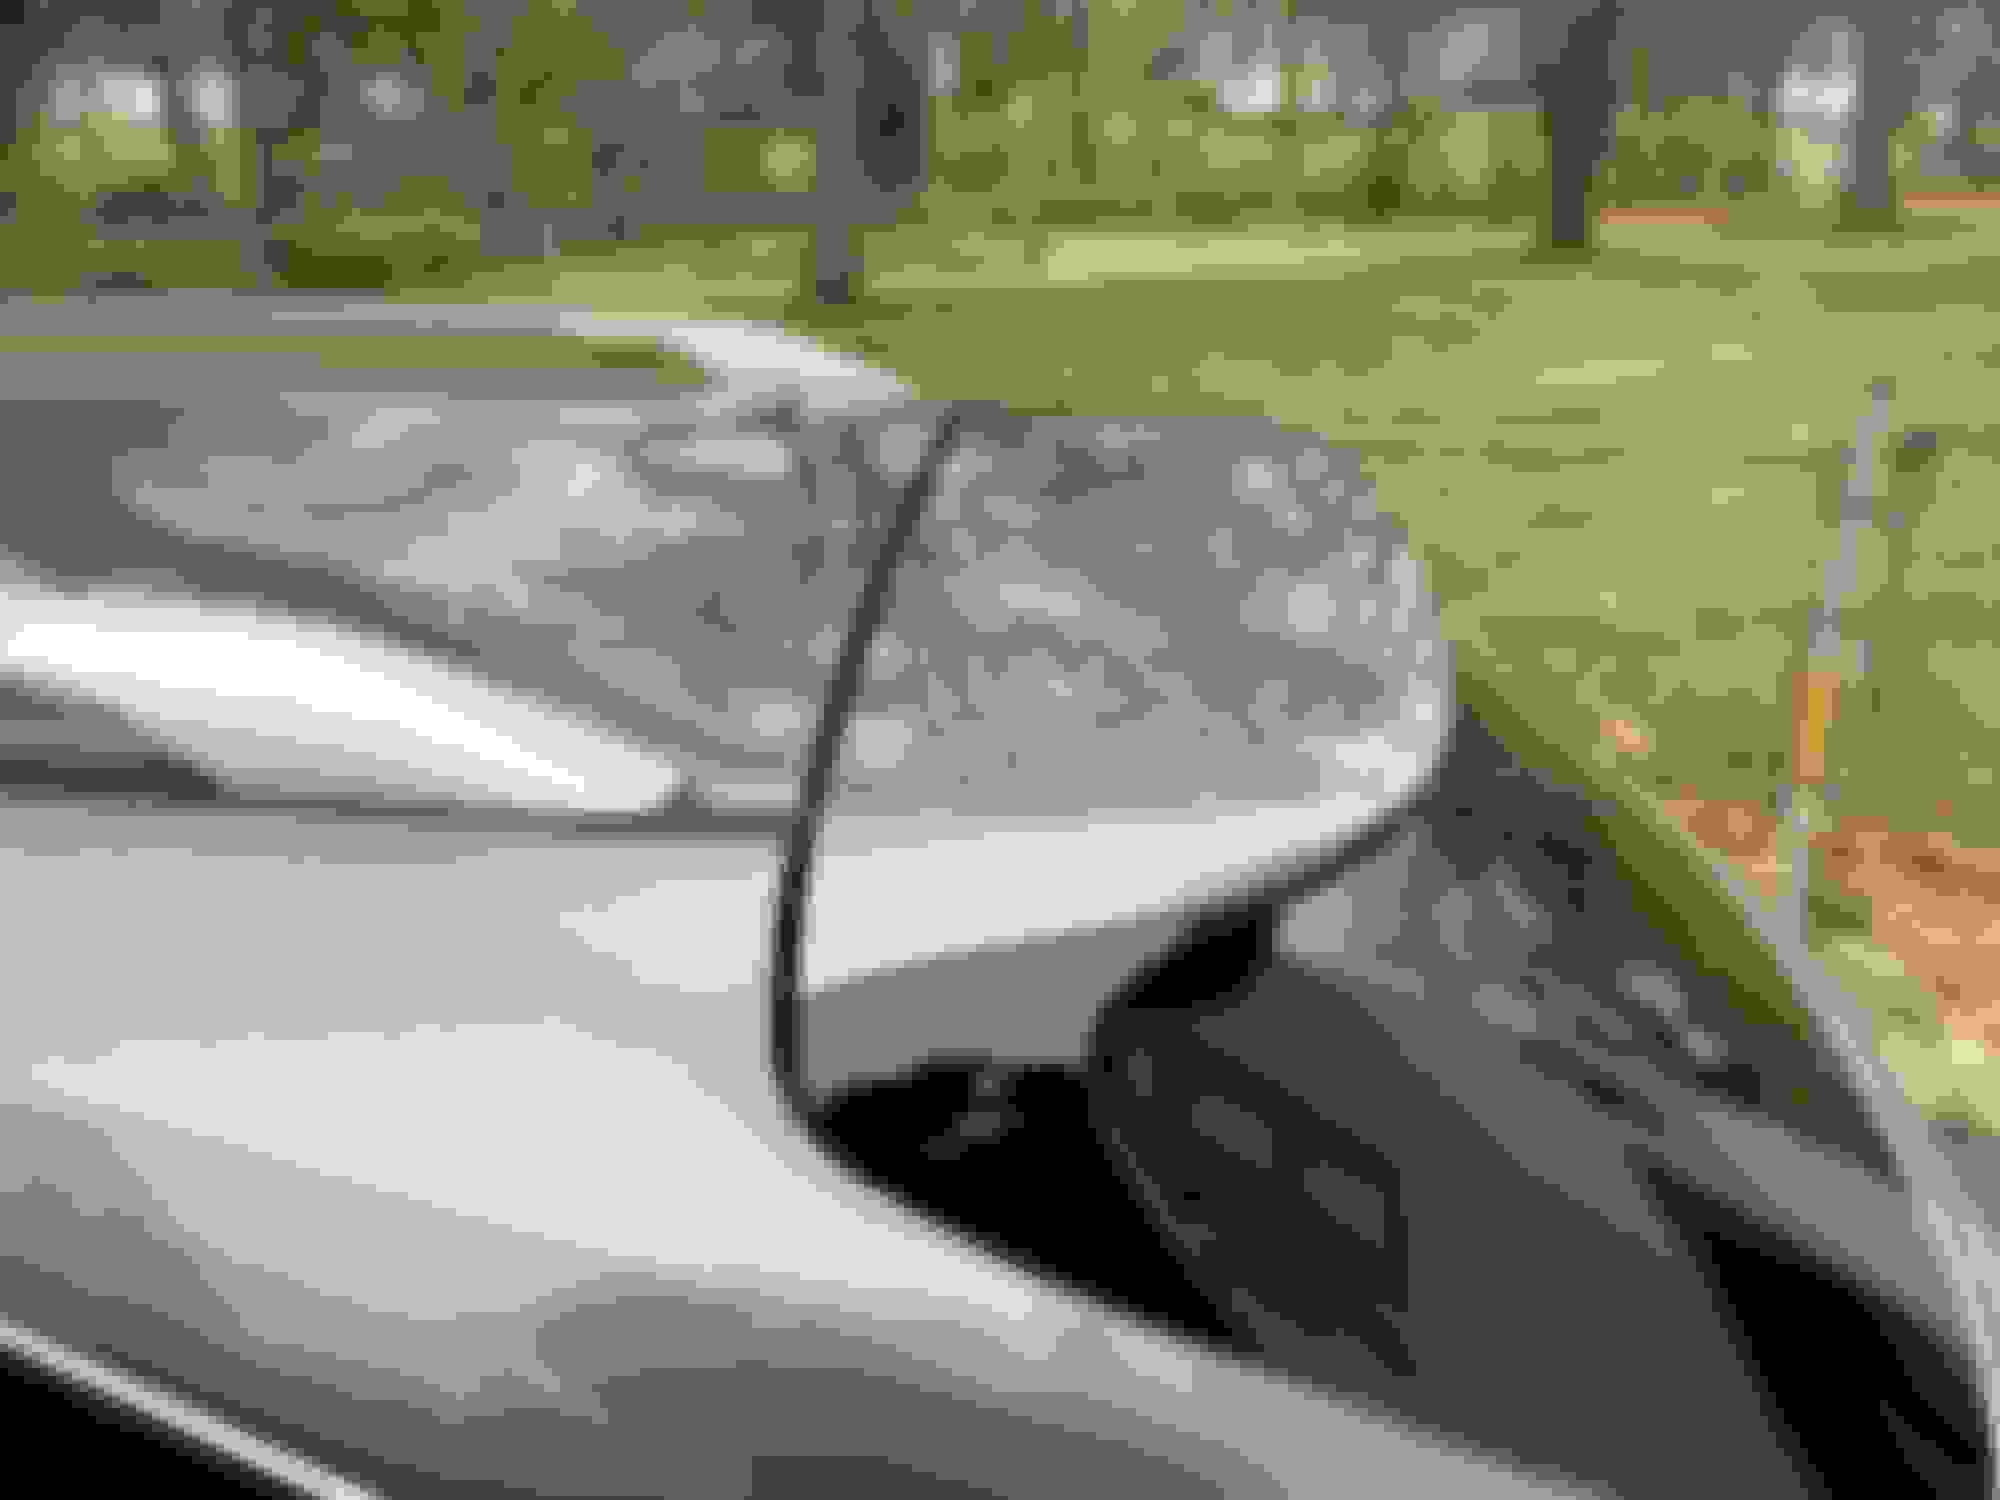
At this point, you're ready to drop in the new unit. I ran into a bit of a snag here. One of the bolts was not lining with with the holes in the hatch. Thankfully, I had the old unit near by and was able to measure. One bolt was off by about 1/4". Again, using the old unit, I was able to see how these bolts were mounted. As you can see, they're just held to the unit with a plastic clip. I was able to gently tap the bolt over using a screw driver and a mallet. Once I did that, the unit dropped right in.
How the bolts are mounted to the unit. This is on the old spoiler. Gently moving the mounting bolt so it will line up with the mounting hole on the vehicle.
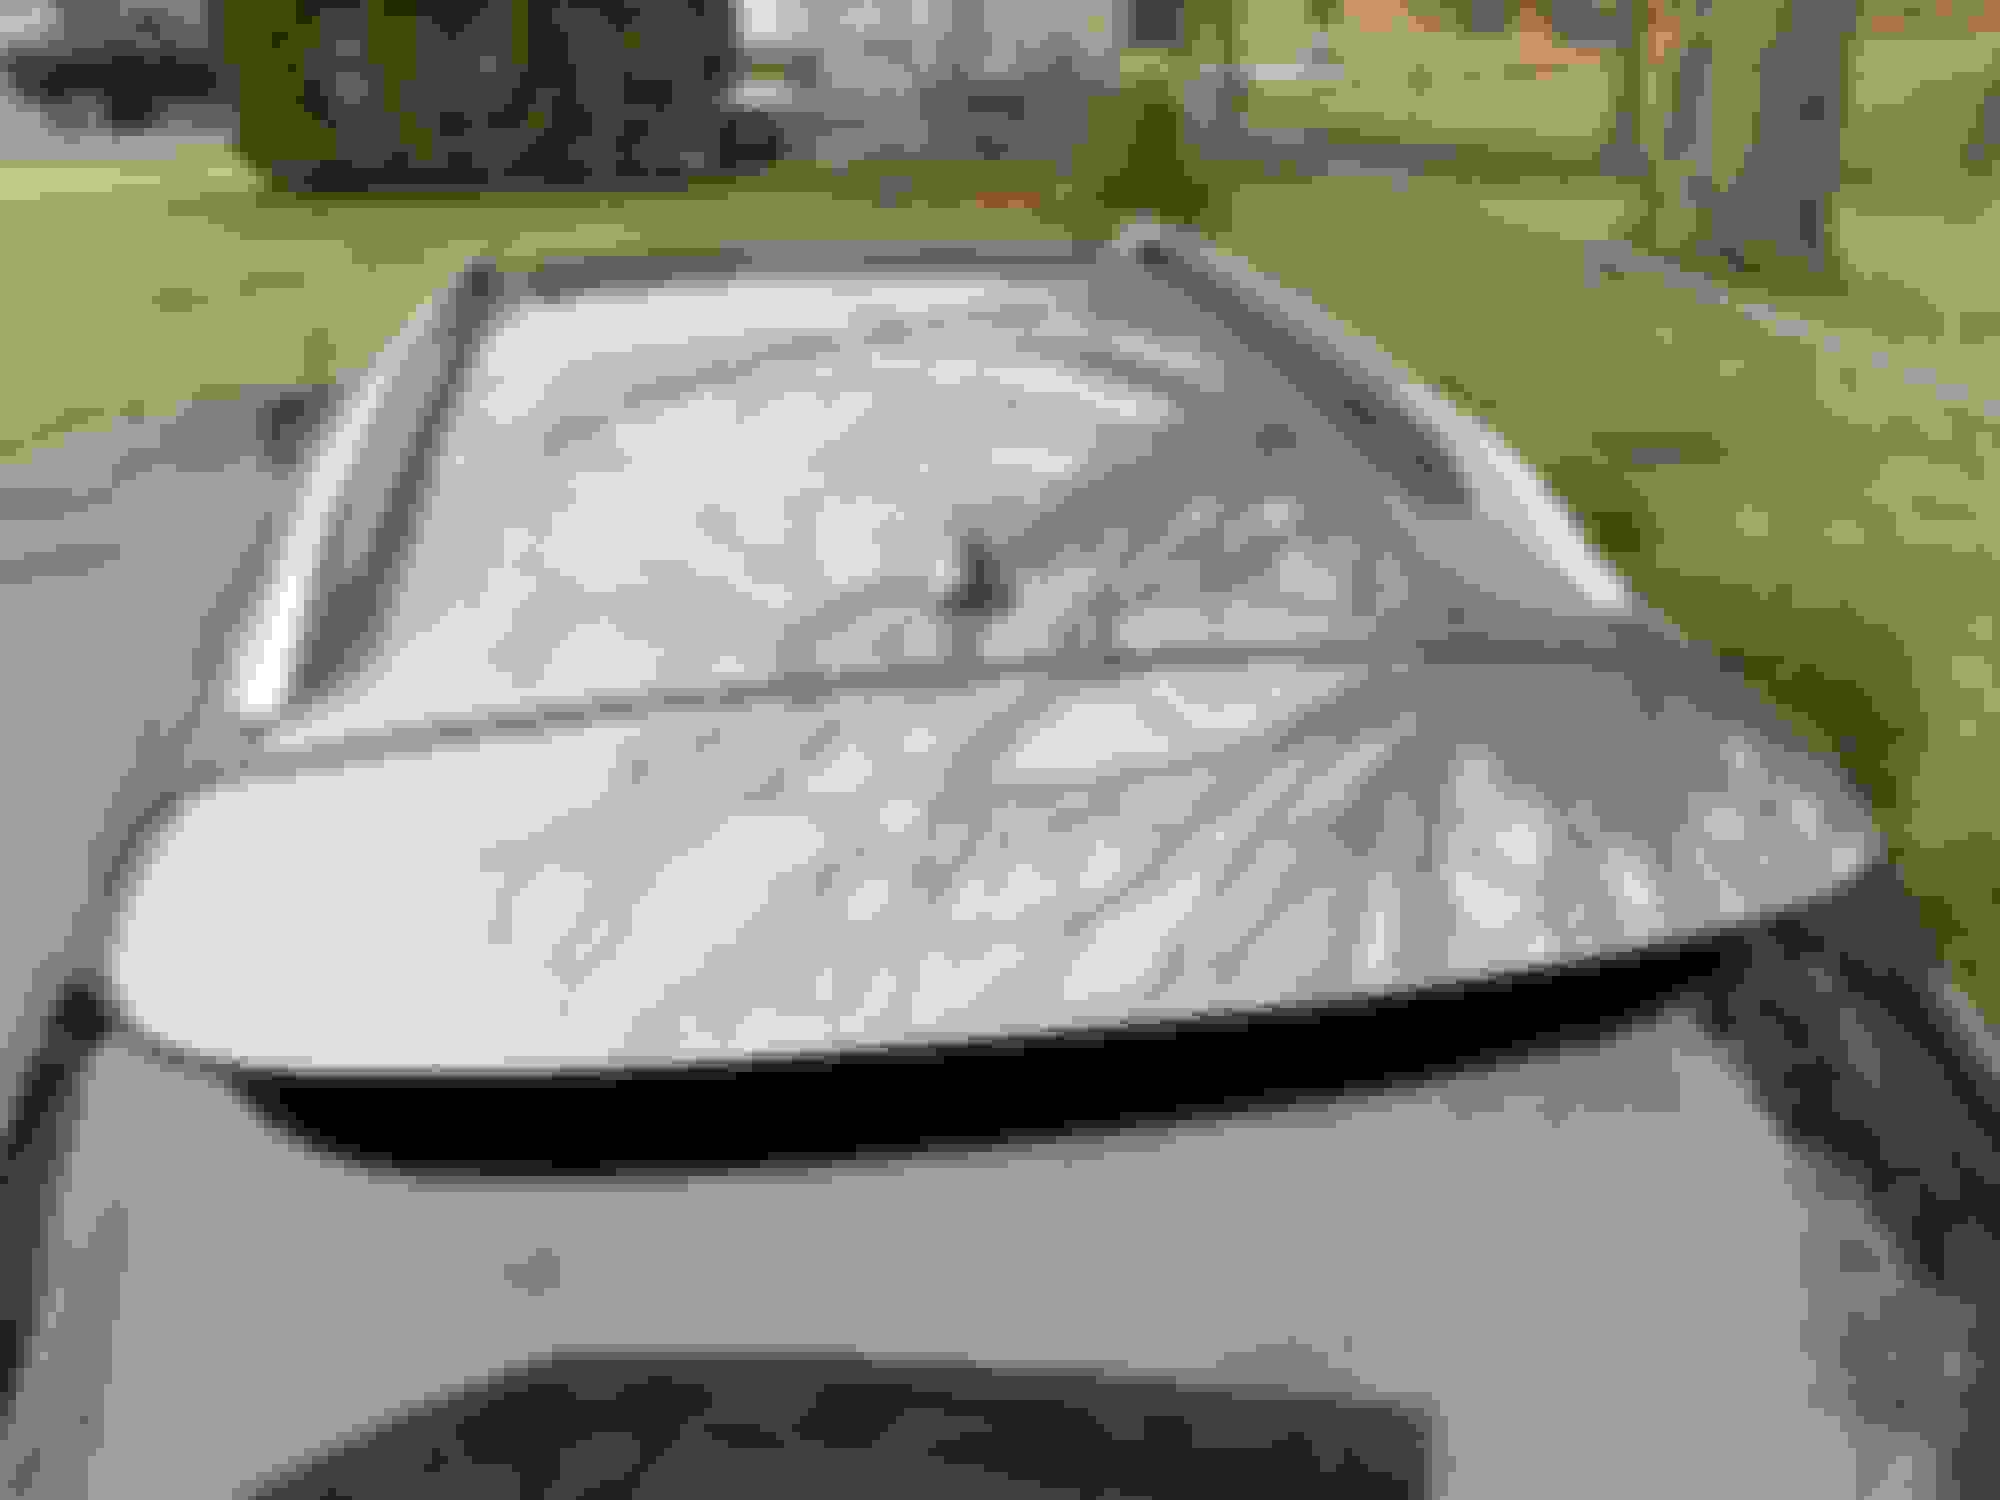
Once things lined up, I was able to drop this in solo. To keep the hatch from auto locking on me, I put a plastic cover over the latch. If you don't do this. the hatch will auto lock and you'll have to keep opening it which can be a bit of a pain.
Before you mount the new unit, take the time to clean the glass and paint. I also threw on a coat of wax to the painted area because with any luck, that section won't be seeing the light of day for years to come. Also, if you need a new rear wiper blade, this would be a good time to install it. You don't have to mess around with turning the rear wiper on and cutting the power when it's at a 6 o'clock position.
Once you have the new unit in place, it's a matter of tightening up the three nuts, clipping in the two wire connectors, installing the two grommets and popping the trim back in place. Before I put the grommets and trim in, I opened and closed the hatch to make sure everything was all set. I also tested the rear wiper and brake light to make sure those were working.
This isn't a bad job overall. I've had the spoiler off before, so I knew what to expect. If I didn't have to move that bolt, it would have been under and hour to install; and I was taking my time. Given how much this entire setup was, I figured I could save a few hundred doing it myself. I'm sure the dealer would book this out as a multiple hour job....and the tech would have it done in a much shorter period of time.
Happy to answer any questions! All cleaned up and waxed. Keeping the hatch from auto locking. Mounted Mounted
 02-04-16, 08:33 AM