When you click on links to various merchants on this site and make a purchase, this can result in this site earning a commission. Affiliate programs and affiliations include, but are not limited to, the eBay Partner Network.
Carguy: Yesterday, I tried the sledge hammer from the back and used much force as I could but to no effect.
Salim: The "crack" on the rotor hat is a cut from my rotary cutting tool.
Considering the heavy rusts and the stubbornness of the stuck rotor, I am working on a theory of cutting the rotor to pieces and make less impact on other structural parts. As to the hub, we will see what shape it is in once I remove the rotor.
Just got a small piece off the rotor hat. To my surprise, the hub's fore surface and neck are all normal without much rust! So my problem is with the hub disk's side and the inner wall of the rotor.
Now I need to have a plan to cut the rotor off the hub.
The rotor hat is off.
The remaining of the rotor still stuck on the rotor and not responding hammer hits.
Finally, after a couple of sledge strikes, it came off!!!
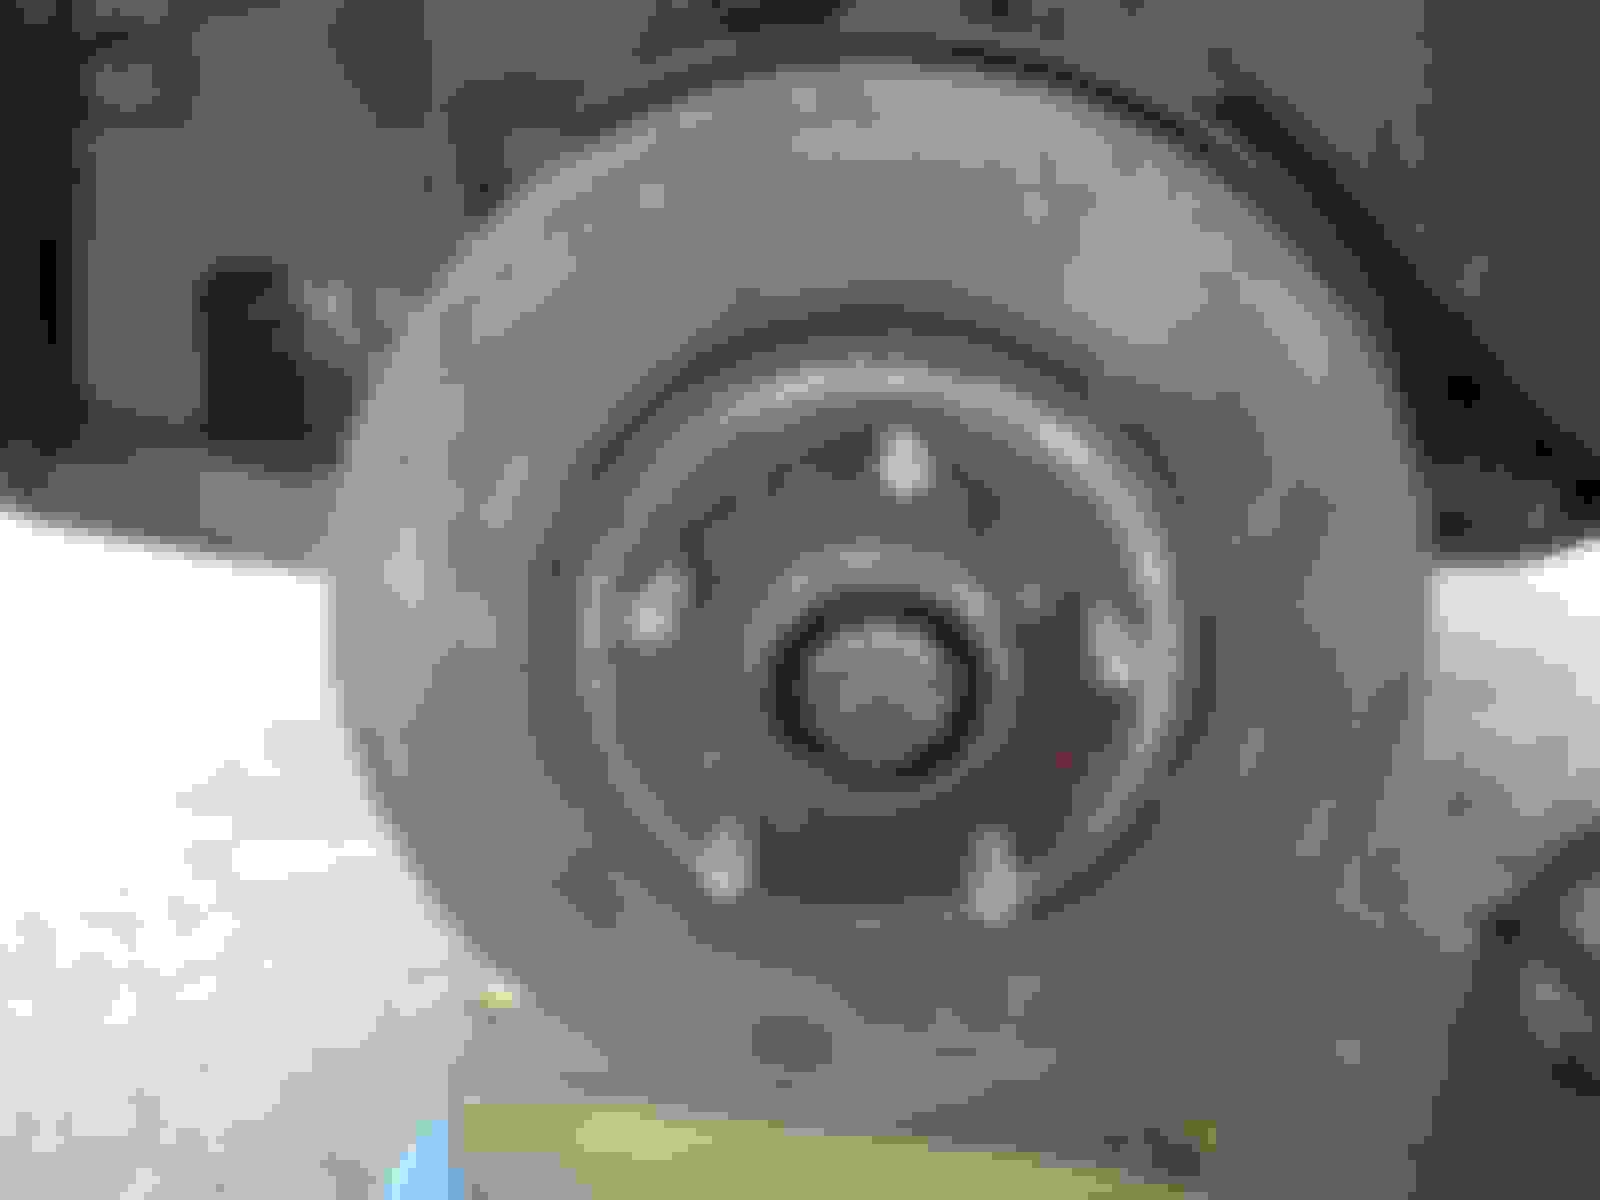
The hub looks in reasonable shape, except there are couple of drill marks that I left.
Take a tee break; come back to cleanup the hub and examine the damage I have done to it. Reporting back soon.
So here is a photo of the hub after cleaning. I used hammer to knock off rust "sheet" and a wire wheel on my drill to clean the hub side; then used a wire brush to clean up the surface; sprayed some break cleaner to wash off the dust. The drill mark is about 2mm in to the hub and other drill marks and cuts are all on the surface - all of them don't appear to affect structural strength.
Ready to install new break parts.
Carguy's advice is good. But can you get the swing at it from the rear.
Also I see a crack developing or is it just a shade. If it is a crack then make blows to flex it back and fort and then it will break off. Once a piece is off then you can use chisel to get in-between.
Rust has really worked its way into the things.
Think ahead and once the rotor is off ... do you plan to change the whole hub or wire brush it down and then put a rust protector.
Salim
Salim: By "put a rust protector" do you meaning a layer of the spray "Powerful Rust & Corrosion Protection" fluid that Lexmus suggested and I bought it on Amazon (see my post on the 27th 8:28pm)?
Salim: By "put a rust protector" do you meaning a layer of the spray "Powerful Rust & Corrosion Protection" fluid that Lexmus suggested and I bought it on Amazon (see my post on the 27th 8:28pm)?
I would defer to folks who have first hand experience with rust protectorates.
FYI each thread keeps a running post count [right top of each post].
Glad it is over. It seems you will be good with a new rotor. If the new rotor is not dynamically balanced, you may have to take the rotor iff and re-mount into the next stud. [one should mark the portion of the old rotor if you plan to reinstall it].
For the rust that is back in the suspension are [or back of the hub] may require some treatment. Jus make sure you dont rip into the cv boots and tie -rod end boot.
Use the Fluid Film that you bought and spray on the rotor where it mates to the hub, mostly where you had the rust issues this time. Wipe away and clean any that gets on the surfaces that the pads touch.
It is getting dark quickly on the drive way so I will install the new break parts tomorrow.
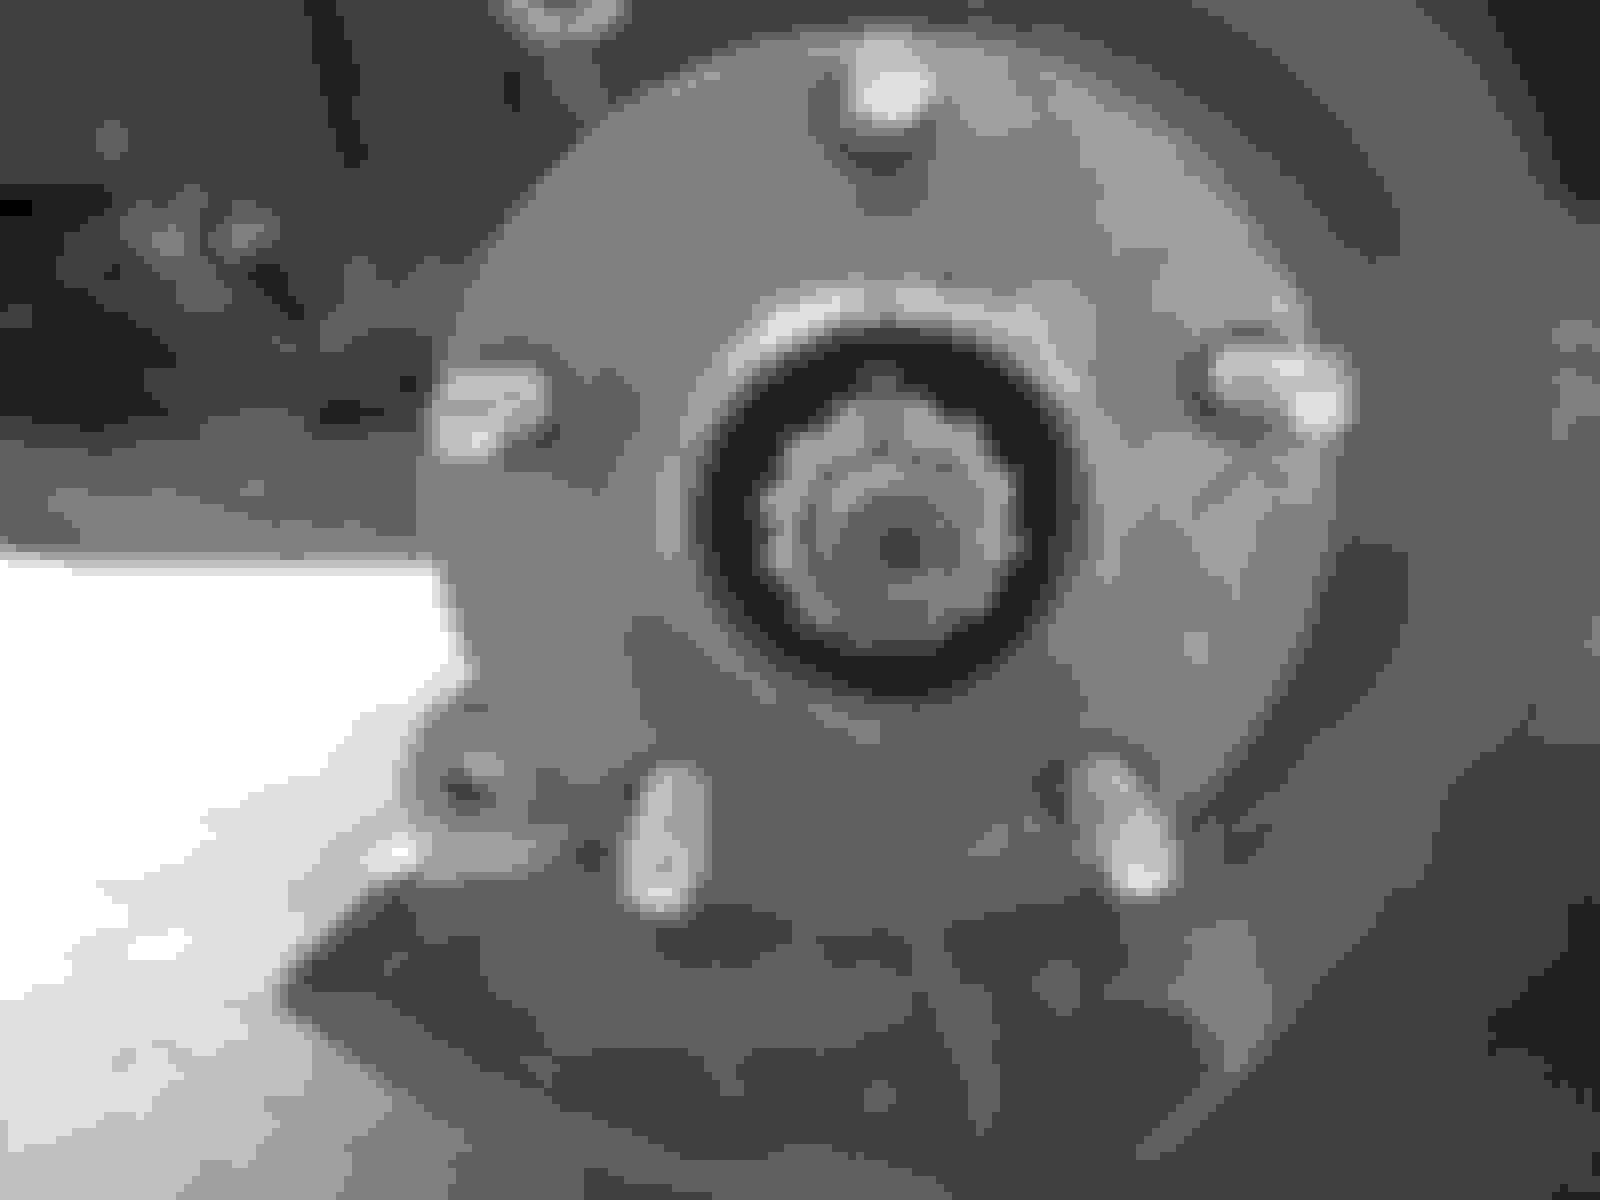
The cleaned up rotor in post #50 did have some "bump ups" on the side band due to rust that could not be removed by wire wheel and hammer knocks. So I used a sanding wheel to clean them up, then sprayed the Fluid Film on the hub surface and side. I have to think about what to do with the rust on the back side of the hub. The opening is small, though I can turn the rotor to get all of the back. I may use a hand brush (tooth brush size) to remove some rust off, but will not be thorough.
As to the dynamic balancing of the rotor, I don't know mine is being done or not. I got the parts on RockAuto and the description does not say if the rotor is balanced or not: https://www.rockauto.com/en/moreinfo...363586&jsn=370
Are all rotors dynamically balanced off the manufacturing line?
Sprayed the Fluid Film on the hub last night before dark. Wiped the surface with paper this morning. This is what looks like before install the new rotor.
Now, with new break parts installed.
Bled the break fluid system, put the wheel on and drove the car in the neighborhood to test for any leaks. All is good. Now, here are culprits.
The pads were ran to the born thin. I was unable to push the cylinder back with the hand press tool - it stuck hard.
Before I move on to examine the front right-side break - I am going to replace it with the same set of new parts - I want to thank everyone on this thread for providing you advice and suggestions. You guys are a great team!
I will follow up with photos of the right-side break. Now, a break for other household chaos.
Luck is not with me this time. The right-side front rotor's back is also heavily rusted as the left-side.
I am going to sock the back and front with penetrants through this afternoon and evening and work on it tomorrow evening. If the penetrant does not work, I will have to cut the rotor as before.
After socking the right-side front rotor, front and back, for 2 days and waited for the rain to stop, finally got day light before dark to work on it. I was hoping the rotor would come off with turning the 2 relieve screws. turning the bolts got tighter and tighter and eventually, to my surprises, the rotor hat cracked.
Turning the relieve bolts further and more cracks developed on the rotor hat.
Eventually, more than half of the rotor hat came off.
No more drilling. Cutting with a rotary cutting tool is easier this time: cut through the bottom of the rotor hat and remove the loose material; then a couple of light strikes with a sledge on the break surface got the rest of the rotor loose.
 09-29-18, 08:28 AM