Gauge placement/interior question
#1
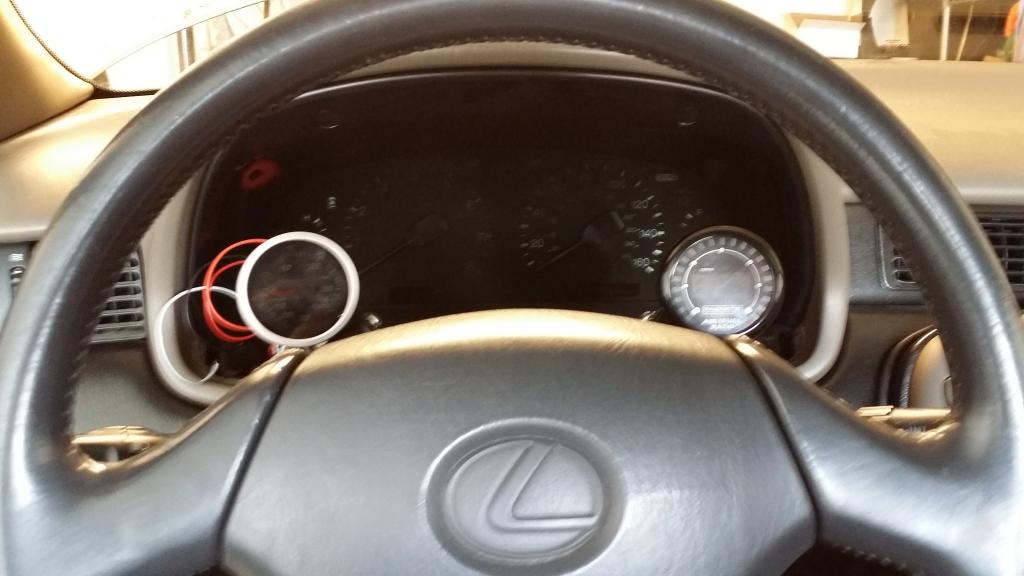
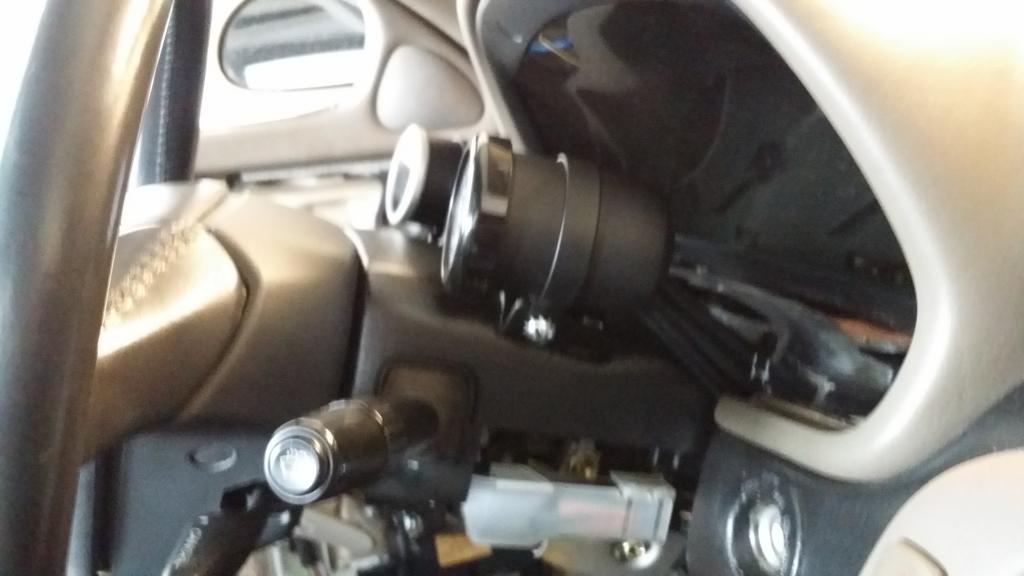
Original question: I can't seem to get this piece off. This is a 95 sc300. Everytime I try, I feel like I'm breaking something. If anyone has any advice, please feel free to share. I have a Greddy 60mm gauge I plan on placing in here and I'd like to remove it so that I can cut the hole without worrying about anything else getting in the way.
NEW:
I've decided to do a write up of this, I'm sure I'm not the last person who is going to need assistance with this modification.
Tools:
Dremel tool
402 mandrel
932 aluminum oxide grinding stone
applicable cutoff wheels
flat tip screwdrivers of various sizes
1 1/4" hole bit and drill
eye pro
gloves
I originally used this thread to ask about how to remove the panel piece and I got a few helpful replies so I decided to go along with this and do a write up on how to place a gauge in this particular area.
1. You can start by removing the panel, use a combination of SOFT leverage with a flat tip and some elbow grease to get this thing removed. It comes out fairly easy.
2. Look at everything in there and look at your panel and gauge. Where do you want the gauge to go and will you have clearance? I'm using a 60mm Greddy Warning/Temp gauge so I needed a little bit more space than normal autometers. Are you going to be putting more than one in this area? I recommend only putting gauges there that you don't have to keep a constant monitor on while you're driving. I don't beat on my car nor do I race, so putting a water temp gauge here for me is fine, as only a few glances during a typical trip around town will suffice for peace of mind. Be mindful about what you'll need to constantly check.
3. Gather your tools if you don't already own them. I bought the dremel tips/wheels and the hole bit at home depot, super cheap. One pack of cutoff wheels should be fine for this application.
4. Place your hole. Decide where on the panel you want your gauge to sit and use the hole bit to get it started. I used a 1 1/4" bit, if you're using a smaller gauge you should bring your gauge with you to home depot to compare the size. Try to get a bit just a little small, that way you can use the dremel to fine tune the hole so the gauge isn't moving everywhere. Cut the hole, this might take a few minutes, as there are three layers of stuff to go through and you might have to use the dremel to cut off one of the retaining clips before your bit will go any further.
5. Once your hole is cut all the way through, get the grinding stone ready. While grinding around the circumference of the hole, stop and check your gauges' fit. Remember not to make it too big. You can also get away with only grinding away the foam and plastic, you probably wont want to touch the leather anymore.
6. When all is said and done, bring the panel with gauge back to the car and test fit it. More than likely you'll have to cut some of the plastic bracket pieces out of the way. I had to cut quite a bit and it only took me 2 cut off wheels. Beware the hot plastic melting, it hurts. Also, be mindful of the wire harness running behind the plastic pieces. Continue to test fit and remove until desired amount has been removed.
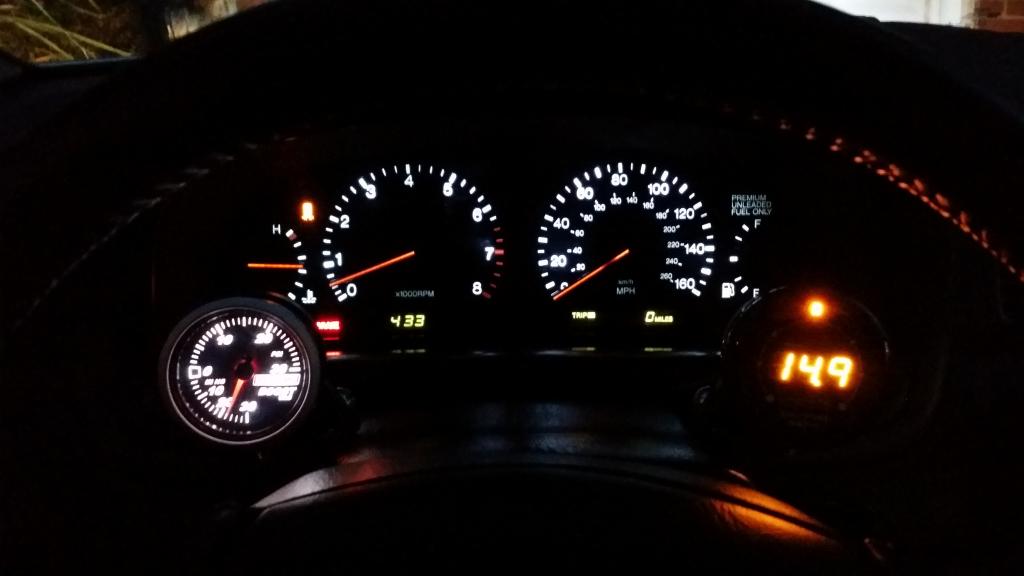
And there you have it, gauge fitting! Next, I'll expand on the wiring of the gauge so as to not destroy your harnesses. More to come (pics included), stay tuned!
Last edited by zneubauer; 09-20-15 at 10:48 PM. Reason: the question was answered, so I turned the thread into a DIY gauge placement write up to assist members with similar questions and issues
#2
Lexus Champion
iTrader: (10)
the leather "L" piece pulls right off, has like 3-4 metal push in clips behind it.
I put a gauge there once and was terrible can't see it while driving at all.... now if you are talking about the black vent piece above it, that is hard to remove without breaking not even sure how myself but would be a better spot.
I put a gauge there once and was terrible can't see it while driving at all.... now if you are talking about the black vent piece above it, that is hard to remove without breaking not even sure how myself but would be a better spot.
#7
Lexus Champion
iTrader: (10)
lucky you wont need to look at it that much with the turbo ecu.
GE ecu you would need to keep an eye on it whenever you boost.
I am pretty happy with using the left center vent on mine. lots of dremeling...
video from last year in dark
brighter vid/closeup from last year
GE ecu you would need to keep an eye on it whenever you boost.
I am pretty happy with using the left center vent on mine. lots of dremeling...
video from last year in dark
brighter vid/closeup from last year
Last edited by Ali SC3; 09-16-15 at 10:53 AM.
Trending Topics
#12
Lexus Champion
iTrader: (10)
both look really good, I just got tired of extra attention from the man when on the pillar but was the best spot to see them.
Mikef check out the regional section this week.
CatManD3W do those get in the way of the auto tilt steering wheel? if not I think that is a really good one.
Mikef check out the regional section this week.
CatManD3W do those get in the way of the auto tilt steering wheel? if not I think that is a really good one.
#13
Pole Position
iTrader: (18)
both look really good, I just got tired of extra attention from the man when on the pillar but was the best spot to see them.
Mikef check out the regional section this week.
CatManD3W do those get in the way of the auto tilt steering wheel? if not I think that is a really good one.
Mikef check out the regional section this week.
CatManD3W do those get in the way of the auto tilt steering wheel? if not I think that is a really good one.


