When you click on links to various merchants on this site and make a purchase, this can result in this site earning a commission. Affiliate programs and affiliations include, but are not limited to, the eBay Partner Network.
the 95 is a grey area on the sc400, there has been debates if its interference or not, like on the ls400 they went to inteference in 1995. on the sc400 some say it was and some say it wasn't, I don't know for sure but I do see the old maf there so it likely is a 95 or older, but the compression numbers seem to show that the valves are working for hte most part, so I would start by getting the belt back on right. I just listened to that video, clearly somehting is very wrong look at how the accessory tensioner is kicking up in the video you are probably just wearing down bearings turning it over like that without fixing the issue. I would not keep doing that I would do the timing belt now its confirmed one cam is off. its even possible to realign the belt after pulling the tensioner off at least on a 2jz (you have to keep tension on the belt yourself from above the cam gear with your hand while realigning it and then get the tensioner back in to take back out the slack (slack on the v8 is on the passenger side before tensioner goes in which is why they are supposed to be put on in a certain order and there are 2 sets of alignment marks on the cams, one for final position which is the normal dot and one for installation position before slack is removed which is usually a raised "T" letter, but not everyone knows or does it like that), but if it slips off of any of the other cam or crank pulley then you have to dig in there and do the whole job. it I would just do the whole job personally its a days worth of work but the car will be good for 100k in regards to belt+waterpump and you can change the thermostat and all the little things while in there. I would also delete the sc400 hydro setup and throw a ls400 clutch fan on there since you have to remove the fan bracket for the belt job, but that is only if you dislike the hydro system like me. I understand many love it and I am not interested in debating that part, to each their own.
the 95 is a grey area on the sc400, there has been debates if its interference or not, like on the ls400 they went to inteference in 1995. on the sc400 some say it was and some say it wasn't, I don't know for sure but I do see the old maf there so it likely is a 95 or older, but the compression numbers seem to show that the valves are working for hte most part, so I would start by getting the belt back on right. I just listened to that video, clearly somehting is very wrong look at how the accessory tensioner is kicking up in the video you are probably just wearing down bearings turning it over like that without fixing the issue. I would not keep doing that I would do the timing belt now its confirmed one cam is off. its even possible to realign the belt after pulling the tensioner off at least on a 2jz (you have to keep tension on the belt yourself from above the cam gear with your hand while realigning it and then get the tensioner back in to take back out the slack (slack on the v8 is on the passenger side before tensioner goes in which is why they are supposed to be put on in a certain order and there are 2 sets of alignment marks on the cams, one for final position which is the normal dot and one for installation position before slack is removed which is usually a raised "T" letter, but not everyone knows or does it like that), but if it slips off of any of the other cam or crank pulley then you have to dig in there and do the whole job. it I would just do the whole job personally its a days worth of work but the car will be good for 100k in regards to belt+waterpump and you can change the thermostat and all the little things while in there. I would also delete the sc400 hydro setup and throw a ls400 clutch fan on there since you have to remove the fan bracket for the belt job, but that is only if you dislike the hydro system like me. I understand many love it and I am not interested in debating that part, to each their own.
95 internally is identical to a 92 in the SC. LS went to the gen2 in 95, SC followed suit in 96. I can understand the confusion on the SC, as 96-97 cars are kind of an anomaly. 96 gets the new motor but keeps the old body, 97 keeps the same motor, but gets the refreshed body. One would think that they would have just waited until 98 to do the refresh...Take the following example:
Notice the RB1 (Relay Block 1 in the left kick panel) Is the same for all USDM A80 Supras, and 92-94 (up until 12/93) SC300s. The same relay block was in use for all years of SC400 except 1997 model year. 96 and 97 (400's at least) have quite a few little quirks like that.
Just got the radiator out, took much longer then expected. I couldn't find any info on what to do with the engine fan fluid connections. I disconnected the big banjo bolt on the engine and lost the majority of the fluid. I'm pretty sure it's just ATF right? I was following the tutorial on lexls.com but of course it's not an SC so some things are different. Is this fluid simply for the fan, or something else as well? There are 2 hoses on top and bottom, just curious how much I should put back in when I finish the job. Just top the engine fluid fan reservoir, run it with the cap off and see how it flows and add more to the correct level?
And for the record this belt is not the original, it was changed at 69K so it has 130K on it, and I'm thinking it would have lasted a while longer if it wasn't for the coolant leak. I said it in an previous thread someone changed the radiator on this car recently, perhaps they did the thermostat too which would explain the gasket sealant around the thermostat housing, and the leak coming from that housing which probably soaked the belt and caused the slip.
The fan is just atf, should be specified on the reservoir cap. there is a bleed procedure for it in the fsm, ill see about digging that up for you.
As far as the thermostat housing, make sure the mating surface is flat. I have noticed that the plastic can warp (mine currently is). You can pick up a new one pretty cheap. I think i recall seeing one on rockauto for like 16 bucks or so
Yea I'm going to get a new gasket for that thermostat housing for sure. I'm still in the process of taking parts off and putting them where I won't lose anything or mess up the order of which bolts go where etc...
Actually stuck with the crank shaft pulley bolt. I don't have a harmonic balancer, and my impact gun is not strong enough to break it. Autozone has the tool so I'm going to be heading there shortly.
Here you can see just how off the timing is. Left side is off about a tooth, right side is off 3 or 4.
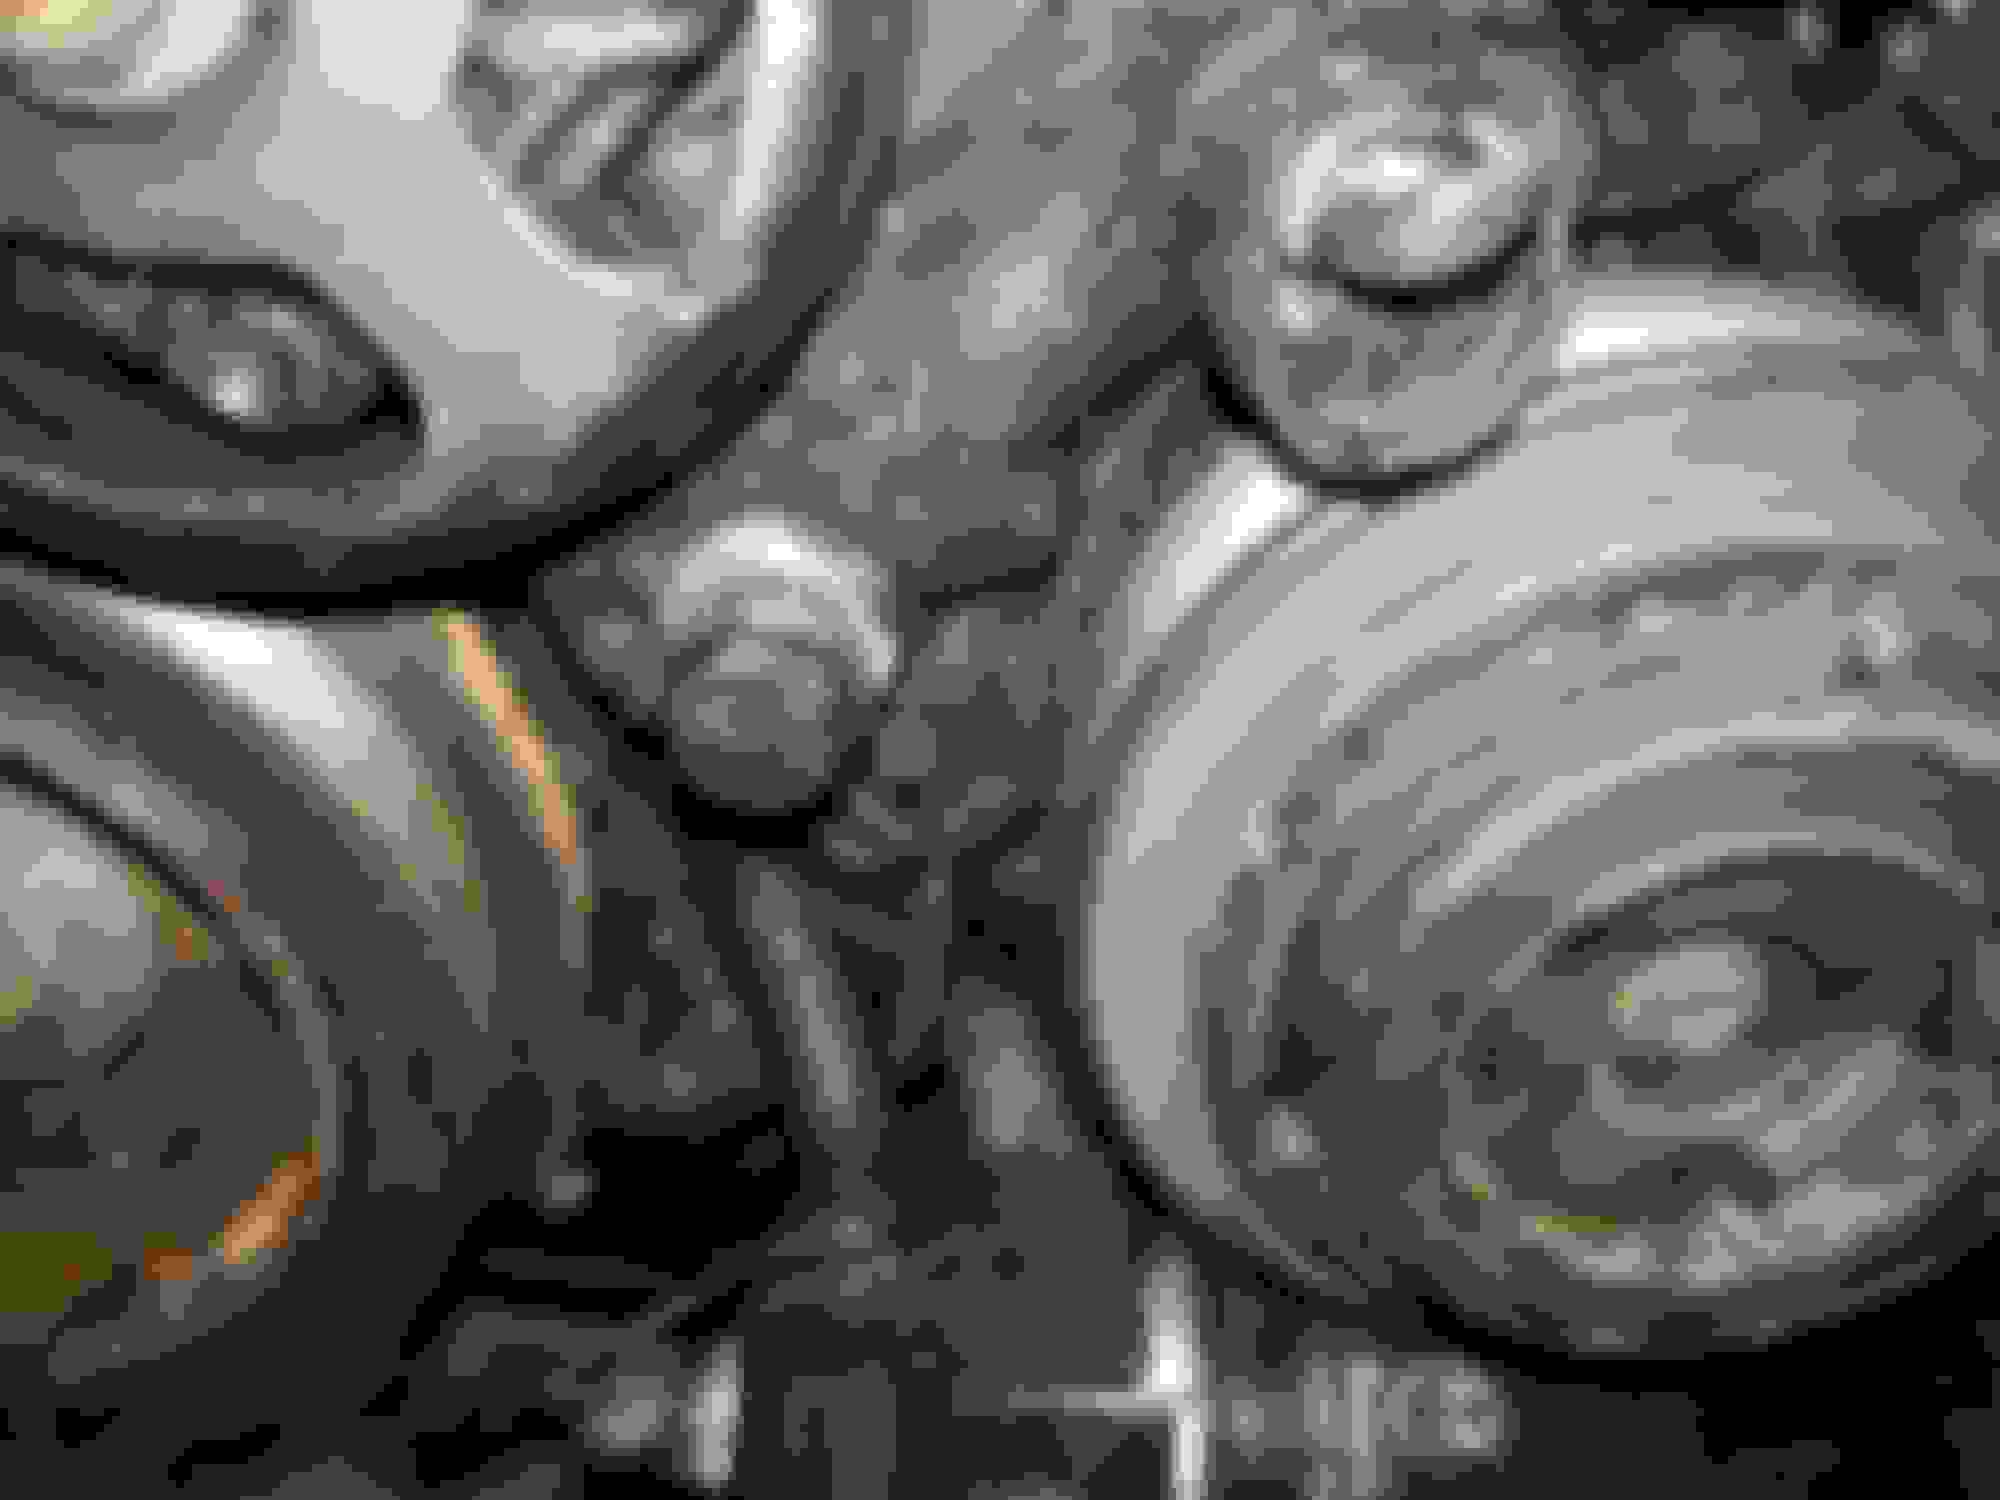
And here you can see tons of oil/coolant build up. Even after I fix the belt I'll need to find and address these leaks because this is disgusting.
that belt has seen better days, looks like most of the teeth are rounded out some also.
you will be able to see the waterpump weep holes better once you remove all that stuff to see if it was leaking there or not also.
the coolant leak on top you got with the gasket/thermostat part, but do find the oil leak before putting everything back on.
I would suspect driver valvecover gaskets, but usually drip down towards the read, for that I would check the cam seals as not sure what else can leak on the a/c compressor like that, the PS is on the other side.
Yea I will definitely check the cam seals. That oil/coolant build up is from the right side only. But you know it's a trickle down effect so anything and everything below is getting hit. I decided to call it quits for the day, I didn't grab the tool to get the crank pulley off, and I couldn't figure out how to get the pulley just above it to the right off either. Honestly if it wasn't so damn dirty I think I would have gotten a lot further.
Yea I will definitely check the cam seals. That oil/coolant build up is from the right side only. But you know it's a trickle down effect so anything and everything below is getting hit. I decided to call it quits for the day, I didn't grab the tool to get the crank pulley off, and I couldn't figure out how to get the pulley just above it to the right off either. Honestly if it wasn't so damn dirty I think I would have gotten a lot further.
If the pulley you speak of is the fan pump, there are 2 ac compressor bolts that need to be removed to get the pump out.
For the crank, get a breaker bar and put the handle on the driver side and bump the starter. Its not the best way but it works
yeah I normally just use the starter bump method for the crank pulley, it can be a bit dangerous but that is how I do it everytime. usually loosens up the pulley to where it just falls off more or less no puller needed, but having hte right tool is nice cause when you go to tighten it to that crazy torque it wants you will be able to do that easier also. I usually just take the old accessory belt and double one part of it around the pulley to where it grabs on itself, and the other side of the loop I put around something very very strong. usually can get over 150ft/lbs of torque on it that way but make sure whatever is looped around is solid, one time I attached it to 3 bolts that hold the airbox in and bolted it down thinking it was overkill, but after I torqued It I had 3 bent bolts and had to hammer them back into place, so yeah the tool can help. The crank pulley did get tightened though, and If you take time to loop it around something more large and steel it would probably work just fine.
for the fan bracket (what that is called), you have to remove the obvious bolts on the front, and then you need to remove 2 of the front bolts from the a/c compressor (I just did this on a 2uz last weekend, little different but not really). you will see that the front 2 bolts for the a/c compressor actually end into the fan bracket. the top bolt is easy to get to, but the bottom bolt you may need to remove the oil filter to get a wrench on that bottom one. you don't have to remove the a/c compressor, just the 2 bolts that go through and into the fan bracket, or that fan bracket will never even budge.
also on the hydro fan setup, its just for the fan and I think it is atf fluid. I would just put it back like it was and keep filling the reservoir till it works itself out, unless you are up for a ls400 clutch fan conversion (not many do unless going turbo).
for bleeding the fan there are two pins in the diagnostic port that you jump that ground the temp sensor circuit and kicks the fan into fail safe which forces it to run about 1100 rpm if I remember correctly. Ill have to look up the pins in the fsm
yeah thats way too complicated a fan should not have any electronics on it if I had a time machine I would go back in time and give that engineer an earfull for thinking it was a good idea on the SC. all they did was make more places it can leak, introduce chances of overheating when the system fails, and add more things to replace when the reservoir cracks or a line springs a leak. my 2uz has a clutch fan on it, 4 bolts, it always works, and works very well. the ls400 has the same regular clutch fan setup as well.
I know some people will claim about how much power the hydro setup saves, but they are not entirely correct because anything driven by the accessory belt is taking power away from the engine, and its simple mechanics everything that moves has some type of loss, so a hydro fan has a crank to hydro pump loss (mechanical), and then a pump to fluid/fan coupler loss. Even though the fan is not bolted to the engine, it still takes engine power, and it actually takes more engine power when running at full speed than a clutch fan which only has the fluid coupler loss.
So why can people even suggest that the hydro setup somehow saves power?
the answer is similar to electric fans, because both hyrdo and electric fans can be run at a partial speeds and do not have to be run at full speed. so they are essentially saying the average power a hydro fan uses will be less because it can be run at part speed, but at times it will be more than that of a regular fan as in full speed.
At the end of the day even that little bit of "average" power you might save is marginal in comparison to it leaking and breaking and needing diagnostics. Its true there could be a advantage in some conditions but its also true its a disadvantage in other conditions. so while it does maybe eek out that extra hair of power on one end, its also taking it away in another place.
hands down though electric fans take the most power away from you unless they too are modulated by an ecu to bring the average consumption down. they are the worst because the loss from mechanical to electrical and back to mechanical again is much more severe than a simple mechanical fan, or a mechanical to hydraulic to mechanical which has less losses than en electric setup. like if you have E fans on all the time, you are loosing power. I believe whatever minimial performance gain you would get only at certain times do not outweigh the sheer reliability of a fan that simple turns on its own. sure it might turn some when you don't need it, but I will take that tradeoff knowing it will not stop turning due to a leak or sensor or an electrical problem. I do understand that even a clutch fan can fail, but its not common. now ask how many sc400 owners have replaced a hydro reservoir or lines or pump, its not that uncommon.
Worked on it for almost two hours today after work. Bumped the starter to get that crank bolt off. I really didn't want to do it that way but couldn't come up with any other option with the tools I have.
Grabbed the pulley remover tool from Autozone($21, free loaner tool if you return it within 90 days!), also inspected the cam seals a bit and they look absolutely fine, no signs of leakage. I think that leak is the valve gasket, but when I removed all the spark plugs there wasn't any oil in the valves....
Anyway crank pulley came off no problem, still didn't get the hydraulic pump out. I finally found out that it's held in by one tough son of a ***** sideways bolt that locks it onto the AC compressor, which is recommended for removal, but I don't think it's necessary. It seems that I just need to get out that one sideways bolt out, and with all my sockets, extensions, conversions, etc....I just couldn't do it. There's very little room to work in there. I also don't have a 14mm ratcheting wrench or open end wrench for that matter.
I'm still undecided if I'm going to do the water pump and everything, or just put a new belt on and call it a day. I really only bought this car to resell/part it for profit, and now with the ECU and potentially full timing belt kit and the tow, gaskets, etc... that's about $400 more then I planned to spend on it. It would put me at about $1950 total for a 95 SC with 200K. And still it will need a battery...$2150.
You have the whole front of the motor apart, whats another 50 bucks?
Yea I just ordered the $175 Aisin TB kit which included a tensioner as well because mine looks shot, a new thermostat gasket, and some Toyota FIPG. Hopefully it all comes by Friday so I can have a fun weekend. I didn't grab the cam seals, they didn't look like they were bad, no signs of leaking. After a bit of inspecting and steam cleaning the engine yesterday I'm pretty sure its the valve gasket on the right side. Only thing I'm worried about now is torquing the crank shaft bolt to 180, I don't have anything to hold the pulley to prevent it from spinning so I can torque it to spec.


 07-14-15, 12:34 PM