When you click on links to various merchants on this site and make a purchase, this can result in this site earning a commission. Affiliate programs and affiliations include, but are not limited to, the eBay Partner Network.
Reason why temp gauge do not work properly after swap is simple: temp gauge need to be grounded. and that ground path is missing after 1jz swap.
In plug named in lexus service manual IK2 in 24 pin there is brown with black stripe wire. That wire is GROUNDED via engine harness in lexus.
In soarer in IK2 24 pin is NOT grounded, there is no wire at all.
That is so simple.
DIY instruction
Where is IK2?
Passenger side footwell fender side
IK2 is white plug (male and female side) next to orange plug.
1. find IK2 plug
2. Unplug that plug
3. You unplugged just engine harness side of plug
4. We are interested that ANOTHER side of plug that is still plugged in white plastic frame that is bolted to fender side
5. Remove that plug from that plastic frame
6. Look at plug: two rows. Wire that we are interested is brown/black between pink and black wires.
7. Attach to that brown/black wire another wire. Ground that new wire.
8. Congratulations!!! you solved simple strange two years old (I think) temperature gauge problem after swapping 1jz engine to lexus sc body.
9. Drink a beer and try next answer my questions that I post sometime at clublexus.com even if I am not from USA, cause I am nice guy and always try help another people and sometimes need help too
Jerry
Last edited by JTJerryls400; 09-05-06 at 10:46 PM.
Thanks so much for doing a writeup... in the other thread nobody could post pictures showing which plug was IK2, you really went above and beyond what was necessary. Props!
Just tried it, it works! Someone needs to sticky this post...
The only thing I'm wondering, if that brown/black wire doesn't goto a ground on the other side, what does it go to? Probably should just cut and ground that wire instead of splicing into it?
on sc loom it is grounded (sc400: rear side of cylinder head, on sc300 at intake maifold). that ground is in engine harness. so it go from body side via IK2 and next it is grounded as described. In soarer engine harness that wire is missing. so you still have body from sc300/sc400 but it do not have ground via soarer harness. perhaps soarer have grounded that wire before IK2 plug or perhaps because it have digital temp reading in cluster it work different way and do not need that ground at all. can be checked on soarer schematic.
When checking the temp gauge sender connection on the front of a GTE engine that goes into SC body plug IK1-9 but the ground connection on the other end of this circuit indeed goes to IK2-24 as can be seen in this screenshot from the 1992-2000 SC300/400 TSRM's electrical schematic for the USDM gauge cluster water temp gauge:
And so in the SC300 and SC400 with the analog gauge clusters the ground signal is through the harness whereas as was pointed out in the first posts, the 1JZ Soarer grounds that wire on the chassis side of the IK2 connector, pin 24.
In my case I have no wire that I needed on my 2JZ-GTE harness on IK2-24 so while I was getting ready to cut this wire to splice in a ground wire it occurred to me: can't the connection also be grounded from the harness side body plug if it weren't already in use?
I have plenty of spare wires and different terminal ends from a spare SC harness, so I just found a spare compatible terminal end and some brown OEM wire in the same gauge as the wire on the chassis/body side connector of IK2-24 and added it to my engine harness side IK2 body plug at the same pin location.
It seems like it could be done both ways: from the chassis side connector or by plugging an extra ground wire and electrode end into the harness side connector at IK2-24. Then the ground could be applied somewhere under the footwell or in a person's custom wired swap harness somewhere on the engine... just like a stock SC harness.
I haven't confirmed this yet and someone correct me if I am off in my electrical theory but I am going to try it for my swap before I modify my existing body side wiring.
It seemed like a good reason to bump this thread just to consider a different and easier route for the ground connection to make the stock dash cluster water temp gauge work with GTE swaps.
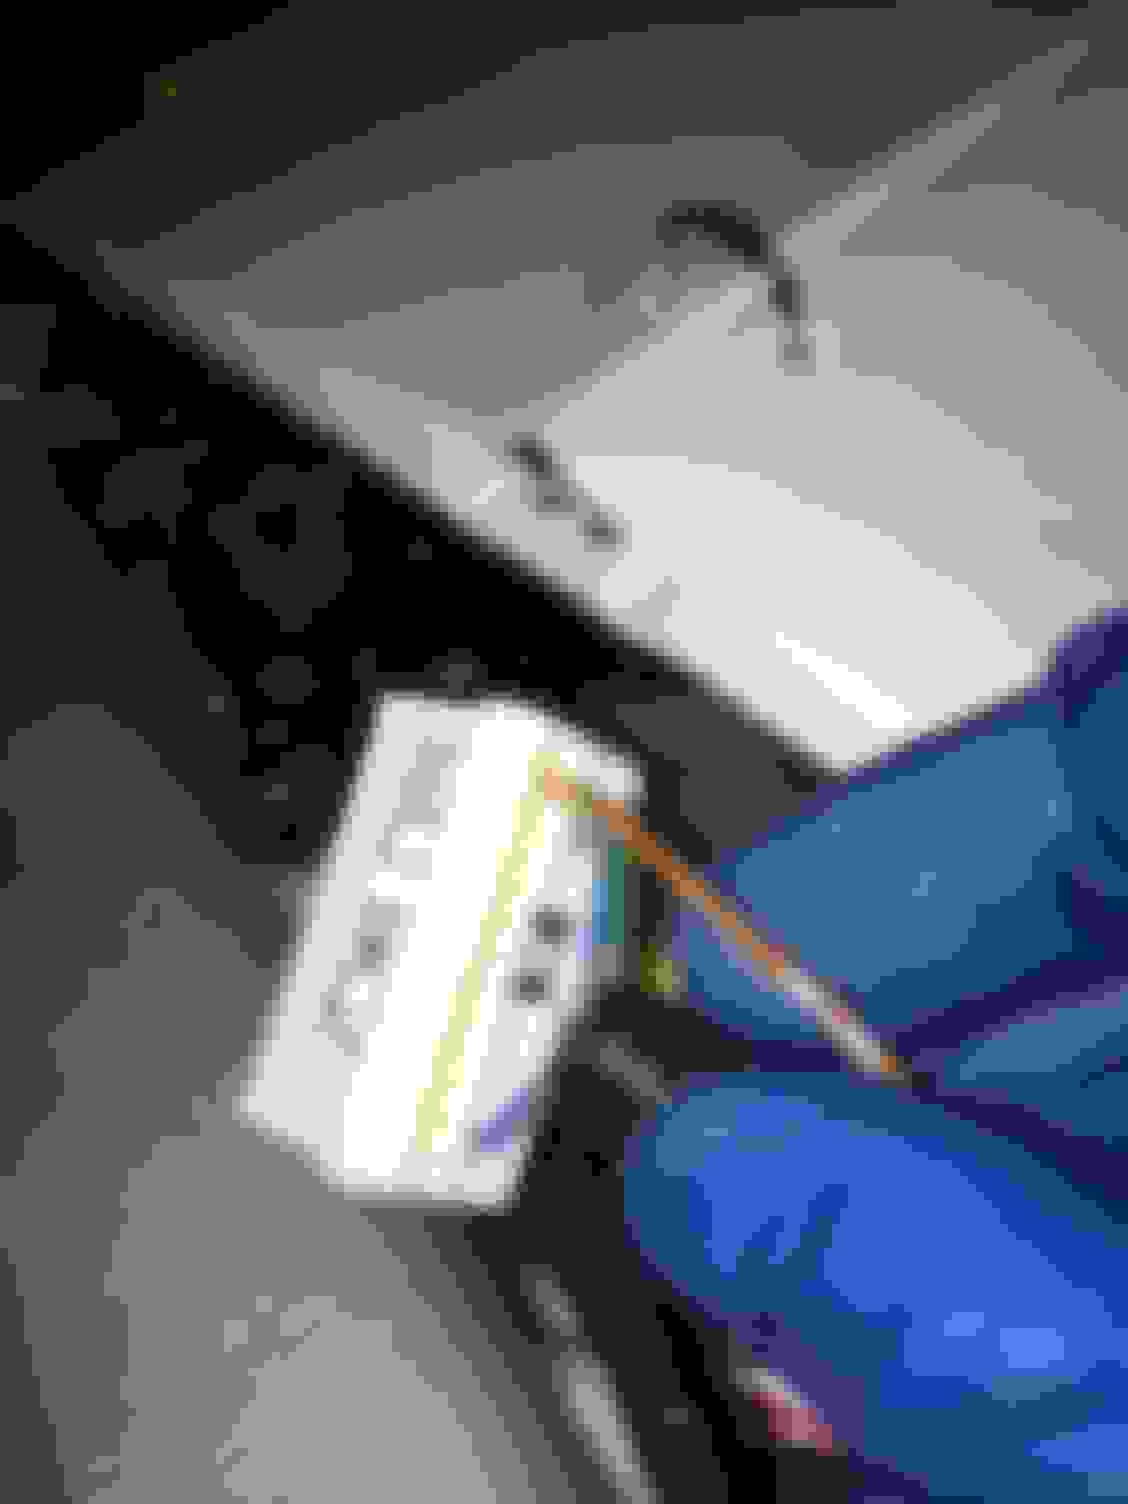
Some pictures to illustrate:
The body/chassis side IK2 connector temporarily pulled out. As in earlier posts above this one you can see the same wire being referenced.
Pinout drawings of the IK2 harness and chassis connectors from the SC TSRM:
A picture showing the intended location of the new ground wire that will go into the engine harness side IK2 connector at pin 24. I did not take a picture with a compatible terminal end soldered onto this wire but this is where it needs to go if you try this method rather than the chassis/body side IK2 grounding method outlined above by the OP.
(Also just to note that in the picture below this IK2 harness side connector has already been converted for use with a GTE harness)
Edit: Gerrb has pointed out that this is exactly what has to be done for this ground connection for any GTE swap. The IK2-24 pin has a wire run through the harness side body plug all the way to the ground connection on the front of the intake manifold.
 09-05-06, 02:21 PM