When you click on links to various merchants on this site and make a purchase, this can result in this site earning a commission. Affiliate programs and affiliations include, but are not limited to, the eBay Partner Network.
I bought my NX back on Memorial Holiday and waited to put in more mileage before giving my input.
It's Nebula Gray/Red F-sport, but my 1st pick was USB/Red. We know how hard that color is to come by.
If you guys insist on pictures, I'll gladly take them, maybe some night pictures to show off my illuminated door sills
I must say the turbo 4 engine is pretty peppy. However, the idling is pretty noticeable initially, but it's less now at 5k miles.
We did take it on a 6 hr road trip (1 way) and gas mileage was good at 29mpg.
On to the mods:
1. Cell phone holder
2. USB charger
3. Changed the top 4" dash speakers with some Alpine coax
4. LED strips in trunk
These pictures can piggy back off the new post from on installing the Apexi controller.
cellphone holder with dual USB plugs
USB plugs
Here are the 2 blanks we're going to cut out to install the USB plug
blank plug
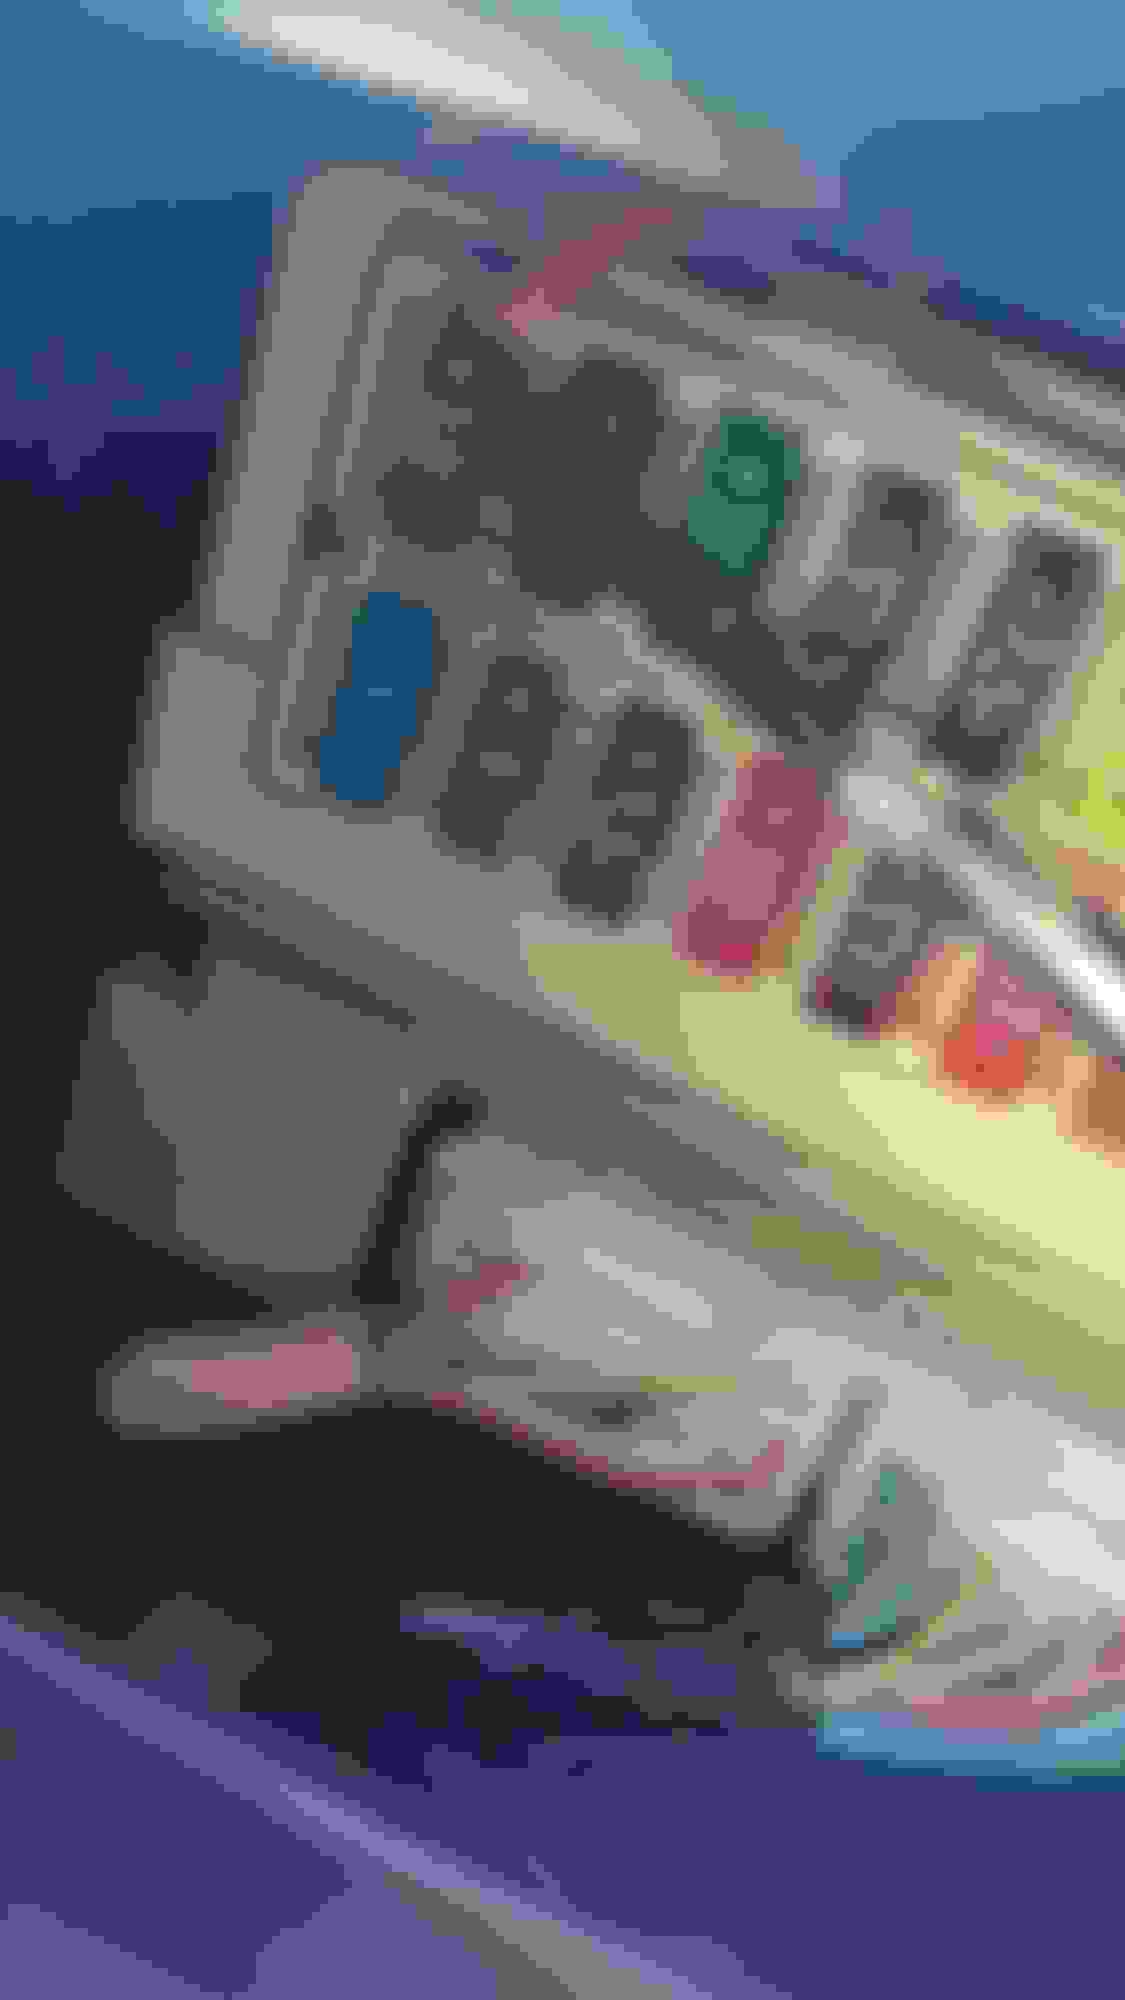
from behind, there's a plug with 2 wires plugged in. I haven't looked what these other 2 buttons when equipped are for
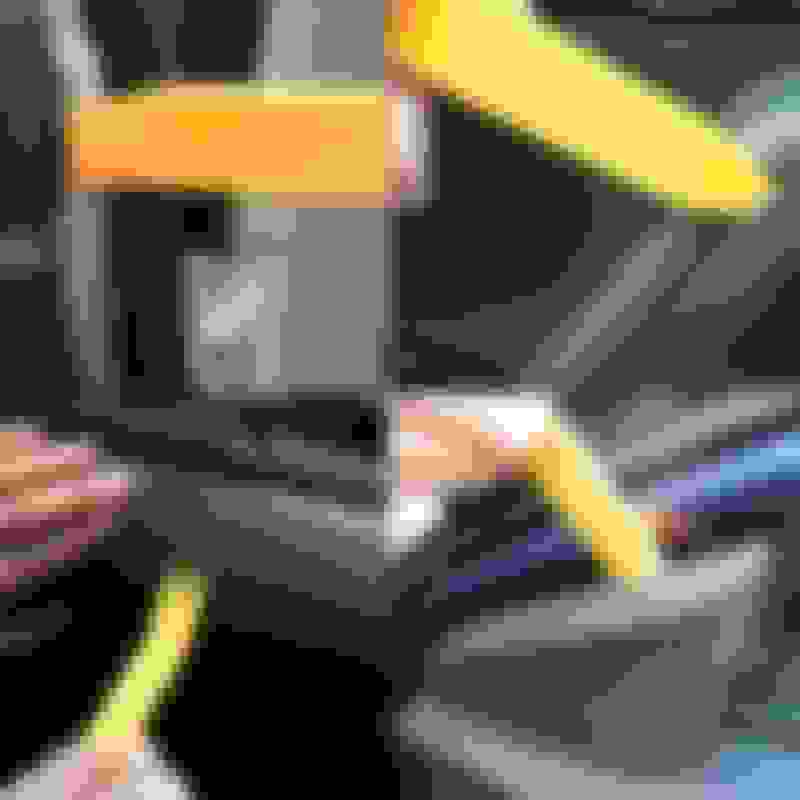
here's one of the metal I used to tap the (-)
On the driver's side footwell, I used this 10amp for the add-a-fuse.....it's constantly on, and I haven't experienced any battery drainage. Seeing that it draws very little current, I'm not worried. The picture with the red wire was for testing only. I didn't take a new picture with the add-a-fuse.
I'll probably find another fuse where it's acc on (with key on) later.
Panels put into place, USB plugged in
completed, with my phone holder
LED strips. I had these earlier on, so I didn't use the festoon bulbs for the trunk area.
There's a DIY thread already on how to wire them. I'll update it with that thread later on
night shot
Need to do:
5. Going to replace the door speakers ( I bought already)
6. LED bumper lights. I had this done on my sienna.
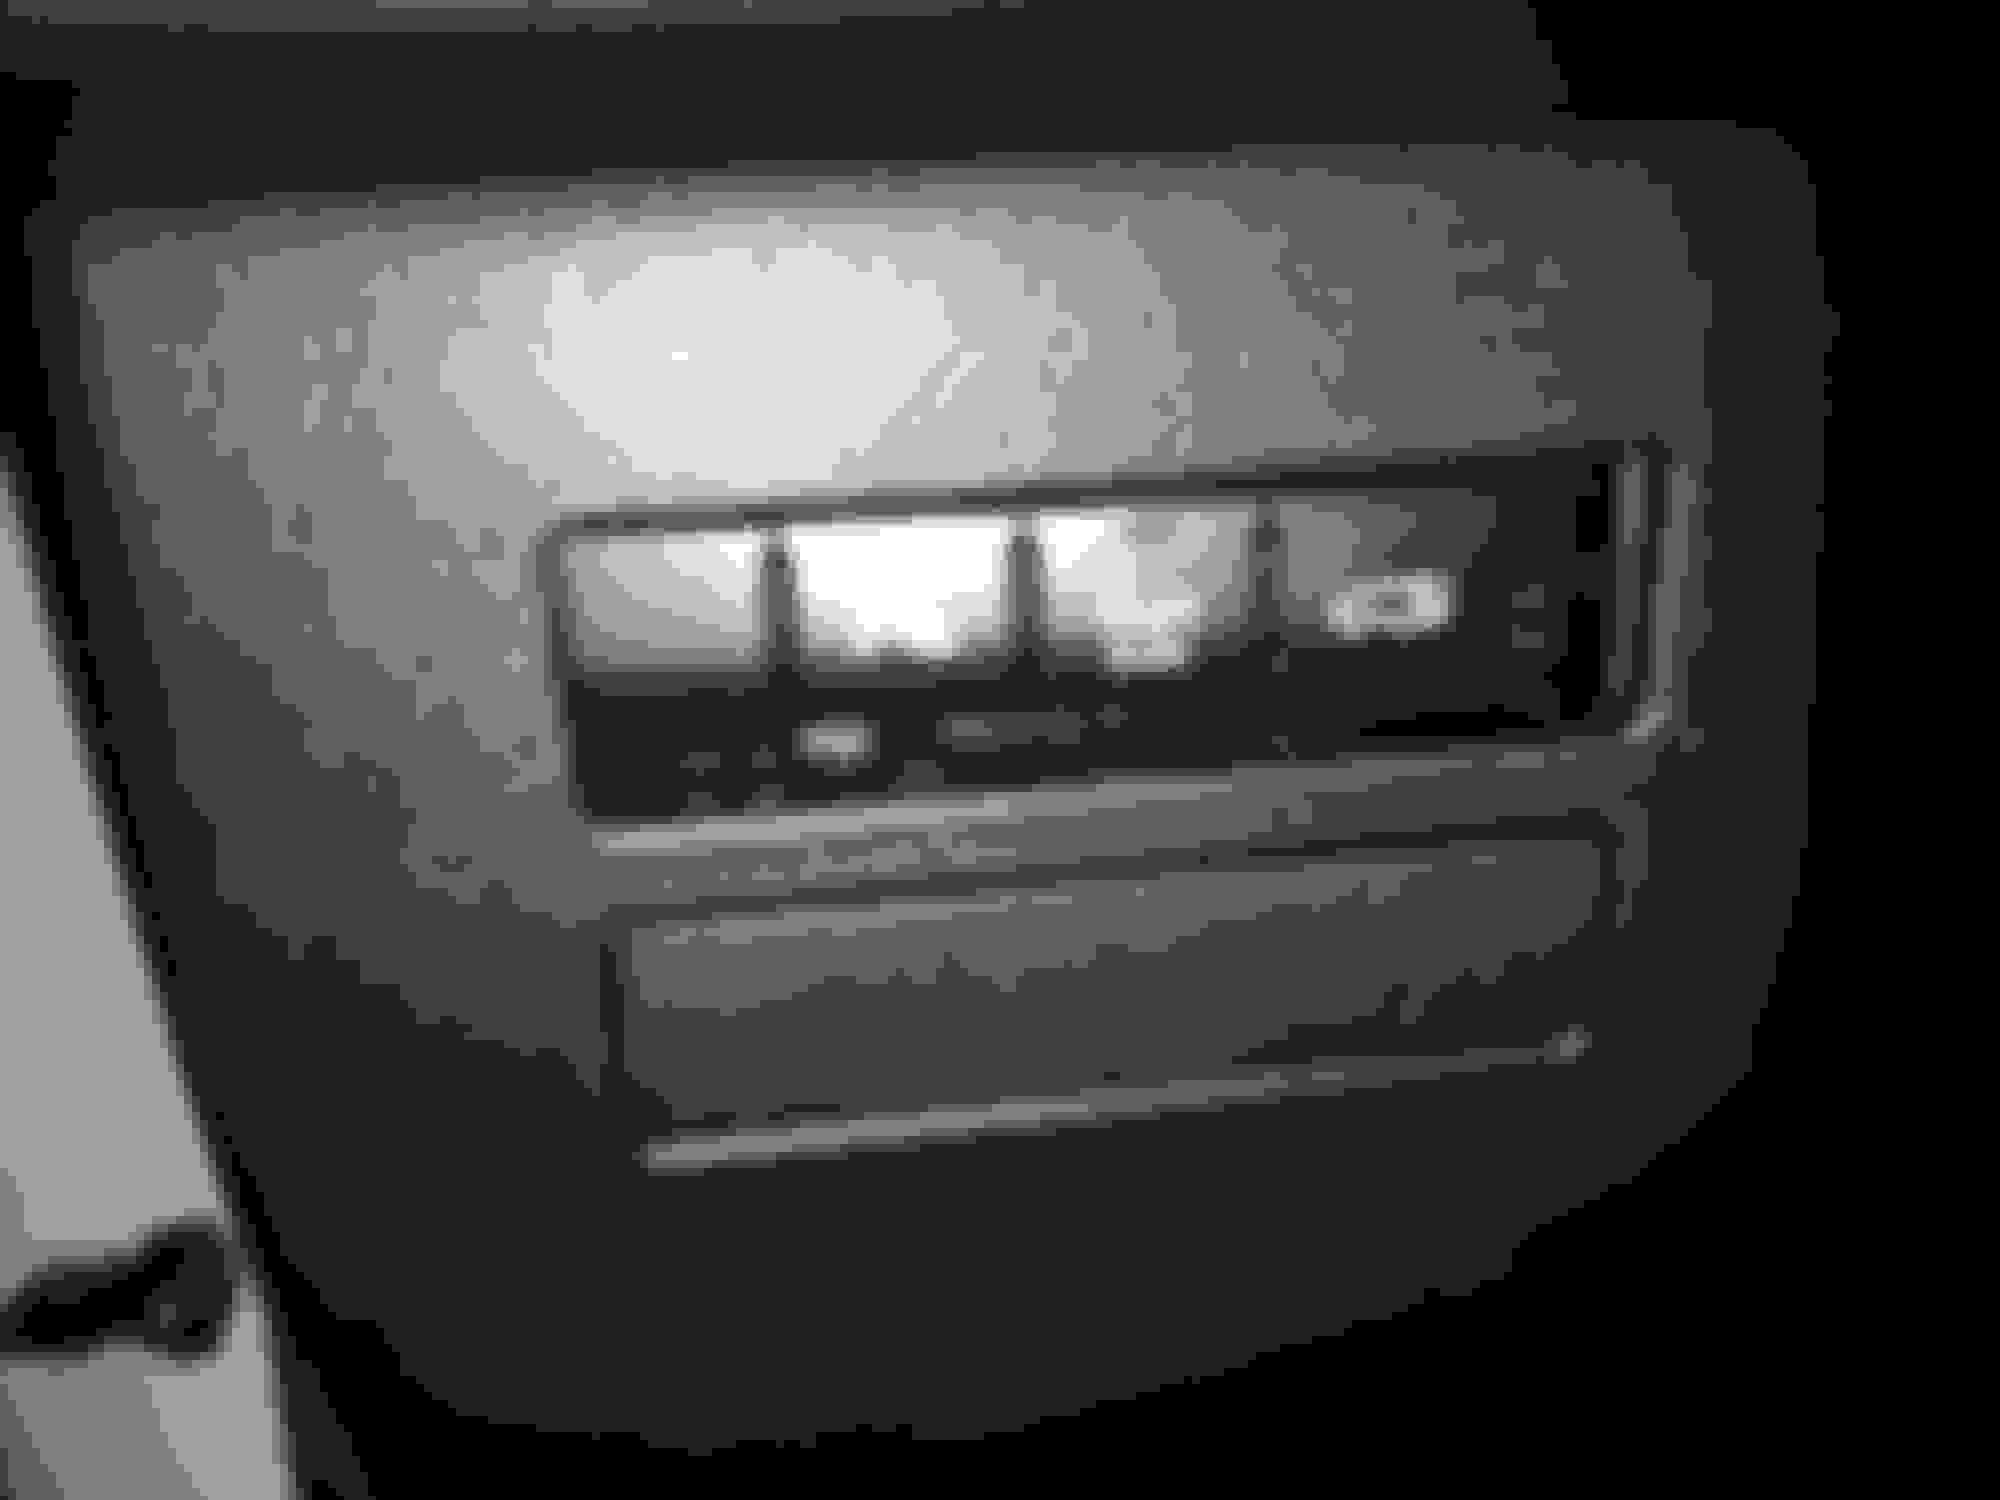
Hi, I have a question. How easy it is to remove those panels? I've never modded a car before, and I accidentally hit a set of buttons (the one with the trunk opener) on that side with my knee upon entering my vehicle, and it got pushed back and out of place.
Nice DIY on the USB charging plugs and thanks for sharing.
@rednezumi: The hardest part in pulling out most panels is having the courage to do it! Seriously, though, that's a part of it and pics like in the DIY above help to reduce the "fear" since they hint at which direction to apply the force to snap out the panel. However, some afterwards may have a screw or two holding it in place so it's always about using care. What helps to not damage the panel when first getting into the edge is a panel remover tool you can easily find on EBay.
OP can surely share some additional tips with regards to removing the lower panel on the left side of the dash.
Hey check out this video.. pretty much a whole break down of the center console and dash. See those red tabs as they pull out panels? Those tabs help with the ease of removal and more importantly putting it all back together.
The panels are very easy to pull out with minimal tool usage. Almost too easy!!
Last weekend I swapped out all of the factory speakers from the 10 speaker Lexus Audio package. I installed CDT audio mid-tweeters in the front corners, JL Audio C2-650 coaxials in the front and rear doors and unplugged the terrible subwoofer in the rear hatch Also had a JL audio amp and sub installed professionally. HUGE difference in the sound quality, even running off the factory amp. Will likely amp the speakers this spring with a JL Audio 4 channel amp.

 12-09-16, 05:56 PM


 Seriously, though, that's a part of it and pics like in the DIY above help to reduce the "fear" since they hint at which direction to apply the force to snap out the panel. However, some afterwards may have a screw or two holding it in place so it's always about using care. What helps to not damage the panel when first getting into the edge is a panel remover tool you can easily find on EBay.