When you click on links to various merchants on this site and make a purchase, this can result in this site earning a commission. Affiliate programs and affiliations include, but are not limited to, the eBay Partner Network.
🔧 DIY: How to Convert Rear Turn Signal Bulbs to LED (w/video & pics) 💡
DIY: How to Convert Rear Turn Signal Bulbs to LED
In this DIY, I'll show you what I did to replace the OEM (original) incandescent rear yellow turn signal bulbs with LED bulbs in your Lexus NX 200t. The video below shows the comparison between the original bulbs and the LED bulbs—as well as with both types installed. The top left of the video shows the original bulbs. The top right of the video shows the left turn signal with an LED bulb and the right turn signal with the original bulb. The bottom of the video shows the completed LED conversion on both turn signals. Notice that the OEM bulbs never turn completed off during their flashing cycles, whereas the LEDs do turn completely off and display a true on/off toggle while being definitely brighter. The brightness is a bit difficult to see in the video.
NOTE: The video doesn't do the LEDs justice. They look super-awesome in reality!!
After the video, I show the steps I took during this conversion, complete with photos. The whole process can take less than 30 minutes. I could do it again in less than 15 minutes. The most intimidating part is pulling off the light assembly.
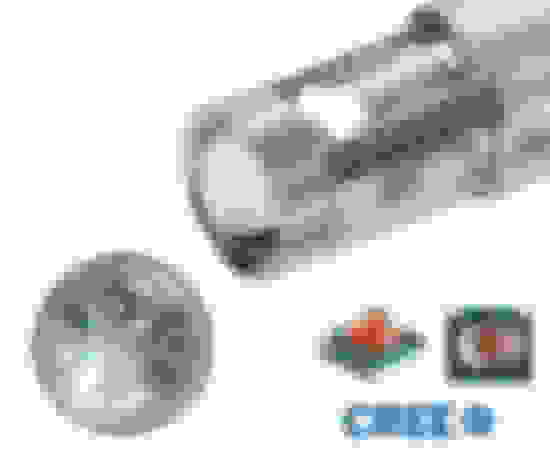
1) Buy the bulbs at ijdmtoy, choosing the "7440/7443 (20-025)" option.
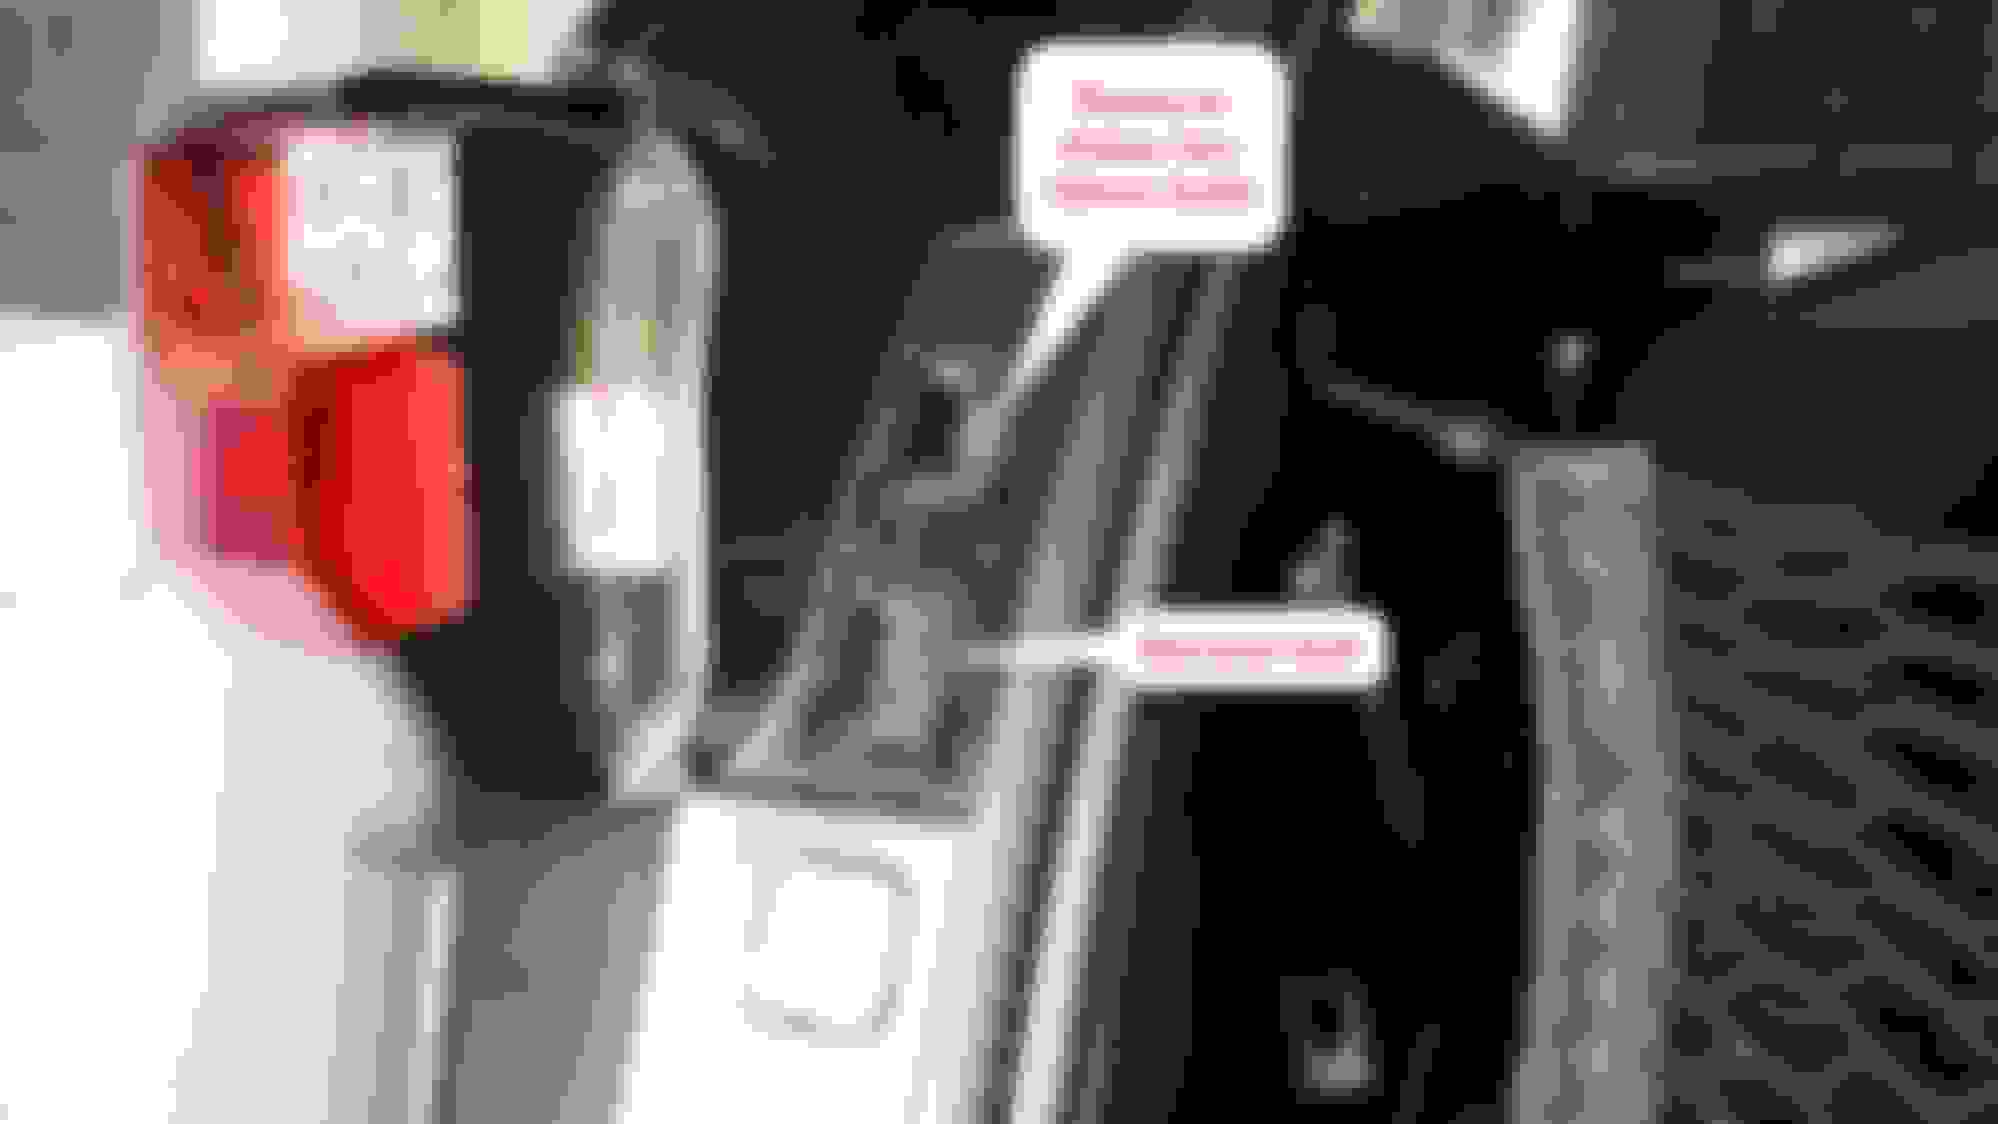
2) Pop off the plastic covering the two 10mm bolts next to the rear taillight assembly.
3) Mask-off the taillight assembly's exoskeleton so that it doesn't scratch your vehicle when popping it off.
4) The manual says to apply two strips of masking tape along the main span of the exoskeleton, extending it well beyond the assembly and then folding the excess portion in half. This is what you need to pull backward to release the assembly. However, in my experience, the masking tape didn't hold up to this pulling, so I used reinforced tape and wrapped the excess around a thick dowel. I used said dowel to make it easier to pull the assembly back and out.
NOTE: Be careful and don't pull too hard, I would nudge it backward until you feel it pop out. That way, you don't yank all the wires out. Also, I would advise against using duct tape as it may leave residue behind.
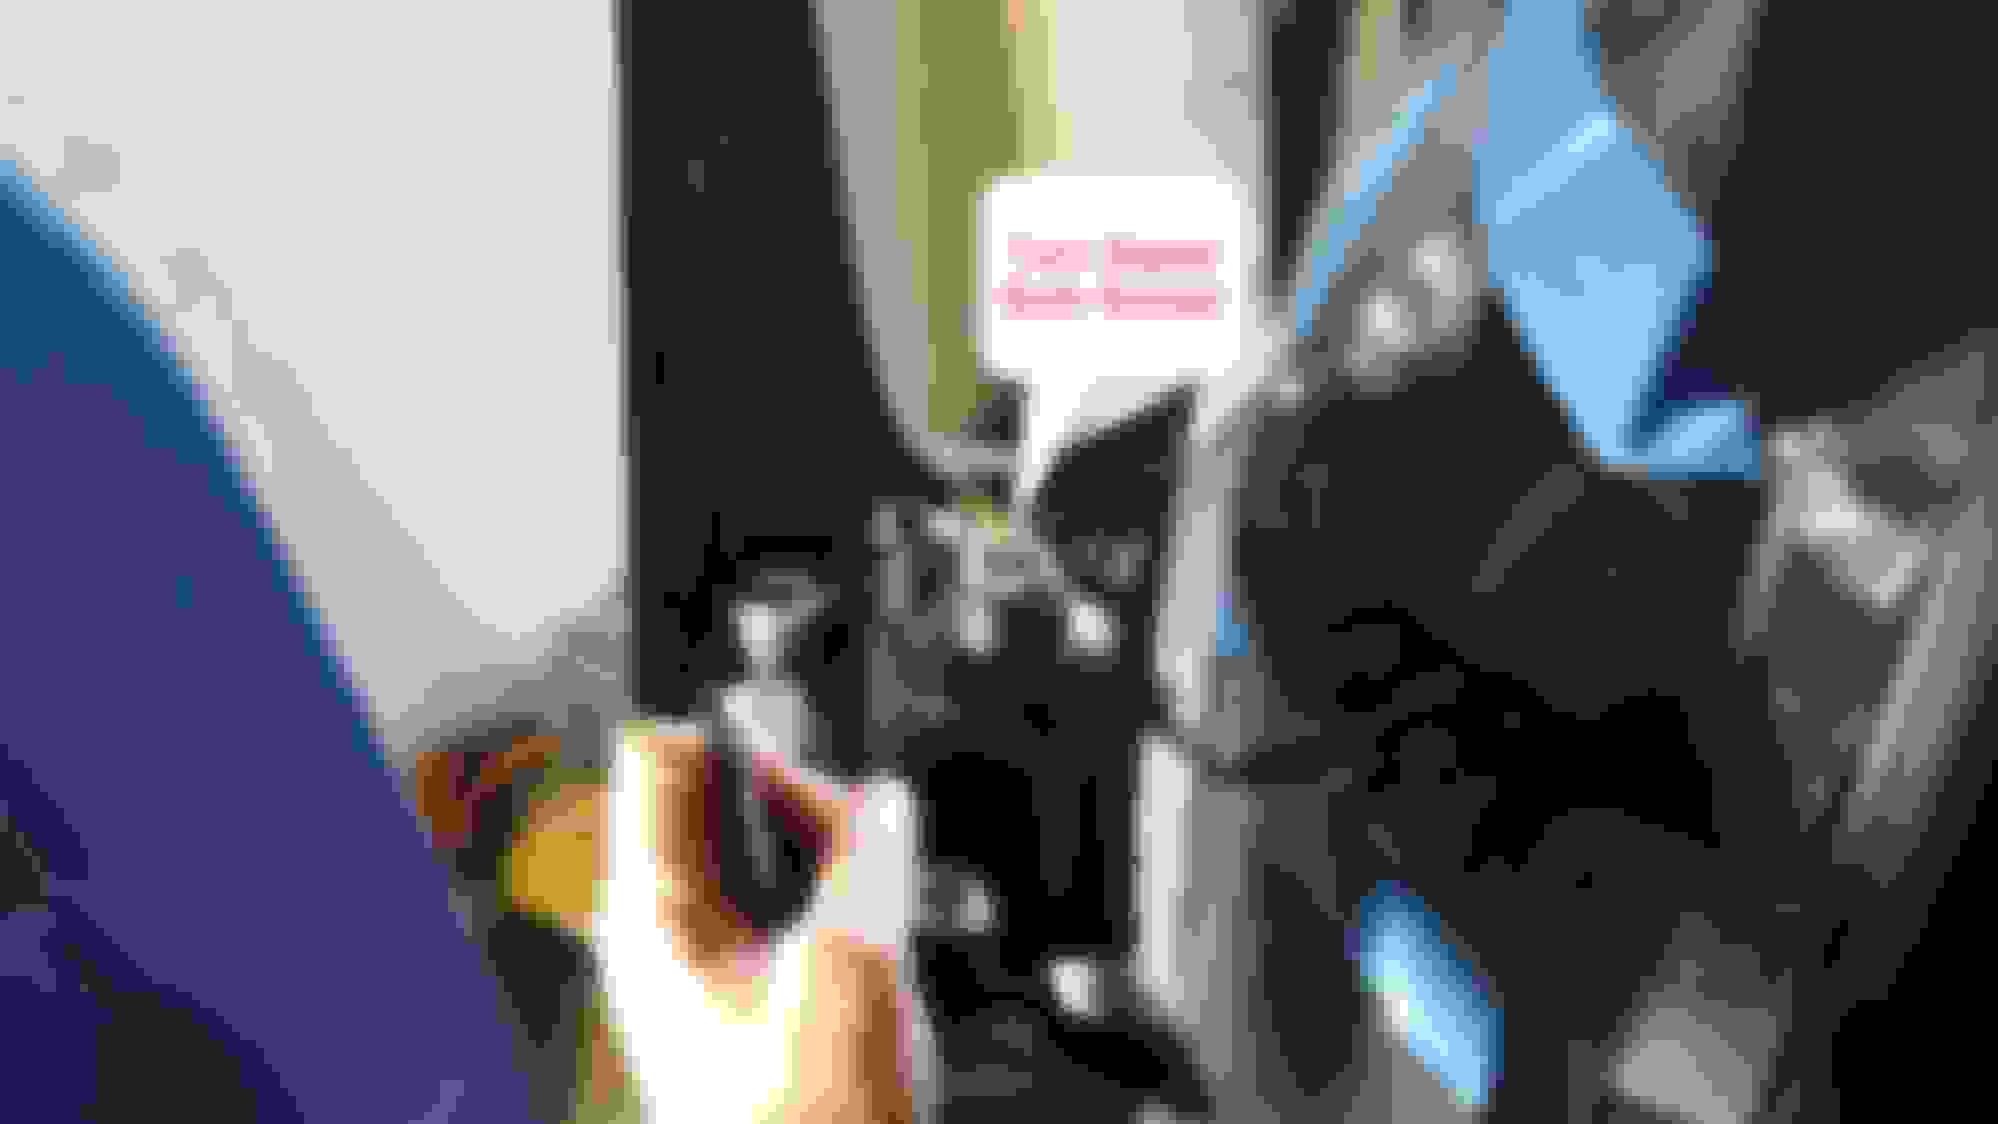
5) This is what the inside of the assembly looks like and where the turn signal bulb is housed.
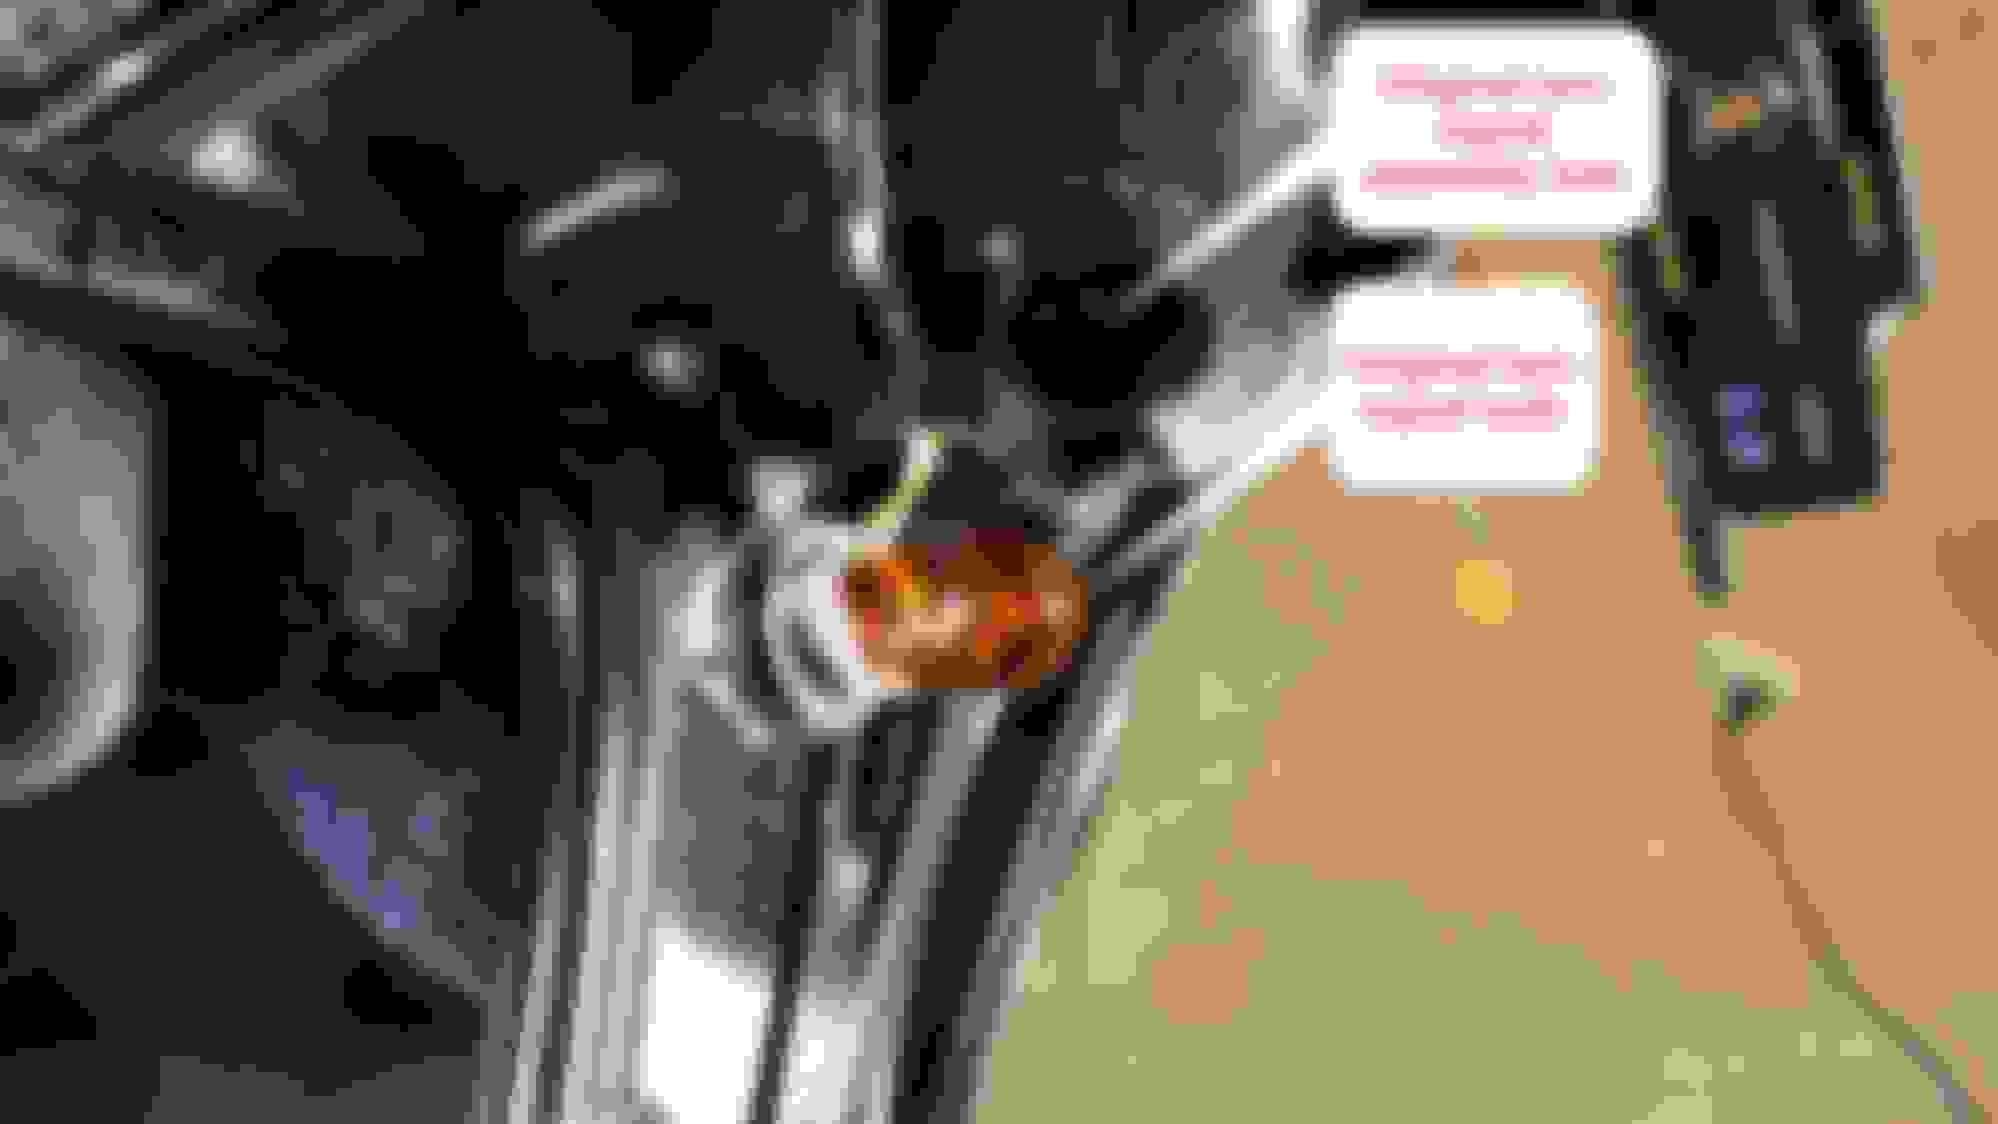
6) Turn and pull the turn signal bulb socket assembly to release it. Pull the original yellow-colored bulb out of its socket.
7) Insert the new LED bulb into the socket and insert carefully into the hole, twisting it to lock it in place.
NOTE: This may be a tight fit. On one of my assemblies, I had to loosen and remove the main taillight bulb (and related wires from the plastic wire "clips") to give the wires enough slack so I could fit the new LED bulb into its socket. On the other assembly, I was able to put the new LED bulb in without touching the main taillight bulb socket.
8) At this point, it behooves you to test the bulb out before reassembling everything—just in case something isn't quite right or loose. Get in the car, start it (or go to accessory mode) and turn on your turn signals, as well as the hazard lights. Step on the break and turn the lights on to check that the red lights (tail and brake) still work.
9) If everything has gone well, simply slide (carefully) the exoskeleton/assembly back onto the vehicle, making sure the front of the assembly slides into the clip. Push everything forward until you hear it click.
10) Insert the two bolts removed from step #2. Tighten until snug, but don't over-tighten.
11) Snap the bolt cover back on.
12) Repeat this whole process with the other turn signal assembly.
13) Oh, and one last step...enjoy your new modern turn signals!
Thanks for these great instructions! Mine still haven't shipped from the US, so it may be quite a while until I get them.
Originally Posted by NXOwner
NOTE: This may be a tight fit. On one of my assemblies, I had to loosen and remove the main taillight bulb (and related wires from the plastic wire "clips") to give the wires enough slack so I could fit the new LED bulb into its socket. On the other assembly, I was able to put the new LED bulb in without touching the main taillight bulb socket.
If I understand you correctly, could you potentially insert the bulb into the hole first, then hold it in the hole while attaching the receptable?
You're quite welcome! I hope they help once you get your bulbs.
Originally Posted by TeaAholic1
If I understand you correctly, could you potentially insert the bulb into the hole first, then hold it in the hole while attaching the receptable?
That was the first thing I tried. However, it takes a bit of force to plug the LED into the socket and�with the bulb sticking out of the hole�it is a difficult to hold it while applying force. My fingers didn't fit. Having some thin pliers (needlenose) may have helped with that. It was quicker for me to loosen the other bulb than it was for me to go retrieve my pliers. As I mentioned previously, the other assembly fit just fine without removing the other bulb.
I got my LEDs today and I installed them in the dark after work. I'm impressed that I managed to do it without blowing anything up!
LEDs are really bright,the only thing I realise that the light is now much more "orange" like the LEDs in the front instead of the really yellow orange yolk egg (really long description) of the original ones from the bulb.
I'm glad you finally were able to get your LEDs from ijdmtoy. Enjoy!
I got my LEDs today and I installed them in the dark after work. I'm impressed that I managed to do it without blowing anything up!
LEDs are really bright,the only thing I realise that the light is now much more "orange" like the LEDs in the front instead of the really yellow orange yolk egg (really long description) of the original ones from the bulb.
Thank you for this remarkable write up with photos. Could you please post some photos of what the brake light looks like without the light on? Since the aftermarket bulb is much longer, I wanted to see what it looked like when the brake light is off.
Sincere thanks!!!
- Sincerely,
Gianni
Originally Posted by NXOwner
DIY: How to Convert Rear Turn Signal Bulbs to LED
In this DIY, I'll show you what I did to replace the OEM (original) incandescent rear yellow turn signal bulbs with LED bulbs in your Lexus NX 200t. The video below shows the comparison between the original bulbs and the LED bulbs�as well as with both types installed. The top left of the video shows the original bulbs. The top right of the video shows the left turn signal with an LED bulb and the right turn signal with the original bulb. The bottom of the video shows the completed LED conversion on both turn signals. Notice that the OEM bulbs never turn completed off during their flashing cycles, whereas the LEDs do turn completely off and display a true on/off toggle while being definitely brighter. The brightness is a bit difficult to see in the video.
NOTE: The video doesn't do the LEDs justice. They look super-awesome in reality!!
After the video, I show the steps I took during this conversion, complete with photos. The whole process can take less than 30 minutes. I could do it again in less than 15 minutes. The most intimidating part is pulling off the light assembly.
1) Buy the bulbs at ijdmtoy choosing the "7440/7443 (20-025)" option.
2) Pop off the plastic covering the two 10mm bolts next to the rear taillight assembly.
3) Mask-off the taillight assembly's exoskeleton so that it doesn't scratch your vehicle when popping it off.
4) The manual says to apply two strips of masking tape along the main span of the exoskeleton, extending it well beyond the assembly and then folding the excess portion in half. This is what you need to pull backward to release the assembly. However, in my experience, the masking tape didn't hold up to this pulling, so I used reinforced tape and wrapped the excess around a thick dowel. I used said dowel to make it easier to pull the assembly back and out.
NOTE: Be careful and don't pull too hard, I would nudge it backward until you feel it pop out. That way, you don't yank all the wires out. Also, I would advise against using duct tape as it may leave residue behind.
5) This is what the inside of the assembly looks like and where the turn signal bulb is housed.
6) Turn and pull the turn signal bulb socket assembly to release it. Pull the original yellow-colored bulb out of its socket.
7) Insert the new LED bulb into the socket and insert carefully into the hole, twisting it to lock it in place.
NOTE: This may be a tight fit. On one of my assemblies, I had to loosen and remove the main taillight bulb (and related wires from the plastic wire "clips") to give the wires enough slack so I could fit the new LED bulb into its socket. On the other assembly, I was able to put the new LED bulb in without touching the main taillight bulb socket.
8) At this point, it behooves you to test the bulb out before reassembling everything�just in case something isn't quite right or loose. Get in the car, start it (or go to accessory mode) and turn on your turn signals, as well as the hazard lights. Step on the break and turn the lights on to check that the red lights (tail and brake) still work.
9) If everything has gone well, simply slide (carefully) the exoskeleton/assembly back onto the vehicle, making sure the front of the assembly slides into the clip. Push everything forward until you hear it click.
10) Insert the two bolts removed from step #2. Tighten until snug, but don't over-tighten.
11) Snap the bolt cover back on.
12) Repeat this whole process with the other turn signal assembly.
13) Oh, and one last step...enjoy your new modern turn signals!
Thank you for this remarkable write up with photos. Could you please post some photos of what the brake light looks like without the light on? Since the aftermarket bulb is much longer, I wanted to see what it looked like when the brake light is off.
Sincere thanks!!!
Thank you, Gianni, and you're welcome.
However, I don't have any pics of the brake light assembly off of the vehicle. I really don't want to disassemble the whole lighting system again. Sorry!
For those interested I have a write up in my signature too. I think the OP just did rears. But if you do the fronts along WITH the rears, you WILL get the dreaded hyperblink. For that you'll need resistors. Check it out: https://www.clublexus.com/forums/is-...oper-leds.html
For those interested I have a write up in my signature too. I think the OP just did rears. But if you do the fronts along WITH the rears, you WILL get the dreaded hyperblink. For that you'll need resistors. Check it out: https://www.clublexus.com/forums/is-...oper-leds.html
I'm the OP and since my NX has the factory enhanced LED daytime running lights, there was no need to install anything on the front.
 05-15-16, 10:00 PM