LX - 1st and 2nd Gen (1996-2007) Post here for topics related to the LX470 or LX450

LX470 Levinson Subwoofer repair step by step

Thread Tools
 
Search this Thread
 
Old 08-02-14, 02:33 PM
  #1  
jimboak
Driver School Candidate
Thread Starter
 
jimboak's Avatar
 
Join Date: Jun 2014
Location: TX
Posts: 15
Likes: 0
Received 12 Likes on 8 Posts
Default LX470 Levinson Subwoofer repair step by step

My 2001 LX470 just hit 120,000 miles. It is my wife's 'baby' and has gotten weekly TLC inside and out since new. I purchased the shop manuals and have done all the maintenance after the warranty period, using OEM parts from Sewell except for oil and filter (Mobil 1 synthetic and K&G filter). I have upgraded the Nav from Gen2 to Gen4 (from a Prius), replaced the timing belt, water pump and radiator (which had a leak around the top plastic fitting), and fixed one of the O2 sensors. Recently the subwoofer on the ML audio started making funky buzzing sounds. After opening it up, I found the foam surround had started to crumble. I ordered a foam repair kit from Simply Speakers (FSK-6bt-1) which was a perfect fit. Cost was about $20.

There are a number of threads about the ML subwoofer itself. My unit is a 6 inch 12 ohm single voice coil speaker. One of the reasons I decided to repair it is that there is no direct replacement for that speaker at a reasonable price.

There is no procedure in the manual for removing and replacing the subwoofer so I documented the process so that anyone trying this can see what I ran across. There was nothing really difficult but getting at the subwoofer requires a fair amount of work.

This is my first post so please excuse any formatting or other issues. It looks like the step by step posters do a post for each step so that's what I will do for this.

You need to remove everything keeping the rear internal driver side quarter panel cover in place. I started with the skuff panel. This is removed by gently inserting a screwdriver and (hopefully) finding the two press pins and popping them up. Even if you don't get it exact, they will come up with slight pressure. There are also two delicate small tabs - after popping up the outside of the skuff panel, push to the inside to release the tabs. See arrows on photo.
Attached Thumbnails LX470 Levinson Subwoofer repair step by step-sub1.jpg   LX470 Levinson Subwoofer repair step by step-sub2b.jpg   LX470 Levinson Subwoofer repair step by step-sub3a.jpg  

Last edited by jimboak; 08-02-14 at 02:47 PM.
The following 3 users liked this post by jimboak:
gewmd (03-16-17), mack48034 (02-22-24), Vernw (08-06-18)
Old 08-02-14, 02:52 PM
  #2  
jimboak
Driver School Candidate
Thread Starter
 
jimboak's Avatar
 
Join Date: Jun 2014
Location: TX
Posts: 15
Likes: 0
Received 12 Likes on 8 Posts
Default

Next I removed the internal step. This is held in place by two 10mm bolts which are underneath little round covers. Carefully pry out the round covers with a small screwdriver - they come out easily. I used a 1/4 extension to get a little more swing on the ratchet.
Attached Thumbnails LX470 Levinson Subwoofer repair step by step-sub4.jpg  
The following 2 users liked this post by jimboak:
gewmd (03-16-17), Vernw (08-06-18)
Old 08-02-14, 03:01 PM
  #3  
jimboak
Driver School Candidate
Thread Starter
 
jimboak's Avatar
 
Join Date: Jun 2014
Location: TX
Posts: 15
Likes: 0
Received 12 Likes on 8 Posts
Default Subwoofer reapir step 3

Next I moved to the back. First, completely remove the third row driver's side seat.
Attached Thumbnails LX470 Levinson Subwoofer repair step by step-sub5.jpg   LX470 Levinson Subwoofer repair step by step-sub6.jpg  
The following users liked this post:
gewmd (03-16-17)
Old 08-02-14, 03:57 PM
  #4  
jimboak
Driver School Candidate
Thread Starter
 
jimboak's Avatar
 
Join Date: Jun 2014
Location: TX
Posts: 15
Likes: 0
Received 12 Likes on 8 Posts
Default Subwoofer repair step 4

Next remove the seat belt anchors which are mounted over the panel cover. You may be able to slide the covers up on the belt, but if not, use a 14mm box wrench to loosen it a little. Then slide the cover up onto the belt and use a 14mm socket to remove the anchor.
Attached Thumbnails LX470 Levinson Subwoofer repair step by step-sub8.jpg   LX470 Levinson Subwoofer repair step by step-sub9.jpg   LX470 Levinson Subwoofer repair step by step-sub10.jpg   LX470 Levinson Subwoofer repair step by step-sub11.jpg  
The following users liked this post:
gewmd (03-16-17)
Old 08-02-14, 04:17 PM
  #5  
jimboak
Driver School Candidate
Thread Starter
 
jimboak's Avatar
 
Join Date: Jun 2014
Location: TX
Posts: 15
Likes: 0
Received 12 Likes on 8 Posts
Default Subwoofer repair step 5

Next remove the seat anchor cover which is held with a Torx screw. After that, remove the lower gate hinge cover by removing the Phillips screws and then gently prying up on the cover. This was kind of hard to get for me, the end wedge tabs did not want to come out but I managed to do it without breaking them. The picture helps to see what needs to be done.
Attached Thumbnails LX470 Levinson Subwoofer repair step by step-sub12.jpg   LX470 Levinson Subwoofer repair step by step-sub13.jpg   LX470 Levinson Subwoofer repair step by step-sub14.jpg  
The following 2 users liked this post by jimboak:
gewmd (03-16-17), Vernw (08-06-18)
Old 08-02-14, 04:30 PM
  #6  
jimboak
Driver School Candidate
Thread Starter
 
jimboak's Avatar
 
Join Date: Jun 2014
Location: TX
Posts: 15
Likes: 0
Received 12 Likes on 8 Posts
Default Subwoofer repair step 6

Now we are ready to remove the main side panel. There are two black clips, one where the hinge cover was removed, and one inside the jack storage area. Remove the jack tools (I left the jack in), and pop out the black push clips.

Then, starting from the back, pull back the carpet from the panel. It seems that the carpet itself is what holds the bottom of the panel in place. You can then start working the panel loose along the top, pulling gently until the pop out clips come loose. After the back is loose, disconnect the 12V power adapter. Once the panel is loose all around it can be maneuvered out by angling the top and freeing up the carpet on the bottom.
Attached Thumbnails LX470 Levinson Subwoofer repair step by step-sub15.jpg   LX470 Levinson Subwoofer repair step by step-sub16.jpg  
Old 08-02-14, 07:05 PM
  #7  
jimboak
Driver School Candidate
Thread Starter
 
jimboak's Avatar
 
Join Date: Jun 2014
Location: TX
Posts: 15
Likes: 0
Received 12 Likes on 8 Posts
Default Subwoofer reapir step 7

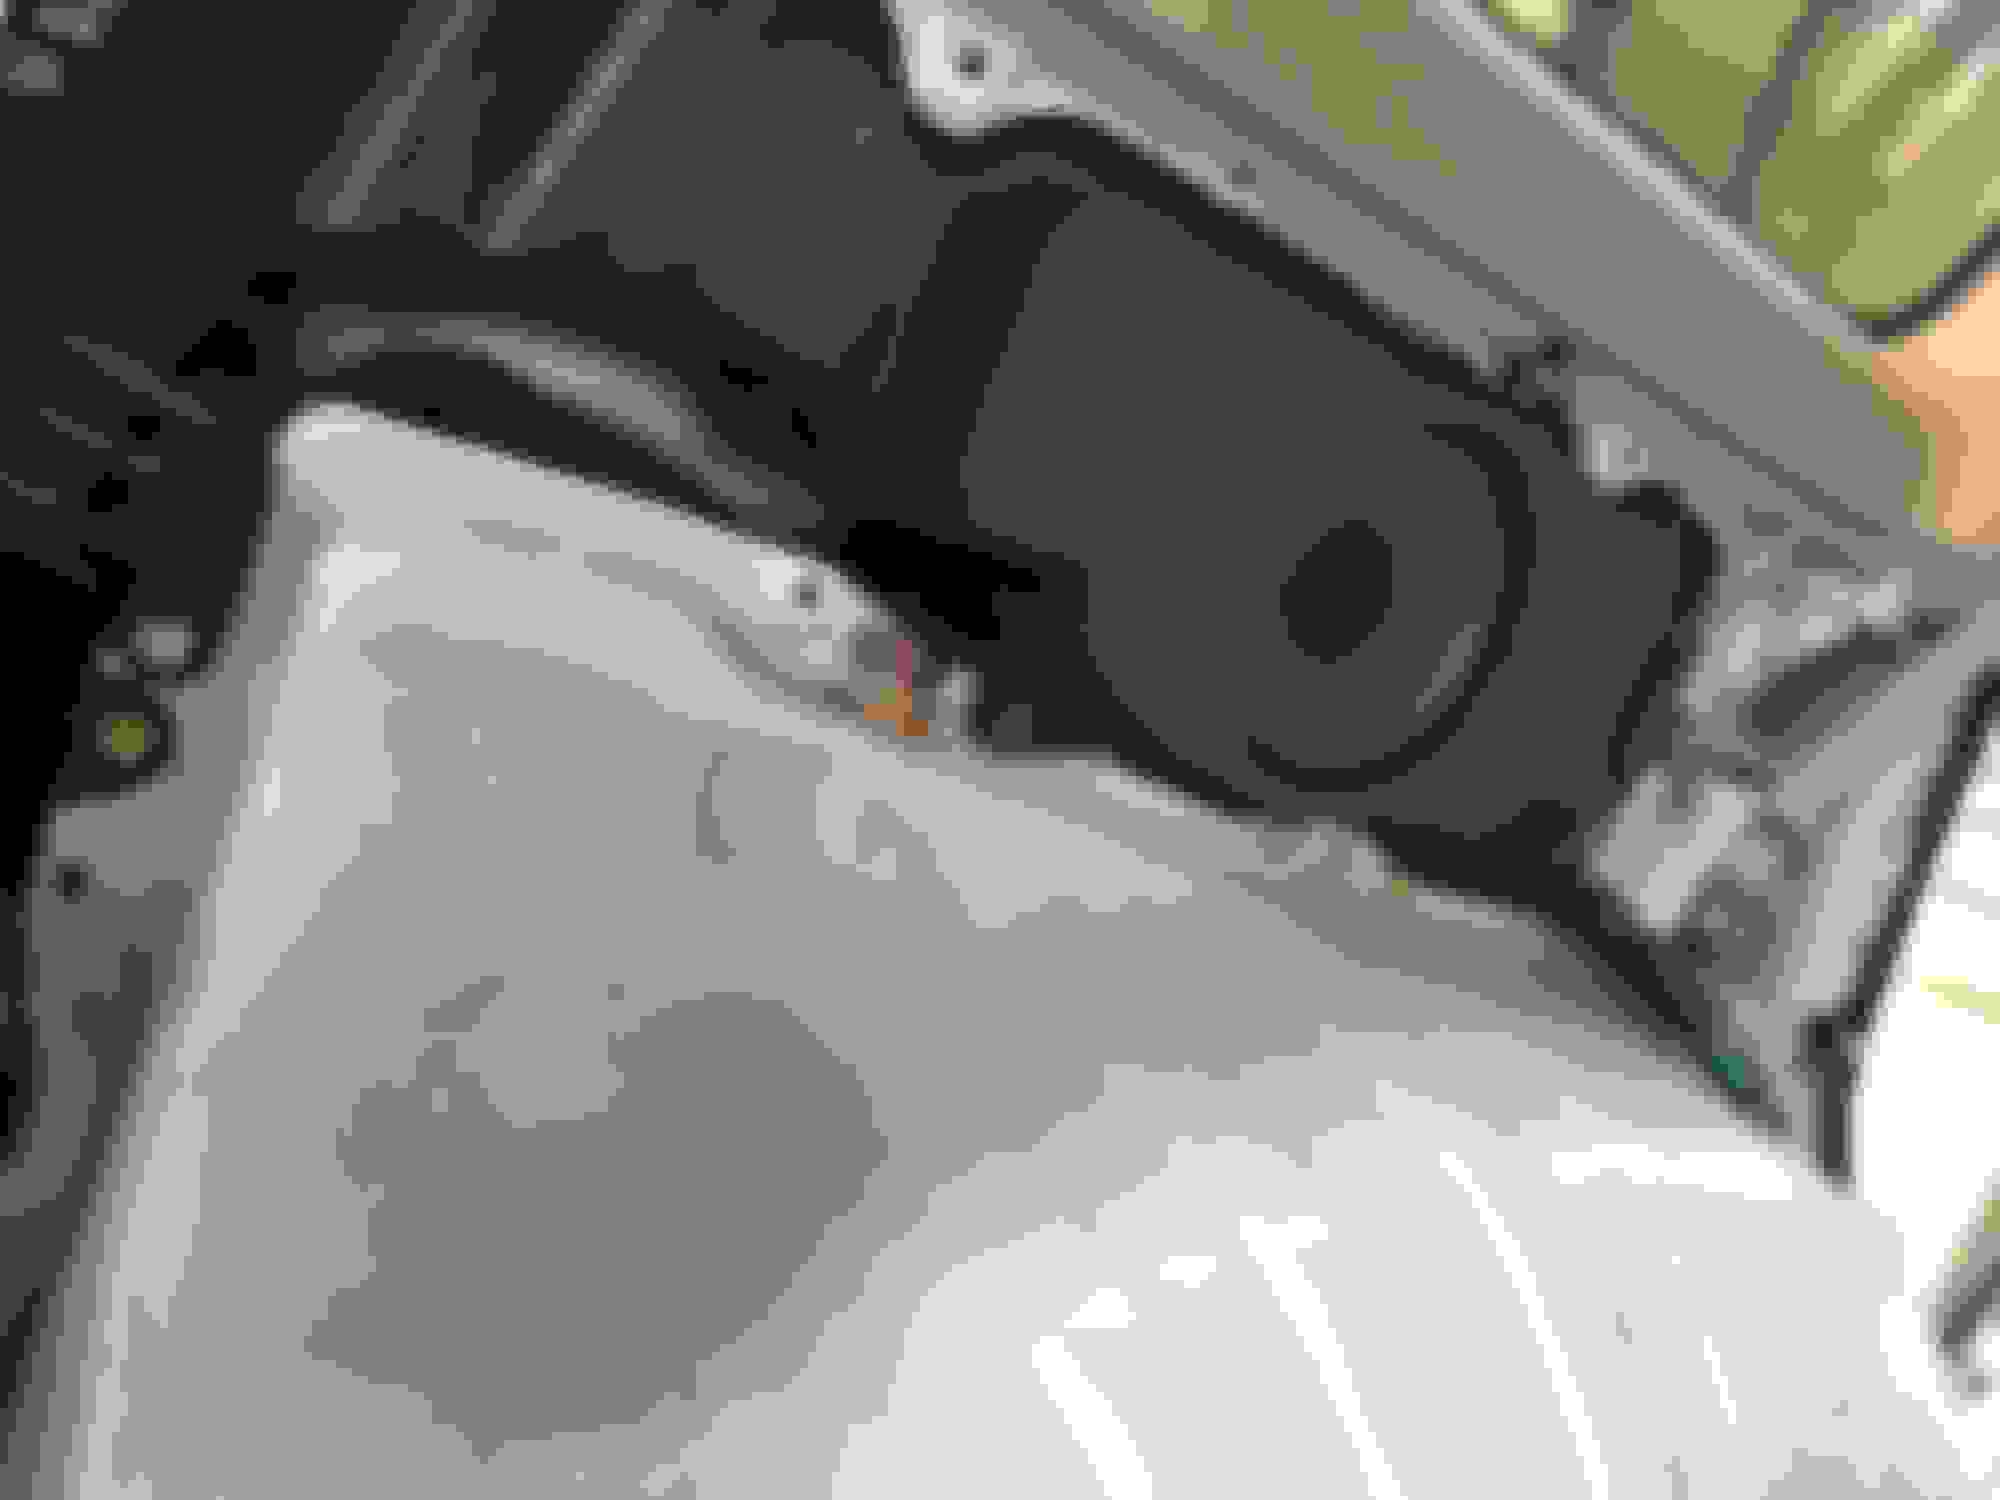
Once the panel is removed, the subwoofer enclosure is exposed. It is held in place by a number of 10mm bolts. When they are removed, the subwoofer enclosure can be pulled out. Disconnect the subwoofer connector and take out the enclosure.

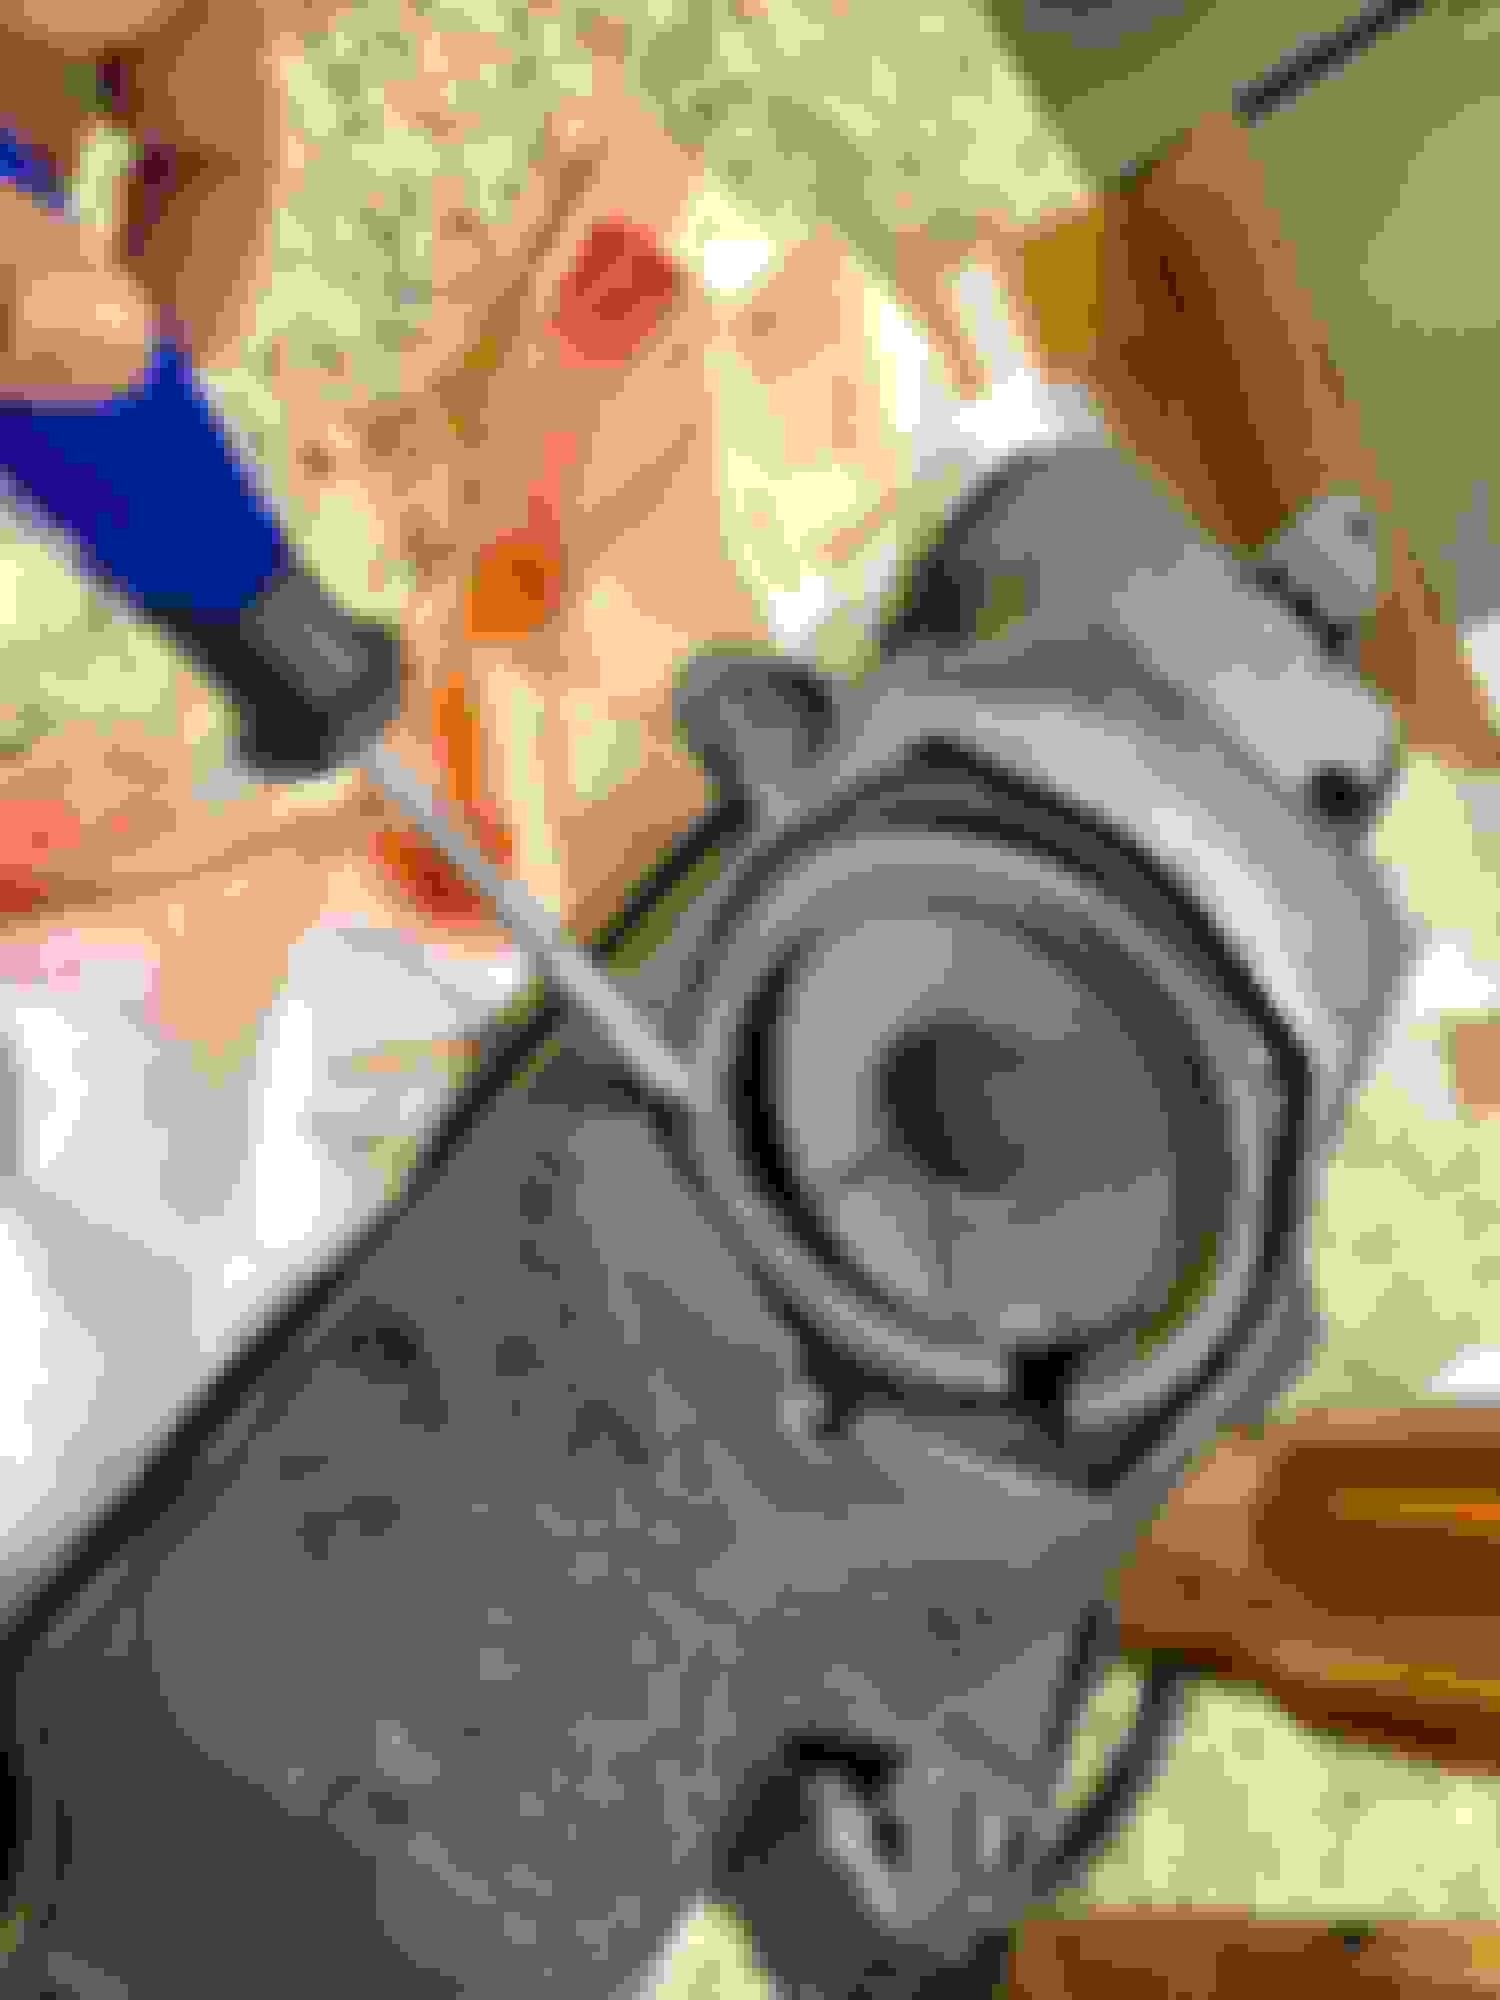
The foam surround is obviously falling apart but the cone looks fine.
Attached Thumbnails LX470 Levinson Subwoofer repair step by step-sub17.jpg   LX470 Levinson Subwoofer repair step by step-sub18.jpg   LX470 Levinson Subwoofer repair step by step-sub16a.jpg  

Last edited by jimboak; 08-02-14 at 07:18 PM.
The following users liked this post:
gewmd (03-16-17)
Old 08-02-14, 07:38 PM
  #8  
jimboak
Driver School Candidate
Thread Starter
 
jimboak's Avatar
 
Join Date: Jun 2014
Location: TX
Posts: 15
Likes: 0
Received 12 Likes on 8 Posts
Default subwoofer repair step 8

Place your enclosure on a clean work area with the subwoofer facing up. Carefully peel back the grey foam gasket to expose the four screws which are Torx #20 and remove them. carefully remove the subwoofer from the enclosure and set it by the enclosure - there is enough wire so that it will sit easily on the work surface. The kit from Simply Speakers has the foam surround, special glue and very good instructions.

I carefully removed the plastic spacer and as much of the old surround as possible - it was dried out and easily broke up with just a touch. Then I soaked the remainder with 99% alcohol and wiped it off. It took 4 or 5 applications to get the cone clean but when it was done, the edge of the cone was perfectly clear and clean. I did the same for the frame. I then put the new surround on to check the fit - it was an absolutely perfect match. I then followed the instructions to glue on the new surround.
Attached Thumbnails LX470 Levinson Subwoofer repair step by step-sub19.jpg   LX470 Levinson Subwoofer repair step by step-sub20.jpg   LX470 Levinson Subwoofer repair step by step-sub23.jpg   LX470 Levinson Subwoofer repair step by step-sub22a.jpg   LX470 Levinson Subwoofer repair step by step-sub24.jpg  

The following users liked this post:
gewmd (03-16-17)
Old 08-02-14, 07:52 PM
  #9  
jimboak
Driver School Candidate
Thread Starter
 
jimboak's Avatar
 
Join Date: Jun 2014
Location: TX
Posts: 15
Likes: 0
Received 12 Likes on 8 Posts
Default Subwoofer repair step 9

When the glue has dried, replace the subwoofer in the enclosure and pull the foam gasket back over it. If there is not enough stickum on the gasket, use a drop of speaker glue. Then put everything back in reverse order.

The repaired speaker sounds great - as good as new. I'll update after I get some time on the fix.
Attached Thumbnails LX470 Levinson Subwoofer repair step by step-sub25.jpg  
The following users liked this post:
gewmd (03-16-17)
Old 08-06-14, 12:16 PM
  #10  
chingwodap
Driver School Candidate
 
chingwodap's Avatar
 
Join Date: May 2011
Location: WA
Posts: 19
Likes: 0
Received 1 Like on 1 Post
Default

Nice job & DIY...since JL Audio stopped selling the 6w0, it's been hard to find a replacement, even on ebay. Your DIY should help a lot of folks!
The following users liked this post:
gewmd (03-16-17)
Old 05-12-18, 10:25 AM
  #11  
MadRom
Driver School Candidate
 
MadRom's Avatar
 
Join Date: Aug 2015
Location: NC
Posts: 4
Likes: 0
Received 1 Like on 1 Post
Default OEM subwoofer repair

Hello, I did less photos than Jim but maybe it will help anybody.
Cost was $17.95 for the kit from ebay and 2 hours of working time.
Result is clear sound from subwoofer.


The following users liked this post:
Vernw (08-06-18)
Old 11-19-18, 11:23 AM
  #12  
The Ikon
Lexus Champion
 
The Ikon's Avatar
 
Join Date: Feb 2001
Location: Mississippi
Posts: 2,506
Received 25 Likes on 22 Posts
Default

Great write up from OP!!! I used his directions to repair mine with my daughter! Sounds as good as new!!!!


Last edited by The Ikon; 11-19-18 at 11:26 AM.
The following users liked this post:
donj51 (02-22-22)
Old 06-15-19, 05:00 PM
  #13  
victorynap
Driver School Candidate
 
victorynap's Avatar
 
Join Date: Jun 2019
Location: TX
Posts: 1
Likes: 0
Received 0 Likes on 0 Posts
Default Don’t forget a screw!

When removing the trim panel, there’s a screw behind grocery net holder thing. It twists to the side, and slides out to reveal a Phillips head screw.
Old 06-16-19, 12:49 PM
  #14  
hankinid
Pole Position
 
hankinid's Avatar
 
Join Date: Jun 2015
Location: Idaho
Posts: 2,878
Received 424 Likes on 360 Posts
Default

Beautiful work and looks like you have a talented helper...I remember those days. Happy Father's Day.
The following users liked this post:
The Ikon (06-18-19)
Old 06-18-19, 04:05 AM
  #15  
The Ikon
Lexus Champion
 
The Ikon's Avatar
 
Join Date: Feb 2001
Location: Mississippi
Posts: 2,506
Received 25 Likes on 22 Posts
Default

Originally Posted by hankinid
Beautiful work and looks like you have a talented helper...I remember those days. Happy Father's Day.
Thanks and it’s still sounding great..! NOW I have to replace the front drivers door woofer surround soon... I’ll call my trusty helper again.

***JIMBOAK do you have a door tutorial my friend?!


Quick Reply: LX470 Levinson Subwoofer repair step by step


All times are GMT -7. The time now is 12:11 AM.