When you click on links to various merchants on this site and make a purchase, this can result in this site earning a commission. Affiliate programs and affiliations include, but are not limited to, the eBay Partner Network.
02 LS430 symptoms - minor rough idle with a noticeable vibration/shake of steering wheel at idle. CEL present with OBD-II code P0141 which has been illuminated for the last 3 months. I ordered a new sensor with plans to replace during cleaning procedure. I cleaned the MAF sensor and throttle body over the holidays and rough idle is now gone, huge noticeable throttle response afterwards. It has now been a week since cleaning procedure and the CEL has not returned.
Apparently the code was related to a dirty MAF sensor as I did not replace the O2 sensor since the CEL has not returned. UPDATE - CEL came back on today P0141 (o2 sensor)
3 - Pull upwards on sensor to remove. Spray the sensor element as shown in pic below. Let soak for a few minutes and respray. CRC MAF sensor cleaner was used in this procedure.
4 - Let dry for 5-10 minutes before installing. Note: the underside of sensor has an o-ring. I lubed it with WD-40 prior to installing into air intake tube to prevent damage
Final step - Plug wiring connector into sensor and connect negative battery terminal to battery
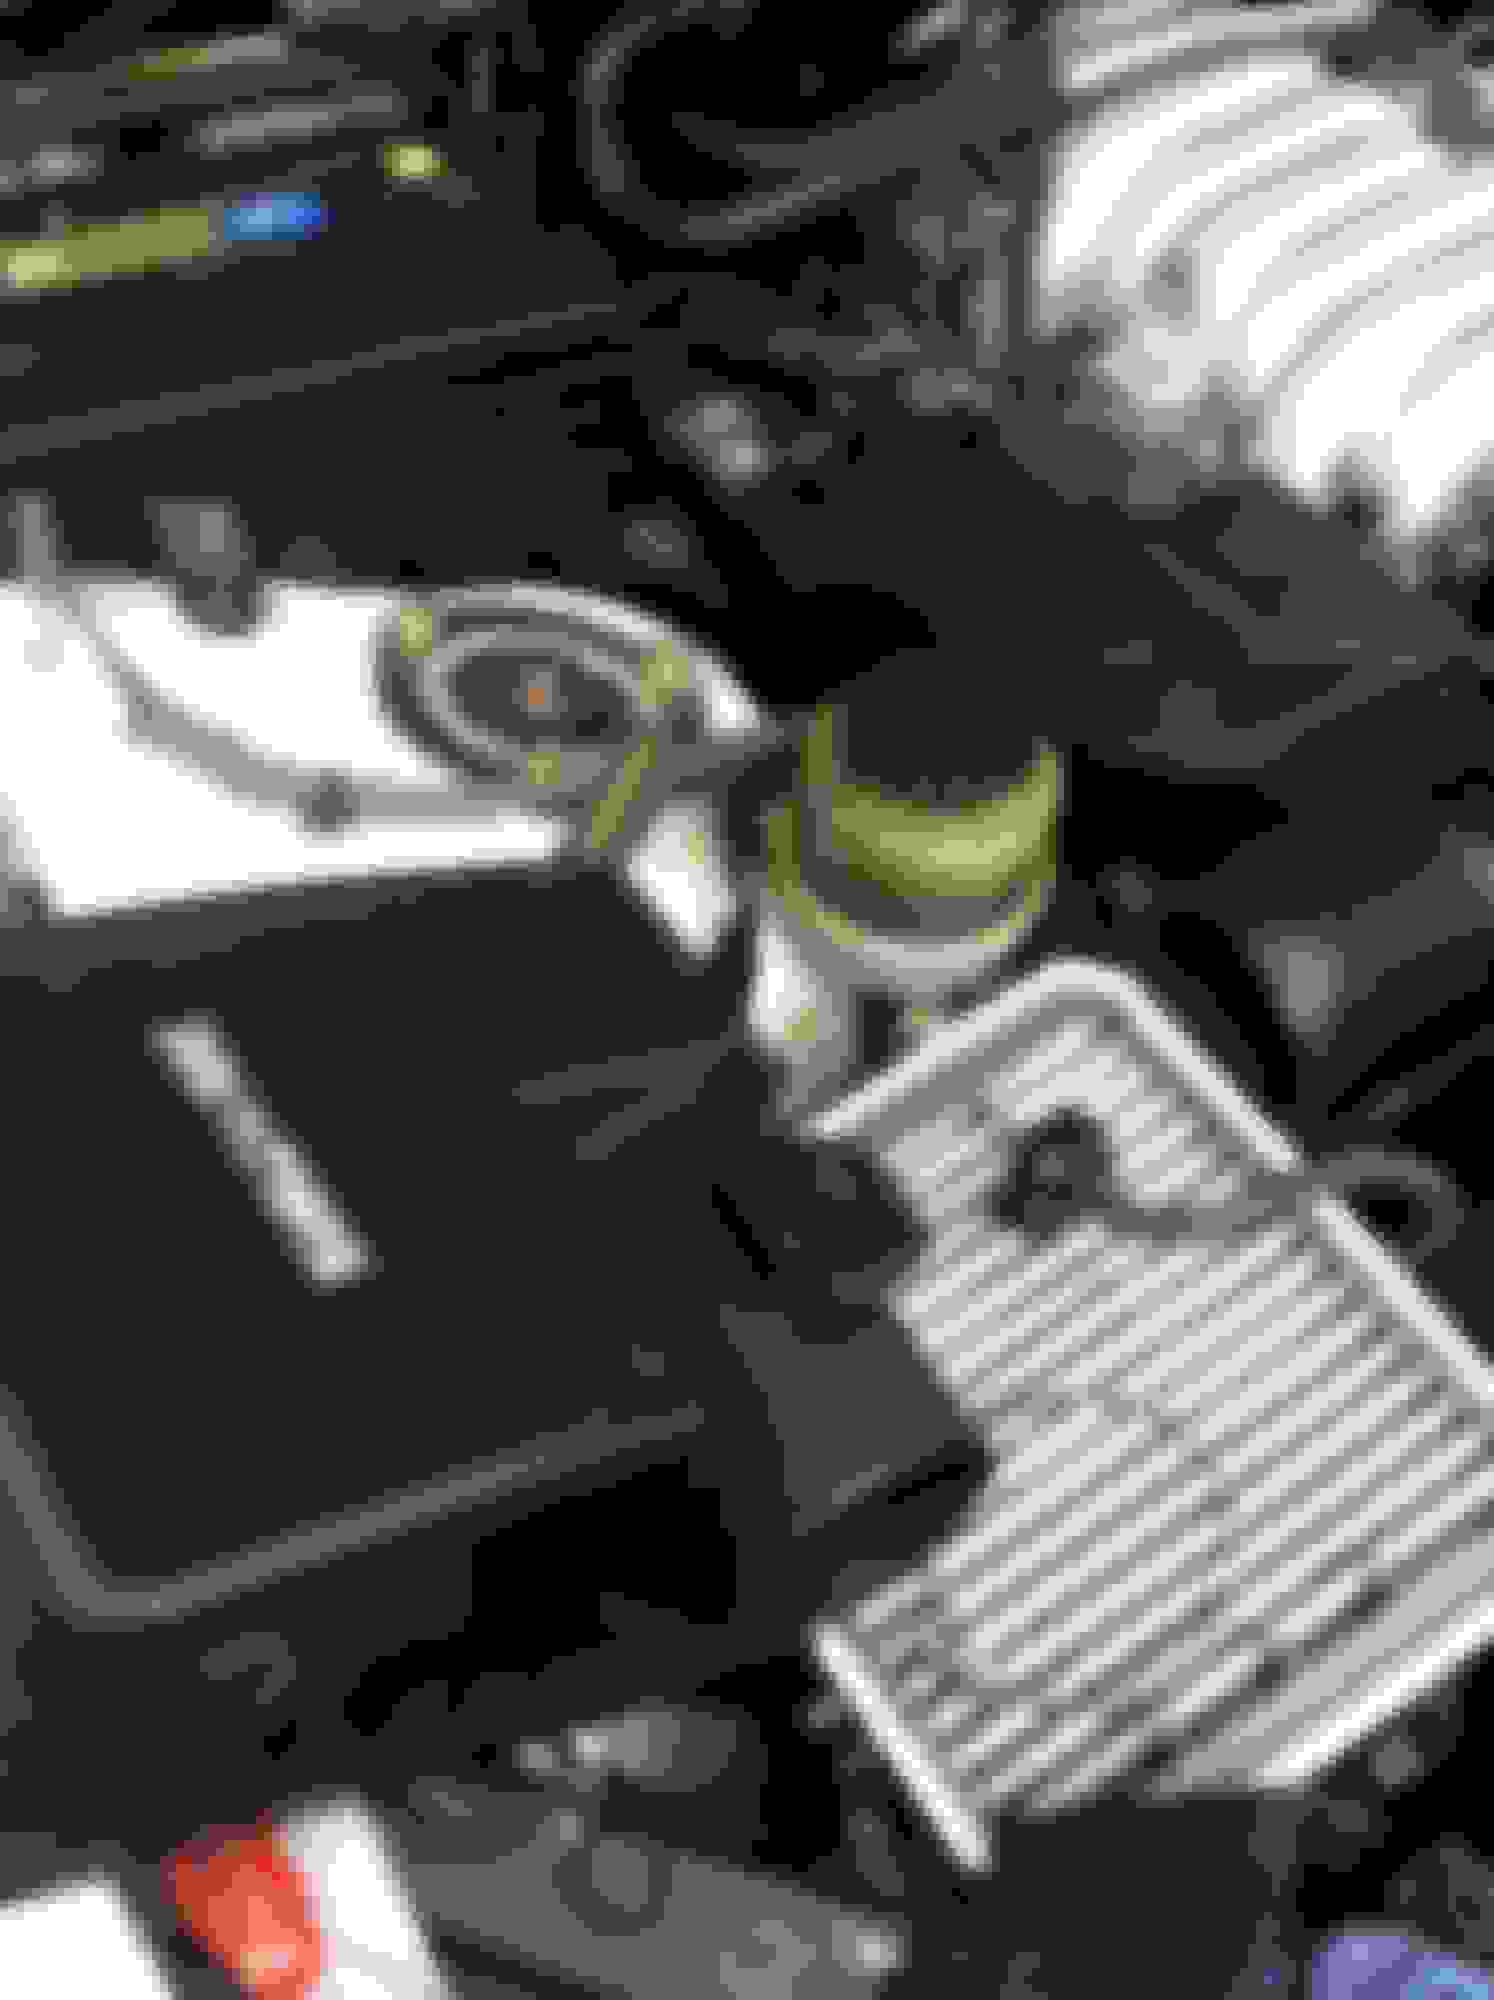
4 - Remove MAF sensor connector. Loosen intake tube clamp from filter housing ( 10mm/cross tip). Unsnap the 4 hold down clamps to filter/air box cover and set to the side. Remove the intake tube clamp and set aside
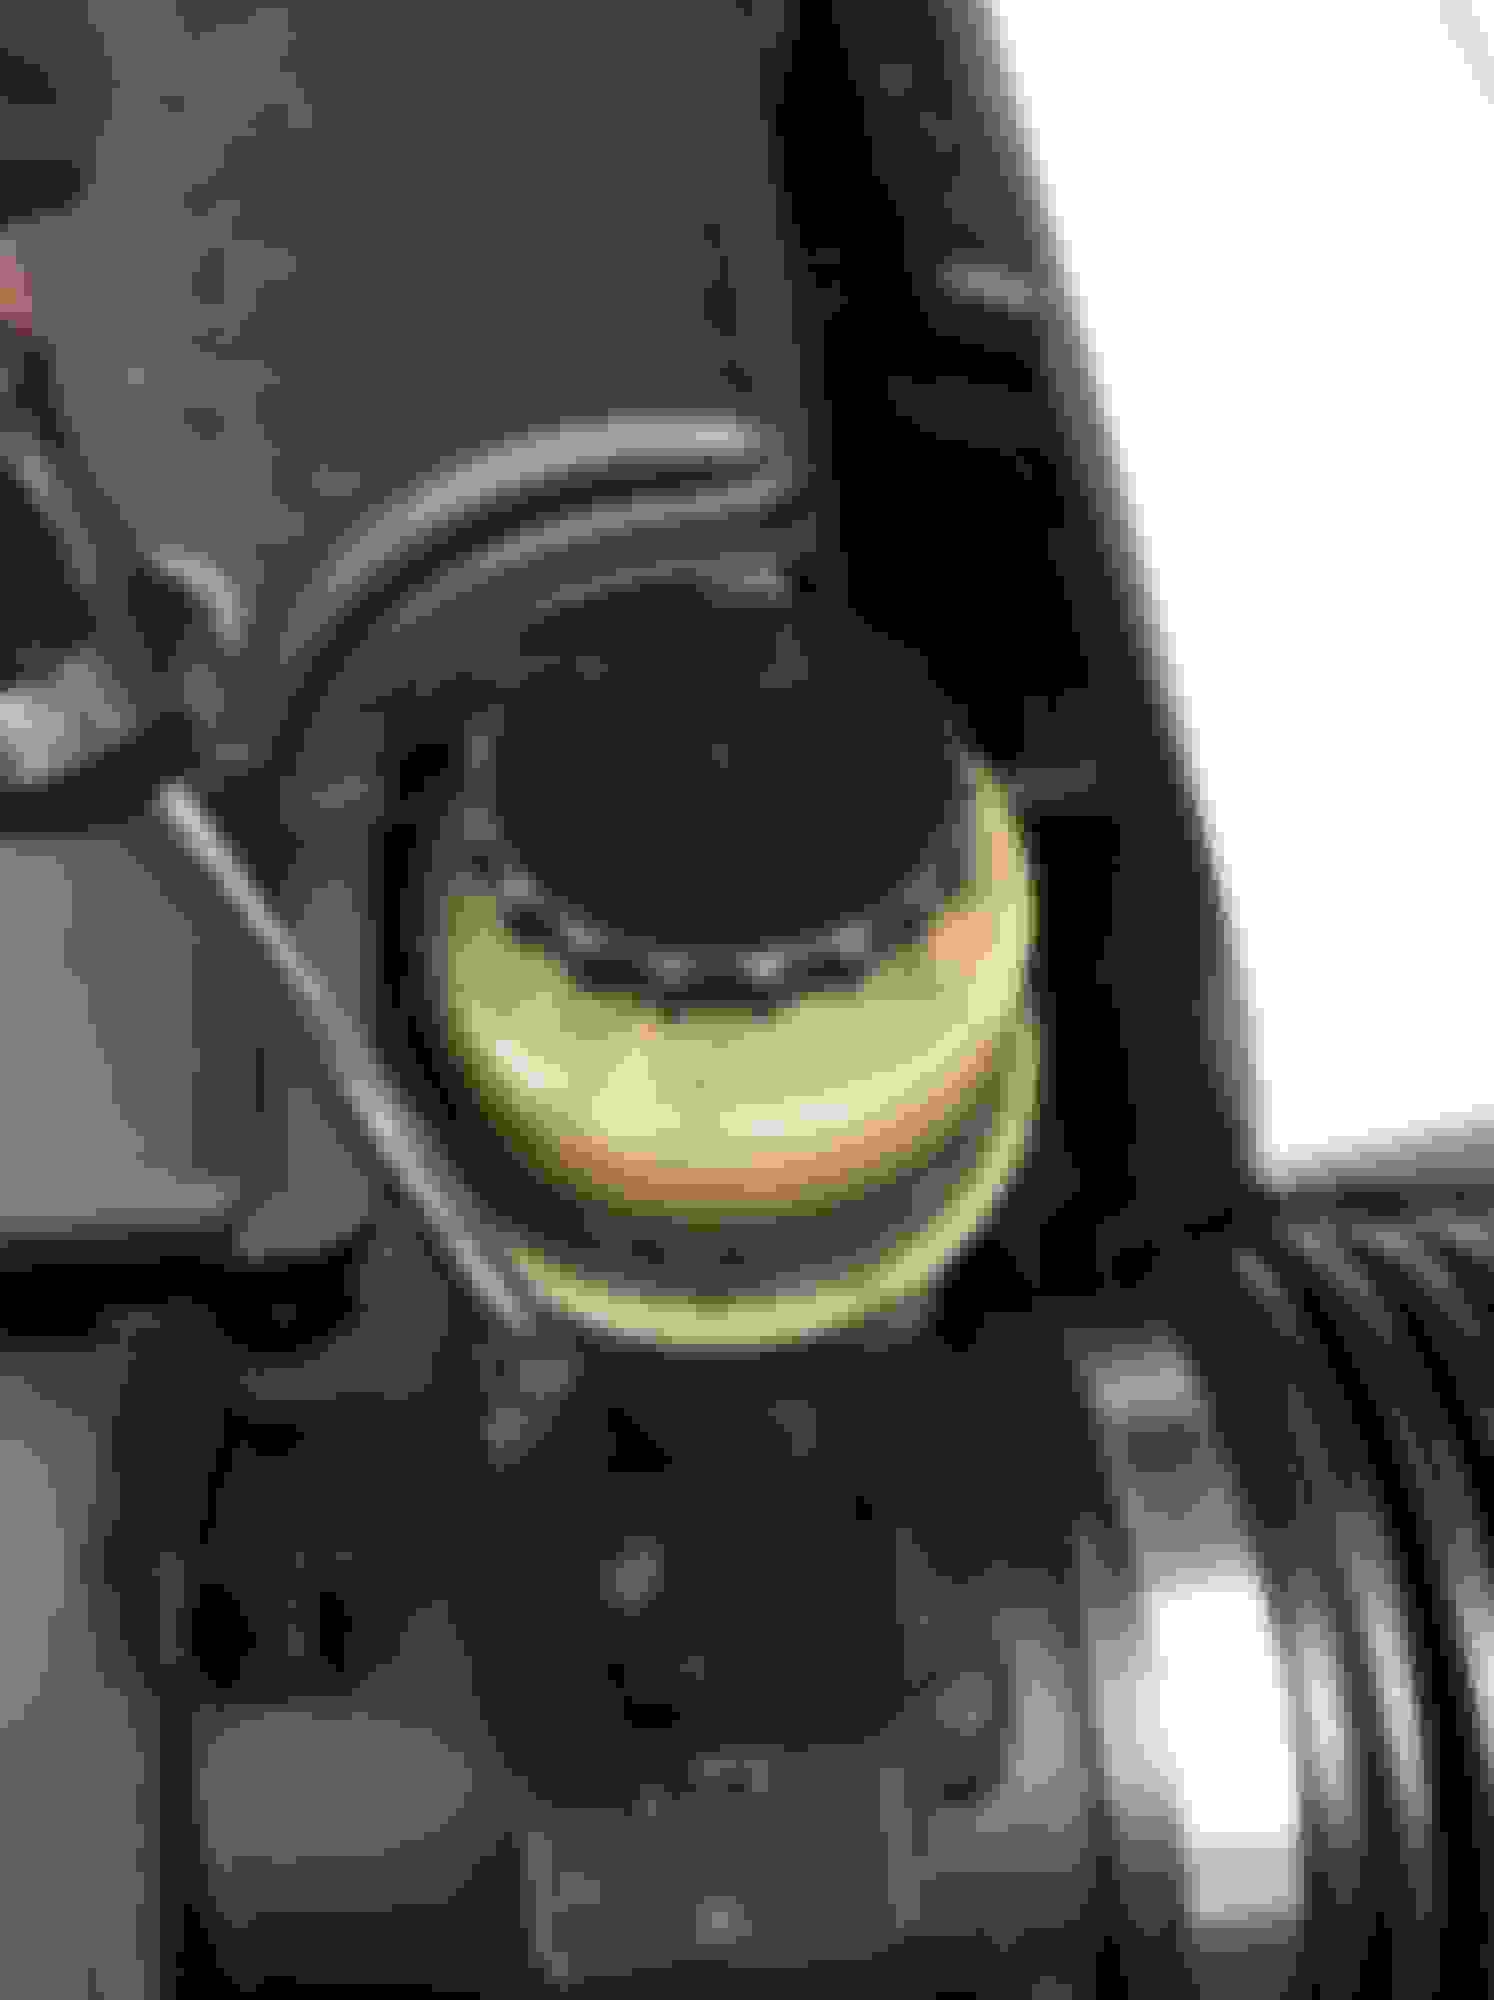
5 - Remove 2 vacuum hoses from air intake assembly
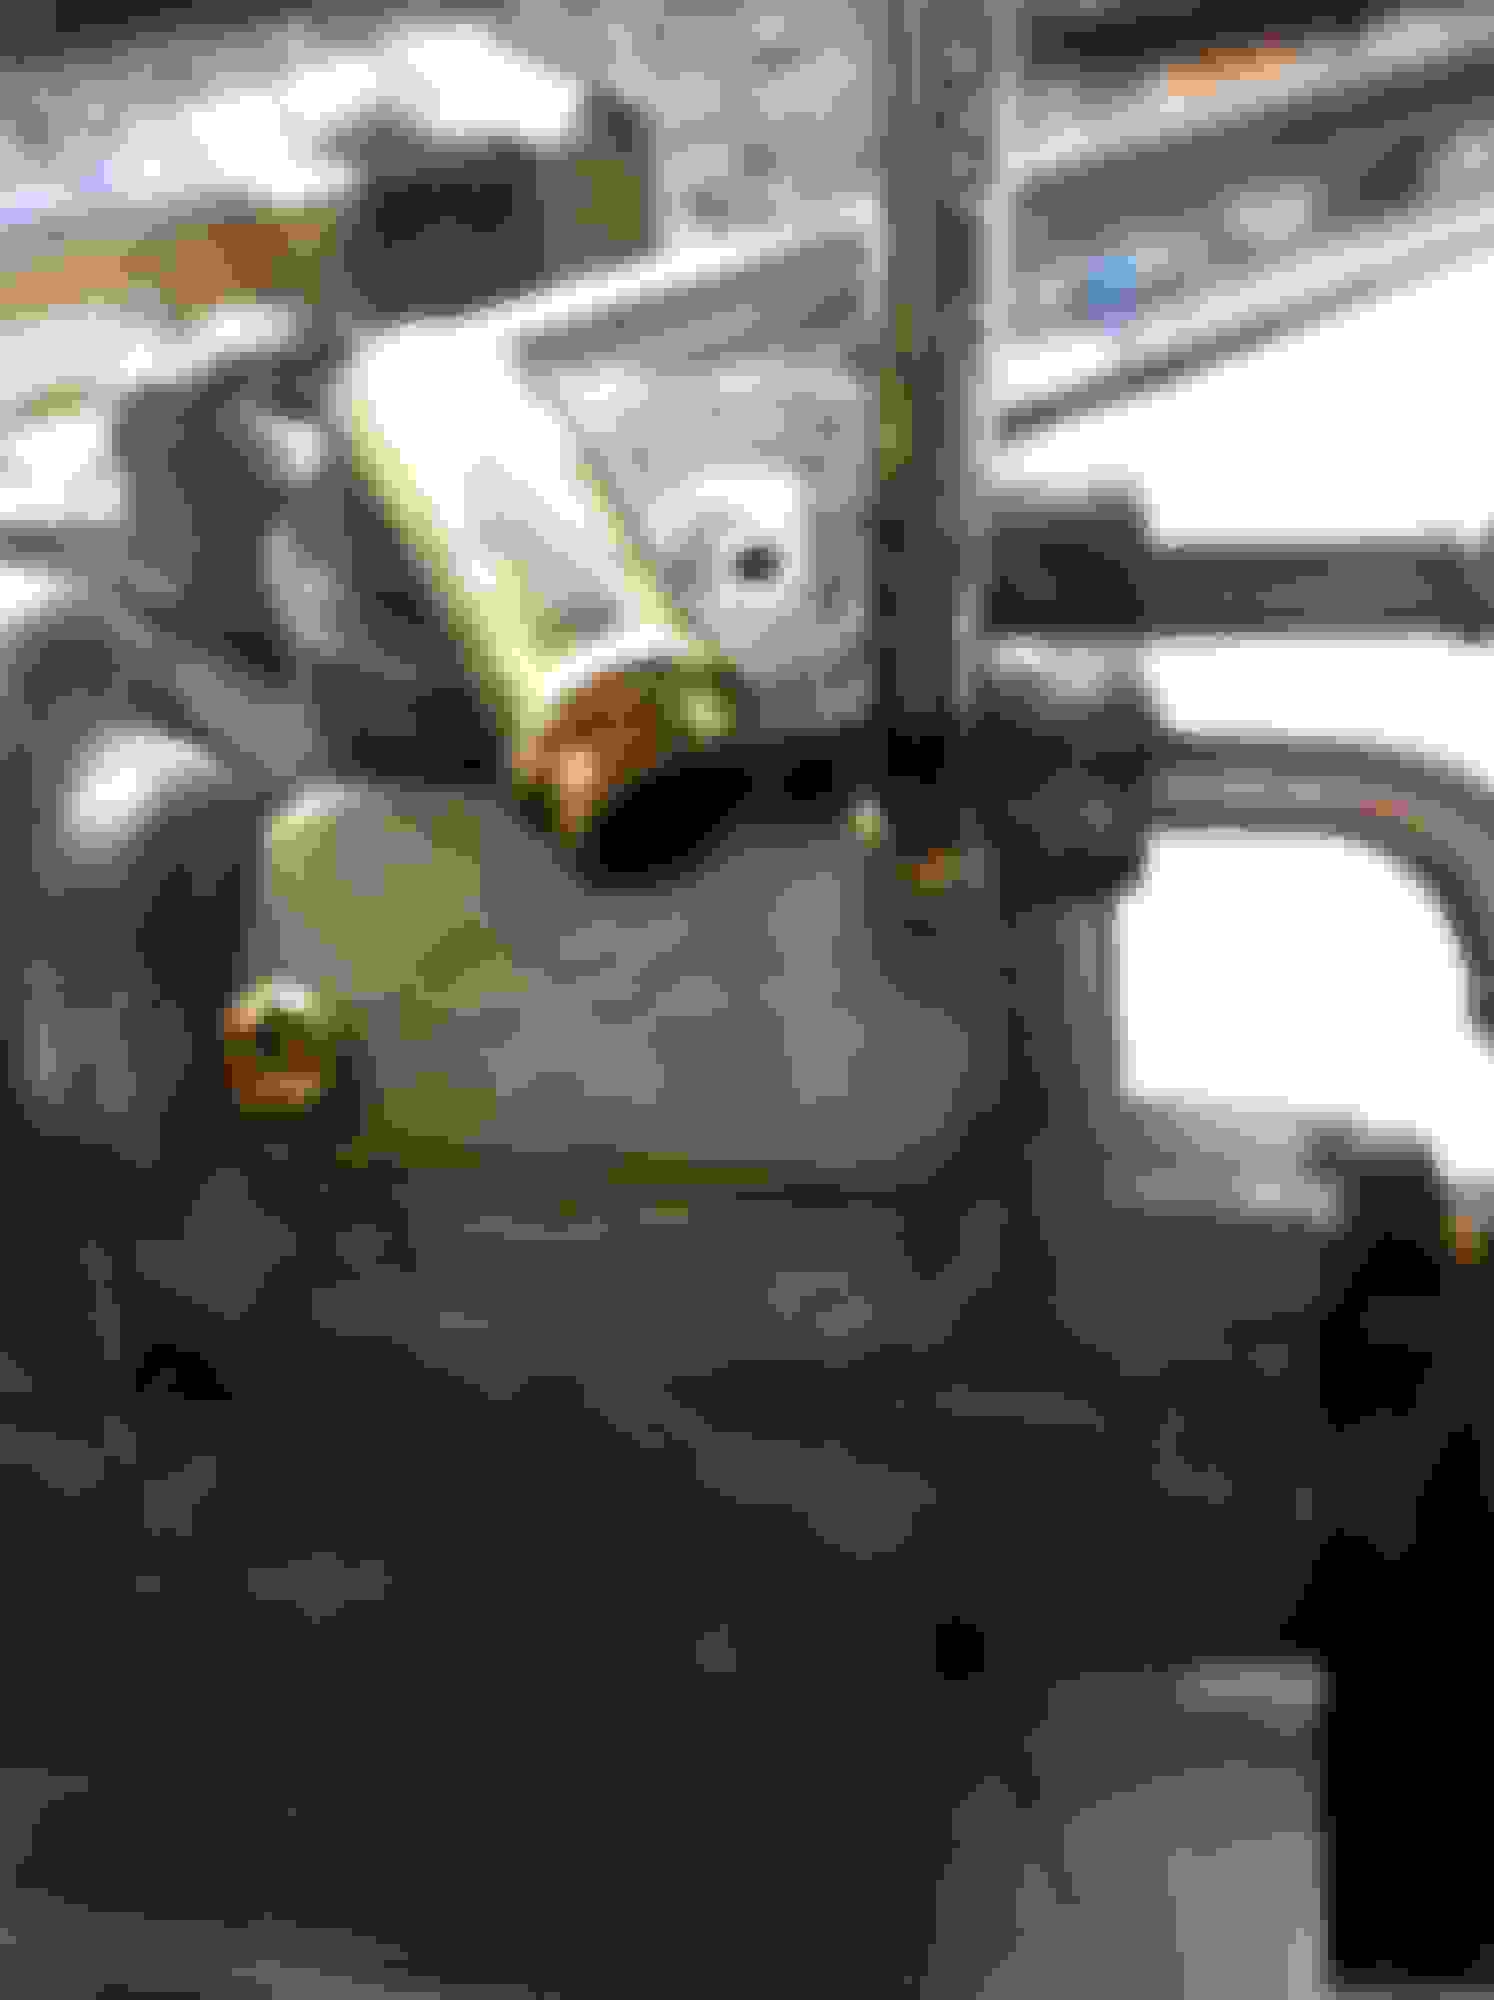
6 - Remove bolt/nut from side of assembly. Bolt/stud is broken off in pic
7 - Loosen clamp at throttle body ( 10mm/cross tip ) and remove air intake assembly
8 - Remove 2 electrical connectors from throttle body
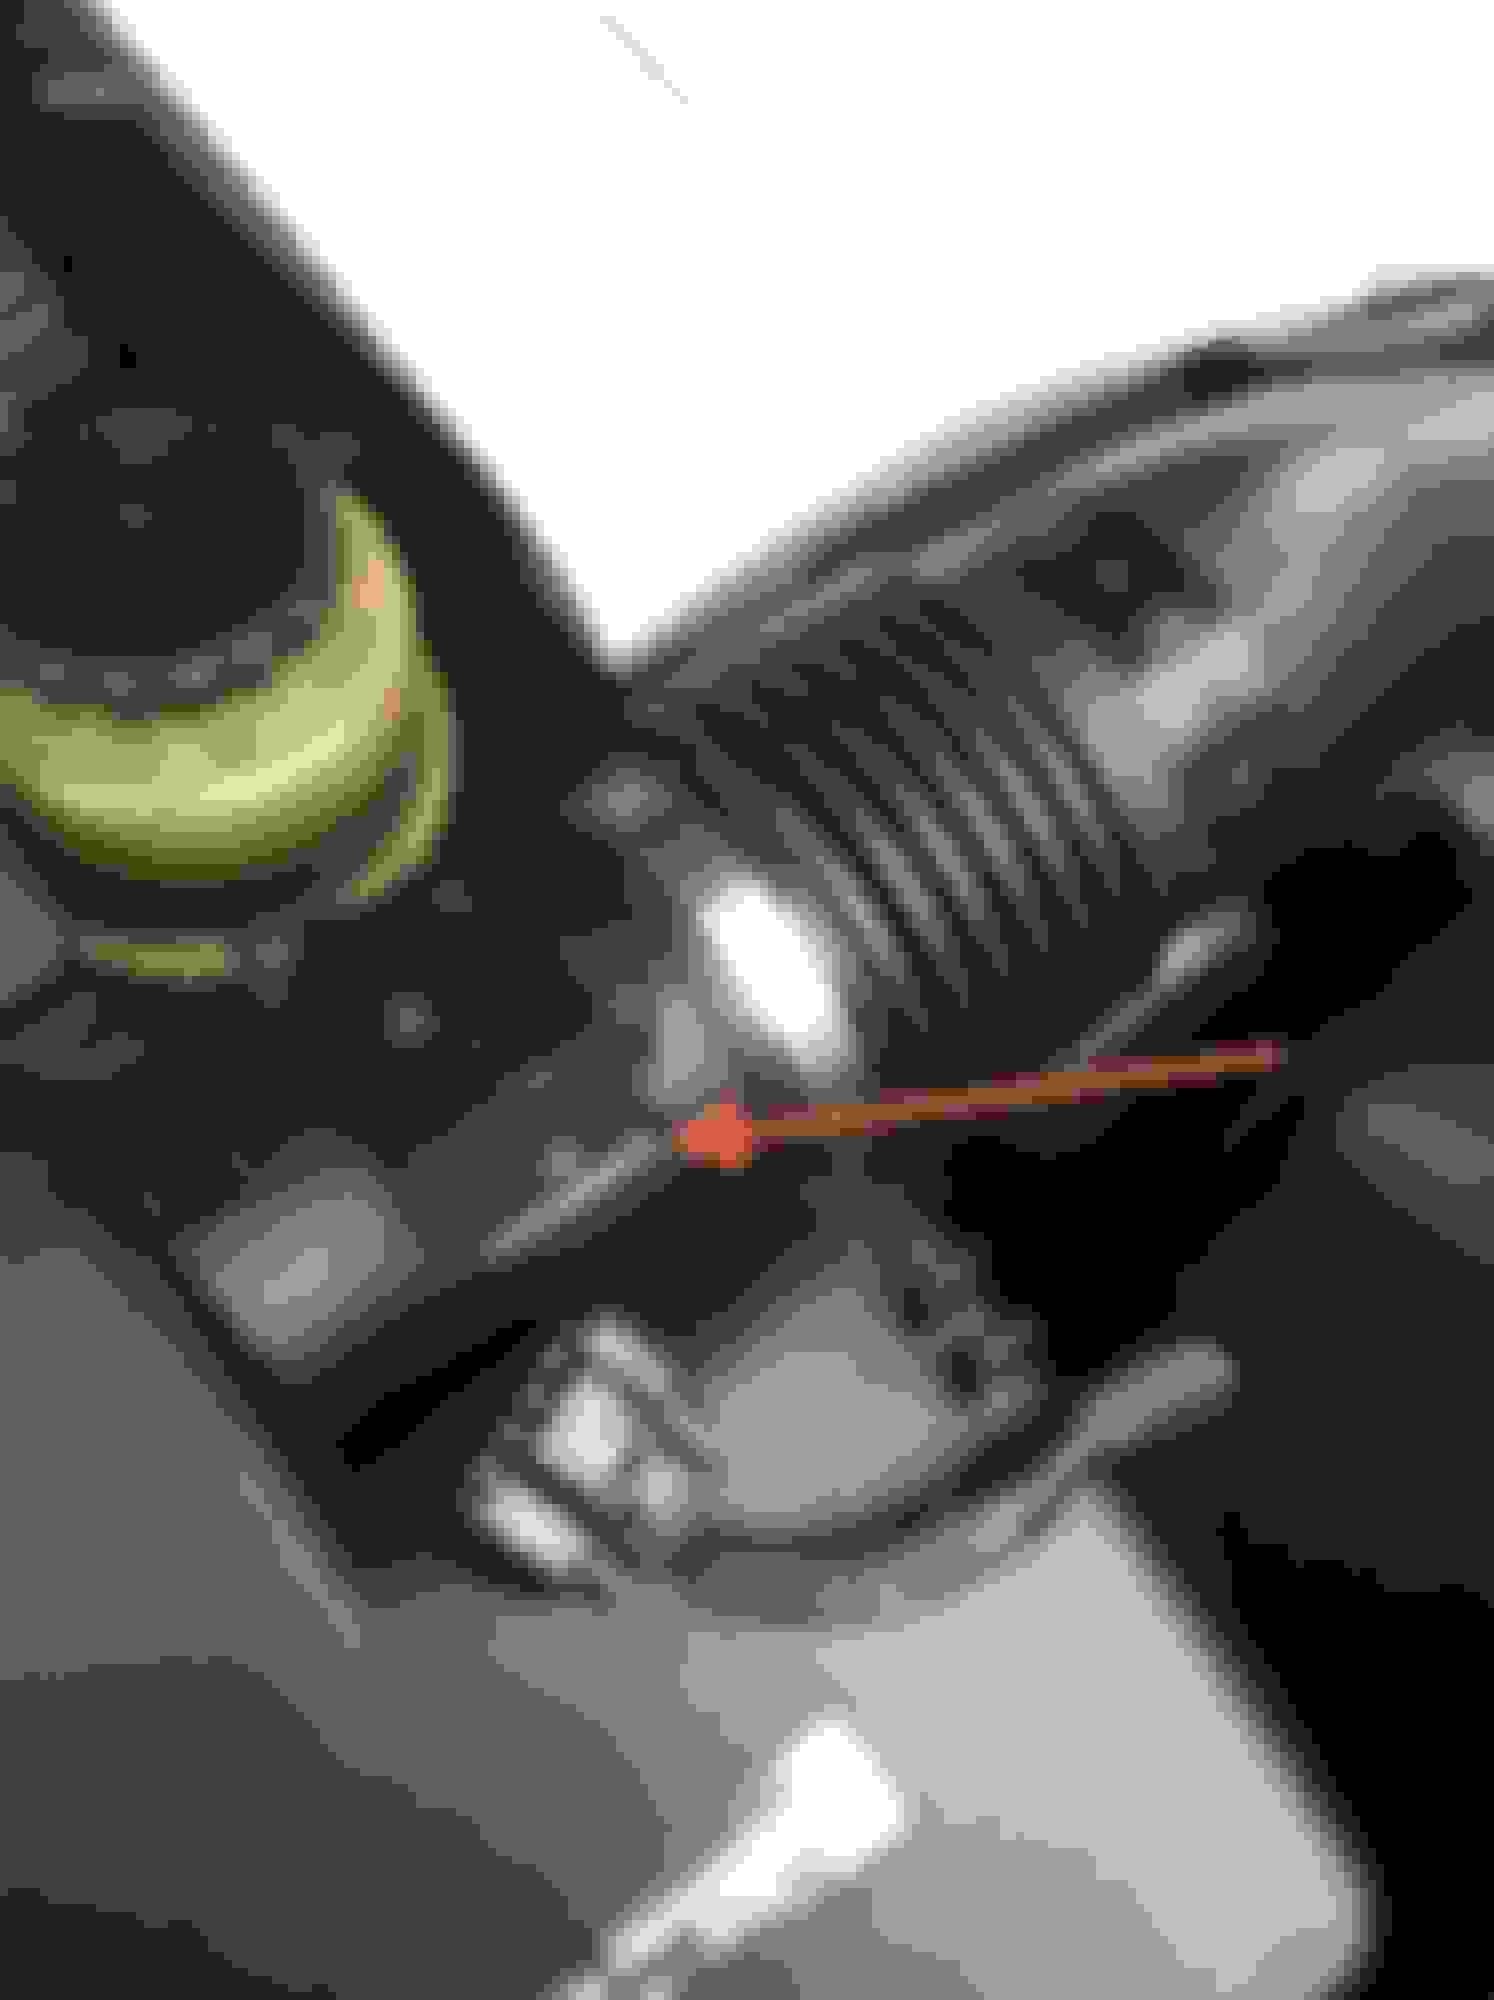
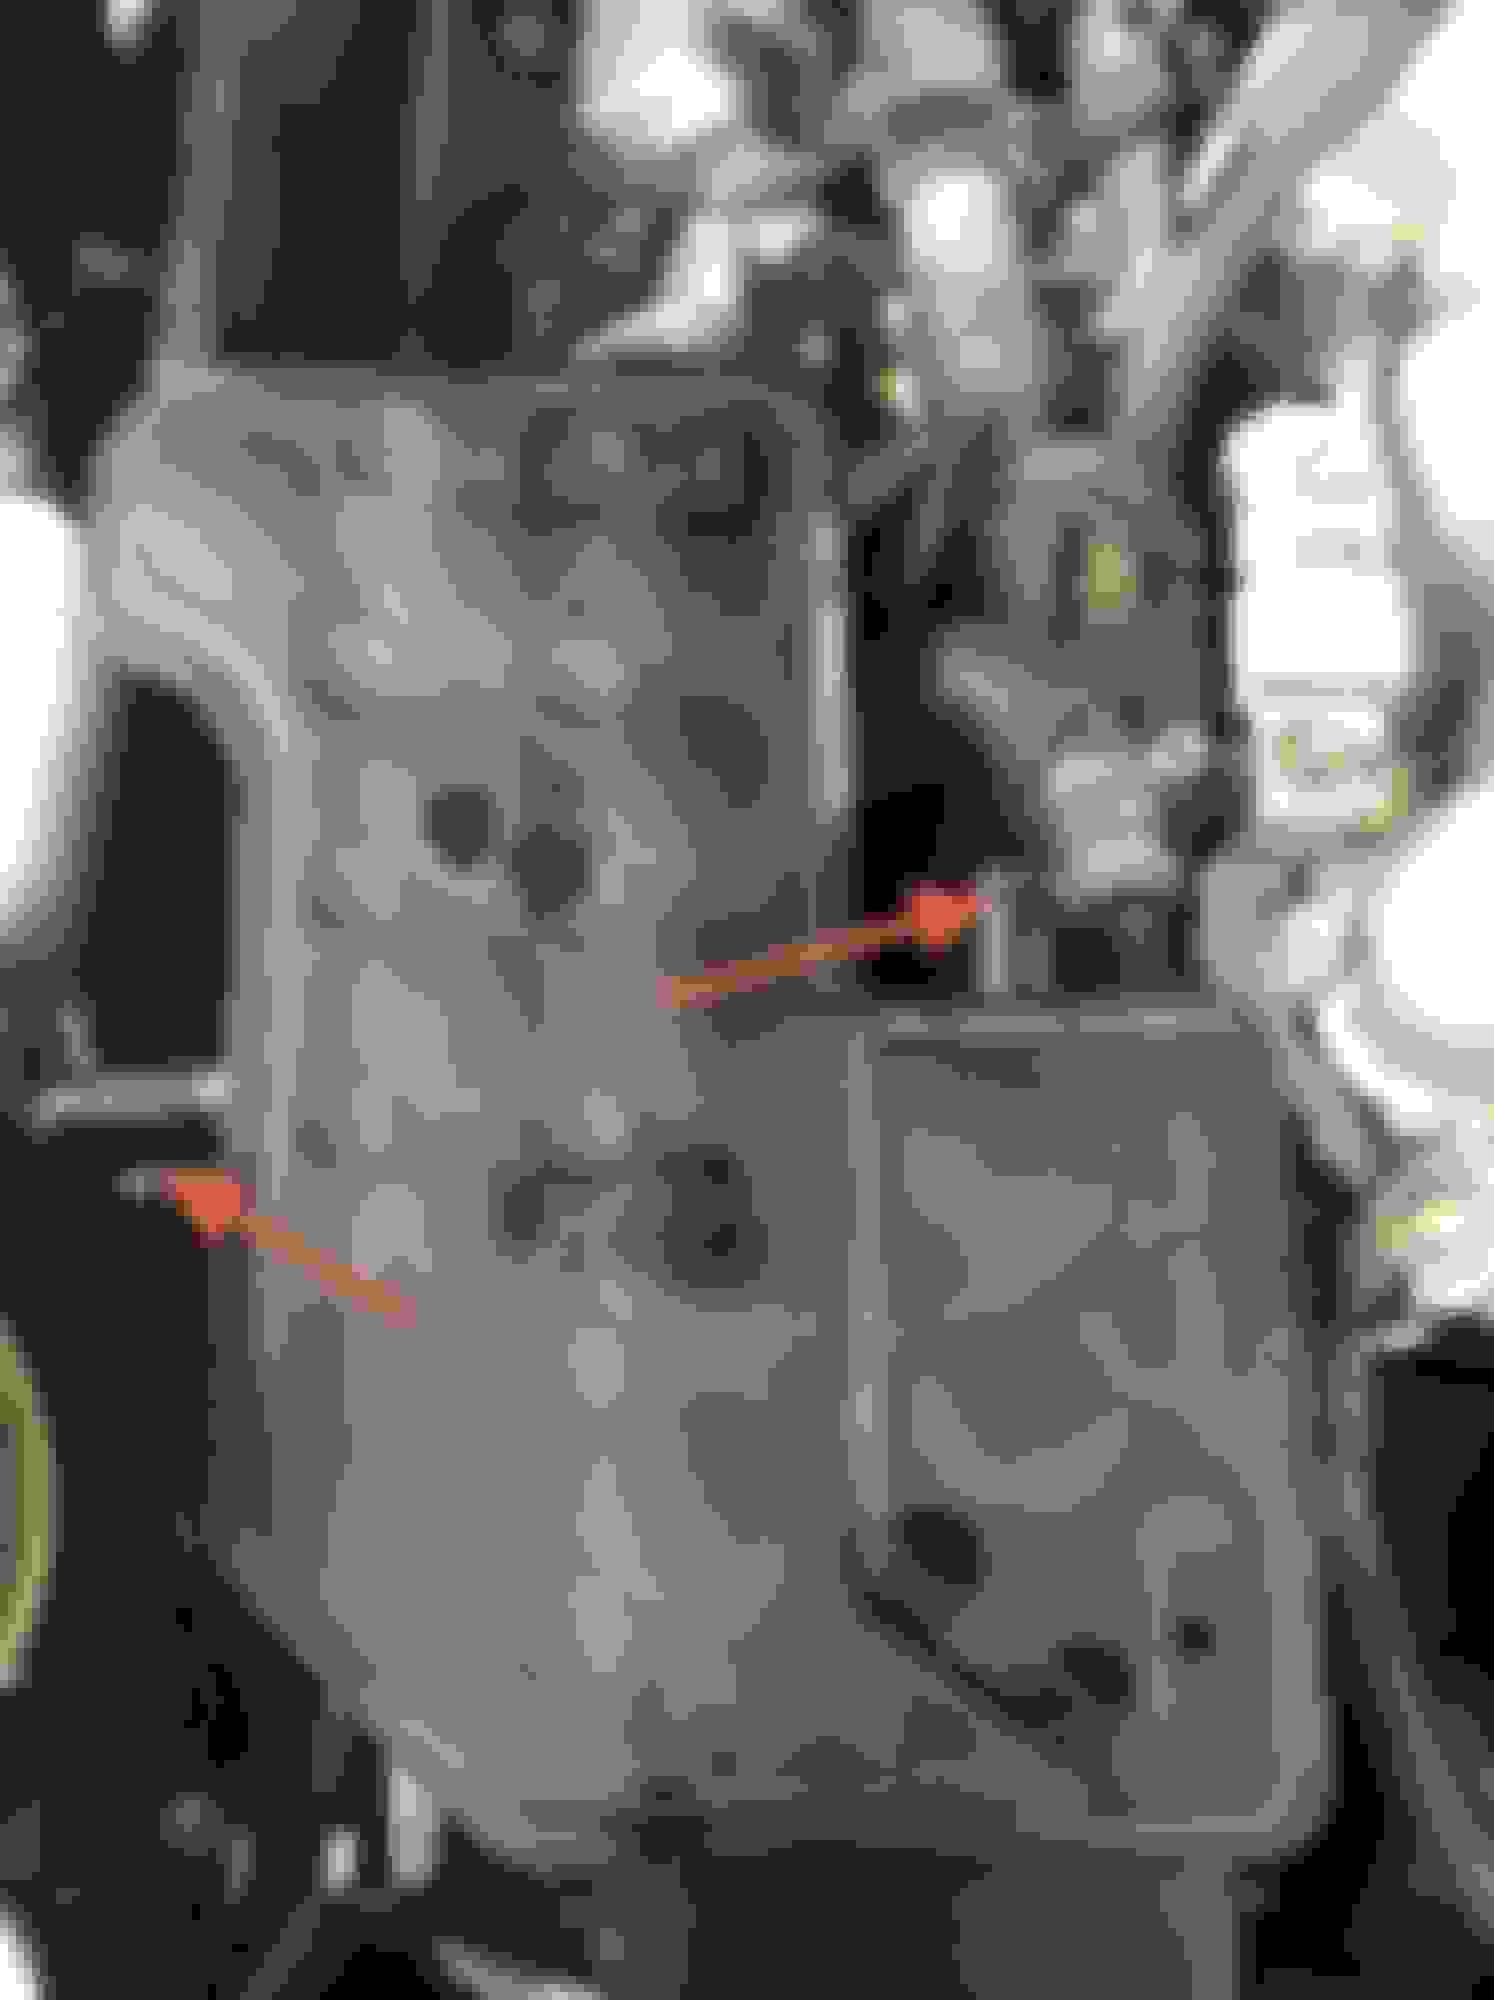
9 - Remove these 2 hoses from the throttle body. Note: coolant runs thru the hose with 2 arrows. I plugged with needle nose pliers but coolant loss is minimal if not plugged. There is another hose that is located on the bottom side of the throttle body that needs to be removed. I removed it in step 11
10 - Remove 2 upper nuts and 2 lower bolts from throttle body ( 12mm ). Not sure of the torque specs, I torqued at 168 in/lbs or 14 ft/lbs. Note: my lower right side bolt was stripped, use a 6 point instead of 12 point socket to prevent stripping bolts
EDIT: Torque spec is 156 in/lb or 13 ft/lb
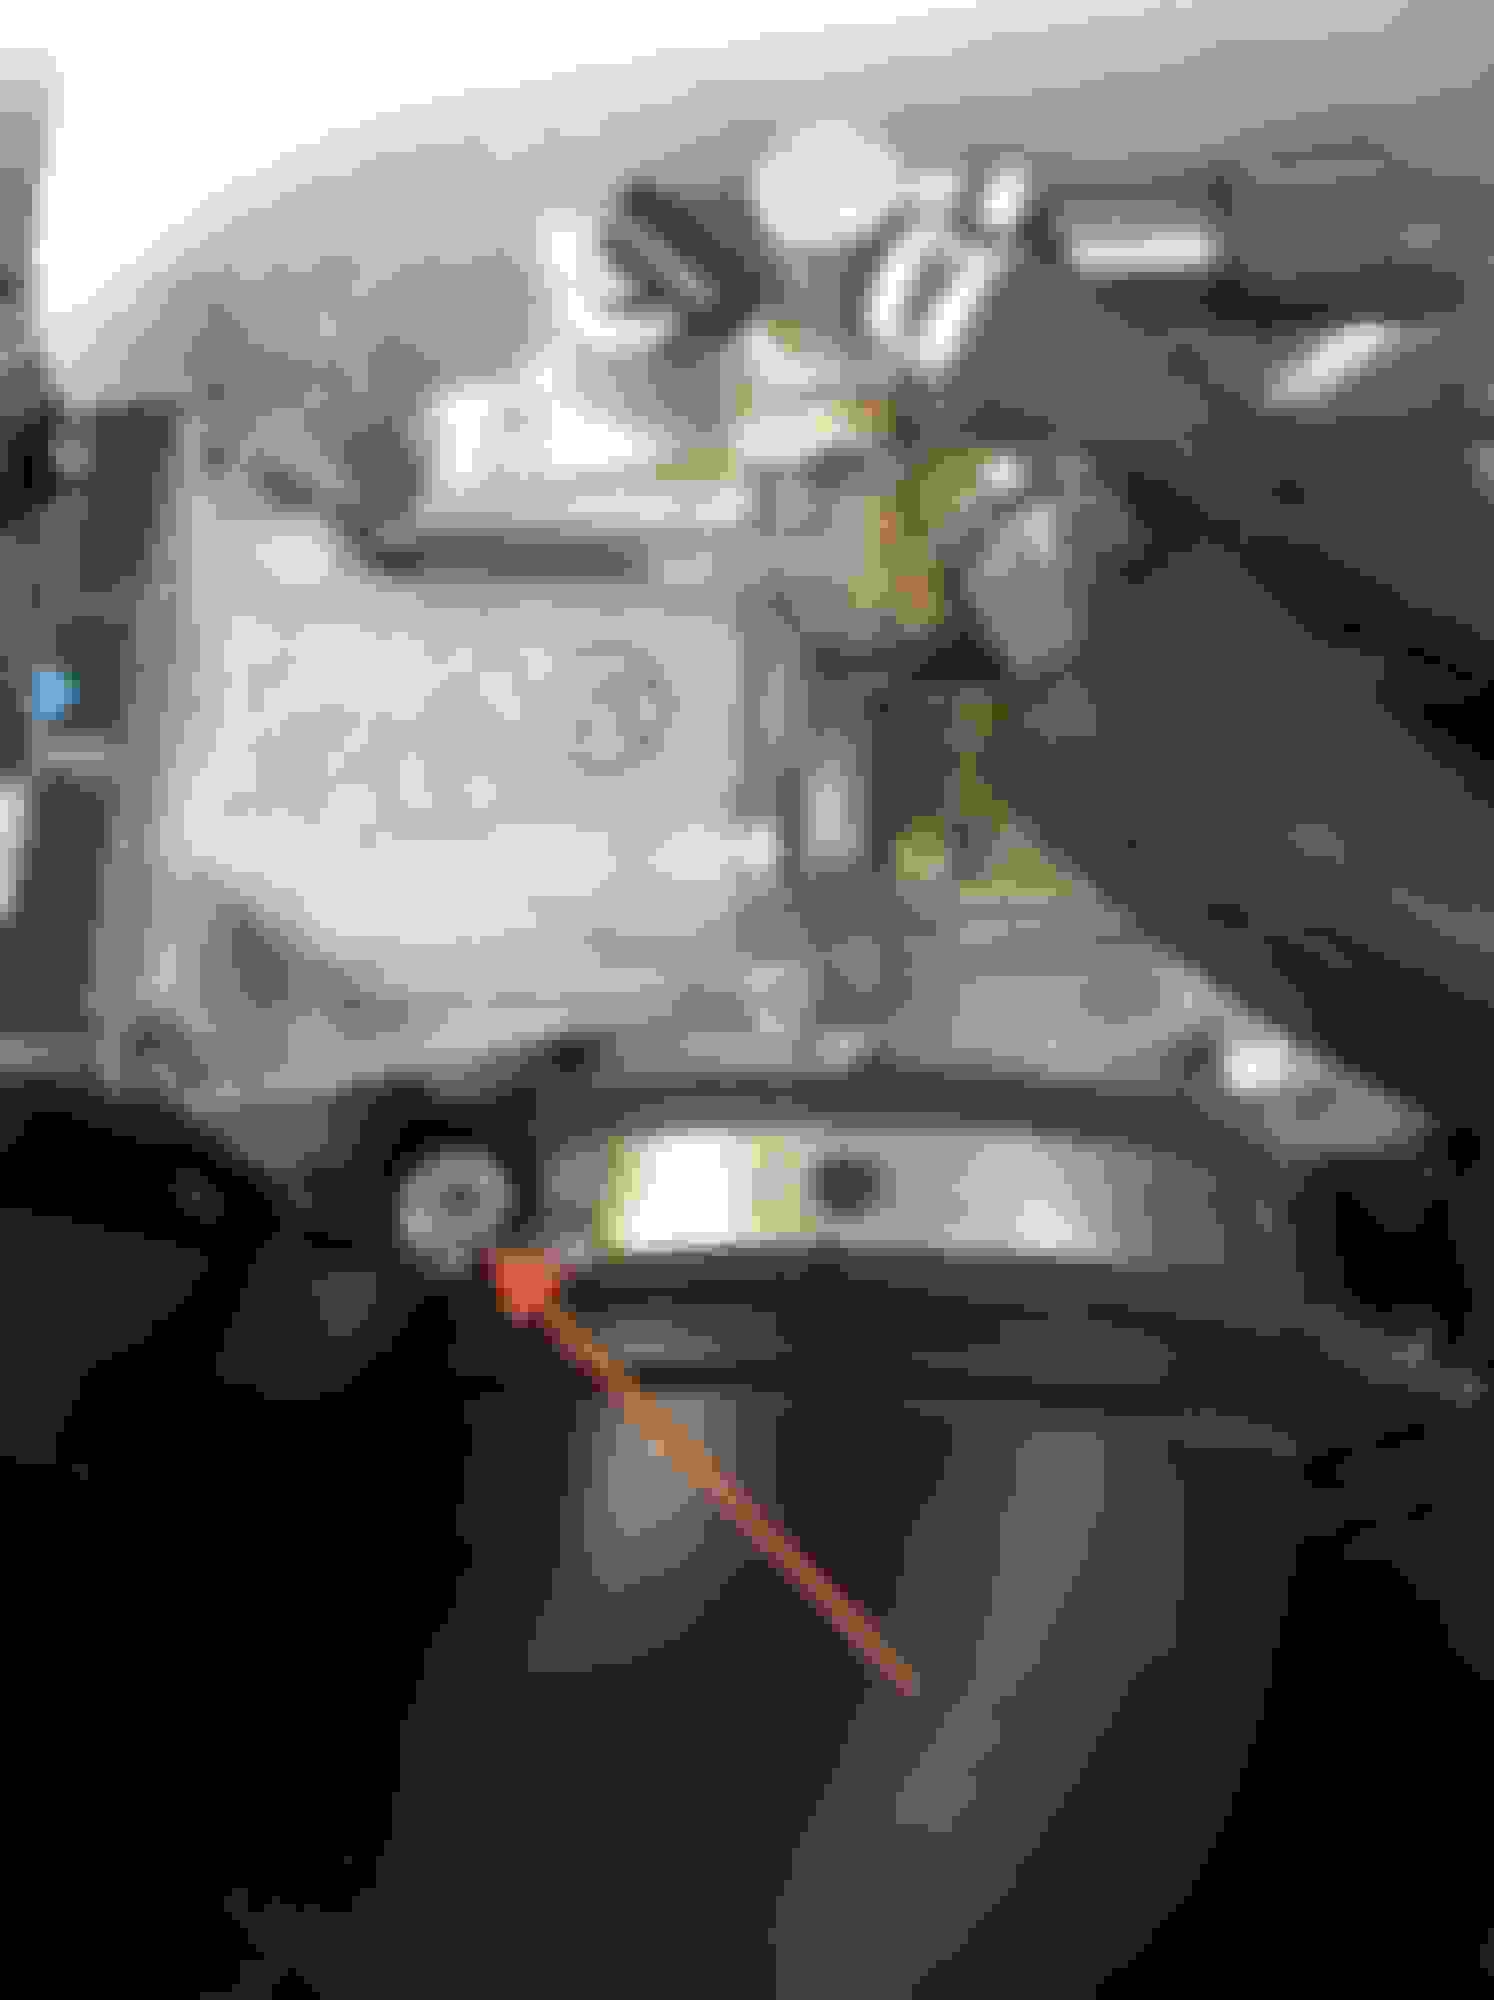
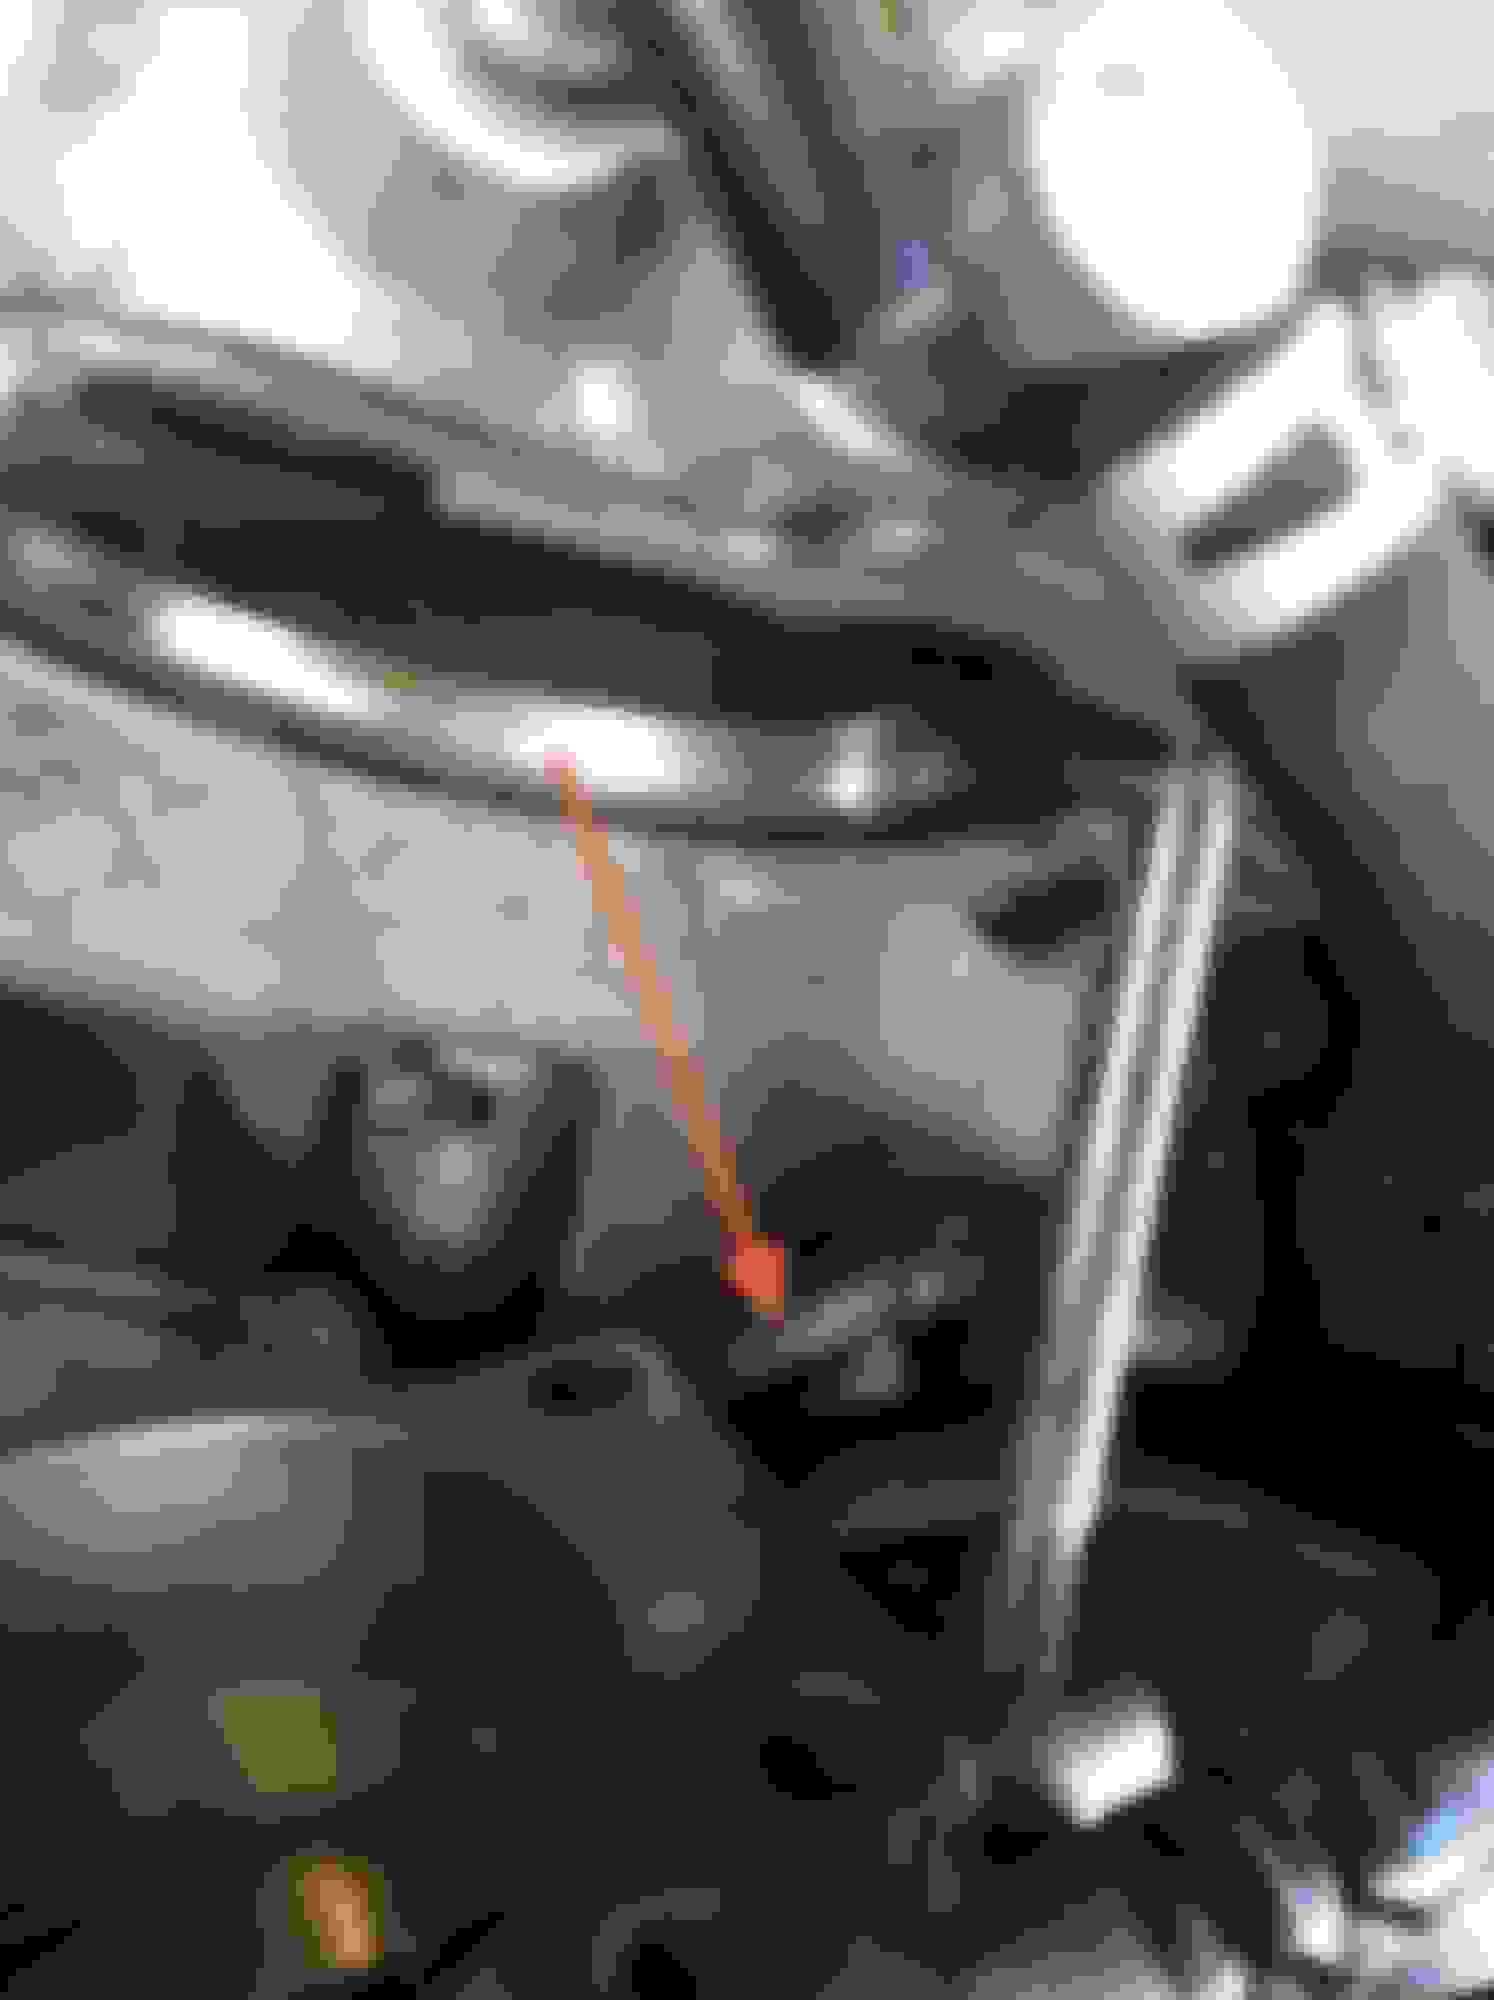
11 - Slide throttle body outward to access lower inside hose clamp. Remove hose and throttle body assy. Note: Don't forget to reinstall this hose upon installation before sliding throttle bottle back unto studs and ensure it is properly seated. This hose also has coolant running thru it
12 - Clean throttle body with a suitable cleaner. CRC throttle body cleaner was used in this task. Spray inside throttle body and wipe clean with a cotton towel from both sides. I did open butterfly valve with my hand to wipe clean w/o issue once installed.
Front view
Rear view
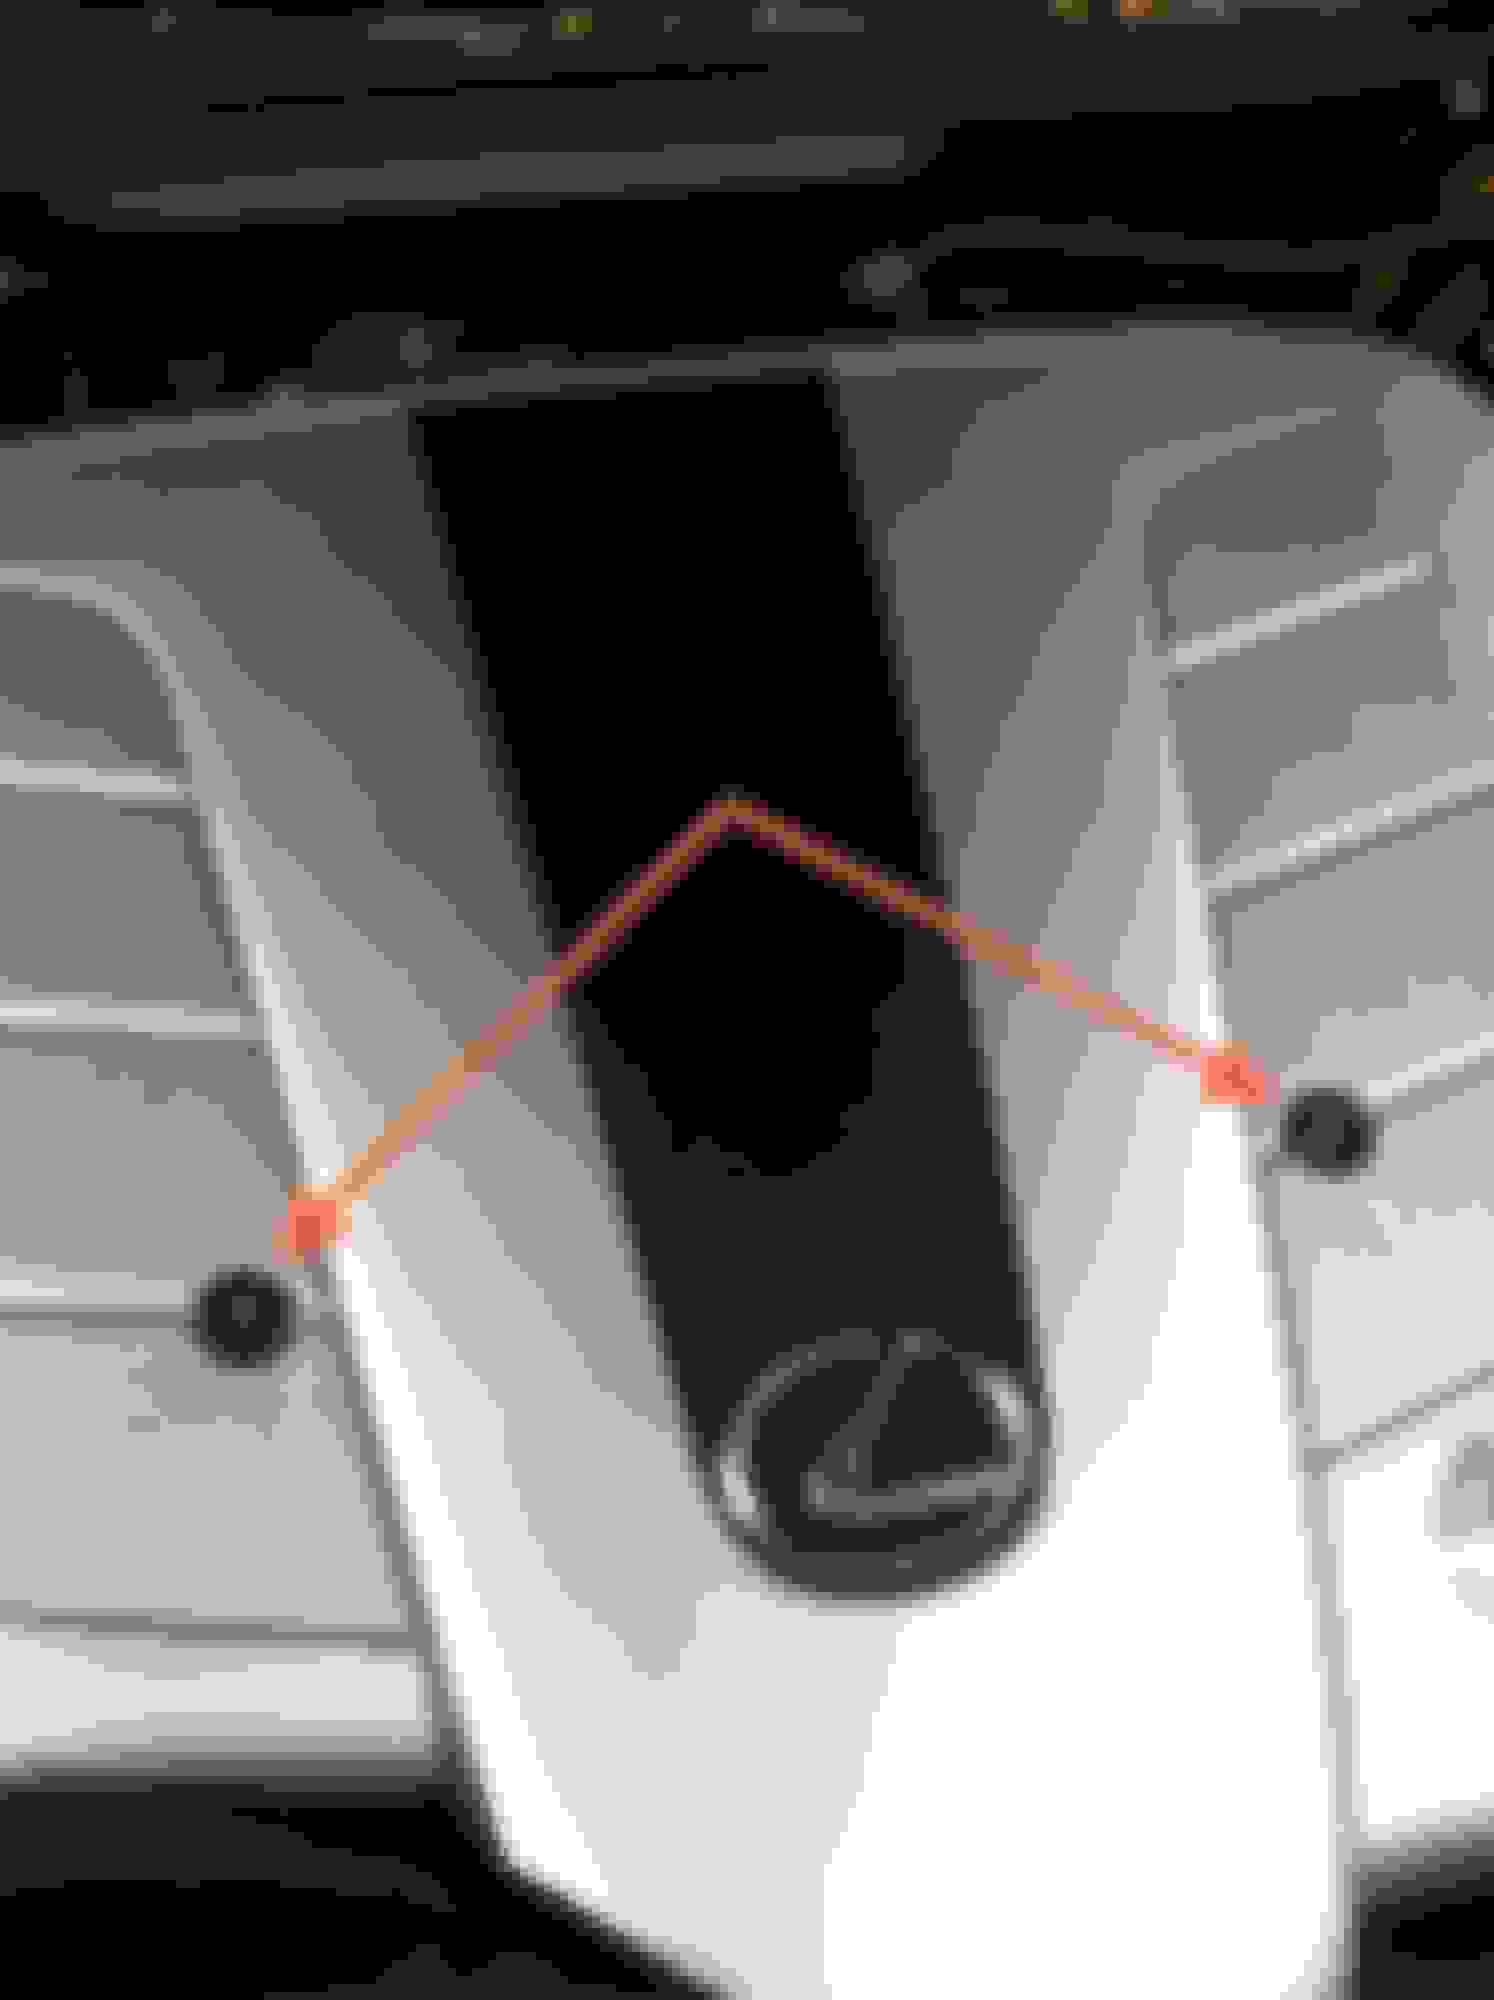
13 - Remove 2 crosstip crews and plate cover. Spray inside passage ways with cleaner. I used a spray gun tip cleaning tool to rod the passage ways to ensure they were not blocked with carbon, a welding tip cleaning tool would work also. By inserting tool thru each passageway I could visually observe tool exiting hole on inside of throttle body next to the shutter valve. If no tool available, use spray cleaner straw provided with can and spray thru each individual hole. You will be able to see cleaner exiting other end. Note: when using straw method, wear eye protection
Cleaned and ready for install
14 - Note: I reused the old gasket. I sprayed gasket with WD-40 and lightly wiped clean with a cotton rag. Inspect gasket for serviceability if you do not plan on replacing with a new gasket, as recommended. Inspect all hoses for serviceability. Reinstall all components in reverse order
Note: Once installation was completed and I started vehicle the engine idled at 1250 rpms. I disconnected battery for 30 seconds for a soft reset of computers. After the second shutdown and startup the engine now maintains an idle speed of 750 rpms.. If rpms remain higher than normal, take vehicle for a short ride to reset idle. During road test monitor temp gauge for abnormal operation and visually inspect the two hoses that coolant runs thru for any leakage.
Job completed...Next project is to clean that nasty engine hiding underneath the engine cover
Last edited by xtr3me; 01-08-15 at 09:38 PM.
Reason: Edit torque spec
Nice DIY. You forgot to take off the little cover for the "idle port" or whatever the correct name. Carbon also built up in the little holes in the port. The car idles smother with this area cleaned out.
Excellent write up, xtr3me.
I did this same procedure on my RX and was amazed at the difference it made with the idle and how smoothly it ran afterwards. Super easy DIY as well. I love doing stuff like this simply because of the difference it can make and how easy it is to accomplish. Not to mention, it gives you an opportunity to get to know the engine a little more...
Nice DIY. You forgot to take off the little cover for the "idle port" or whatever the correct name. Carbon also built up in the little holes in the port. The car idles smother with this area cleaned out.
Nice catch... For some reason every time I tried to post these pics I got "website error, page not found" and when I refreshed page I would lose half of the write-up and images. Made some corrections to the post and added the pics you pointed out
Thanks
Originally Posted by 2KHarrier
Excellent write up, xtr3me.
I did this same procedure on my RX and was amazed at the difference it made with the idle and how smoothly it ran afterwards. Super easy DIY as well. I love doing stuff like this simply because of the difference it can make and how easy it is to accomplish. Not to mention, it gives you an opportunity to get to know the engine a little more...
I recently did this w/o removing the throttle body and just using a really long spray tip on cleaner(see far right can). Not as thorough as yours but has been working good on the 2UZ also..
I did not know about that idle port... need to check the LS and the Landcruiser next time for that.
Last time I cleaned the 3UZ manifold for the first time (150k), the PCV was carbon loaded up like crazy... Probably a good idea to put a new one on ($10), if anyone is in this deep already.
Excellent tutorial. I cleaned both the sensor and throttle body today. RPMs now idle at 750 as mentioned, with improved and smoother acceleration. Occasional rough idle was eliminated.
You have cleaned the Intake Air Temperature sensor of the MAF (IAT) as you had shown in the picture. The elements (two parallel resistor like components) are INSIDE the tube and they need to be cleaned, as over time they are covered with crud which are removed after several liberal sprays of MAF cleaner. If the MAF sensor components are dirty, they react slow to the snap throttle test, and report incorrect metering of the airflow.
Okay, after cleaning both the MAS and throttle body per the instructions here, my idle issues are not resolved. I have a spike on cold starts and after warming up, at stop signs/lights, it'll idle around 350-400 RPM. Both of these issues were present before the cleanings.
Here is a video of the idle surge during a cold start. Happens between 5-10 seconds after starting:
May have nothing to do with your particular problem, but I know when I cleaned my throttle body, the car did not idle properly until I reset the ECM. The car was responding similar to how the one in the above video did.
So if you don't have a scanner to reset, disconnect the negative battery cable over night and see what happens.
But then again, if your car was doing this before the cleaning, it very well could be something else.
So if you don't have a scanner to reset, disconnect the negative battery cable over night and see what happens.
Well, I disconnected the negative terminal for a good 10-15 minutes today. So far so good. I thought I had done that already, but I guess not. Thanks for the tip. Hopefully the correct idle speed keeps up.

 01-03-15, 08:01 PM