When you click on links to various merchants on this site and make a purchase, this can result in this site earning a commission. Affiliate programs and affiliations include, but are not limited to, the eBay Partner Network.
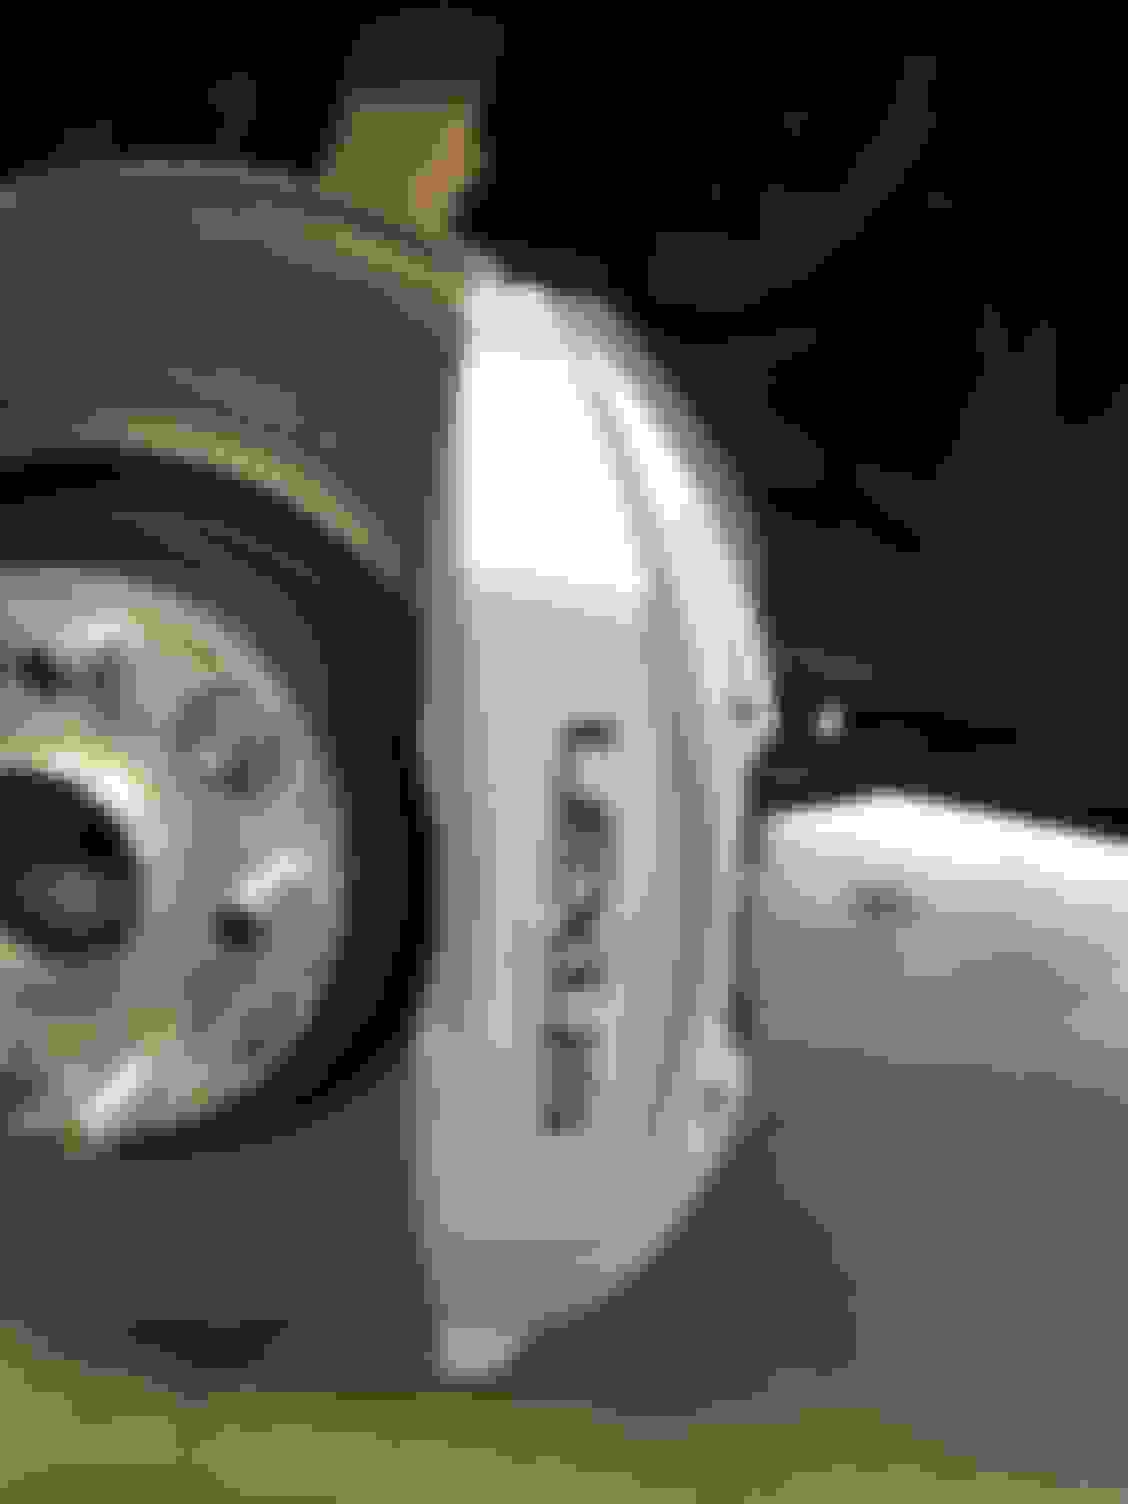
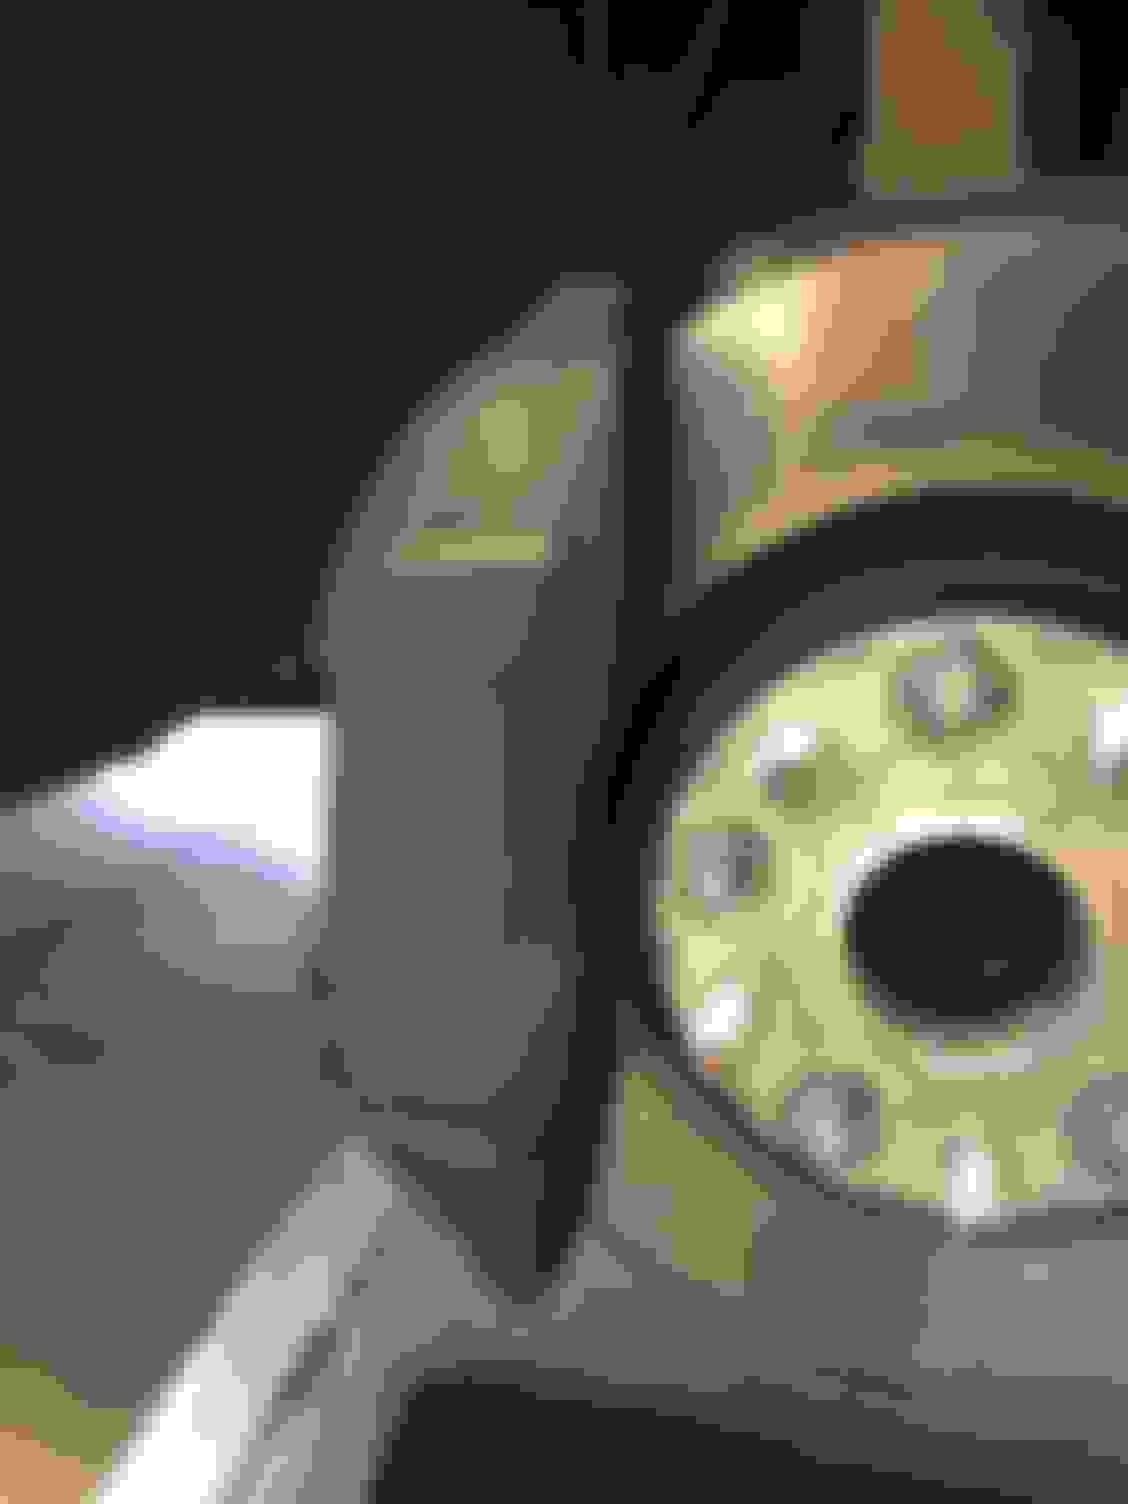
I’ve been using POR15 caliper paint for quite awhile and finally got around to doing the Lexus. This stuff lays down very well, dries fast and gives a nice textured finish. You brush it on with any small paintbrush. The can is only about $15 and I’ve done 5 cars with one can. Only a single coat is necessary. Pretty cost effective over the caliper paint kits that are $30+ and work like crap. I added the decals after drying. Overall very happy with the results. (Before pic added for comparison). Passing on some good products to the community, god knows I’ve used so many that were junk.
I’ve been using POR15 caliper paint for quite awhile and finally got around to doing the Lexus. This stuff lays down very well, dries fast and gives a nice textured finish. You brush it on with any small paintbrush. The can is only about $15 and I’ve done 5 cars with one can. Only a single coat is necessary. Pretty cost effective over the caliper paint kits that are $30+ and work like crap. I added the decals after drying. Overall very happy with the results. (Before pic added for comparison). Passing on some good products to the community, god knows I’ve used so many that were junk.
I've used G2 paint with good results too. The most important thing is prep work. Clean the calipers throughly with wire brushes, sand, and then clean with brake cleaner.
I usually don't find the caliper to be overly dirty with grime that needs a wire brush, but if so obviously it should be cleaned. My starting point is to spray brake cleaner over everything; I go fairly excessive, usually about a can per caliper just to ensure I've gotten everything clean. Once it's dry, which doesn't take long, I get a small paint brush and paint the caliper. I'm a fairly accomplished model builder so I don't feel the need to tape off anything. If you don't have a steady hand you'd consider taping anything you don't want paint on. The POR15 doesn't clean up very well; very sticky and just smears if you try to clean it, even with thinner. Since the paint provides a texture you'll want to be conscious of your brush strokes as they will show in the finish. You may consider getting multiple paint brushes because they get gummed up after 2 calipers or so. It's up to the owner whether they want to paint the entire caliper to include the back side. It isn't visible but some folks are obsessive about those things. If you're going to apply decals wait 24 hours for the paint to cure because you'll want to use heat to apply the decal.
I usually don't find the caliper to be overly dirty with grime that needs a wire brush, but if so obviously it should be cleaned. My starting point is to spray brake cleaner over everything; I go fairly excessive, usually about a can per caliper just to ensure I've gotten everything clean. Once it's dry, which doesn't take long, I get a small paint brush and paint the caliper. I'm a fairly accomplished model builder so I don't feel the need to tape off anything. If you don't have a steady hand you'd consider taping anything you don't want paint on. The POR15 doesn't clean up very well; very sticky and just smears if you try to clean it, even with thinner. Since the paint provides a texture you'll want to be conscious of your brush strokes as they will show in the finish. You may consider getting multiple paint brushes because they get gummed up after 2 calipers or so. It's up to the owner whether they want to paint the entire caliper to include the back side. It isn't visible but some folks are obsessive about those things. If you're going to apply decals wait 24 hours for the paint to cure because you'll want to use heat to apply the decal.
Nah, just bought a sheet of vinyl Lexus logos off ebay. You'd think they wouldn't hold up but they do just fine if you properly apply. I've put vinyl on plenty of calipers in the past.
Looks great! Can't decide on color for me, so seeing your's first is nice, as I love the silver. I don't have a steady hand so probably would pull them off the rotor, tape off, and try to rig some way to have them set on a jack stand while painting them. Have to think about that one.
Not sure of the brush stroke impact, so will probably test something to paint first. Assume a small 2" brush head is fine.
My key question, you mentioned applying the vinyl Lexus logo using "heat". Can you expand on that process? Do you mean you heat up the surface, with a heat gun, lay the vinyl lettering on, and that's it, or is it more detailed. Sorry to be a pain.
One other thing, the POR15 prep mentions a Metal Prep, which I'm assuming you've substituted Brake Cleaner? It mentions a "Rust Preventative" coating to be applied before painting, like a primer coating, which I think you skipped. You went with one coat, instead of two. Would two make it too glossy?
POR15 has a METAL PREP spray that is supposed to be used prior to applying POR15.... After using POR15 for many years I honestly don’t think "IF" you don’t use the prep the calipers should hold the paint without a problem as long as it is clean and oil free. POR15 is "good" and readily available at local parts stores but I have used Master Coat Series paint that works very well too and "IF" you can wait to order Master Series online I highly suggest checking them out. www.masterseriesct.com
BTW! OP’s brake calipers look GREAT and I like the clean look!
I use a much smaller brush, mine is only about .5in by .5in so it allows for more control. Brushes with shorter bristles are better for precise areas. I could switch to a larger brush for the bigger surface areas but I just take the extra time to conserve brushes. The paint really won't ever come out of the brush so I consider them one time use. As for the brush strokes showing, you'll see if you stop or change direction it will show in the paint. Long continuous strokes over the whole area is key. The paint stays wet enough though you can clean this up as necessary per section.
All companies like to sell their branded products through recommendations, so I'm not sure the branded metal prep is necessary though I'm sure it does a fine job. Yes, I use brake cleaner and to ensure a 100% clean surface you could also wipe it down with IPA. I've only ever done a single coat for brake calipers, this stuff lays on thick. I've had it on cars for a few years now without issue, however if you have the extra time and want to apply a second coat then I'm confident it would lead to a better finish. If the car is going to see severe duty; high heat, dirt roads, etc then you will find extra coats to be beneficial.
For the decals, I wipe the surface with IPA (after curing) and heat up the caliper and the decal with a heat gun. Obviously this isn't to excess as you can melt the decal, just enough to be warm. Apply the decal and with a felt application tool (squeegee?) smooth it out while applying light heat once again. This allows the adhesive to get into all of the recessed areas of the paint. You have to be gentle through this process to not melt or mar the decal which is why I use the felt lined tool and move the gun rapidly, never stopping over a single area.
 03-02-19, 07:21 PM