When you click on links to various merchants on this site and make a purchase, this can result in this site earning a commission. Affiliate programs and affiliations include, but are not limited to, the eBay Partner Network.
First and foremost safety first for yourself and for your vehicle, unplug your battery and put your vehicle on jack stands safely.
1. Remove engine covers and proceed to remove intake ducts.
2. Once you have revealed the pulleys, remove the serpentine belt by releasing the tensioner as shown below
3. Remove the ground located between the alternator and crank pulley
4. Remove the 10mm bolt securing the oil dipstick and zip tie it up to the left side to give yourself room to work.
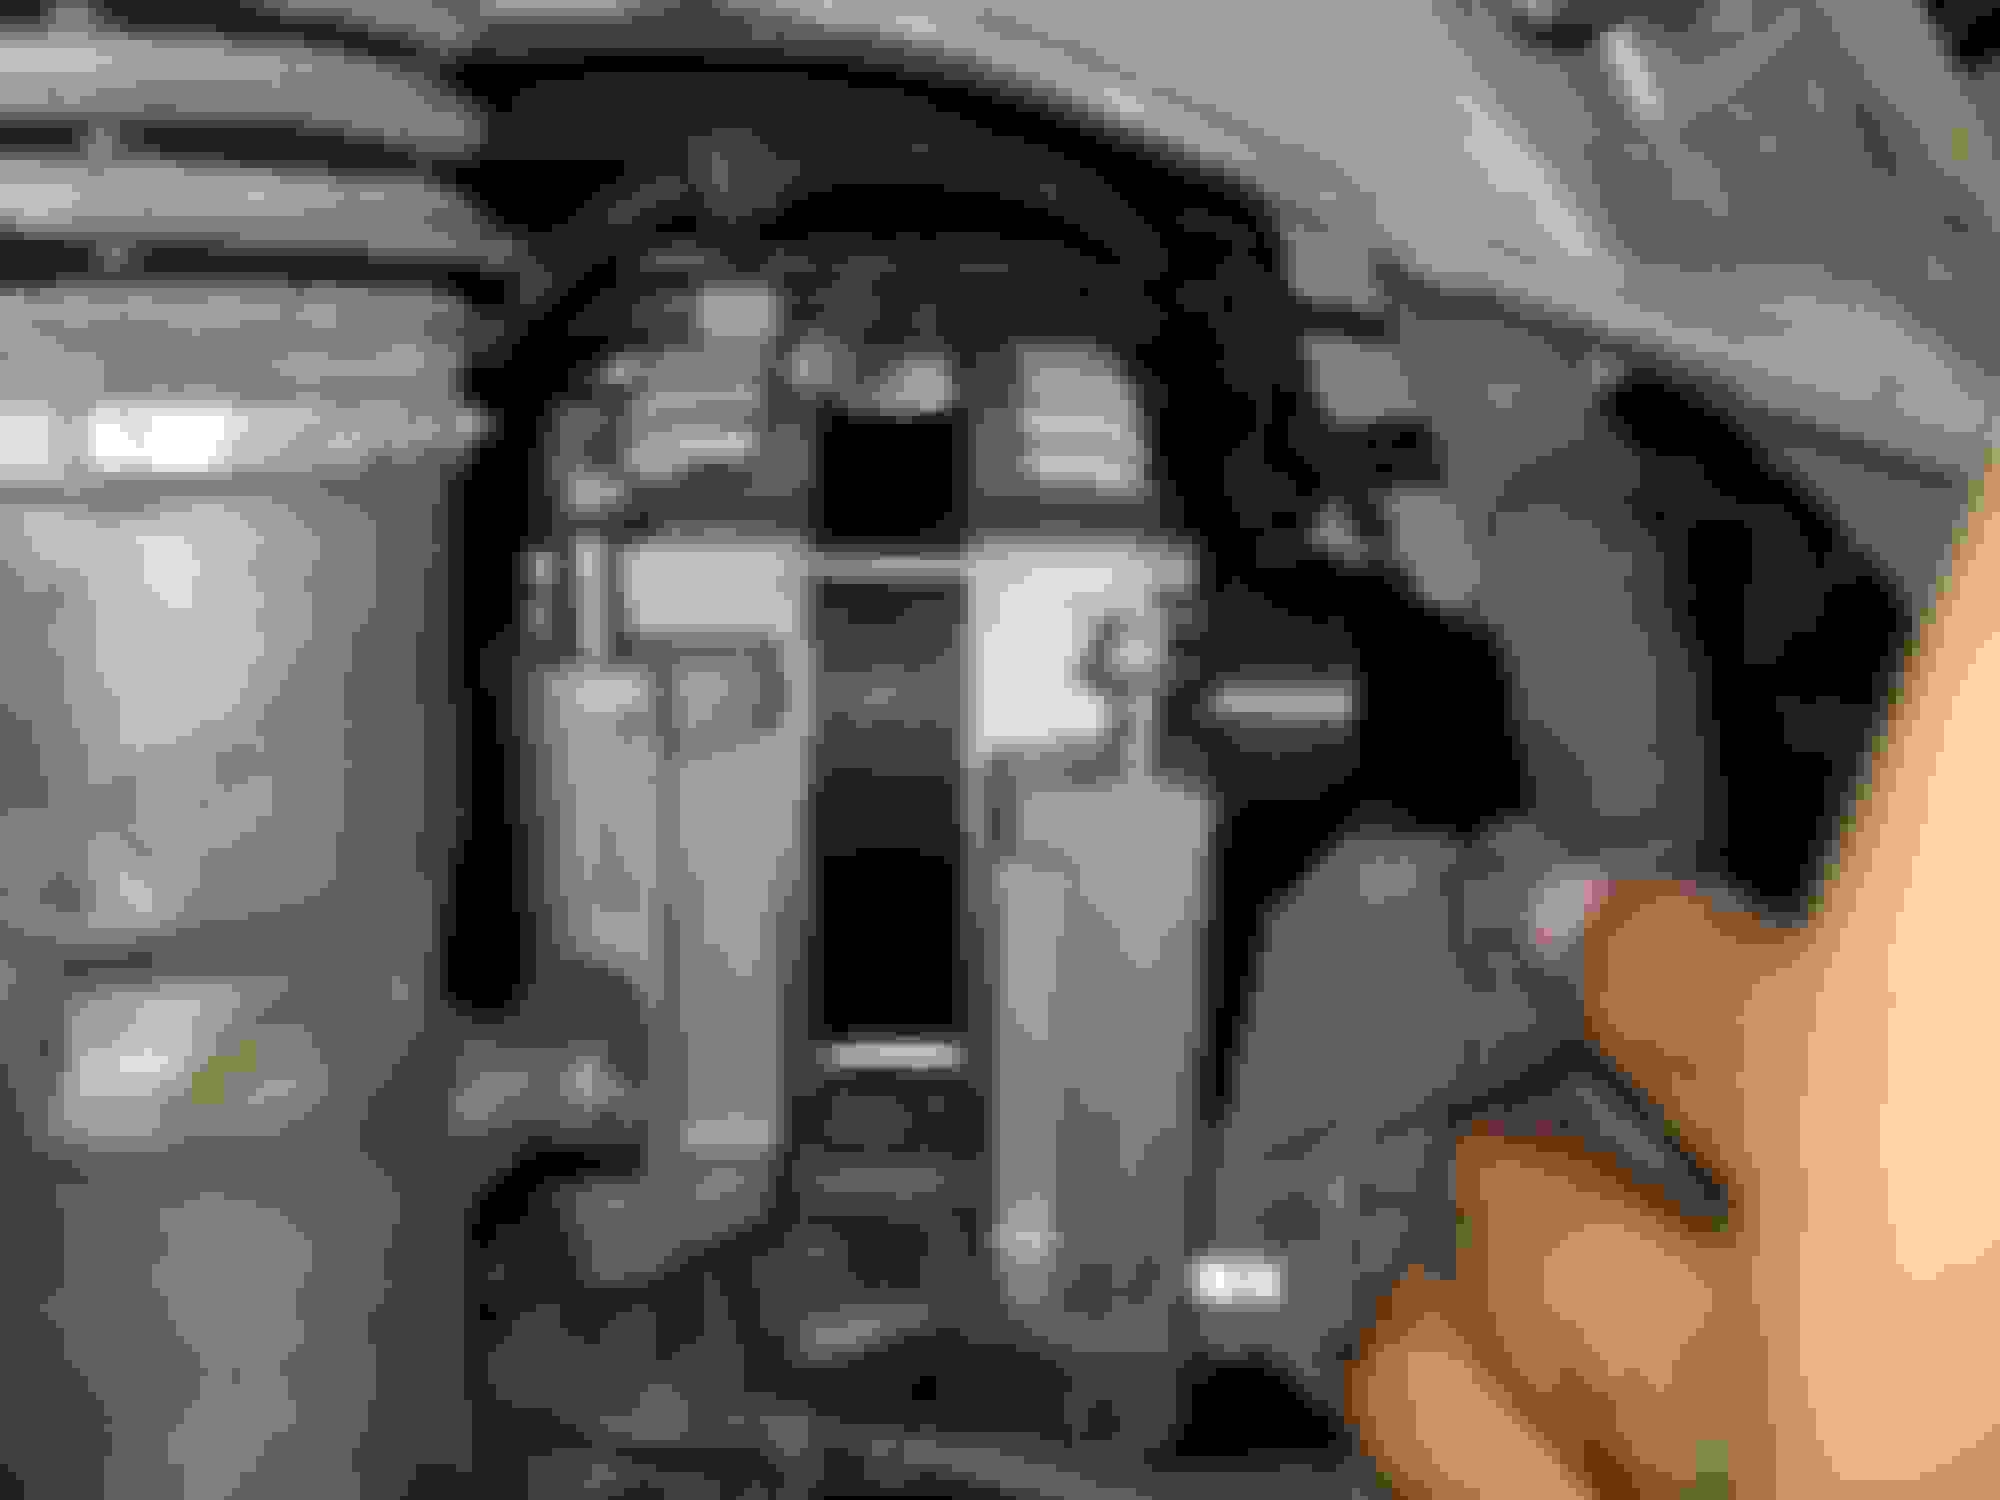
5. The alternator is mounted with two 14mm nuts on top and two 14mm bolts on the bottom that bolt into the passenger side of the block. You will be required to remove the top bolts first and proceed to remove the two studs with an E8 torx socket. I recommend removing front nut and stud then the rear. Note: When reinstalling, install the rear then the front.
6. To get to the bottom bolts you will need to remove the plastic guard under the vehicle followed by the metal skid plate.
disregard the red markings, it's a photo from another post, remove the black skid plate behind The red arrow. The center is latched on which can be removed by lifting and sliding the skid plate forward, after all bolts have been removed.
7. break the 2 14mm bolts loose, let them hang freely as you will not be able to pull them straight out without moving the alternator around and angled in order to do so
8. Go back to the top of the vehicle, pull back the protective boot and remove the bolt securing the cable and undo the harness from the alternator by depressing the clip and pulling simultaneously.
9. I undid the radiator hose clamp from the thermostat housing and moved the hose, moved it out of they way to make room for removal of the alternator. I loss a couple ounces on rad fluid, I recommend using a catch can just in case.
Note: make sure you research proper bleeding procedures after reinstalling to rid of any air in the system, also when reinstalling the new alternator, cover it with a thick towel or cloth to protect it from rad fluid when putting the rad hose back onto the thermostat housing. After this you can proceed to wiring the alternator back up.
10. Don't forget to slip the metal harness retainer back onto the front 14mm bolt while everything is loose. Otherwise if it's skipped you have to decide to do without mounting it or taking all your bolts out to get the retainer back in there.
This is a good opportunity to replace any idler pulleys, serpentine belt since it's already out and waterpump if it's due and any other components that are revealed while you're in there. Beware of leaning on the good ole radiator reservoir nipple as it is very brittle and prone to breaking to avoid replacing the radiator.
It was about a 3 to 4 hour job with documenting photos for this post. The alternator was the original, I'm pushing 140k. Symptoms are fairly normal, all happened in a day with cranking becoming weaker and weaker as the alternator gave out and started to drain the battery. Ultimately it ran out of juice and didn't start.
I would say it's mandatory for clearance in getting the alternator out, I couldn't figure out a way to get it out without doing so. There's not enough clearance from under the vehicle either.
Great write up. I replaced mines 3 months ago at 123k miles. The only part that got me was how to remove the alternator with the top bolts still installed. I have a techs manual and had to refer back to it to figure out that I had to use the torx socket.
I didnt get any symptoms when mines went though. Left work and all of the sudden I got the "check generator" warning on the dash. Kept driving and everything turned off but car kept running. Made it home and diagnosed the alternator.
Well done Lad. I noticed you have a coolant leak, evidenced by the pink crystallization in your photos.
Thanks Roadfrog, and yes you are correct in regard to the leak i had just replaced the water pump a couple weeks ago so the crystallization is left over from the old water pump.
Great write up. I replaced mines 3 months ago at 123k miles. The only part that got me was how to remove the alternator with the top bolts still installed. I have a techs manual and had to refer back to it to figure out that I had to use the torx socket.
I didnt get any symptoms when mines went though. Left work and all of the sudden I got the "check generator" warning on the dash. Kept driving and everything turned off but car kept running. Made it home and diagnosed the alternator.
It took me a bit to convince myself to remove the Torx bolts after weighing my options trying to figure out an alternative. Luckily for me as well, it died in my driveway so it saved me a headache of towing it home.
First and foremost safety first for yourself and for your vehicle, unplug your battery and put your vehicle on jack stands safely.
1. Remove engine covers and proceed to remove intake ducts.
2. Once you have revealed the pulleys, remove the serpentine belt by releasing the tensioner as shown below
3. Remove the ground located between the alternator and crank pulley
4. Remove the 10mm bolt securing the oil dipstick and zip tie it up to the left side to give yourself room to work.
5. The alternator is mounted with two 14mm nuts on top and two 14mm bolts on the bottom that bolt into the passenger side of the block. You will be required to remove the top bolts first and proceed to remove the two studs with an E8 torx socket. I recommend removing front nut and stud then the rear. Note: When reinstalling, install the rear then the front.
6. To get to the bottom bolts you will need to remove the plastic guard under the vehicle followed by the metal skid plate.
disregard the red markings, it's a photo from another post, remove the black skid plate behind The red arrow. The center is latched on which can be removed by lifting and sliding the skid plate forward, after all bolts have been removed.
7. break the 2 14mm bolts loose, let them hang freely as you will not be able to pull them straight out without moving the alternator around and angled in order to do so
8. Go back to the top of the vehicle, pull back the protective boot and remove the bolt securing the cable and undo the harness from the alternator by depressing the clip and pulling simultaneously.
9. I undid the radiator hose clamp from the thermostat housing and moved the hose, moved it out of they way to make room for removal of the alternator. I loss a couple ounces on rad fluid, I recommend using a catch can just in case.
Note: make sure you research proper bleeding procedures after reinstalling to rid of any air in the system, also when reinstalling the new alternator, cover it with a thick towel or cloth to protect it from rad fluid when putting the rad hose back onto the thermostat housing. After this you can proceed to wiring the alternator back up.
10. Don't forget to slip the metal harness retainer back onto the front 14mm bolt while everything is loose. Otherwise if it's skipped you have to decide to do without mounting it or taking all your bolts out to get the retainer back in there.
This is a good opportunity to replace any idler pulleys, serpentine belt since it's already out and waterpump if it's due and any other components that are revealed while you're in there. Beware of leaning on the good ole radiator reservoir nipple as it is very brittle and prone to breaking to avoid replacing the radiator.
Reinstall in reverse procedure.
How in the world did you fit your hand back there to unclip the harness.. I�m in the middle of doing this and it�s a Pita.... I have all for bolts loose
I know its a couple of days late but I dropped the alternator down first and then disconnected the cables. Disconnect the battery before doing all of that first of course.
 10-18-17, 09:59 PM


 How long it took you?.


