When you click on links to various merchants on this site and make a purchase, this can result in this site earning a commission. Affiliate programs and affiliations include, but are not limited to, the eBay Partner Network.
HOW TO: Single-DIN Head Unit & Amp in LS430 with factory Nav/ML - no adapters needed
Overview:
This post covers how to install an aftermarket single-din head unit and amplifier into a 2004 LS430 with Navigation, while retaining full use of NAV, climate control, park assist, and backup camera without using any aftermarket adapters.
Why?
My ML amp died, and I did not want to spend $600+ to repair/refurbish it when I could spend less and upgrade to a modern head unit with full bluetooth functionality and amplify the speakers with proper wattage. I wanted a traditional single-din unit which would be mounted in place of the factory CD changer to keep a stock/stealth appearance.
How?
To retain use of the screen you have to leave almost all the factory equipment plugged in. The only plug you need to remove is the large plug on the ML amp. Leave everything else plugged in. In particular, there is a small box above the ML amp that controls the backup camera. If you unplug that box, a SYSTEM ERROR message will display.
Modifying the factory head unit is simple. It is two single DIN units - the top one is the "radio," the bottom one is the CD changer. They are connected by two ribbon connectors, a few brackets, and a handful of screws. You're going to keep the top radio and remove the CD changer. Go to town with your screwdriver and scissors. Once you're done separating the units, use the factory brackets (see photo) to mount your aftermarket head unit. Dremel or use a flush cut blade on the factory trim a bit to enlarge the opening and you’re set.
Wiring:
Head Unit: I didn’t want to use T-taps on the factory harness, so I ran separate wires to the passenger fuse box. Always on power is connected to the DOME light circuit. Accessory power is connected to a spare fuse spot that is switched. I ran power, remote amp turn-on, antenna cable, and RCA’s from the center console down the passenger side carpet to get to the passenger side of the car. From there go straight back to the trunk. For the microphone, I pulled that through the driver side carpet, tucked under the dash, and then up the A pillar trim.
For the amp power cable be careful going through the firewall. There’s a lot of wires behind the grommet and it’s tight. I used tin snips to cut the grommet followed by a fish tape. Pull the battery if you want more working space.
All wires went down the passenger side. There is no alternator whine.
From the passenger compartment into the trunk you have a few choices. If your wires are long enough, follow the factory wires up to the rear deck and then enter from a pre-existing hole in the top. I ended up drilling through the seatback into the trunk, make sure the spot you choose for your cables does not interfere with any mounting brackets on the seat cushions.
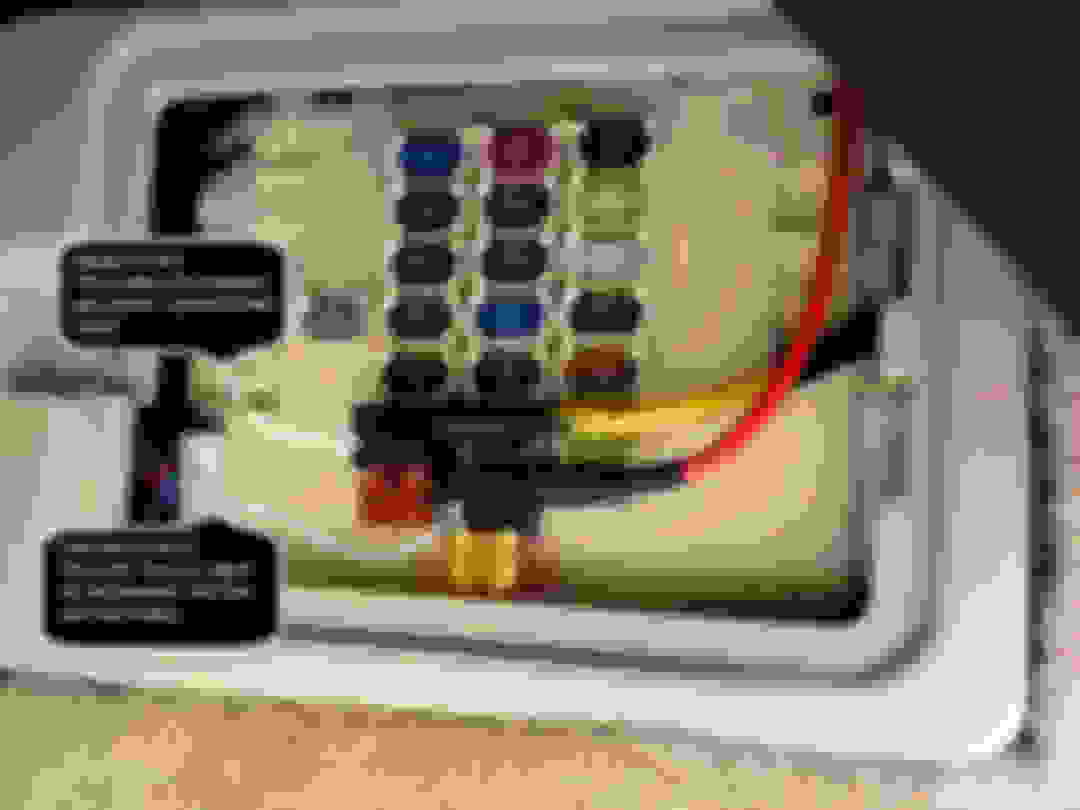
In the trunk, I used T-taps directly on the large plug from the ML amp which plugs into the wiring diagram shown below. Use this wiring harness as there is a yellow/black pair that goes into the factory hardware so you retain the park assist audio beeping function.
I did not tap the subwoofer wiring harness from the ML amp since I replaced the factory sub with a Dayton Audio SD215A 8” unit. The subwoofer is infinite baffle (free air), so you can easily access the wiring terminals on any aftermarket sub from the trunk and wire it straight to your amp.
Parts:
Headunit - JVC KD-X350BTS - shallow mount, 4V preouts - $73
Amp - Pioneer GM-D9605 - 75x4, 300x1, crossovers, remote sub control - $210
Sub - Dayton Audio SD215A - $30
Metra 40-LX10 - Antenna adapter cable - $9
Metra 44-EC204 - 204” antenna cable - $11
20’ 4 gauge amp wiring kit - $45
Ferrules, various terminals and connectors to terminate/connect wires.
Useful Tools:
3M Super 33+ Electrical Tape, Tesa Wire Loom Tape
Steel Step Bit, Upholstery and Trim removal tools, Dremel, Oscillating Power tool, Circuit tester, Multimeter, Tin snips, Strap Tie (for mounting brackets), fish tape
Added a photo of the mic. Sound quality is great in this location, and you can adjust the gain, noise cancellation, etc through the headunit if needed.
How did you run the mic wire? I tried to pull those A-pillar pieces and couldn't get them off, though I wasn't trying to force them. The tolerances seemed like they were too tight to just tuck it behind it...
nice write up. it's good to know there are other options out there in case i run in to the same issue. my changer is not working, but i'm using the grom unit to play my ipod/media. i wonder if i can remove the changer and use something there like a pocket or something for storage or a place to hold my sunglasses.
with the grom unit, you hit the CD button twice to get to the radio to access the grom. anyone know if i cut that ribbon cable to the changer if that would affect anything with that button?
How did you run the mic wire? I tried to pull those A-pillar pieces and couldn't get them off, though I wasn't trying to force them. The tolerances seemed like they were too tight to just tuck it behind it...
The tolerances are tight. I used two nylon trim tools, a narrow one to open the gap a bit and a second one to push the wire inside.
Originally Posted by ebxgsxr
nice write up. it's good to know there are other options out there in case i run in to the same issue. my changer is not working, but i'm using the grom unit to play my ipod/media. i wonder if i can remove the changer and use something there like a pocket or something for storage or a place to hold my sunglasses.
with the grom unit, you hit the CD button twice to get to the radio to access the grom. anyone know if i cut that ribbon cable to the changer if that would affect anything with that button?
Regarding the ribbon - I know if you push the CD button on the radio after cutting the ribbon, it says "no CD". It doesn't say error or anything like that. I have no experience with the grom so I can't say with any certainty if it'd work or not, sorry.
ok. might still work. if the button is still checking (at least it's saying no CD). then it should hopefully register if the button is hit twice. i have a bad radio that i might try this on. thanks for you input and write up.
ok. might still work. if the button is still checking (at least it's saying no CD). then it should hopefully register if the button is hit twice. i have a bad radio that i might try this on. thanks for you input and write up.
I think you're right. If you (or anyone else) lives close to me and wants to try testing their GROM in my car, I'd be happy to give it a shot. The more we can learn about the radio's behavior the better.
use the factory brackets (see photo) to mount your aftermarket head unit. Dremel or use a flush cut blade on the factory trim a bit to enlarge the opening and you�re set.
is there a difference between the 2004 & 2005? i had already replaced my radio/changer combo (which i still had the old on in my basement) but mine didn't have those brackets on the old radio. i and never removed anything off of the old one to install the replacement.
I think you're right. If you (or anyone else) lives close to me and wants to try testing their GROM in my car, I'd be happy to give it a shot. The more we can learn about the radio's behavior the better.
unfortunately we are on the other coast, lol. but i took my old radio apart and when i have time to take everything out, i'll test it to see if it works. i will post back with the results.
my only thing is i didn't have the brackets on the old radio.
unfortunately we are on the other coast, lol. but i took my old radio apart and when i have time to take everything out, i'll test it to see if it works. i will post back with the results.
my only thing is i didn't have the brackets on the old radio.
You don't have these V shaped brackets? I suppose you could make one out of metal straps, or someone who used a Beatsonic or Metra setup could donate theirs.
So after you remove the stock cd player, how do you wire up the aftermarket radio to the cars harness becuase i dont want to change my amp unless thats mandatory, also are you simply giving power to the head unit from the fuse box and running the RCA cables to the pioneer amp then tap in to the speaker wires from the factory amp harness then hook it up to the pioneer 5 channel amp also how do you wire up the sub to the amp ?
So after you remove the stock cd player, how do you wire up the aftermarket radio to the cars harness becuase i dont want to change my amp unless thats mandatory,
The main purpose of this thread is to change your amp to an aftermarket unit because the factory ML amp died. To answer your question, if you use an aftermarket headunit you'll need to use an aftermarket amp. Even if you used the headunit to drive the door speakers you'll still need an amp to drive the subwoofer. Keep in mind the factory amp harness is in the trunk, so if you want to use your aftermarket headunit to drive the factory speakers you'll have to run four sets of speaker wire to the trunk anyways - all the trim and rear seat will have to be pulled. To add an amp you just need to run the power cable to the battery, not much extra work.
Originally Posted by Bsavage
also are you simply giving power to the head unit from the fuse box
Yes, because I didn't want to tap any of the factory wires behind the dash. The bundle is tight and the wires are very thin gauge. You could tap other wires, but IMO it's easier to just go to the fusebox.
Originally Posted by Bsavage
and running the RCA cables to the pioneer amp then tap in to the speaker wires from the factory amp harness then hook it up to the pioneer 5 channel amp
Correct. Also FYI, you don't need to use an amp like the Pioneer GM-D9605, you can use something smaller as long as it makes 40x4 and 100x1 RMS.
Originally Posted by Bsavage
also how do you wire up the sub to the amp ?
I highly recommend replacing the factory ML sub with an aftermarket unit (Dayton Audio, Polk, Kicker, whatever) since the speaker cost is cheap and you need to disassemble everything anyways. Don't bother with the factory sub wiring harness - the subwoofer's connections are accessed from the trunk. Use wire connectors and run speaker wire from the sub to the amp.
 11-21-18, 05:37 PM