When you click on links to various merchants on this site and make a purchase, this can result in this site earning a commission. Affiliate programs and affiliations include, but are not limited to, the eBay Partner Network.
A power buffer and ordinary polishing compound does just as well. Apply Aerospace 303 every month thereafter.
Yeah that's what I said I had done 3 years ago, but that removes a fair bit more material from the lenses than this product applied with only pressure from your fingers and a microfiber towel. Keep buffing/polishing your lenses with a power tool and within another couple of years, the lens will become very thin and crack when someone looks at it wrong.
PlastX does great with a buffer - did it time before last using that product with my Rupes & white pad. The Opti lens coating sealant I had used last time had been previously opened a couple of years back and 3/4 used up and didn't hold up either because it had aged out or I didn't have enough for good coverage.
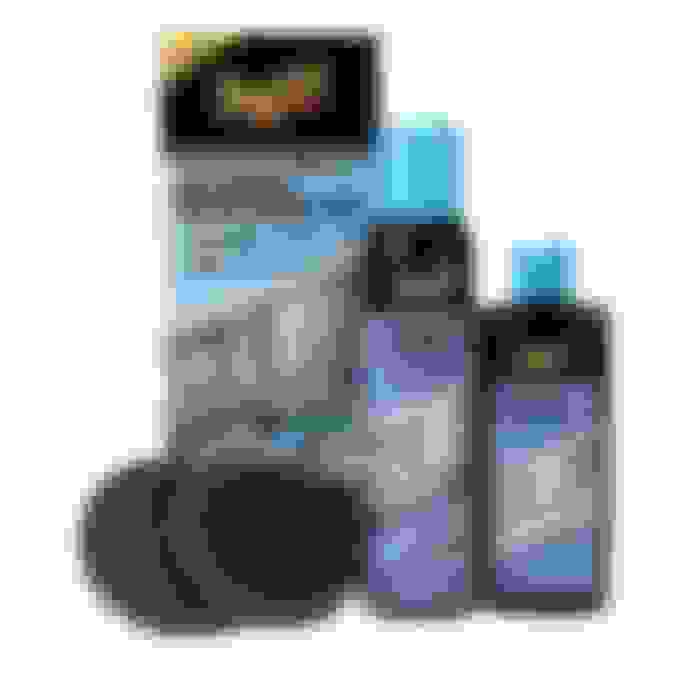
Lasted about six months and started to fog up again so earlier this week I went with this kit
I tried to get just the sealant and was planning to use the PlastX I already have, but Amazon was out of stock with a 1-2 month wait, so I got the full kit for a couple bucks more that also included the cleaning solution and applicators. I suspect the stuff in the bottle for the headlights is PlastX just in a different packaging... about the same consistency and look and worked just as well. Note the sealant is an aerosol (says lasts 12 months), so if you use this I recommend putting down more protection than just the masking tape around the edges of your headlight... I was too lazy to do that and got some overspray I had to clear up. Instructions say the spray dries in 3-5 minutes but not to get it wet while it cures for 24 hours. Unfortunately the 10% chance of rain happened in a brief afternoon shower probably 6 hours after I did my headlights, so unsure if that will diminish the effectiveness of the stuff. Guess we'll find out in a few months.
I was at local Lexus dealer yesterday picking up a new radiator cap, and I think I saw a sign for headlight restoration for $150. Any idea what these professional do to the headlight? I do not need one, but just curious if it is something that we can be replicate.
I was at local Lexus dealer yesterday picking up a new radiator cap, and I think I saw a sign for headlight restoration for $150. Any idea what these professional do to the headlight? I do not need one, but just curious if it is something that we can be replicate.
If it's the same as they do with touch ups where the pro guy comes 1/wk to the dealer (my g/f now wife insisted I get the PDR and paint protection when I got a new car in 2007 or she would buy it for me), then exactly what we would do ourselves....or what's on YouTube...
btw what's the P/N on the rad cap, I remember coming up with 2 diff ones so curious...
Wet sanding is the way to go. I used 3m kit and it absolutely did amazing job. Now, I am not sure if any aftermarket clearcoat or lacquer on top of the headlights will produce long-term results similar to OEM clearcoat.
I used the PlastX product today on my LS430 headlights.. I thought they were good to begin with, but sure enough a little yellow crud showed up on the white terry cloth rag and they look even better. Did a great job on my daily driver ('05 VW Passat TDI) that's now parked outside too.
btw what's the P/N on the rad cap, I remember coming up with 2 diff ones so curious...
What do you mean 2 different ones? Different size?
What I have is 16401-36020, Made in Japan. I hope they gave me the correct one because I just installed it in the car, and currently being driven around town.
Oh hey, i used the exact same Maguires headlight restoration thing. The real meat of the story will be when i check up on it after a year. If it holds up and i just have to re-spray it, ill be a happy camper.
Otherwise for $15 and getting 85% of the way there, its been perfectly fine.
What do you mean 2 different ones? Different size?
What I have is 16401-36020, Made in Japan. I hope they gave me the correct one because I just installed it in the car, and currently being driven around town.
Sweet...for some reason on eBay it said not for my car so I hesitated....then, another website showed 16401-31480....BUT, parts.com does show 16401-36020, so I think it's right...
Sweet...for some reason on eBay it said not for my car so I hesitated....then, another website showed 16401-31480....BUT, parts.com does show 16401-36020, so I think it's right...
Gotcha! I was going to get it via online and save a few bucks, but the old cap has a tiny tiny leaks. It is probably ok being driven around for a few days while waiting to be shipped, but I sleep better knowing it is replaced.
after removing the oxidation, try Glare Professional + to seal and protect the headlight plastic . Check out their website Glare Finish and inform yourself about glass plexin
On a previous car I installed a Lexan sheet over the headlights (mainly to protect the glass headlights) but I think it would make a perfect cover over the lights . Should the Lexan ever discolor (which it did not over 6 years), just remove it and install another new sheet.
Last edited by semar; 07-03-18 at 04:20 PM.
Reason: additional info
 06-22-18, 03:27 AM