When you click on links to various merchants on this site and make a purchase, this can result in this site earning a commission. Affiliate programs and affiliations include, but are not limited to, the eBay Partner Network.
I just replaced mine using the oem kit from Yahoo auction jp. Kinda pricey but worth it!
please do tell more! mine were repaired at some point and it caused hairline cracks and buffer burns and id love to replace them. cant be more than the complete assembly.
please do tell more! mine were repaired at some point and it caused hairline cracks and buffer burns and id love to replace them. cant be more than the complete assembly.
Here are the parts and instructions. All you need is a hair dryer and a flathead screwdriver.
I�ve applied this on three vehicles so far in the past 6 months. I had to �refinish� my 2012 CT200h headlights before applying this product. My 2005 LS430 garage queen�s headlights are flawless. I did those as well, along with my wife�s 2017 Outback. I can�t comment on long term
performance, it just hasn�t been that long. The product has a distinct solvent smell, applies easily and doesn�t adversely affect optics. I will apply a few more coats before calling the job done. They don�t give you a great deal of product, but you don�t use much. Sealing the syringe is easy and secure in that it doesn�t solidify once sealed. I�ve had mine for about 3 months so far, stored in a garage in Texas.
I replaced mine, got a set from a company I know and was happy. Sadly the computers in the lights were kaput and that made me sad - had to hunt for those pesky units.
I used to use Meguiar's headlight restoration with acceptable results, but it didn't last.
This year I switched to Bluemagic and applied a thin coat of Turtlewax super hard shell. Several months later and the headlights are still clear.
I did the sanding, buffing, and then clear UV paint on both my LS and GS. They came out fairly decent but on my LS it started to slightly change color over time and the GS I got a little crazy with the rattle can and had some orange peel that most people probably wouldn't notice but it bugged the crap out of me every time I looked at the car. I ended up going to a local company that does sanding but then uses a chemical/sealant that makes them pretty much perfect. It cost me $100 but almost a year later and the still look really good.
I did the sanding, buffing, and then clear UV paint on both my LS and GS. They came out fairly decent but on my LS it started to slightly change color over time and the GS I got a little crazy with the rattle can and had some orange peel that most people probably wouldn't notice but it bugged the crap out of me every time I looked at the car. I ended up going to a local company that does sanding but then uses a chemical/sealant that makes them pretty much perfect. It cost me $100 but almost a year later and the still look really good.
I got 3 years out of my moms headlight restoration on her 2000 Accord which was parked in the blazing sun before starting to peel. The company redid the headlights for $35 and was looking new again. Sold the car with 56,000 miles shortly after for very strong money. People don’t realize how clear headlights makes the appearance of the car pop as well as improving the headlight performance.
People don�t realize how clear headlights makes the appearance of the car pop as well as improving the headlight performance.
So true. My sister bought a 2002 Taurus years ago and the headlights were so hazy they looked like they were painted white. 4-5 years ago she came over for a family get together and I got out my polish and cleaned them up for her. Amazing difference it made. It was funny how happy she was! She started looking at that car in a whole new light, until it succumbed to a rusty sub frame.. But, the headlights looked great.
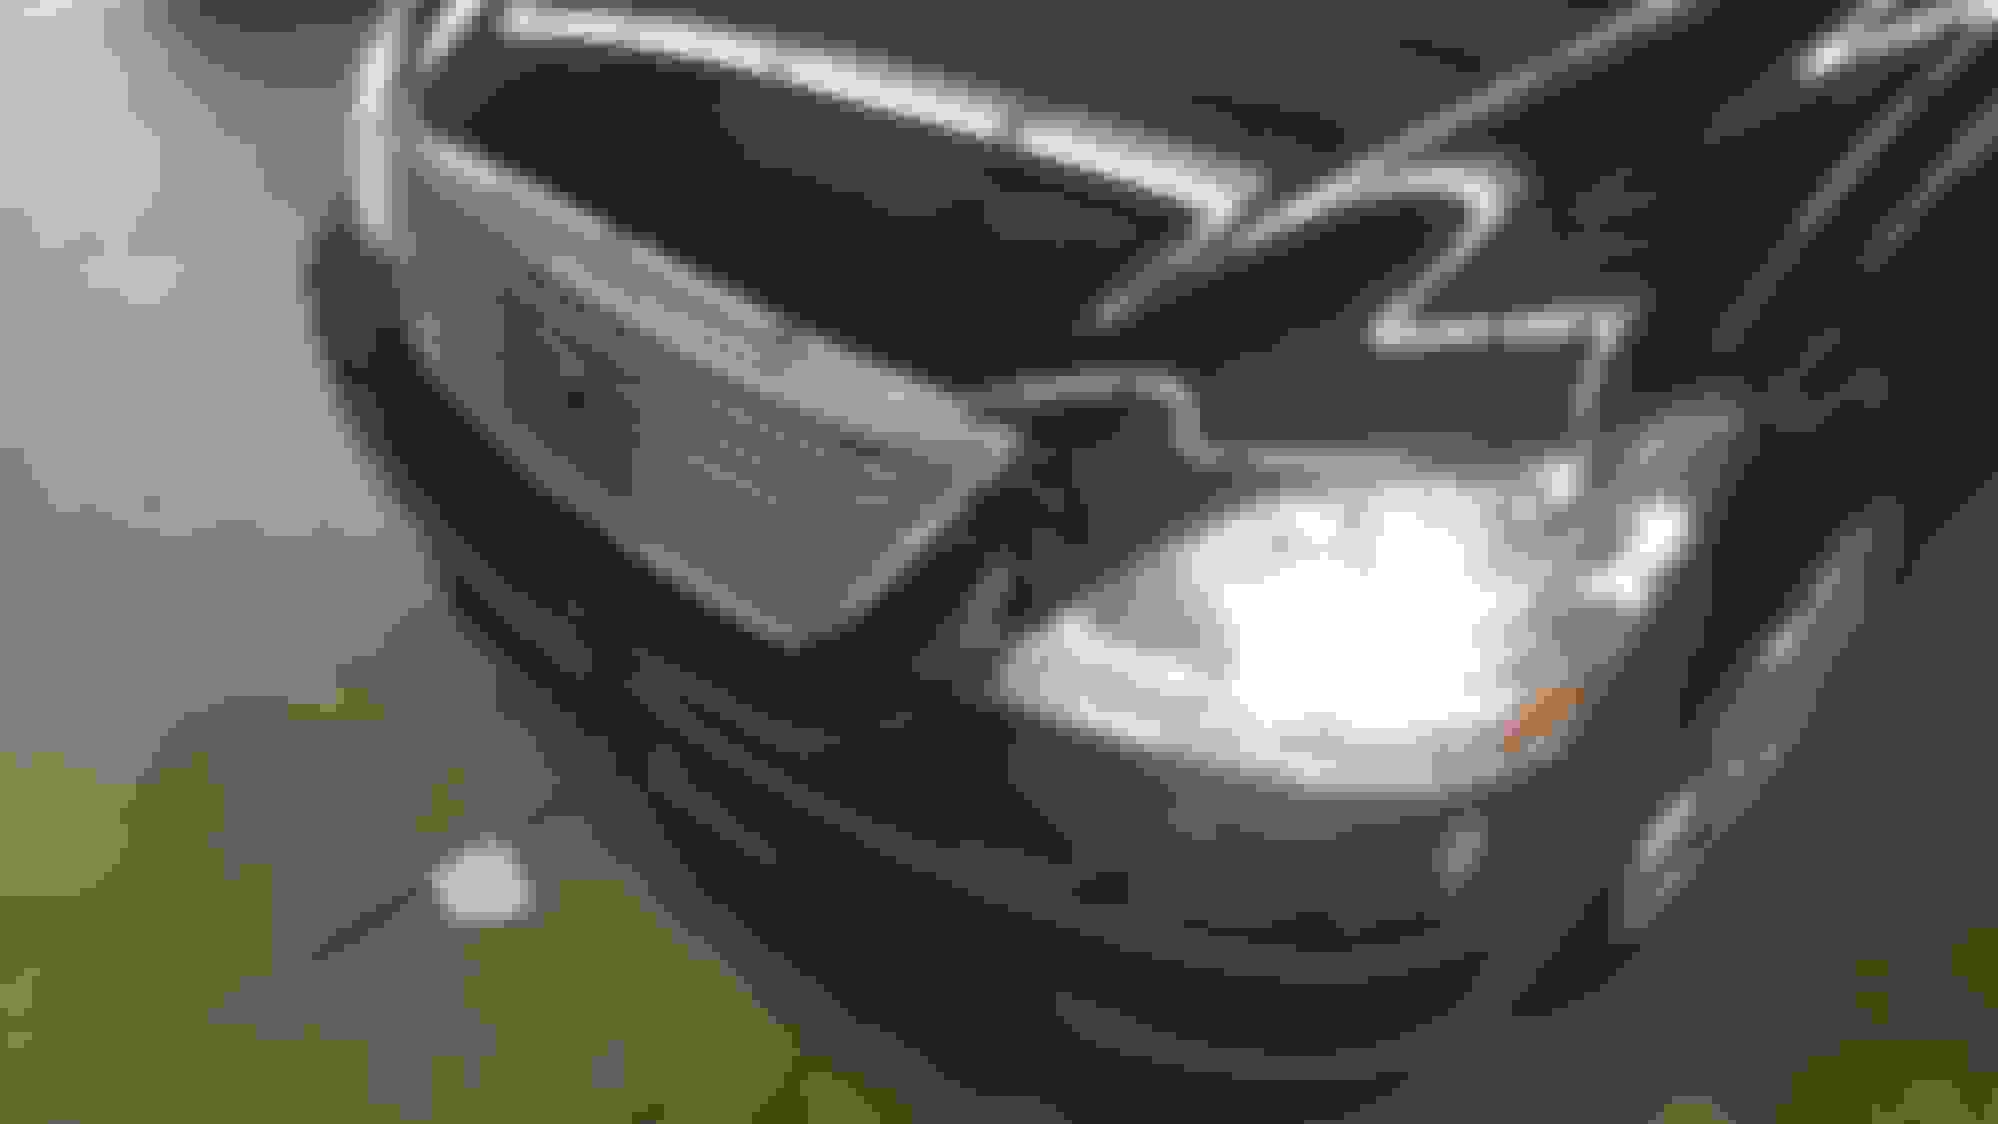
Just redid my headlights actually along with the cruise control module, start with 1500 wetsand, step up to 3000 wetsand (be light, these are plastic headlights you can burn through as they are sensitive to heat) then I did a 3 step buff starting with rubbing compound on an orbital foam pad - make sure you're not heating them up HOT in the area in which you are focusing the buffing on this will cause damage. warm is ok the second step is a machine polish and 3rd step is a ultrafine machine polish I also used three different pads, one heavy cut one light cut one medium - one for each perspective compound= - I was using 3m mirror finish I think If you want specifics. Bottles of compound are not cheap nor is an orbital just sharing how I did it. my headlights do not leak and arent spider cracked. none of this will help that. Sorry that the headlights are on in the picture but this is the after! this is taken with a s6 in a dungeon of a detail shop so bear with the picture. no errors whatsoever with the cruise module. just take everything slowly and tape it all off. I was very happy with the outcome. the orange square in the cruise module I think is the detail shop microwave. P.S. drive up to Madison - Wisco and I'll wetsand and buff you're headlights for 20 bux . Always good to see another member
You may also clearcoat the headlights too for extra extra long lasting results with a proper bodyshop spraygun for the whole 9 yards. Edit: You can try spraycan clearcoat but you won't see me trying it on any of my vehicles headlights.
You need to refinish them and then apply a clear Xpel overlay which has a UV filter and 10 year warranty I believe. I did mine about 5 years ago. Prior to that I would have to redo about every 12 months since I park outside. I also did the PCS clear cover. Flawless.
I would like to mention that my 2002 UL has no headlight haze, likely because it spends very little time out in the sun. No products have ever been applied to the plastic. Therefore, I would infer that UV and heat are the primary causes of the headlight hazing. If you can block or reduce one or both, you should be able to significantly slow the hazing process.
 05-21-18, 04:15 PM


 . P.S. drive up to Madison - Wisco and I'll wetsand and buff you're headlights for 20 bux
  . Always good to see another member