When you click on links to various merchants on this site and make a purchase, this can result in this site earning a commission. Affiliate programs and affiliations include, but are not limited to, the eBay Partner Network.
hey trado..you should have dropped the rear end, leave it drain with the front tilted way up and you probably would have gotten close to 3+ qts. Guess you could do that on your subsequent drains, now that you've established correct capacity or close to it.
Well if I was getting some fluid out of the overflow when transmission was cold then I would definitely get more out when the fluid warmed up.
I just thought that it would take more than a quart before seeing fluid out of the overflow.
No, you need to shift the gears which puts trans fluid back into the torque converter that drains back into the pan.
hey trado..you should have dropped the rear end, leave it drain with the front tilted way up and you probably would have gotten close to 3+ qts. Guess you could do that on your subsequent drains, now that you've established correct capacity or close to it.
Well I haven't established the correct capacity. I still am assuming it is overfilled but like I said I'm paranoid that the overflow tube inside the transmission could be gone or could be too short.
But I understand about dropping the rear end and will do that the next time.
I did my fluid exchange using a much simpler approach while I was doing my timing belt service last month. You need the following supplies to do this the easy way;
2x 3/8" metal barb fittings from the hardware store
2x rubber caps 3/8" ID (or anything you can use to seal the radiator ports when you disconnect the oil cooler lines.
Manual pump that screws onto quart jugs of transmission fluid. Pump must have 3/8" rubber hose attached to the outlet - I got mine at harbor freight a few years ago.
Gallon or 5 quart empty jug to dispense used fluid into. Must have quart gradations on side so you can see how much used fluid you pour into it.
6x quarts of Toyota WS fluid - got mine from Amazon for ~$9 each. I bought 8 in case I spilled anything.
Toyota TIS and OBD cable (bought for $35 online 2+ years ago, works for a million other things besides this)
Ramps or jacks to lift vehicle so you can easily access underside.
~10' of 3/8" ID clear hose
Low profile drain pan
5mm allen wrench socket and ratchet.
Make sure vehicle is cool before doing this! Don't burn yourself!
Lift car and remove lower engine cover and transmission cover.
Disconnect transmission oil cooler lines from radiator. Plug/cap radiator ports so atf doesn't leak all over you or the floor.
Attach 10' of clear hose to one barb fitting, and secure barb fitting onto passenger side cooler line. Make sure barb is secure so it doesn't separate from hoses easily. Connect open end of clear hose to the empty jug. Secure it so it doesn't come out easily - I used a small clamp on the hose
Insert and secure manual pump into new quart of WS fluid.
Connect other barb fitting to hose end of manual pump, and attach open end of barb to longer driver side cooler line. Make sure barb is secure so it doesn't separate from hoses easily.
Make sure all containers (empty jug and new WS quart) are on the floor and stable so they don't tip over easily.
Fluid will pump into the empty jug when you start you car. Turn it on now for no more than 5 seconds and turn it back off again. Note level of fluid in the empty jug that should now have some used atf in it. Here is where you can use a helper. The goal is to replace every quart of empty fluid in the jug with a quart of new WS fluid. Do not pump more than 1 quart out of your transmission at a time. Every time you reach the next quart mark, replace with 1 quart of new WS fluid via the manual pump.
By quart 5 you should start seeing that the used atf coming out is more red than it is brown. Once you reach this point, pump in an additional quart of WS fluid. By the time you are done here, you will have poured in one more quart into the transmission vs what you removed.
While the vehicle is up on ramps, break loose the overflow plug on the transmission. I suggest you get a 5mm allen key on a socket so you can break it loose with a ratchet. Mine was very tight. I tapped it with a hammer a few times to help break it loose. Don't remove this plug, just crack it loose and tighten it enough so that it doesn't leak or fall off. Note that there is a crush washer on this plug. DO NOT LOSE IT!
Replace all the lines back into the oil cooler connections and take the car off the ramps/jacks etc.
Start the car and load TIS, open ECT menu, and go to data list. Transmission temp is on the bottom of the screen.
Drive the car around (use reverse during this time) until the temp reaches 120F.
With the car still on, put the drain pan under the overflow plug.
Remove the overflow plug and allow transmission fluid to drain out until it trickles.
Reinstall overflow plug (WITH CRUSH WAHSER!)
You are done! All you have to do now is reinstall the lower engine and transmission covers.
Reset your transmission fluid maintenance reminder for 75k mi (only on nav-equipped vehicles)
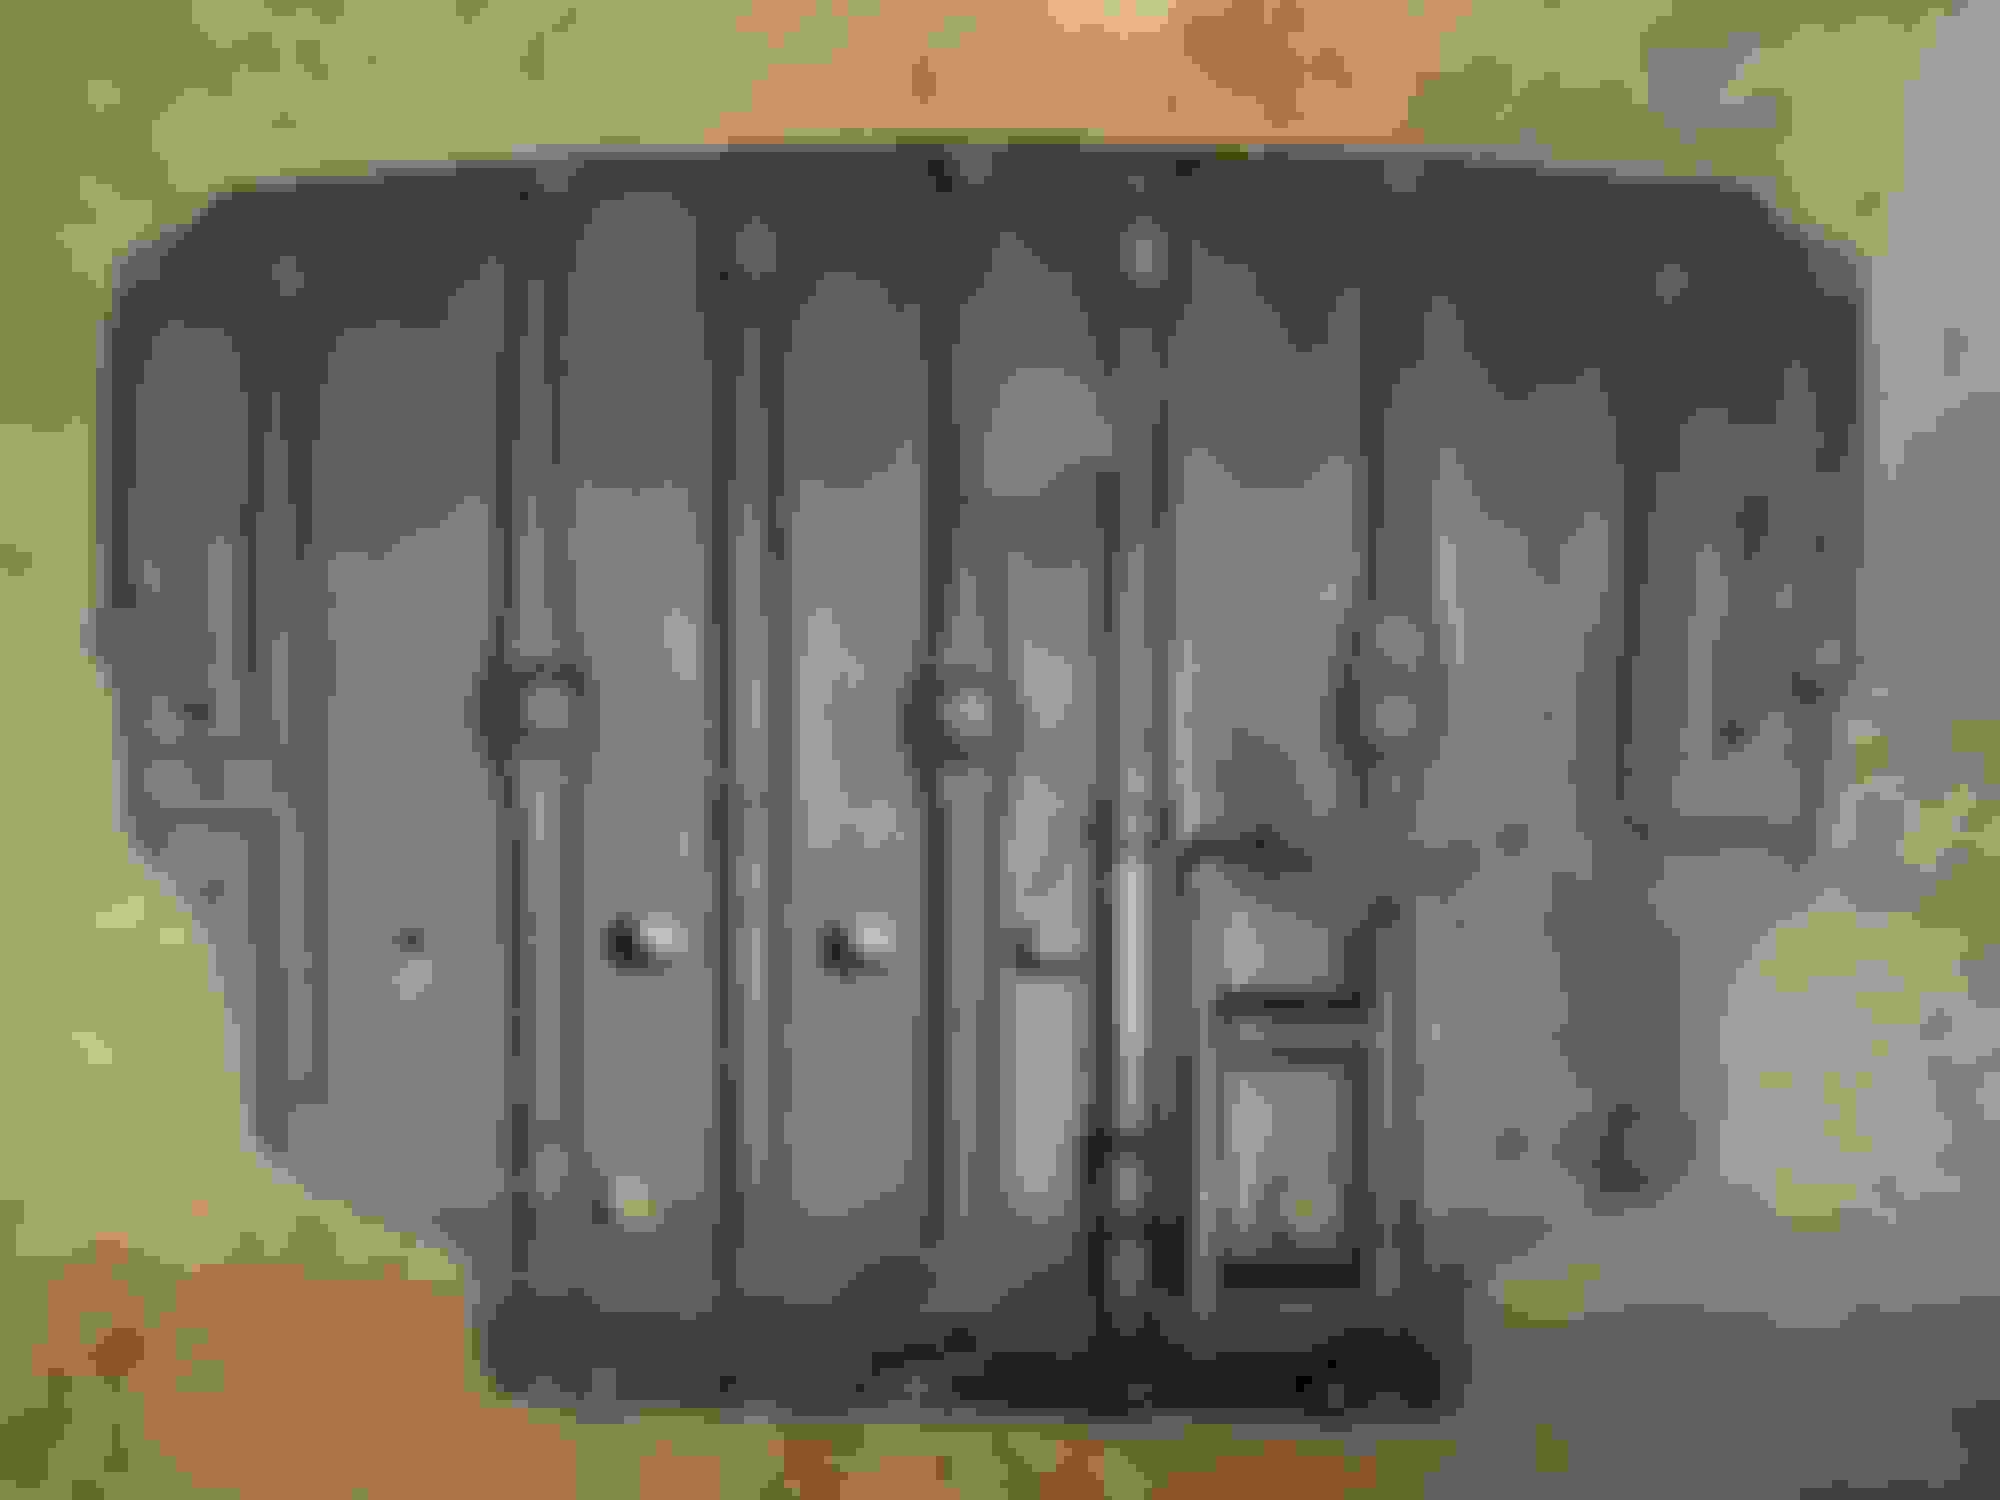
Dropped the pan today, first time it's ever been off.
I have 138K miles on the car, and after having flushed the fluid twice before and never dropping the pan, I decided today was the day. What a pleasant surprise. Not a single contaminant in the pan or on the filter screen. The valve body looked as new. No tarnish, no staining, no nothing. Just pure shininess and dark red fluid. Not a single spec from any clutch inside had deteriorated. I gladly had a new ATF Filter installed with new gasket, and filled it back up with Toyota WS fluid. I will not open this pan again for the duration I own this car. No need after seeing this at 138K miles. This car continues to amaze me!
Alright sorry for the delay! Had to change shocks/brakes on the GS this weekend and time slipped away.
So SerasLibre�s procedure was on point. Just follow his steps. It took me a little over 2 1/2 hours. Will not take near as long next time since I have it down now. I just have to share a few tips/tricks to add.
8 Quarts WS from local Toyota parts & service for $9 per.
Bottom engine cover, 20 philips screws! Use hand drill to speed this step up.
Be sure system is cooled down. I had shoptowels on standby with drain pans but not much fluid came out when unpluging the cooler lines.
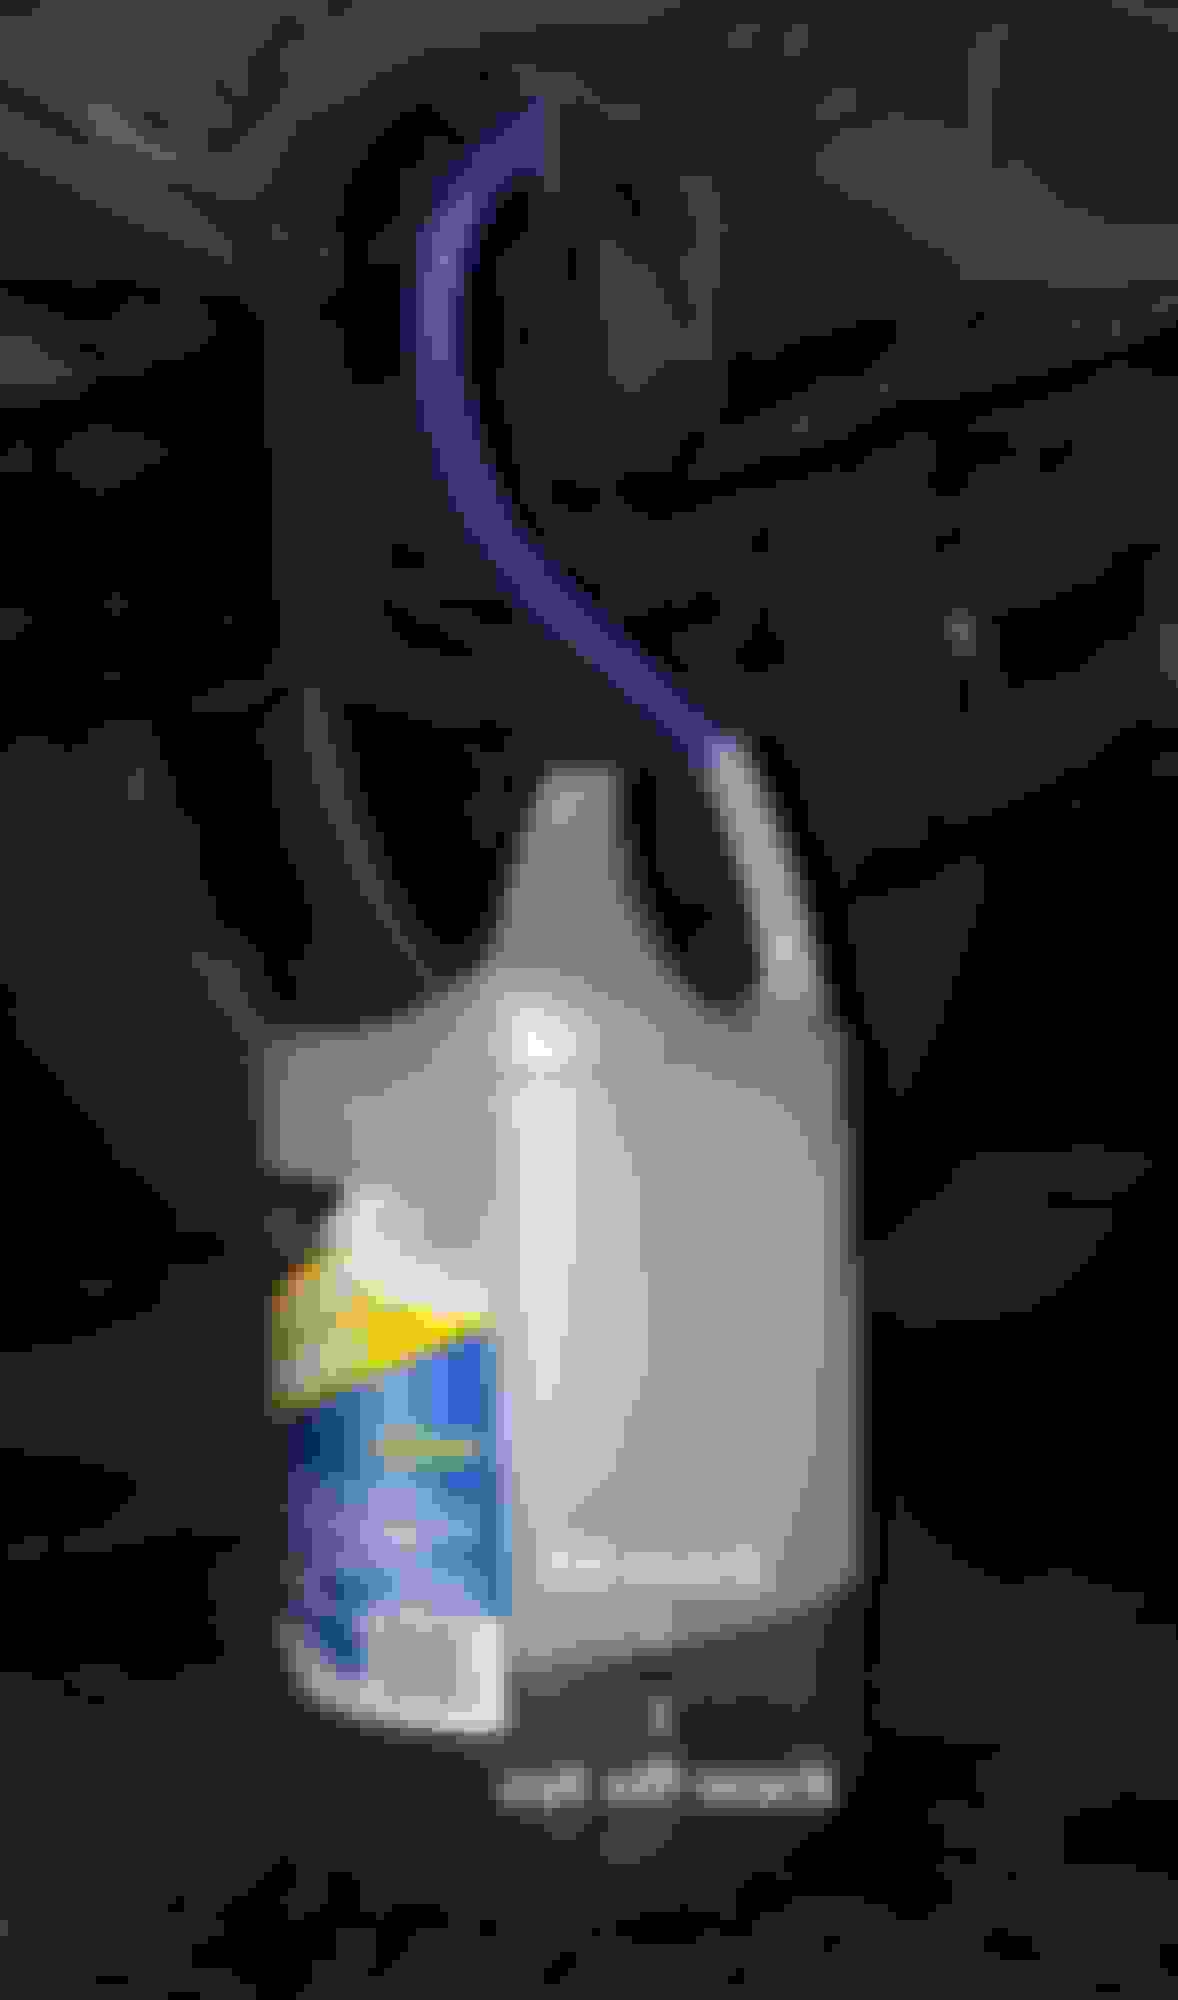
Any clear container with handles you can cut as shown, then your 3/8" or so drain hose can slip right down the handle to hold it steady in place. *Note i have 2 marks on the container. One you crank the engine for 5 seconds, when shutoff the fluid continues to flow for a good second. So i used an inspection mirror to observe the container when the fluid hit the cut-off mark for me to shut the engine down. I also placed a magnet within the container to catch any possible metal shavings. Glad to say there was zero! (Yes I know there is one in the tranny pan, was just curious)
Now I used a quart manual pump as shown. However any style manual pump may work, but these can be had for pretty cheap. Be sure and empty any remaining tranny fluid into the next new open quart. Pumping the fluid into the drivers side cooler line takes time, you have to apply firm steady pressure, at least that was the case for me.
Only deviance I have taken from the steps listed was I added 8 quarts instead. Being my vehicle has 140k and this was the first fluid change service. Now I did start to notice the red tint in the old fluid at about the 5th quart, however it was still darker than my liking at the 8th quart, so I wanted to put in another 2 quarts, totaling 10 if I had them. My measurements showed I drained 7 3/4 quarts out of old. I did not drain out a full quart on the last, but only 3/4's, then filled all the last new quart in. After doing the warm up procedure (steps 11-14) and releasing the overfill plug, 3/8's of a quart trickled out, so almost equal fluid in and out.
To add, most of you know these LS powertrains (aisin transmissions) are built very solid with the highest standards of quality/reliability. The difference I felt was better but minimal at best. I have peace of mind knowing it has fresh fluid, and I will make it a regular service interval.
I hope this helps all you DIYers wanting to tackle this project. Honestly it's not that difficult!
Alright sorry for the delay! Had to change shocks/brakes on the GS this weekend and time slipped away.
So SerasLibre�s procedure was on point. Just follow his steps. It took me a little over 2 1/2 hours. Will not take near as long next time since I have it down now. I just have to share a few tips/tricks to add.
8 Quarts WS from local Toyota parts & service for $9 per.
Bottom engine cover, 20 philips screws! Use hand drill to speed this step up.
Be sure system is cooled down. I had shoptowels on standby with drain pans but not much fluid came out when unpluging the cooler lines.
Any clear container with handles you can cut as shown, then your 3/8" or so drain hose can slip right down the handle to hold it steady in place. *Note i have 2 marks on the container. One you crank the engine for 5 seconds, when shutoff the fluid continues to flow for a good second. So i used an inspection mirror to observe the container when the fluid hit the cut-off mark for me to shut the engine down. I also placed a magnet within the container to catch any possible metal shavings. Glad to say there was zero! (Yes I know there is one in the tranny pan, was just curious)
Now I used a quart manual pump as shown. However any style manual pump may work, but these can be had for pretty cheap. Be sure and empty any remaining tranny fluid into the next new open quart. Pumping the fluid into the drivers side cooler line takes time, you have to apply firm steady pressure, at least that was the case for me.
Only deviance I have taken from the steps listed was I added 8 quarts instead. Being my vehicle has 140k and this was the first fluid change service. Now I did start to notice the red tint in the old fluid at about the 5th quart, however it was still darker than my liking at the 8th quart, so I wanted to put in another 2 quarts, totaling 10 if I had them. My measurements showed I drained 7 3/4 quarts out of old. I did not drain out a full quart on the last, but only 3/4's, then filled all the last new quart in. After doing the warm up procedure (steps 11-14) and releasing the overfill plug, 3/8's of a quart trickled out, so almost equal fluid in and out.
To add, most of you know these LS powertrains (aisin transmissions) are built very solid with the highest standards of quality/reliability. The difference I felt was better but minimal at best. I have peace of mind knowing it has fresh fluid, and I will make it a regular service interval.
I hope this helps all you DIYers wanting to tackle this project. Honestly it's not that difficult!
 01-18-16, 12:28 PM