When you click on links to various merchants on this site and make a purchase, this can result in this site earning a commission. Affiliate programs and affiliations include, but are not limited to, the eBay Partner Network.
DIY LS400 Stock Rims Refresh for $40 Paint guide (Rattle Can Rims)
Fresh Wheels! For more see the write up below:
Want a clean stock look for under $40? Then this post is for you! It seems to be a common thing for the rims on these cars to loose some of the original finish and look funky. I decided to give them some new life on the cheap! The reasoning is the car just got brand new tires before I bought it and I really do not want to spend big bucks on a daily driver.
Items Used:
Rust-oleum Professional High Performance Enamel - Silver
Rust-oleum Automotive Primer
Ajax Scrubbing Cleaner (TSP or Any Abrasive Cleaner will work).
1 Scrubbing pad
Sandpaper / sand paper block
Tools:
Dremel (Optional but recommended for curb rash or other deep mars on the rims).
Screw driver - for removing the center caps and to gently pry off emblems.
Floor Jack/ Jack Stands
Tire Iron
Key Notes: The more preparation in the rims the better off they will be for painting and the final product will be better. You do not want to rush the process and end up with weird paint because there was grease left or tire shine on the rims. I just painted them silver and called it a day and admittedly they are not perfect and have a few spots that have some issues. So take your time let things dry and follow the paint instructions. This process can be done with a base silver paint and a two stage clear but I just wanted it done fast and cheap. You can add a clear gloss or mat finish I just kept it with the silver paint.
Disclaimer: If you are working with paints or doing any work with moving tools such as a dremel be sure to wear eye protection and a mask while painting. Safety is number one on any project.
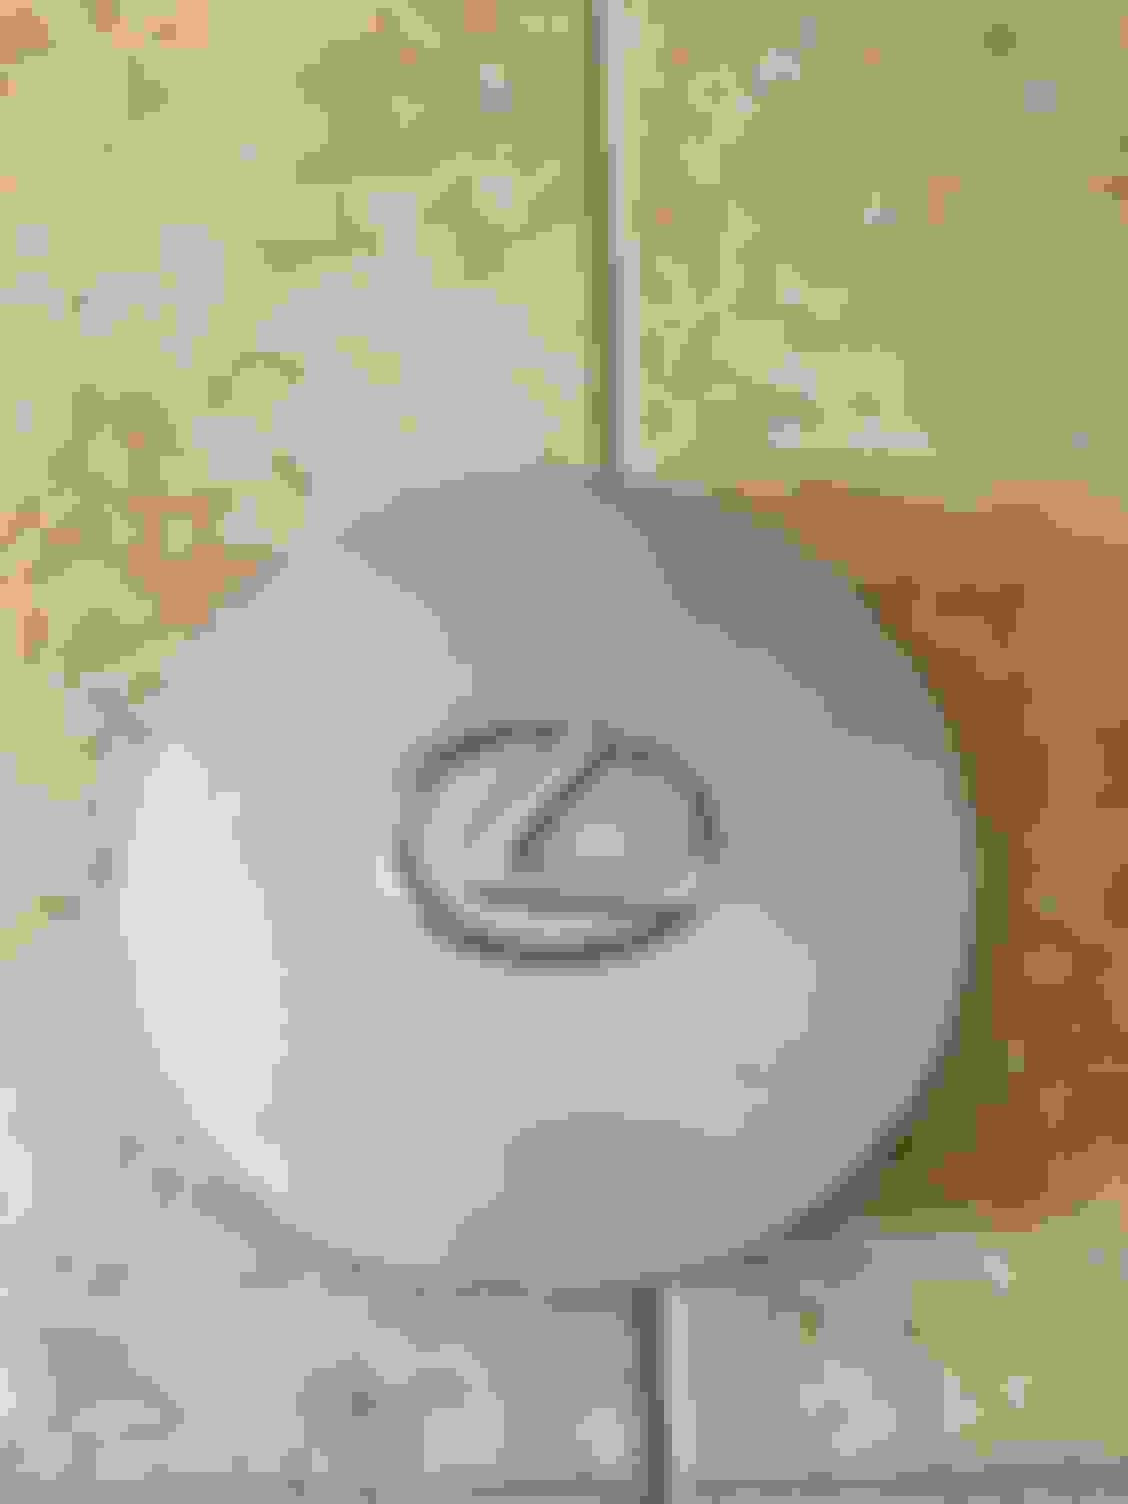
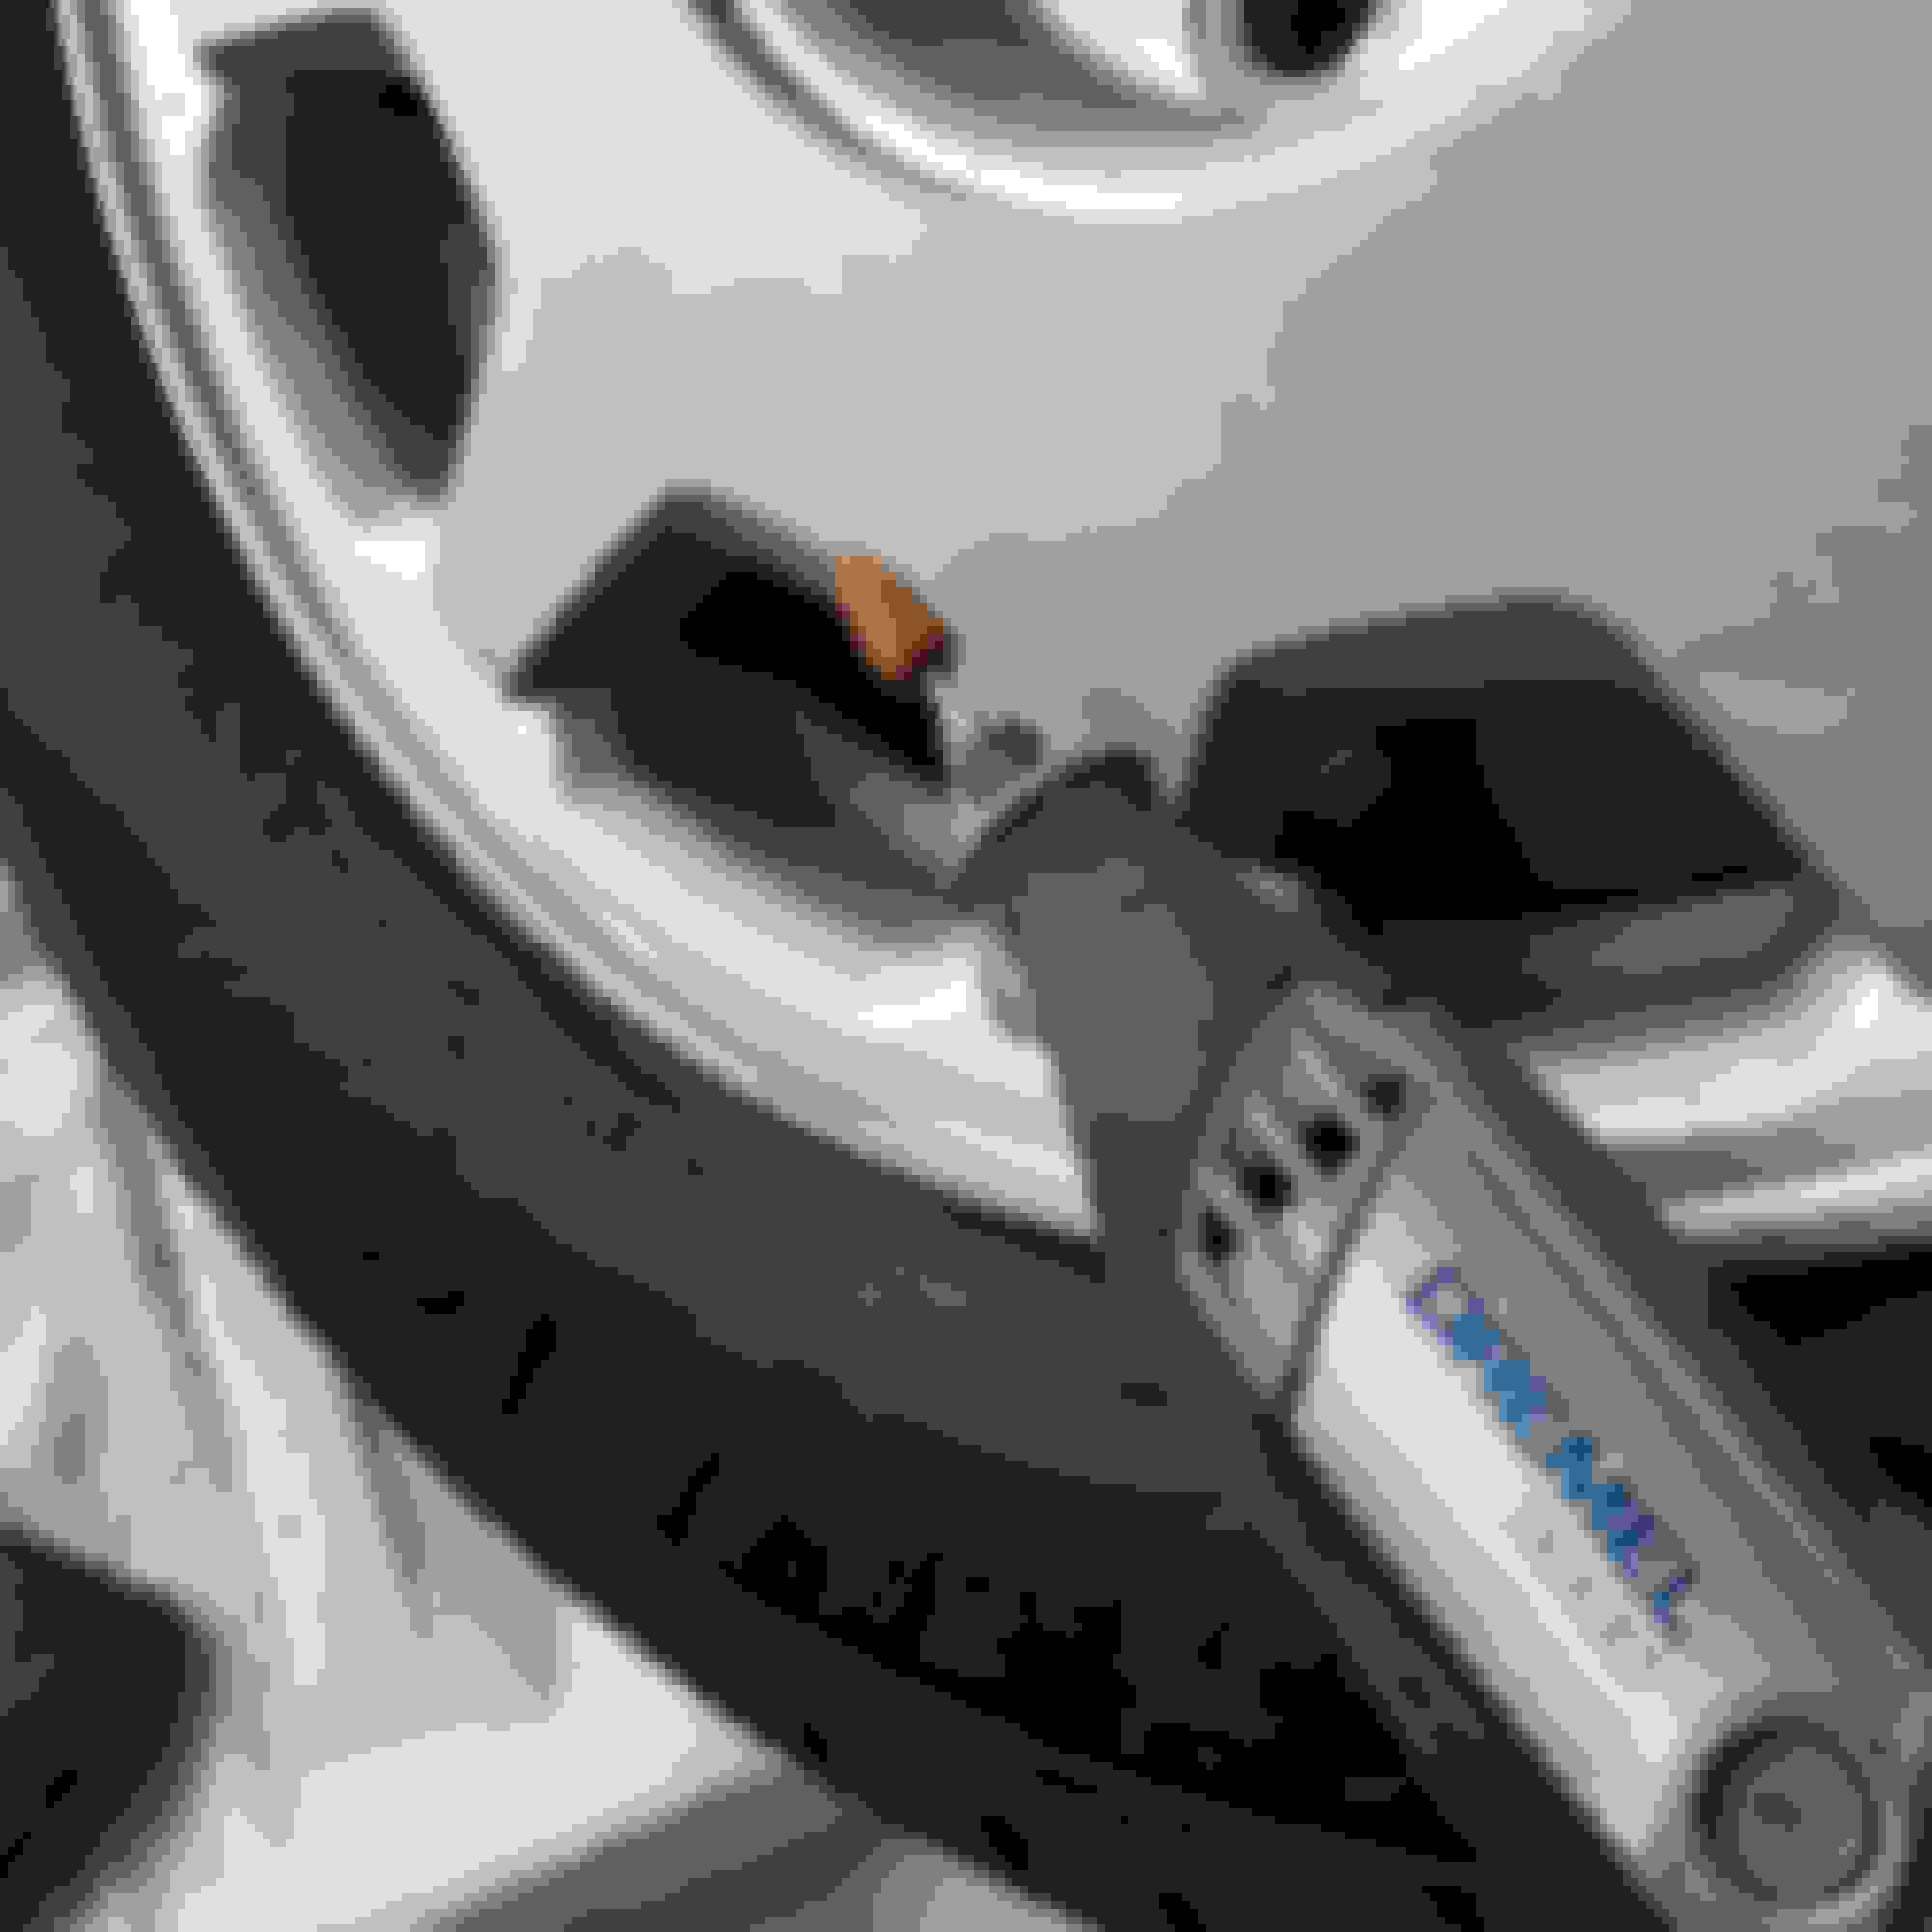
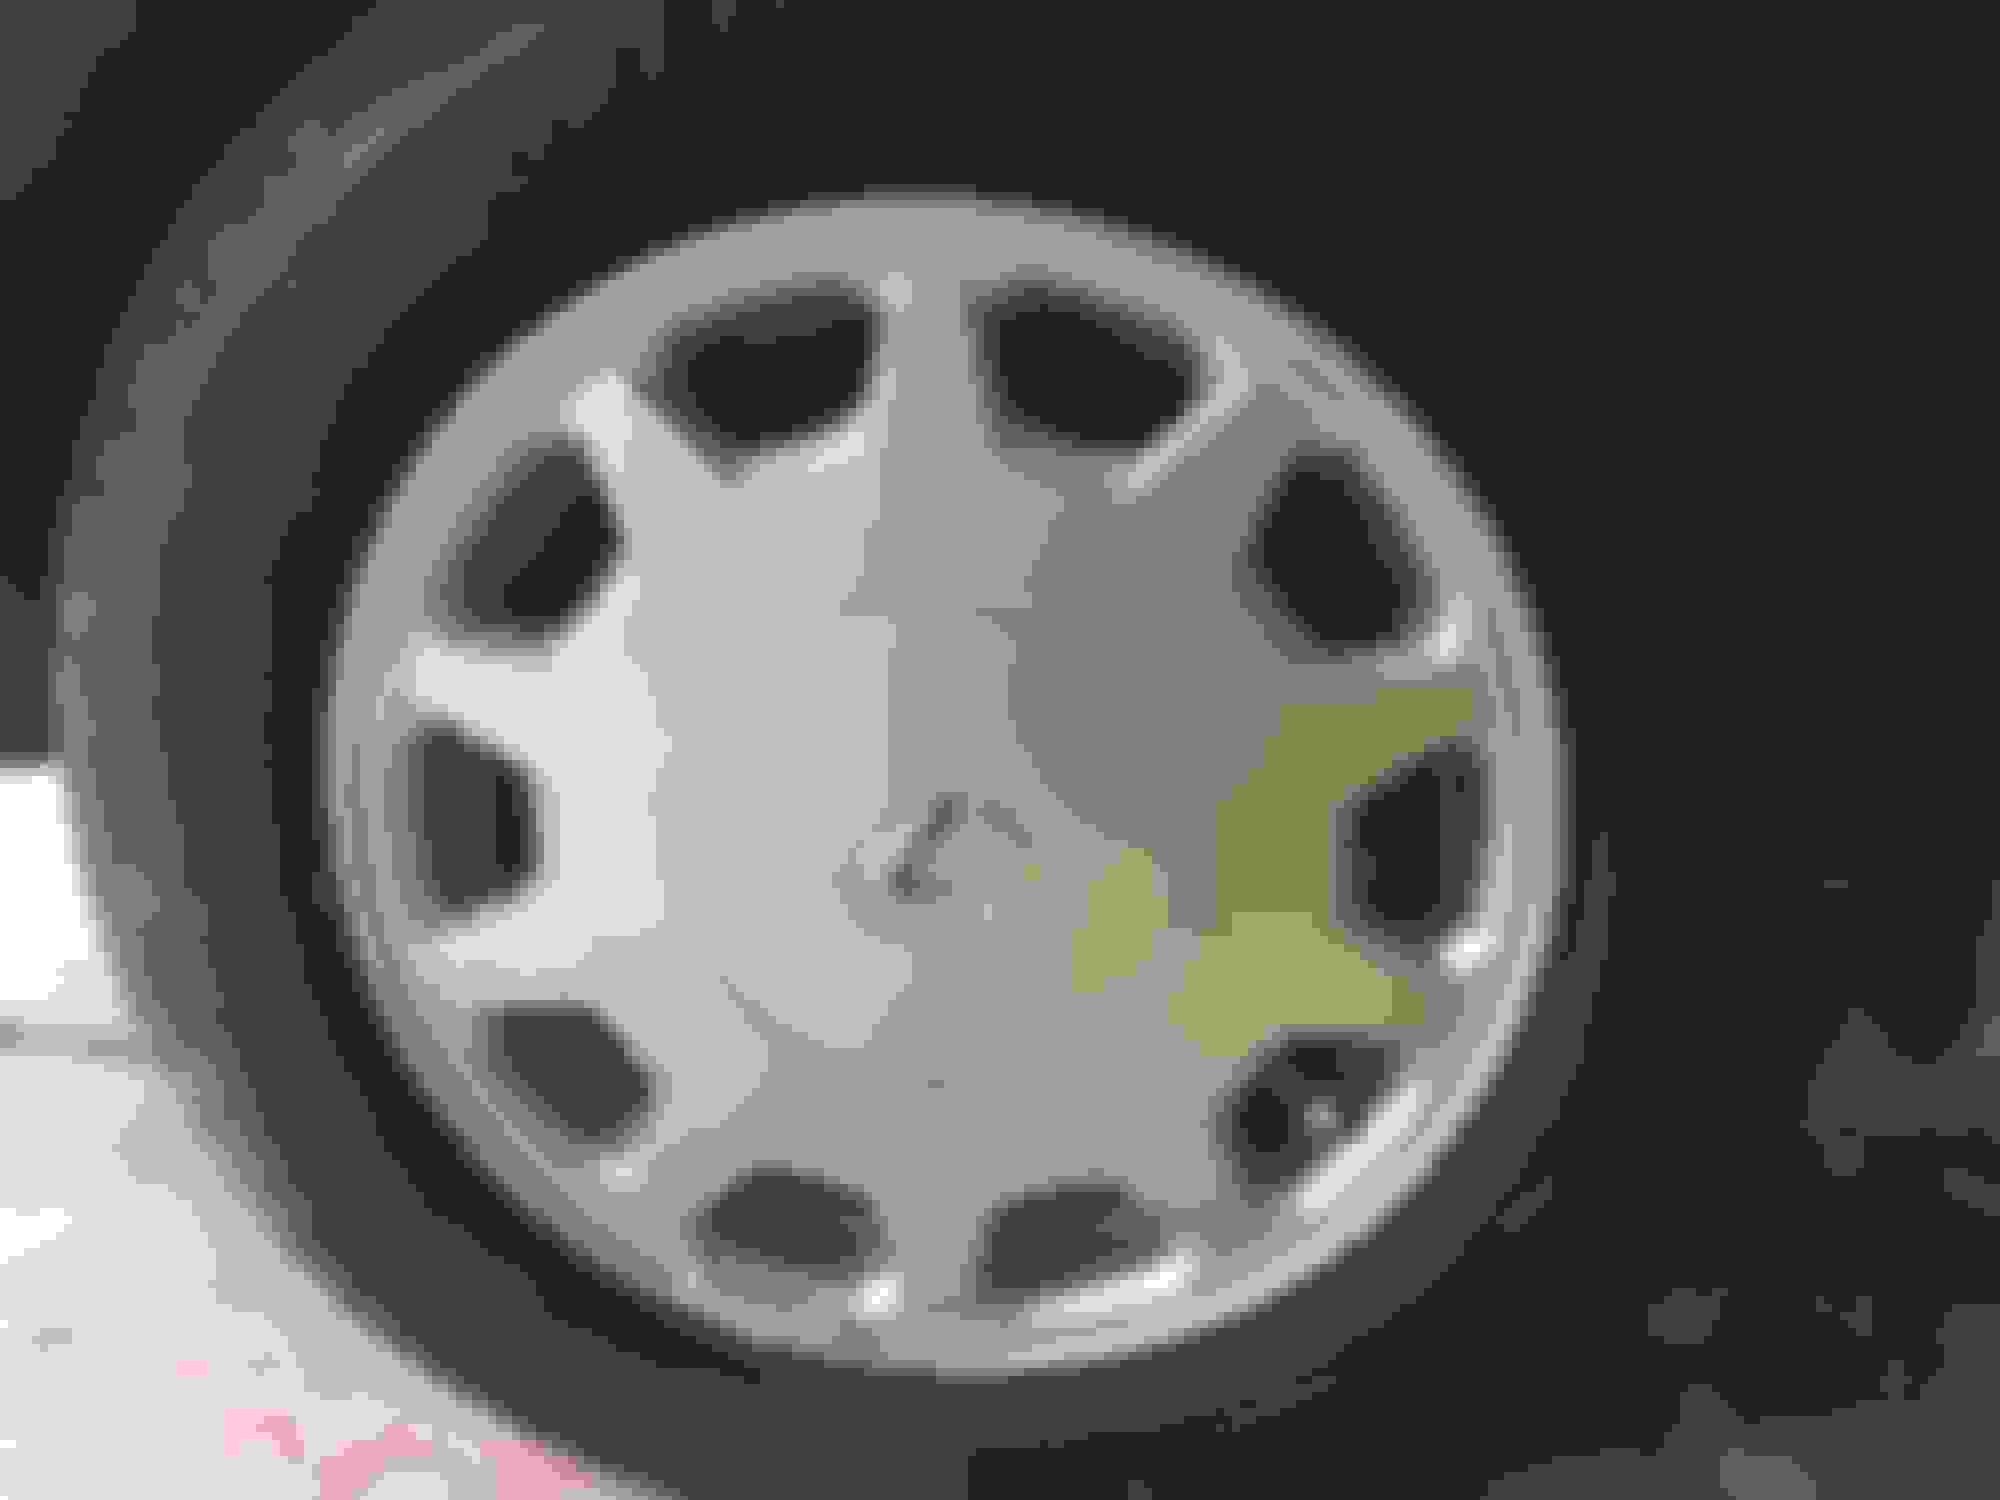
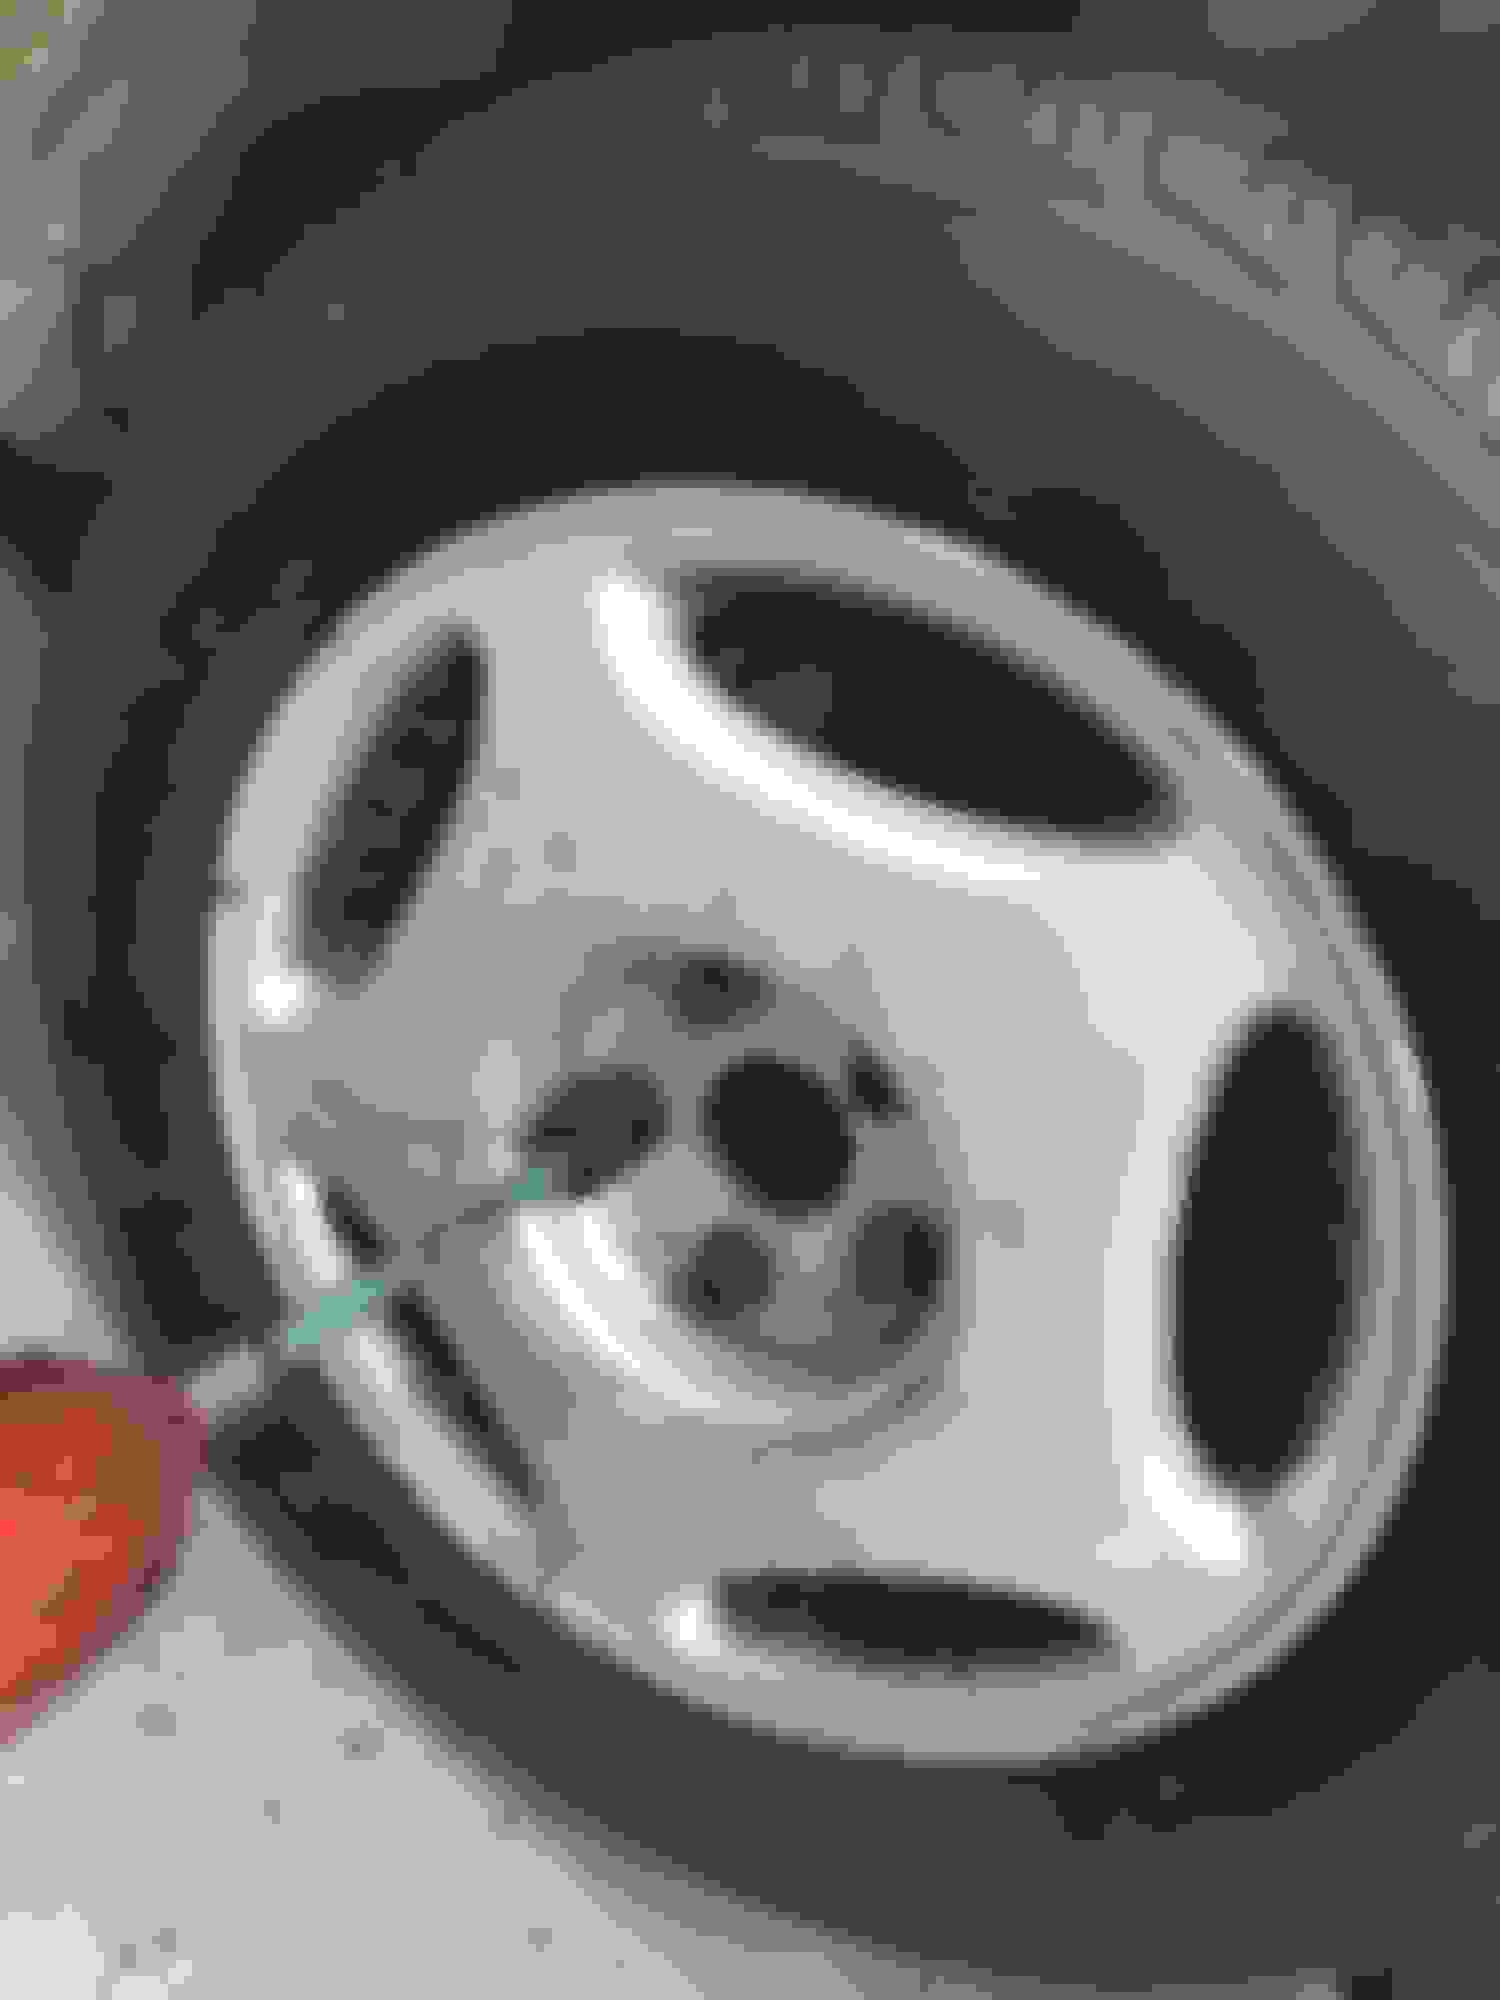
This is an example of the finish going bad on my rims with discoloration and road rashes.
The first step is to pull the center caps and remove the emblems. Caution!! The emblems are plastic and very fragile. The trick to getting them off is to take a drill and drill the melted plastic nub that is on the back:
Here is the close up of the tabs and where to drill:
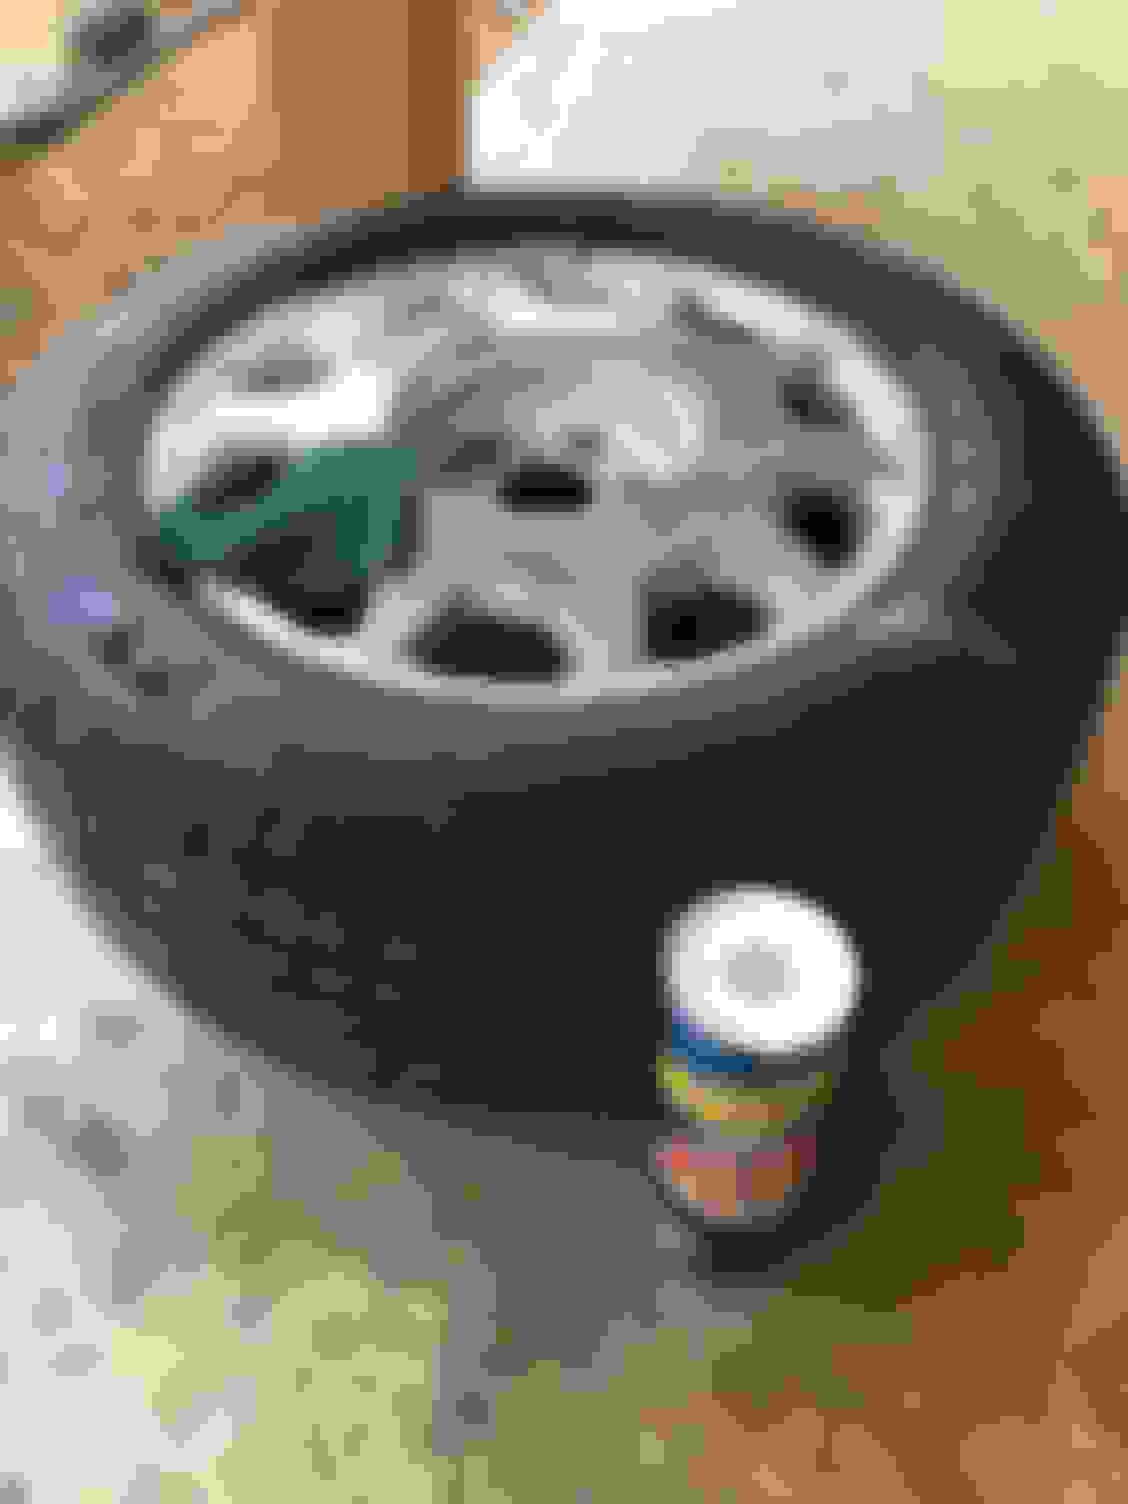
Next step will be to scrub down the rims with some cleaning powder like Ajax or some other harsh abrasive. I did not have any TSP and that probably would be best. Do not forget to scrub down the caps as well.
After you let them air dry make sure you set down painters tarp or cardboard so you do not paint the wall or floor. Since I had tire shine I had to use some rubbing alcohol and a rag to prep the rubber for my masking tape.
NOTE: At this point in the process I used my dremel with some attachments to sand and grind down the curb rash damage and other imperfections. I also did light sanding over the whole surface to prep it for paint.
To prep for paint I did one base layer of masking tape then put index cards over the first layer of masking tape to prevent over spray. Do not forget to tape off the air cap and line for the tire as well.
Next I applied a base coat of primer to the rims. PAINTING TIP: Lightly dust the first layer on then apply a thicker coat. Never stop the can in the middle and move side to side in even coats for application.
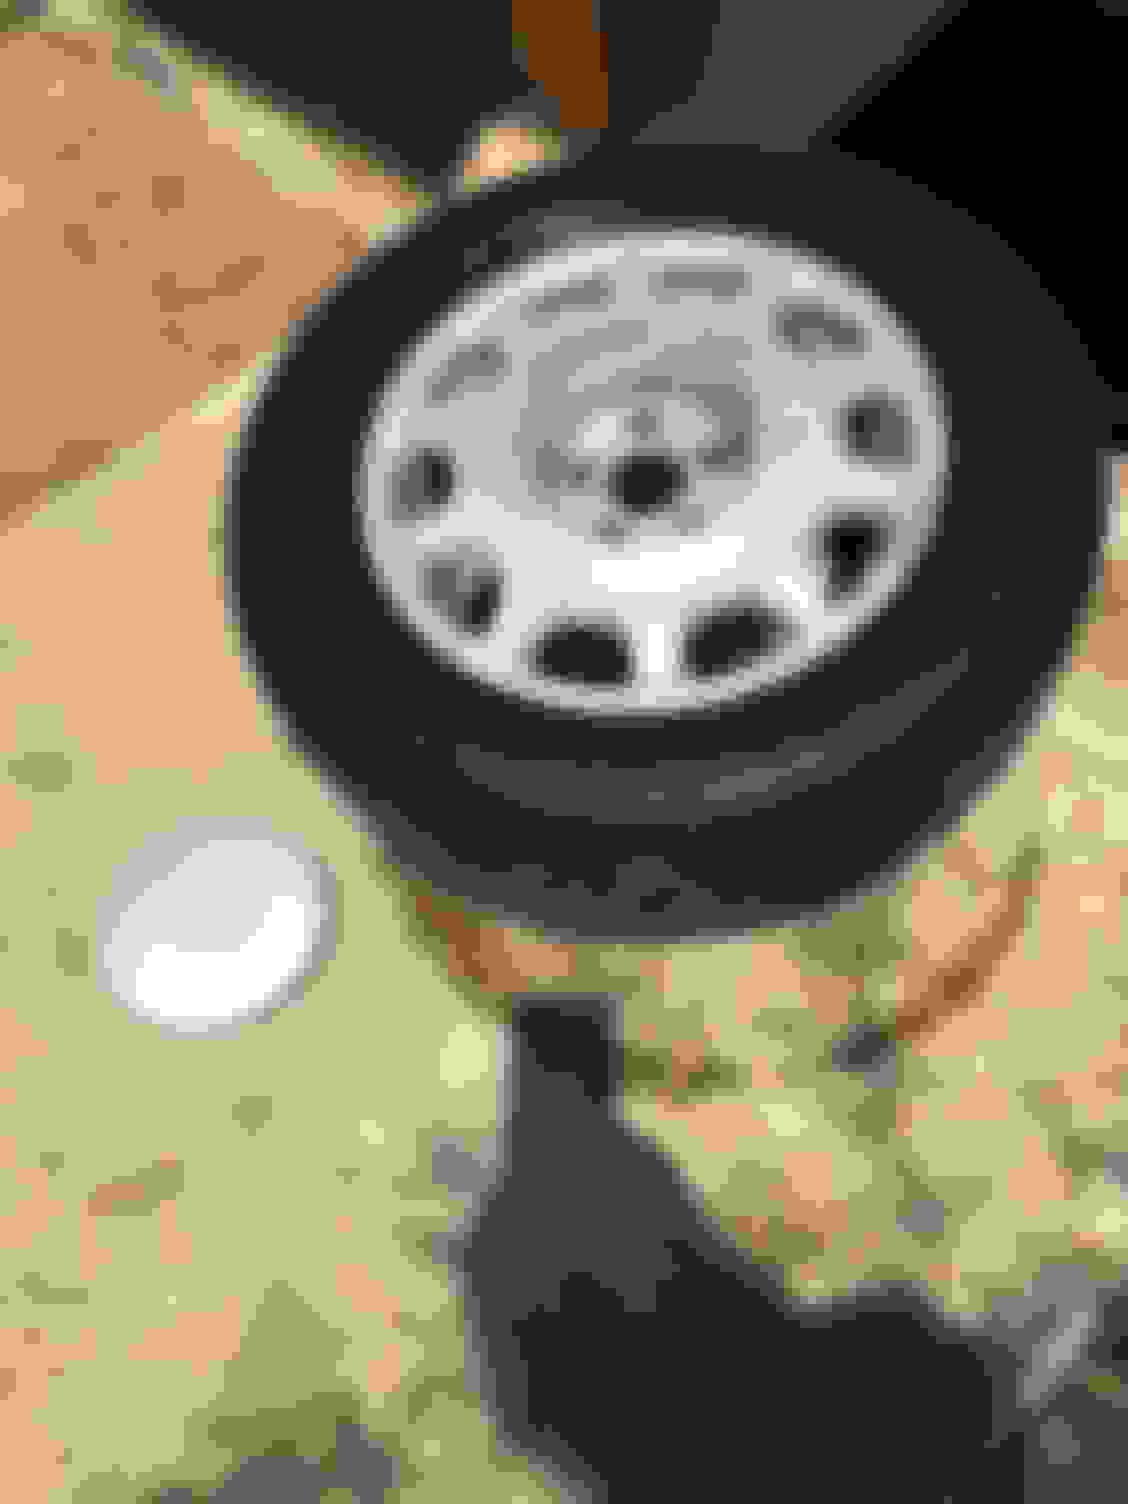
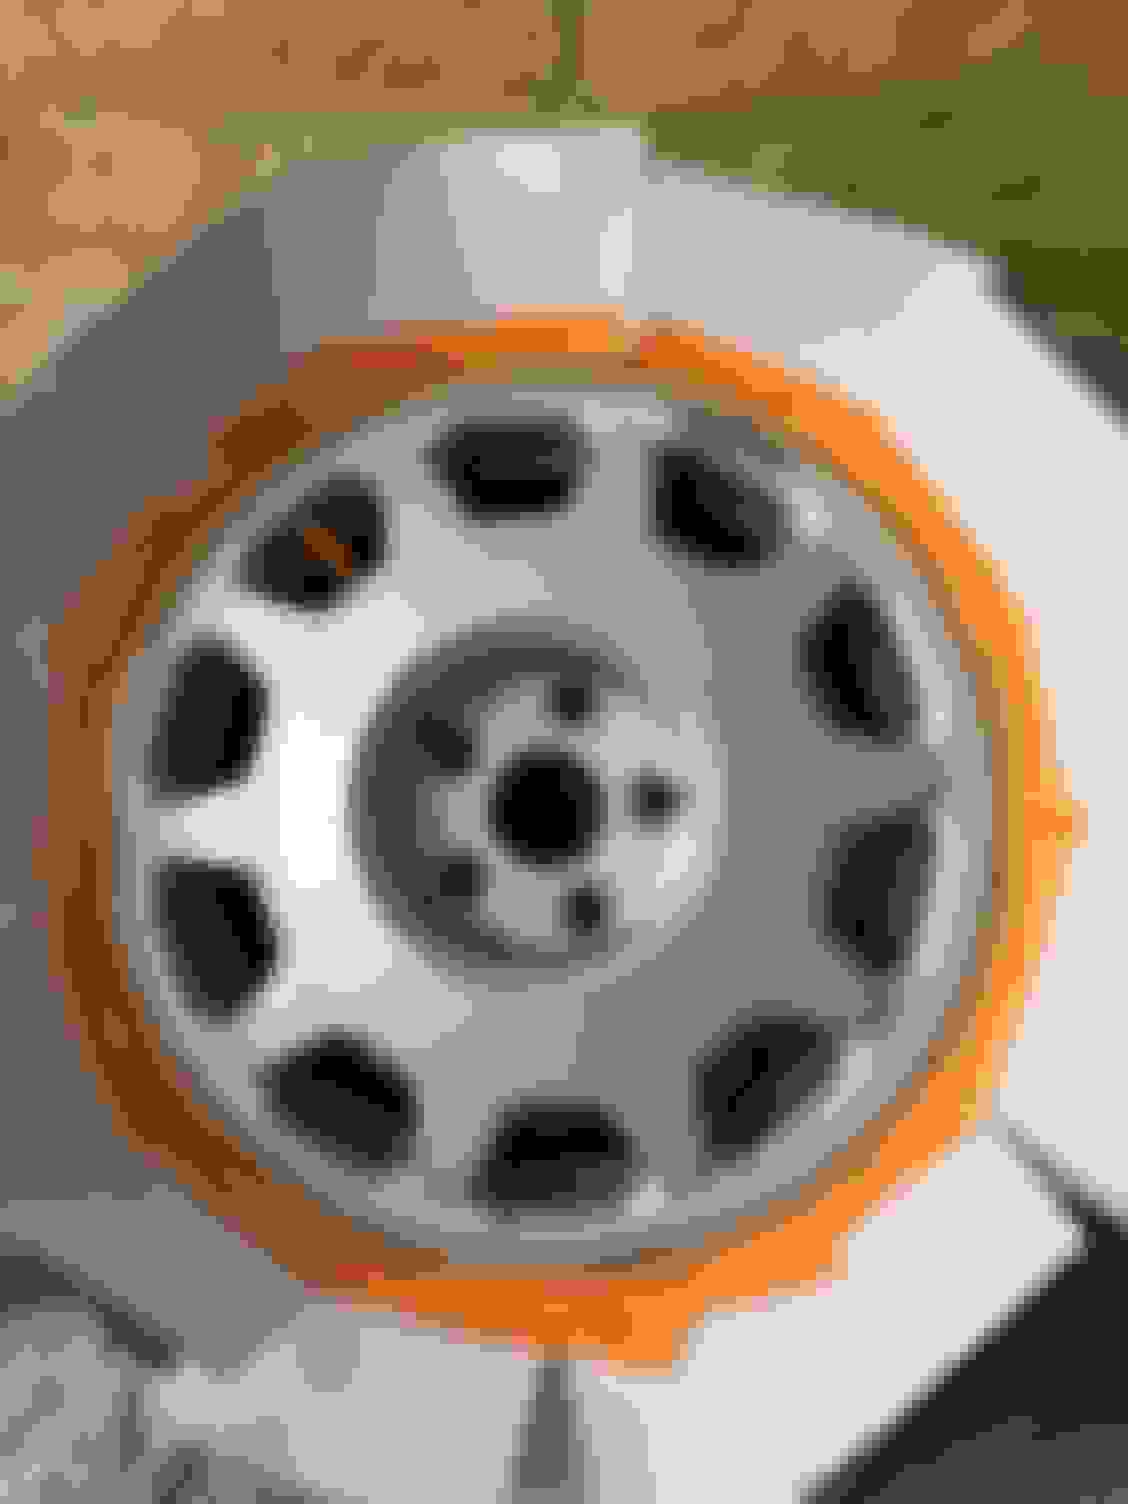
Here is the rim with the primer:
Next step is to let the primer dry and do some light sanding and dusting off of any extra particles. I used a damp cloth and then let the whole thing dry and sprayed the final coat of paint.
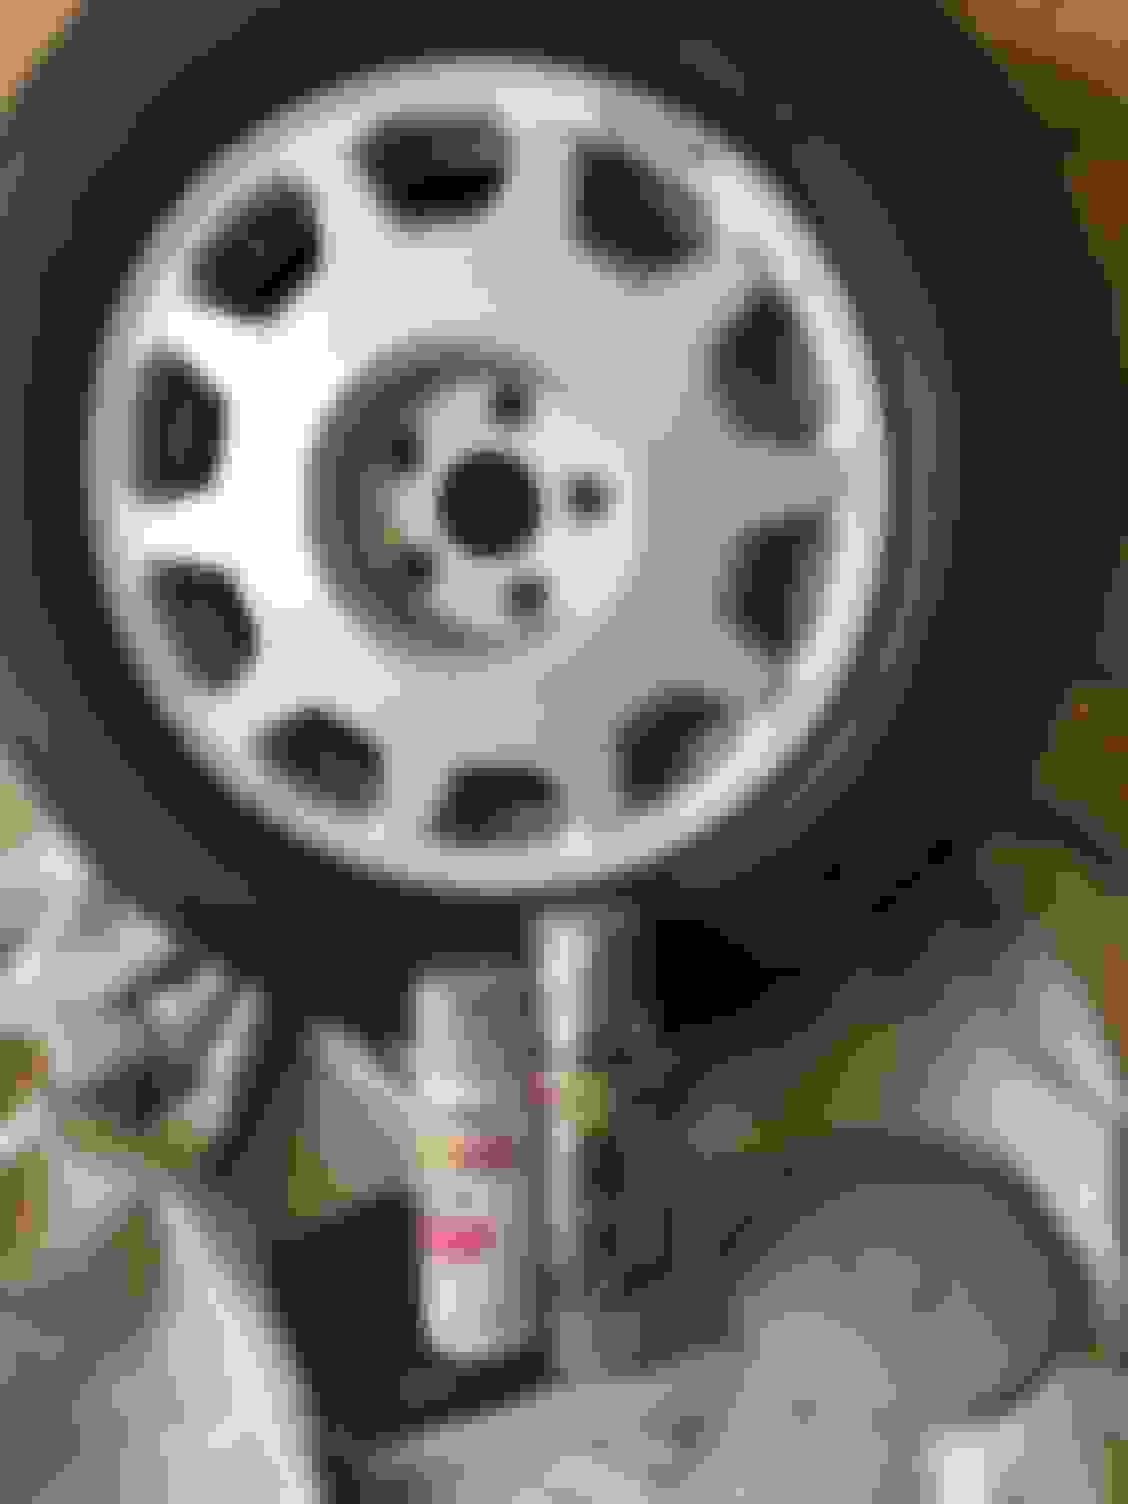
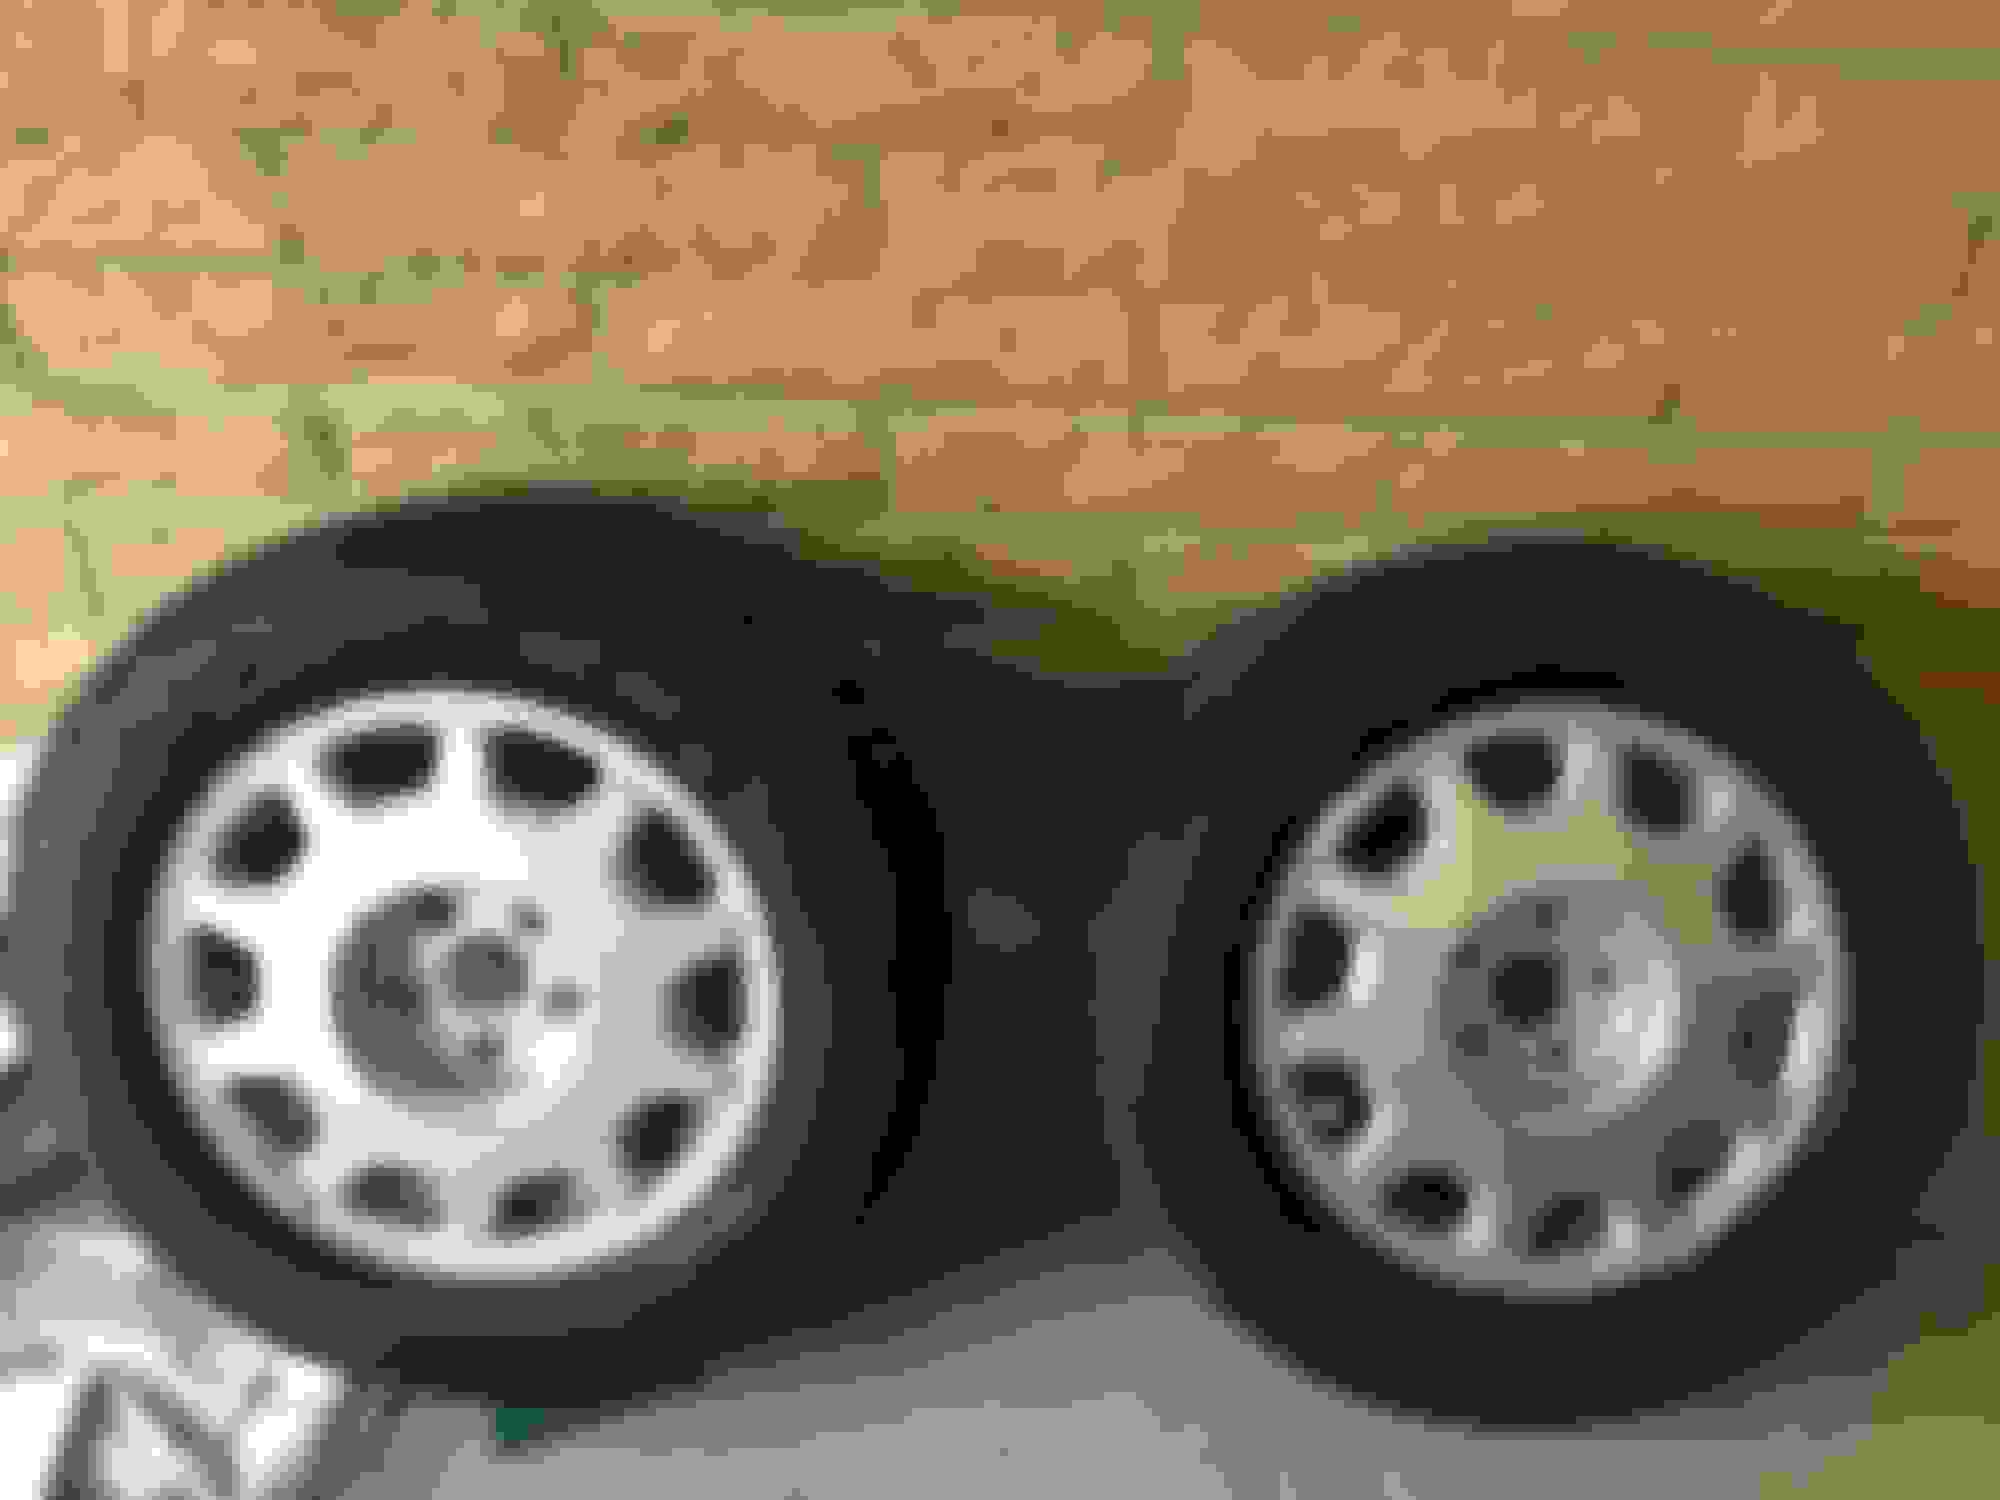
The rim on the left has not been painted the one on the right has the coat of silver paint: Also, left rim has one nasty gash that I had to grind down and paint a few coats of primer on.
Next you want to let all the paint dry and then re-glue the chrome emblems onto the center caps. I highly recommend cleaning the small chrome/gold emblems CAREFULLY before re-applying them cant say it enough they are cheap plastic with chrome on them. I applied a small amount of super glue to the emblems before re-applying them to the caps.
After you finish up you will hopefully end up with some better looking rims than when you started. Hope this write up helps fellow Lexus owners who want some better looking stock rims. Enjoy!
Nice work! I was thinking of refreshing my rims as well to get rid of some imperfections.
Could you take a picture of the rim at an angle (pointing the camera along the side of the car)? I noticed you did not include clearcoat in the materials list, and I am curious to see how the finish is without it. Thanks in advance.
The silver will rapidly oxidize within a year without a clearcoat. I use 500* VHT Engine Enamel� silver ( for those long hard braking events) and two light/one medium coat of clear engine enamel.
Colin
The silver will rapidly oxidize within a year without a clearcoat. I use 500* VHT Engine Enamel� silver ( for those long hard braking events) and two light/one medium coat of clear engine enamel.
Colin
Thanks for letting me know, I am sending a message to Rust-Oleum about the High Performance Enamel - Aluminum - #7515838 - 14 oz. Spray. I am going to verify if it needs a clear coat or a different paint all together. I am sure that I will in the end put one on but for now this is where I am at.
Last edited by LexusNAZ; 05-26-17 at 01:54 PM.
Reason: forgot some things
The silver will rapidly oxidize within a year without a clearcoat. I use 500* VHT Engine Enamel� silver ( for those long hard braking events) and two light/one medium coat of clear engine enamel.
Colin
Maybe and maybe not. I'm not sure about the spray on rustoleum but the brush on type will last for years with out oxidizing, we painted a bench years ago black and it still shines and no oxide and sits in the sun most of the day.
1999 OEM LS400 Aluminum rims appear to have more of a clearcoat finish over natural than silverized paint...
When time permits, and I finish extrude honed intake manifold dyno testing, am going to review polishing and clearcoat options on the rims.
Auminum will.polish to a mirror finish with appropriate buffs and cutting compounds.
The OEM did a good job with durable surface coating, but understandably did not spend time polishing all of the casting roughness on the front slot areas.
I will under a separate posting present the project but am seeking recommendations on best professional Aluminum clear coat products ( spray can and spray gun) that are most resistant to heat, UV light, road salt, detergents, oil, gasoline, and scuffing (hardness) Heat Lamp baking may be an option as well.
However, tires will first be removed from rims
Images of 1998 LS400 rims taken at McGrath Lexus....the surface finish was never fully polished and the visible slot area is rough casting finish...these would really pop with some elbow grease. This is an image I captured of Mercedes Maybach rim at Chicago Auto Show..More of a polished surface, but Mercedes did mirror polished finish which I feel is a deficiency... This image presents slots that are smooth finished and painted black.I was conidering this black finish with OEM Lexus rims in the visible slot area to provide more of a refined look...or...paint the slot arear as car color...Another suggestion was to polish the OEM rims mirror finish and mix a small amount of paint to tint
1999 OEM LS400 Aluminum rims appear to have more of a clearcoat finish over natural than silverized paint...
When time permits, and I finish extrude honed intake manifold dyno testing, am going to review polishing and clearcoat options on the rims.
Auminum will.polish to a mirror finish with appropriate buffs and cutting compounds.
The OEM did a good job with durable surface coating, but understandably did not spend time polishing all of the casting roughness on the front slot areas.
I will under a separate posting present the project but am seeking recommendations on best professional Aluminum clear coat products ( spray can and spray gun) that are most resistant to heat, UV light, road salt, detergents, oil, gasoline, and scuffing (hardness) Heat Lamp baking may be an option as well.
However, tires will first be removed from rims
Images of 1998 LS400 rims taken at McGrath Lexus....the surface finish was never fully polished and the visible slot area is rough casting finish...these would really pop with some elbow grease. This is an image I captured of Mercedes Maybach rim at Chicago Auto Show..More of a polished surface, but Mercedes did mirror polished finish which I feel is a deficiency... This image presents slots that are smooth finished and painted black.I was considering this black finish with OEM Lexus rims in the visible slot area to provide more of a refined look...or...paint the slot area as car color...Another suggestion was to polish the OEM rims mirror finish and mix a small amount of paint to tint
I hope it works out well for you, I really just wanted a quick and affordable refresh to my tired rims for cheap. Just wanted to do up a basic easy guide for a base and folks can go from there. You are right getting them blasted with a bead blaster with a clear coat or a buff out with a clear would be a better option. I can probably pick up a set of chrome rims on Craigslist for $200 or less. Its just an economy of scale of time vs cost with a quick spray being the better option in my opinion for my circumstances.
 05-25-17, 08:02 PM