LS - 1st and 2nd Gen (1990-2000) Discussion topics related to the 1990 - 2000 Lexus LS400

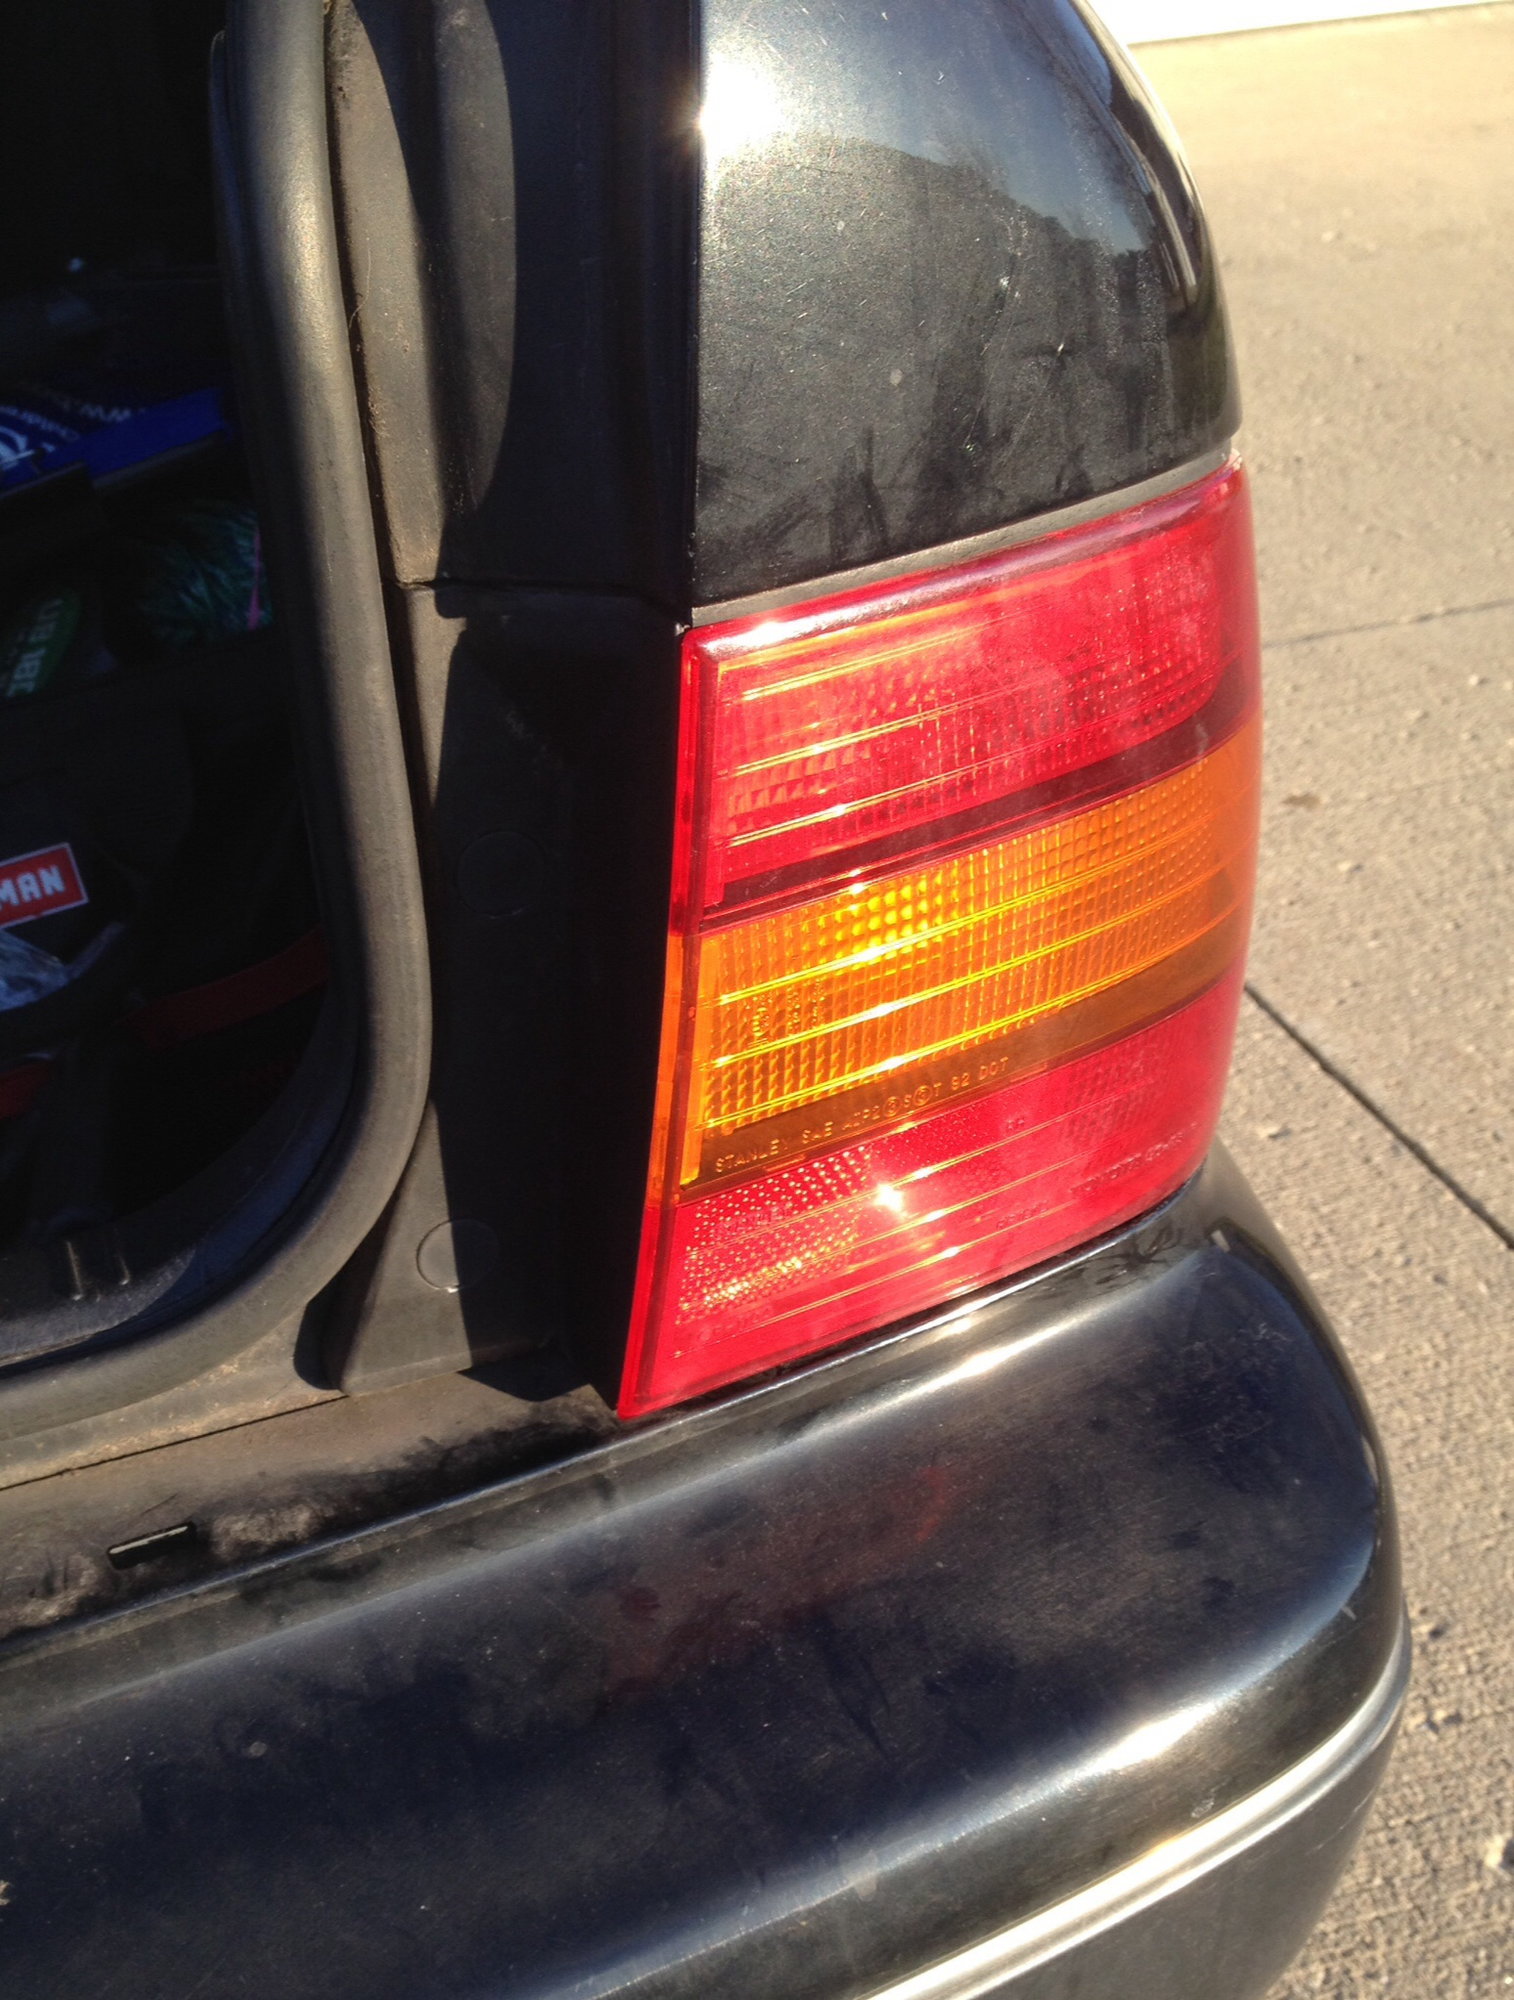
How to replace tail light/brake light bulbs.

Thread Tools
 
Search this Thread
 
Old 01-02-16, 01:18 PM
  #1  
dashan
Lead Lap
Thread Starter
 
dashan's Avatar
 
Join Date: May 2007
Location: KY
Posts: 651
Received 9 Likes on 9 Posts
Default How to replace tail light/brake light bulbs.

1996 LS400

1996 LS400 10 character

Last edited by dashan; 01-02-16 at 02:01 PM.
The following users liked this post:
kenbest (10-09-21)
Old 01-02-16, 01:20 PM
  #2  
dashan
Lead Lap
Thread Starter
 
dashan's Avatar
 
Join Date: May 2007
Location: KY
Posts: 651
Received 9 Likes on 9 Posts
Default

First, disconnect the battery cable.

Last edited by dashan; 01-02-16 at 01:40 PM.
The following users liked this post:
kenbest (10-09-21)
Old 01-02-16, 01:22 PM
  #3  
dashan
Lead Lap
Thread Starter
 
dashan's Avatar
 
Join Date: May 2007
Location: KY
Posts: 651
Received 9 Likes on 9 Posts
Default

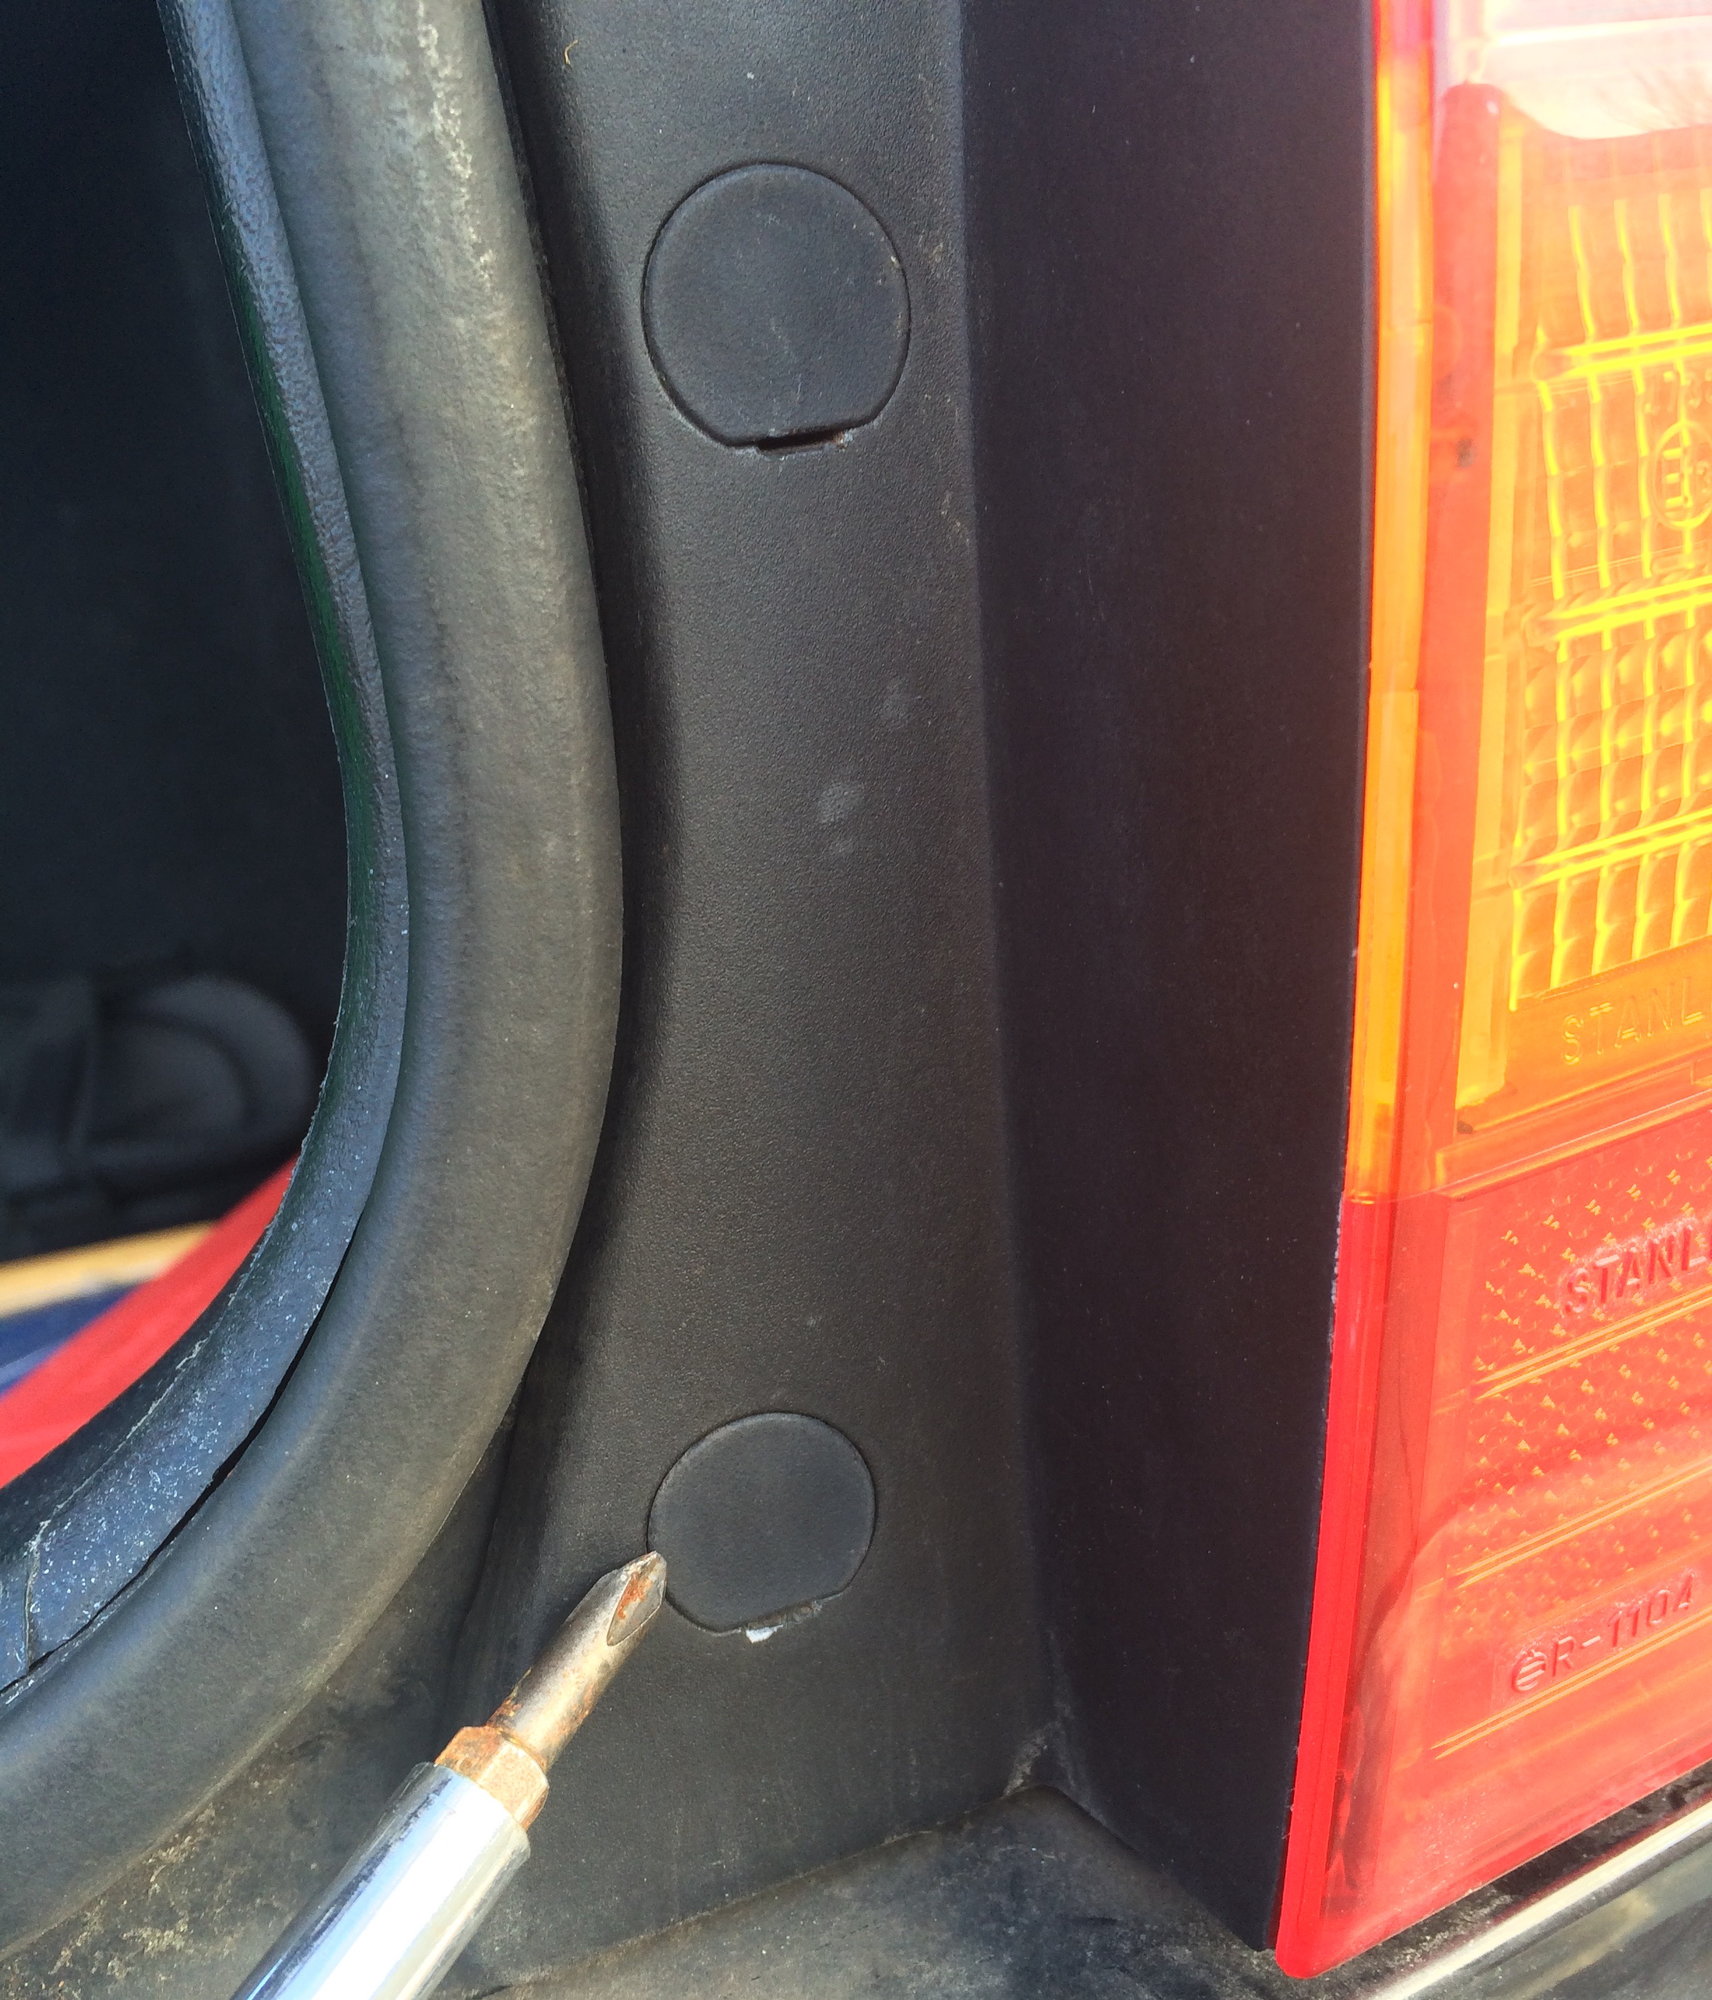
Remove those two plastic covers.


Last edited by dashan; 01-02-16 at 02:11 PM.
Old 01-02-16, 01:23 PM
  #4  
dashan
Lead Lap
Thread Starter
 
dashan's Avatar
 
Join Date: May 2007
Location: KY
Posts: 651
Received 9 Likes on 9 Posts
Default

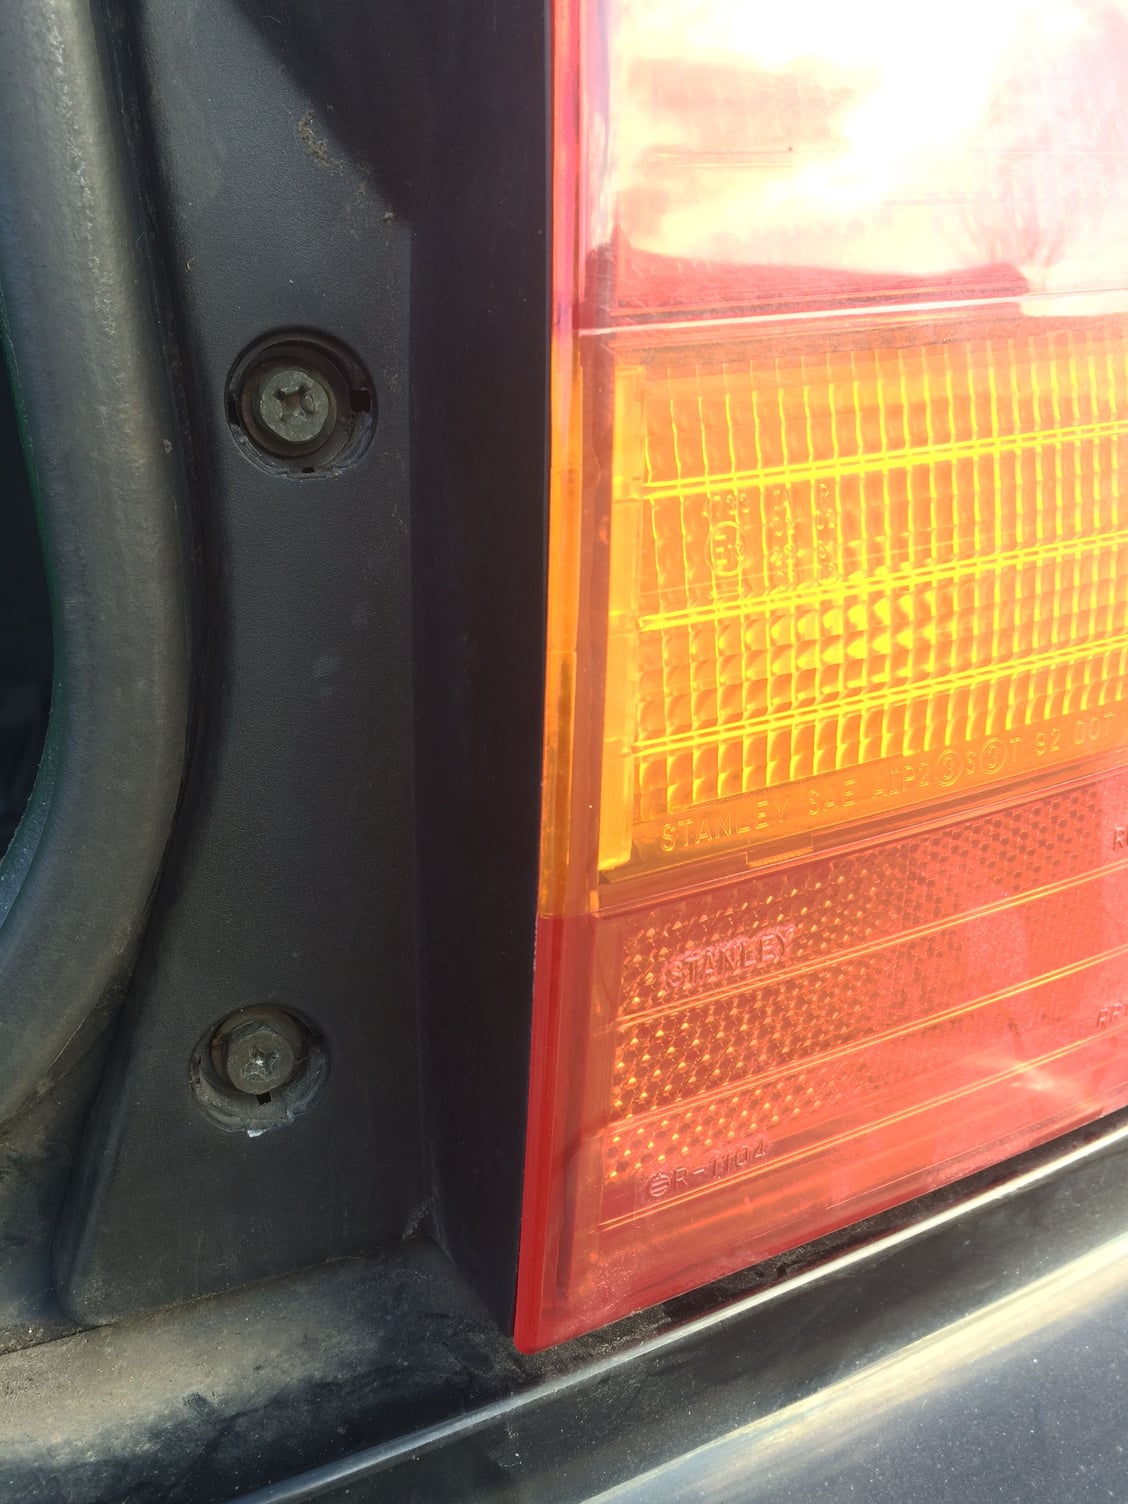
Then remove those two bolts.


Last edited by dashan; 01-02-16 at 02:12 PM.
Old 01-02-16, 01:24 PM
  #5  
dashan
Lead Lap
Thread Starter
 
dashan's Avatar
 
Join Date: May 2007
Location: KY
Posts: 651
Received 9 Likes on 9 Posts
Default

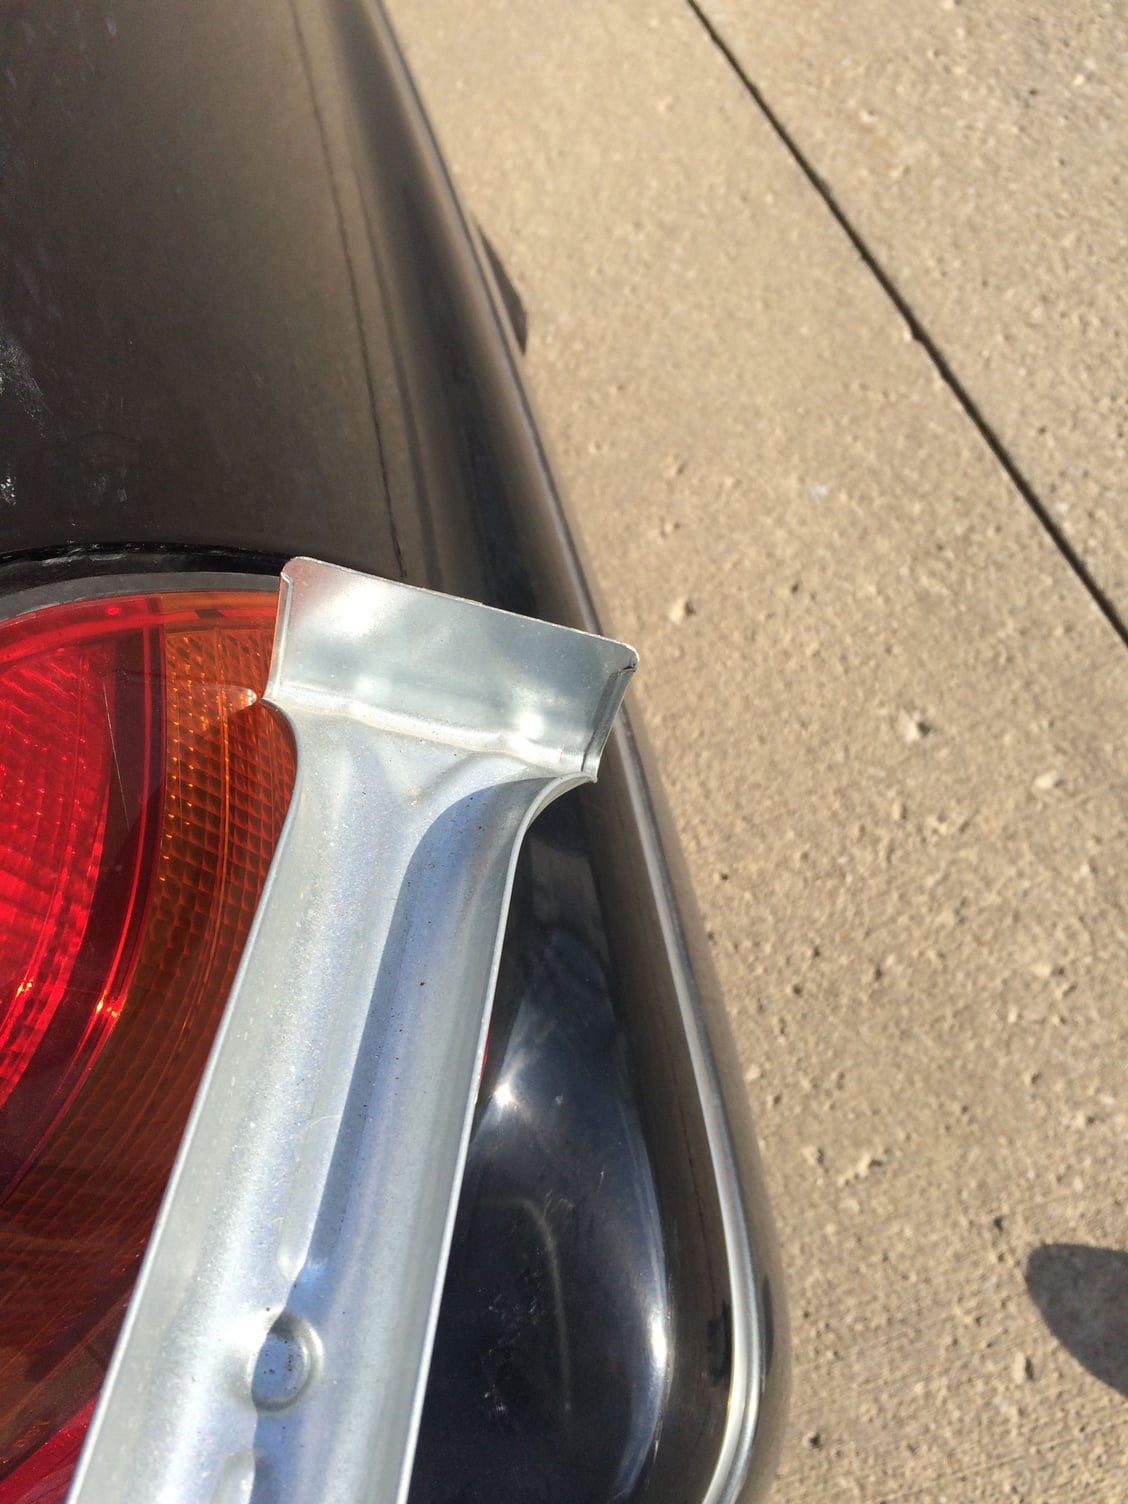
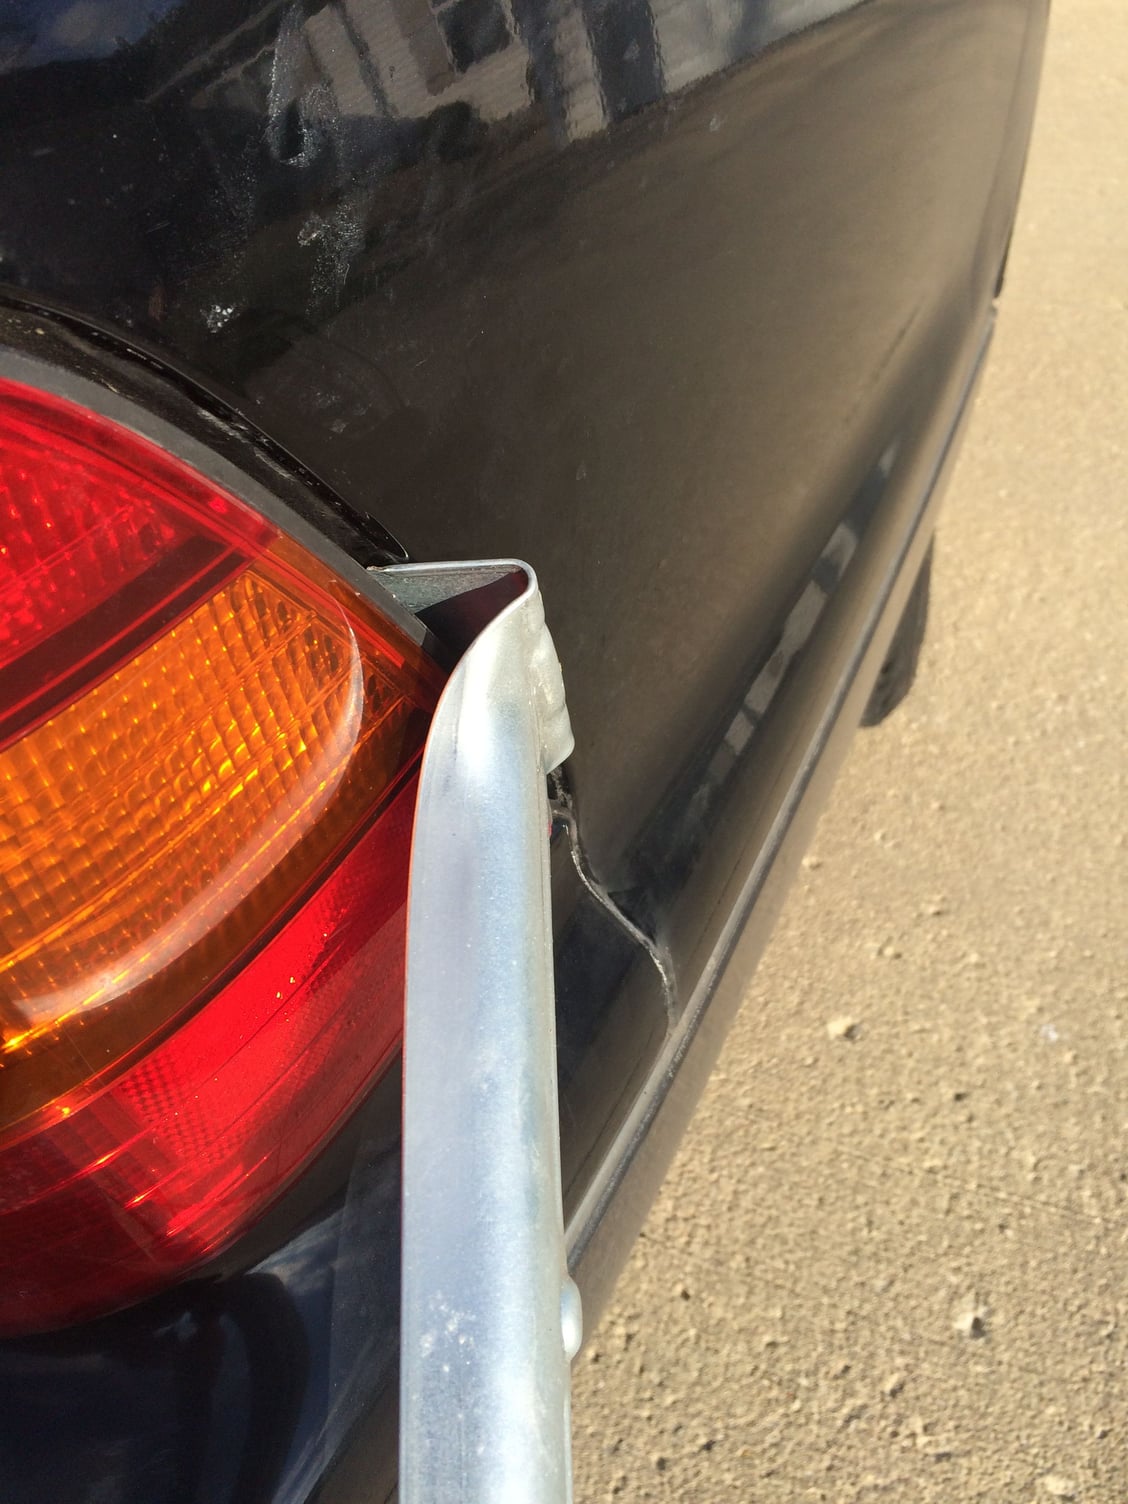
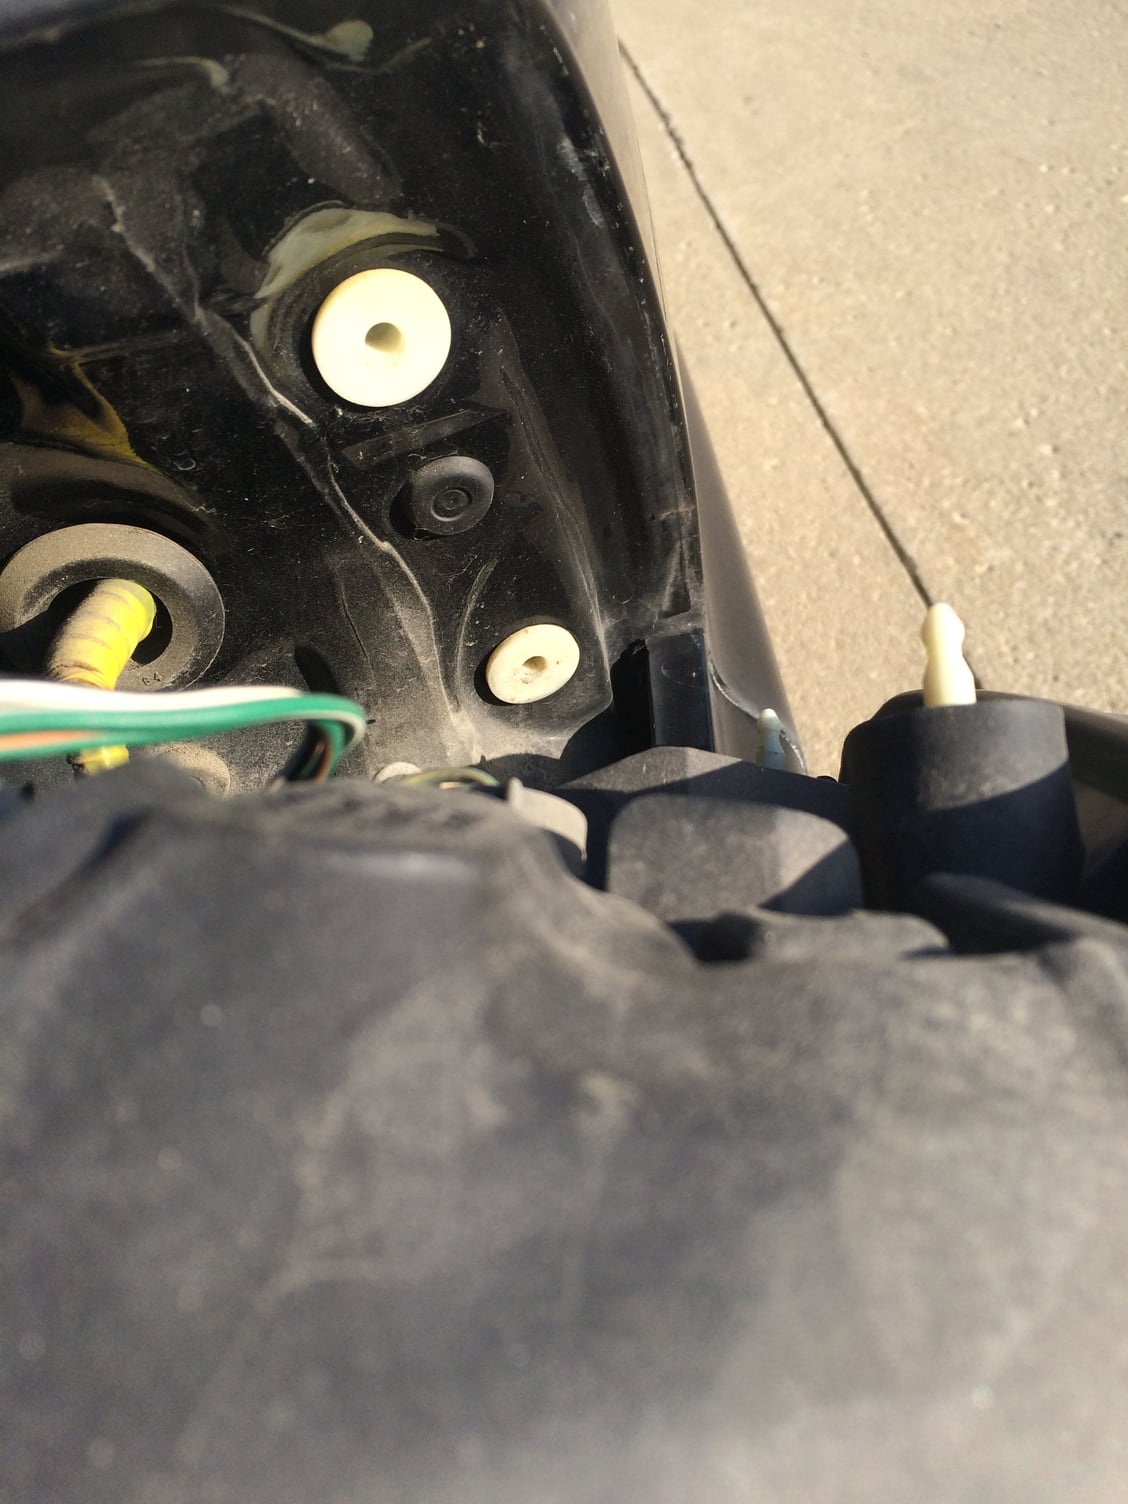
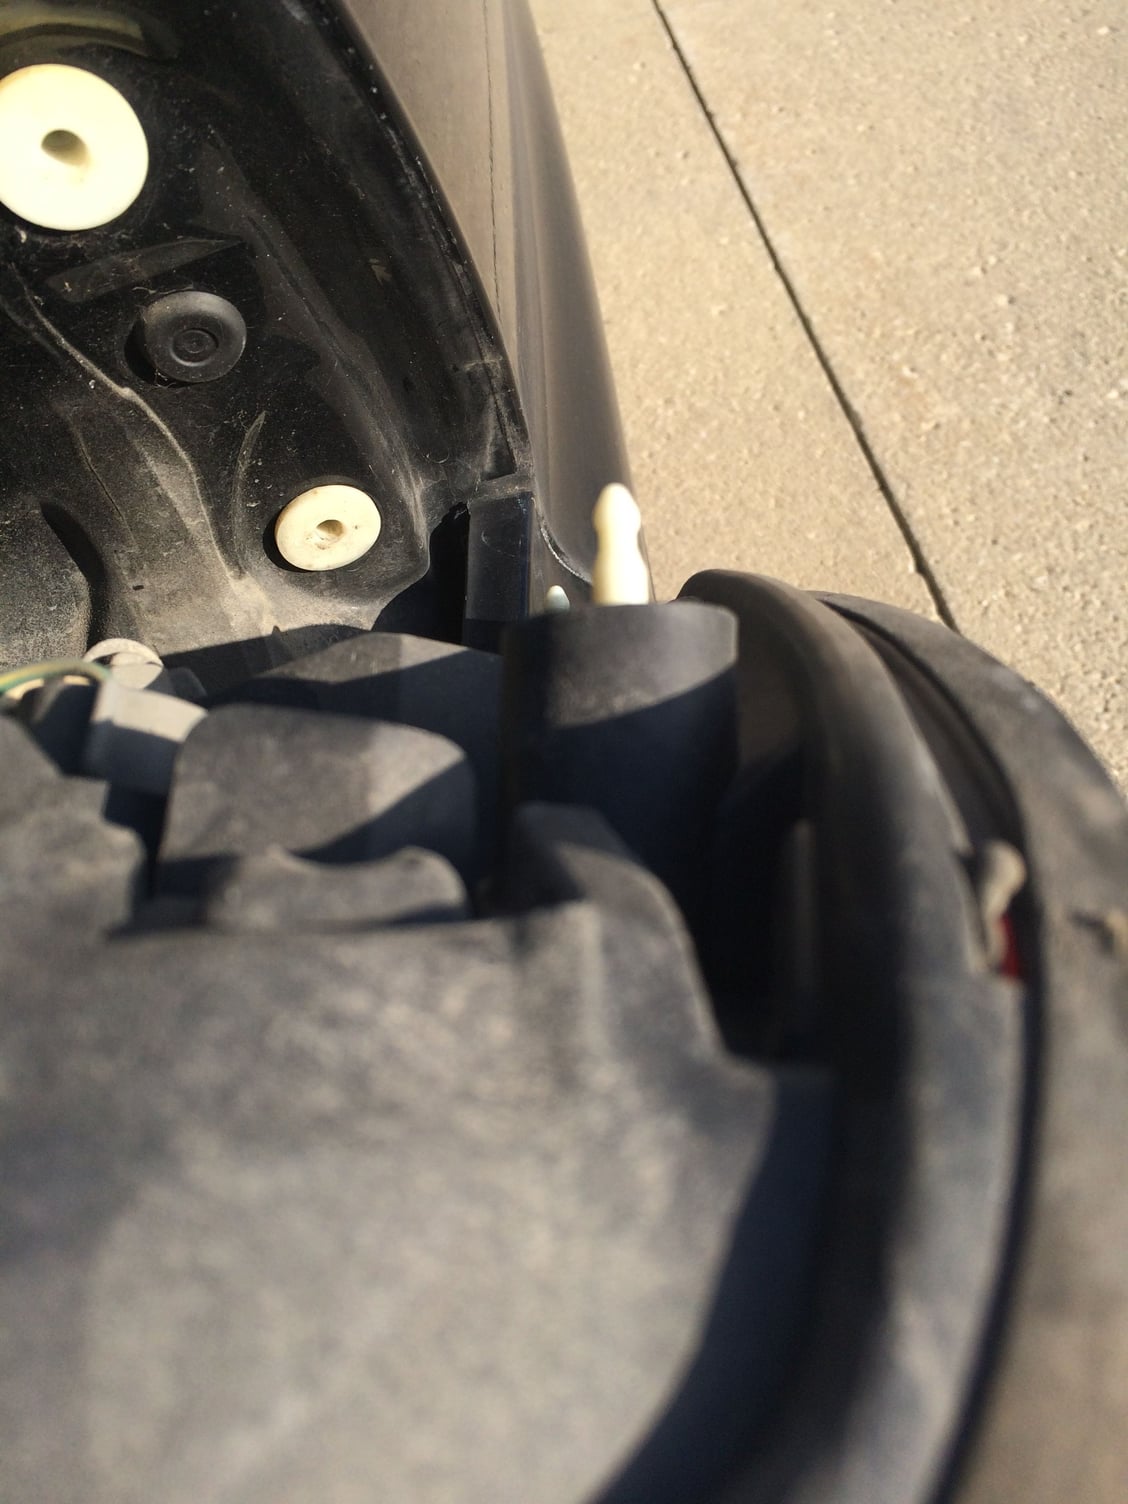
Pull the light housing toward the back of the car.


Pull the light housing toward the back of the car.

Last edited by dashan; 01-02-16 at 01:40 PM.
Old 01-02-16, 01:26 PM
  #6  
dashan
Lead Lap
Thread Starter
 
dashan's Avatar
 
Join Date: May 2007
Location: KY
Posts: 651
Received 9 Likes on 9 Posts
Default


Old 01-02-16, 01:27 PM
  #7  
dashan
Lead Lap
Thread Starter
 
dashan's Avatar
 
Join Date: May 2007
Location: KY
Posts: 651
Received 9 Likes on 9 Posts
Default

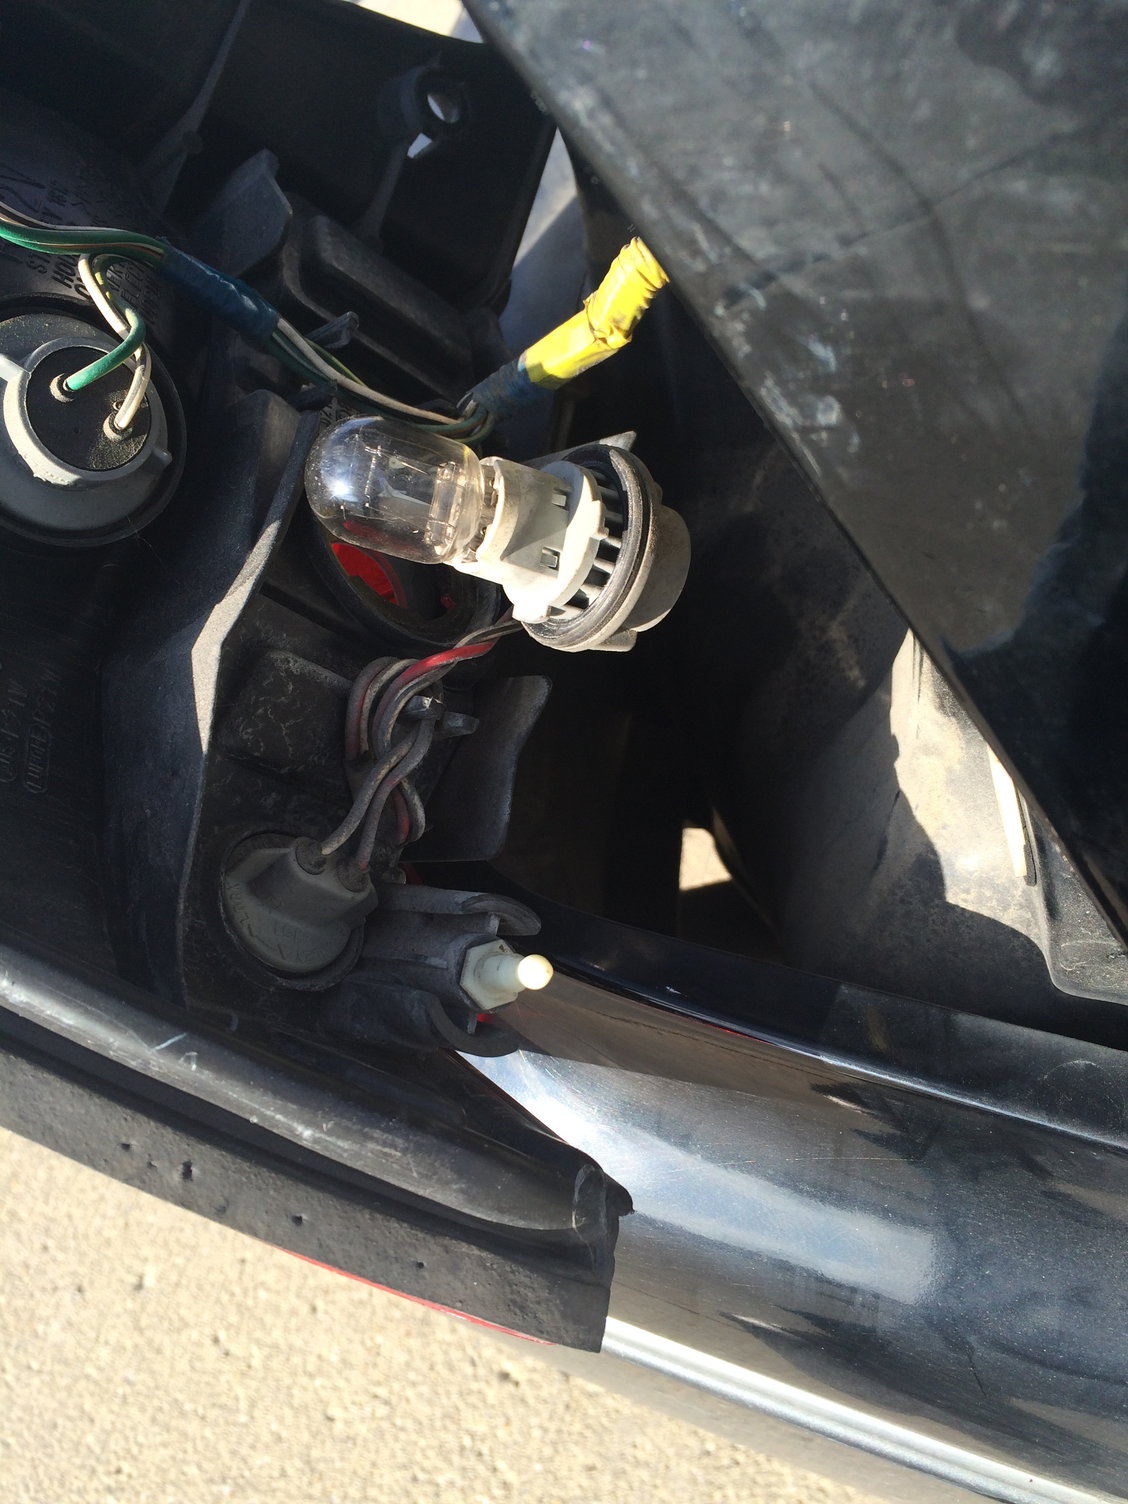
Bad light bulb.


Last edited by dashan; 01-02-16 at 02:13 PM.
Old 01-02-16, 01:28 PM
  #8  
dashan
Lead Lap
Thread Starter
 
dashan's Avatar
 
Join Date: May 2007
Location: KY
Posts: 651
Received 9 Likes on 9 Posts
Default

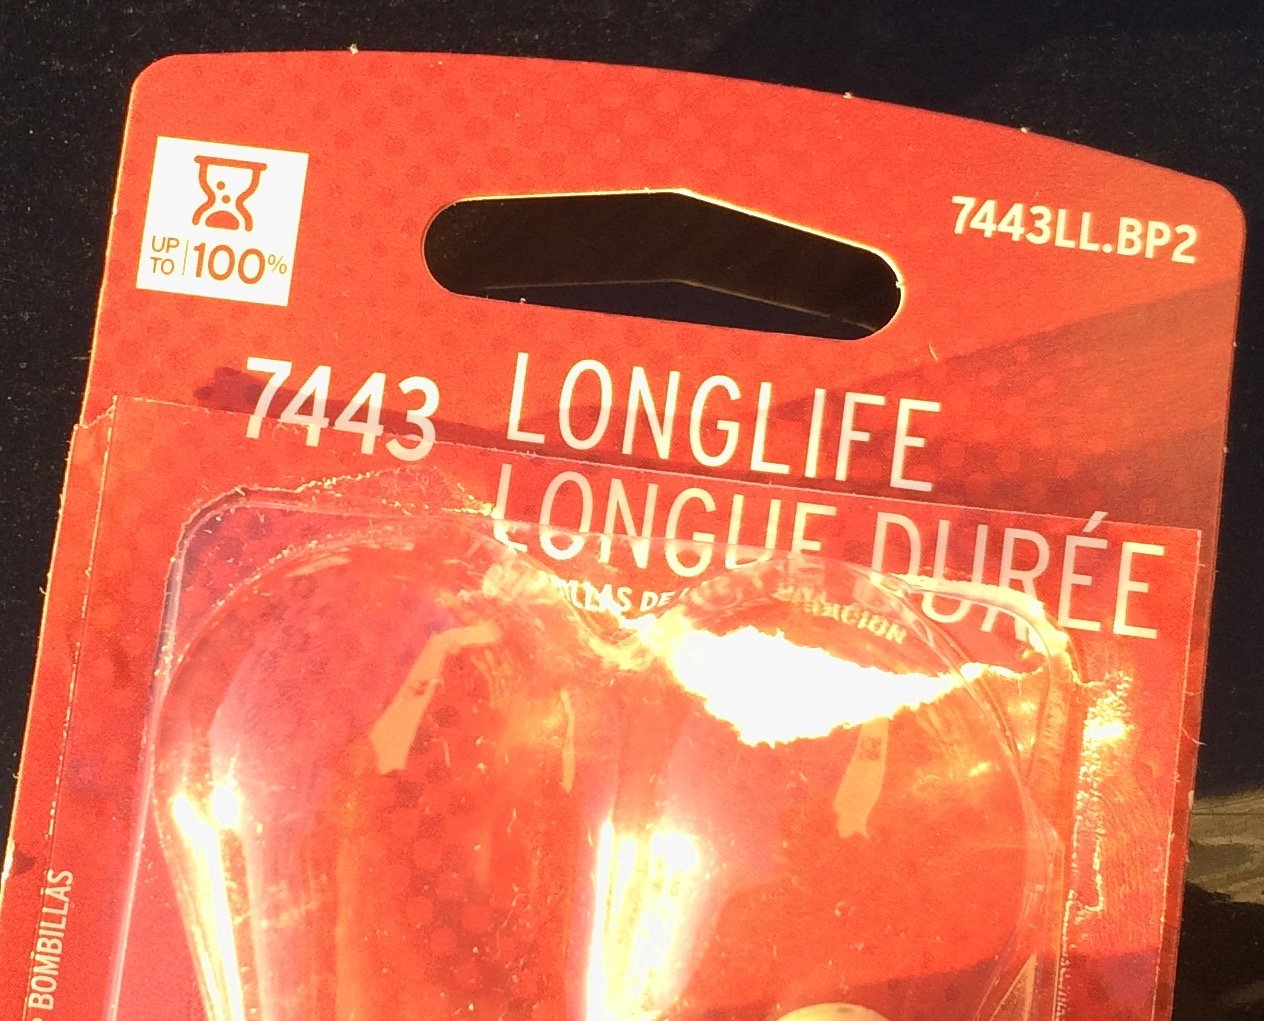
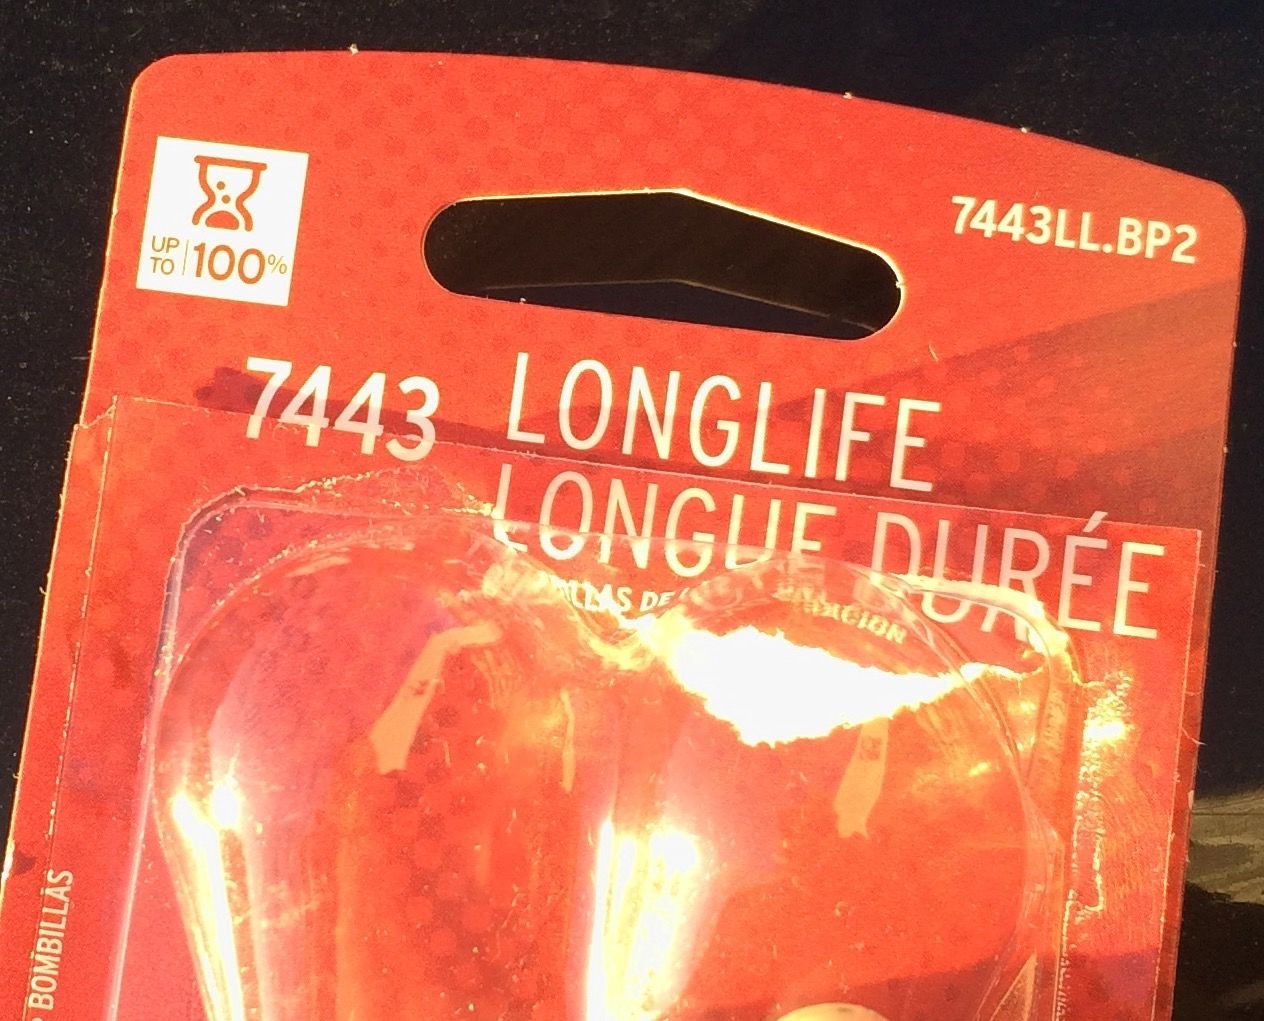
You need this replacement bulb.


Last edited by dashan; 01-02-16 at 01:41 PM.
Old 01-02-16, 04:14 PM
  #9  
dicer
Lead Lap
 
dicer's Avatar
 
Join Date: Jul 2010
Location: ca
Posts: 4,525
Received 97 Likes on 89 Posts
Default

Wow, I would never use a metal pry bar there. If you have to use metal wrap in in electrical tape. You can get plastic pry bars at Harbor freight.

And besides, you don't need a pry bar at all use your hand.


Added today on 1/4/16
Oh and this is one electrical thing you can do and not disconnect the battery. Unless the owners manual says to do it. Since its a 96 I don't know for sure.

Last edited by dicer; 01-04-16 at 01:20 PM.
Old 01-04-16, 02:58 AM
  #10  
PureDrifter
BahHumBug

iTrader: (10)
 
PureDrifter's Avatar
 
Join Date: Aug 2004
Location: California
Posts: 23,918
Received 94 Likes on 86 Posts
Default

Thank you for the pictures but I encourage you to reformat this into a more reader-friendly write-up.

Personally I would have just swapped the bolts out from inside the trunk, they're accessible by popping a few interior clips and pulling the liner back as I recall.
[edit]pending confirmation[/edit]

Last edited by PureDrifter; 01-05-16 at 09:18 PM.
Old 01-05-16, 07:05 PM
  #11  
timmy0tool
Moderator
iTrader: (7)
 
timmy0tool's Avatar
 
Join Date: Sep 2008
Location: 714/949, SoCal
Posts: 6,927
Received 415 Likes on 370 Posts
Default

Originally Posted by PureDrifter
Personally I would have just swapped the bolts out from inside the trunk, they're accessible by popping a few interior clips and pulling the liner back as I recall.
this method is the only way the bulbs are to be replaced, and are not accessible via the trunk unfortunately.

and yes there is no need to disconnect the battery for this job! also YES protect that paint by covering your pry tool with tape, or using a plastic tool instead!
Old 01-08-16, 08:24 PM
  #12  
dashan
Lead Lap
Thread Starter
 
dashan's Avatar
 
Join Date: May 2007
Location: KY
Posts: 651
Received 9 Likes on 9 Posts
Default

Holy crap. Those 3 people didn't even read and understand my post carefully before providing the EXPERT advice.
Originally Posted by timmy0tool
this method is the only way the bulbs are to be replaced, and are not accessible via the trunk unfortunately.

and yes there is no need to disconnect the battery for this job! also YES protect that paint by covering your pry tool with tape, or using a plastic tool instead!
Old 01-09-16, 01:58 PM
  #13  
PureDrifter
BahHumBug

iTrader: (10)
 
PureDrifter's Avatar
 
Join Date: Aug 2004
Location: California
Posts: 23,918
Received 94 Likes on 86 Posts
Default

part of that has to do with the way your post is formatted. Large images with a tiny bit of text right above them leads to easily missed comments and instructions.

I would recommend merging the multiple posts into the parent.
Old 01-09-16, 03:13 PM
  #14  
sha4000
Lexus Test Driver
iTrader: (1)
 
sha4000's Avatar
 
Join Date: Aug 2005
Location: N.Y.
Posts: 6,853
Received 334 Likes on 288 Posts
Default

These bulbs are actually the easiest bulbs to change on the outside of the car.
Old 10-01-17, 12:13 PM
  #15  
Dubbayoo
Intermediate
 
Dubbayoo's Avatar
 
Join Date: Nov 2011
Location: GA
Posts: 340
Received 10 Likes on 10 Posts
Default

Is there a better writeup than this on-site for 90-94? I wish this point physically pointed out which bulbs is being replaced here. On my vehicle the upper left most light is on with the tail lights but goes out when brakes are pressed; seems like some others are on, just not as bright.


Quick Reply: How to replace tail light/brake light bulbs.


All times are GMT -7. The time now is 11:01 AM.