When you click on links to various merchants on this site and make a purchase, this can result in this site earning a commission. Affiliate programs and affiliations include, but are not limited to, the eBay Partner Network.
Do they use the stock rings, or do they have their own rings? Just wondering how easy it is to custom fit the rings. I'm a big believer in setting ring gap individually and not depending on factory settings to get the end gaps I want.
For an interesting comparison, note that the IS F and RC F have the same specs for ring end gap, but the GS F's specs are MUCH tighter and with the exact same part numbers as the RC F. Ring end gap is one of the critical numbers for best power.
They came with they're own wrist pins, locks, rings, etc.
I'm back to contemplating getting the intake manifold extrude honed...$765 for even 5% power gain would be worth it IMO. hmmm
They came with they're own wrist pins, locks, rings, etc.
I'm back to contemplating getting the intake manifold extrude honed...$765 for even 5% power gain would be worth it IMO. hmmm
Just matching the intake to the ports will get you a lot more than trying to smooth out the whole plenum. That's where I would focus if this were my project. There are a few detail points to doing that right, but all the honing in the world won't make up for a step from the manifold to the cylinder head.
Can you take a pic of the old and new pistons side by side?? and any info on the new pistons, eg are they forged cheers.
You're a few pages late to this thread, the back arrow or infinite scroll will get you your answers.
As for the side-by-side. No. The pistons were dropped off and I'm not going to bug the machine shop anymore until they tell me it's ready. Every time the phone rings or a customer comes to the shop they stop working. I'd rather be one less guy holding up everyone else's build, and one less interruption to finish mine.
You also need to check the gasket against the intake manifold. The telltale sign here is the carbon around the inside of the gasket opening. If the gaskets are not doweled, they're not a great guide for what you want to do. Ideally the intake manifold exit and port entry have the same size and shape. The small gap the gasket creates isn't as big a deal is it would often seem when you actually test it.
For seat widths, if you plan to run nitrous, set them at the high end of factory spec and place them about 0.25 - 0.5mm from the valve margin to maximize seat contact area for best heat transfer. This really is important, as is making absolutely certain there are no sharp edges in the combustion chamber. I like to take a 3M red Scotchbrite roll and dull everything on the combustion side to be certain I have no glowplugs.
These pistons come with their own rings that need to be gapped properly to the application... we would never use standard rings.
We designed these pistons in conjunction with JE and have tested them on 3 SC engine builds so far. Great pistons, no issues pushing 700+hp.
Rafi
__________________
We Engineer Track Proven Upgrades For Your Lexus! SUPERCHARGERS : ECU TUNING : SUSPENSION : EXHAUST : PPE MASTER DEALER
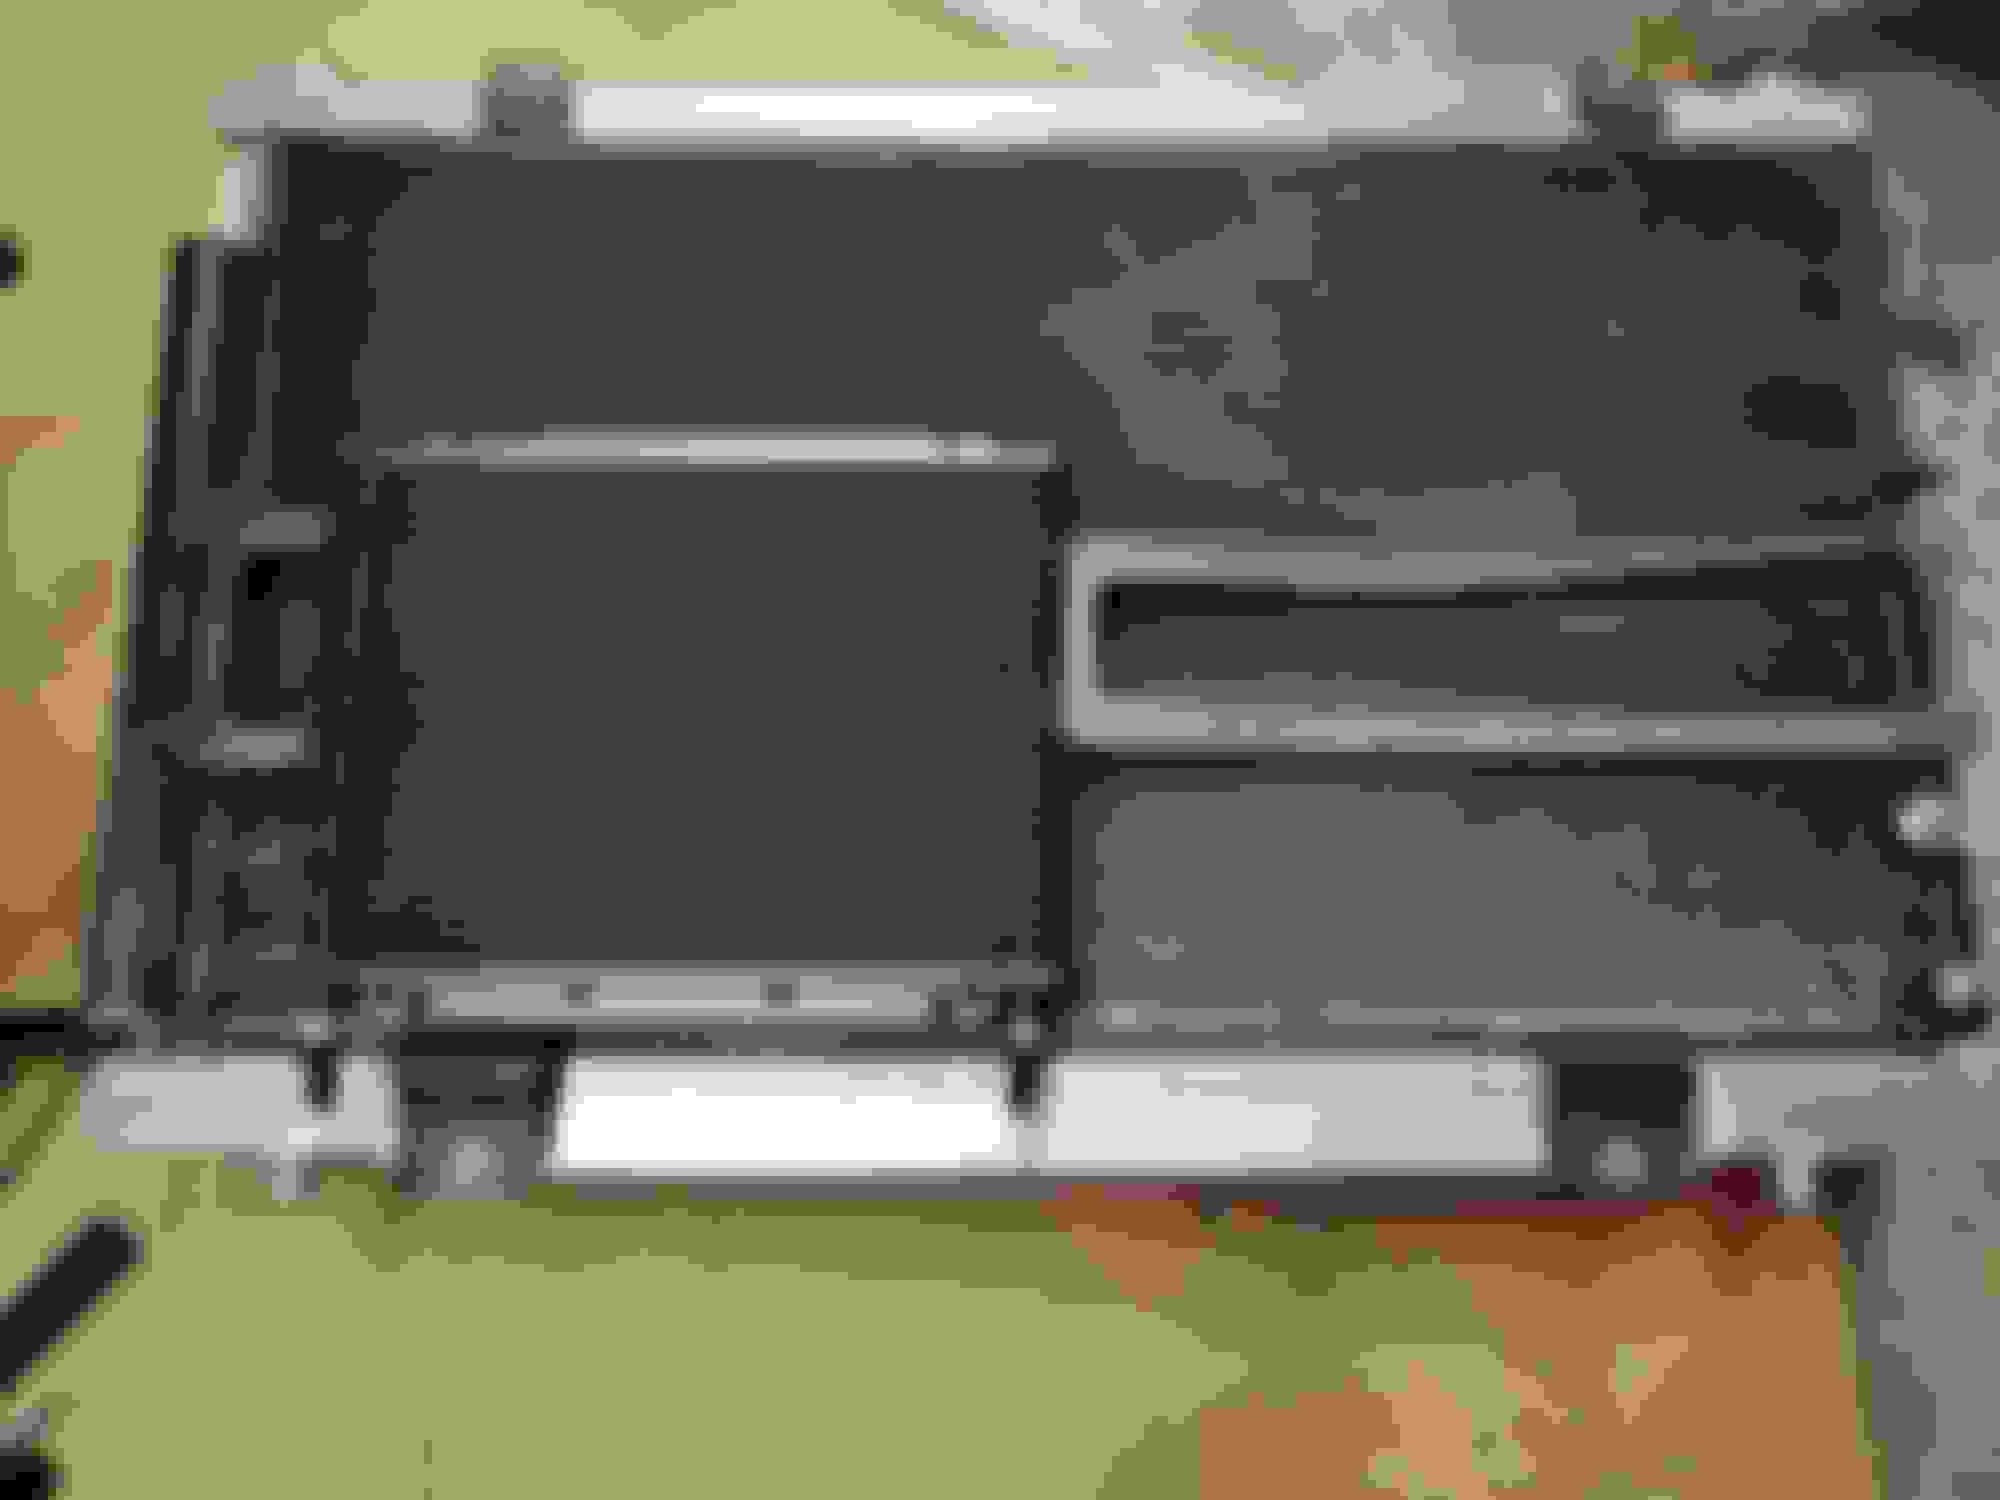
Picked up a Koyo full aluminium radiator and a much larger external trans cooler to keep temps under control. Fitment is perfect and the OE cooler bracket looks like a prime candidate for mounting in front of the a/c condenser.
After a long week, perfect timing to crack a cold one
Fitment & welds are perfect. Vent and drains similar to OEM.
Per JE :
.018" top
.020" 2nd
For moderate nitrous use
Originally Posted by Raven97990
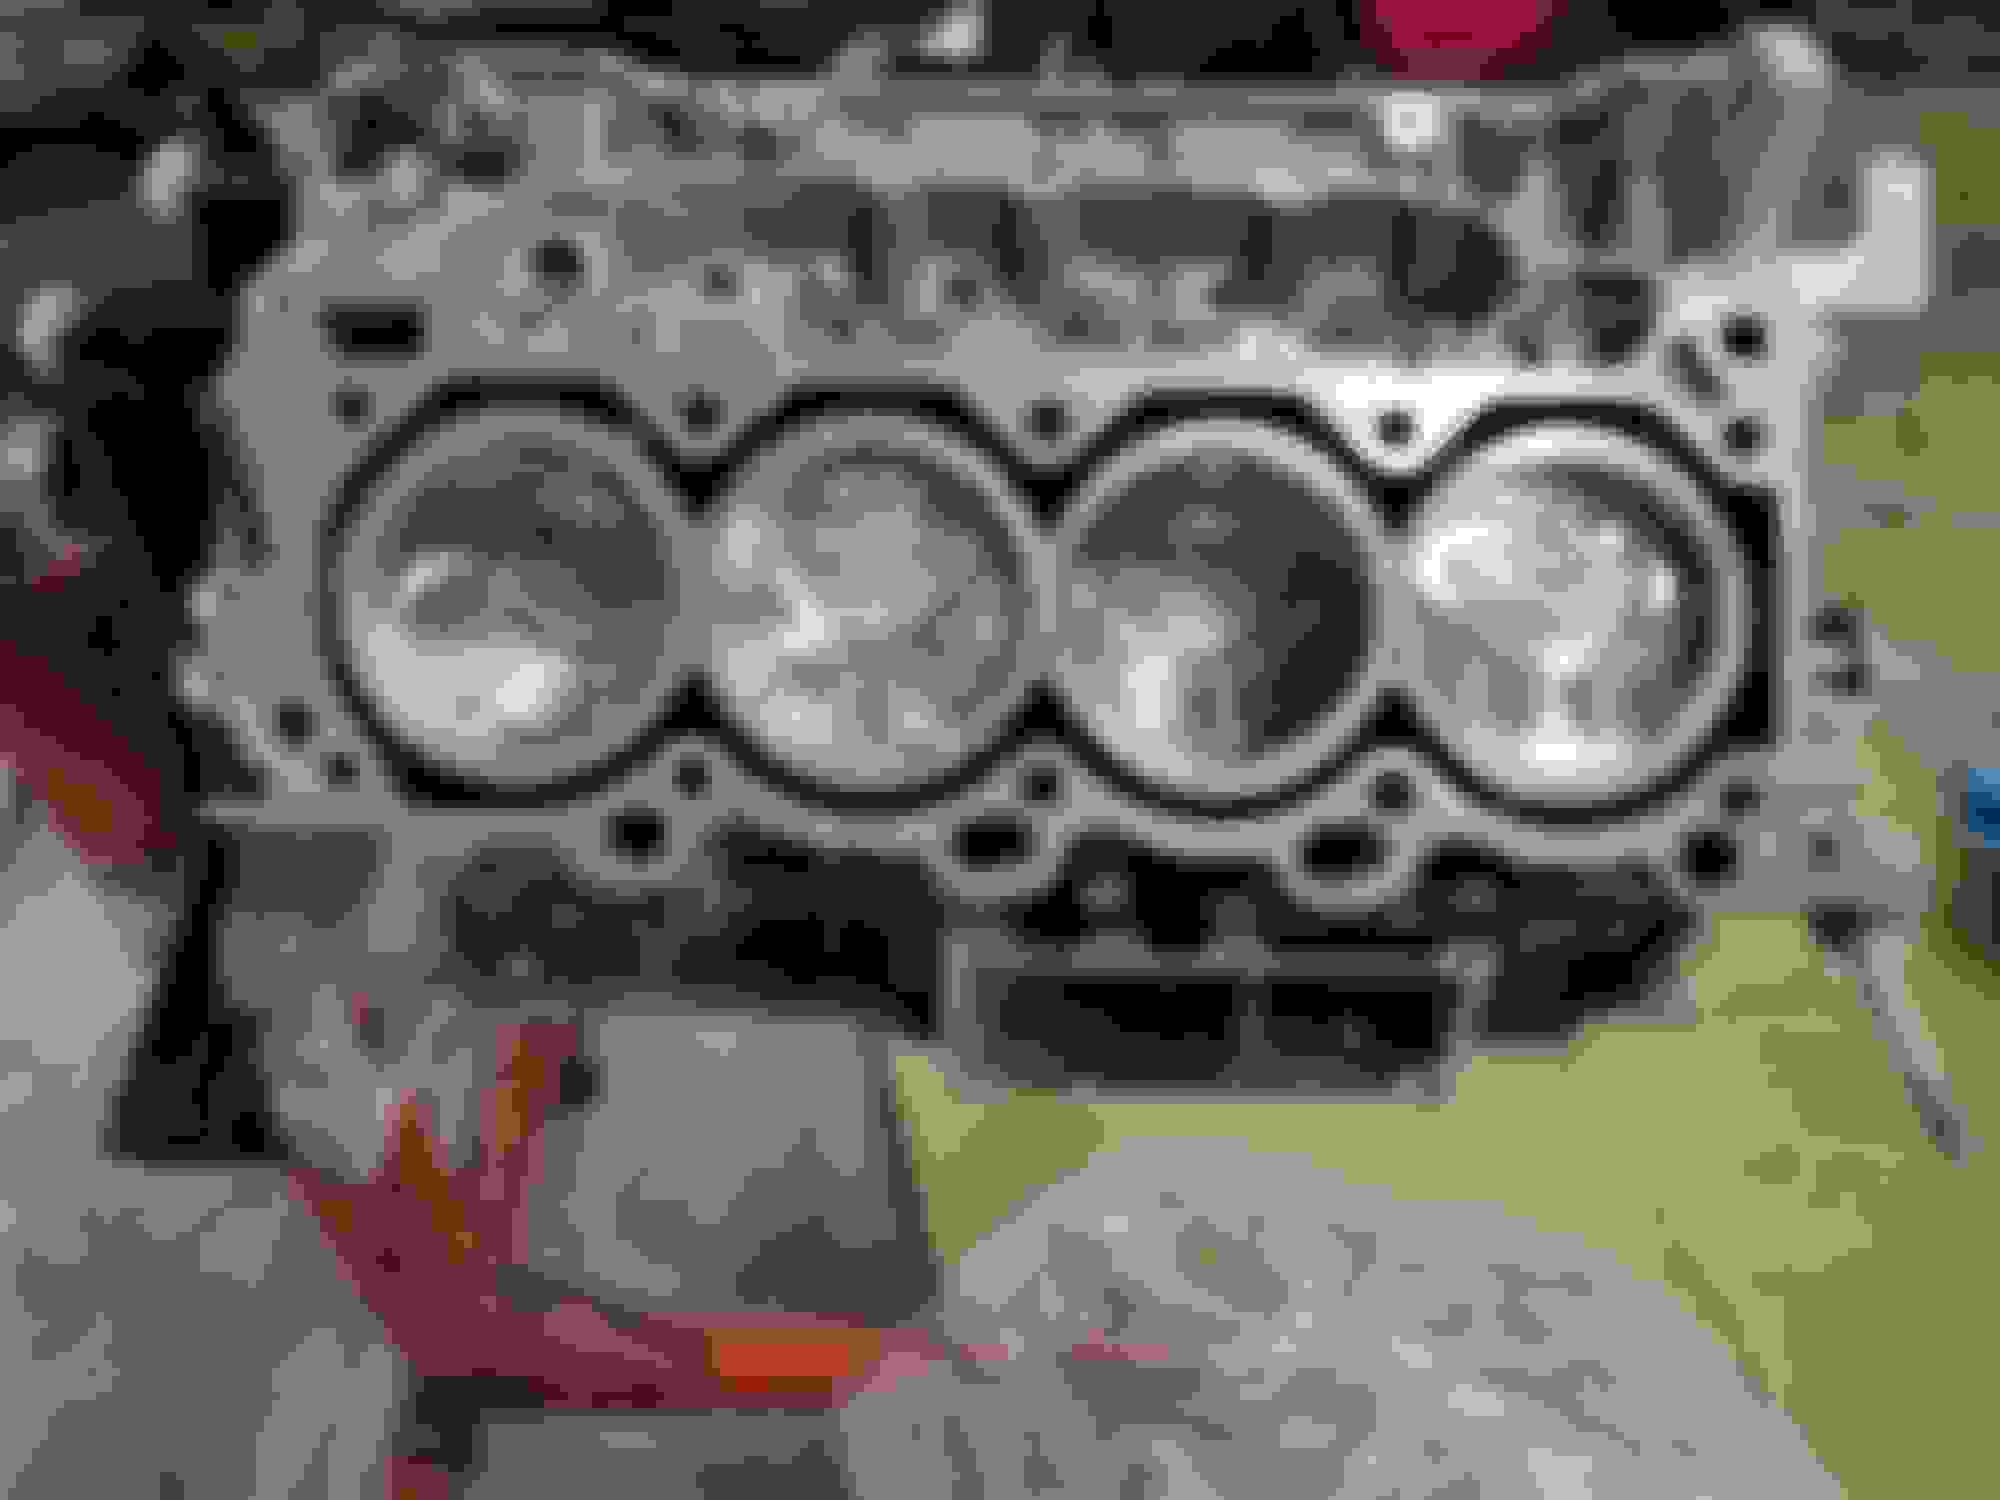
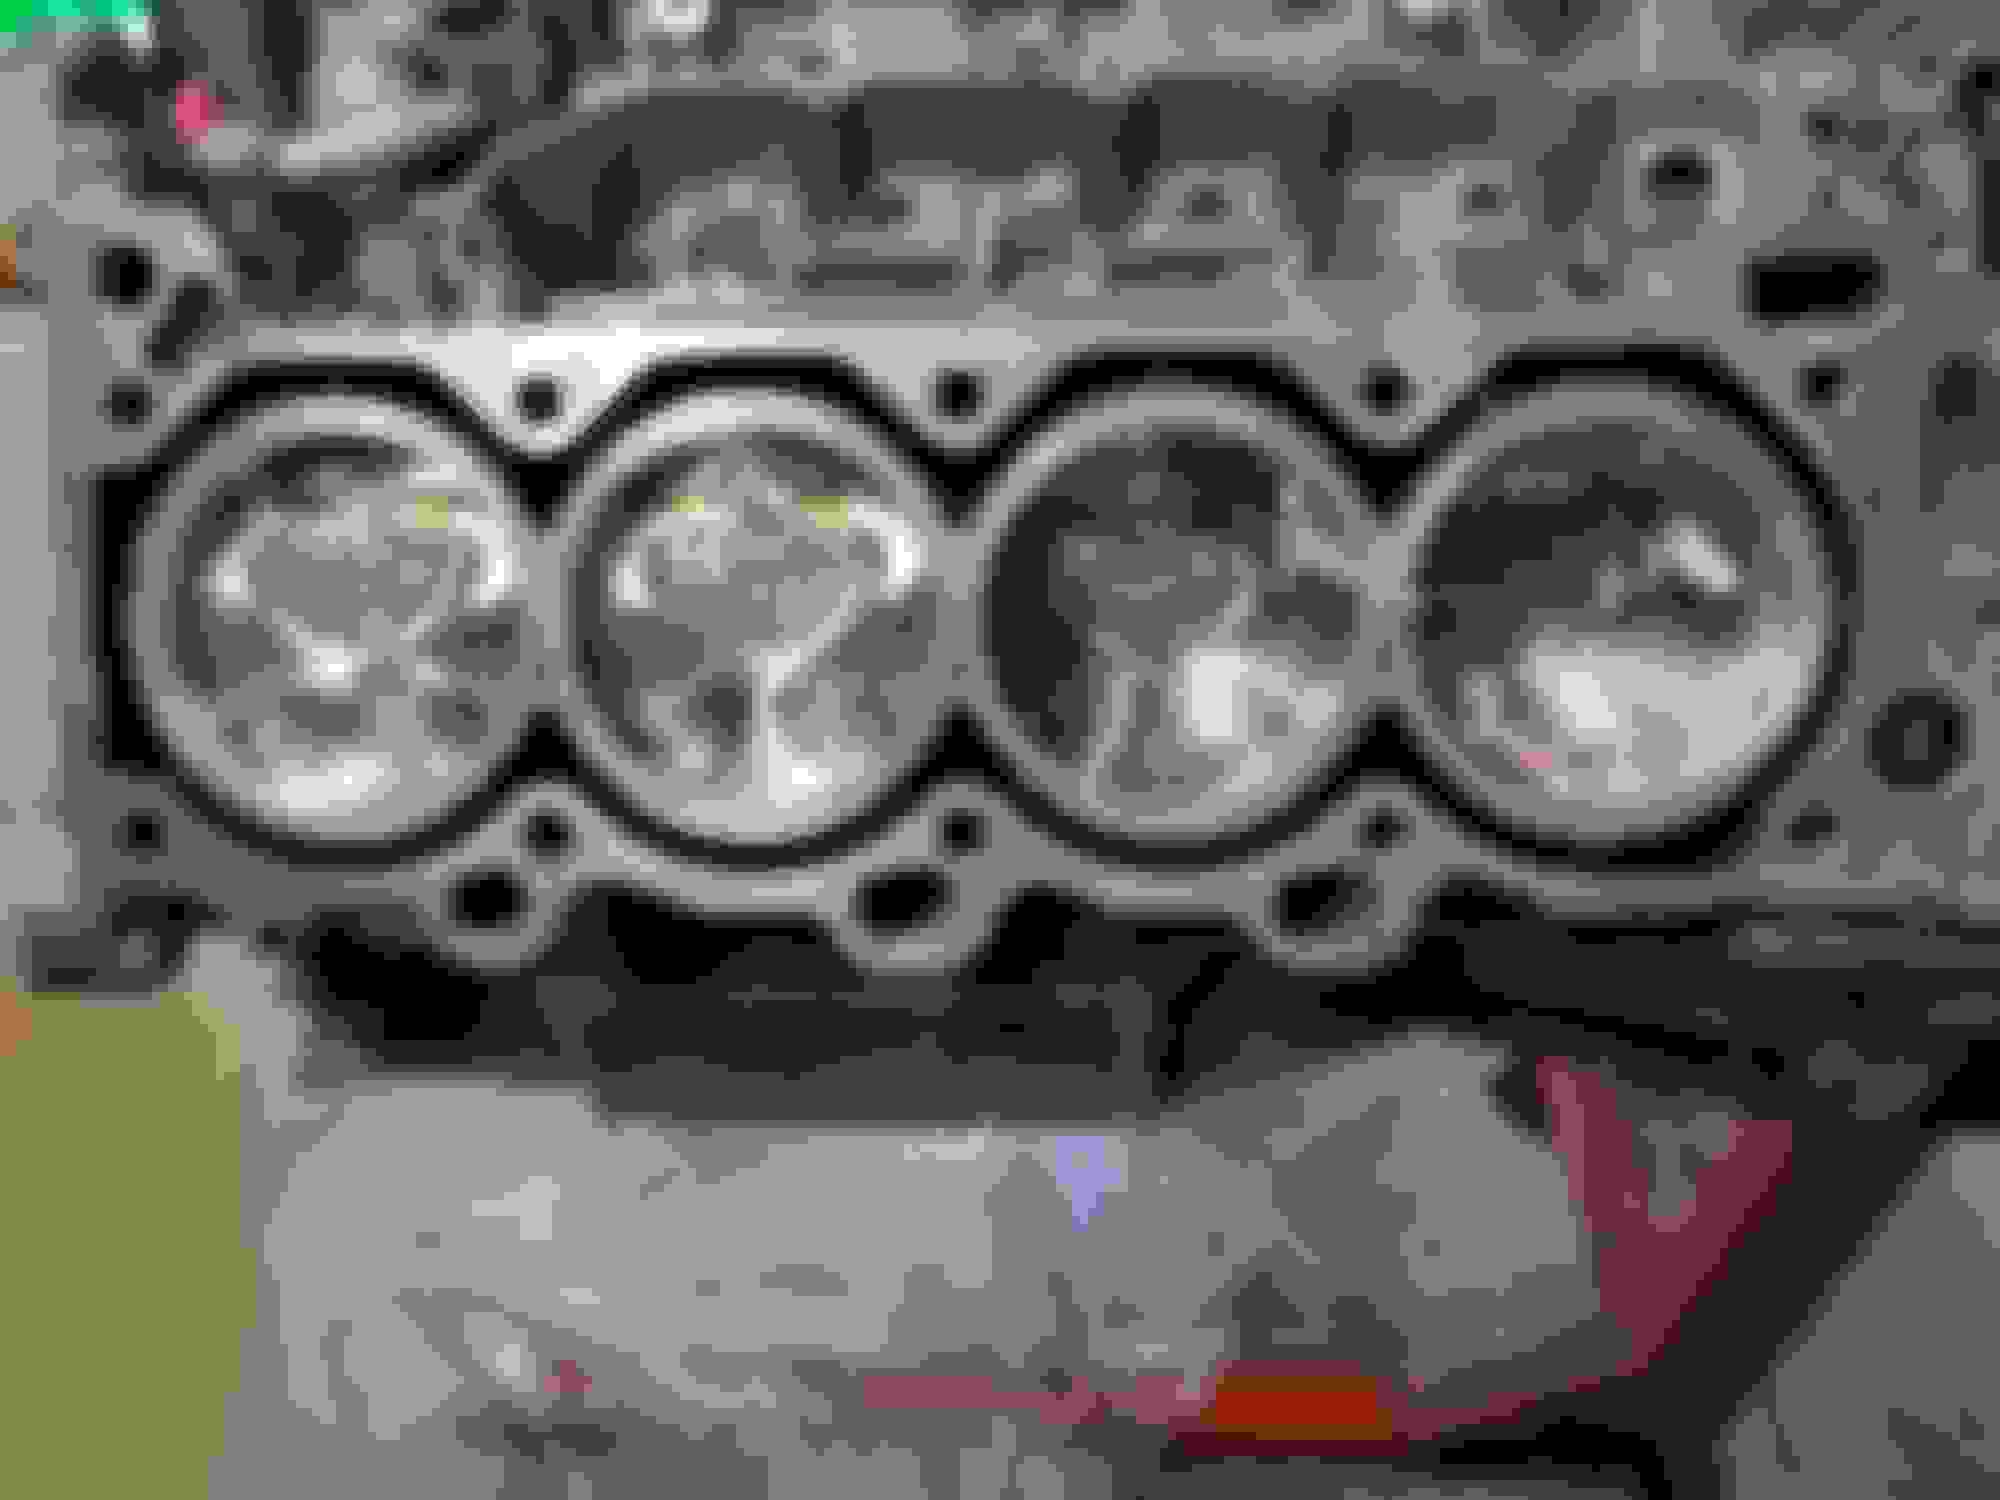
Did they not clean the block for you? If it's that dirty outside I'd be worried about whats inside the oil galleys/ports.
Solvent bath. Everything gets a decent(exterior-wise) scrub but the important areas are definitely clean, and get final cleanings before any assembly. Remember, this isn't a show car, I don't care to have every single component look mint. It's inevitable that the engine bay and any exterior component of the engine bay on a street/daily driven vehicle will get debri accumulation. So IMO, it's a waste of time to polish those areas, given the use of my car and how virtually "un-seen" a majority of the engine is anyway.
As-far-as the oil galley/ports you can see a nice clean flim through all the ports, additionally I bag the engine when I'm done working on it for the day.
 06-03-18, 09:20 AM