When you click on links to various merchants on this site and make a purchase, this can result in this site earning a commission. Affiliate programs and affiliations include, but are not limited to, the eBay Partner Network.
Additional pictures of the DT Moto / Spyder fog light assemblies. Does the Winjet electrical connector look the same? Also, I wonder if the JDM lens covers will fit on the Winjet fog light assemblies? I prefer the flat black, non textured look and I would prefer using the JDM lens covers if they mount to the Winjet assemblies.
I will try contacting Winjet and ask for pictures of their electrical connector, but they probably want people to use the supplied wiring kit and not OEM wiring. Any help is greatly appreciated.
Edit: It looks like the Winjet version wiring harness plugs directly into the H11 bulb and the OEM fog light harness connector will fit. I might buy one at my local auto store and see if it fits.
Do the lens covers attach to the bumper or actual fog light assembly?
Here is a picture of how the Spyder lens covers mount to the assembly. It looks similar to Winjet, but I'm not 100% if its direct fitment.
I apologize in advance for multiple posts on this thread, but another plug and play solution (in addition to the low grade Spyder kit) for us guys with pre-wired cars would be great. I really like the ability to swap bulbs, rather than dispose of the entire unit if the LED dies.
Thank you in advance for everyone's help and input. Sorry for posting multiple pictures, but I'm a visual learner and I hope it helps other members understand the situation.
Does anyone have any close up pictures of the electrical connector for the Winjet fog light assemblies? My 2014 car is pre-wired for fog lights and I would like to use the existing OEM fog light electrical connectors (and add the OEM stalk w/ fog light switch). To my understanding, the DT Moto/Spyder fog light assemblies are an exact replica mold of the actual JDM fog light assemblies and are plug and play if your car is pre-wired. The iJDMtoy kit has different connectors and will NOT be plug and play. Any input or close up pictures of the Winjet electrical connector?
Here is a picture of the OEM fog light connector, in my bumper, w/ a "dead" plug from the factory because it is unused:
It will be plug and play for you. You can use that connector.
They are just H11 standard halogen bulb. so it will connect right into that socket easily.
You have to remember that the non-fsport front end bumper had Fog lights, H11 fog lights. Lexus/Toyota will not just go and make a new harness just for a different bumper and foglight setup
Exactly my thoughts and thank you for the confirmation. It's strange that some of the F-Sport cars came pre-wired, while other did not. There is an entire thread about which model, production date, etc cars came pre-wired vs. not, but I actually looked inside my bumper and found the electrical connectors. In addition, I doubt Lexus would manufacture two different F-Sport dash units (JDM w/ fog and OEM w/o fog), so it's completely plug and play. I actually can see the fog light indicator lights on my dash if you look at an angle in proper light (ie. it doesn't light up, but the dash display has functionality for fog light control and monitoring.
Any input regarding my second question around the fog light lens fitment? Do the lens snap onto the bumper itself or fog light assembly? I wonder if the genuine JDM fog light lens covers would fit with the Winjet fog light assemblies...? I'd prefer the non-textured, flat black lens over the Winjet textured style.
Thank you again for everyone's input and I hope my information helps any members with a pre-wired chassis.
PS. I do NOT know the specifics behind which cars came pre-wired vs. not, so please do not ask me if your car already has a harness. Just look in your bumper for two electrical connectors with "dead" plugs (shown in the pictures from my previous post). The fog light connectors are located near the headlamp and LED running light connectors on the harness. The electrical connector plugs should be a dead give away. Feel free to PM me with any questions.
Edit: After reviewing the pictures of the Winjet kit, that were posted on page one of this thread, it looks like the lens covers snap onto the bumper, rather than fog light assembly (similar to the genuine JDM version). The only issue with running JDM lens covers on top of the Winjet fog light assemblies would be the fitment of the cover around the opening for the light. It doesn't sound like anyone has attempted this combination, so I guess I'll just have to try.
Installed them today. Fitment is MUCH better than the Spyder ones. Very one small and minor gap. The adjustment hole is very handy, just stick in a Phillips and adjust it any way you want.
You're paying $140 for the covers, wiring, and housing really since the light bulbs are changeable which was a HUGE PLUS for me.
The h11 bulbs that came with it is 4300k so theyre daytime lights - yellowish. Will be getting 6000k ones soon.
I posted earlier about my experience installing it. The hardest parts for me were removing the old covers where the foglights go, to run the wirining to the drivers side, and the control wire through the firewall. Everything's else was pretty straightforward. You'll want to set aside half a day or more to do it yourself.
I posted earlier about my experience installing it. The hardest parts for me were removing the old covers where the foglights go, to run the wirining to the drivers side, and the control wire through the firewall. Everything's else was pretty straightforward. You'll want to set aside half a day or more to do it yourself.
Thanks Itsx...I actually have a pair of fog on my f sport now and it was very easy plug and play by tapping to the existing wire. I am new to DYI, not very comfortable running wire through the firewall haha.
Some late pics with my bulbs. The bulbs were a direct replacement to the existing bulbs. that came with the kit I haven't noticed any issues, I almost feel like the old bulbs did a better job dispersing light because of how obvious it was because of the color of the lights, but I already kinda broke them so I won't be able to do a comparison pic/video. I'll try to take some nighttime pics or pull some dashcam footage of just fogs at night later with my bulbs.
Some late pics with my bulbs. The bulbs were a direct replacement to the existing bulbs. that came with the kit I haven't noticed any issues, I almost feel like the old bulbs did a better job dispersing light because of how obvious it was because of the color of the lights, but I already kinda broke them so I won't be able to do a comparison pic/video. I'll try to take some nighttime pics or pull some dashcam footage of just fogs at night later with my bulbs.
Some dashcam footage of my 2014 is350 F Sport with Winjet Foglights installed, paired with Philips X-tremeVision LED Fog Light
Recorded with Blacksys CH-100B
Thanks for the pics.
The beam pattern of the LEDs are not that great. You have lighting on the left and right but nothing in the middle.
This is typical LED output, since those LEDs are mounted on each side of the bulb and there's nothing in the center.
In the pictures attached, the red rings is where you wanna look at for fitment, I'm too lazy to rip them out of my car, but in the other picture, the green triangles are where i cut. I think it's just the top triangle you gotta cut, but i might have done both because i'm pretty bad at remembering things.
after some head scratching, a couple of us figured out how you don't need to grind the housing tabs to make these fit the way they were designed to. Something needed to be removed before installing, this was the fault everyone was running into.
This is posted here so if anybody else that runs into this issue knows what needs to be done.
pictures courtesy of ediaz87 with my comment marks on it. Hope this helps someone.
Much thanks to SpecOne for the DIY. I was going to take one this on, but thanks to you probably not going to anymore, because this looks like a ton of work haha.
Sorry to revive this thread, but Specone, do you like the output of your fogs? I installed the winjet kit and wasn't happy with the first set of led bulb I got, was also missing the middle light due to diodes being on the side. I switched led to a 4 sided led bulb and much better but the reach is short. I've adjusted the screw to aim a bit higher but still not good for me. I wasn't happy about the LED main headlights and that's why I installed these projectors. My CRV reflector winjet has a better output. Also trying to chase my BMW 535i Hid. I can shine everything in front of me. Seems like the stock headlight in the IS is a bit weak.
Attempt #2 at this post... apparently ClubLexus deletes your progress if you scroll up through the thread on a quick reply. I am taking the time to re-write this because I am hopeful it will help someone interested in fog lights for the 3IS F-Sport.
I finished installing the Winjet fog light kit and I wanted to update this thread with my experience and maybe some tips and a review for anyone looking into this kit. This post will get a little long as I learned the fist time I was writing it.
I purchased the fog lights from ebay for about $115 (including taxes and shipping) and I also purchased a fuse tap (add a circuit) from Amazon for $8 to achieve a completely reversible install:
The reason I wanted fog lights are 1) they look good and 2) they typically do a better job lighting up the road directly in front of a car during heavy snowstorms and fog. I chose the Winjet kit over iJDMtoy (blinding) or Spider or JDM/OEM ($1000+) because it is relatively inexpensive and is uses H11 bulbs which are replaceable.
Install
I will try to explain my install process with a few tips along the way. The specONE videos were very helpful but there are a few things that I found simpler. I have never performed any electrical work in the past but I was able to complete this install. Hopefully this will help someone who is in the same boat or anyone looking to perform the install.
1. I was determined to complete the install without removing the bumper (afraid of bumper sag) and I can safely say it is possible. I started by pulling back the fender liners. The small flat head looking clips (3 on each side) all had to be removed and were a bit tricky to figure out at first. Turn them 1/4 turn, pull out slightly, turn another 1/4 turn, then pull out completely. Another typical plastic clip fastener had to be removed on each side, directly below the "flat head" clips. I found that the plastic clip and 10mm screw on the underside of the bumper/fender liner did not need to be removed but I removed them anyway. Once the fender liner is pulled back, the black bracket that the flat head clips went into, has to be removed (similar both sides). Wire harnesses are attached to these brackets so be careful not to just pull them out. Once removed, this should give you plenty of room to remove the bracket shown in post 86. Three 10mm screws and three phillips head screws need to be removed from that bracket. With long fingers, I was able to reach around and guide the screwdriver between the bracket and the brake duct. A flexible screwdriver bit would have helped with this (
). Then I was able to remove the fake OEM vent/duct and install the Winjet shroud and fog light "projector". Winjet provides new 10mm screws and metal body clips but I reused the clips already in place on the bumper.
2. The next step was laying out the wiring harness. I removed the nine (?) push clips and the front engine bay cover. Then I placed the harness on the engine bay in roughly the location I would run the wires and started tucking and zip tying. The harness slipped nicely under the plastic trim at each side of the engine bay (above the fenders) and I routed it under the air inlet (plastic "funnel" that leads to the air box). I pushed the light connectors down into the fog light area and connected them. The power wire was connected to the top bolt on the positive battery terminal (not the side bolt that tightens the main harness to the battery terminal). I then cut a small slit into the spare nipple/plug at the driver's side fire wall (using a wire hanger helped fish the wire through). I then attached the ground to the factory grounding point as shown in specONE's video. This was slightly challenging with the bumper on because the screw points towards the front of the car (into the bumper cover) and the factory ground wires partially block access. I managed to use a 1/4" ratchet and 10mm socket to loosen the screw in a backwards orientation. The interior layout should have been minimal but I removed too many interior panels (per specONE's illuminated door sill video). Access can be achieved by pulling back (not removing) the plastic side panel usually covered by the drivers door and pulling back (not removing) the lower dash plastic panel where all the blank buttons are. The blank switches are simple to remove and the new switch clips right in (I used the top left slot but I will be changing this... see review portion). My only tip on interior wire routing is "be careful of the parking/emergency brake".
3. The next step was electrical which turned out to be the most difficult part of the installation because of my lack of electrical experience. The interior wiring harness has a button switch with 3 wires: yellow that attaches to the wire passing through the fire wall, ground, and a red wire with no connector (free end) that is supposed to splice into a factory power wire. My goal was to avoid splicing into factory wiring because I wanted to keep this install completely removable, so I used a fuse tap as listed above (Note: the 3IS fuses are "low profile mini/micro" sized). The fuse tap kit I purchased included crimp on connectors which I "crimped" onto the free end of the red Winjet wire. I don't have a crimping tool but a pair of needle nose pliers seems to have done the job (after 4 attempts...). I also covered the connection with a ton of electrical tape to prevent it from separating (I learned my lesson the first 3 times). Then came the iterative process of picking a fuse to tap (TLDR: use the TAIL fuse). My lack of electrical experience did not help because I started probing fuses by putting both multimeter leads to each end of the fuse top. I also used trial and error by trying different fuses but the fog light button switch was constantly lit up while the car was off. I then started testing the fuses correctly (black lead to ground, red lead to top of fuse head) and found all of the fuses I intended to use had constant power even when the car was turned off (radio, s/roof, p/outlet no.1). I tried searching ClubLexus for an appropriate fuse but that did not help. I eventually found the TAIL (15A) fuse which is for the tail lights. It turned out to work better than I intended. The fuse ONLY has power when the tail lights are on (headlights on or parking lights on). This means the fog lights can only be turned on when the headlights or parking lights are on. The fog lights automatically turn off when the lights are turned off or if car is turned off, even if the fog light button switch is on.
4. Reassembly is pretty straight forward with a few tricky parts. The fender liner has to be reinstalled into the top flat head clip but the floppiness of liner makes it challenging. I have no tips for this besides perseverance. The interior dash panels clip right into place and the front engine bay cover pops back into place with the push clips (these push clips must be re-set/pulled apart before reinstalling).
The install took me between 6-8 hours over the span of two days. It would have been faster if I had previous electrical experience and I knew which fuse to tap. Overall, this is not a terribly difficult install and I would rate it 5/10 (based on my previous experience of simple automotive installs).
Review
The fog lights have only been installed for a day but I want to give initial impressions and I may update this thread in the future. Here is a list (because I enjoy lists):
1. Light - There are two additional light bulbs producing light at the front of the vehicle, thus it is brighter. Unfortunately, it does not appear to be much brighter because the factory LED headlights are overpowering them. In the future I plan to install LED H11 bulbs to hopefully help with the brightness.
2. "Projector" - The Winjet fog light "projector" is essentially a hemispherical glass lens with a plastic cut off inside (see post 12). I'm not too familiar with projectors or automotive lighting but this seems very simple/rudimentary. They do have an adjustment (unused thus far) and the light does scatter across the ground directly in front of the car as I expected a fog light would. They don't seem to project light too far away from the car but hopefully a brighter LED bulb will help.
3. Interior Button Switch - As stated in the install section, I used the top left slot for the button included in the kit. The button does its job but I have two complaints... A) the color of the light in the button (when the fog lights are on AND when they are off but the headlights/parking lights are on) is green. This does not match the rest of the interior buttons that are white. I'm sure there is an aftermarket button that will match the color better but I haven't found any. Please let me know if anyone finds a good aftermarket switch. B) the green light is SUPER bright especially at night. Being in the top left position, the light is always in the corner of my eye. I plan to relocate the switch to the top right slot to hopefully block the green light by the steering wheel.
Here are a few photos of the fog lights. There are already a few beam pattern photos in this thread but I can take some with the halogen bulbs if requested. I will be updating to LEDs and can also take additional beam pattern photos once installed (if requested). My next step is researching how to use the factory fog light wiring (feel free to DM me or reply with that information if you are familiar). I hope this post helps someone since it took a while to write (twice!).
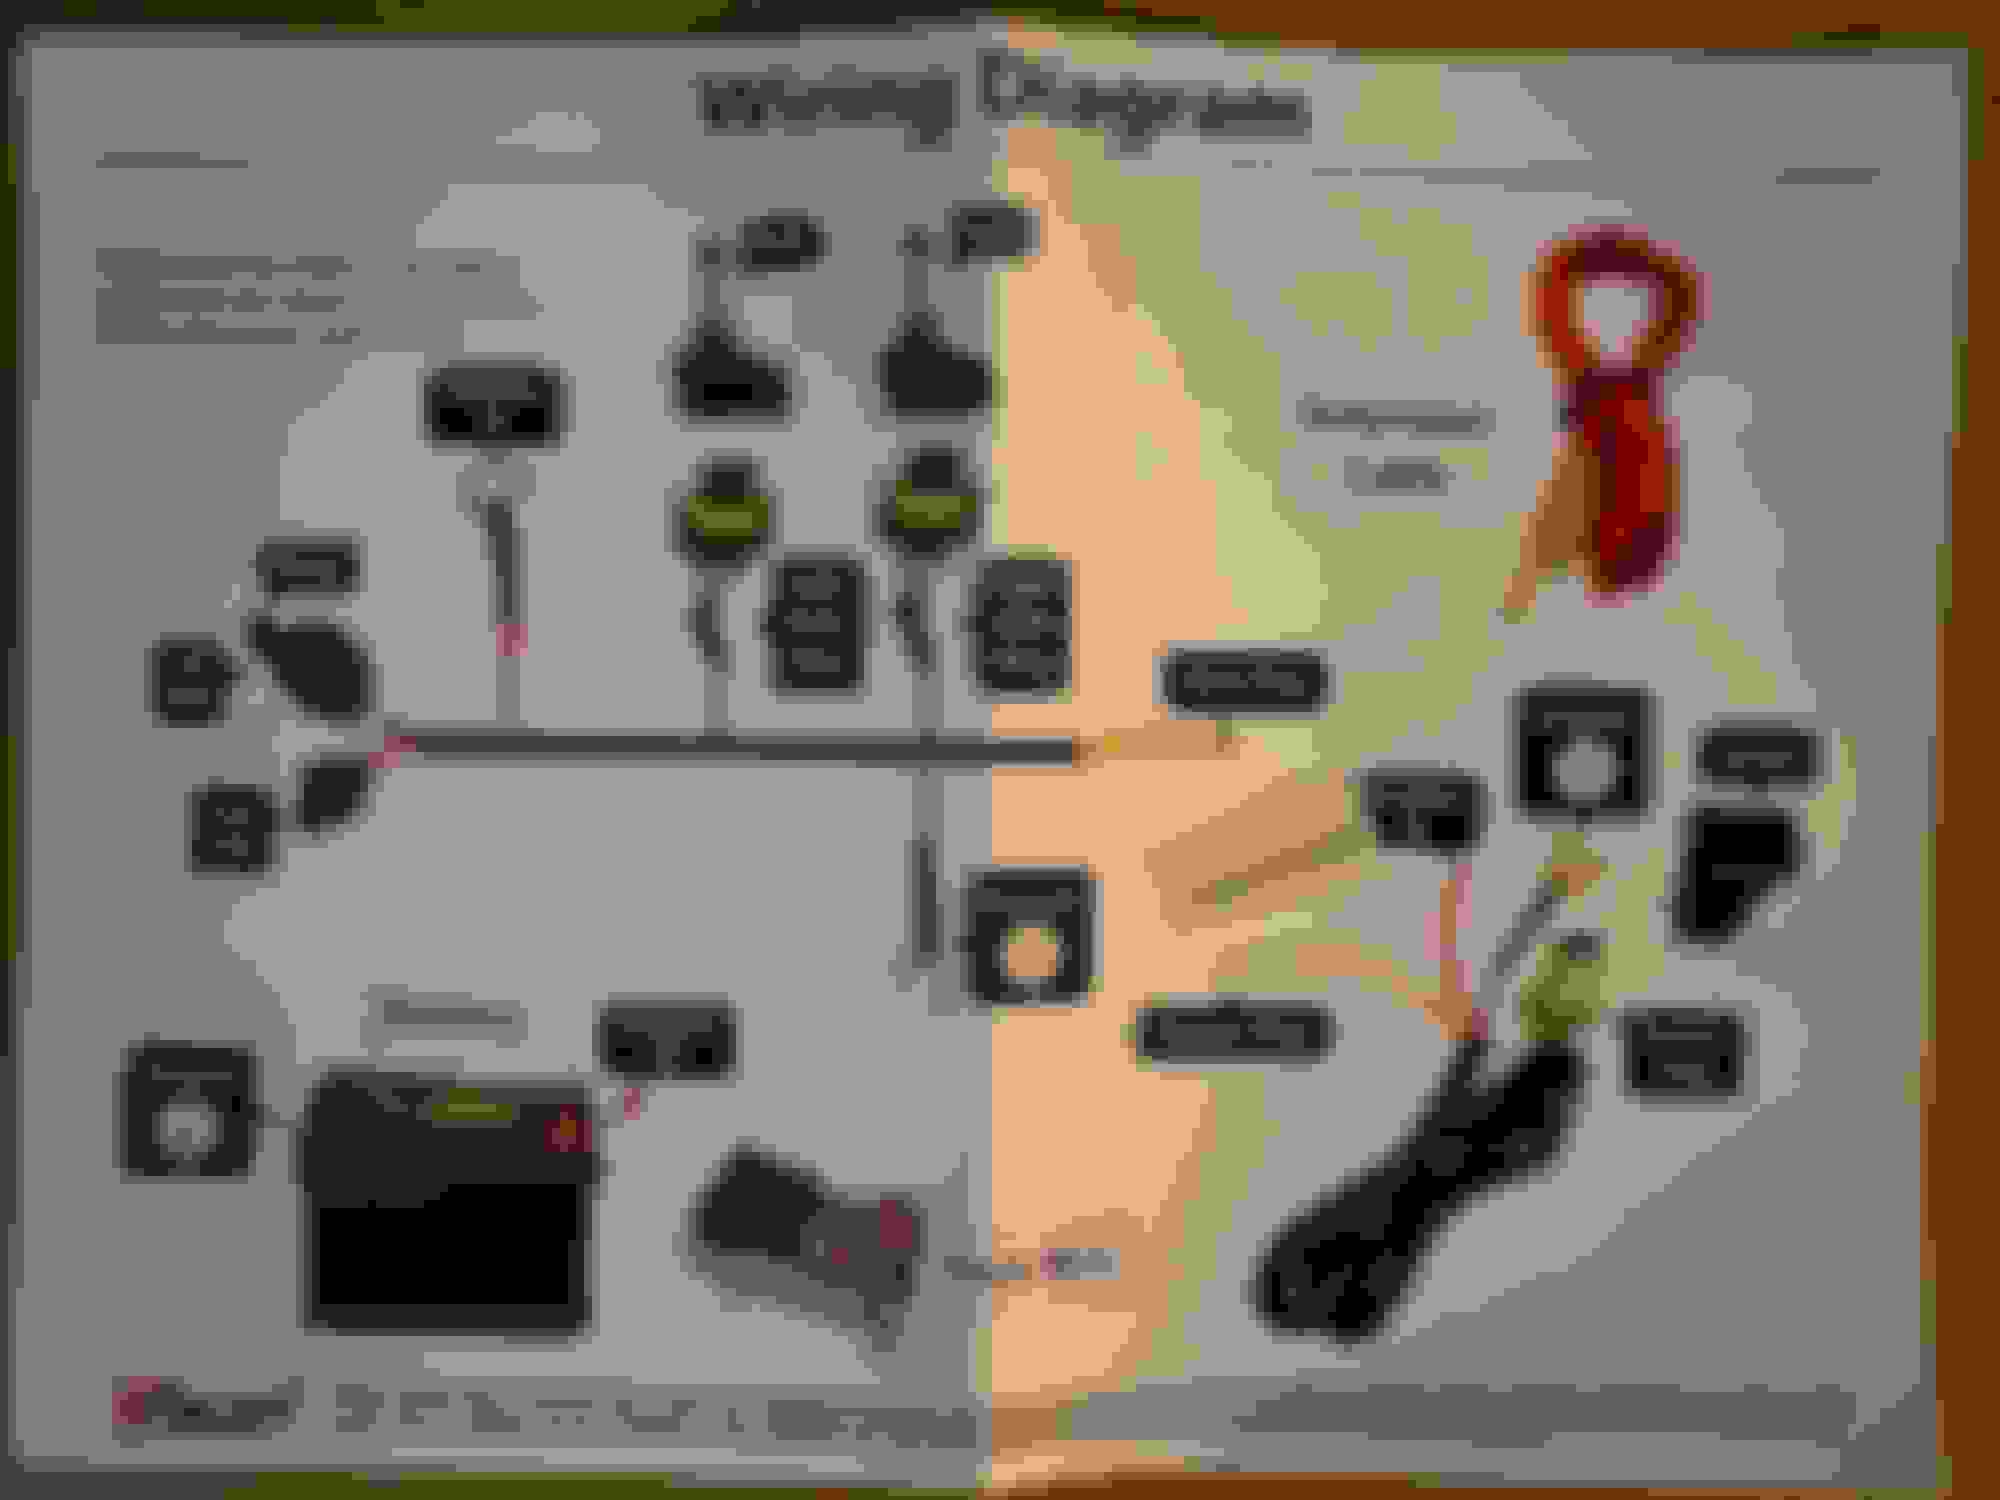
Wiring Diagram provided with Winjet kit (note "Lgnition" sticker was on interior harness red wire):
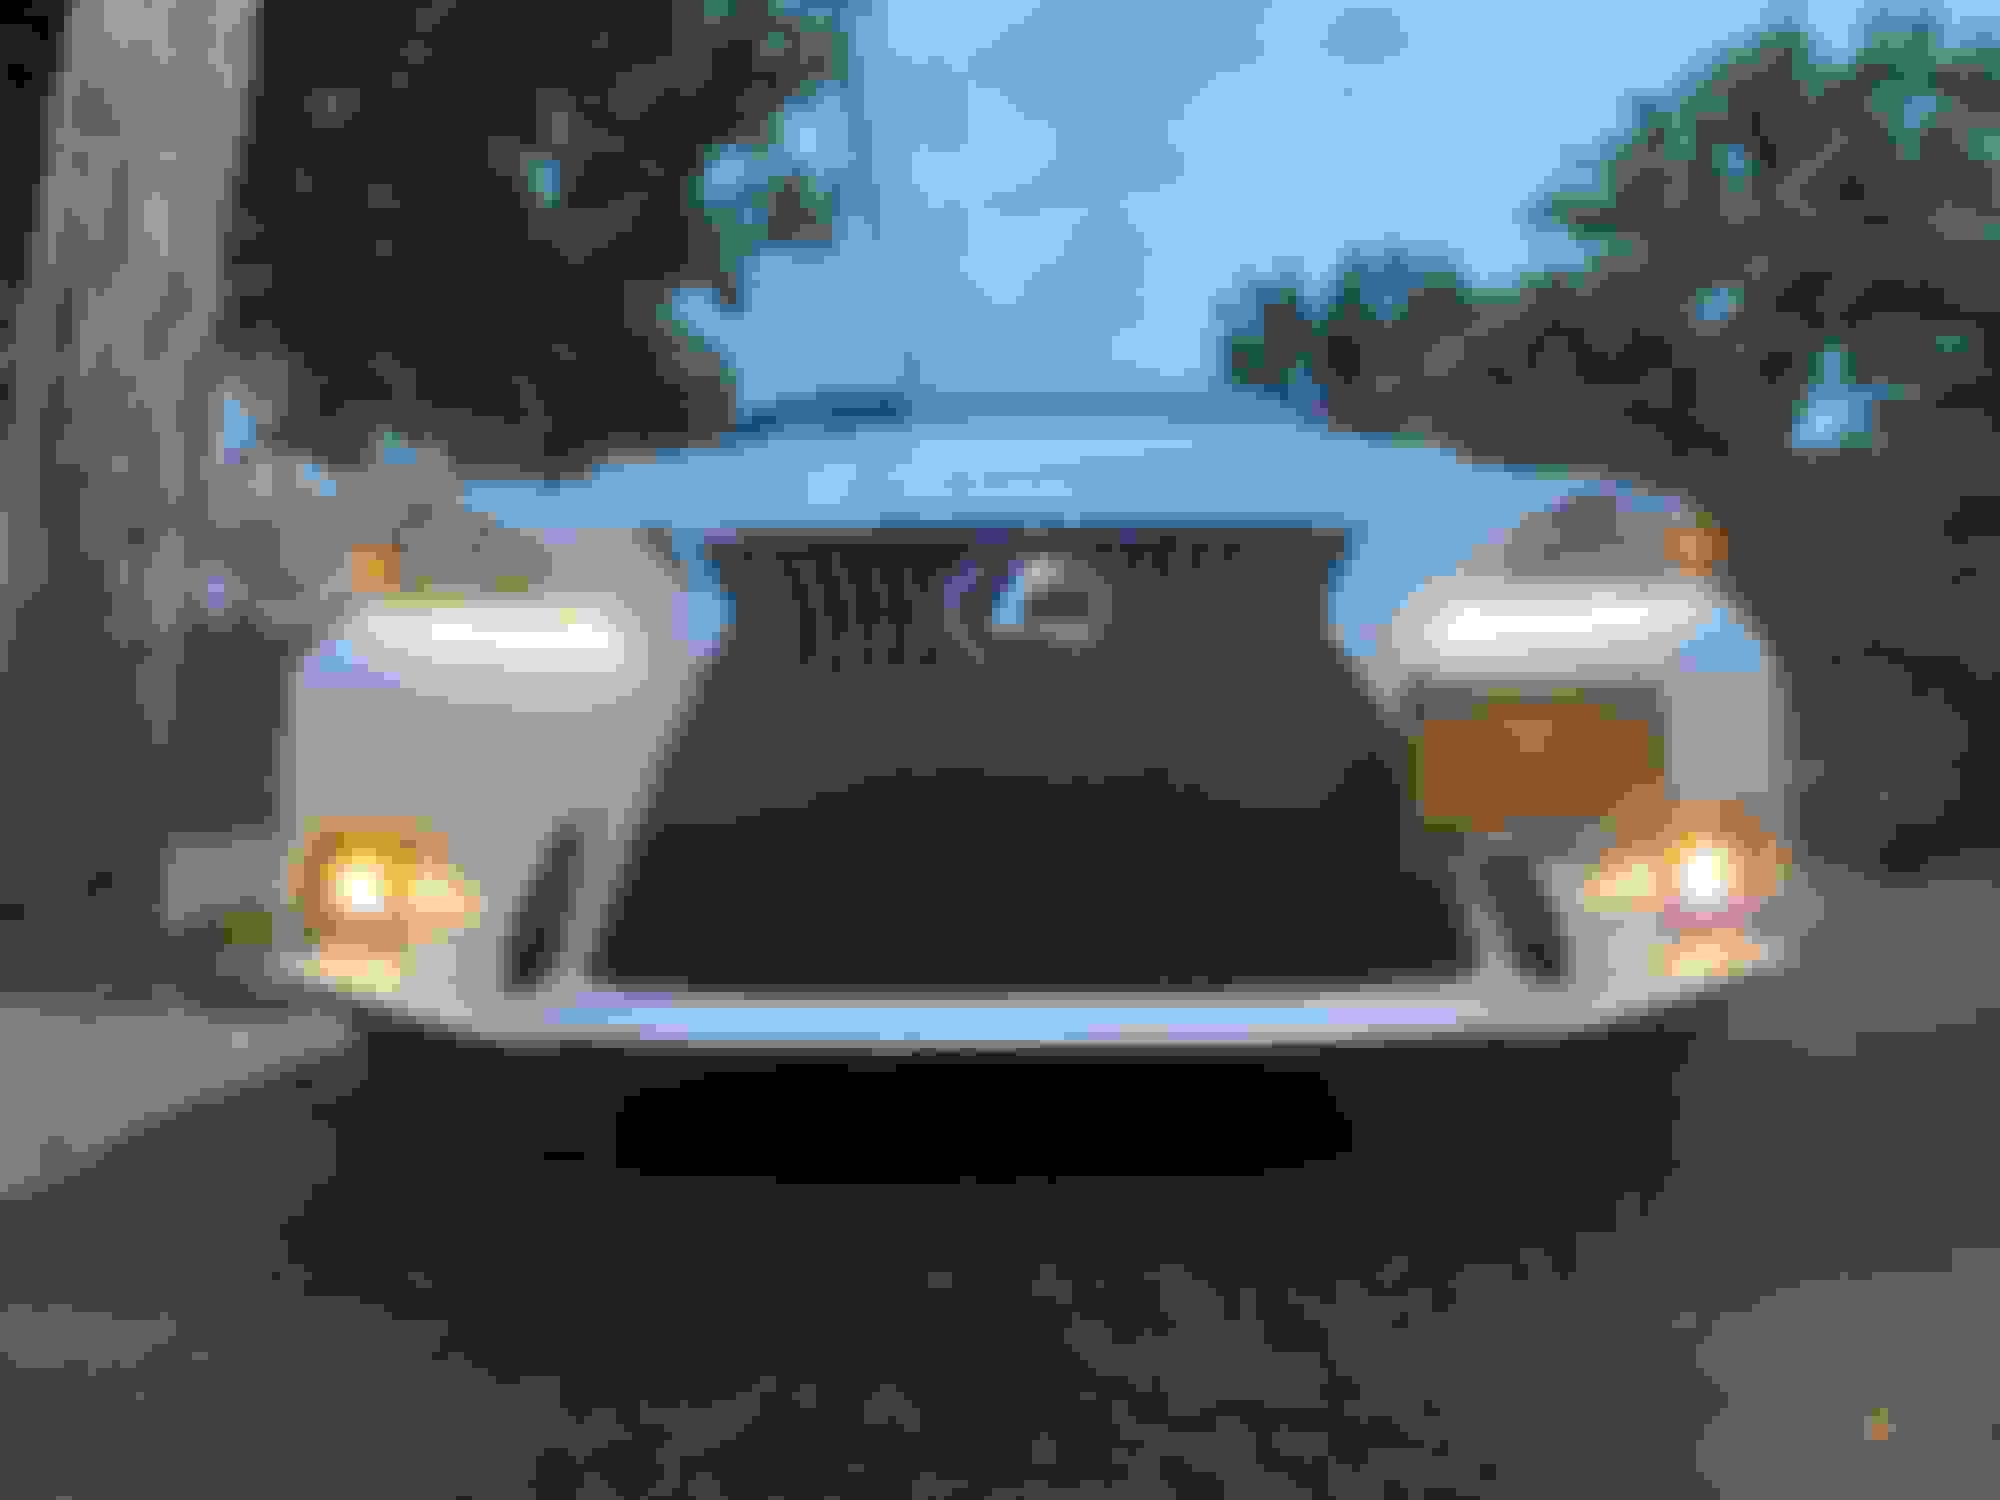
Fog lights on with Parking Lights:
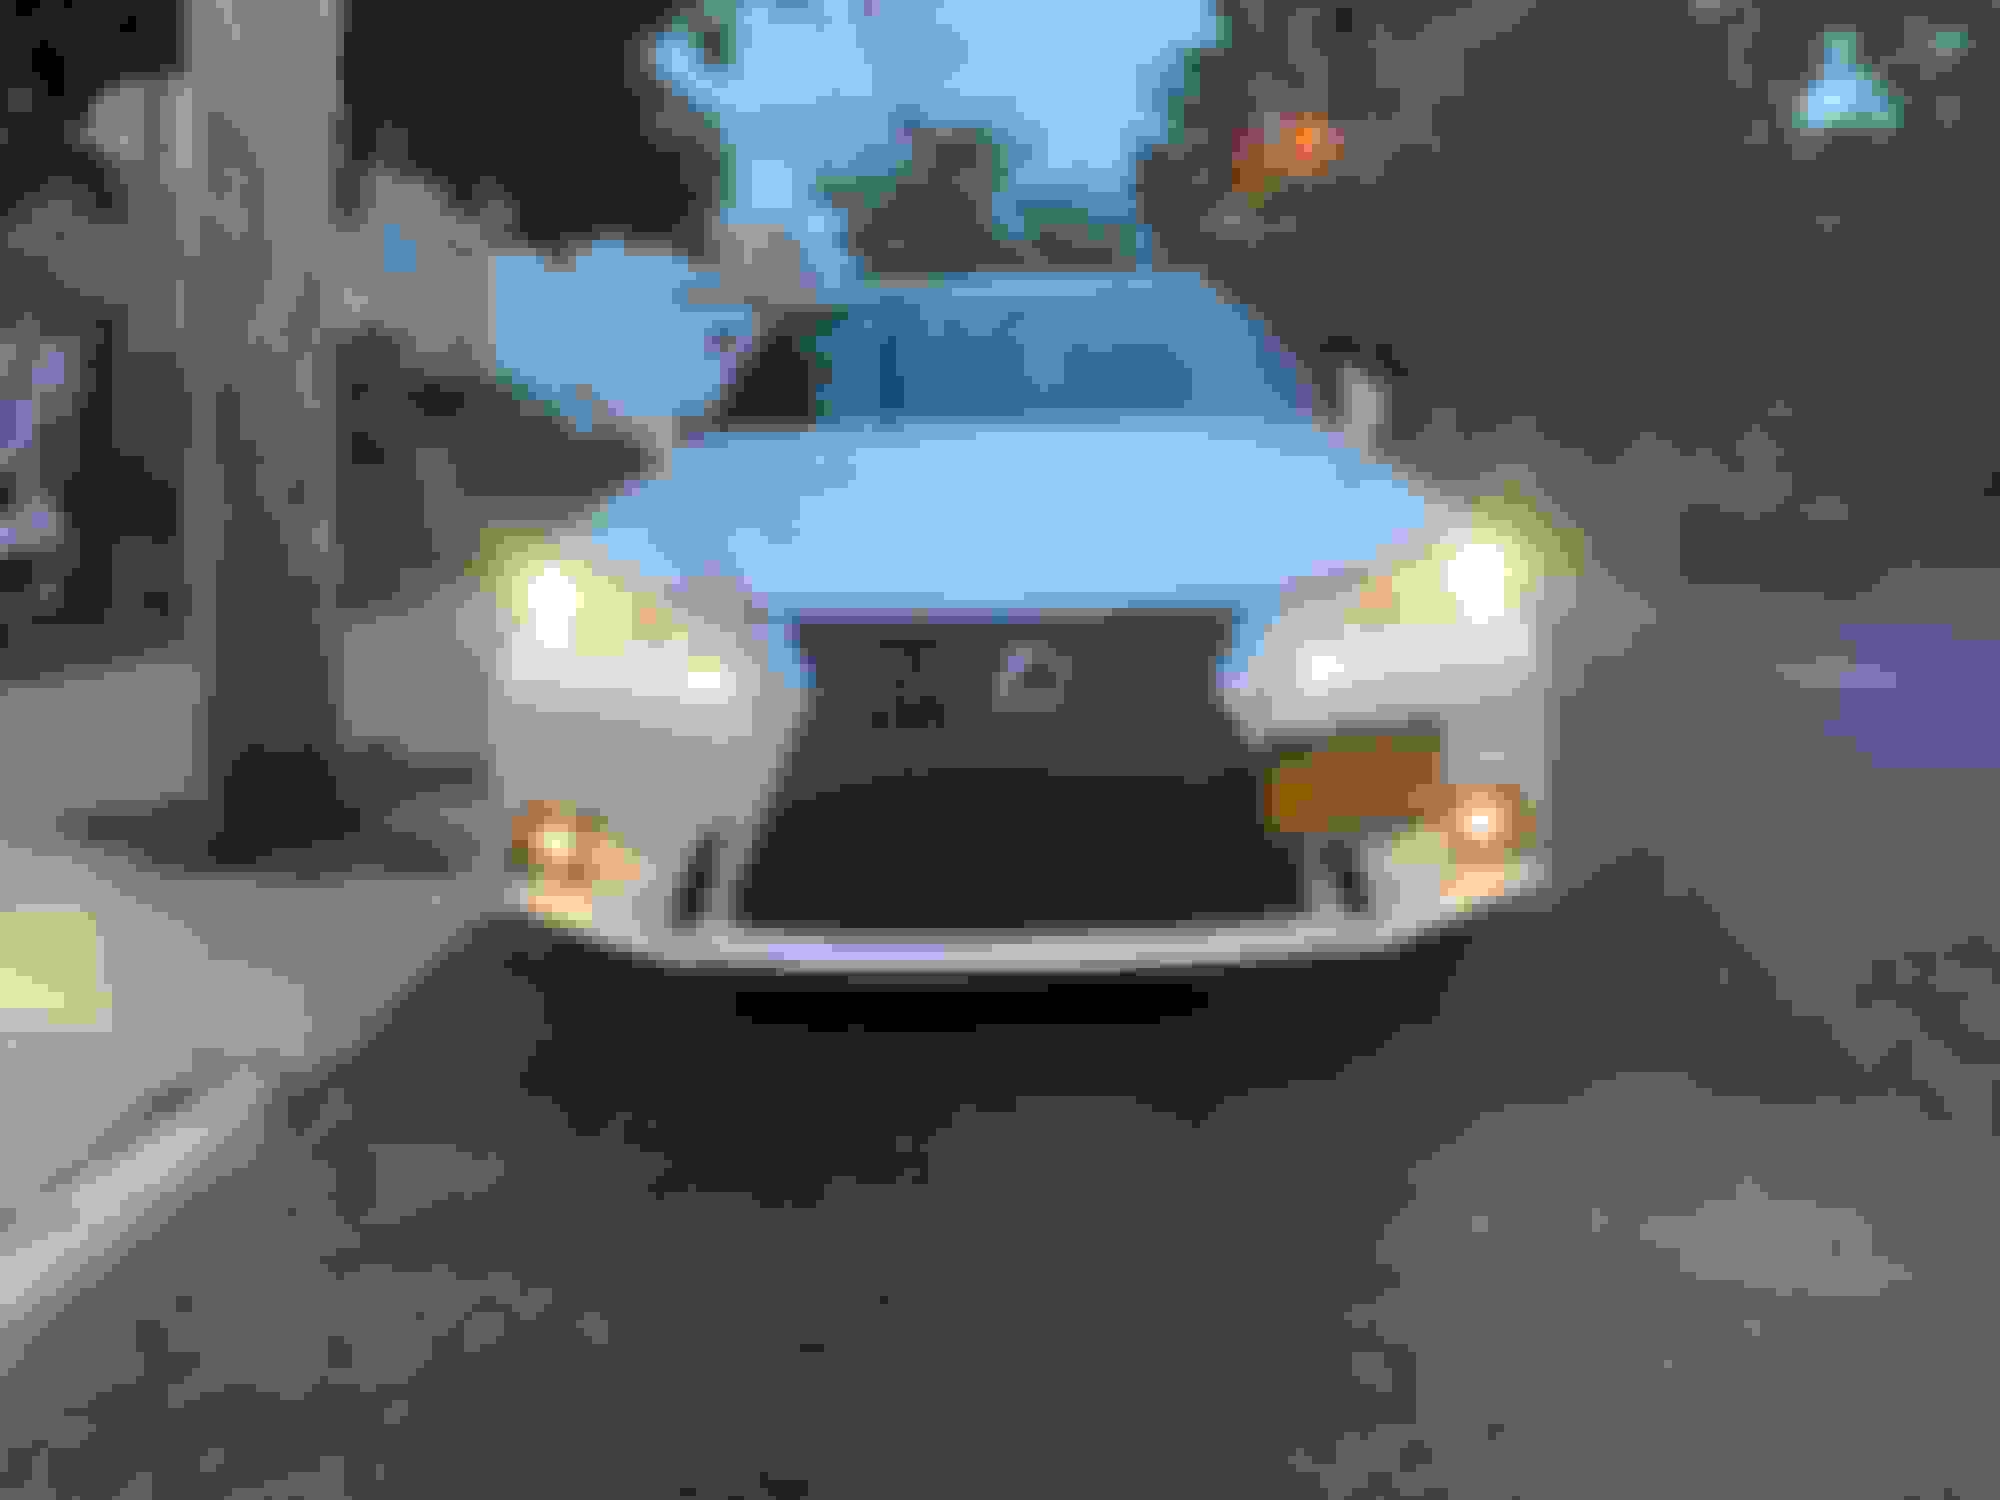
Fog lights on with Headlights:
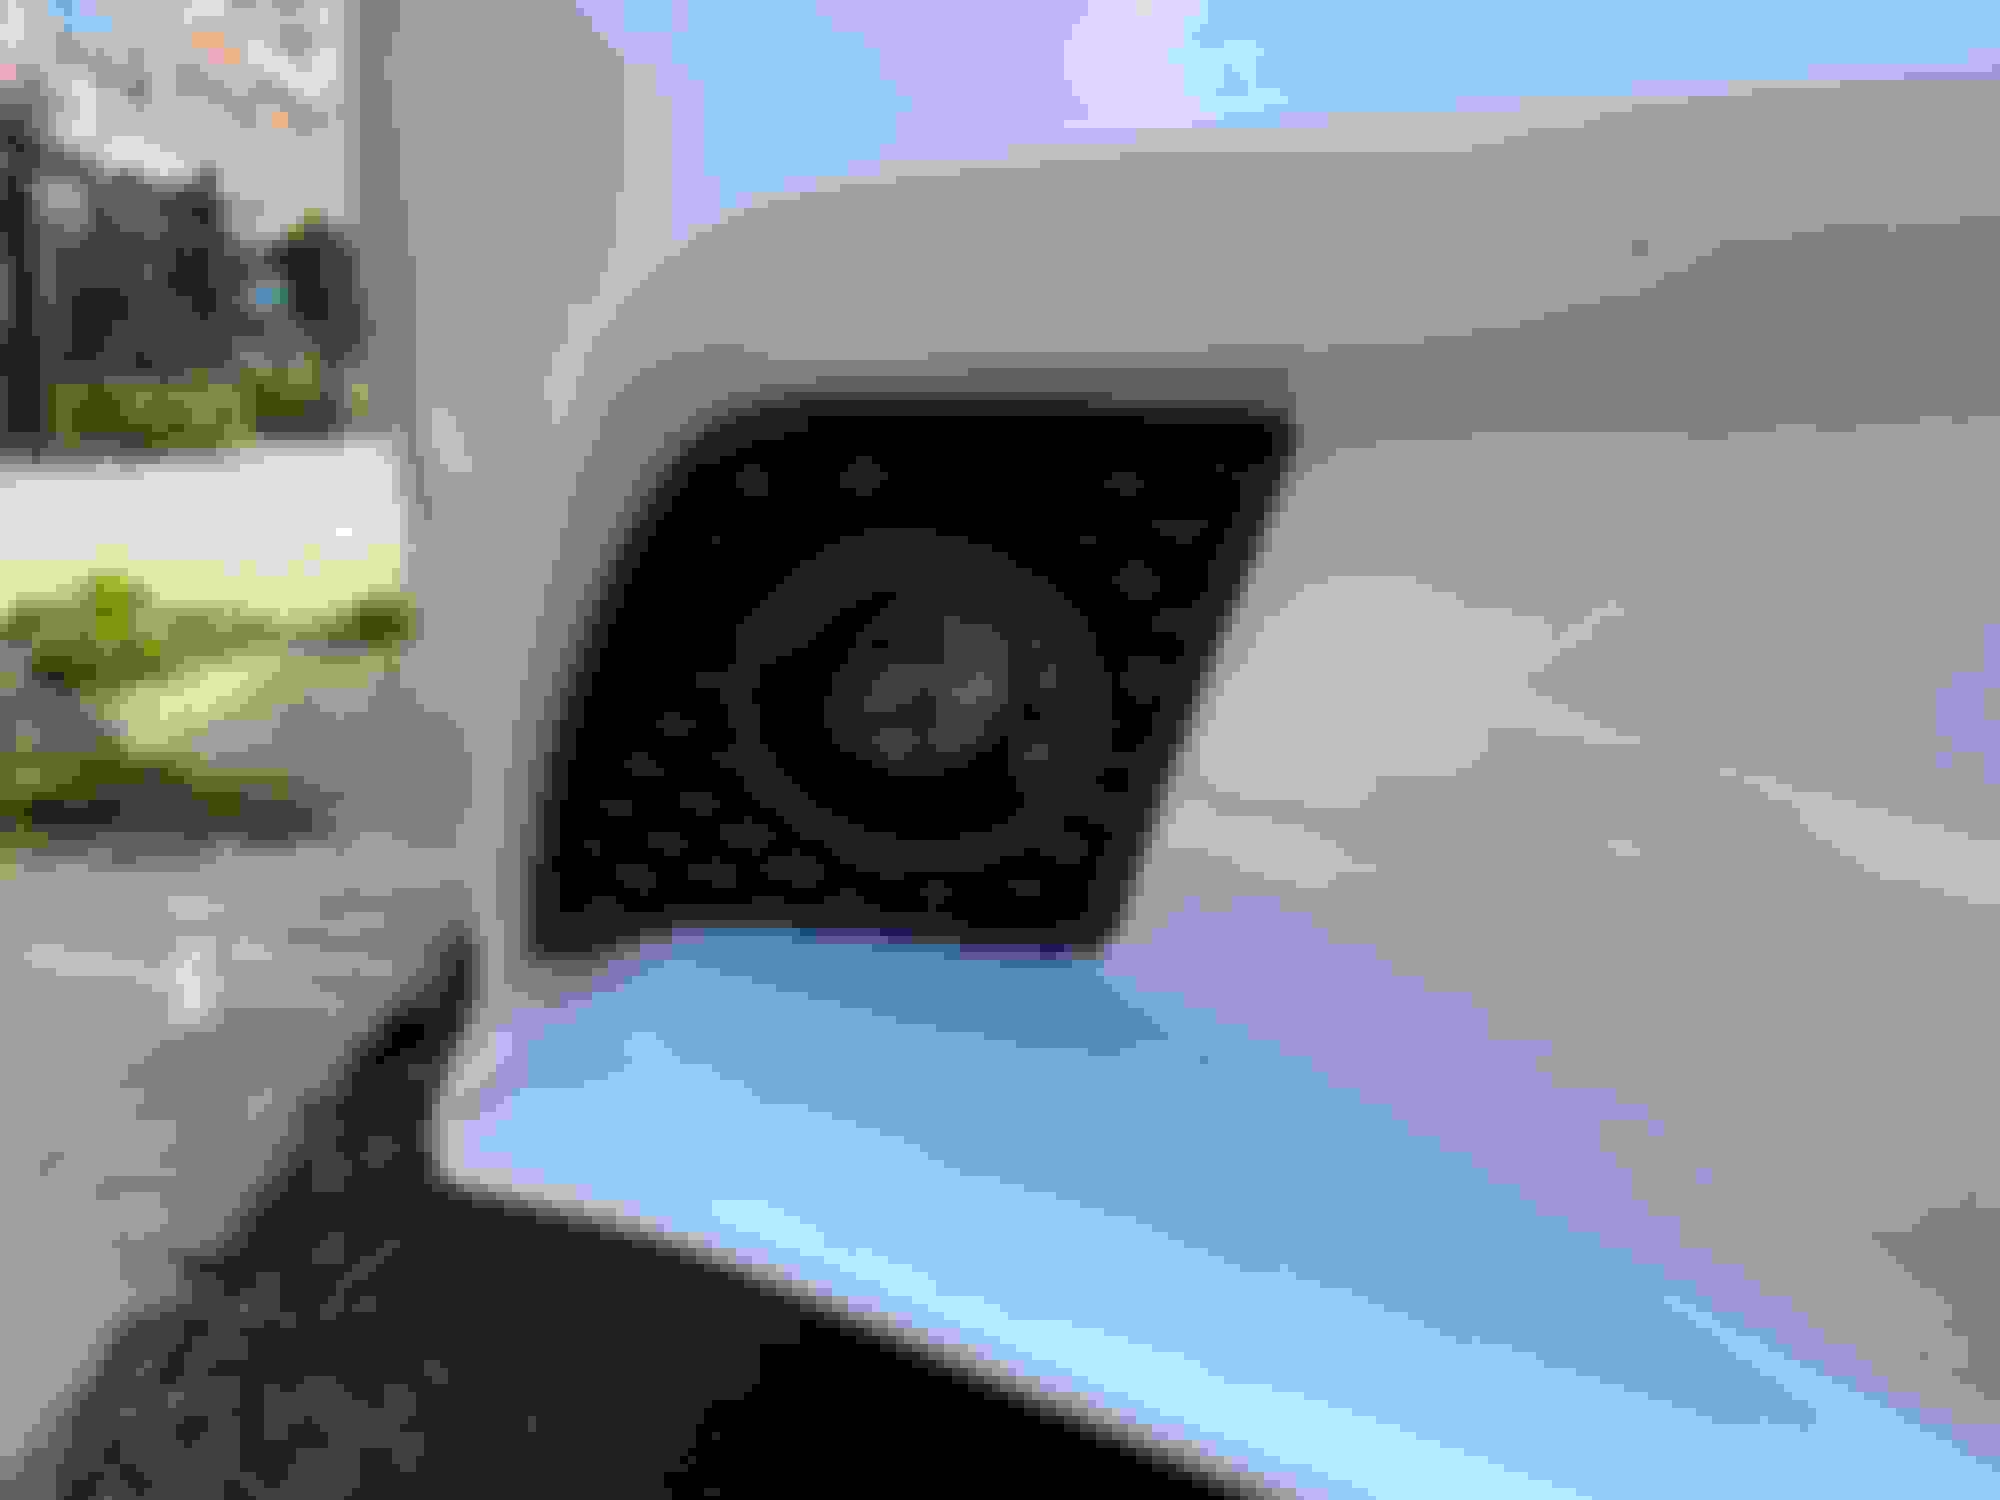
Fog light lens and shroud (please excuse the dirt car):
 06-16-17, 05:36 PM