When you click on links to various merchants on this site and make a purchase, this can result in this site earning a commission. Affiliate programs and affiliations include, but are not limited to, the eBay Partner Network.
DIY Lexus Headlight Ballast Replacement - Re Wiring - No Headlight Disassembly!
What: DIY Lexus Headlight Ballast Replacement - Re Wiring - No Headlight Disassembly!
Why: Passenger headlight intermittently working on and off due to water/condensation and burnt out ballast
Cost: $90 from Amazon
Hours: 2 hours
Difficult: Moderate with soldering
This problem is a known problem in the lexus community across multiple platforms. After finding some forums online about the process of replacing the ballast, it was either...
1. Buy a new headlight - $700
or
2. Replace the headlight ballast - $100
2a. Solder in new headlight ballast (easy)
2b. Take apart headlight assembly and glass to access the guts of the headlights
I went with option 2a because it was the least expensive and least risky, in my mind. The outcome worked. It required soldering of wires and thats about it.
Note:
**I AM NOT RESPONSIBLE FOR ANY DAMAGES YOU DO TO YOUR OWN CAR. DO THIS AT YOUR OWN RISK.**
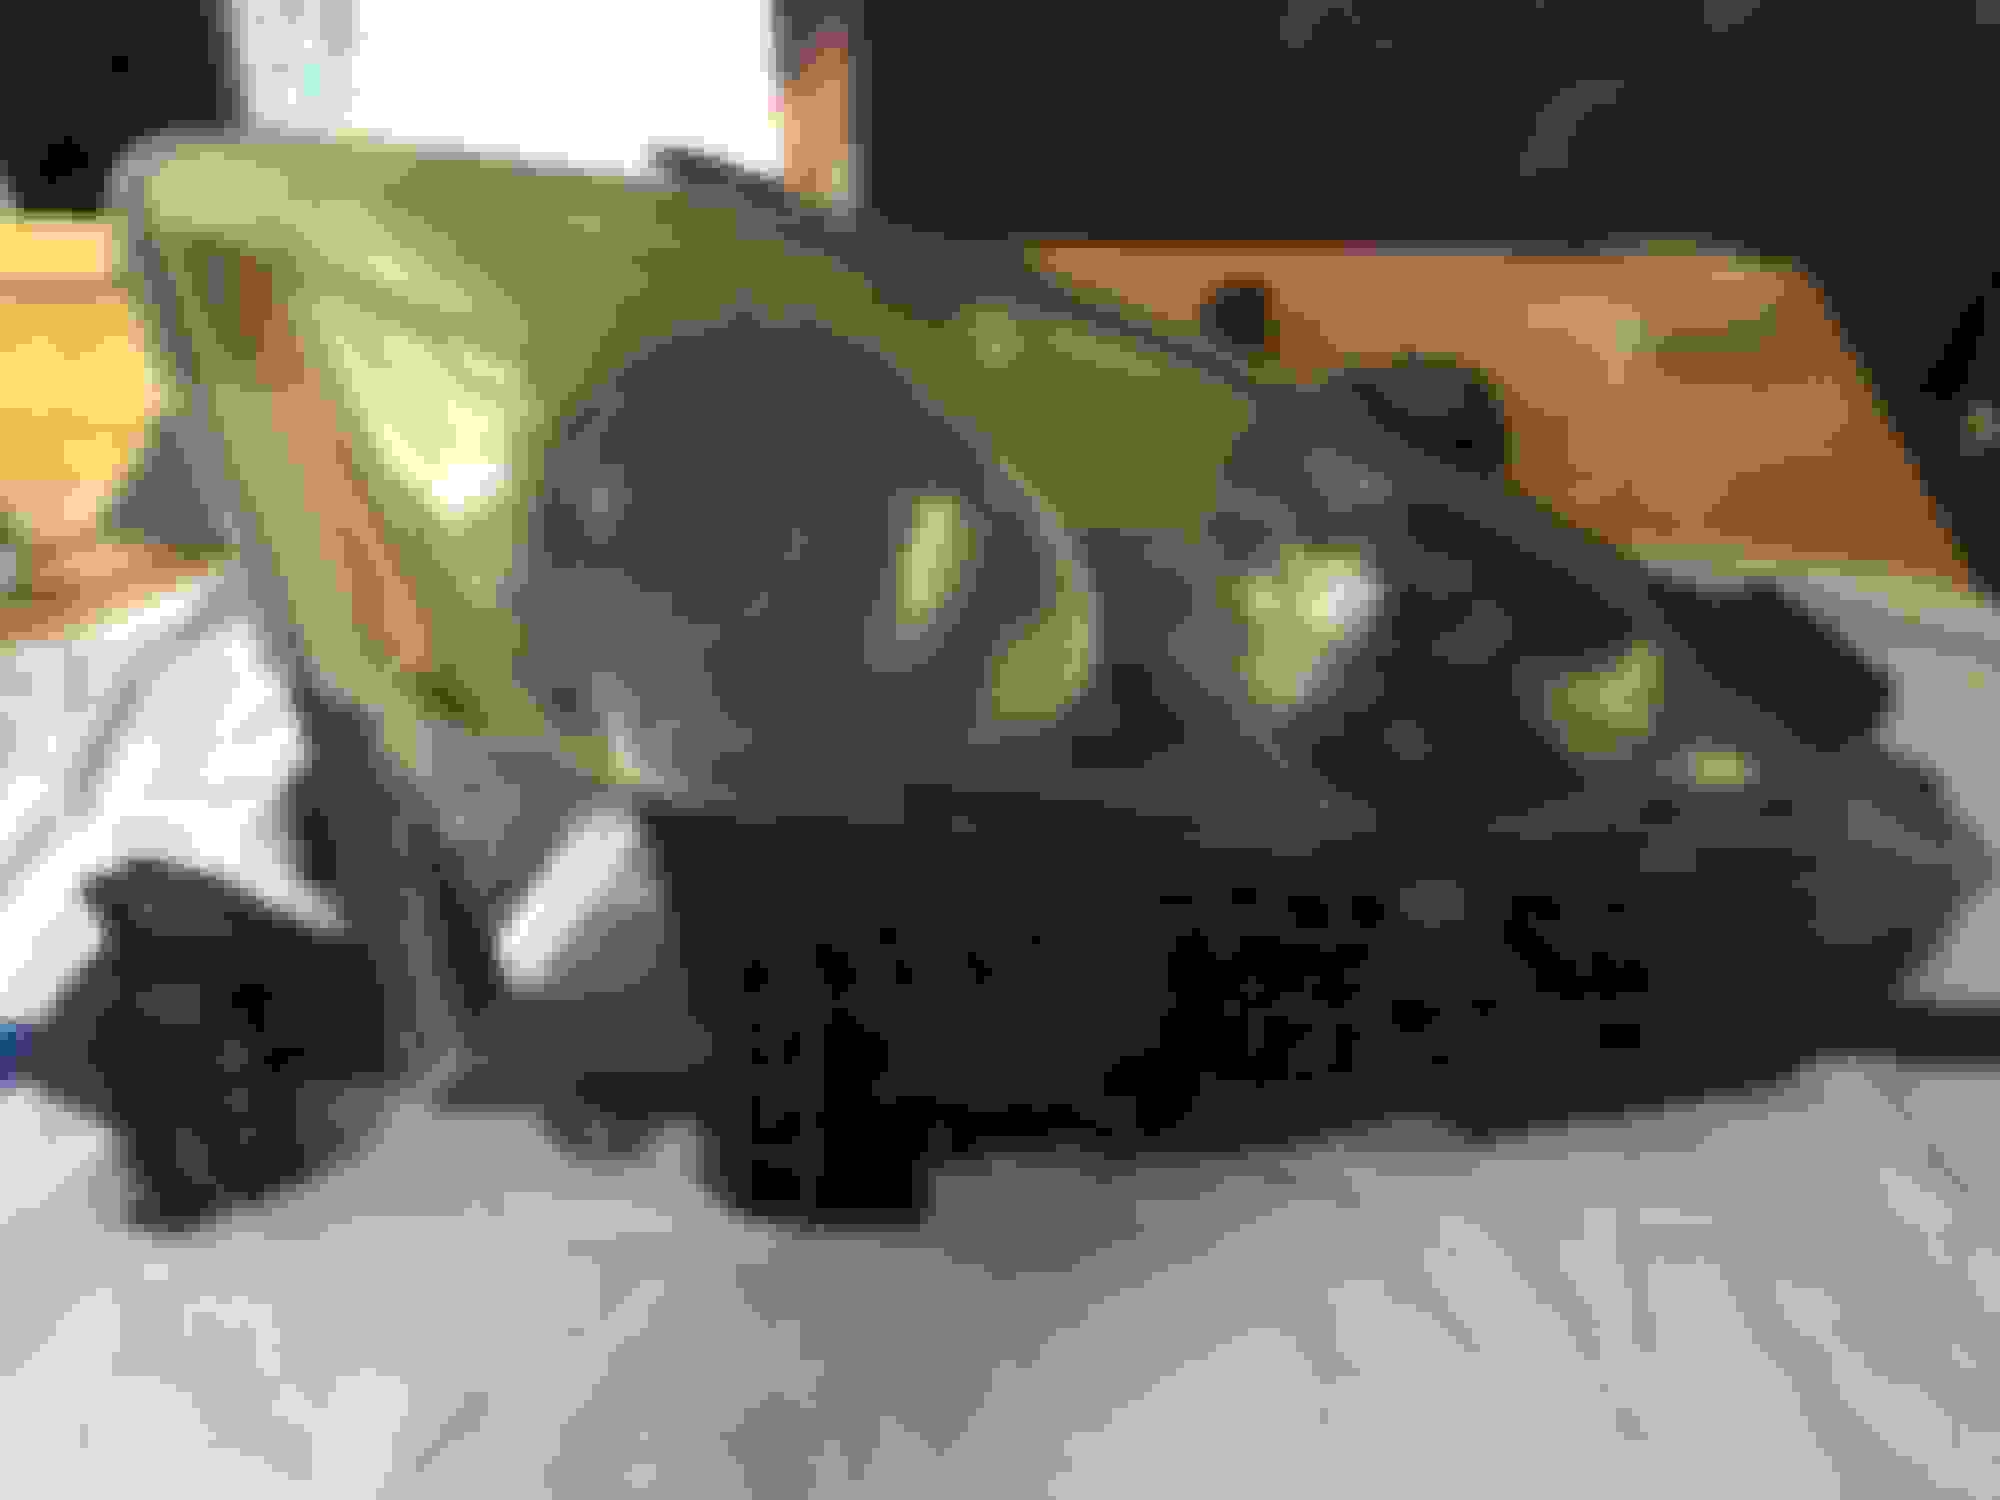
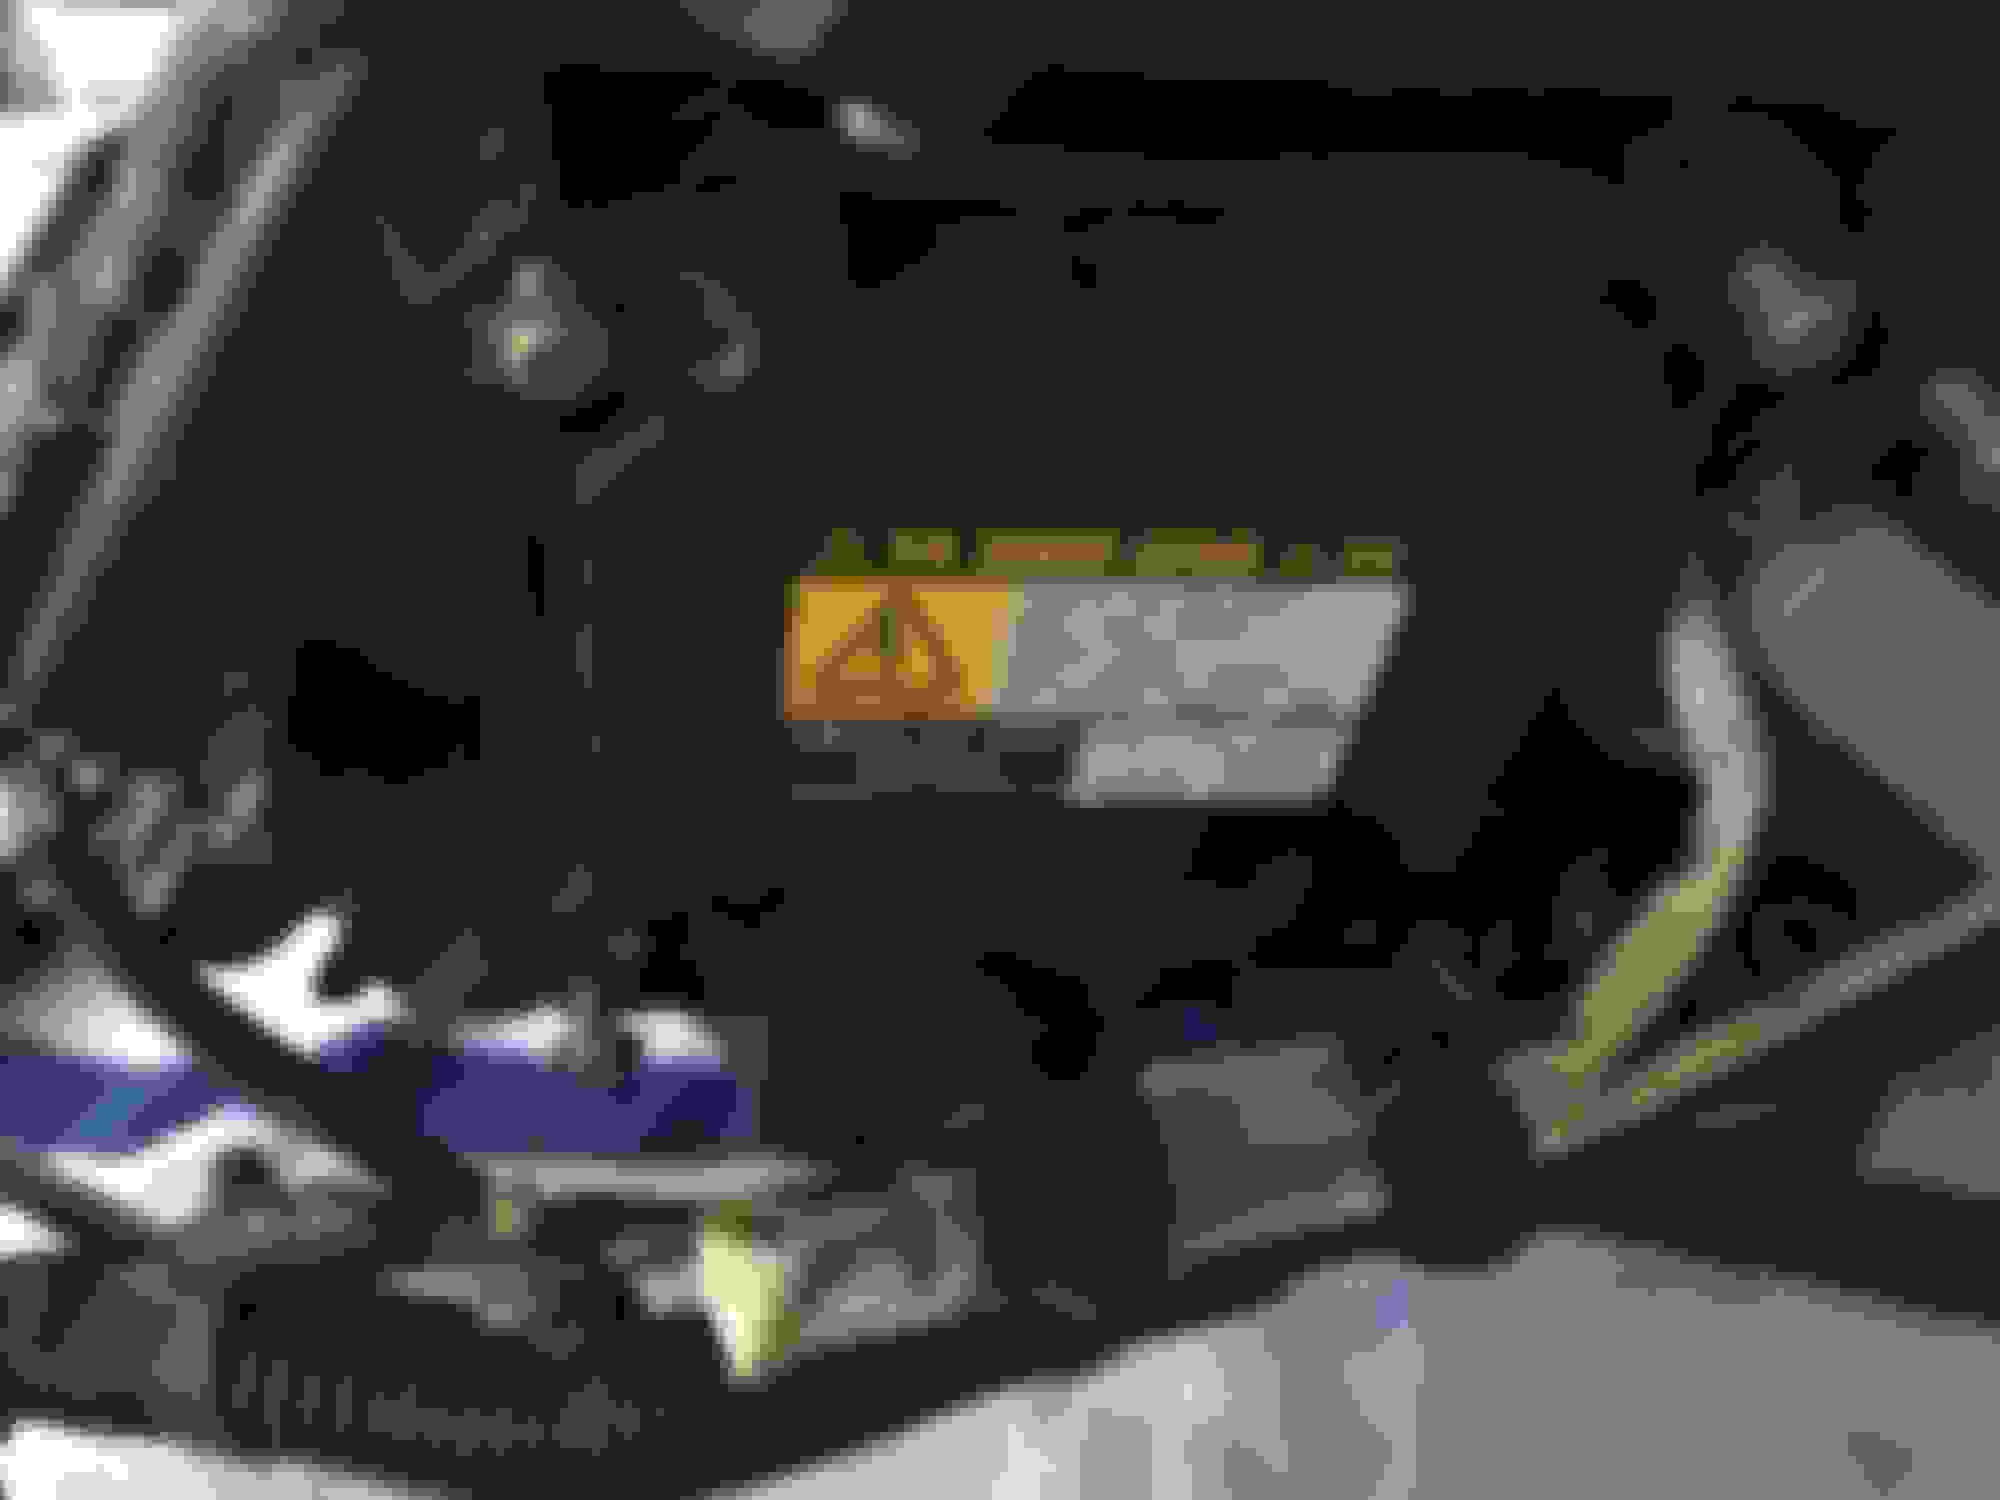
locate the ballast on the underside of the headlight. it has 4 screws on the bottom of it.
Ballast has the DANGER sticker on it.
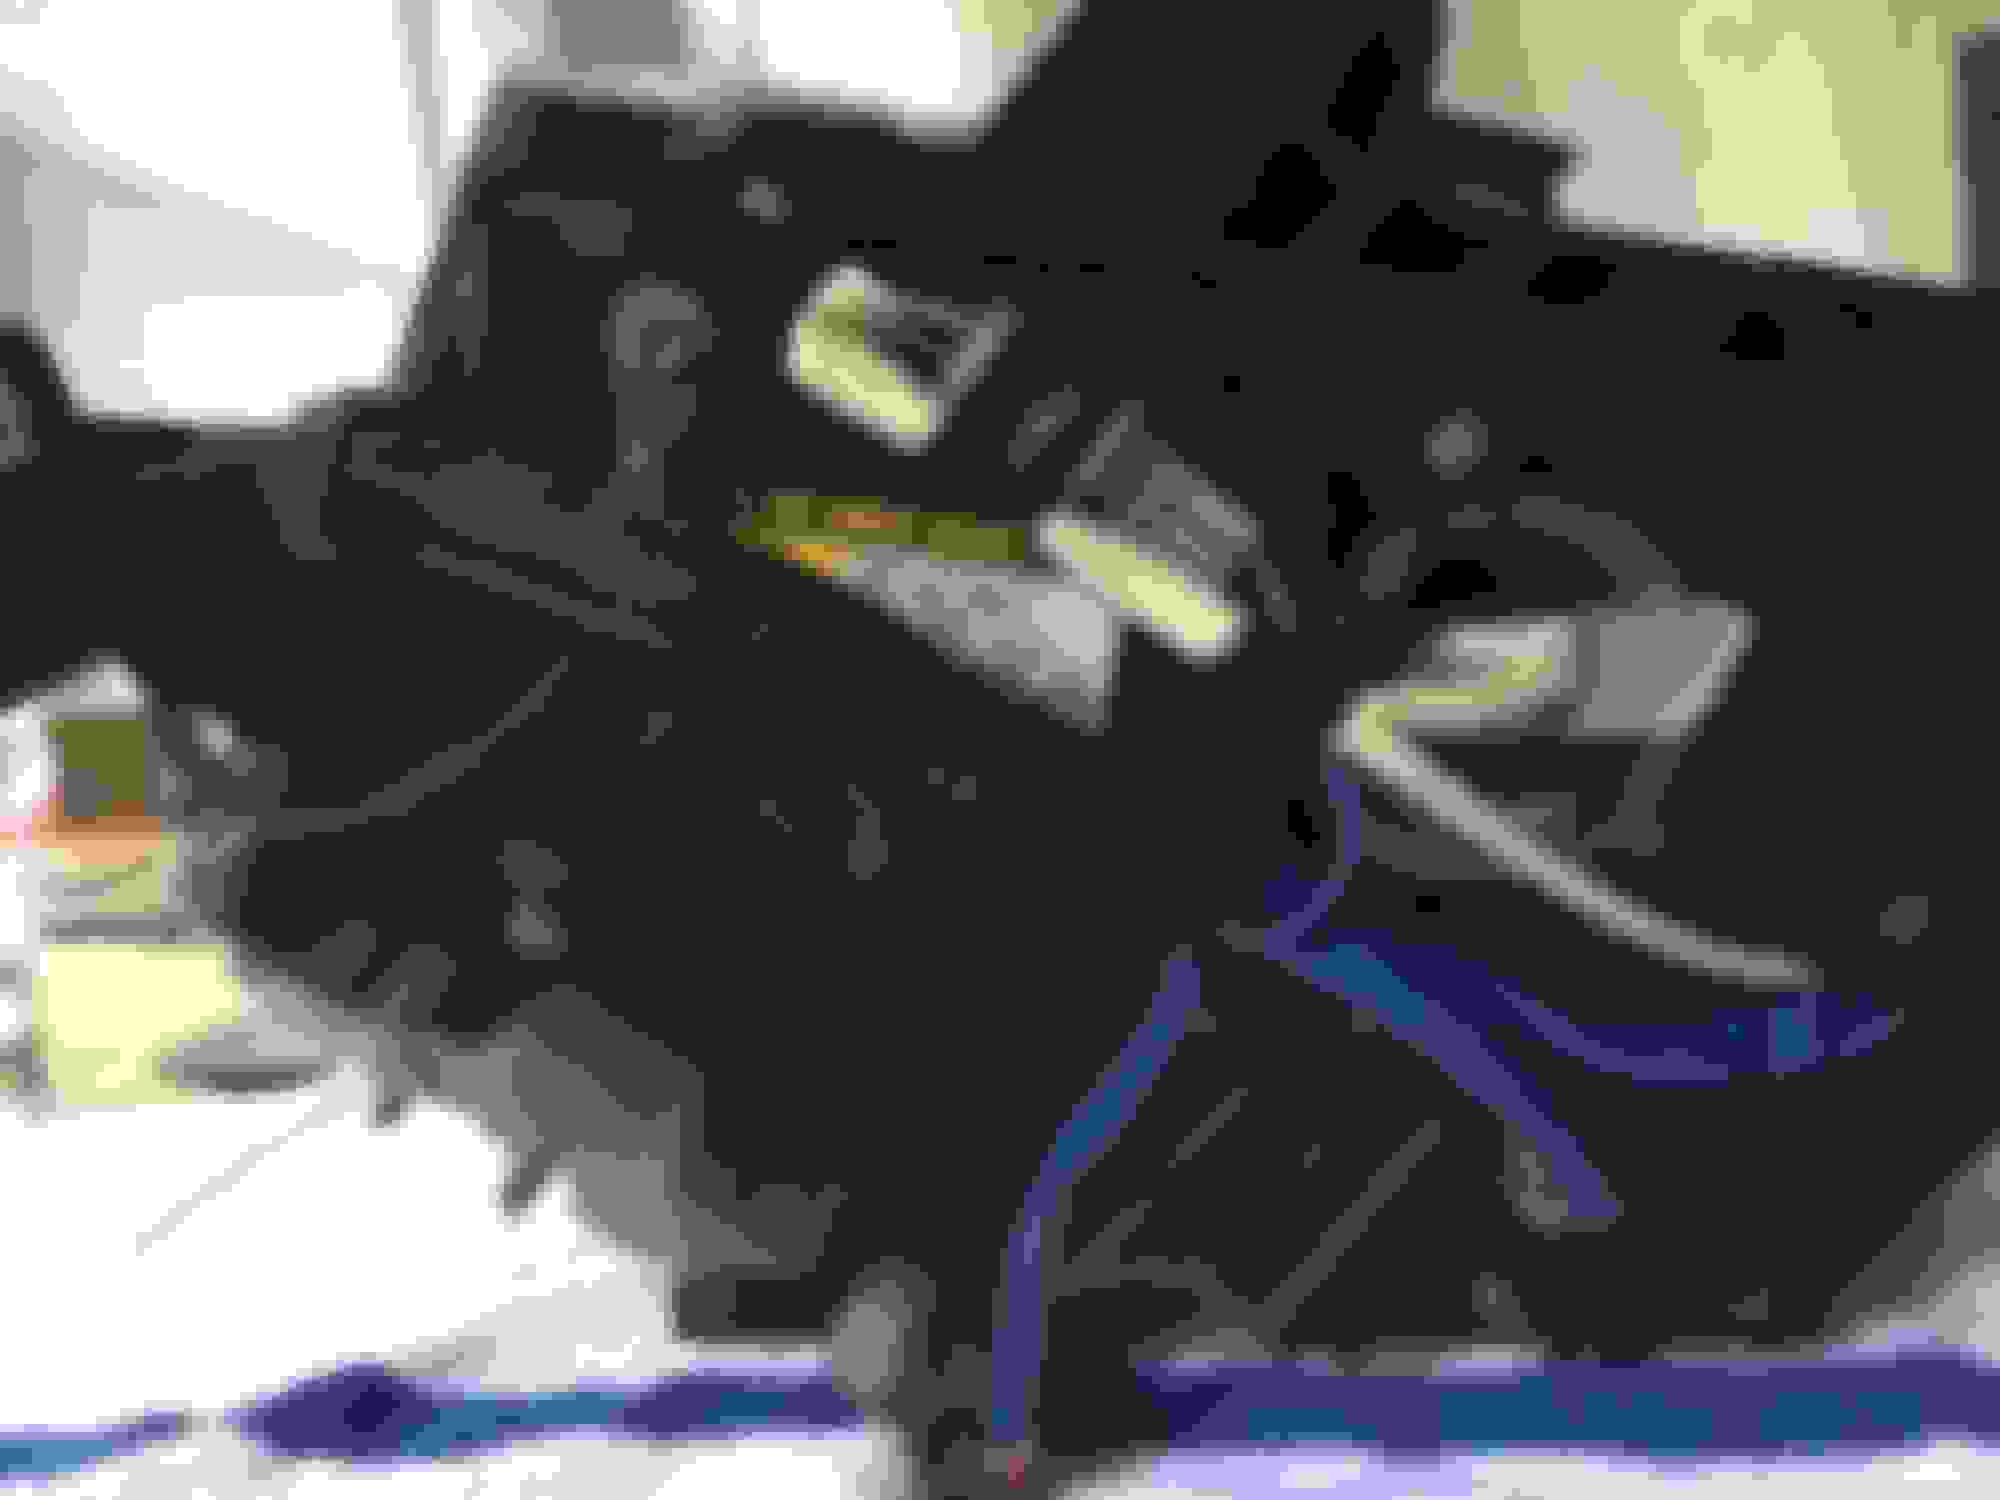
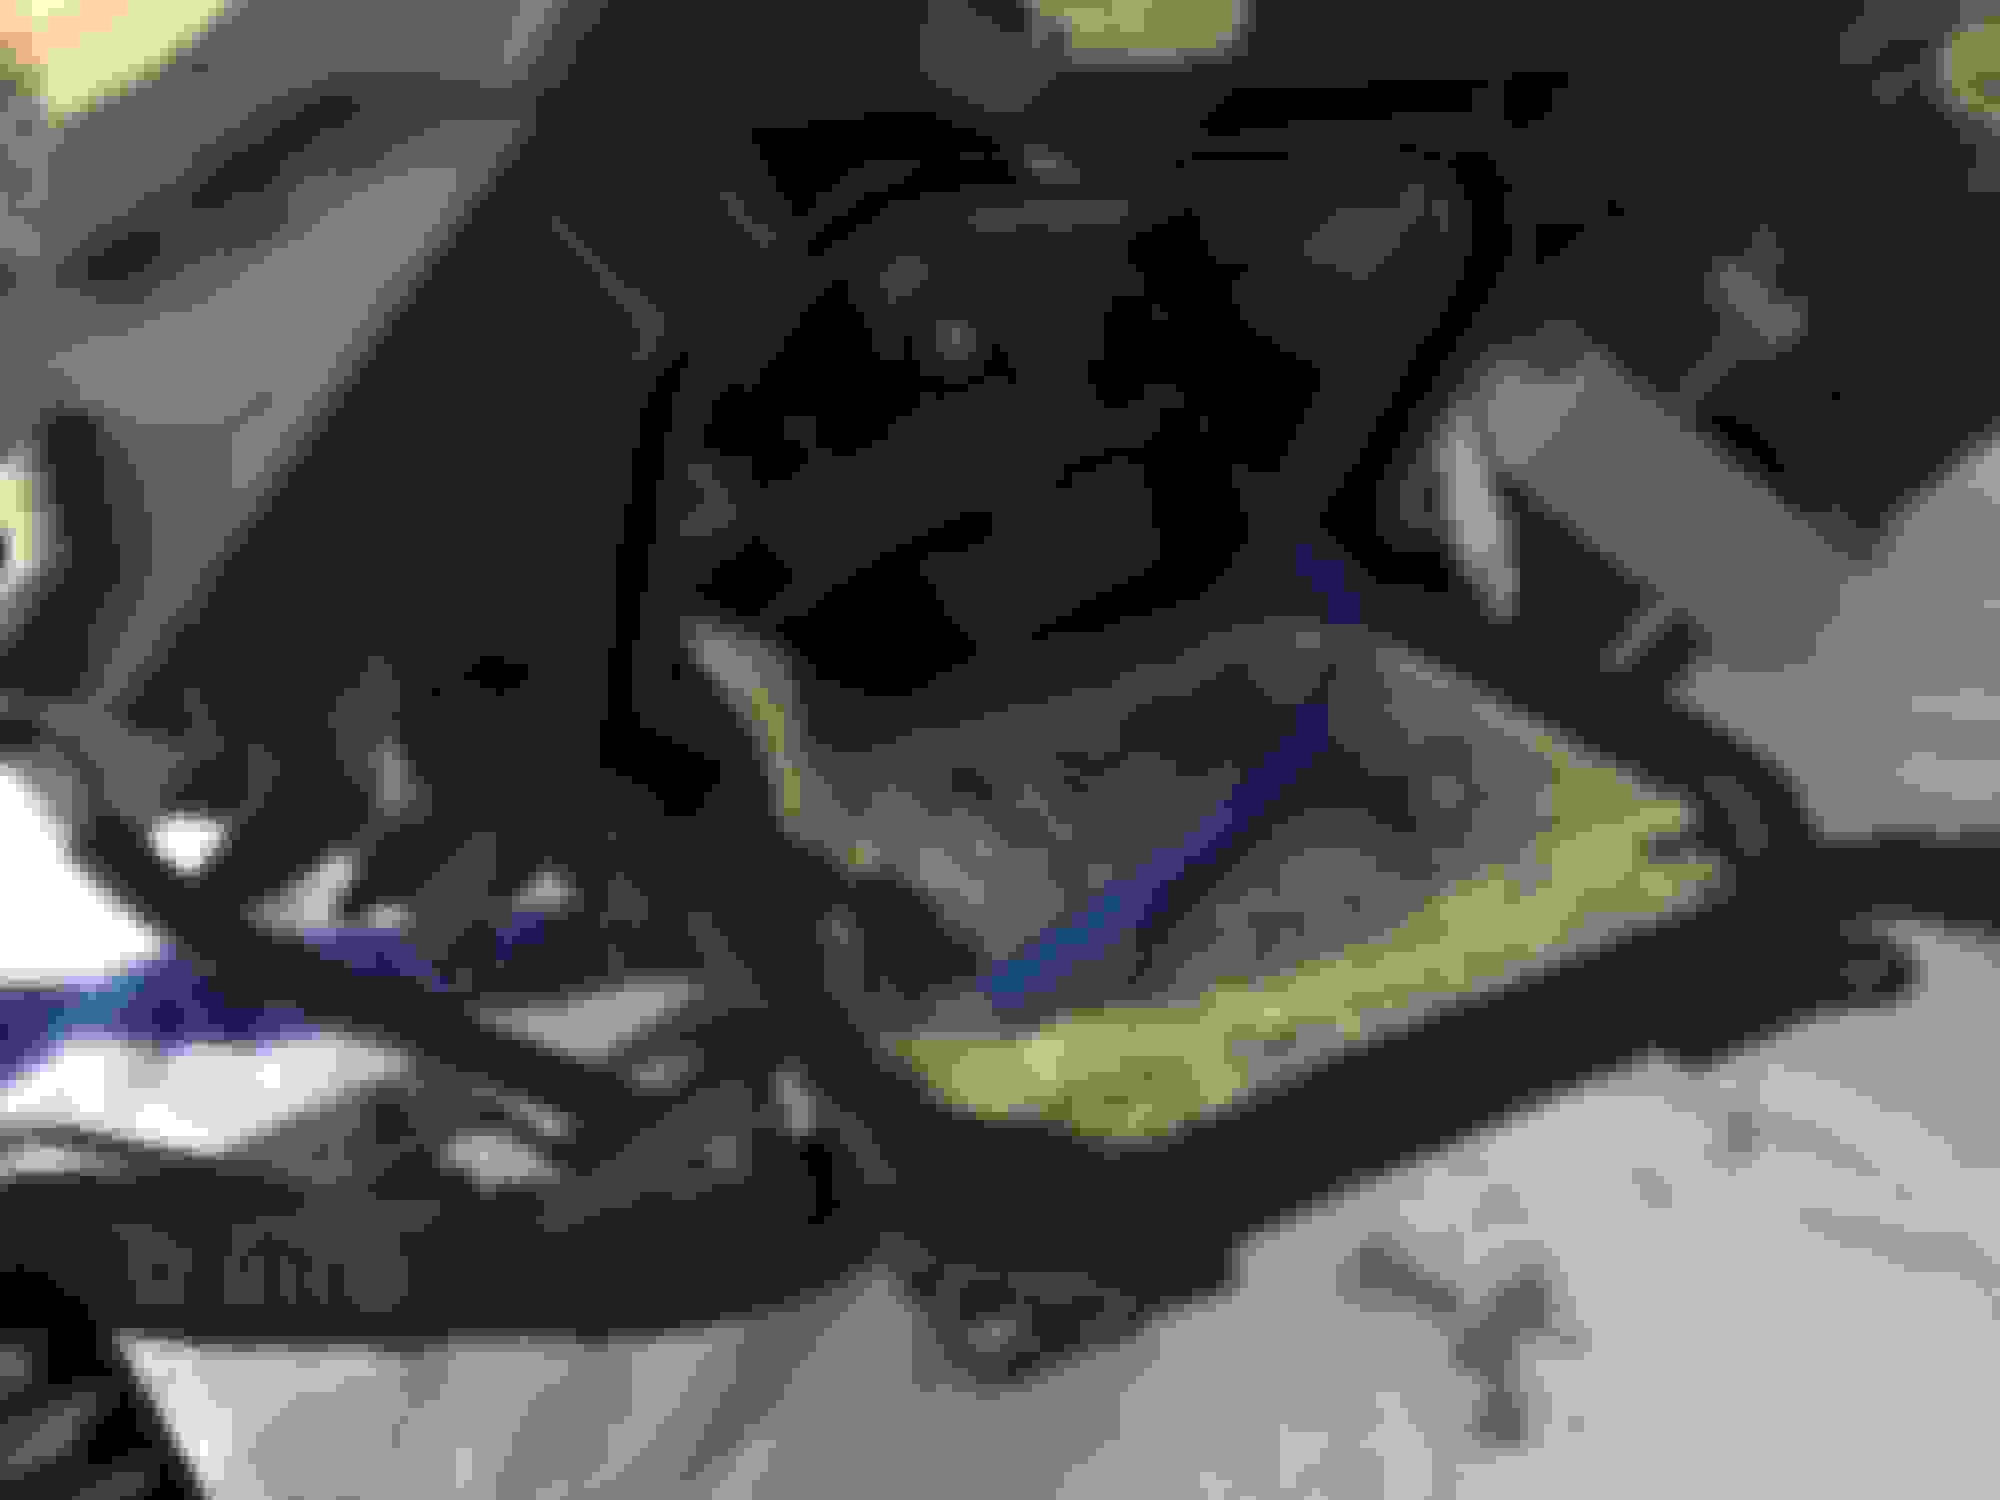
Locate the three screws that hold on the plastic piece and unscrew them
plastic piece removed
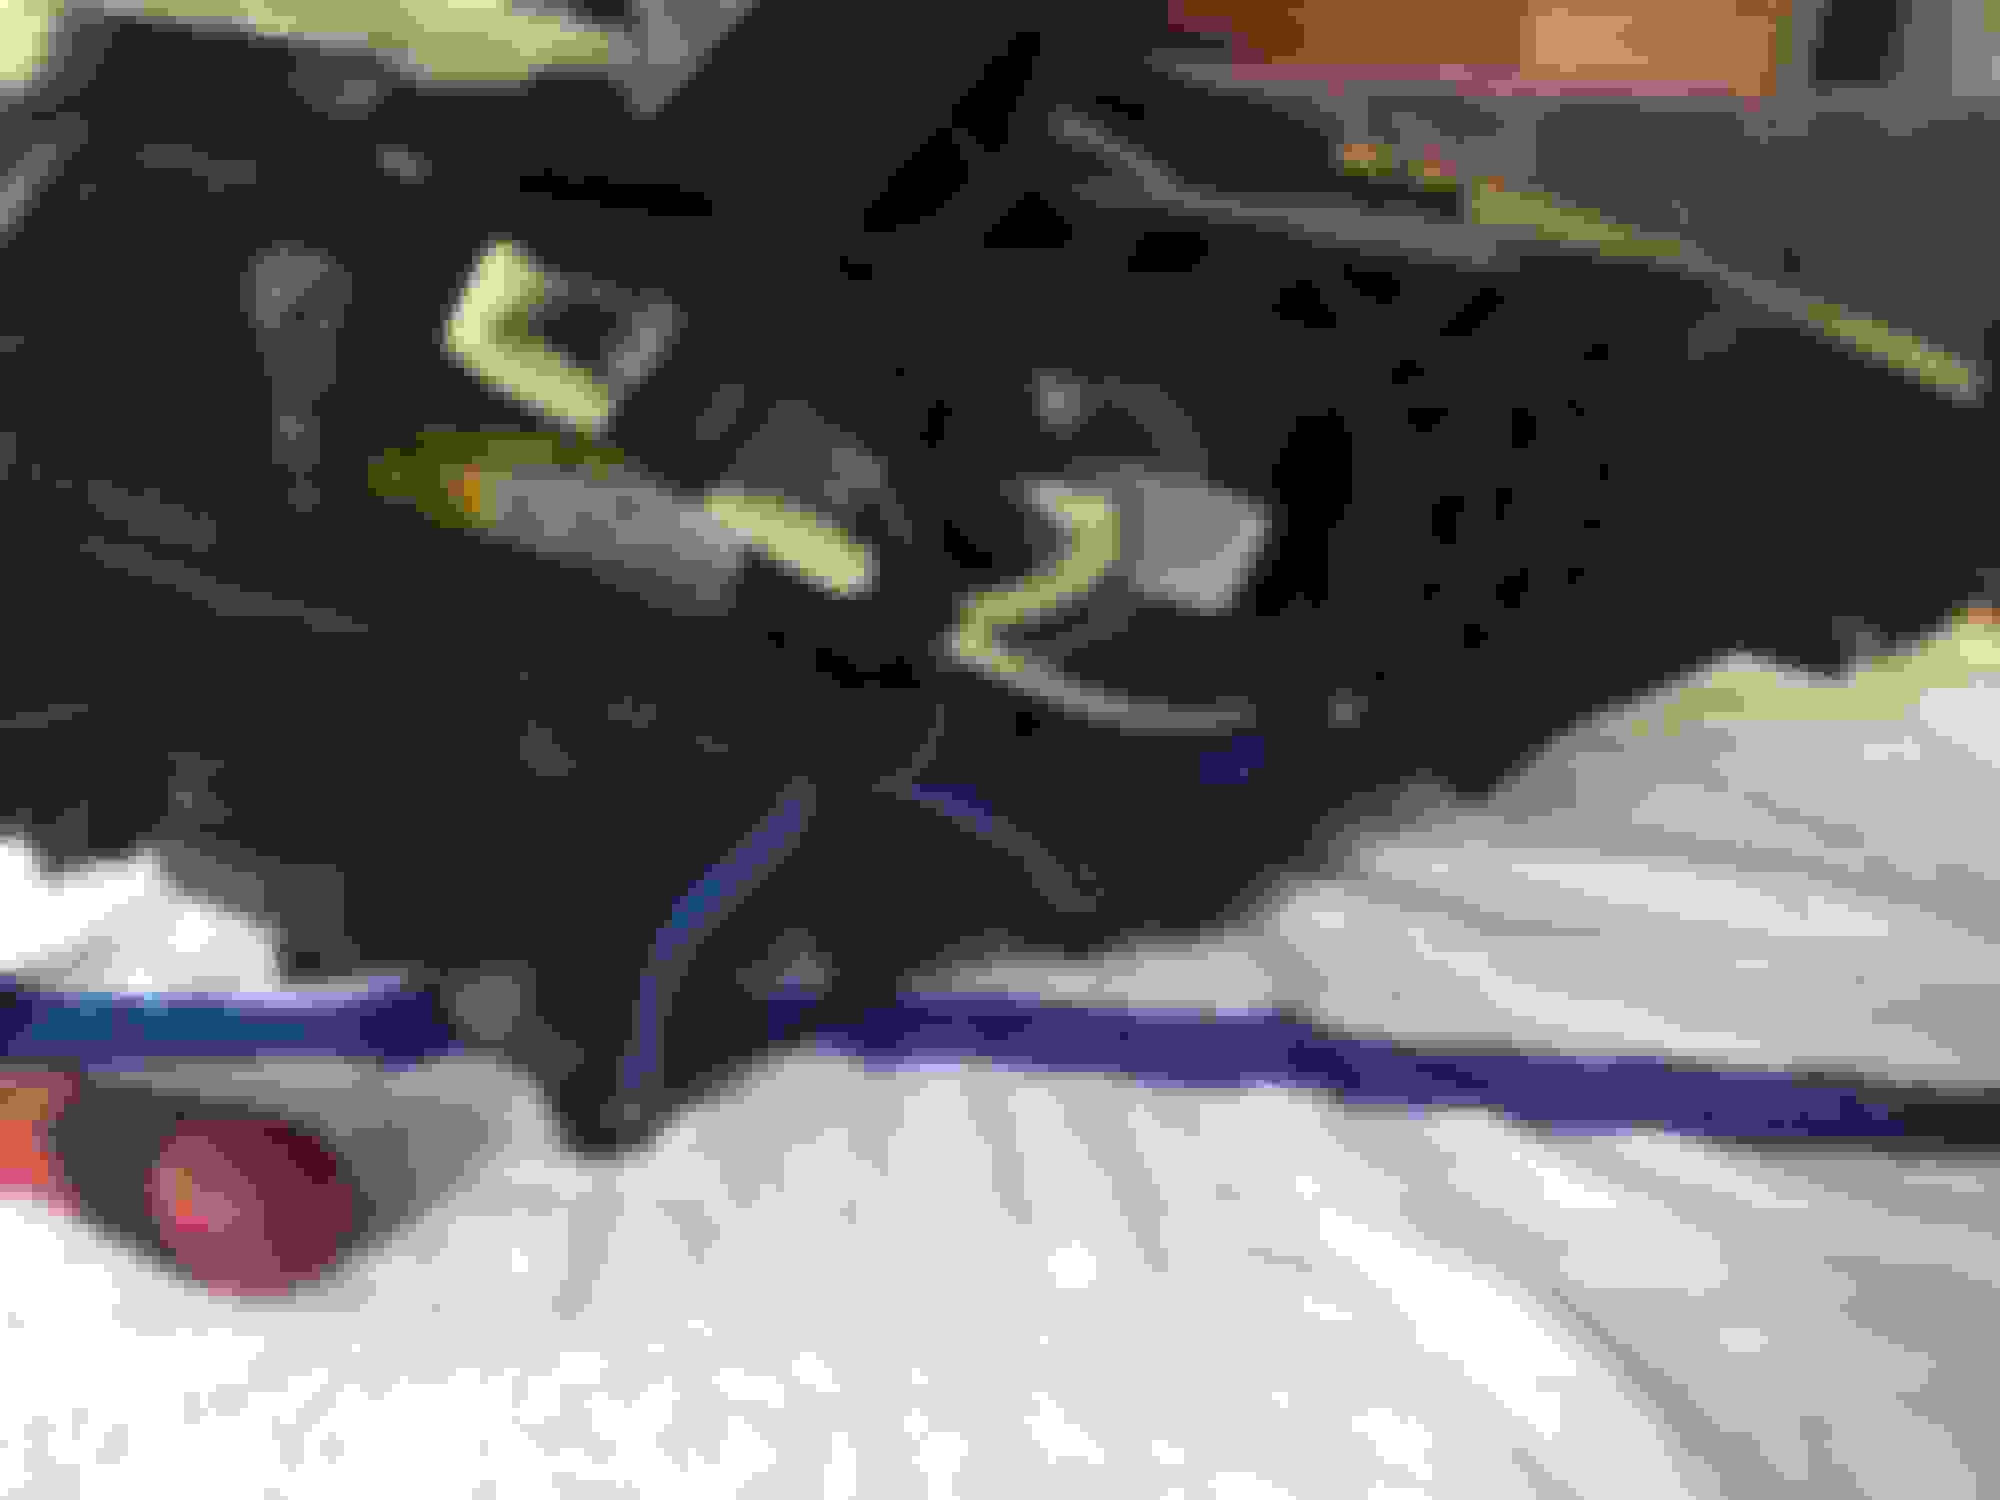
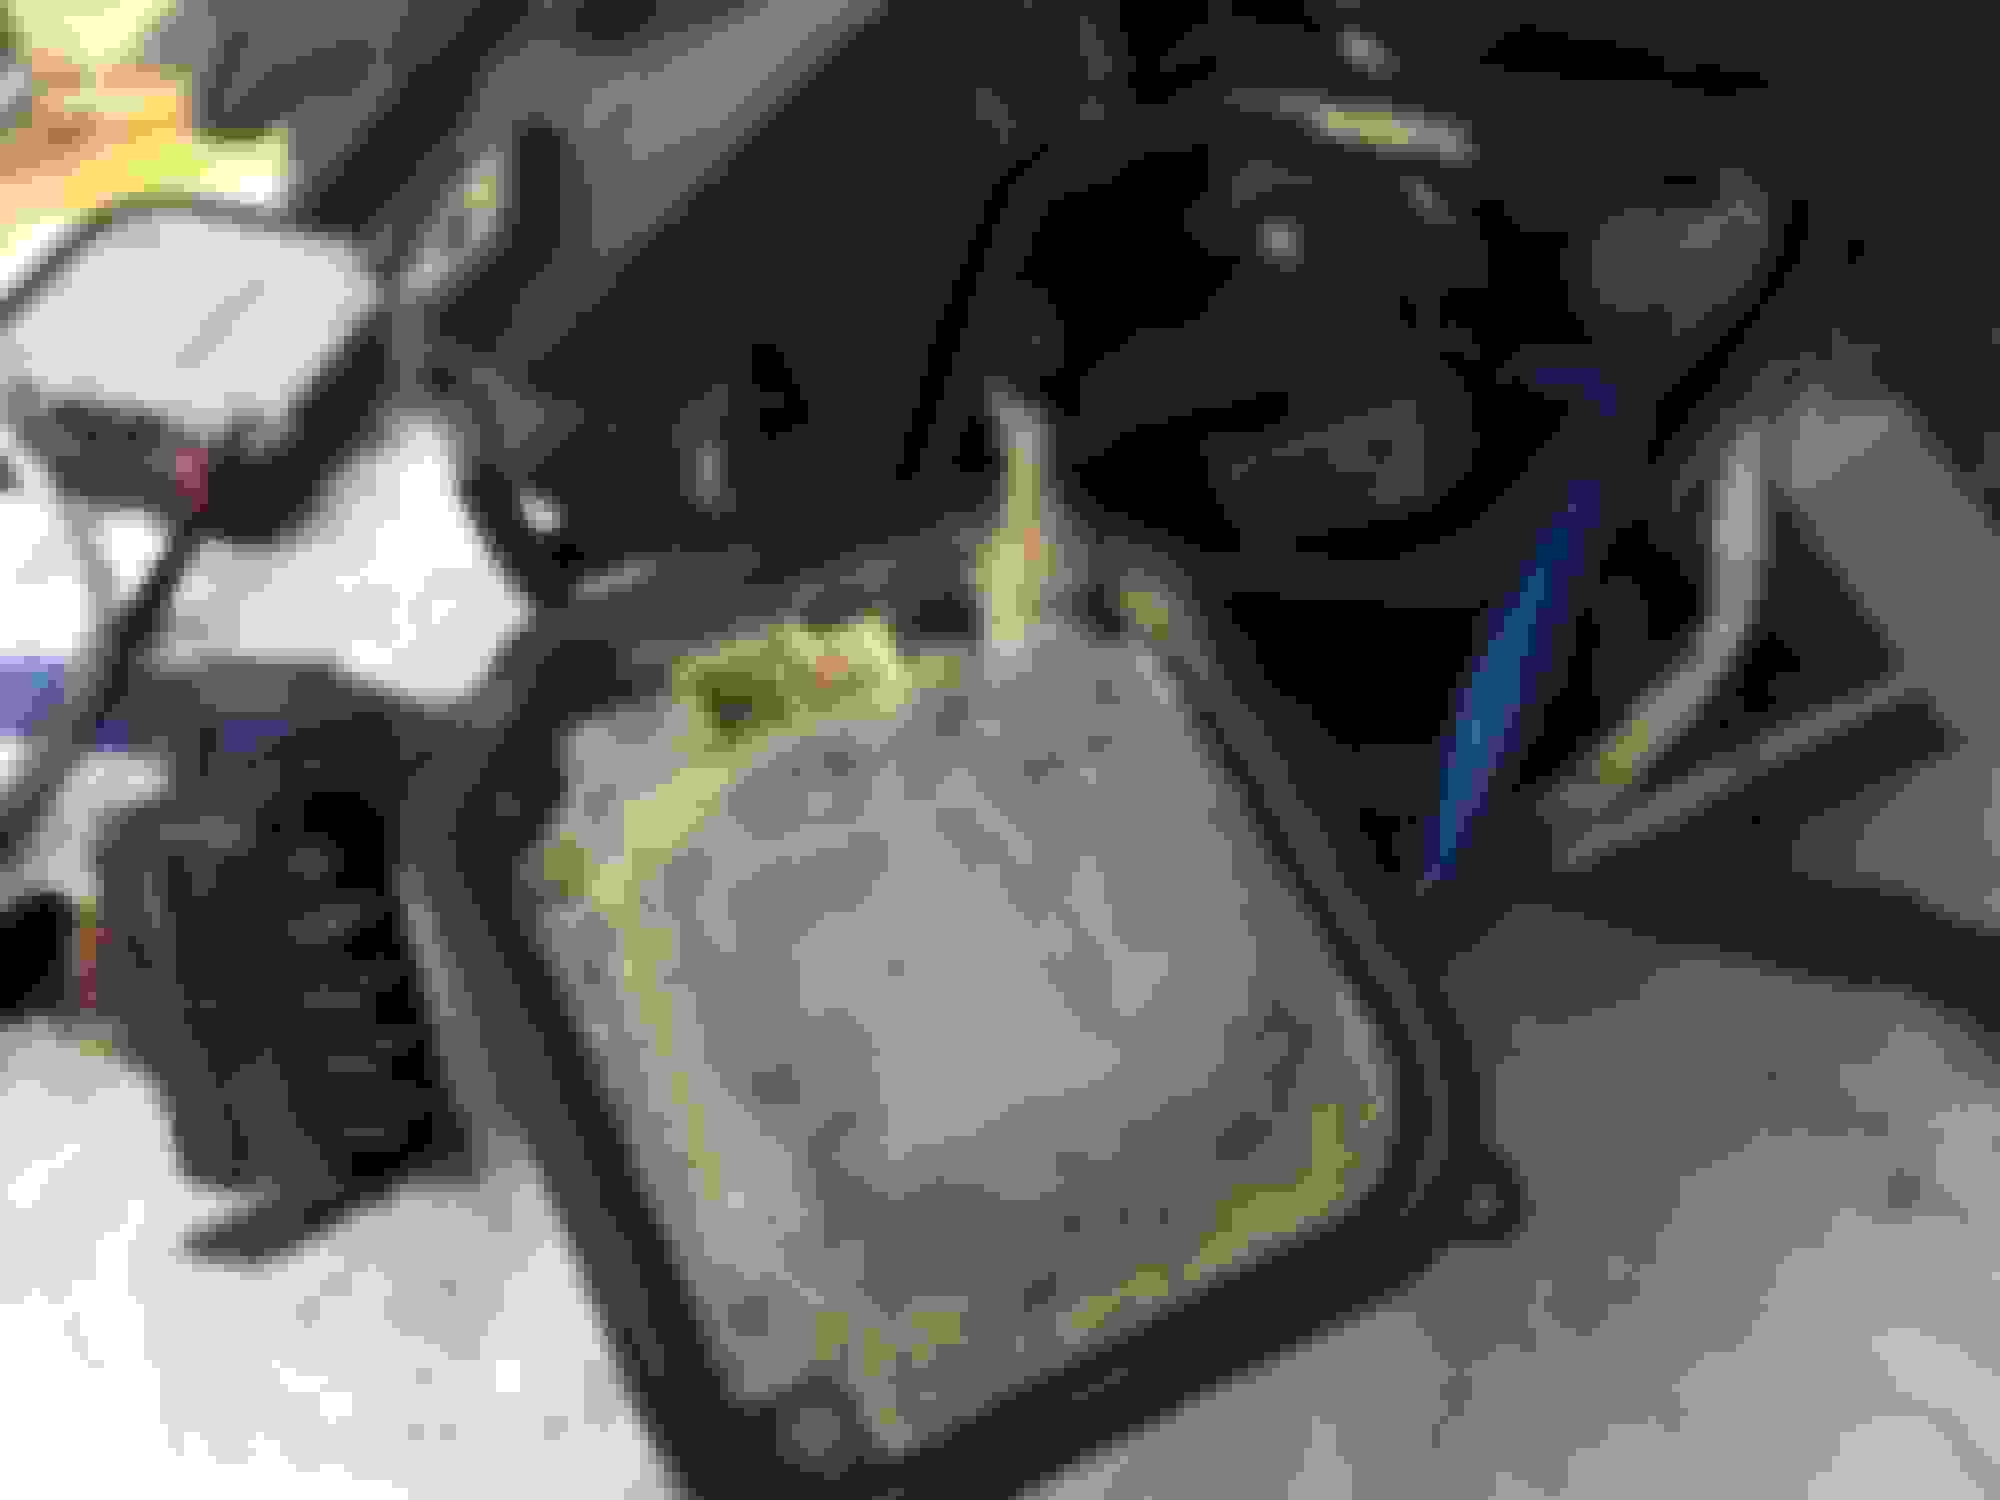
next is to remove the metal plate that holds the wires above the ballast, its held by three screws, two phillips and one torqs. pull the metal away from the ballast
You have now uncovered the ballast! unscrew the 4 screws that hold it in place
remove ballast from the back of the headlight. carefully unplug the blue wires from the ballast.
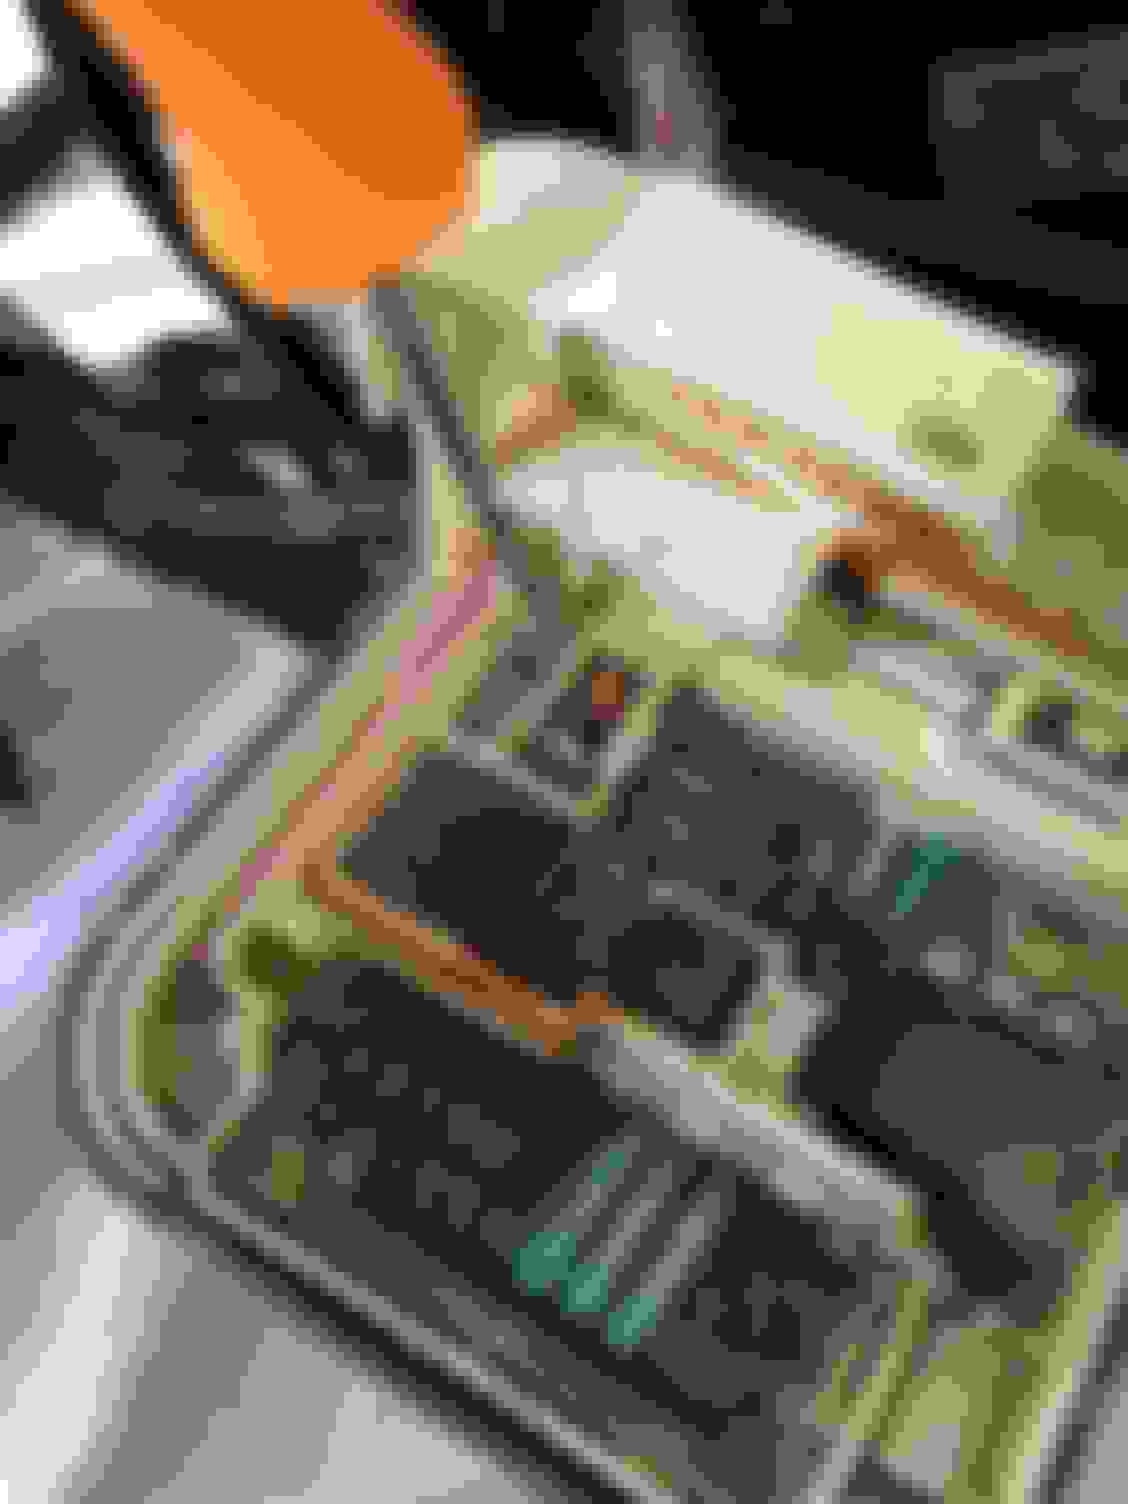
Remove the 3 screws on the back side of the ballast to get to the circuit board and guts.<br/>note: there is a gasket on the ballast that will be reused! save it! and take care of it!
guts revealed. you can pull some slack out of the wires from the headlight to give you more working room.pull back the plastic triangle piece
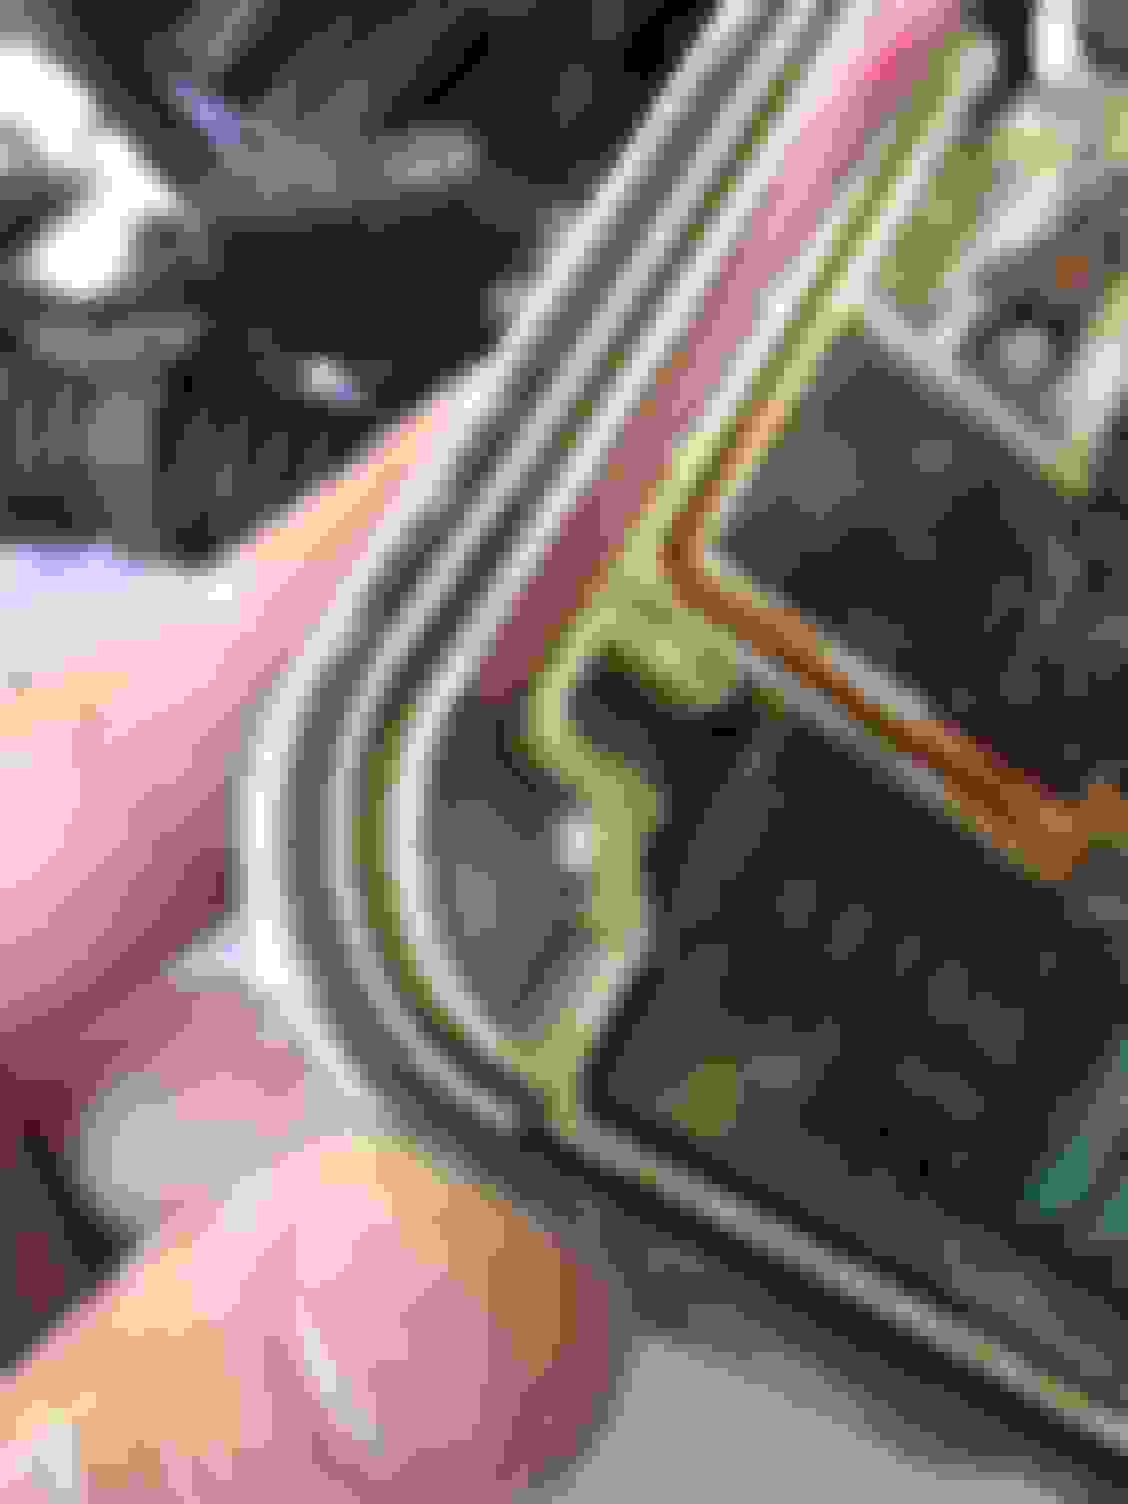
we are going to be removing the red and white wire from this ballast and soldering them to the new ballast. so... remove the white and red wires.
i used a pick to remove the white wire
there is a tab on both wires that you can just pull up on.
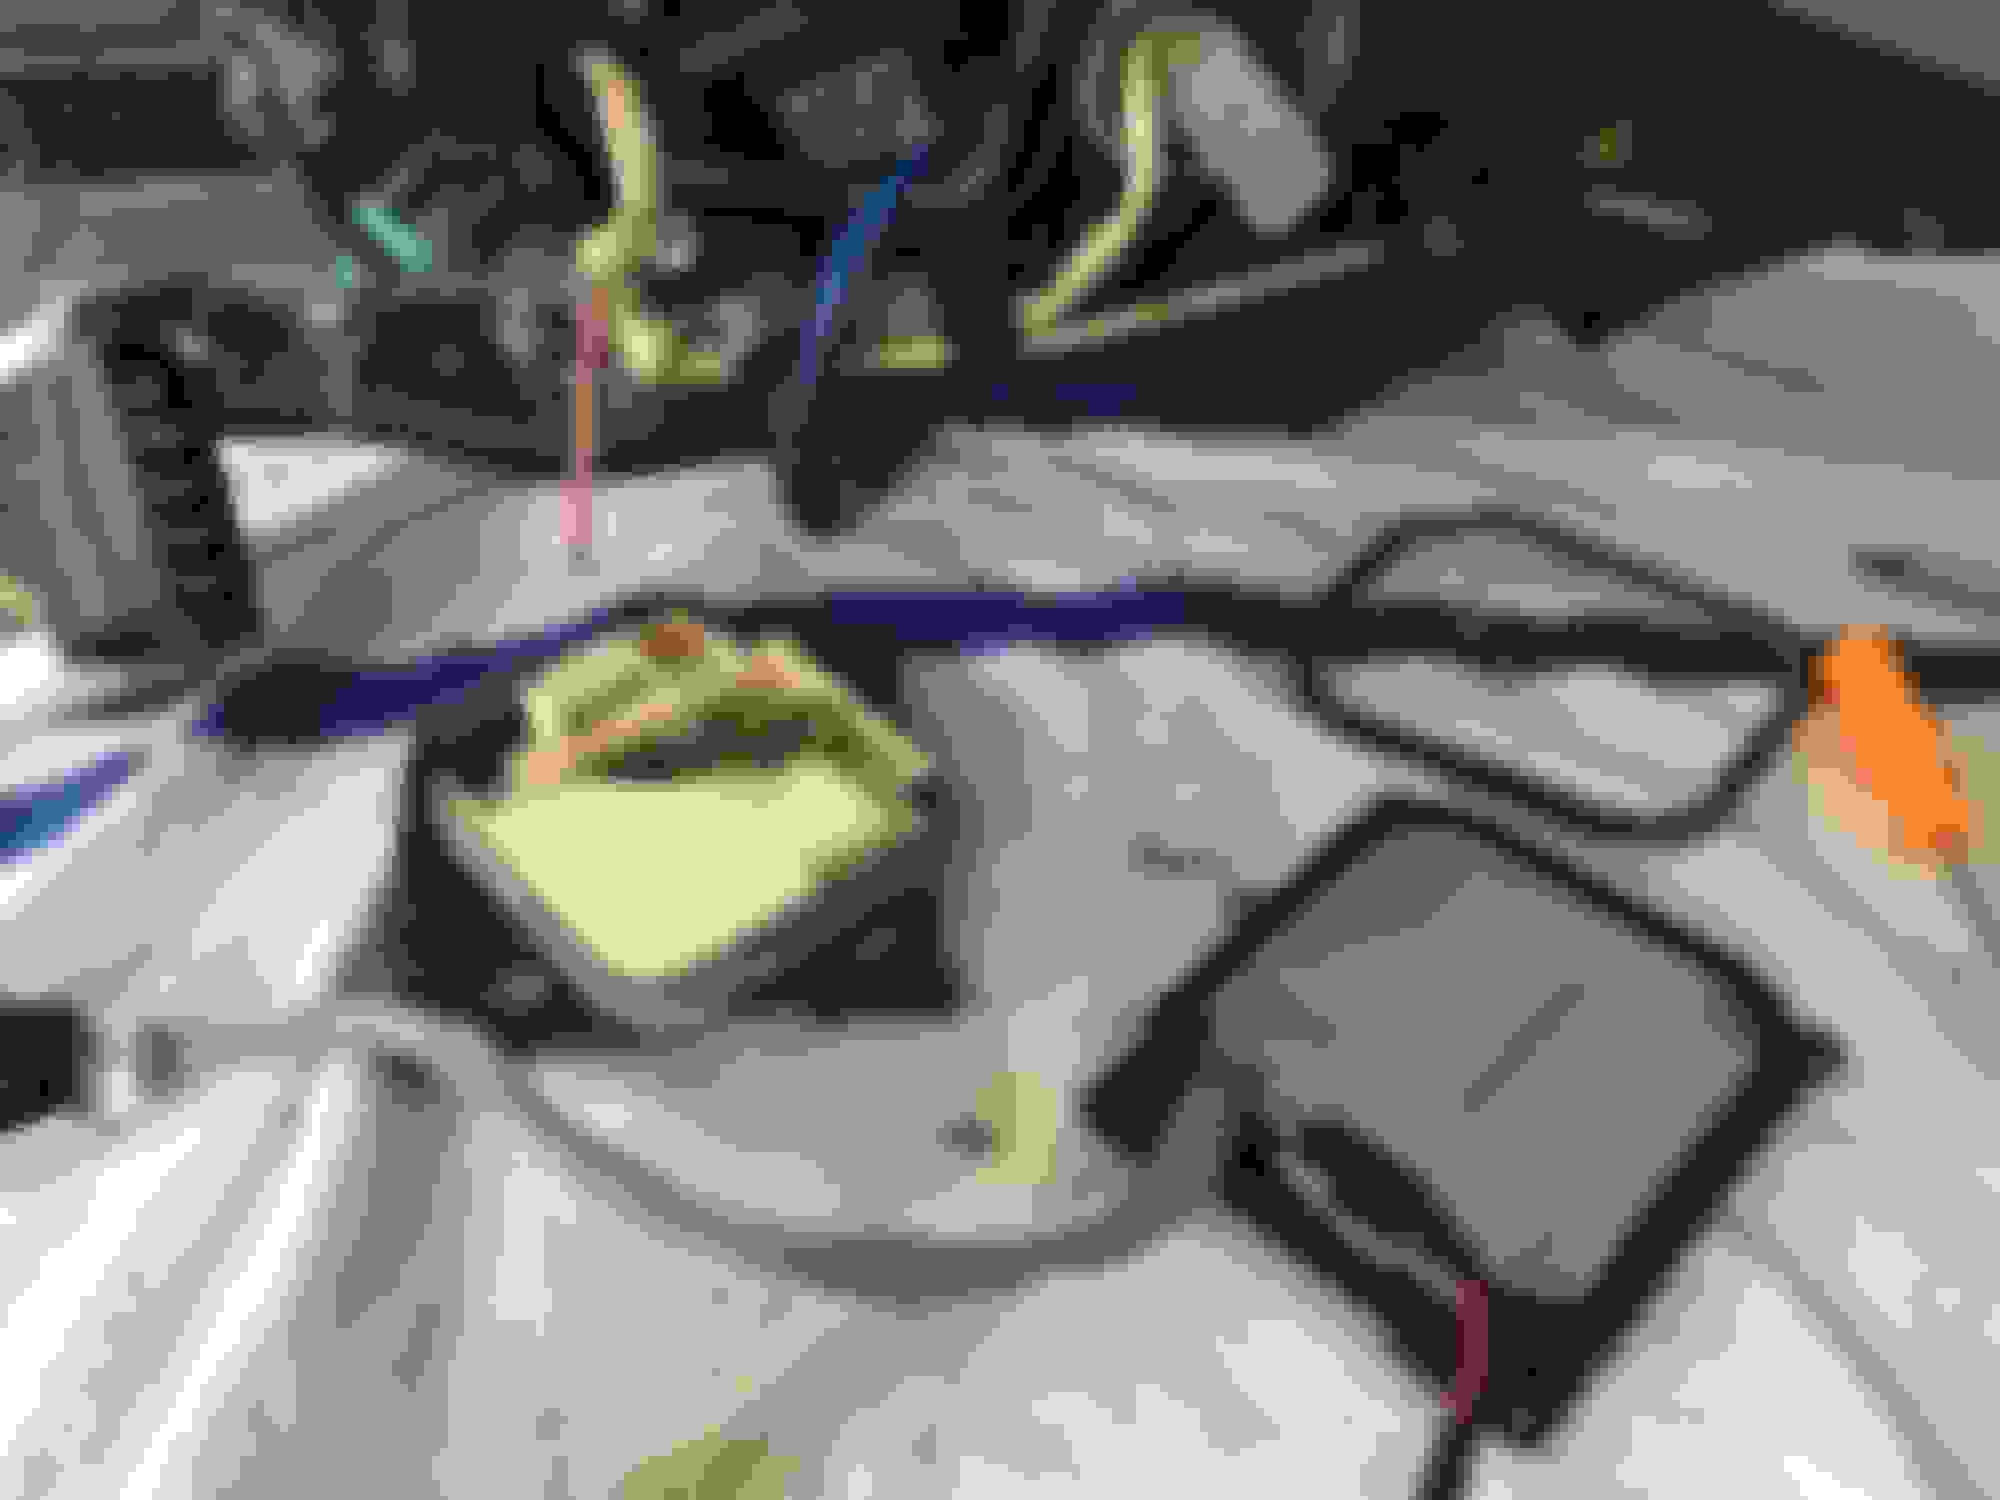
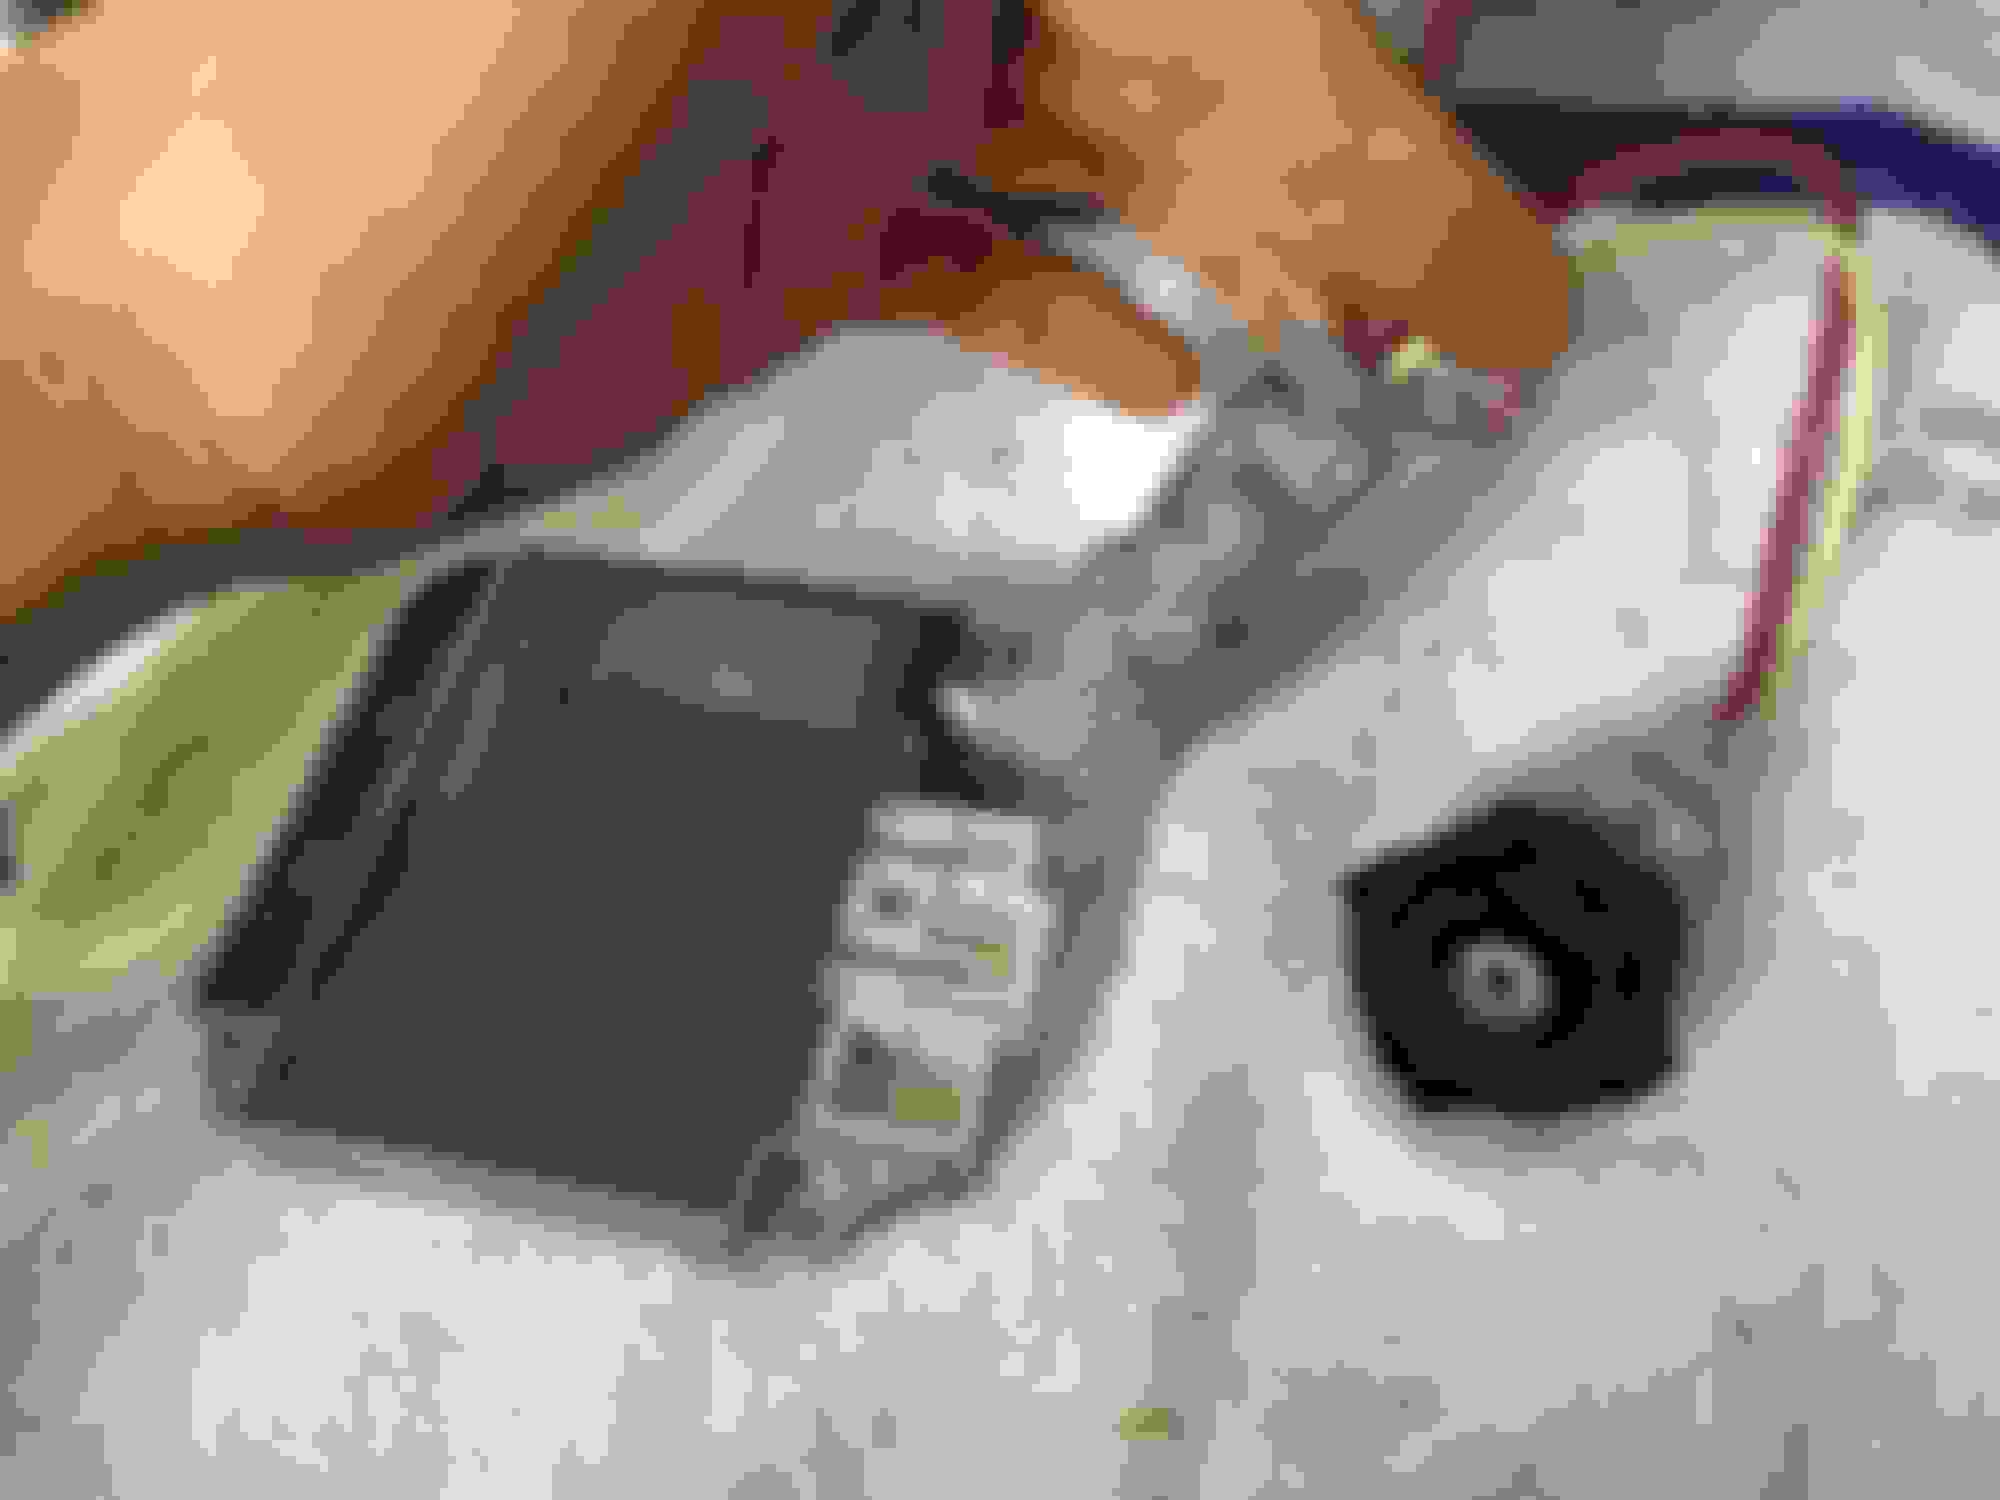
comparison of both ballasts!
remove the 4 screws from the NEW ballast... unfortunately because this is aftermarket, it does not show the internal guts of the ballast. <br/><br/>What I decided to do was to cut, splice, wire and solder together the old wires to the new wires!
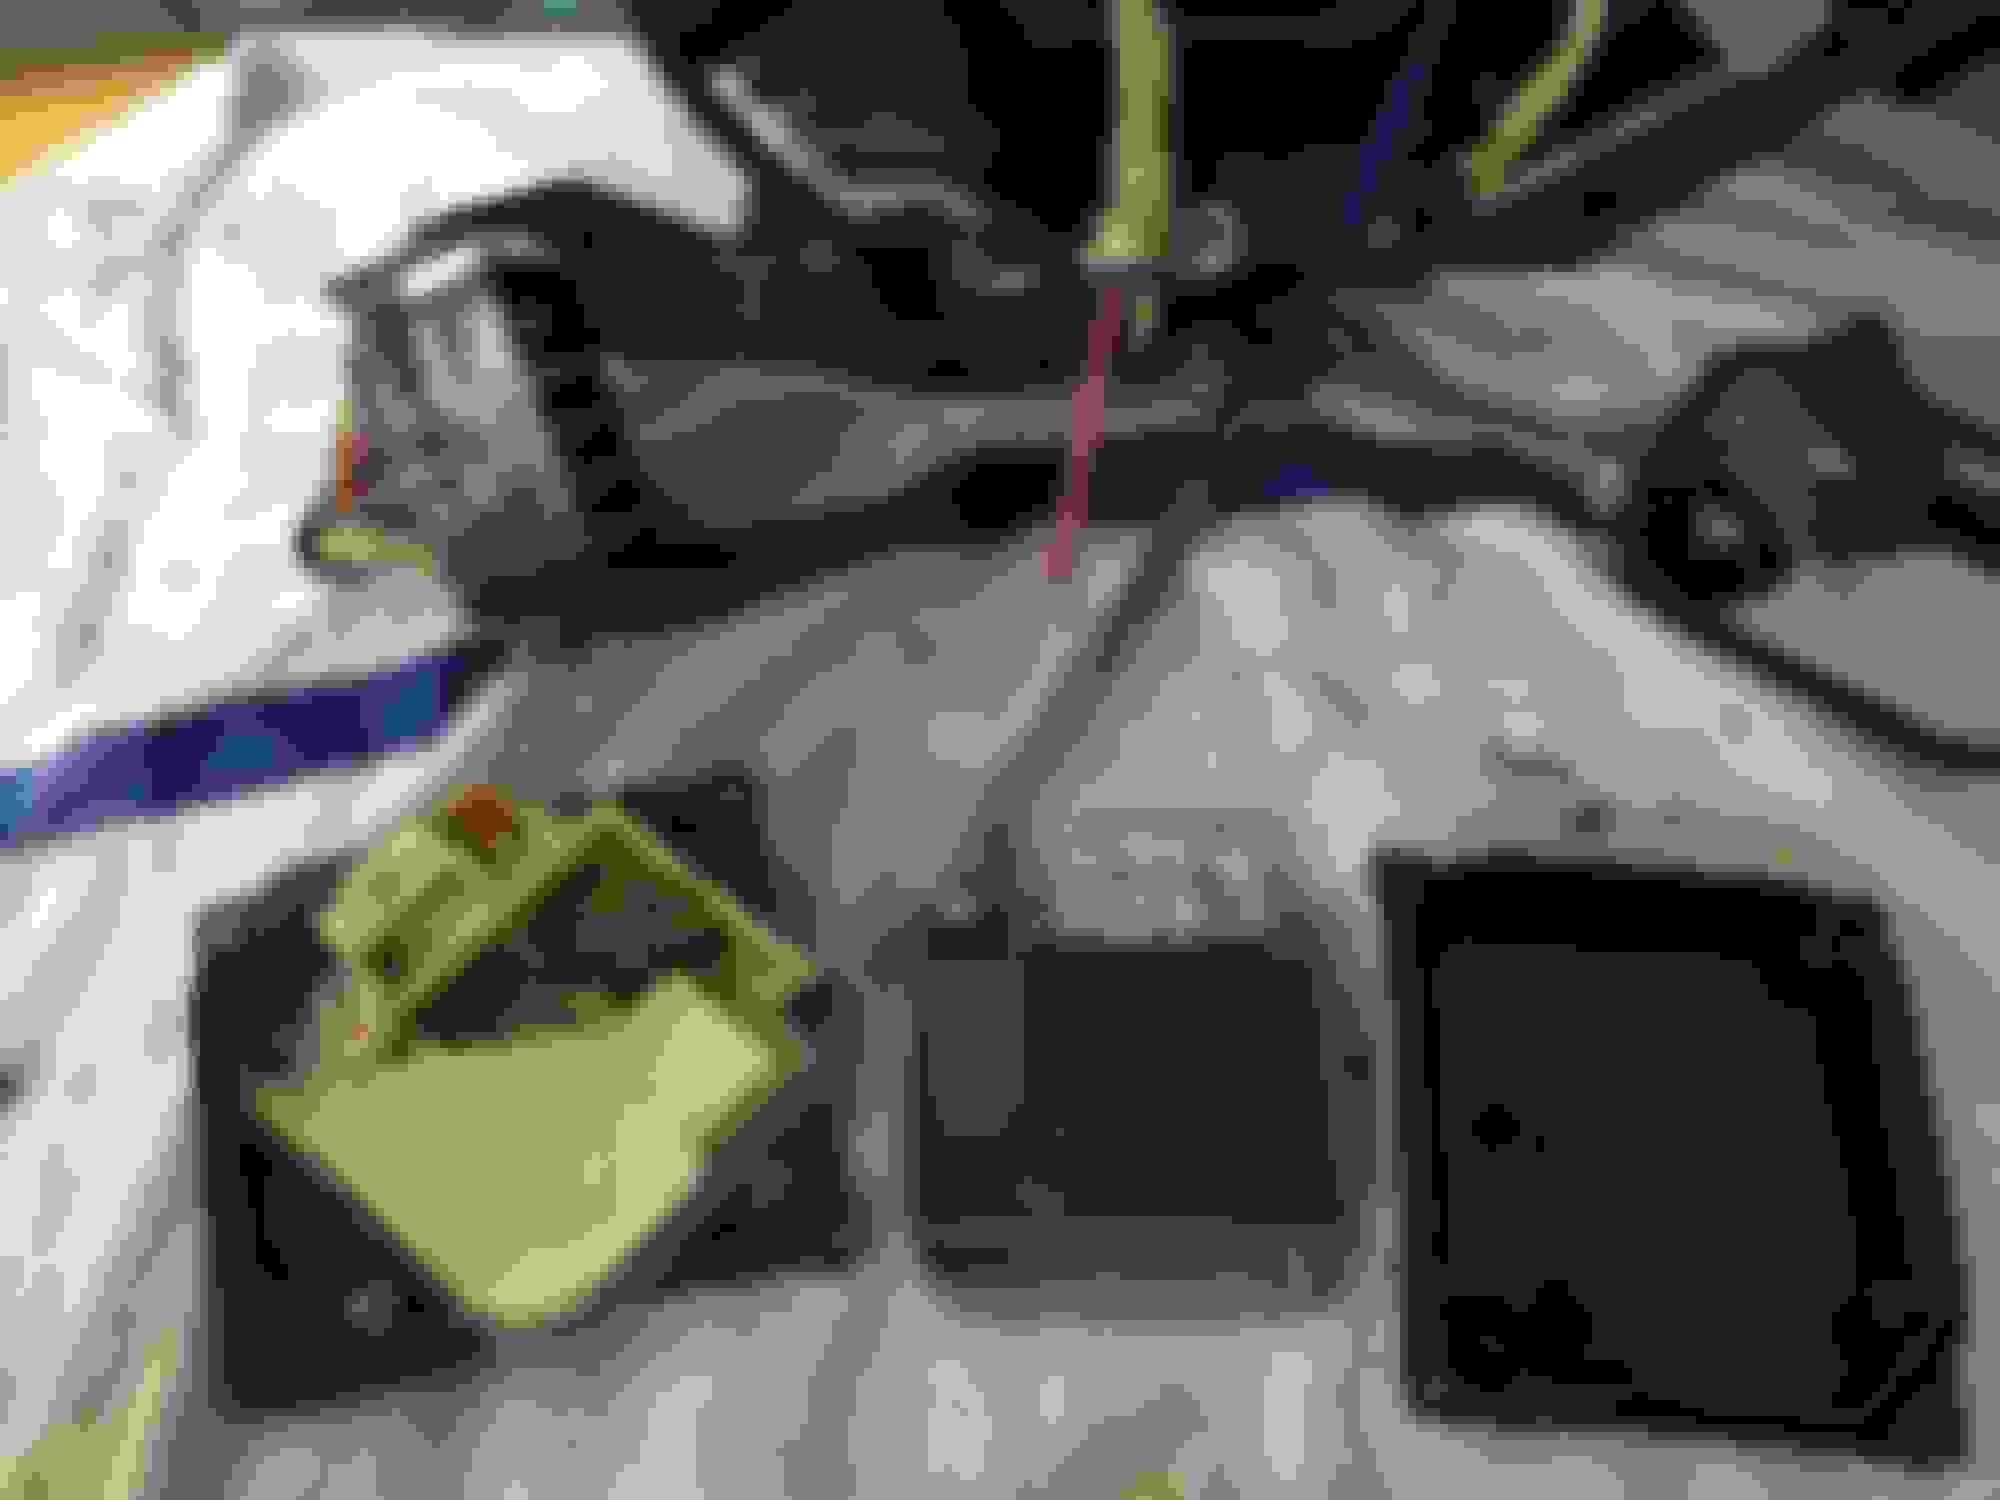
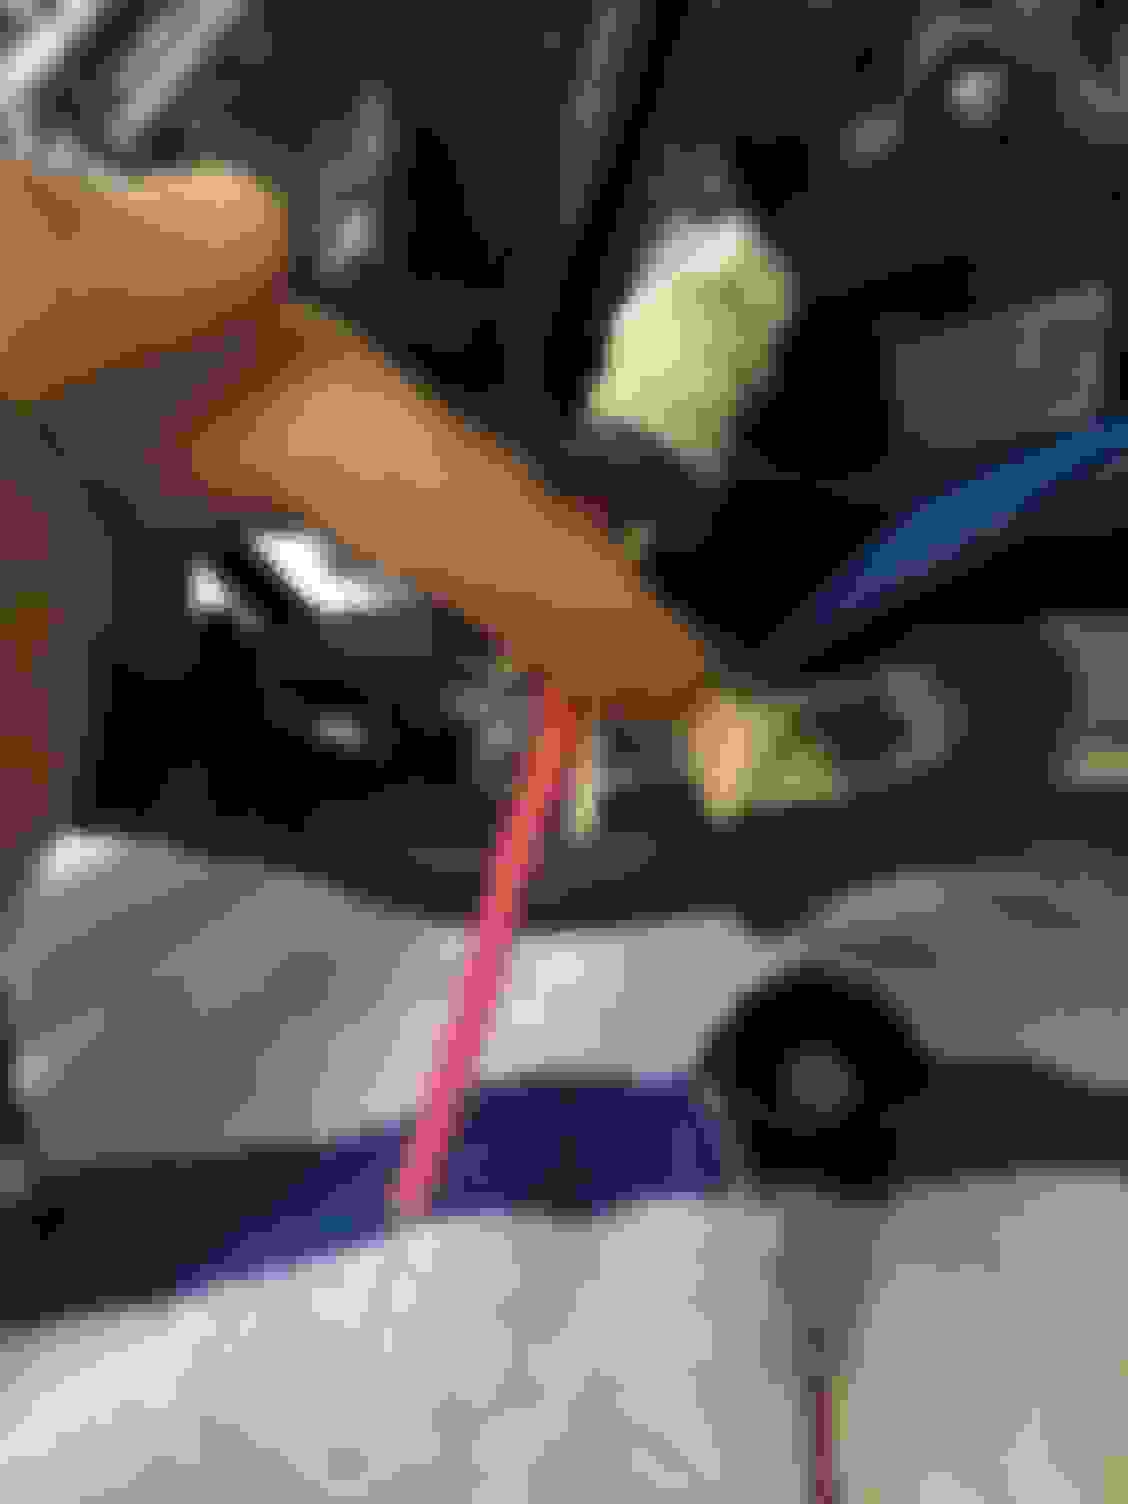
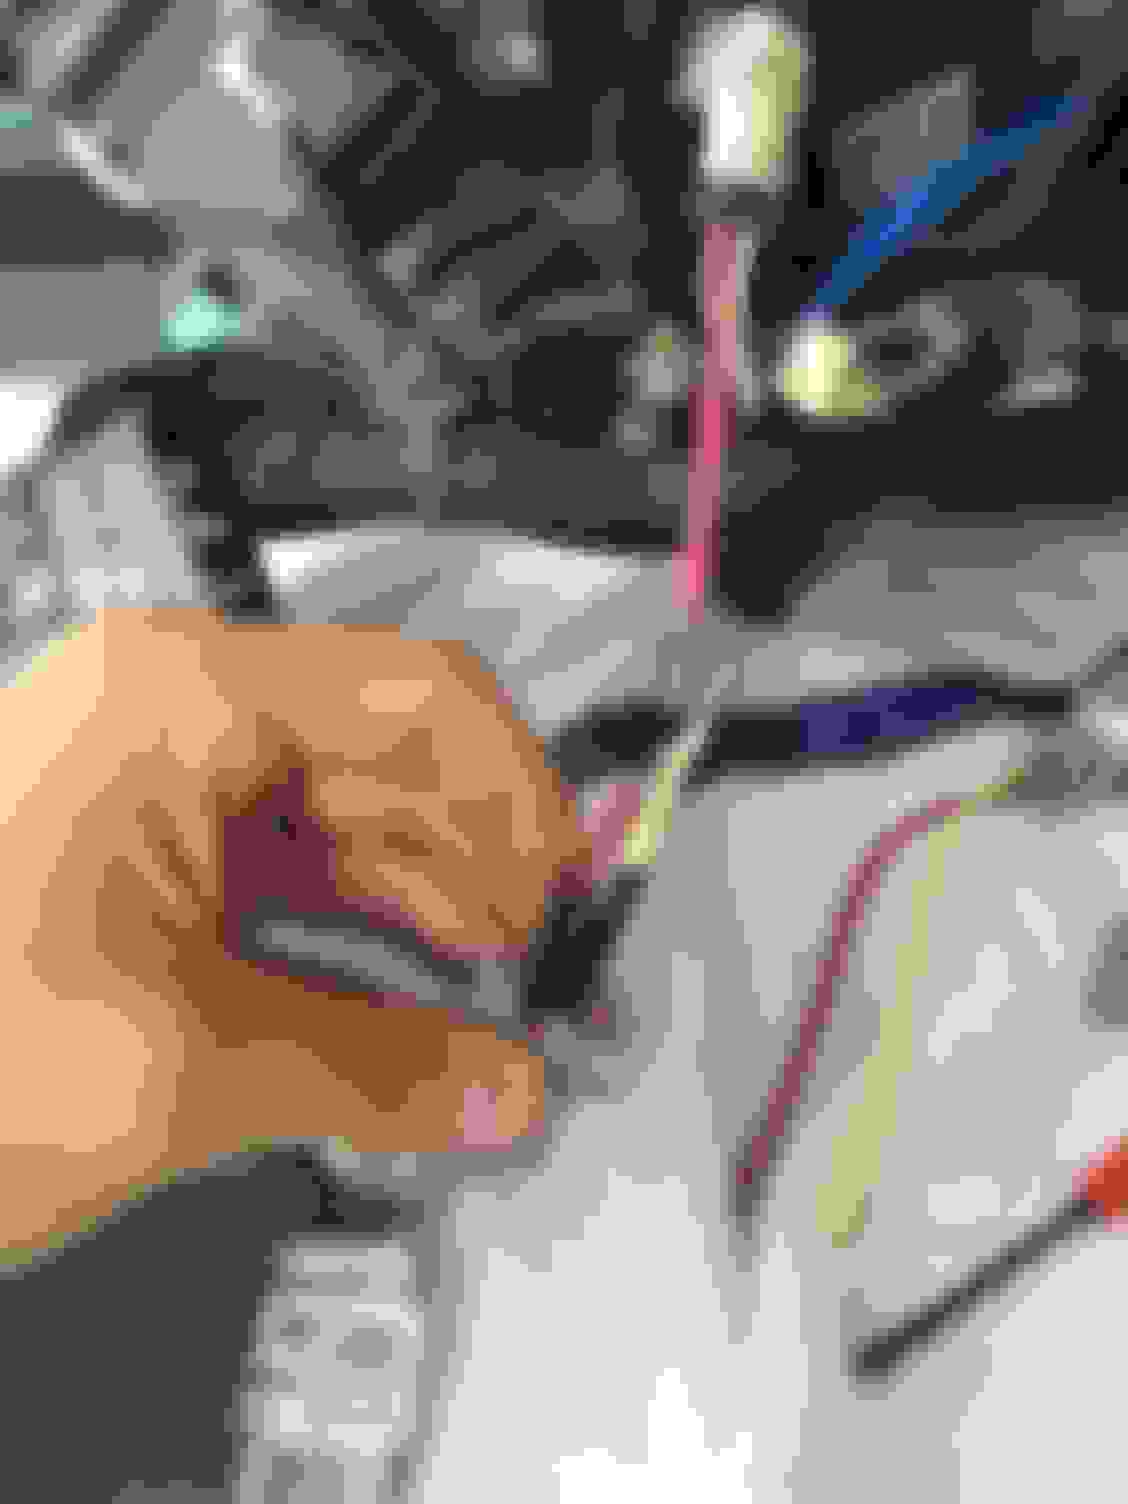
the ballast wires from the headlights. Cut above the metal clips and strip some wire back, 1/4" of wire
new ballast wires. I cut the wires in half and exposed the wires 1/4"
headlight wires
new wires cut and exposed. Make sure to put HEATSHRINK wrap over the wires before you solder them!
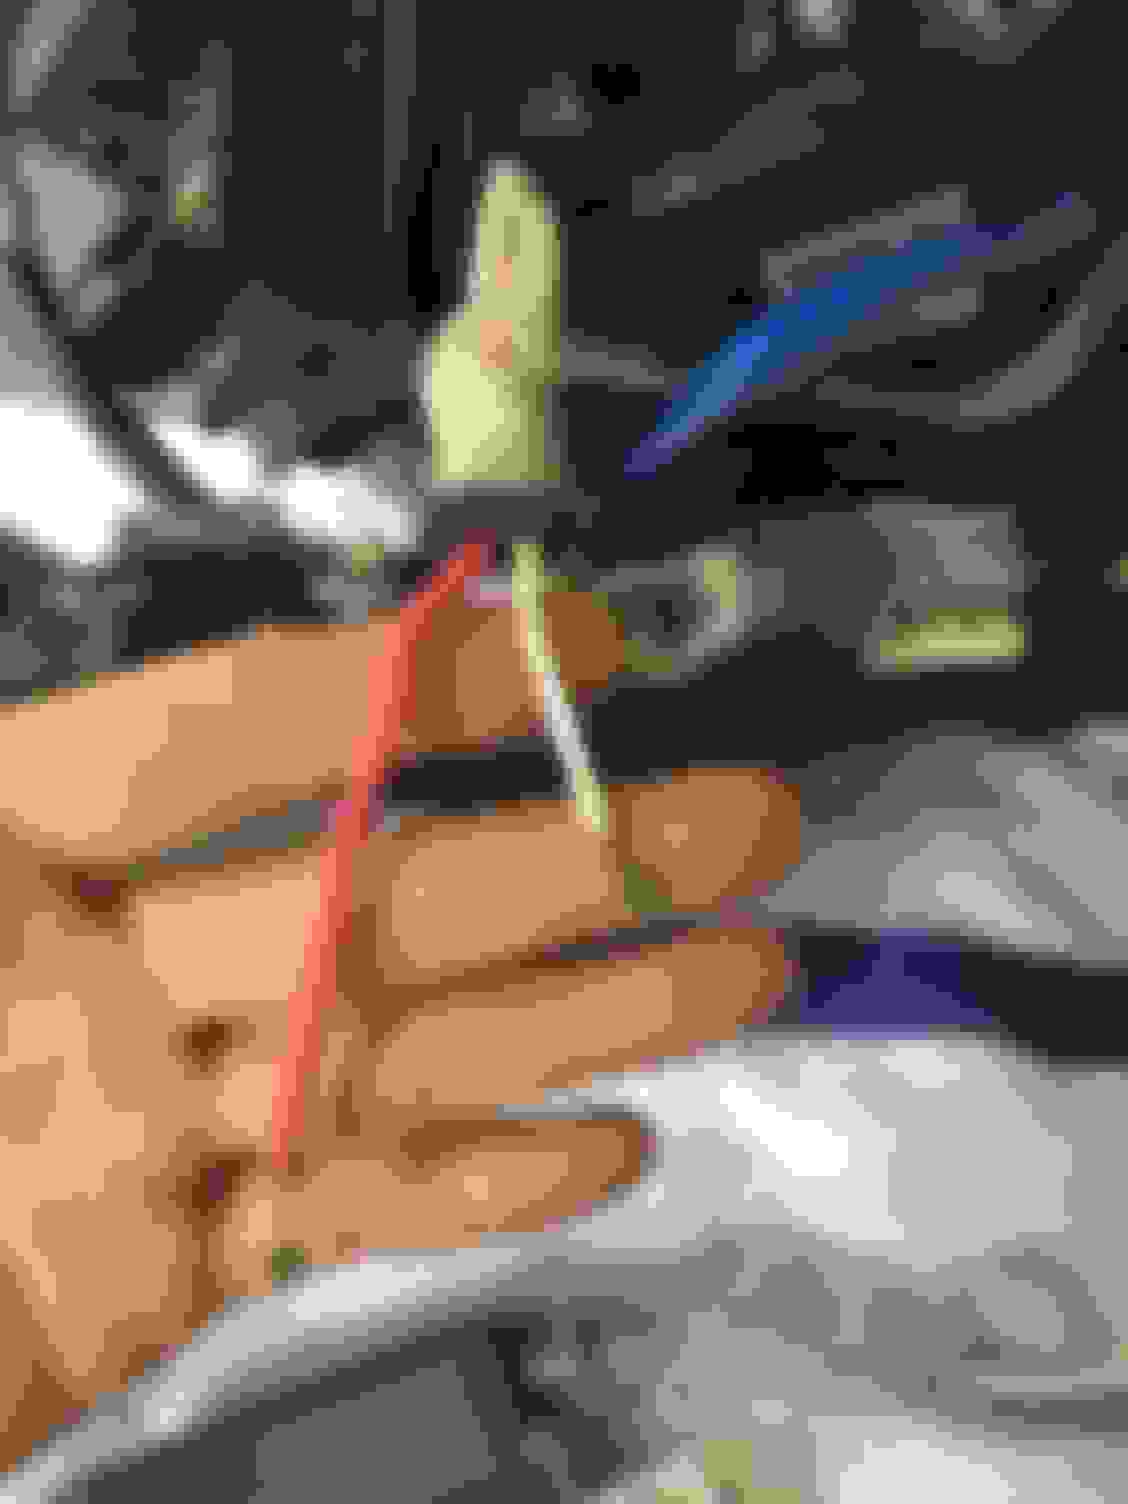
Solder: take your hot soldering iron and heat up the wires to apply some solder to the individual wires ends. this will help them bond when you put them together.
once all 4 wire ends have some solder on them. bring them together and heat them together.<br/>RED-RED
Excellent write up and pictures. Thanks for doing this.
I think you went with option 2a instead of 2b though.
I've never done this before, but I'm curious why others separate the glass from the headlight assembly if the ballast is accessible from the bottom? I just discovered that my problem follows my bulb after swapping them, so I wont need to do this one for a while, just find a decent prices D4S bulb.
pauls927, your right. fixed it. From what I understand, people remove the glass to replace the entire ballast and the plug. You are able to access the ballast from the bottom, however not the plug which is buried inside of the headlight. This is the quick way to replace with the new ballast, while keeping the old plug.
mandyfig, I will have to report on how it goes. I don't foresee this going wrong, unless the plug inside of the light was also fried. This was the quick way for me to address my headlight problem. Up to you man. If the problem comes back, I will probably take apart the headlights. Thats up to you man. See what your ballast looks like before you take it apart.
Don't cut the wire all u have to do is after u removed the wire out from the ballast or the connector tie a shoe lace or something flexible to the wire and pull the wire out so the shoe lace will follow the wire route and after just tie ur new ballast wire back on the same shoe lace and pull the shoe lace through the the other way. That's alot easier and u don't have to cut anything. And BTW replacing the ballast is not going to solve ur problem the moist will fried ur new ballast really quickly u need to find where it leaks and seal it. Oem ballast is not cheap
Best way is remove the wire from the connector instead of opening the ballast easier and less chance of shorting anything just a couple clip holding the connector. Opening the headlight to change a ballast is just straight up waste of time. It shouldn't take more than 10 mins to swap the ballast
I appreciate the suggestions, it being a 2006, I do not have any other access but to split it open. Trust me. I can show you pics. The cable was not screwed in (looks like it has been replaced before). I screwed it in this time. I have sealed the perimeter of the headlamp, it should not fog up now. In fact after I put in the seal last time, it never fogged again. Ask me how I know how to seal it.
But seriously just a few minutes of heat gun, it split like butter. Sealing it back was not a bad deal as well.
I was able to clean up the rusty carp inside the headlamp, that's the plus. It is all nice preedy now...so far so good.
Good thread, just did this successfully this past weekend. I agree with KVS though, if you don't have to cut and splice the wire then just pop out the new wires from the new connector and pull the new one through. Great suggestion using a shoelace, took a bit of wriggling, but we got the new one through the headlight without having to bake it and open it up.
My bulb was fine, but the ballast was shot. Water got in after we upgraded my high beams to the XD LEDs. Problem was they require you to put a hole in the cover for the driver wire and the rubber gasket isn't 100% waterproof. Ton of water got in there so we sealed that spot up. So far so good.
best method by far, link below to the ballast used for this repair
 09-26-15, 05:12 AM