When you click on links to various merchants on this site and make a purchase, this can result in this site earning a commission. Affiliate programs and affiliations include, but are not limited to, the eBay Partner Network.
I was trying trying to adjust my 2012 LED Headlights and on the passenger side when i was trying to adjust them with adjusting screw the headlight level was going up and then suddenly it popped back down. Now when i try to adjust them nothing happens. So I'm guess i broke the headlight level adjuster? How can i resolve this issue?
Same exact problem. While adjusting my passenger side, the level suddenly just dropped. I tried adjusting again but the passenger light isn't moving. Also my passenger DRL is the height too
I've seen several threads with this issue but no one really answered it. I believe what happens here is that you've turned it too many times trying to adjust and the metal screw has pushed completely off and out of the plastic piece inside the headlight that actually moves the headlight. While you turn that you are either making the screw push in more or out more depending on the direction you move that dial. Once you've pulled it away too much it would disconnect and no longer function. The cheapest way to fix this and to follow the baking method for a Retrofit DIY to get the housing open, inspect the positioning screws and make sure they are still engaged with the plastic pieces attached to the back of the headlight.
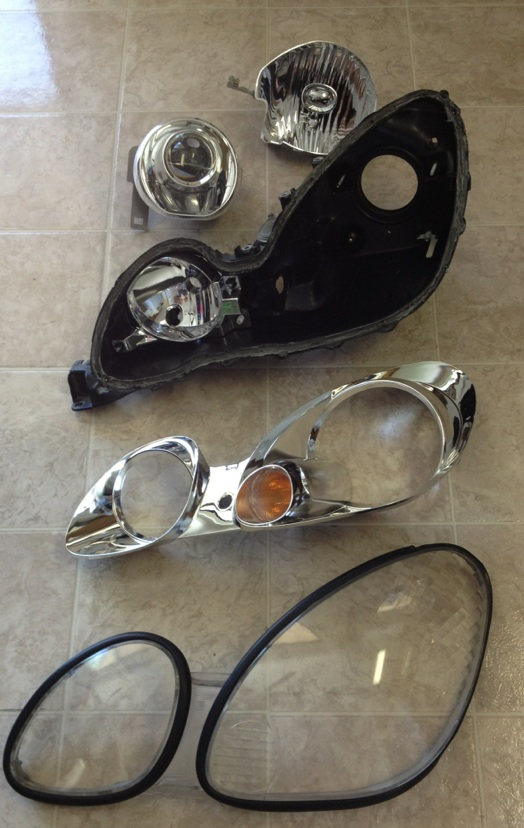
Here are some pictures from a retrofit that I did on my GS with the LS430 projectors. This is the only reason why i know about how those dials move the screws in and out of a plastic piece and know for a fact that they can be turned completely out of the plastic making the dial useless.
The plastic pieces should look similar to this but will have a hole for the screw
In this picture you can see the metal screws that move the headlights vertical/horizantal
Thanks a lot man. **** I was hoping there was an easier fix than opening up thadhesde headlight housing.
No problem It's cheaper than buying new ones. Pack of beer... some Nissan Butyl adhesive... and patience. The hardest part is just taking your time with prying open the housing. Again no one has answered with a real fix but what I described makes the most sense considering EVERYONE with this exact issue only had it after trying to adjust the headlights. I personally know it can happen since I did this with the housing open while adjusting the projectors.
Before cracking your headlights open, take the headlights off the car and try to take the caps off and pull the inner housing towards the screw adjuster and see if it catches onto the plastic piece.
Ok I'm stuck. There is a white "piece" that is on the aiming screw that turns forward or backward the raises the lights. It connects to a black "piece" normally. But in my case, the two are separate and that's why the lights don't adjust anymore.
I opened the housing but still don't know how to connect the white piece with the black piece. Help please?
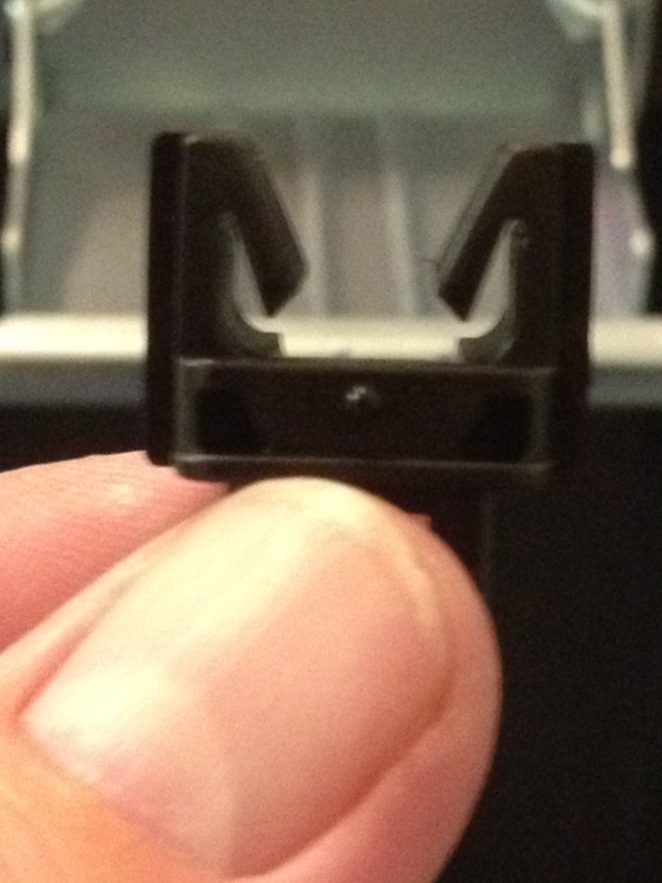
Pic 1 - how two pieces should normally be connected (horizontal screw adjustment)
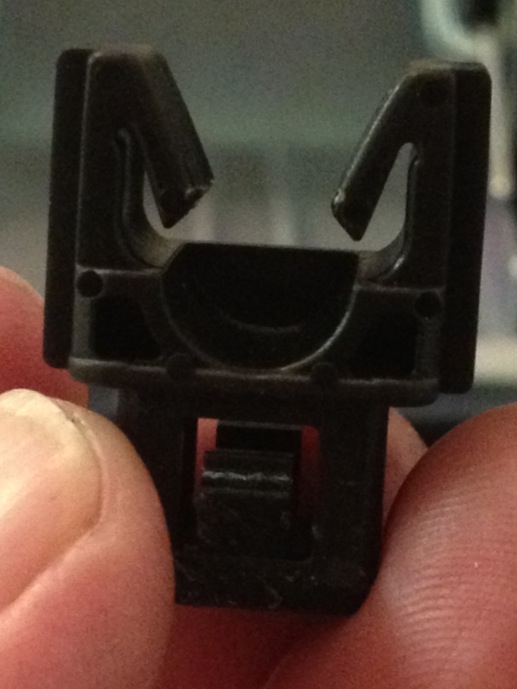
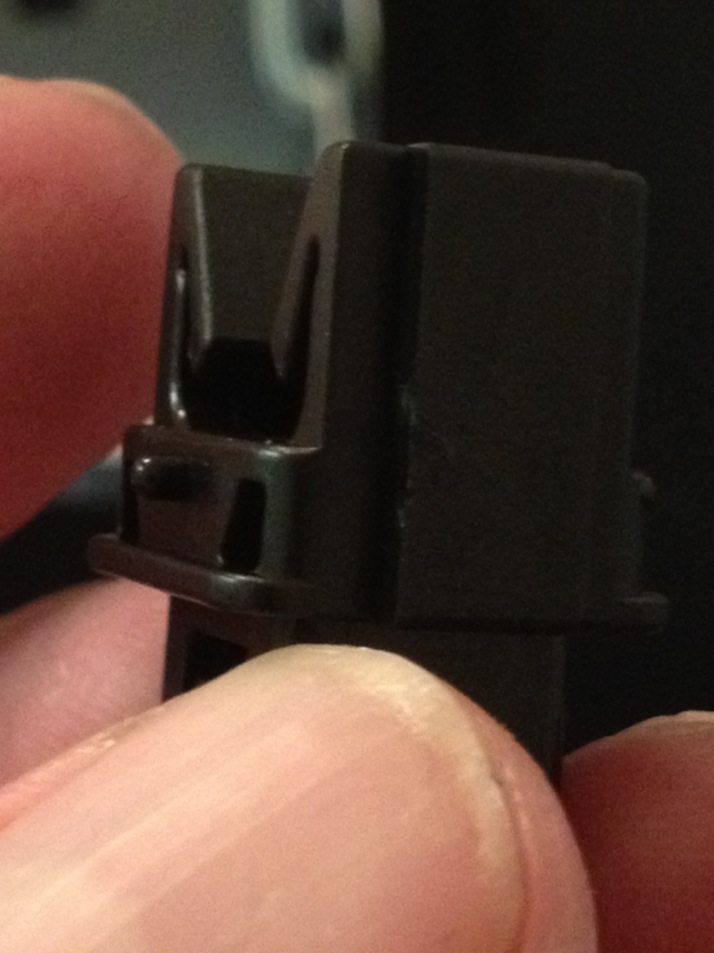
Pics 2-3: Black piece and white piece separated (different angles)
There seems to be some grooves in the white piece which makes me feel like the black piece locks into that. I would remove the projector completely from the housing and inspect all 4 mounting points if possible. When i did this I had to keep turning each of the four screws to free the unit from the housing. Can you feel the back of the black piece for notches that could lock into the white piece? Or can you turn the screw while pressing the projector towards the white piece to get them connected?
There seems to be some grooves in the white piece which makes me feel like the black piece locks into that. I would remove the projector completely from the housing and inspect all 4 mounting points if possible. When i did this I had to keep turning each of the four screws to free the unit from the housing. Can you feel the back of the black piece for notches that could lock into the white piece? Or can you turn the screw while pressing the projector towards the white piece to get them connected?
Yeah I'm trying to figure out how to remove everything from the housing but I honestly don't know how Some pieces are connected without any screws and I don't know how to remove them to get everything out.
I tried holding the projector towards the white piece to get them connected. But they aren't aligned or centered so the white piece doesn't go "into" the black piece. It keeps pushing the black piece forward since they aren't aligned.
The pictures you posted of the clips are actually on the side of black piece. The clips on each side of the black piece lock the white piece so they stay together (I compared to the horizontal screw so that's how I know).
But yeah all I need to do is reconnect the black & white pieces and I'll be good to go. But I'm stuck now since I can't figure out how to remove the projector completely.
Just wanted to update this thread... We Got A Fix!
RU514 has successfully completed this. What I mentioned above is exactly what goes wrong but he has some other important things to add. I've encouraged him to build a separate fix thread with the details for future searches.
Just want to add that there is no way this could have gotten fixed by pulling the projector and tightening the screw without opening the housing. There is a step in the process that prevents that.
Details soon ^_^
Thanks for MikeFoxx for his help.
*Sorry, I don't have pictures for a DIY*
See the pictures I posted above. If those black and white "pieces" are separated, then you have to open up the headlight housing to get them locked together again. There's no other way.
Follow the various DIY blackout headlight housing threads. The only difference for me was baking a few more minutes on 220F than the 8 minute time posted in one of the threads. Only after a few more minutes was my adhesive melted enough for me to pry the headlight open.
In order to get the two black and white pieces locked together, you need to get them off the vertical adjusting screw. Keep turning counterclockwise until they both fall out. Turn the horizontal screw as well to fully get the projector headlight housing out. Just a heads up - it takes forever to turn the horizontal screw. I suggest a power tool to turn the screw to prevent fatigue with a regular screwdriver.
The black piece has 4 TINY hooks. They are a PITA. If you unlock those 4 hooks, the black piece opens up halfway. You then insert the white piece inside of it, close the black piece down again, and lock the 4 hooks. This is why you need to open the headlight housing. Trying to "push" the white piece into the black piece won't work because the white piece is bigger than the black piece opening. You have to fully unlock the black piece to able to insert the white piece inside of it and lock it securely.
Then just go in reverse and seal the headlight up. The headlight adjustment will be working again.
just want to share my experience today fixing "loose projector"
hope these pictures may be use for reference
it's my 1st time baking headlamp so took me 3 tries to get it right
220F for 10min
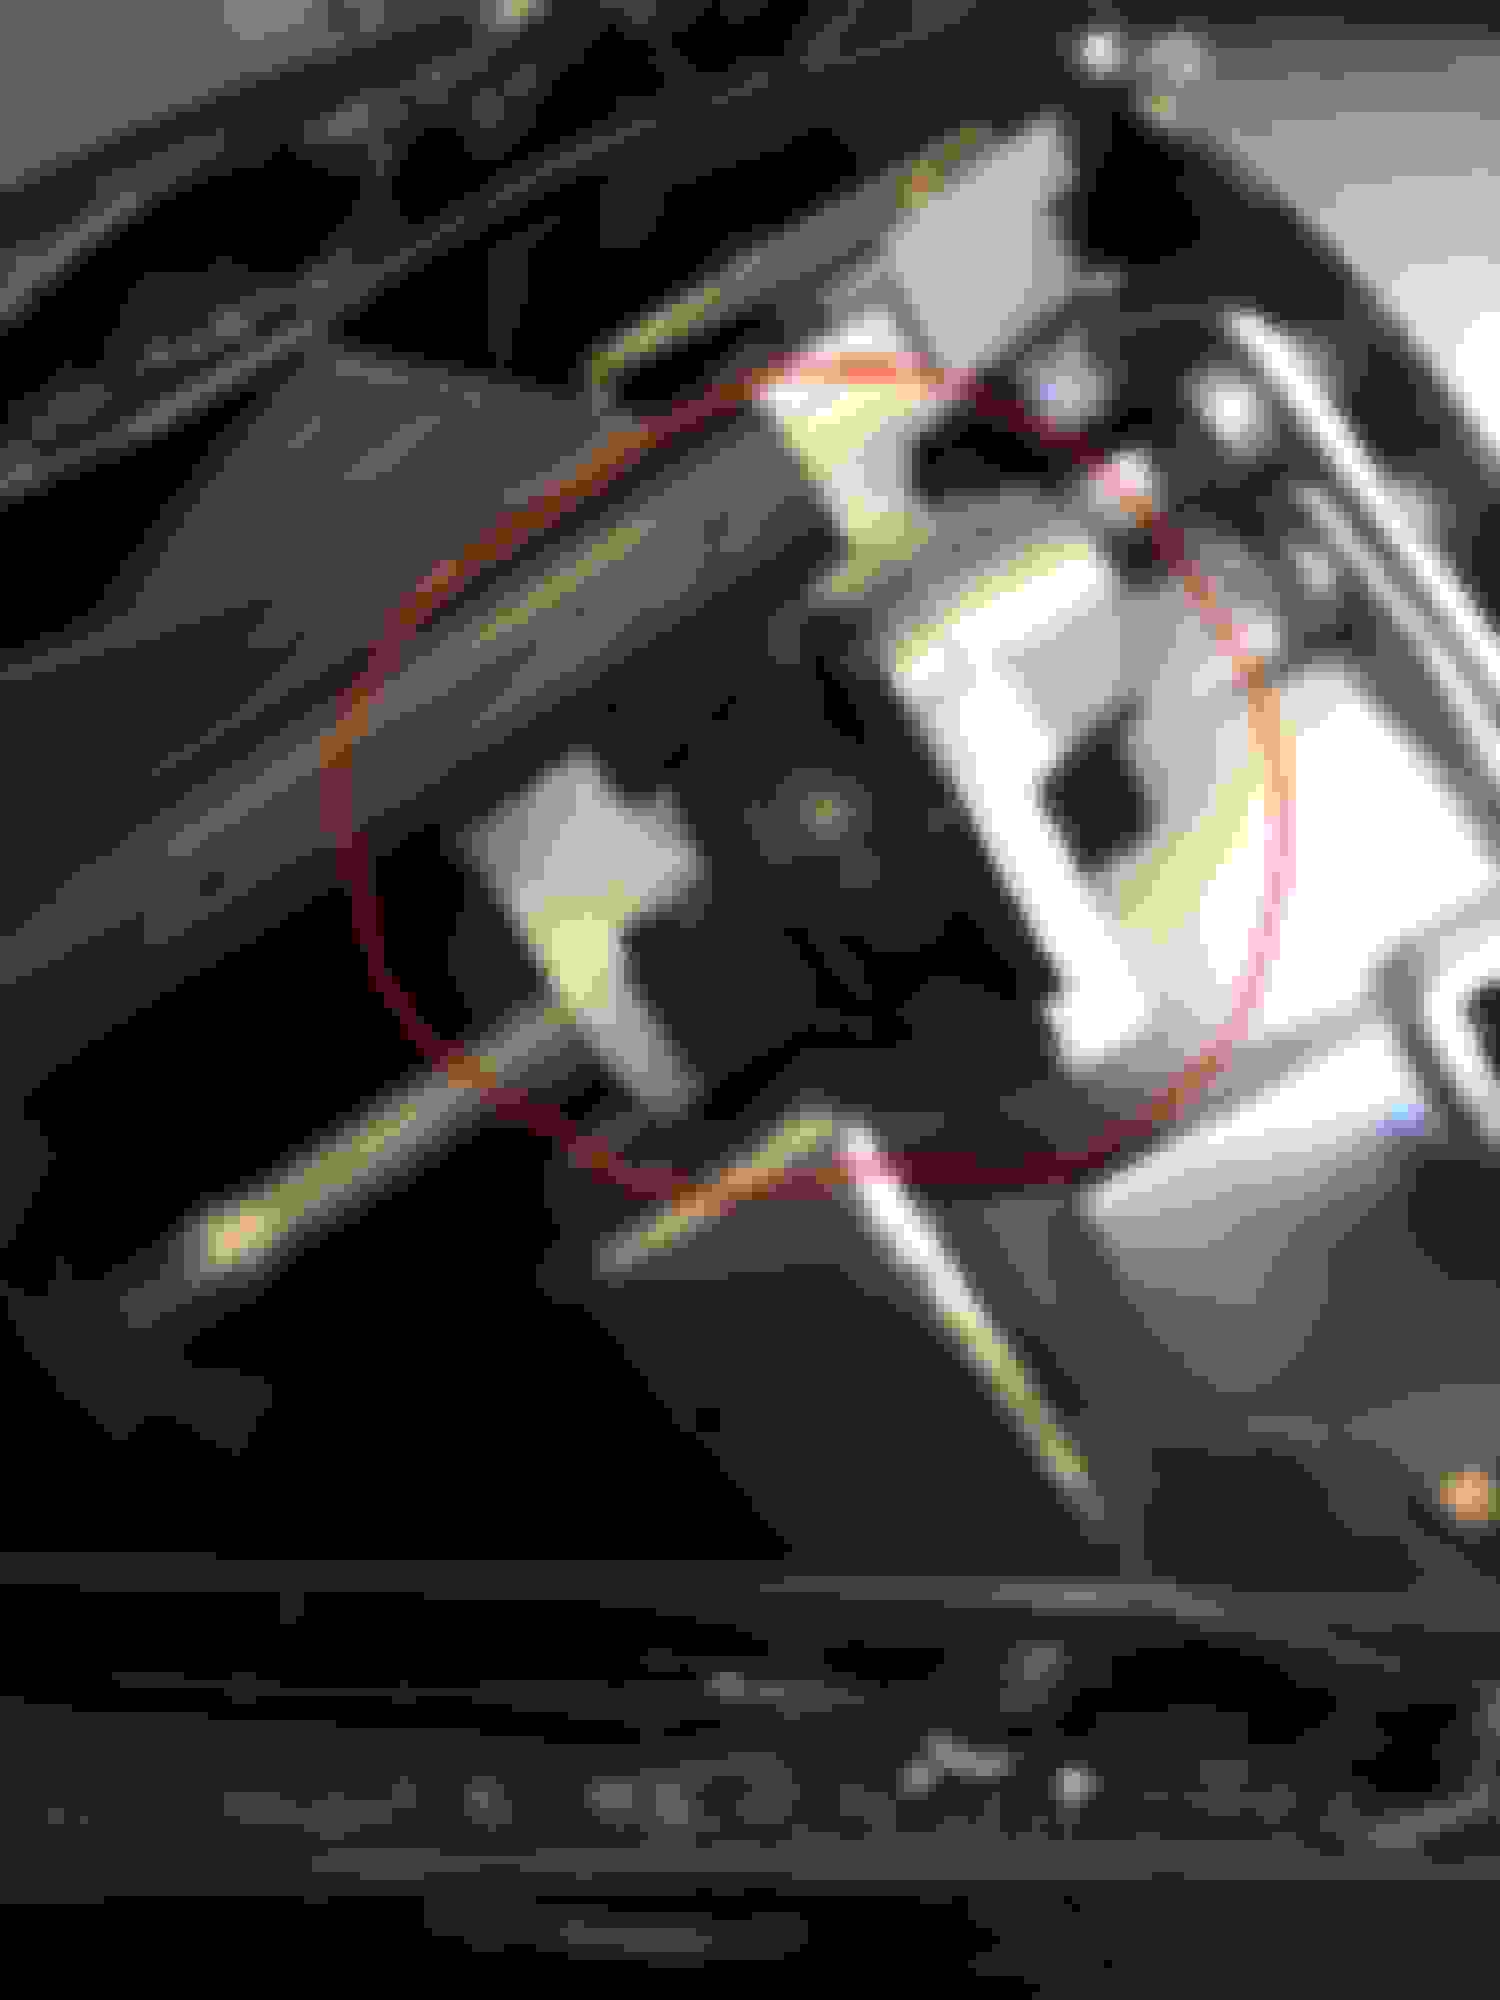
thats how the mechanism looks like for both horizontal & vertical adjuster, both white & black pieces needs to be locked together and secured onto projector assembly.
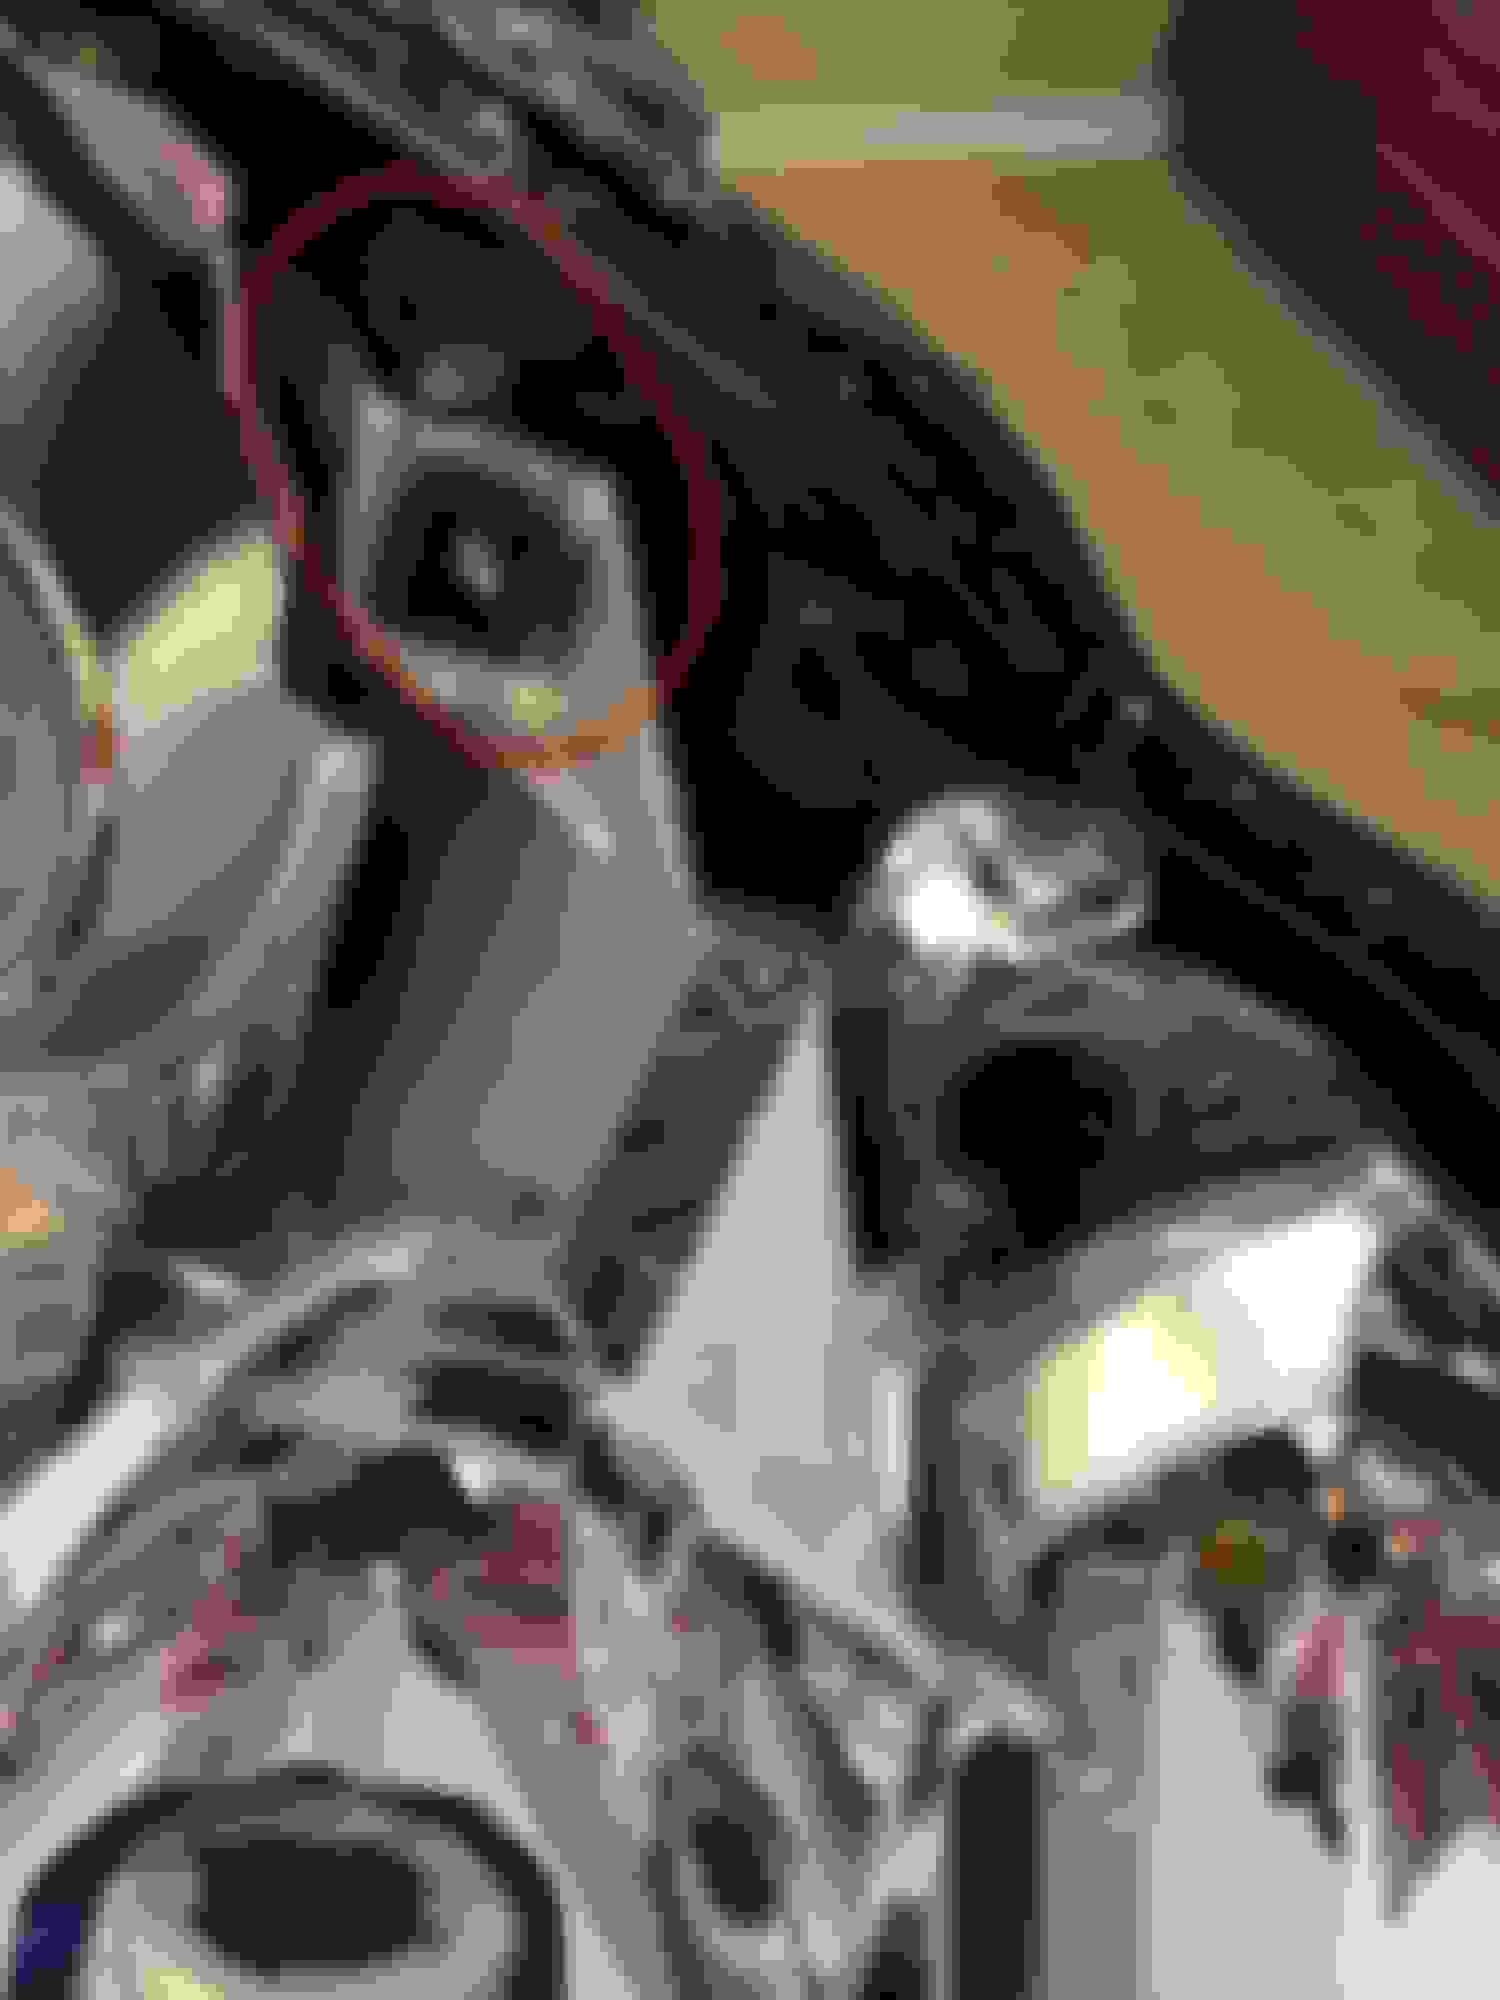
another picture shows how the black piece secured onto assembly, and you see the white piece have a part inside the rail. you'll need to turn the cog counter-clockwise so it guides the white piece outward to make it fall.
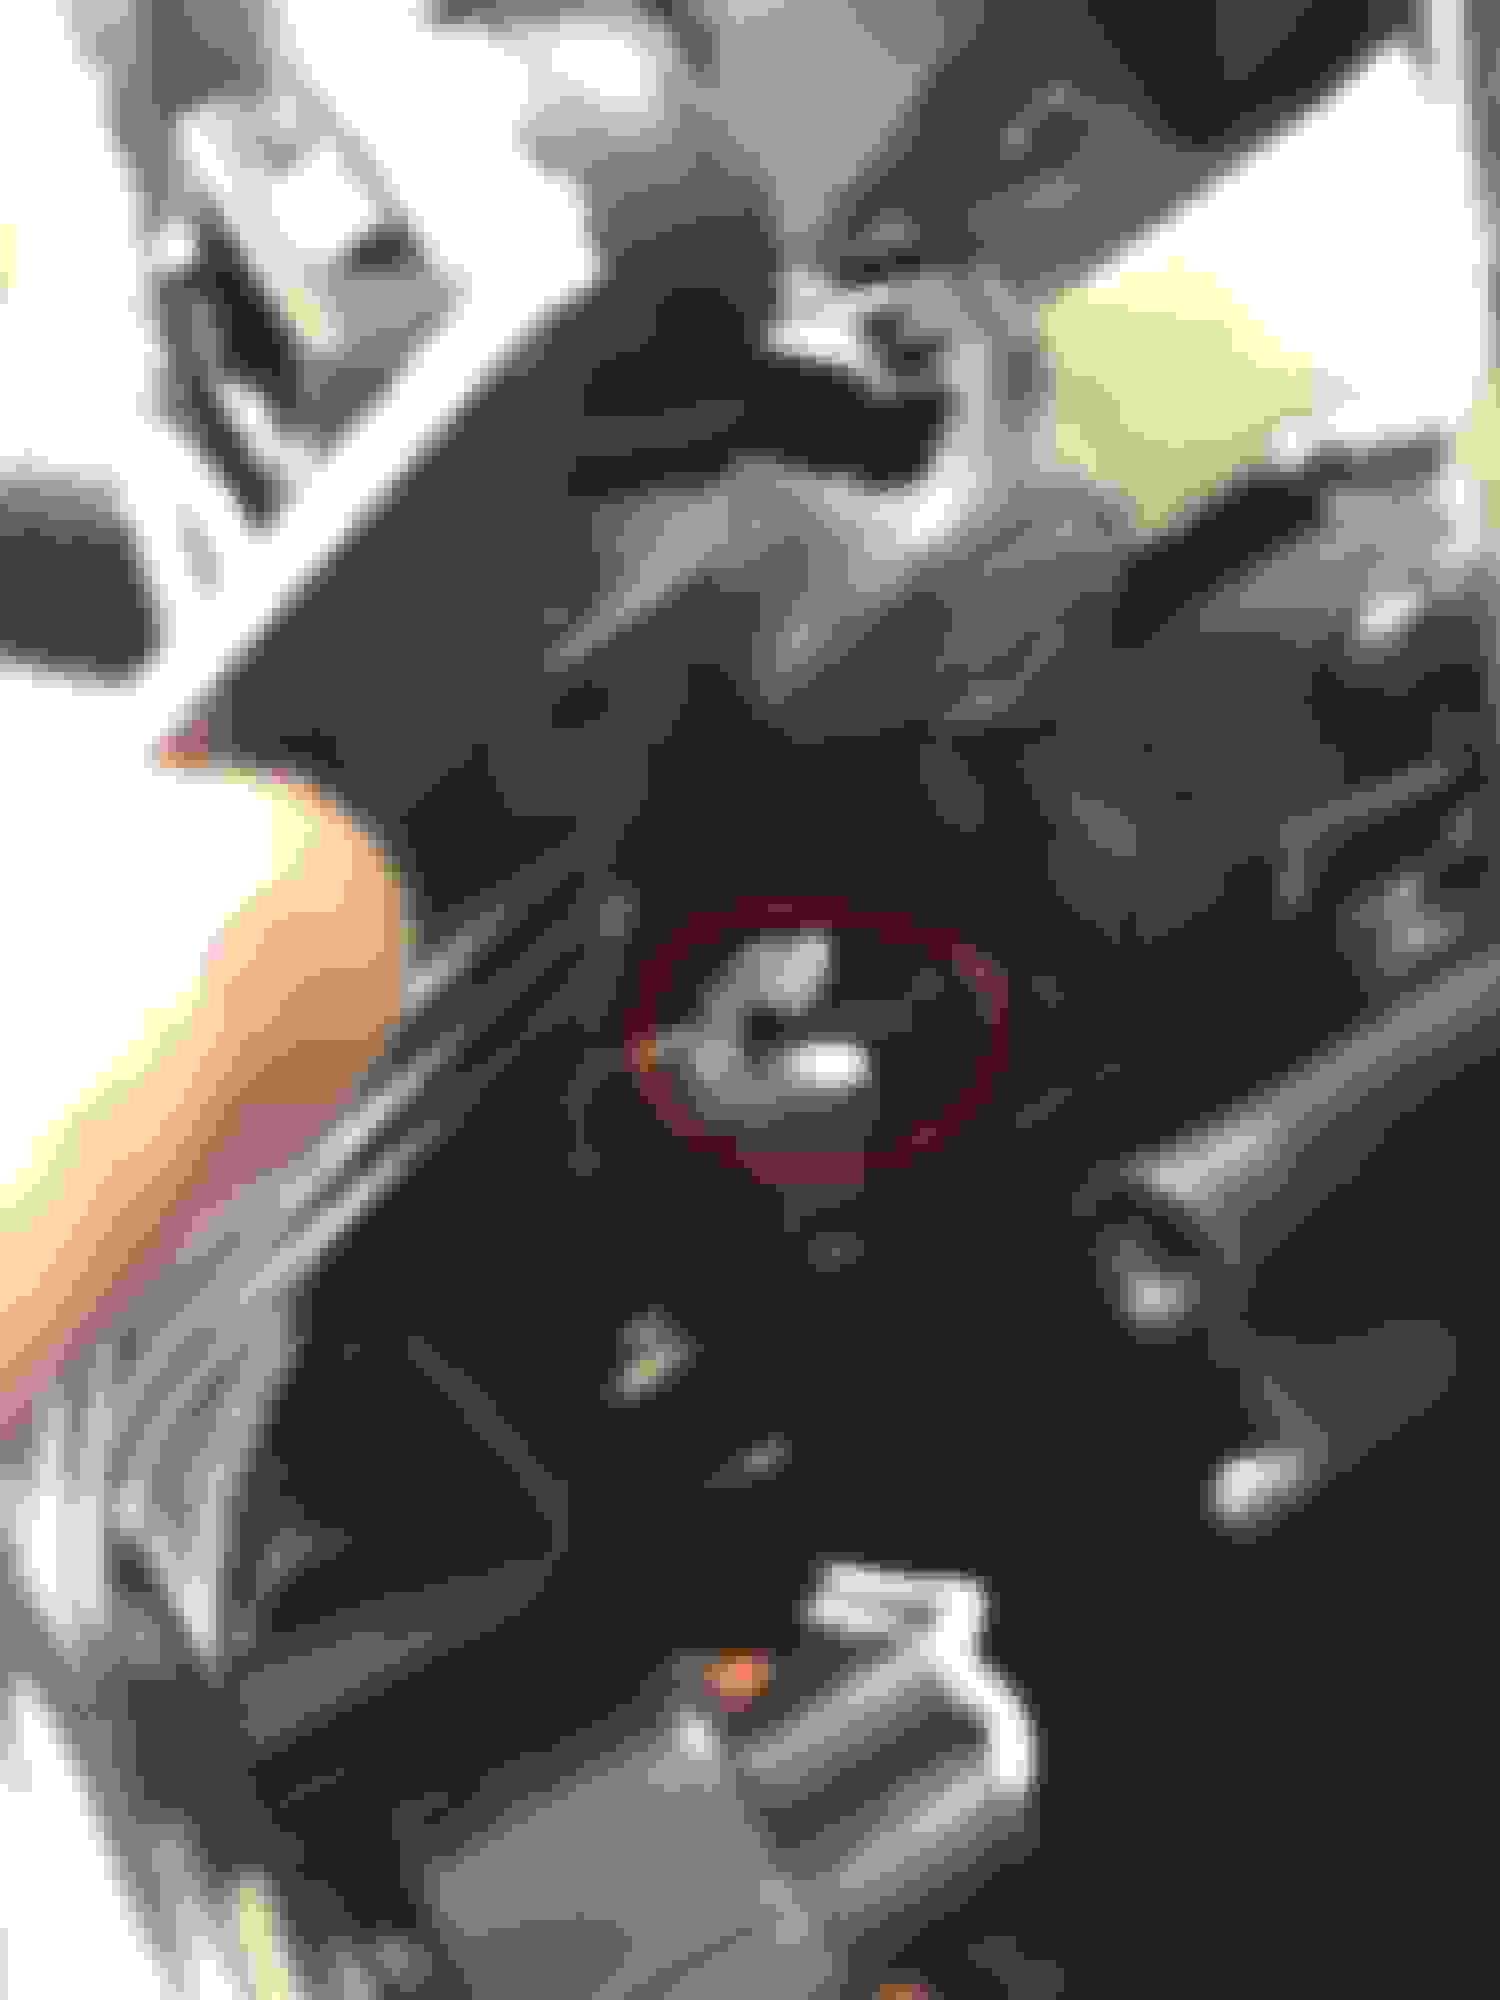
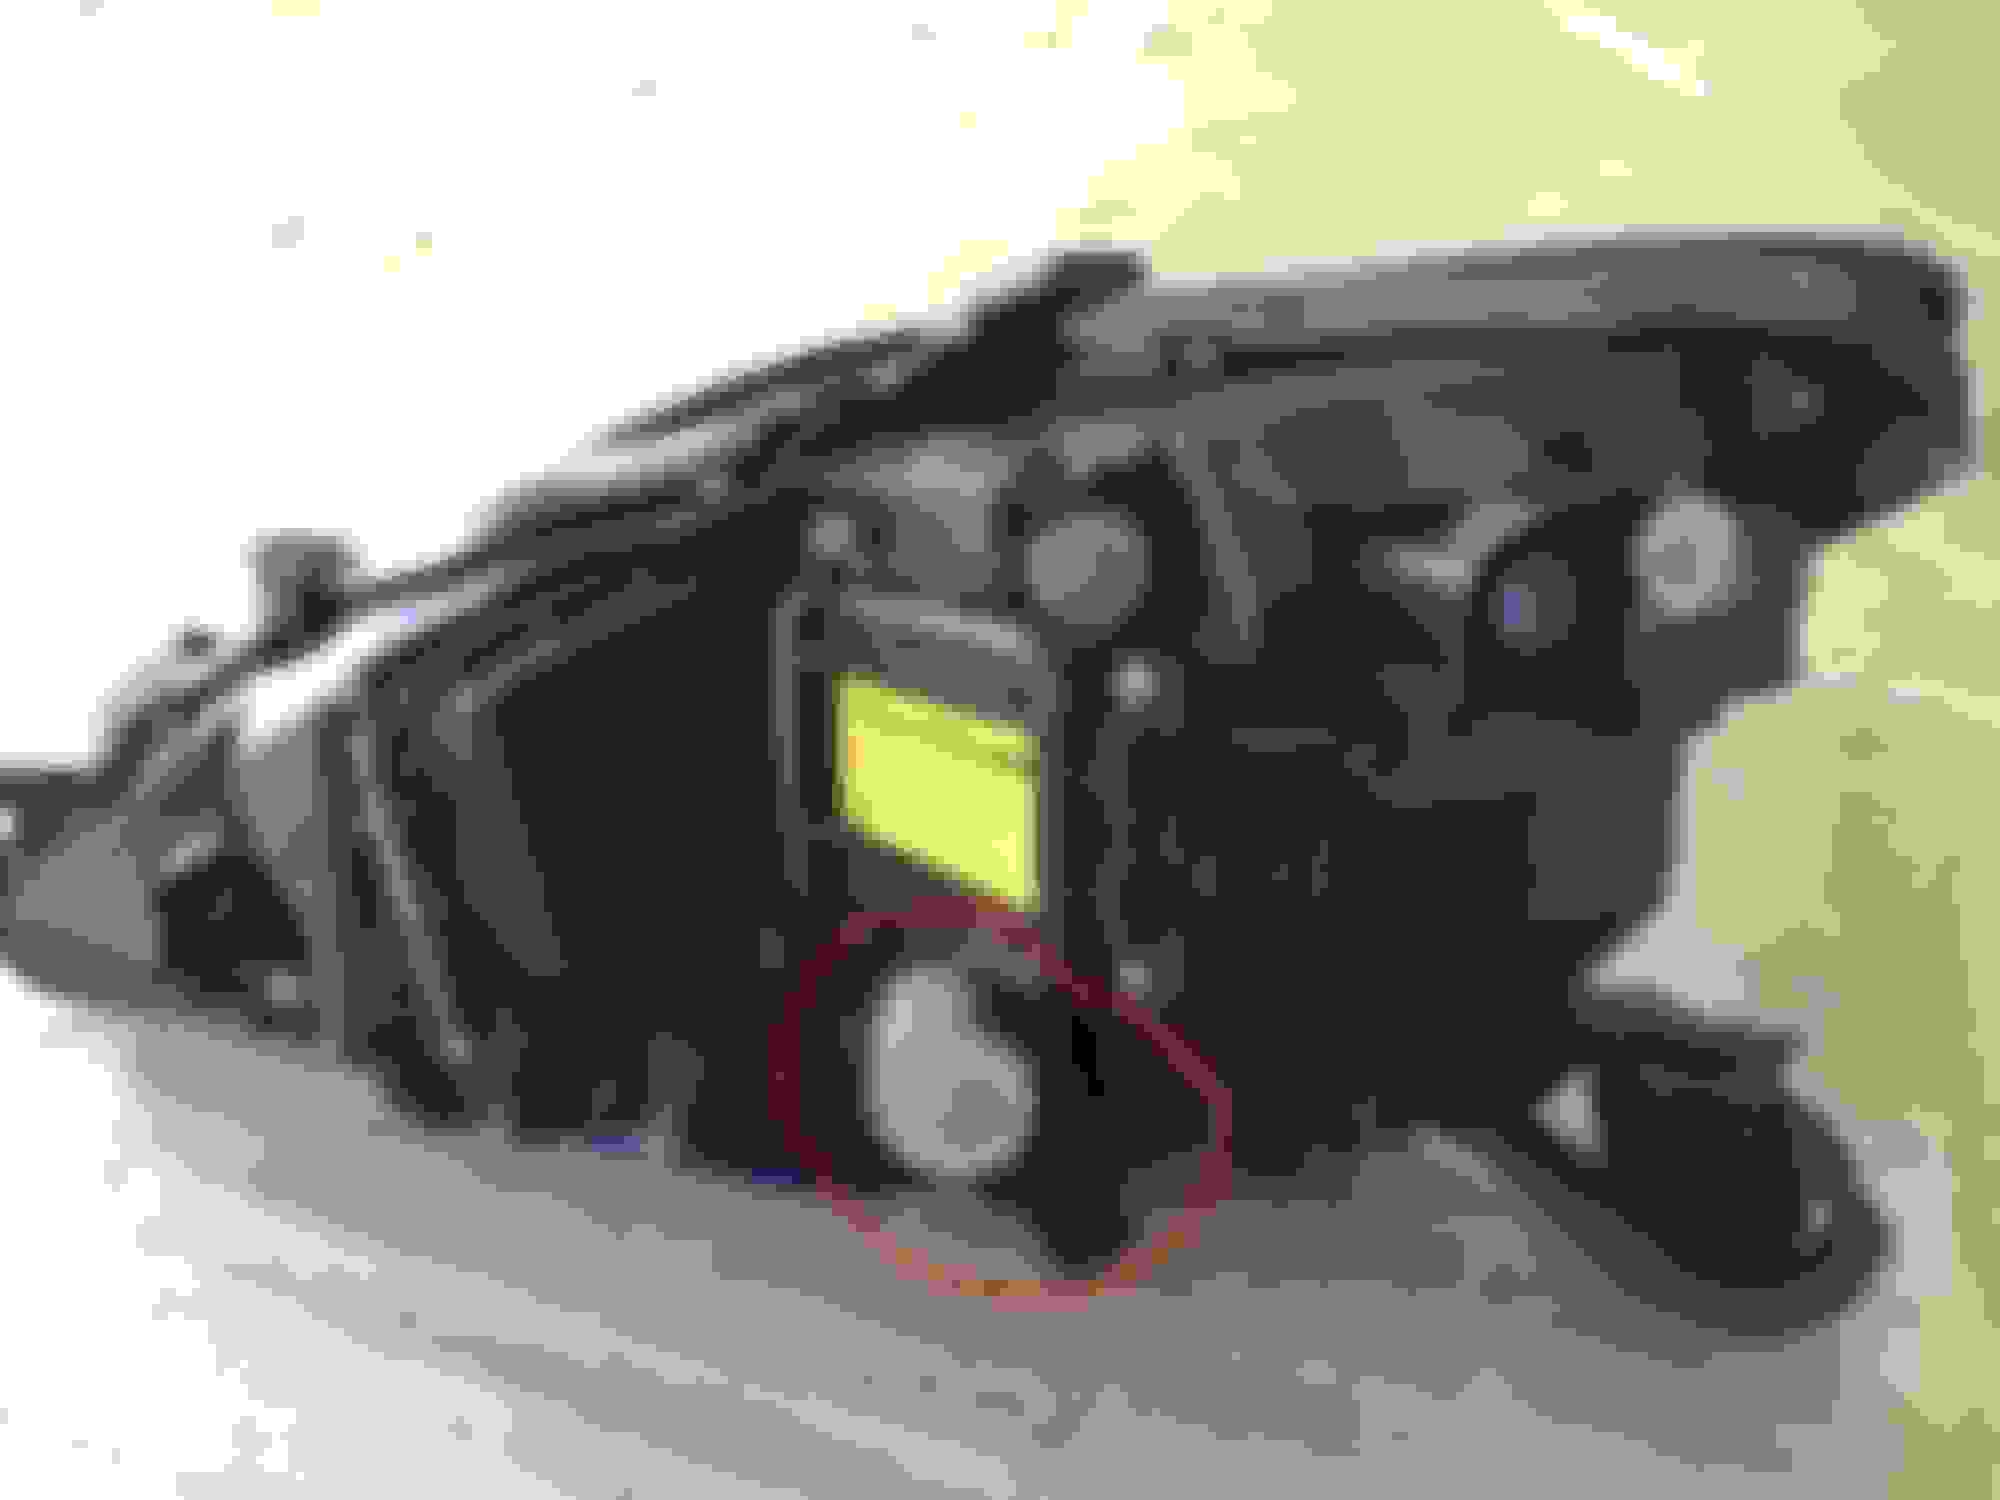
you then need to remove projector assembly and some small parts prior to that which is held by few screws. HARDEST part for me was in this pic, its the 3rd tab that holds onto the assembly at the bottom, which prevented me from removing assembly even when i had both horizontal & vertical white pieces loose. thats how it looks like from the back, its the denso thing in the pic below
that thing can be turned but not remove, you'll need to release the lock tabs from inside
after removed assembly then you have more room to remove both pieces, putting 2 pieces back was a nightmare for me, its held by 4 "hooks" as RU514 mentioned, it was very difficult to unlock them..
after both pieces combined. at this point you just put everything back in reverse order.
i began this project at 9am from removing bumper, remove headlamp, bake/pry, observe & understanding mechanism to fix, test headlamp, bake again to glue clear lens back, put bumper back, it was 4:20pm after everything complete. now i need to find another time to adjust the beam, i hope i dont f*** up again this time, all the tip of my fingers are in pain from doing this project

 06-07-14, 09:27 PM


 Some pieces are connected without any screws and I don't know how to remove them to get everything out.