How to Remove Scratches off Rear Bumper?
 03-22-14, 08:39 AM
#1
Intermediate
Thread Starter
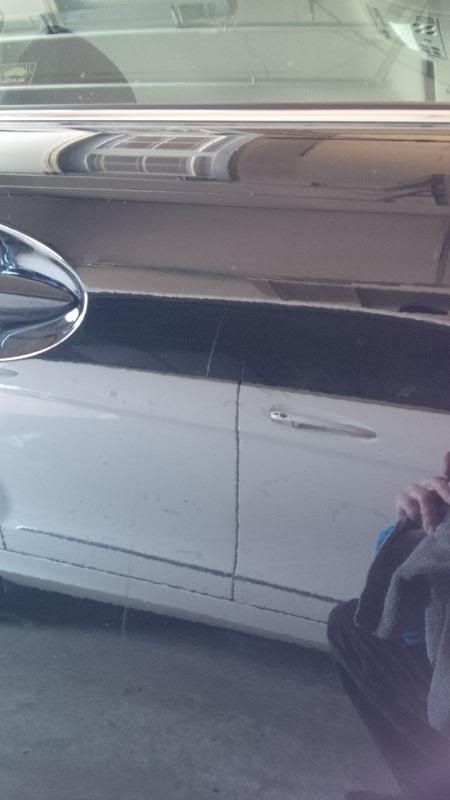
I don't know if these came from the soft cloth car wash or from a hit and run (can see a little ridge on the bottom left corner of first photo by the red cord).
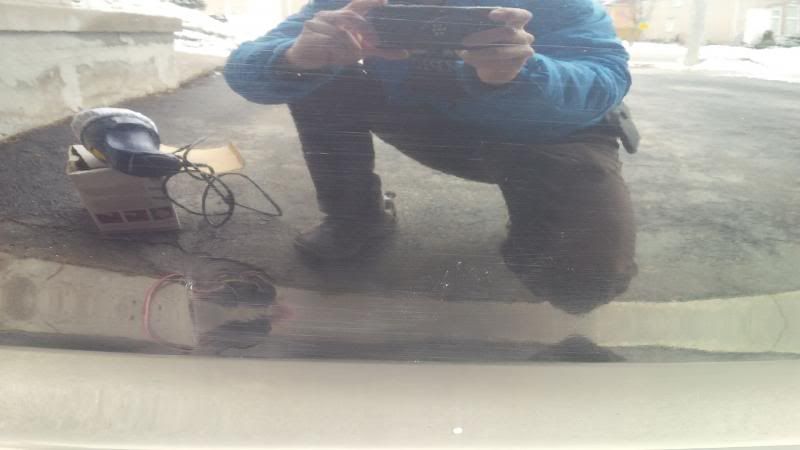
I used Meguiars Ultimate Compound and Chemical Guy's wax on it with a buffing machine. This is the best I can get it to. How can I remove these scratches? Can I apply clear coat on top of each scratch and buff it out before it completely dries?


I used Meguiars Ultimate Compound and Chemical Guy's wax on it with a buffing machine. This is the best I can get it to. How can I remove these scratches? Can I apply clear coat on top of each scratch and buff it out before it completely dries?
 03-22-14, 08:51 AM
#2

Ultimate compound is not aggressive enough for those deep scratches. You will need to buy M105 which is a 12 on a 1-12 cutting power scale. Use that with a dual action polisher set to around 3000 RPM and go over the area. It should at least minimize the appearance of the scratches, assuming the damage isn't all the way down to the primer. Good luck!
 03-22-14, 09:44 AM
#4
Pole Position
iTrader: (4)
Join Date: Apr 2013
Location: CA
Posts: 314
Likes: 0
Received 0 Likes
on
0 Posts
Wet sand is best go from 1500 grit to the highest one... I think its 3k grit I forget.. then use scratch repair compound from any local auto store and finally polish it out and you should be fine. Looks like minor scratches on the clear coat and not the paint.
03-22-14, 11:39 AM
#5
Intermediate
Thread Starter
Thanks all!
I think wet sanding may be too much for what I have, so I will try the M105. Just need to find where to buy it.
I remember I had a tube of Meguairs Scratch X and thought I'd try it out first. Much better!
I think wet sanding may be too much for what I have, so I will try the M105. Just need to find where to buy it.
I remember I had a tube of Meguairs Scratch X and thought I'd try it out first. Much better!

 03-22-14, 11:57 AM
#7
Intermediate
Thread Starter
Trending Topics

 03-23-14, 07:41 AM
#10
Sorry - this should have been moved to the detailing section and I would have seen it.
It is always very difficult to gauge the severity of these types of defects without seeing them and feeling them. If you can catch them with your finger nail, sorry to say, I would not even bother trying to correct them.
If not, then we can start discussing how to go about removing the majority of them.
First things first... the golden rule of paint correction is always use the least aggressive method first! Polishes and compounds are liquids that contain fine abrasives in them. When these products are rubbed on the paint, you are removing a fine layer of your paint in order to level the surface and effectively eliminate or improve the scratch.
Automotive paint is extremely thin, typically averaging in the low 100 micron range. This measurement includes primer, base coating and clear coat.... to give you a point of reference, a piece of computer paper is around 80 microns thick! That means your clear coat is less than the thickness of a sheet of paper!

^This image shows the thickness of the paint on a brand new Audi SUV. Scary, but not uncommon!
So, with that being said, I highly recommend avoiding sanding OEM paint unless you are a professional with access to a digital paint thickness gauge and you know exactly how much clear you have available to work with.
Now, the good news is that it appears some of the scratches you are seeing are common defects from improper washing and drying (others appear more severe... but can still be the cause of improper maintenance using poor technique and poor quality towels, wash mitts, and products). I would bet that if you shined a bright light at your paint you would notice swirls and defects all over the place.

^This IS300 is an extreme example, and I hope yours is not this bad, but it will serve as a good point as we continue...
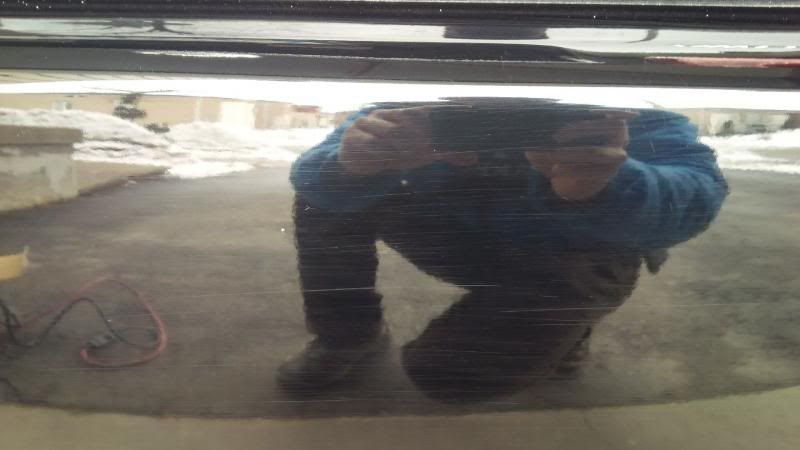
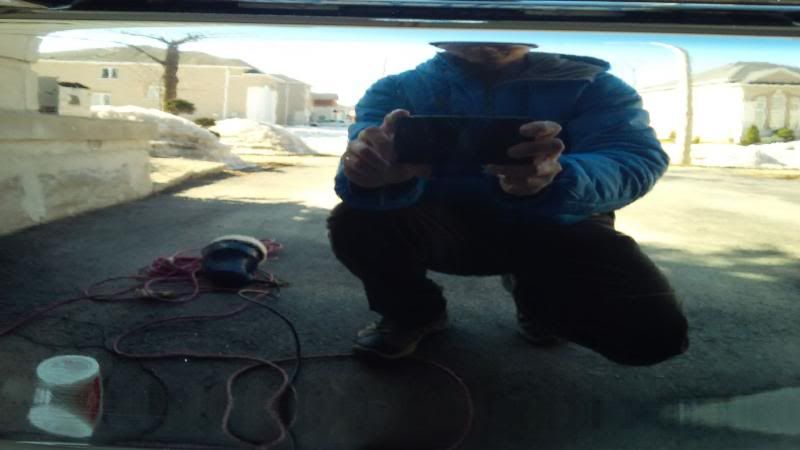
Swirls can be removed with the use of a Dual Action Polisher like the Griot's Garage machine or the Porter Cable 7424XP, appropriate pad, and compound or polish selection. The machine I see in the reflection of your image is not nearly capable of the type of correction you need... it is nothing more than a big wax spreader (and not worth using IMO - you should invest in a better unit like the ones listed above to maximize your results).
A previous member recommended Meguiar's M105 and M205 - these are fantastic products through Meguiar's Professional Line Up that you will find on the shelves of most professional detailers.

^Here is another picture of the IS300 that I referenced in the image above. This correction was achieved with the M105/M205 combo with a Porter Cable machine.
Going back to the "least aggressive method " mentality - I would personally start with a polishing pad and some M205, on a moderately high machine speed (4.5-5). Using slow arm movement and moderate pressure, you will easily remove the swirls from the paint. If, and only if, this process does not remove the defects to meet your expectations, you can then step up to a light cutting pad and M105.
If you would prefer a professional tackle this job for you, I would be more than happy to recommend someone in your area.
With that being said, the root of all of these defects usually goes back to your maintenance habits. Please CLICK HERE to read an article on proper washing and drying technique that will help avoid these unslightly defects.
For a full list of product recommendations for every step of the detailing process, check out my response to this thread in the CL Detailing Section: CLICK HERE
If you have any questions regarding detailing products or processes, please let me know and I would be happy to help. You may also find my articles on the Detailed Image Ask-A-Pro Blog to be helpful.
-Zach McGovern
It is always very difficult to gauge the severity of these types of defects without seeing them and feeling them. If you can catch them with your finger nail, sorry to say, I would not even bother trying to correct them.
If not, then we can start discussing how to go about removing the majority of them.
First things first... the golden rule of paint correction is always use the least aggressive method first! Polishes and compounds are liquids that contain fine abrasives in them. When these products are rubbed on the paint, you are removing a fine layer of your paint in order to level the surface and effectively eliminate or improve the scratch.
Automotive paint is extremely thin, typically averaging in the low 100 micron range. This measurement includes primer, base coating and clear coat.... to give you a point of reference, a piece of computer paper is around 80 microns thick! That means your clear coat is less than the thickness of a sheet of paper!
^This image shows the thickness of the paint on a brand new Audi SUV. Scary, but not uncommon!
So, with that being said, I highly recommend avoiding sanding OEM paint unless you are a professional with access to a digital paint thickness gauge and you know exactly how much clear you have available to work with.
Now, the good news is that it appears some of the scratches you are seeing are common defects from improper washing and drying (others appear more severe... but can still be the cause of improper maintenance using poor technique and poor quality towels, wash mitts, and products). I would bet that if you shined a bright light at your paint you would notice swirls and defects all over the place.
^This IS300 is an extreme example, and I hope yours is not this bad, but it will serve as a good point as we continue...
Swirls can be removed with the use of a Dual Action Polisher like the Griot's Garage machine or the Porter Cable 7424XP, appropriate pad, and compound or polish selection. The machine I see in the reflection of your image is not nearly capable of the type of correction you need... it is nothing more than a big wax spreader (and not worth using IMO - you should invest in a better unit like the ones listed above to maximize your results).
A previous member recommended Meguiar's M105 and M205 - these are fantastic products through Meguiar's Professional Line Up that you will find on the shelves of most professional detailers.
^Here is another picture of the IS300 that I referenced in the image above. This correction was achieved with the M105/M205 combo with a Porter Cable machine.
Going back to the "least aggressive method " mentality - I would personally start with a polishing pad and some M205, on a moderately high machine speed (4.5-5). Using slow arm movement and moderate pressure, you will easily remove the swirls from the paint. If, and only if, this process does not remove the defects to meet your expectations, you can then step up to a light cutting pad and M105.
If you would prefer a professional tackle this job for you, I would be more than happy to recommend someone in your area.
With that being said, the root of all of these defects usually goes back to your maintenance habits. Please CLICK HERE to read an article on proper washing and drying technique that will help avoid these unslightly defects.
For a full list of product recommendations for every step of the detailing process, check out my response to this thread in the CL Detailing Section: CLICK HERE
If you have any questions regarding detailing products or processes, please let me know and I would be happy to help. You may also find my articles on the Detailed Image Ask-A-Pro Blog to be helpful.
-Zach McGovern
Last edited by zmcgovern4; 03-23-14 at 07:46 AM.
03-23-14, 10:34 AM
#11
^ Good write up. I have similar scratches in my rear bumper that can't be removed completely by buffing. A professional repaint runs $500. That includes removing the bumper, previous paint, and repainted. It's about the same cost to get a new oem painted bumper.
03-23-14, 01:32 PM
#12
Intermediate
Thread Starter
Thanks Zack for the information! You can't feel any of the scratches with a finger nail.
Fortunately, my overall car paint condition is very good to excellent. I have some scratches here and there, but nothing to fret over. Just the rear bumper is the tumor so to speak.
Rear deck:
Side of the car (with some dried water runs):
I was able to get some M105 and I used a Zaino polishing pad attached to my random orbital buffer. I was able to make further improvement to the point where I decided to call it quits....at least for today. I might do some more work another day.
You can still see some scratches at the bottom where I didn't concentrate as much:
Some horizontal scratches here and there, but the deeper ones are much fainter:

Fortunately, my overall car paint condition is very good to excellent. I have some scratches here and there, but nothing to fret over. Just the rear bumper is the tumor so to speak.
Rear deck:

Side of the car (with some dried water runs):

I was able to get some M105 and I used a Zaino polishing pad attached to my random orbital buffer. I was able to make further improvement to the point where I decided to call it quits....at least for today. I might do some more work another day.
You can still see some scratches at the bottom where I didn't concentrate as much:


Some horizontal scratches here and there, but the deeper ones are much fainter:
 03-23-14, 06:27 PM
#14
M105 is absolutely a must have product in your garage for detailing. It really is able to take out the most aggressive scratches in our soft Lexus paint. Glad the scratches are gone!

Thread
Thread Starter
Forum
Replies
Last Post
imrankh24
Automotive Care & Detailing
11
11-19-16 05:05 PM