DIY Fusible Link Removal?
#31
Driver School Candidate
Join Date: Apr 2006
Location: NSW
Posts: 15
Likes: 0
Received 0 Likes
on
0 Posts
I made a similar mistake while replacing the pulley/tensioner. tapped the alternator ground with my wrench and went metal to metal, shot some sparks and blew the fusable link. ALWAYS DISCONNECT YOUR BATTERY AND PAY ATTENTION TO TERMINAL + AND - SIDES LOL
Here are some tips. and what you need
(needle nose pliers or vise grips, 10mm & 8mm sockets, long thin flat head screw driver, fine tip sharpie)
remove the cover and remove the bolt inside the black cover, this holds the fusable link to a main cable (probably the alternator cable).
After that bolt is removed use some muscle and pull that cable out. Everything slides UP on this damned box lol.
once that is done you will still see a smaller wire running into the left side of the box on the underside and a fat group of cables on the right. at this time undo the bolts that hold the box to the fender but keep them near by.
after both bolts are out pull up on the box and flip it so you can CUT the ZIP TIE on the bottom right side of the box, be vary careful not to cut that cable. this will allow you some more freedom when it comes to moving things and basically flexing with all of your muscle to get this thing apart.
now that the wire is disconnected reattach the box to the fender with the two bolts. you'll understand why shorty.
now you will need needle nose pliers or something to pull up pieces of the fuse box.
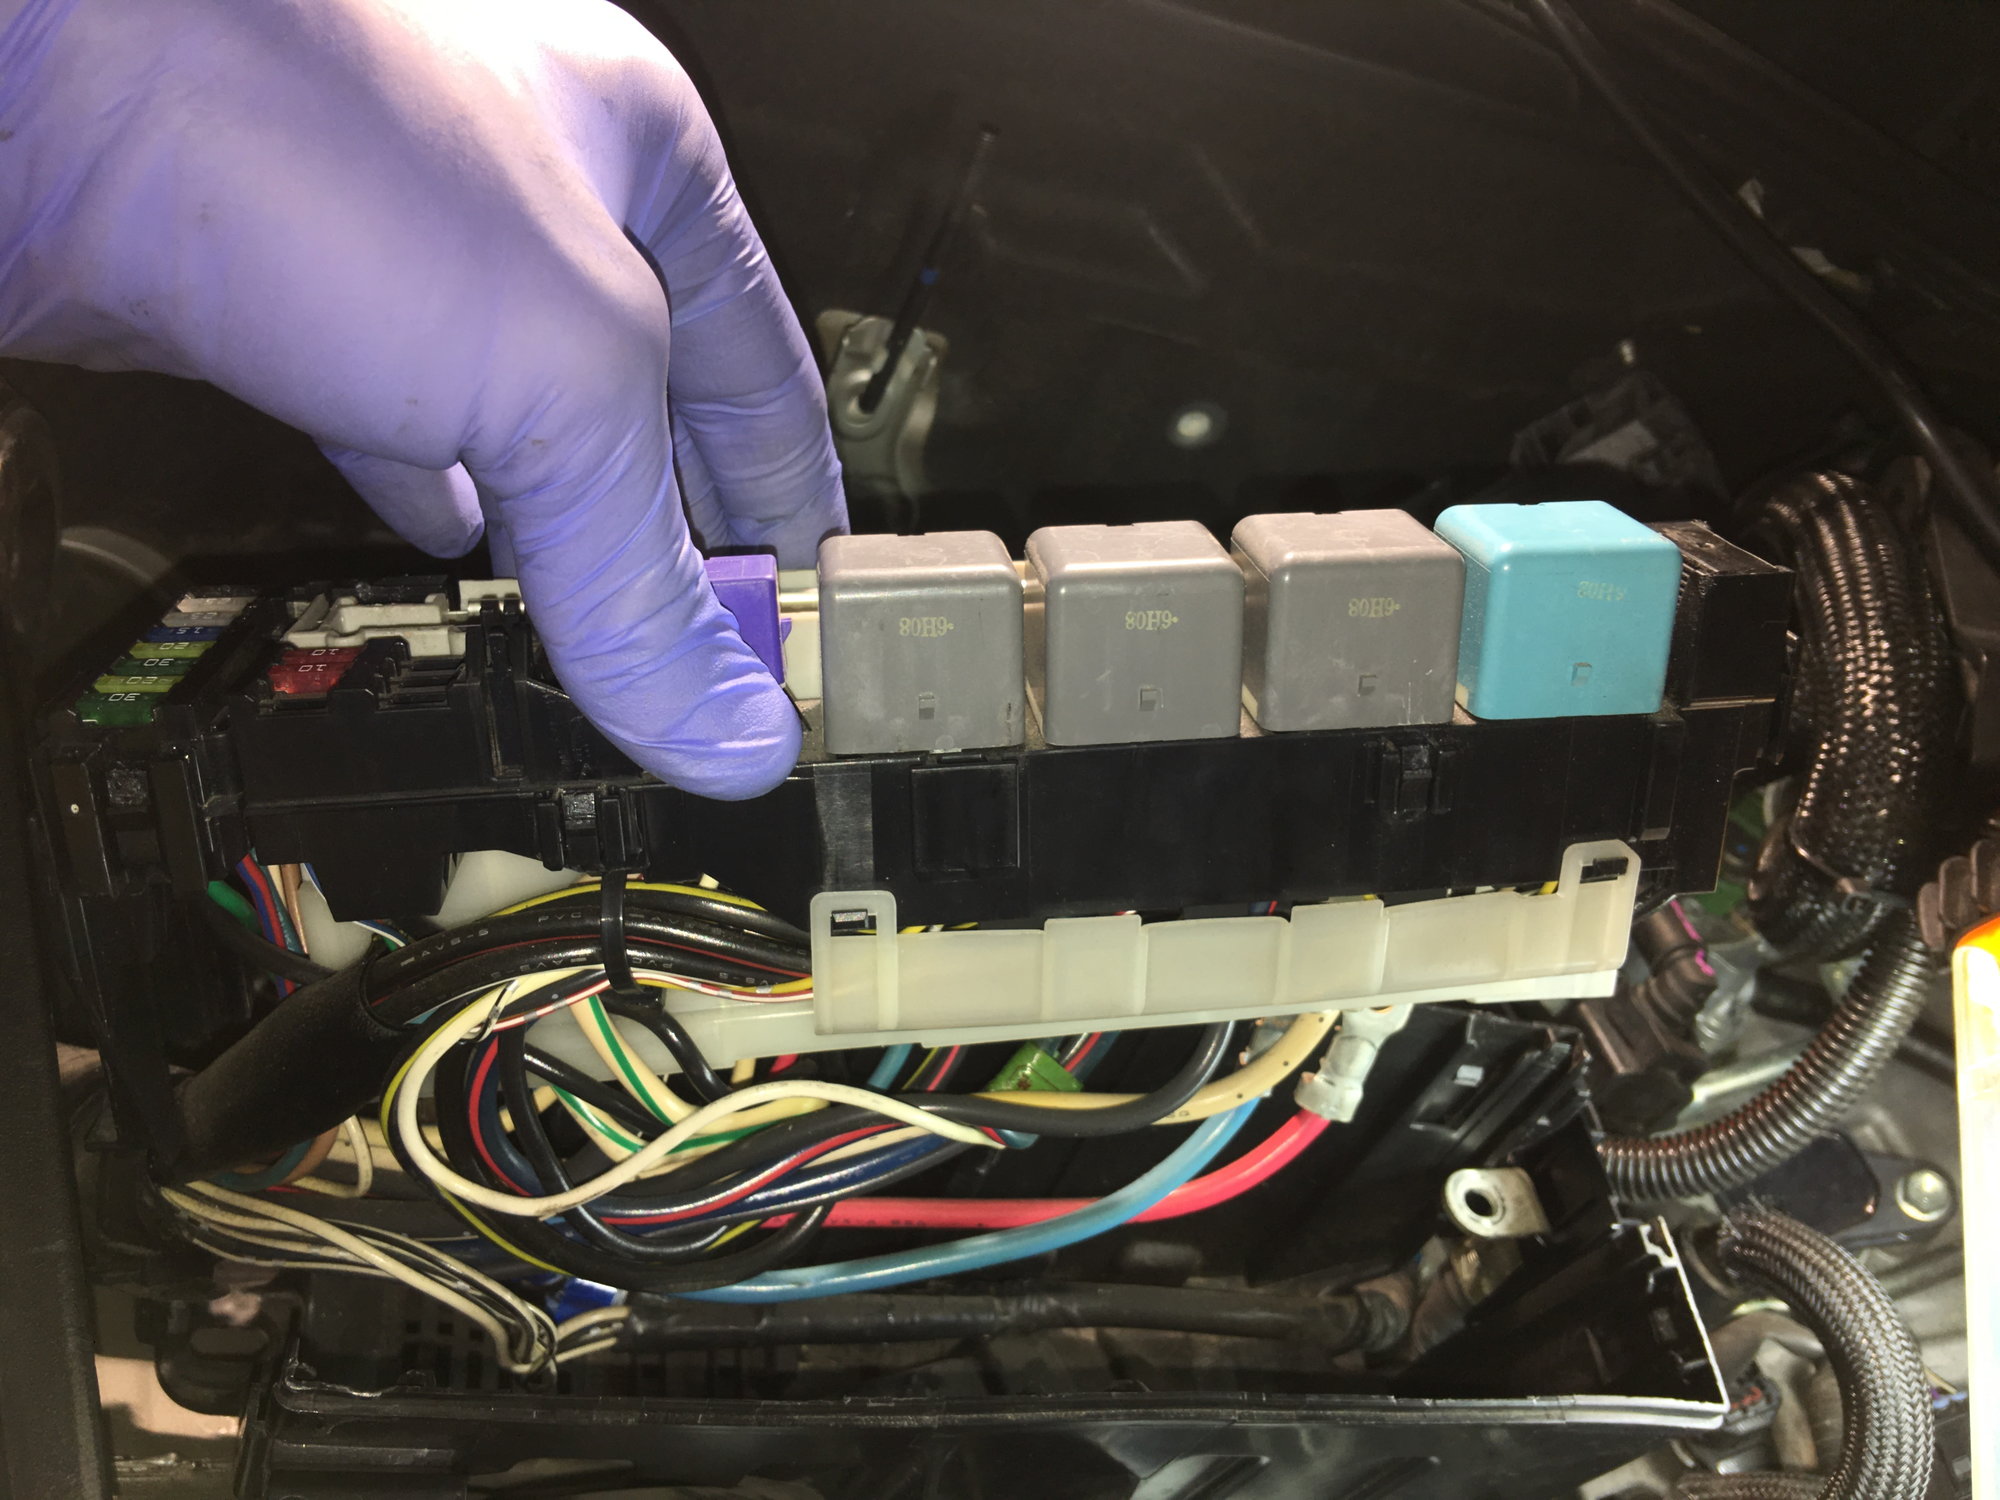
there are 3 pieces (1 long black piece, a smaller black piece, and the white fusable link)
I pulled up on the smaller black piece with my pliars but as you do this you need to use your other hand to push the tabs inside the box holding the fuse pieces inwards or outwards depending which tab it is while constantly pulling up. once you get fuse pieces started and raised maybe half of an inch switch to the long black piece.
The long black piece must come out first. but you have to pry a white container on the bottom side of it off before it can be separated from the fusable link. once you pry the two white tabs off of it the long black fuse piece will separate and you can pull it out.
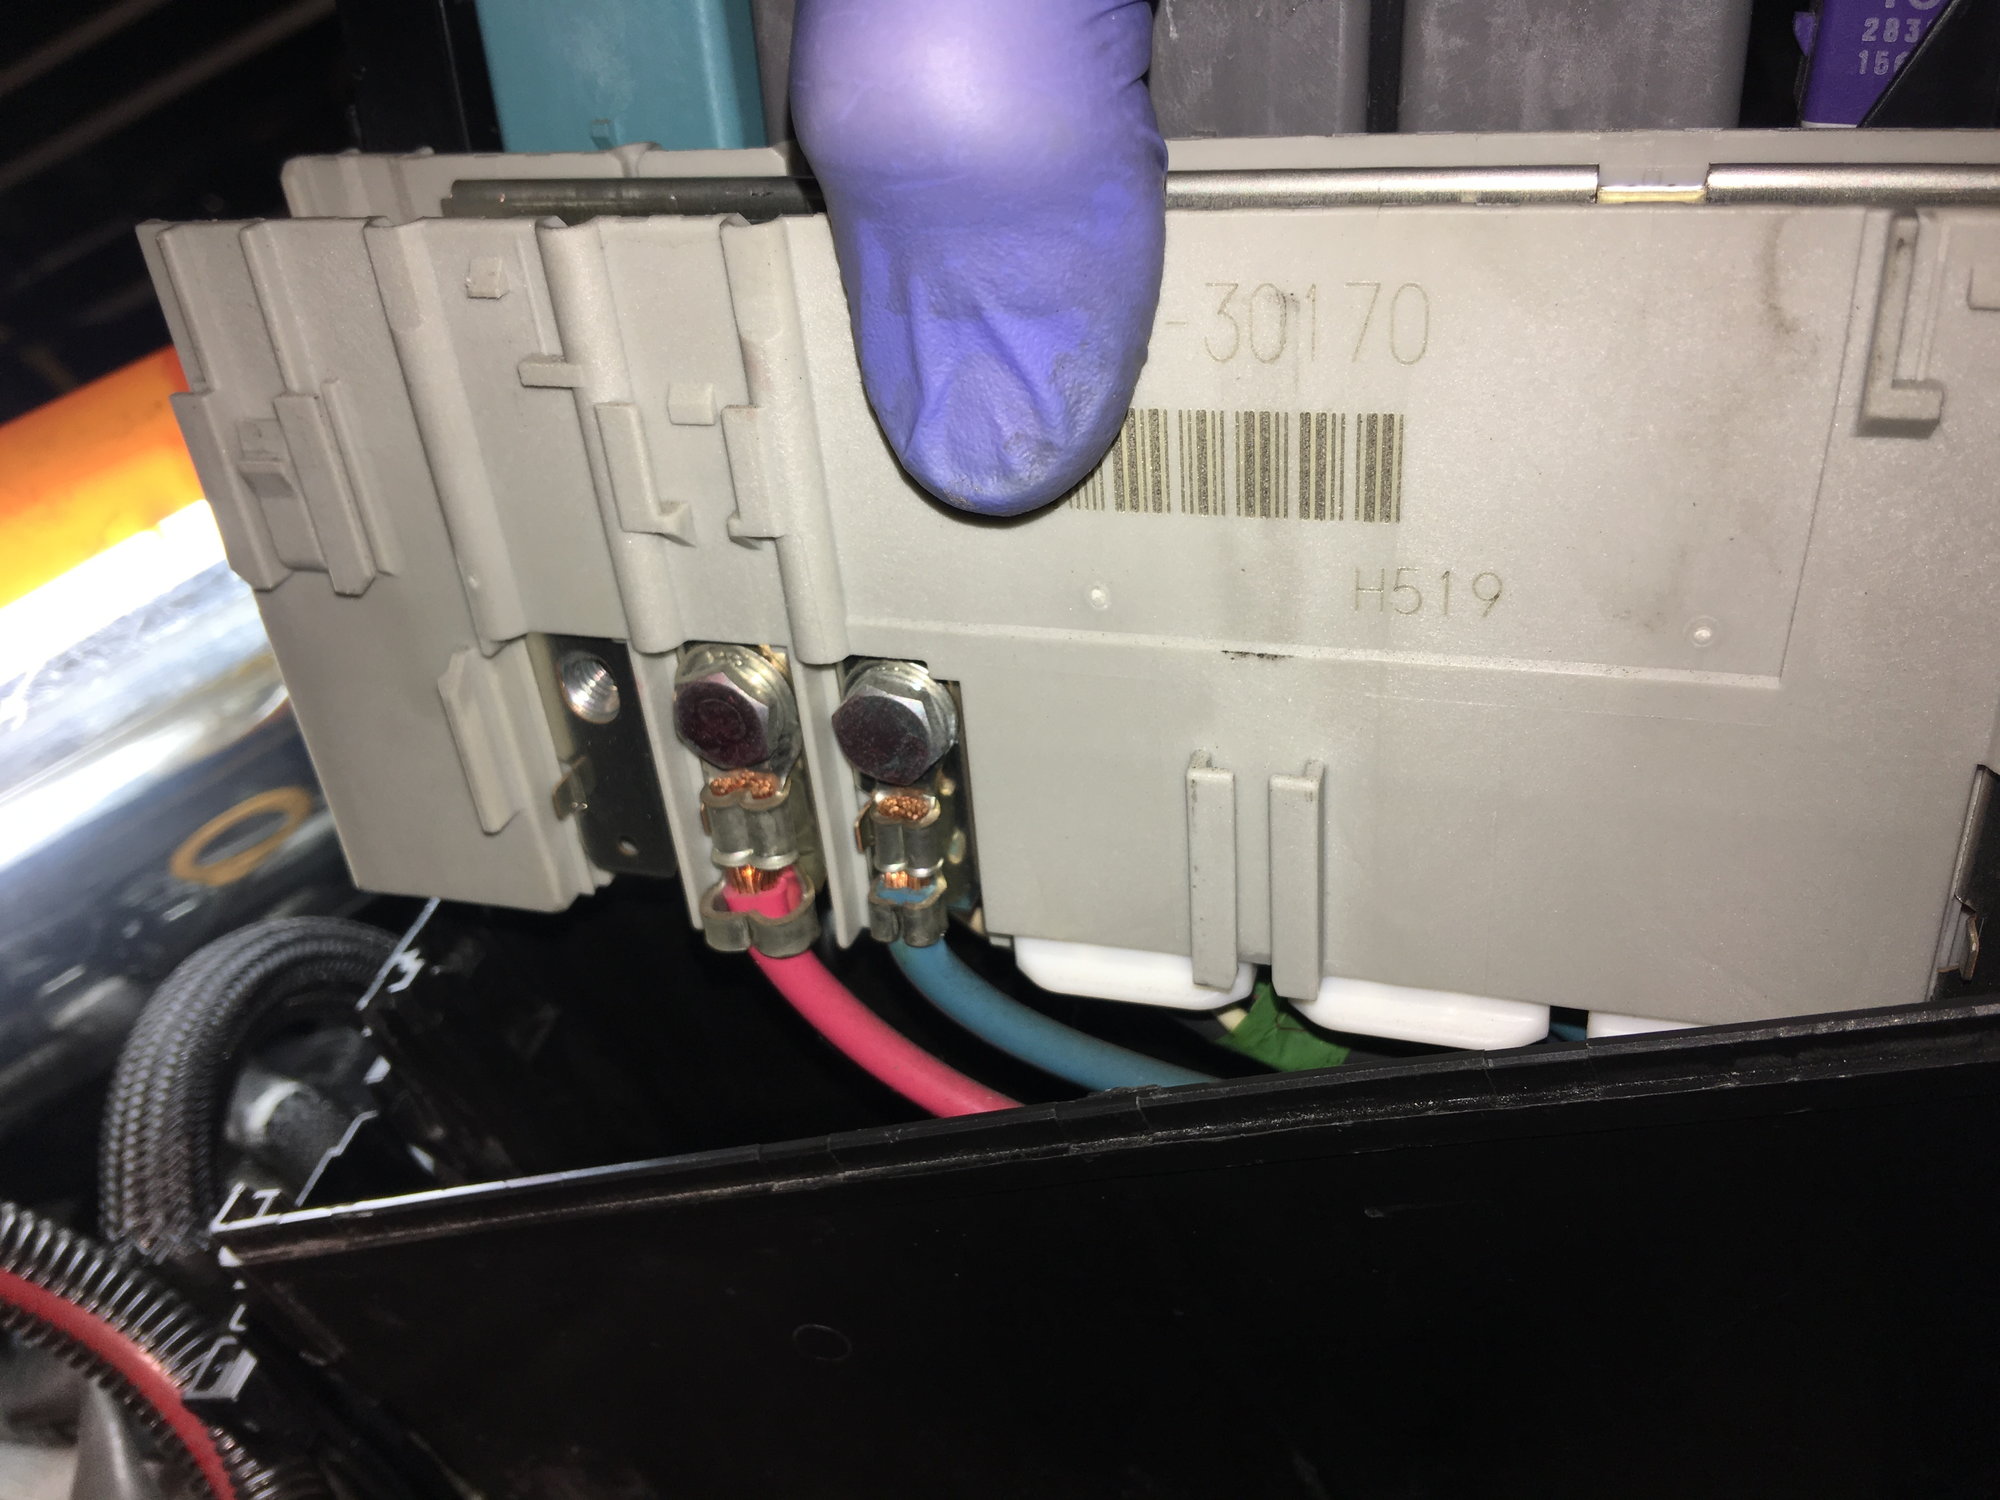
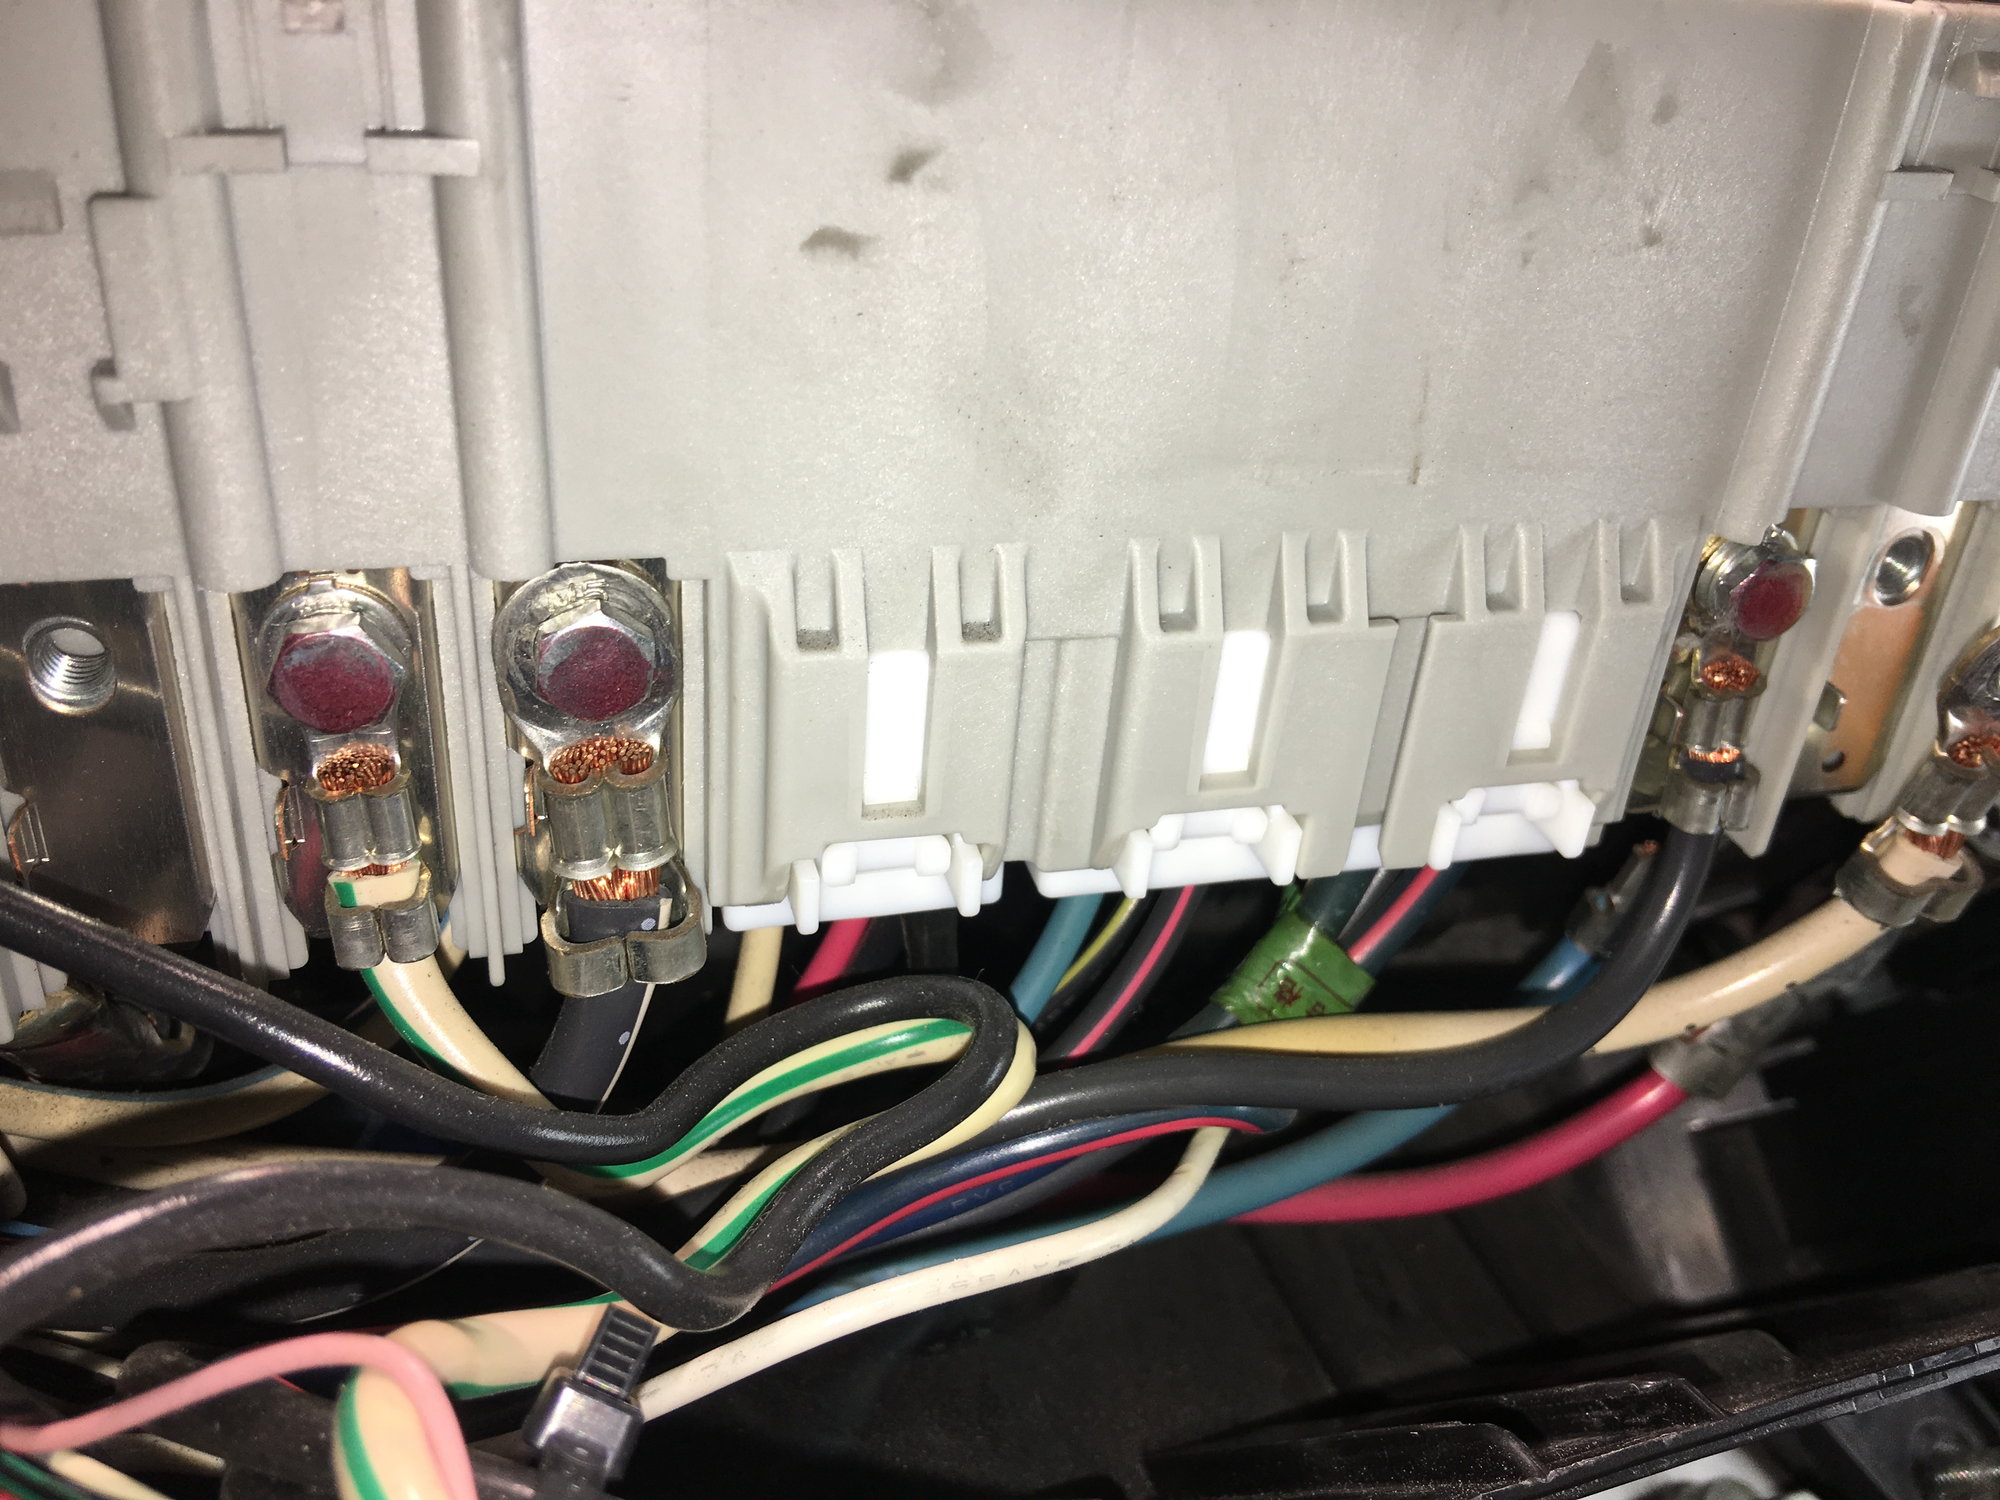
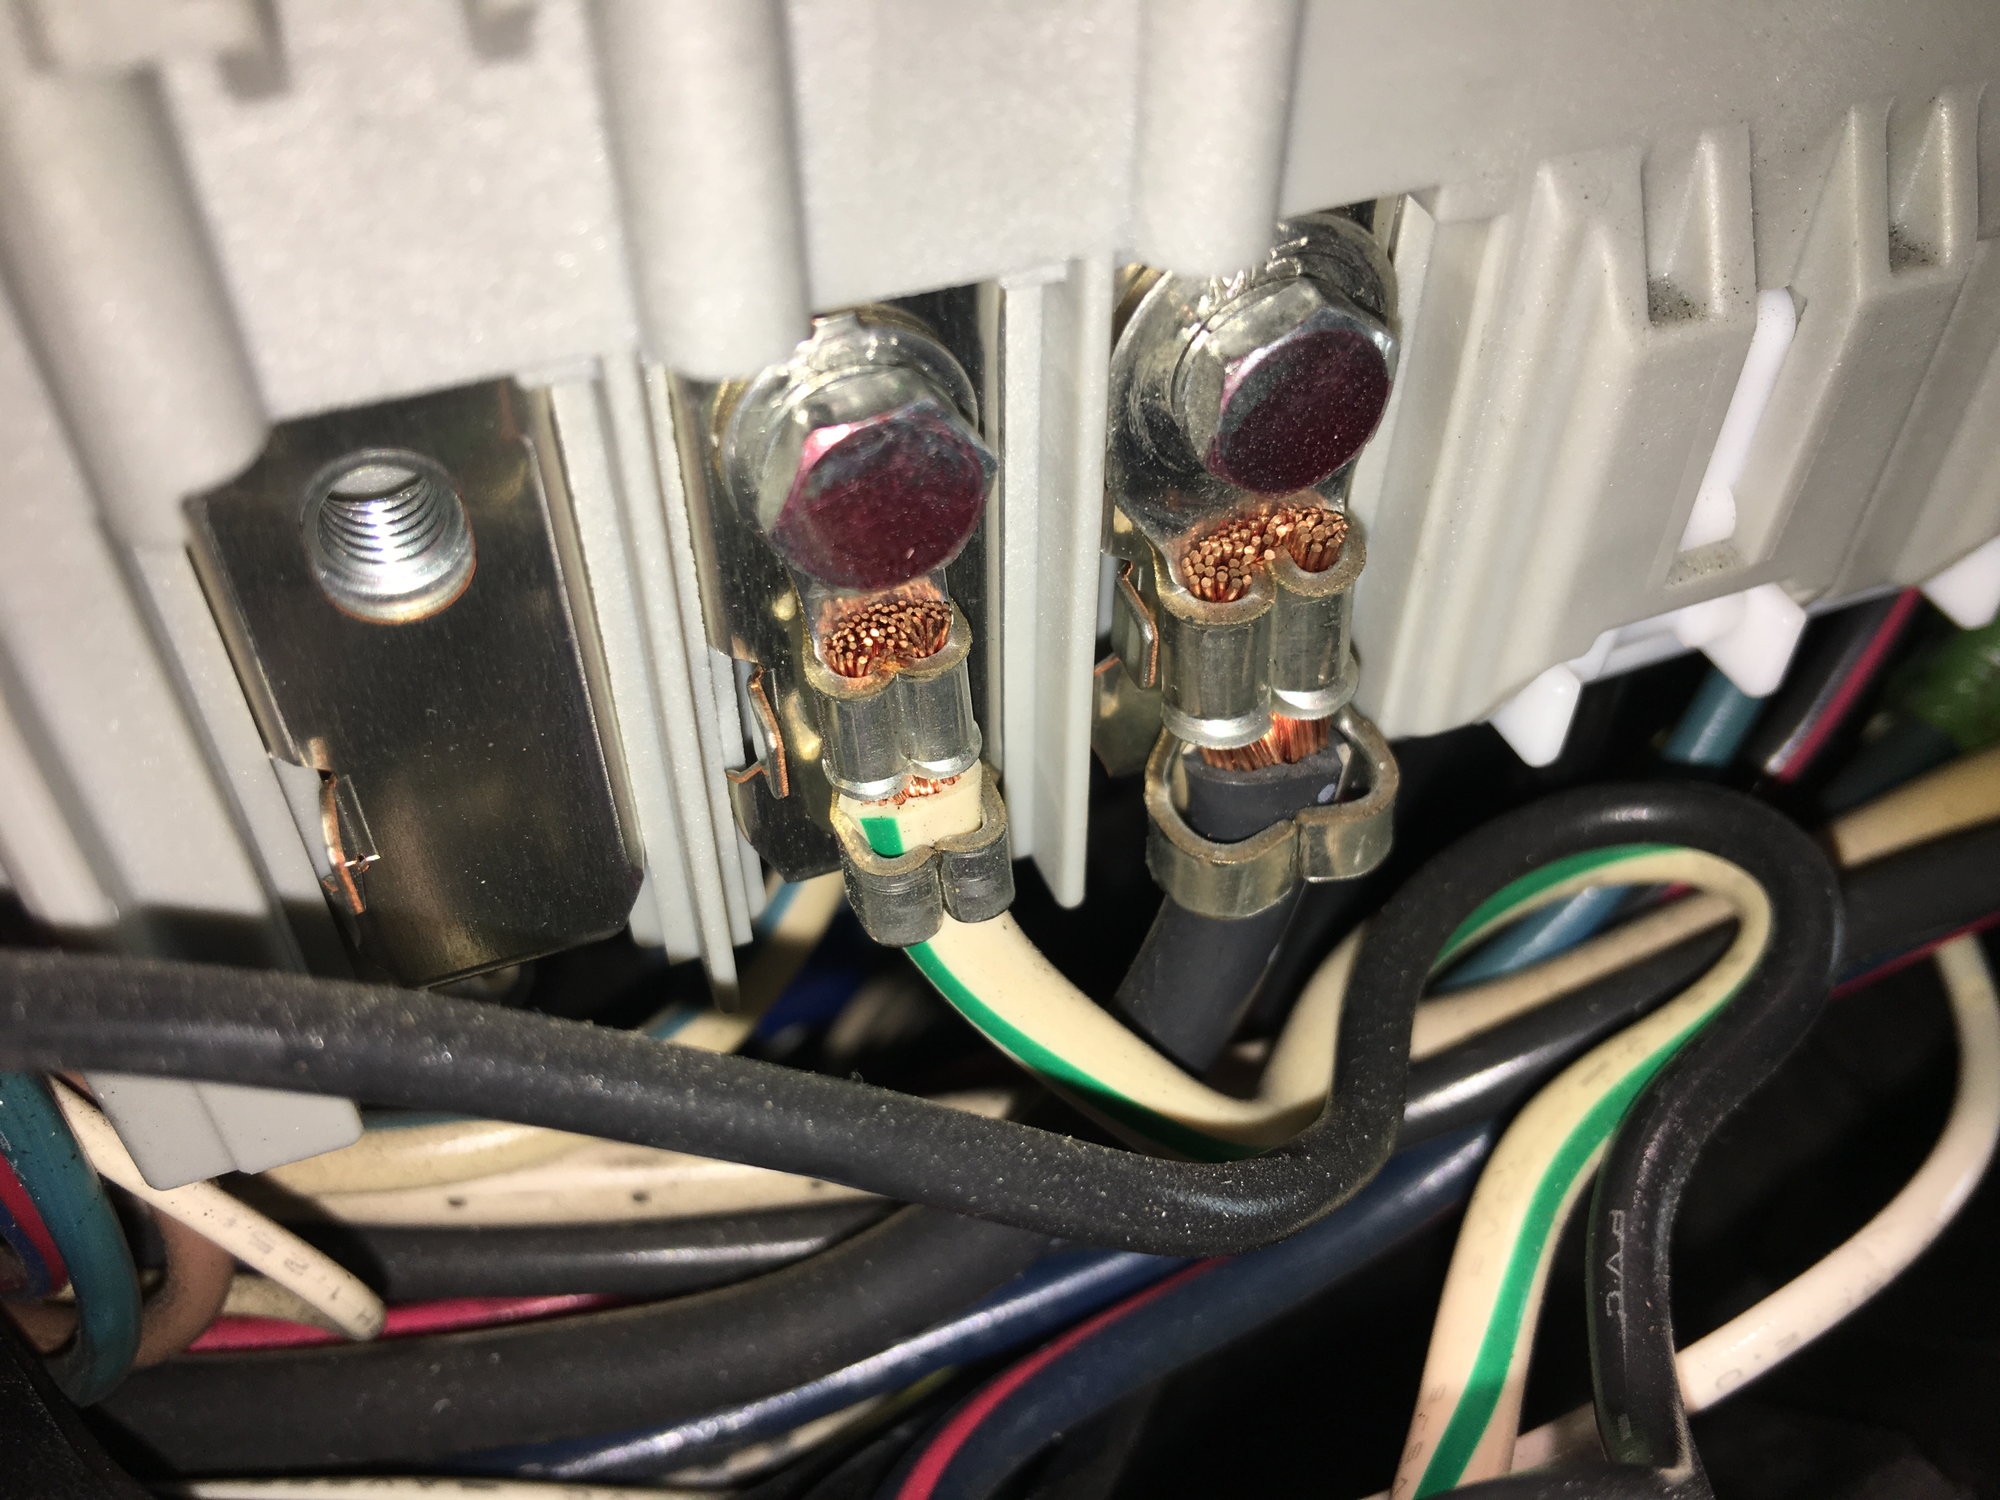
now undo those two fender bolts again and get the box out of your way. undo the bolt that holds the smaller black fuses to the fusable link and pull it up and away.
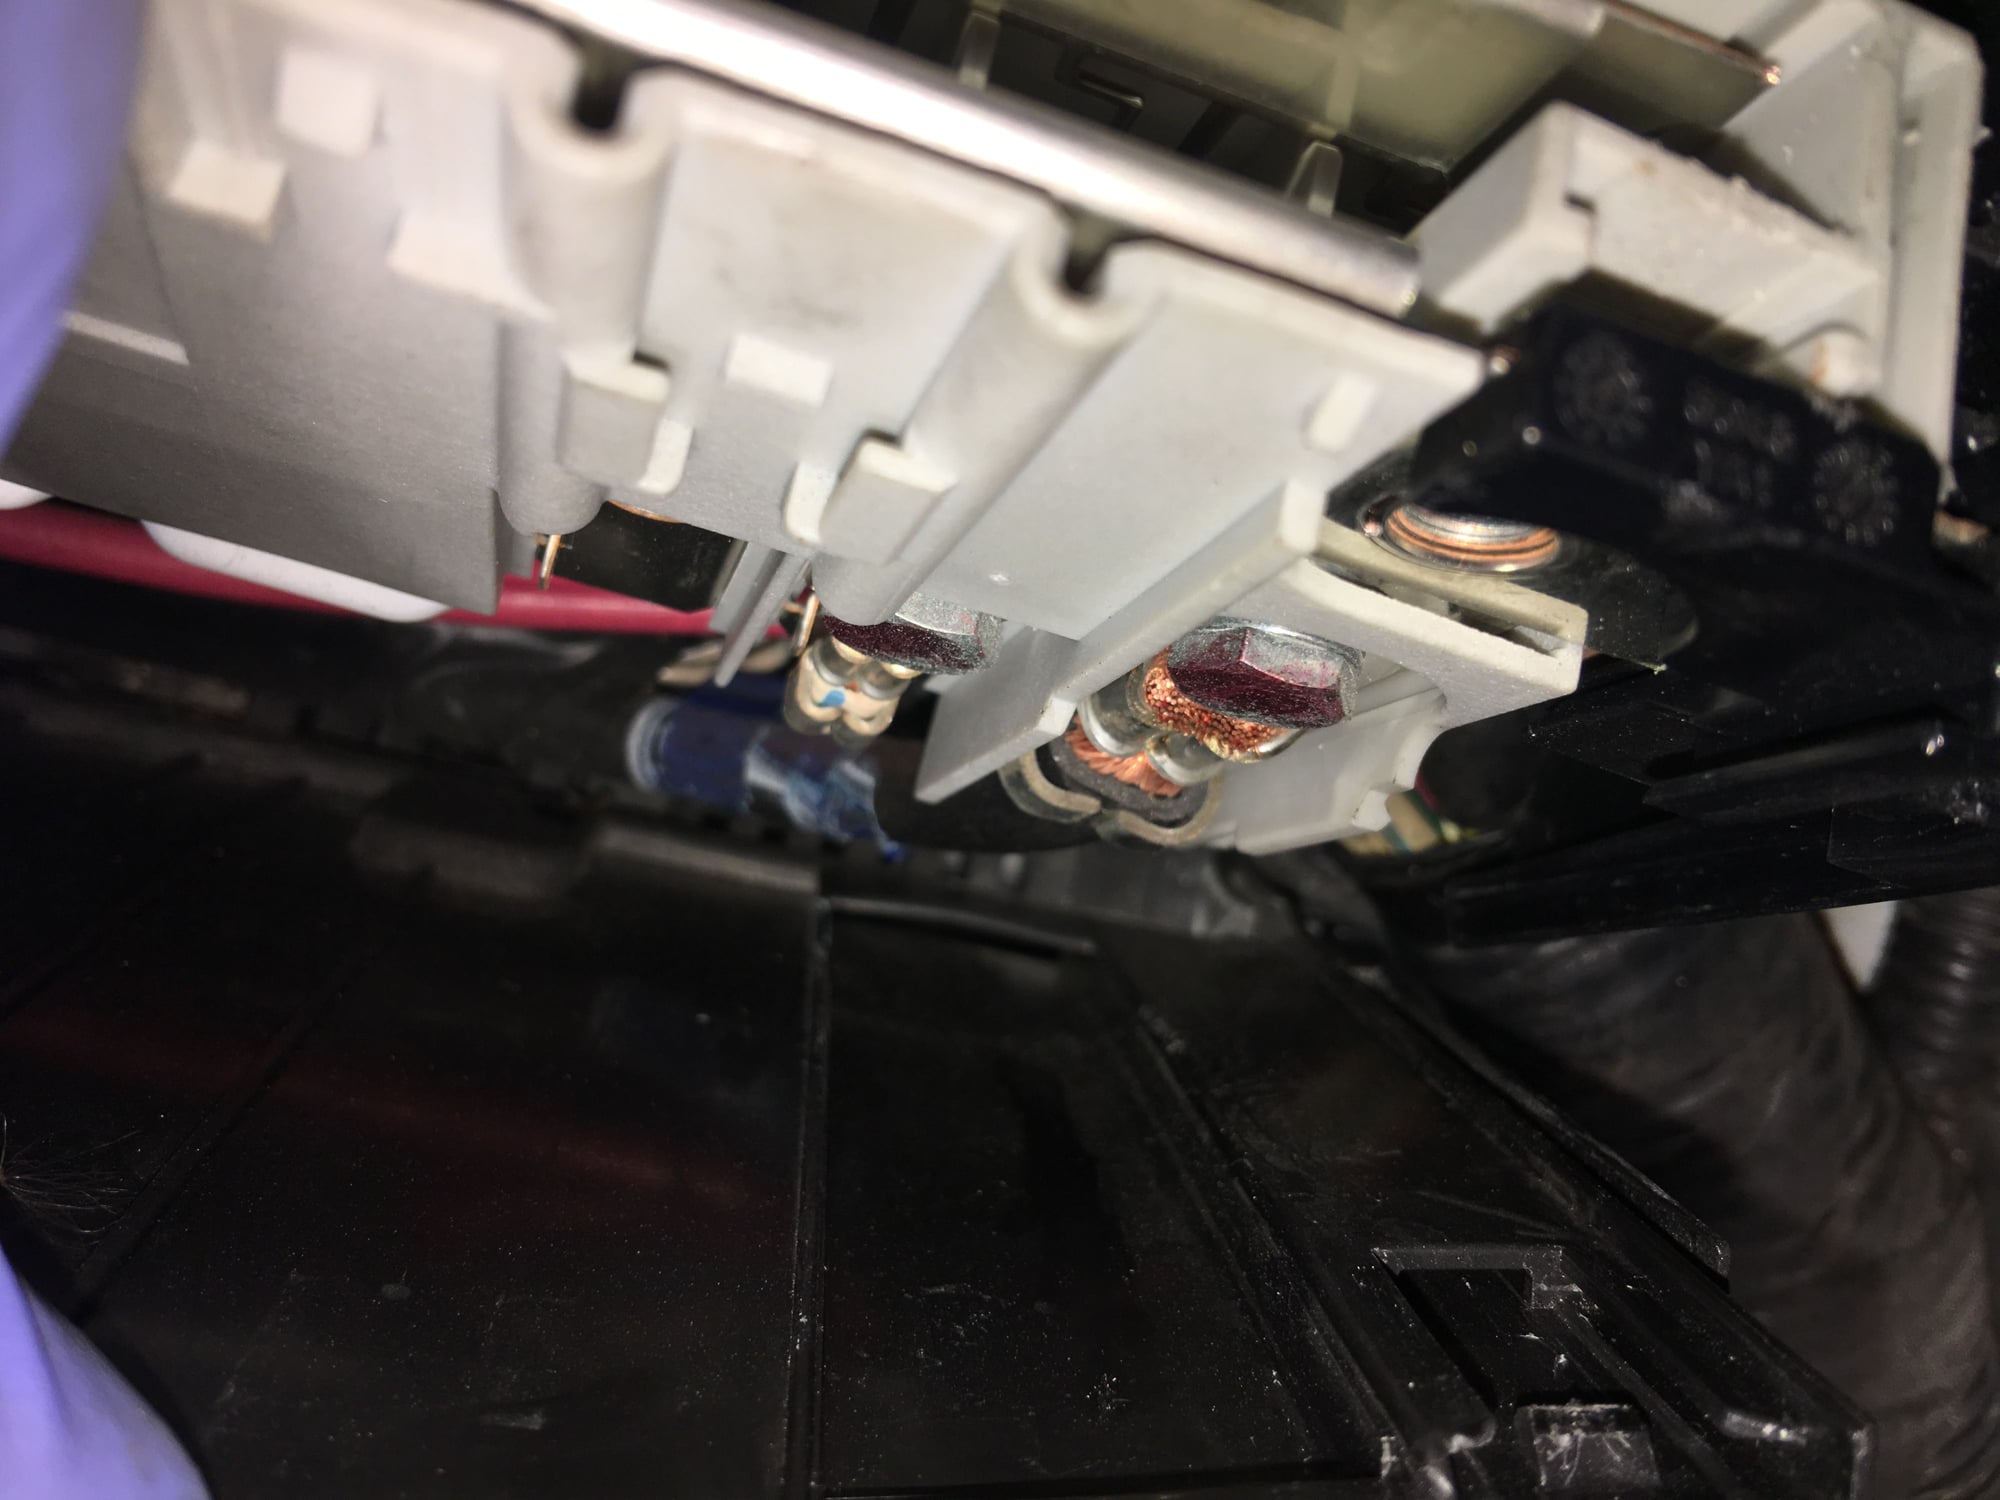
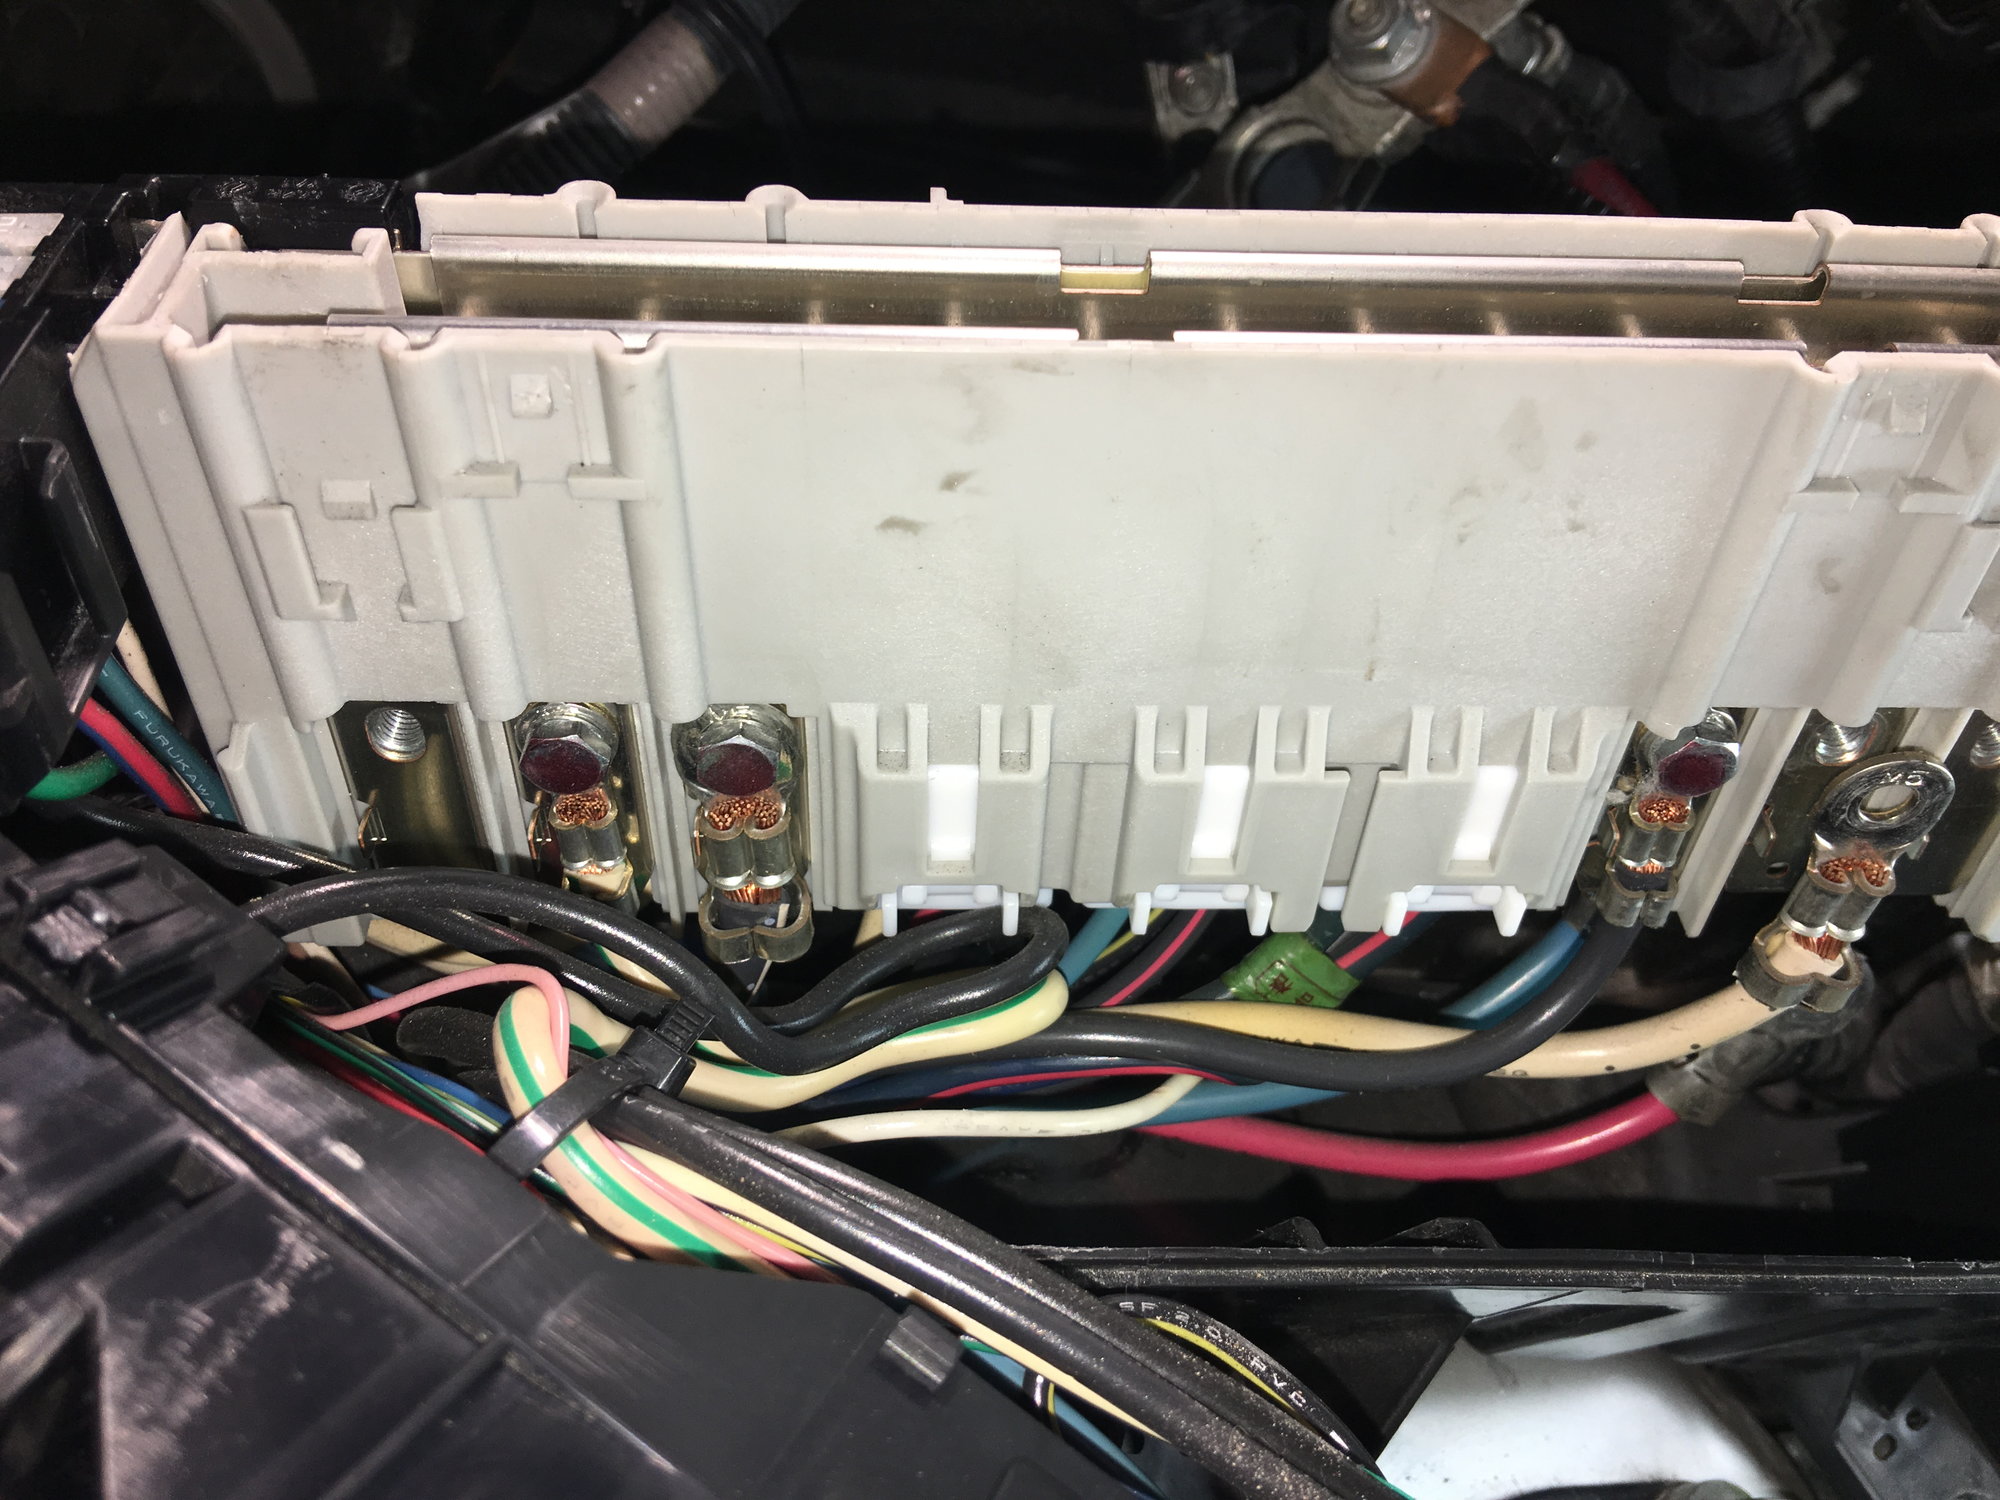
now you should have this rats nest of a fusable link and cables staring at you. I took pictures of both sides of the box incase i ever got mixed up or confused. I also used a fine tip sharpie to number each connection on BOTH fusable links and number each CABLE on the metal connection that corresponds. So you should be numbering or labeling 1. blown fusable link 2. cables attached with their corresponding label or number 3. the new fusable link
the back side facing the windshield is all 10mm, and the front is 8mm, undo them and then pull the connectors out last. the connectors were really hard to pull out. I had the screw driver pushing the tab in and pulling the cables (but be CAREFUL) you don't want to unpin anything .
reattach the connectors then the cables this helps keep the cables in place. also try to lay the fusable link flat YOU DONT WANT TO LOSE THESE BOLTS. I almost lost one, and you will not be happy. so just take your time reattaching everything.
then reattach the small black connector to the new fusable link by sliding it onto it and then bolting it in place. then attach the black long piece and the white case the holds the stray cables in place. I put it all together and then as a unit slid it back into the box. it is tricky as you have to make sure all the slides line up and everything locks/clicks in place. then reattach the alternator cable by pulling really hard and bolting it back into the box, bolt the fusable link down, and bolt the box back in place, close the cover.
NIGHTMARE OVER!!!! everything should work but my windows wouldn't at first, so just go test things and use the actual door controls for passenger doors if they don't work from the driver door, and they should work, fingers crossed. I'd say this took about 90 minutes because of the BS of trying to solve the puzzle. Doing it again I could finish in 30 minutes. hope this helps someone and sorry no pics I was too pissed off about my $130 mistake to bother with pics. You shouldn't really need them I went into pretty deep detail. lol
anyway cheers, and good luck
I am on mobile at the moment and I took some pictures, if anyone wants them let me know.
Thank you again
#34
Driver School Candidate
Just finished replacing the fusible link after shorting out the alternator, because I forgot to disconnect the battery. Same result as crossing the posts on the battere. Remove the bolts holding the fuse box to the fender, so that you have some room with the wires from below. The 3 boxes inside have to be removed in order. The smallest, square box nearest the outside of the box has to come first. I has little tabs that have to be pushed back to allow the box to clear the small protruding locking lug on the small box. Once you get that box out (really loose, you can't get much play) the next box to take loose is the long one with the relays on it. It also has little flexible locking tabs similar to the first box. The last one to take loose is the fusible link box. It has a couple of tabs, but real easy once you get this far. Unplug all the harnesses on the bottom of it. Disconnect the 6 bolted on cables (8mm) and replace the fusible link and reassemble in reverse order.
When my link went out, I got NOTHING getting power. After replacement, everything was ok except no power steering, and none of the controls in the small flip open panel on the lower left dash, driver's side. It has mirror controls, dash light rheostat, etc. There is a drivers side fuse box, and all fuses checked out ok. Have no idea what to check next. Obviously, no power is getting to that flip down panel, and the steering is electronic as well, so there must be a relay or fuse somewhere. Any info any of you have would be helpful.
When my link went out, I got NOTHING getting power. After replacement, everything was ok except no power steering, and none of the controls in the small flip open panel on the lower left dash, driver's side. It has mirror controls, dash light rheostat, etc. There is a drivers side fuse box, and all fuses checked out ok. Have no idea what to check next. Obviously, no power is getting to that flip down panel, and the steering is electronic as well, so there must be a relay or fuse somewhere. Any info any of you have would be helpful.
#35
Just finished replacing the fusible link after shorting out the alternator, because I forgot to disconnect the battery. Same result as crossing the posts on the battere. Remove the bolts holding the fuse box to the fender, so that you have some room with the wires from below. The 3 boxes inside have to be removed in order. The smallest, square box nearest the outside of the box has to come first. I has little tabs that have to be pushed back to allow the boto clear the small protruding locking lug on the small box. Once you get that box out (really loose, you can't get much play) the next box to take loose is the long one with the relays on it. It also has little flexible locking tabs similar to the first box. The last one to take loose is the fusible link box. It has a couple of tabs, but real easy once you get this far. Unplug all the harnesses on the bottom of it. Disconnect the 6 bolted on cables (8mm) and replace the fusible link and reassemble in reverse order.
When my link went out, I got NOTHING getting power. After replacement, everything was ok except no power steering, and none of the controls in the small flip open panel on the lower left dash, driver's side. It has mirror controls, dash light rheostat, etc. There is a drivers side fuse box, and all fuses checked out ok. Have no idea what to check next. Obviously, no power isgetting to that flip down panel, and the steering is electronic as well, so there must be a relay or fuse somewhere. Any info any of you have would be helpful.
When my link went out, I got NOTHING getting power. After replacement, everything was ok except no power steering, and none of the controls in the small flip open panel on the lower left dash, driver's side. It has mirror controls, dash light rheostat, etc. There is a drivers side fuse box, and all fuses checked out ok. Have no idea what to check next. Obviously, no power isgetting to that flip down panel, and the steering is electronic as well, so there must be a relay or fuse somewhere. Any info any of you have would be helpful.
Did you check the 80 amp fuse for the power steering in the fusable link?
#36
Driver School Candidate
Join Date: Jun 2017
Location: Berks
Posts: 1
Likes: 0
Received 0 Likes
on
0 Posts
Hi guys I know this thread is old but does anyone know where I can get wiring diagrams. I've pulled two wires off the 10 amp fuses 😔
Help!
thanks
Help!
thanks
#38
Driver School Candidate
Join Date: Sep 2017
Location: Az
Posts: 2
Likes: 0
Received 0 Likes
on
0 Posts
my linksible fuse is blow and i have read everything that is being said. within the fuse box there are the three parts (the long black one, the short Black one and the white one that contains the Fuse which is blown. i cant seem to get any of them removed and ive been trying all the tabs and angles for hours, i know that it is supposed to come straight out and that they need to be removed in order to get to the bottom so i can connect the new long white part that i just bought from lexus. any tips as to how i am supposed to remove these parts? ive been at it for hour and watched so many videos but none are specific to my car or model (2008 IS 350) if you could help i would appreciate it so much.
#39
Pics are great, please post them. Thank you.
#40
Just did this today for my friend's is250, EFF THIS ****!!!! It's a freaking maze to get the fuselink out, a billion tabs each going different directions. It had no reason to be this difficult, they can just run it independently with bolts holding it down, nooo, let's mess with the mechanics by hiding tabs and interweave all the pieces together.
#41
Driver School Candidate
Join Date: Nov 2017
Location: CT
Posts: 13
Likes: 0
Received 0 Likes
on
0 Posts
Ok so I'm not sure if the fuse link is the problem but I just did the alternator 2 weeks ago, and everything was fine, out of no where, im at square one, im hoping it's the fuse link because i don't wamt to redo the alternator again
#43
What a mess to replace this thing. Thank you to everyone in this thread. The amount of muscle it takes to get that box apart is insane. And the wires have no slack. Lesson learned though.
DISCONNECT THE BATTERY FIRST WHEN REPLACING THE ALTERNATOR!!
DISCONNECT THE BATTERY FIRST WHEN REPLACING THE ALTERNATOR!!
#44
Driver School Candidate
Join Date: Mar 2016
Location: ON
Posts: 8
Likes: 0
Received 0 Likes
on
0 Posts
Thanks to everyone in this thread for providing clear replacement instructions.
Over the weekend I replaced the fusible link on my 2007 Lexus IS 250 and the car started up again.
During the job I ended up snapping the clear plastic cover on the top of the new fusible link. I'm wondering, does anyone know if it's possible to order just the plastic cover or do I need to order the entire fusible link?
Even though everything is working, I'd like to ensure that the cover is there to protect the fuses from water etc.
#45
Driver School Candidate
Hello everyone, I am a new member but had my 07 IS250 for a couple of years (long enough to have already experienced the alternator fun). I was overjoyed to see a recent post to this thread, so hopefully I can get some help. I too committed the heinous error of installing a battery with reversed polarity (been working on cars 35 years and never done THAT before). I have replaced the blown fusible link and encountered the same challenges mentioned in earlier posts, and wish I had seen this thread before discovering it all myself. I am compelled to thank all contributors for the excellent info here, I have not seen it anywhere else.
During my install, one spade connector came loose, and I cannot figure out where it came from. The wire comes in from the passenger side large bundle, and appears to be a length to reach about half way across the fuse block. The wire is small, 18 or 22 AWG, white with a black stripe and dual silver bands every inch. A previous owner had spliced in a red wire going to the dash, and another red wire comes back with the last inch of the white/black/silver wire with the original spade spliced on the end. I can only assume this is for the remote start, but the extra wire and routing eliminates any position memory that would have provided a clue to where it came unplugged from (and the fact it was removed at least once before probably contributed to it slipping off easier now).
Please, please, please if anyone can help me figure out this one stupid wire I can put this back together and claim victory on another DIY made unnecessarily complex and expensive by ingenious design.
Many thanks,
B^)


