

 01-09-15, 03:09 PM
Last edit by: IB Advertising
See related guides and technical advice from our community experts:
Browse all: Interior
- How to Change Air Filter and Cabin Air Filter
Step by step instructions for do-it-yourself repairs
Browse all: Interior

DIY: Engine Air Filter and Cabin Air Filter 2008 IS250
08-08-12, 03:16 AM
#1
Driver School Candidate
Thread Starter

Hey guys,
I've been lurking the boards for a good two weeks now and decided its my time to contribute in any way I can. I just sold my 07 350Z and this forum definately helped me decide on the car to buy.
I just recently bought a 2008 IS250 and took it in for an oil change. Well the dealership wanted $95.00 for a cabin air filter change and $75.00 for an engine air filter change wtf?!?! So I said screw it and just attempted to do it myself and document it incase some others might need help. Changing the Cabin Air Filter literally took me only 6-7 minutes and my first attempt and changing the Engine Air Filter took me about 15 minutes but I lost a clip and it took me another 15-20 minutes to find it and get it out.
All in all if you make no mistake both filter changes should only take up 30 minutes of your time. Definately worth doing it yourself if you feel confident enough. Saved me $135 in labor or whatever ridiculous fee they were trying to charge me.
This is my first shot at this so bare with me and hope it helps!
DIY: Cabin Air Filter
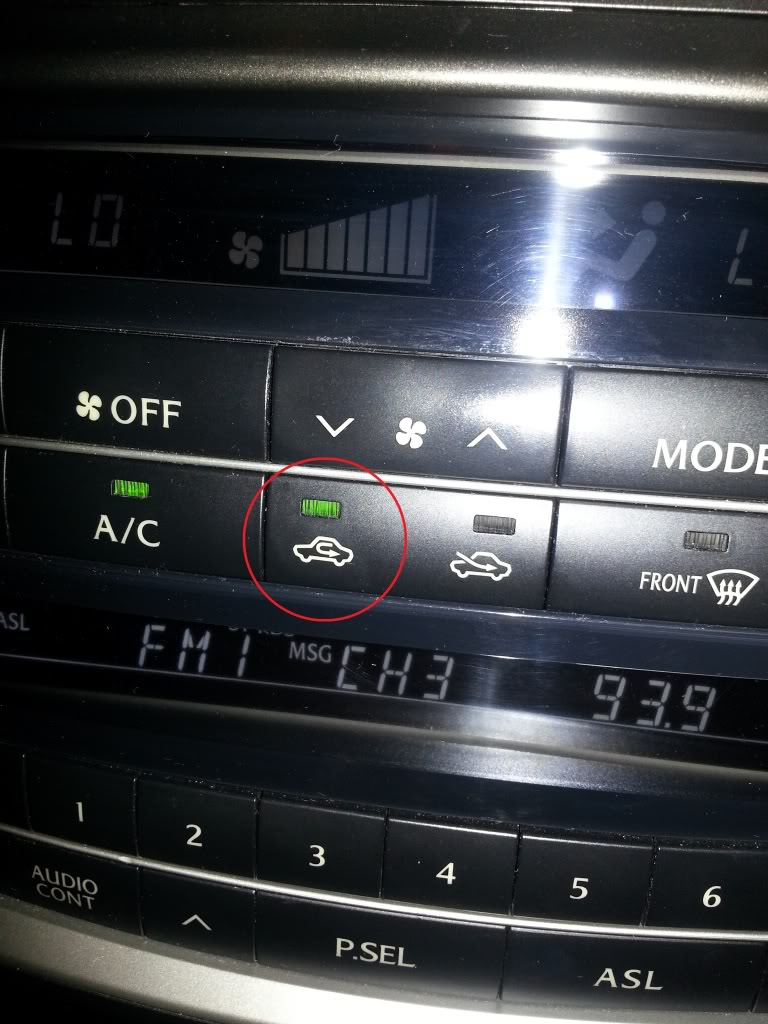
1. Press the 'Push Start' twice so you can use climate controls without starting the car.

2. THIS STEP IS EXTREMELY IMPORTANT!!! You must put the car into 'recirculation mode' and then turn off the car by pressing the 'Start/Stop' button once more.
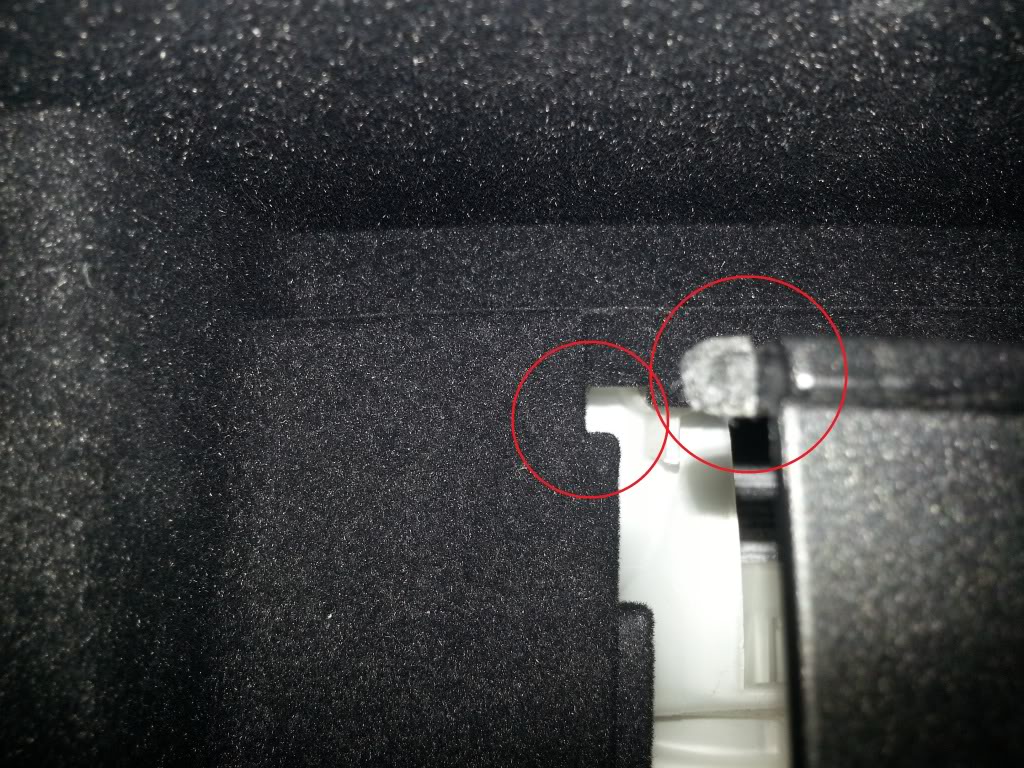
3. Open the glove compartment to reveal this �L� shaped bracket. Pull up as shown in my picture and then left. You may need to use a little force when you pull left but don�t worry the tabs are nice and thick so you won�t break anything.
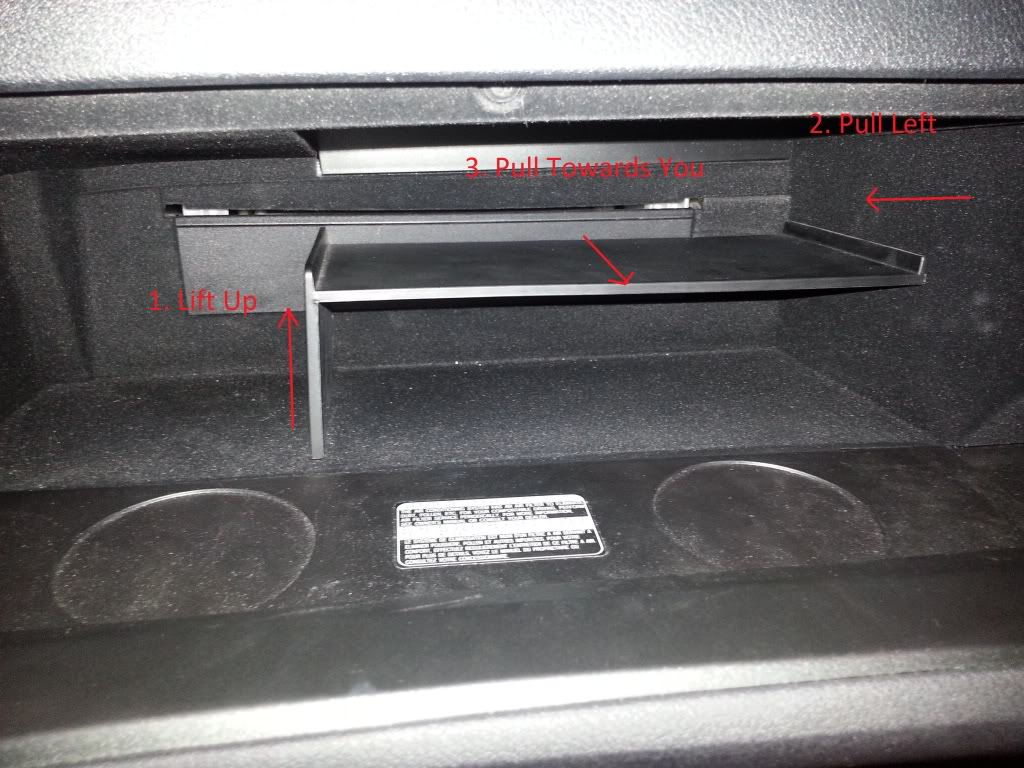
Thick tabs.
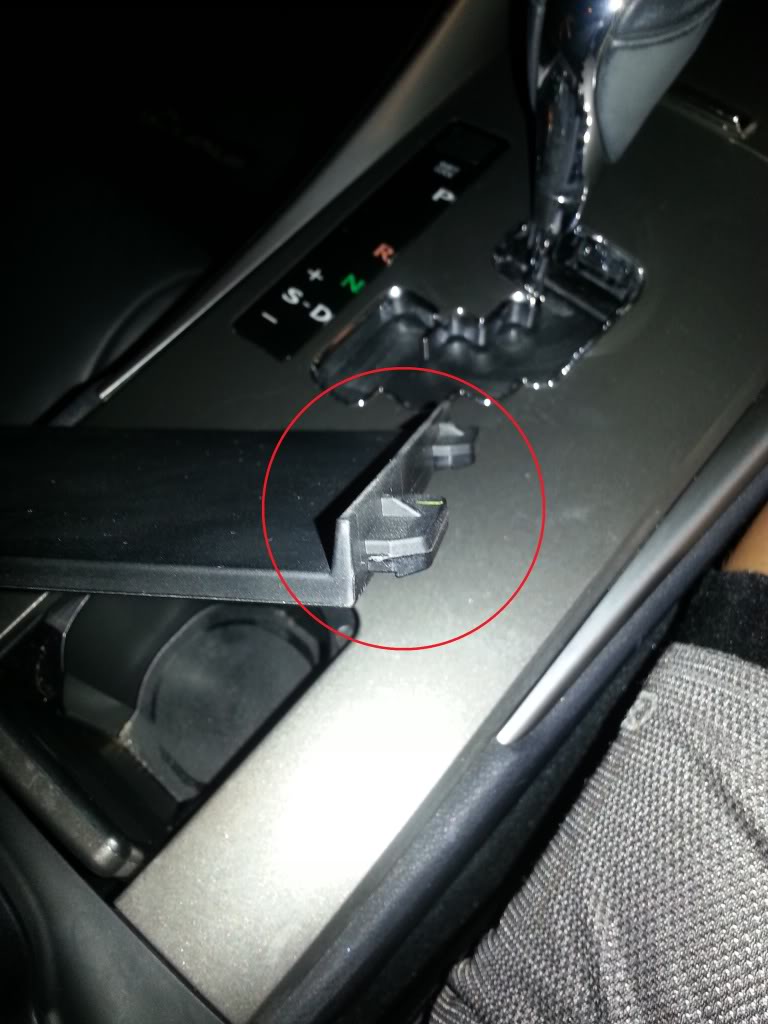
4. After removing the 'L' shape bracket you will see a plastic cover. For this piece all you really have to do is pull up.

This is what the piece looks like out from its spot.
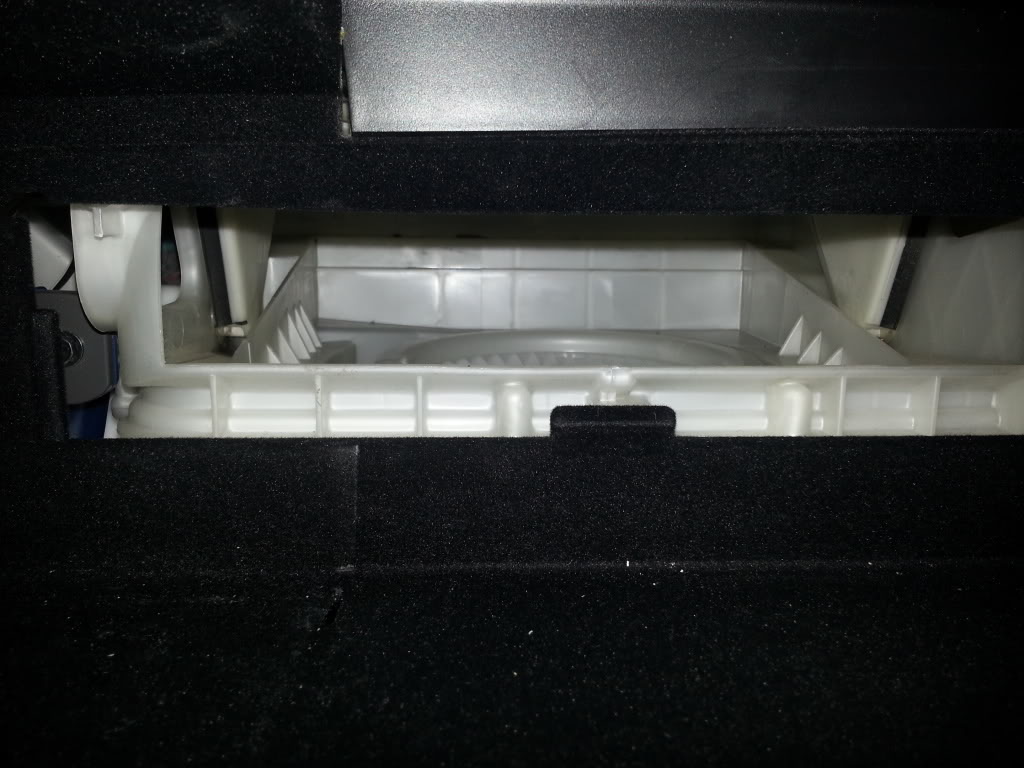
5. After removing the cover you will now see the filter in its casing and 3 tabs. Push those three tabs in and lift up to remove the filter/case.
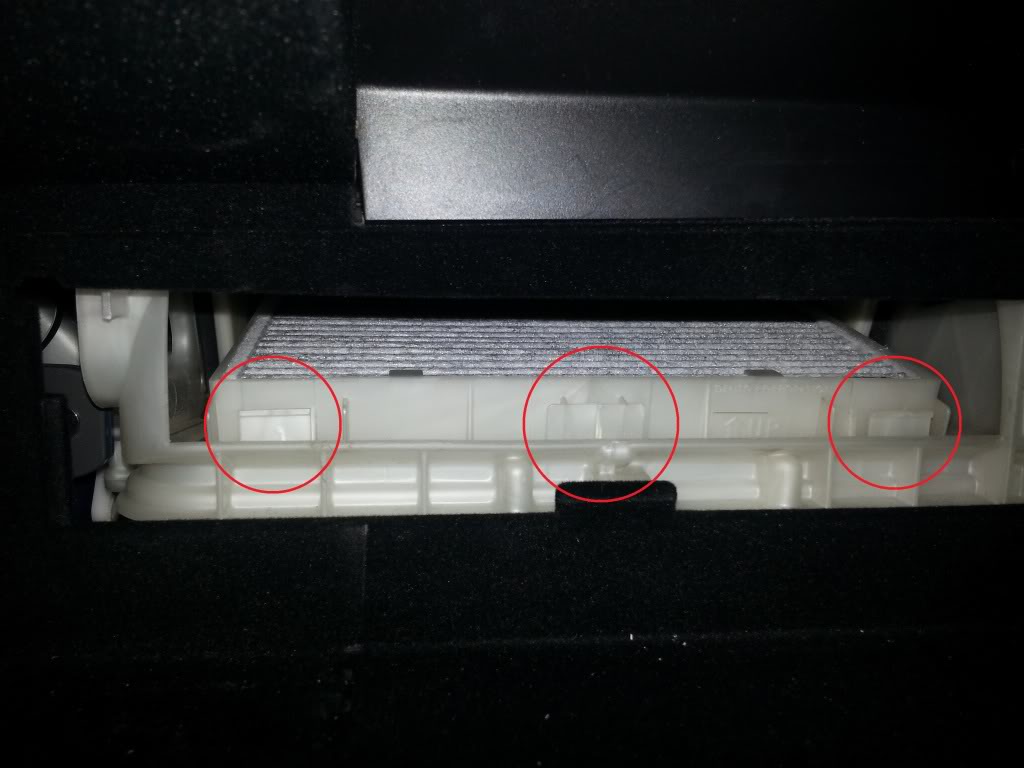
View after taking out filter.
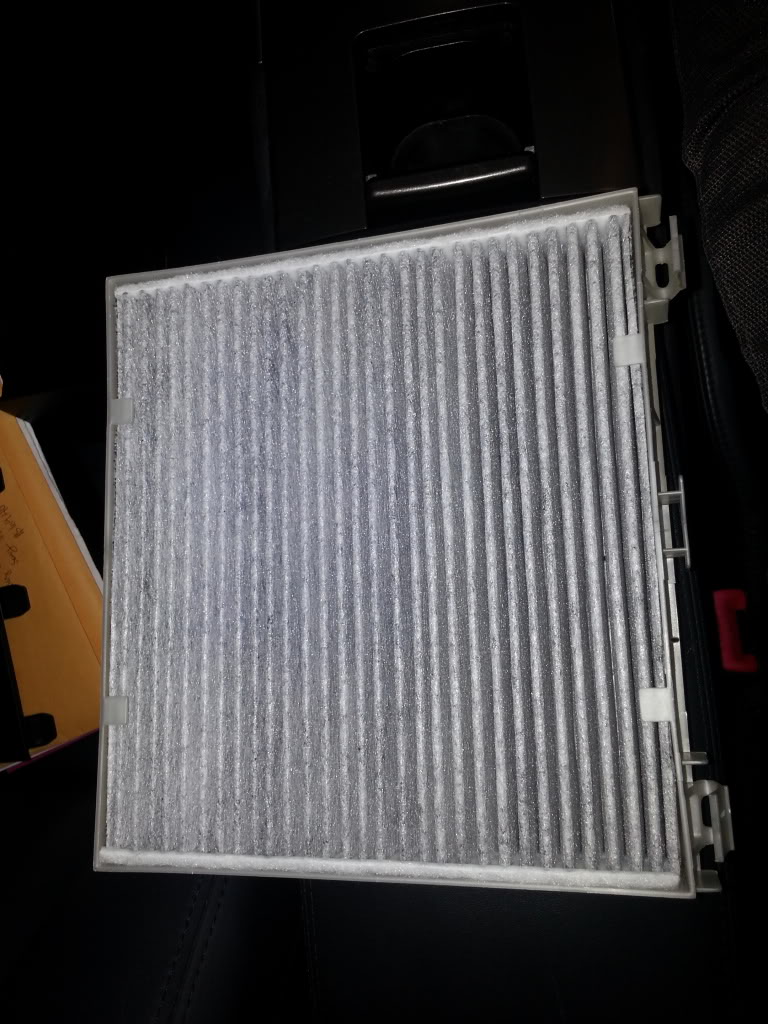
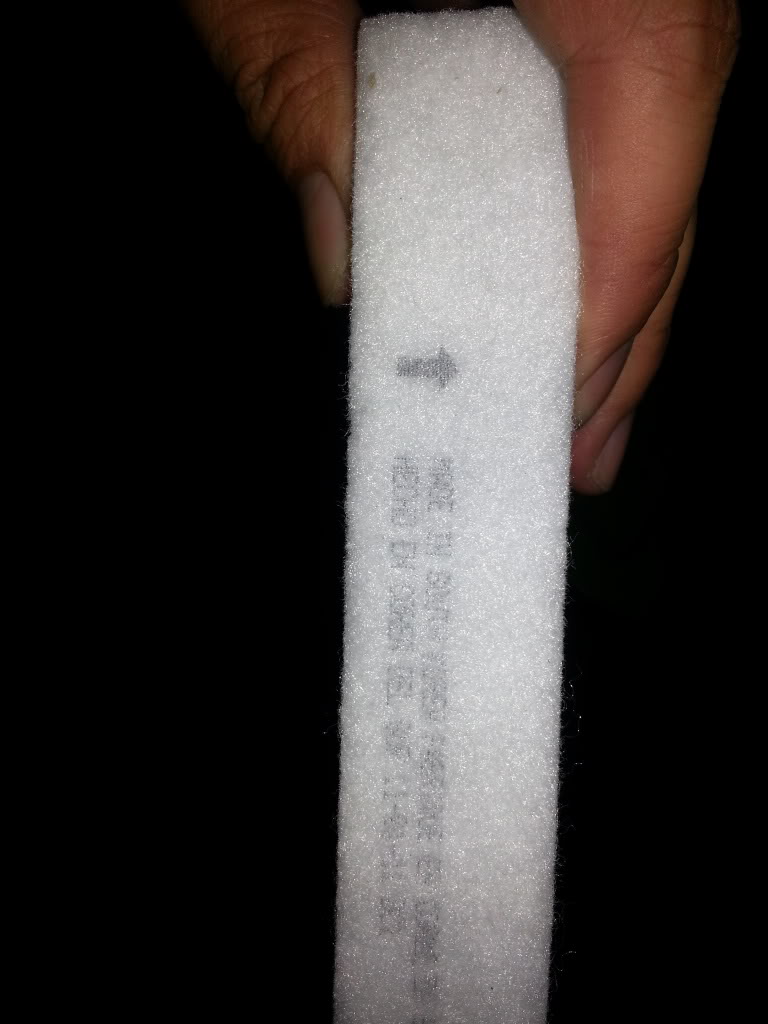
6. Make sure you take note of which way the original filter was placed. Look for an arrow indicating the direction.
Side by Side comparison.
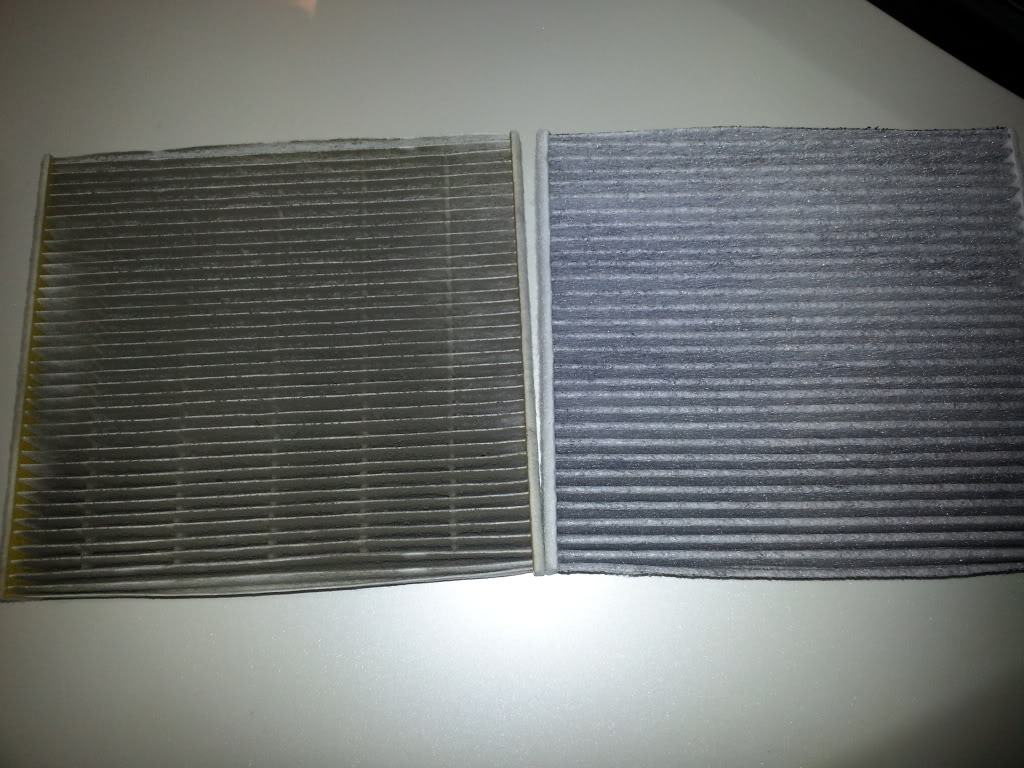
I've read some awesome reviews about the Wix Carbon filters. You can buy these at O'Reilly's.

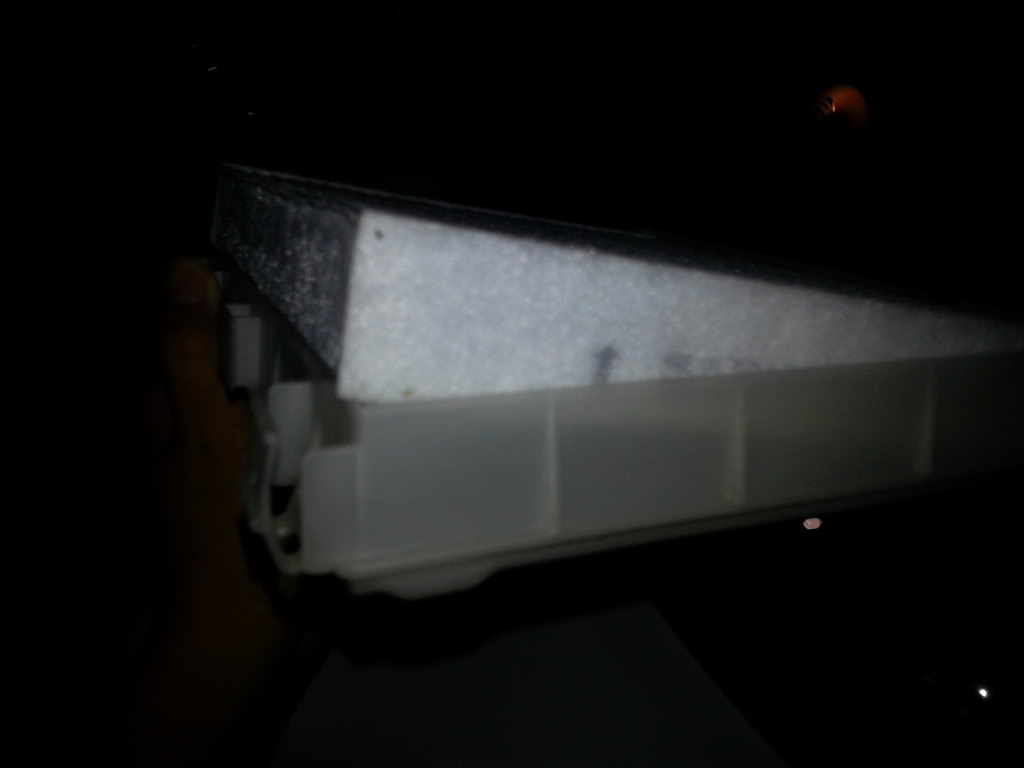
7. Remove the new filter and look for some sort of arrow indicating which way the filter should go.
8. Place the filter with the case back in the same way you took it out and put the plastic cover over it.
It's a little dark inside the glove compartment so make sure you put the tab of the plastic cover into the slot inside the compartment. Then snap the 'L' shape bracket in and you are good to go.
I've been lurking the boards for a good two weeks now and decided its my time to contribute in any way I can. I just sold my 07 350Z and this forum definately helped me decide on the car to buy.
I just recently bought a 2008 IS250 and took it in for an oil change. Well the dealership wanted $95.00 for a cabin air filter change and $75.00 for an engine air filter change wtf?!?! So I said screw it and just attempted to do it myself and document it incase some others might need help. Changing the Cabin Air Filter literally took me only 6-7 minutes and my first attempt and changing the Engine Air Filter took me about 15 minutes but I lost a clip and it took me another 15-20 minutes to find it and get it out.
All in all if you make no mistake both filter changes should only take up 30 minutes of your time. Definately worth doing it yourself if you feel confident enough. Saved me $135 in labor or whatever ridiculous fee they were trying to charge me.
This is my first shot at this so bare with me and hope it helps!
DIY: Cabin Air Filter
1. Press the 'Push Start' twice so you can use climate controls without starting the car.
2. THIS STEP IS EXTREMELY IMPORTANT!!! You must put the car into 'recirculation mode' and then turn off the car by pressing the 'Start/Stop' button once more.
3. Open the glove compartment to reveal this �L� shaped bracket. Pull up as shown in my picture and then left. You may need to use a little force when you pull left but don�t worry the tabs are nice and thick so you won�t break anything.
Thick tabs.
4. After removing the 'L' shape bracket you will see a plastic cover. For this piece all you really have to do is pull up.
This is what the piece looks like out from its spot.
5. After removing the cover you will now see the filter in its casing and 3 tabs. Push those three tabs in and lift up to remove the filter/case.
View after taking out filter.
6. Make sure you take note of which way the original filter was placed. Look for an arrow indicating the direction.
Side by Side comparison.
I've read some awesome reviews about the Wix Carbon filters. You can buy these at O'Reilly's.
7. Remove the new filter and look for some sort of arrow indicating which way the filter should go.
8. Place the filter with the case back in the same way you took it out and put the plastic cover over it.
It's a little dark inside the glove compartment so make sure you put the tab of the plastic cover into the slot inside the compartment. Then snap the 'L' shape bracket in and you are good to go.

The following users liked this post:
misschris (09-17-24)
08-08-12, 03:22 AM
#2
Driver School Candidate
Thread Starter
DIY: Engine Air Filter
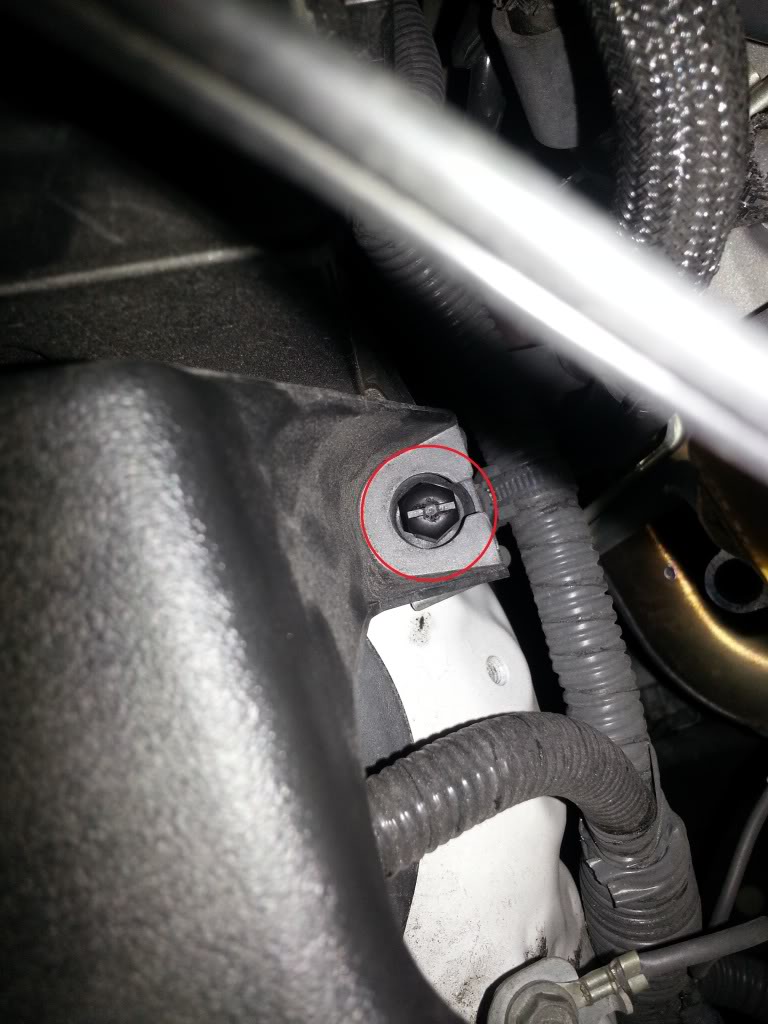
1. Open the hood and look towards the passenger side. You should see a cover with three push clips and a plastic nut.
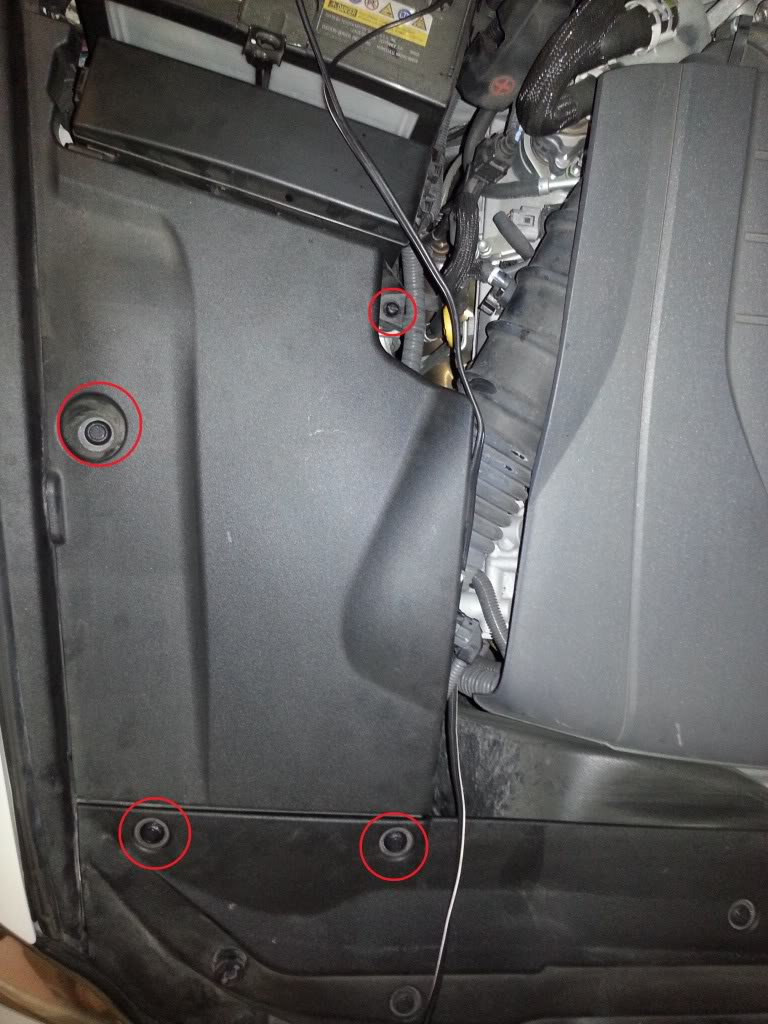
Close up of plastic nut like thing. You will need a flat head screw driver.
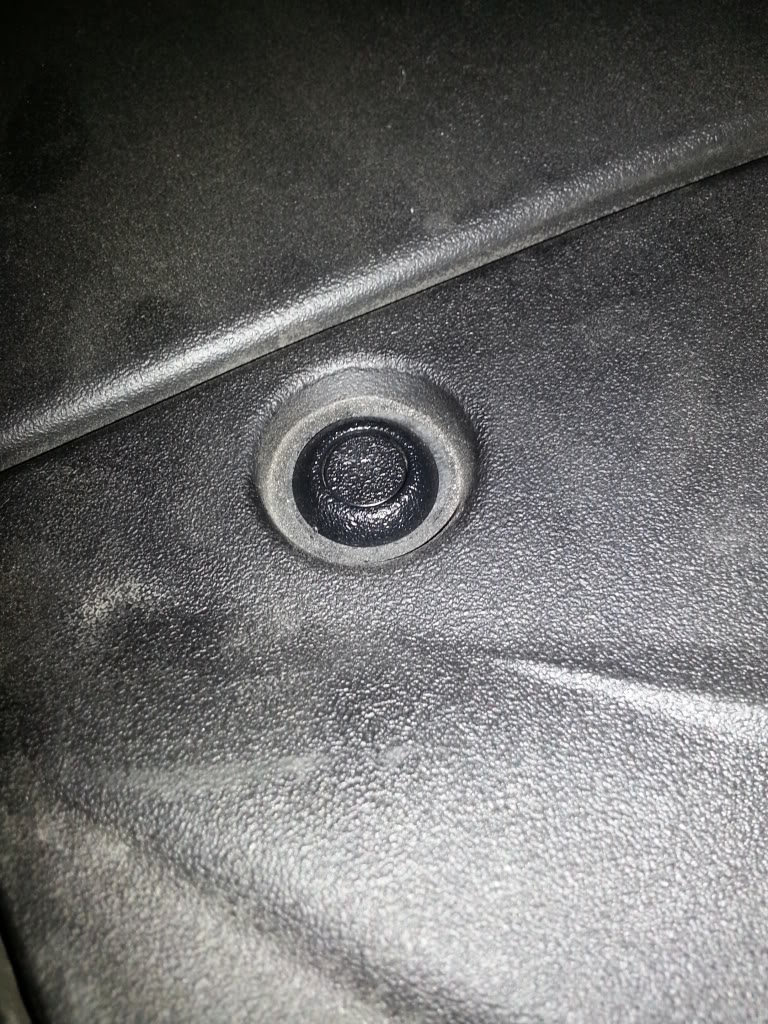
2. To remove the push clips - push the center piece down with a screw driver or pen.. You should hear a click when this happens. You don't need to push too hard to get the center piece to push down.
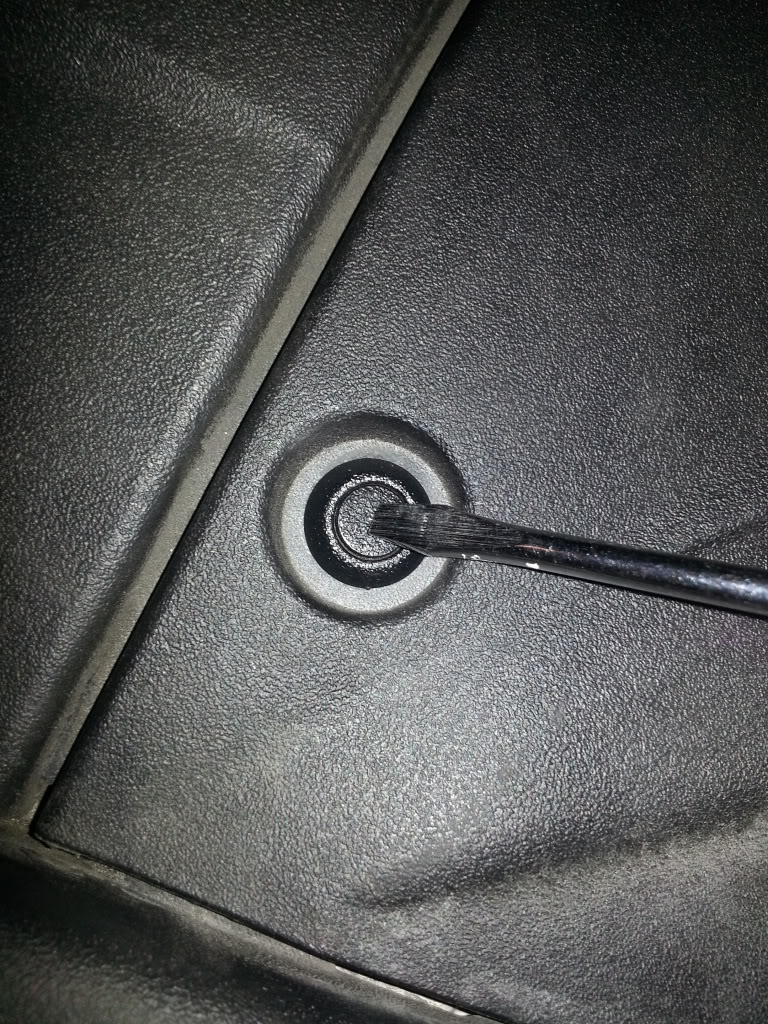
Its hard to see but this is what they look like pushed down. The center piece won't be flush anymore with outer ring.
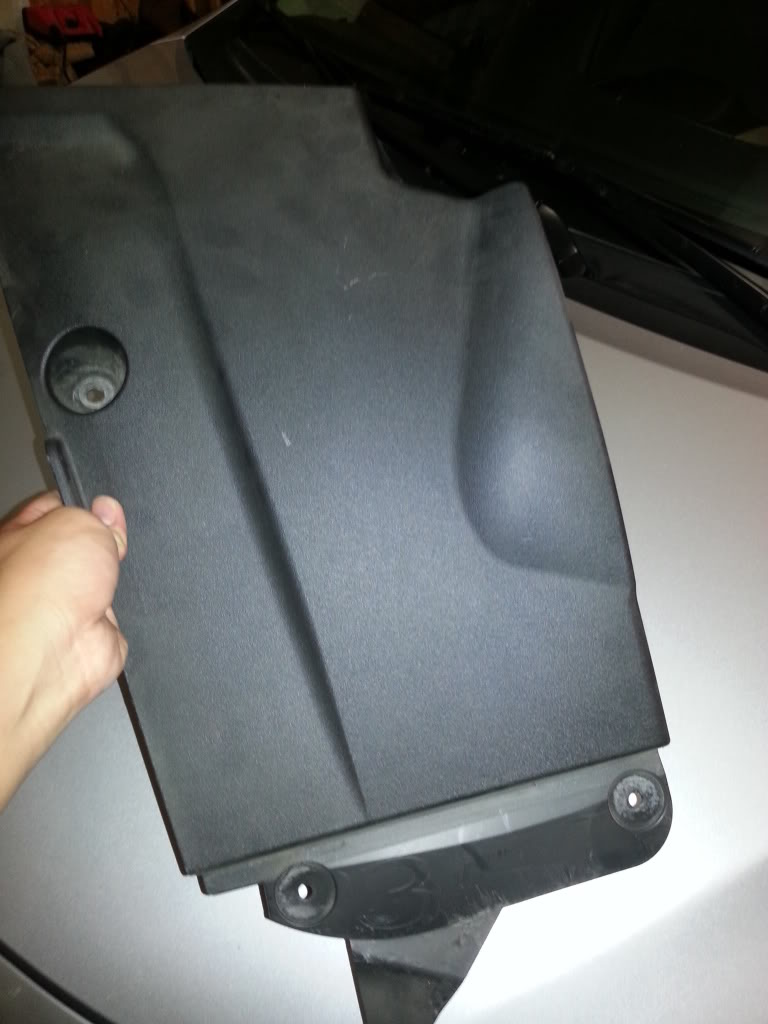
3. Once you remove the three clips and the nut you can remove the plastic cover.
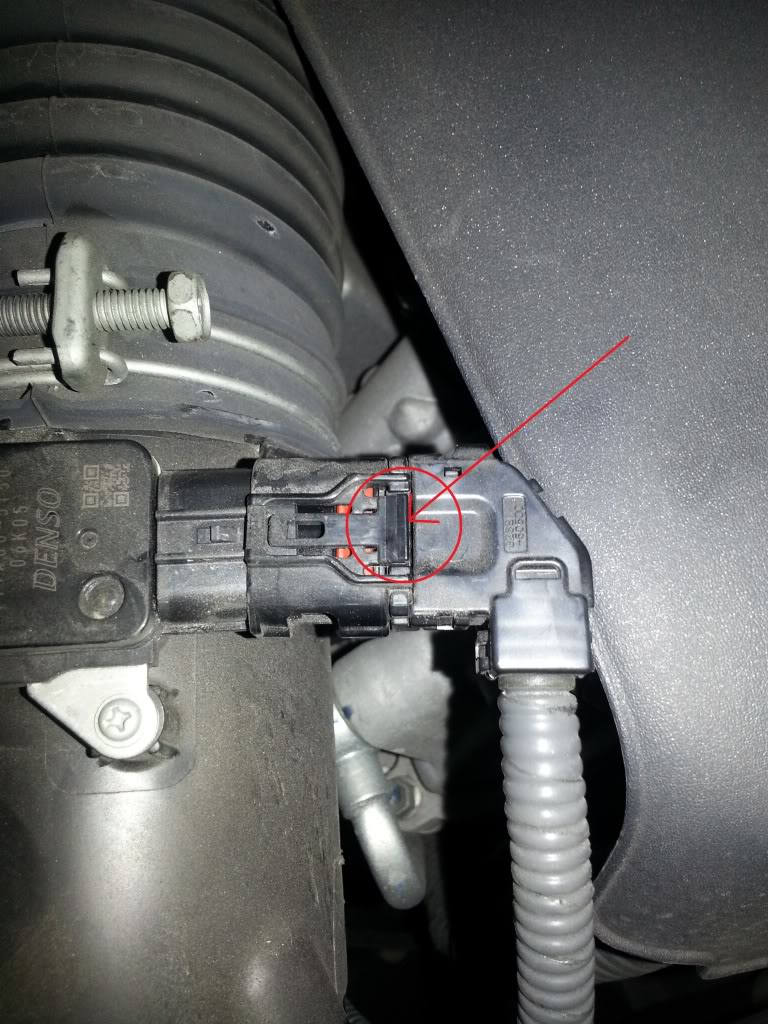
4. After the cover is off you can disconnect this wire if you need. Just push down on the tab and pull. Mine came off easy.
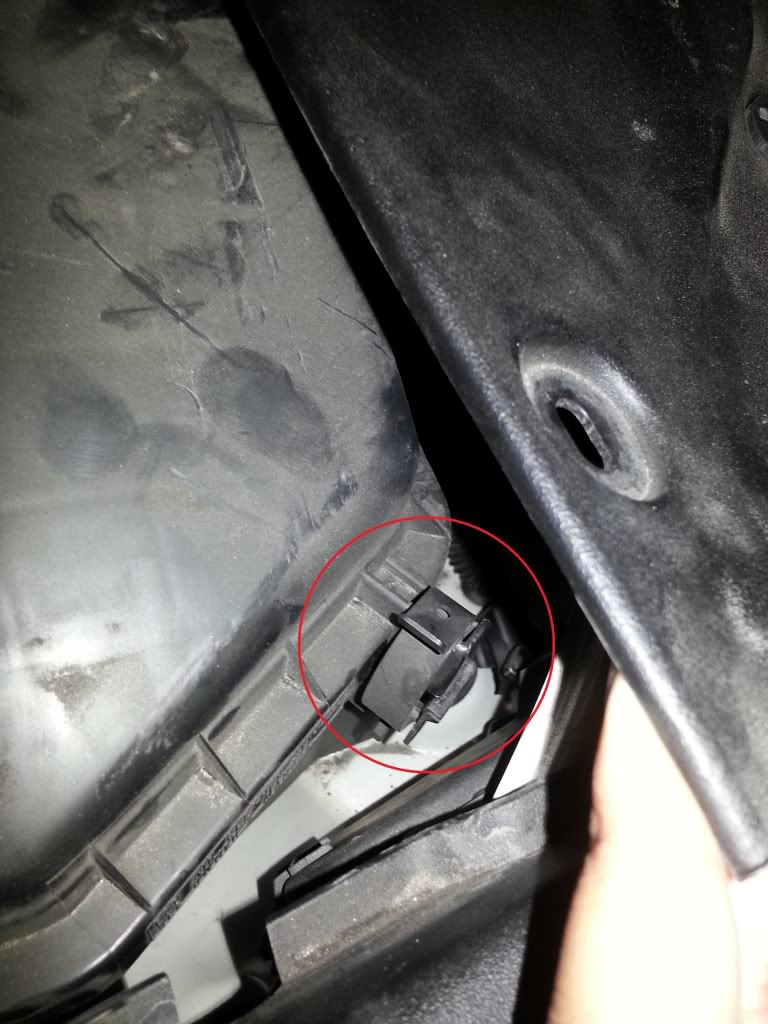
5. Once the plastic cover is out of the way you will see 4 clips that you can easily push out to free the filter cover.
These two are plain sight.

For the third one you may need to pull up the plastic cover a little to reveal it.
The fourth clip is a little different from the other three and its located just a bit further under the plastic cover.
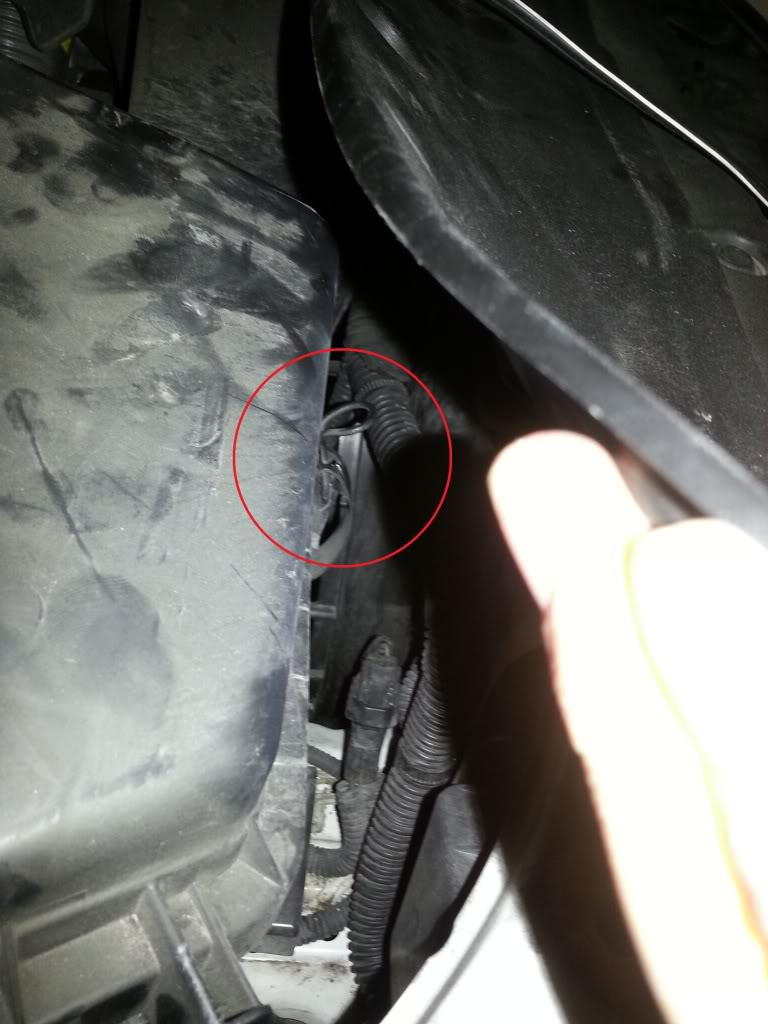
You definately need to becareful with this clip. Do not push down too hard or it may drop down further into the Engine bay. Took me a good 15 minutes to find by tapping the plastic cover at the bottom and listening to the sound. Finally found and luckily it was stuck in the space between two plastic covers so I was able to painfully squeeze my fingers in there to get it out.
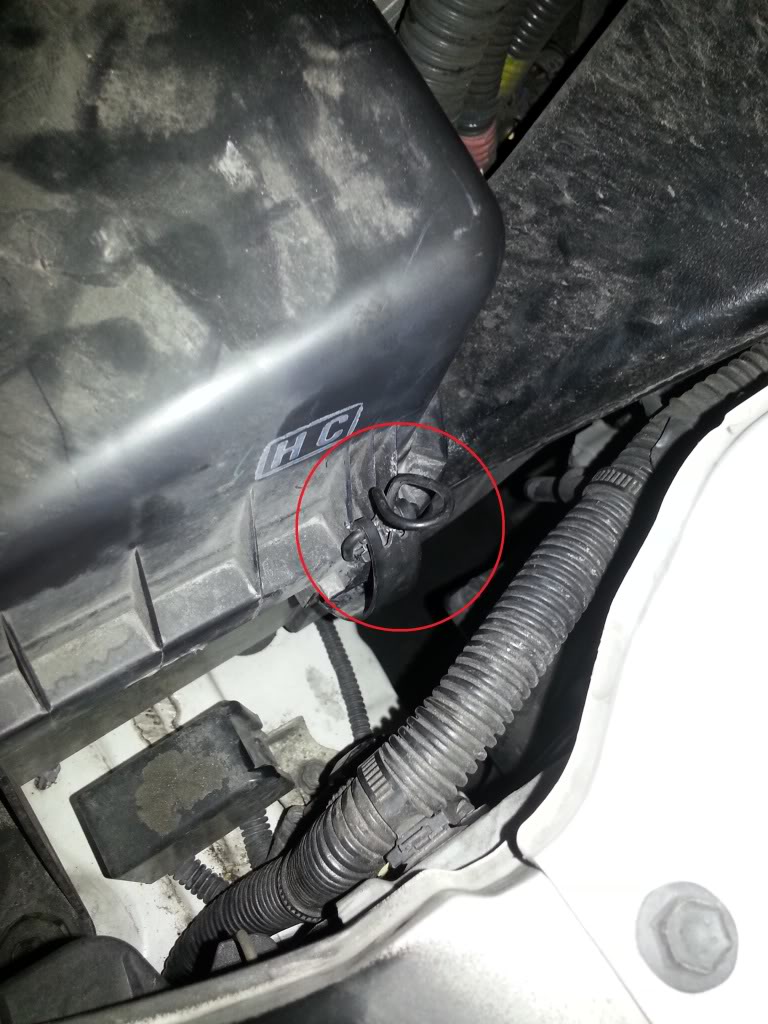
6. With the clips removed you should be able to pull the cover up just enough to remove the dirty filter from the left side.
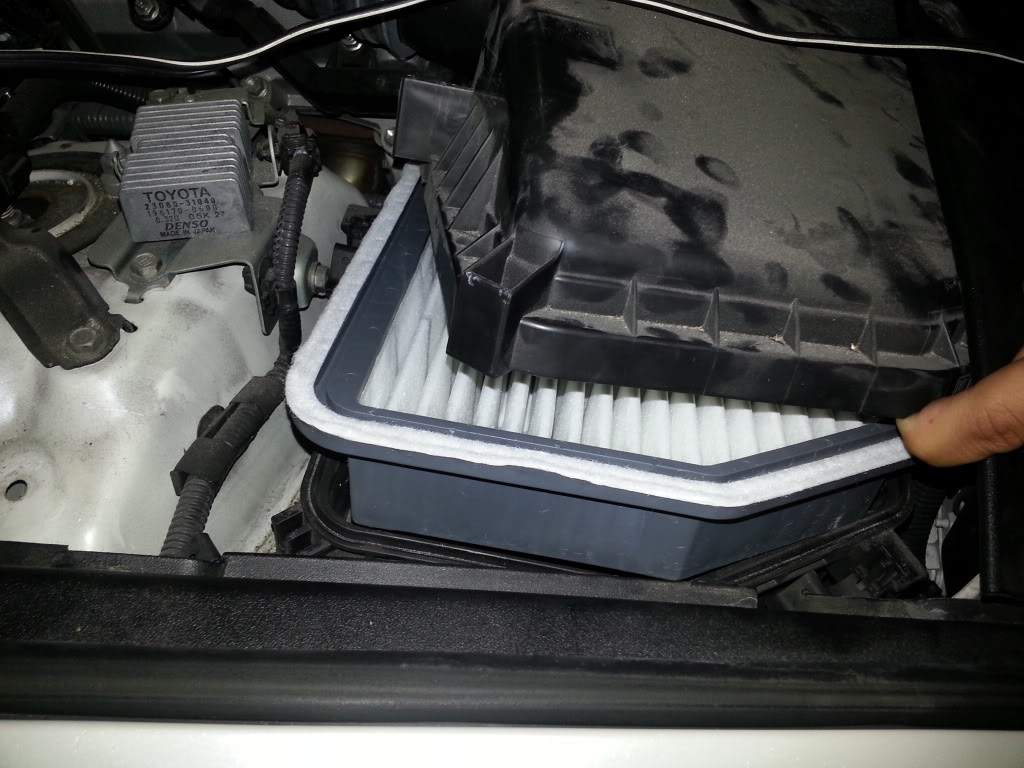
Side by side comparison. Put the new filter back in the same way you took the old one out. It only fits one way so you really can't mess it up.
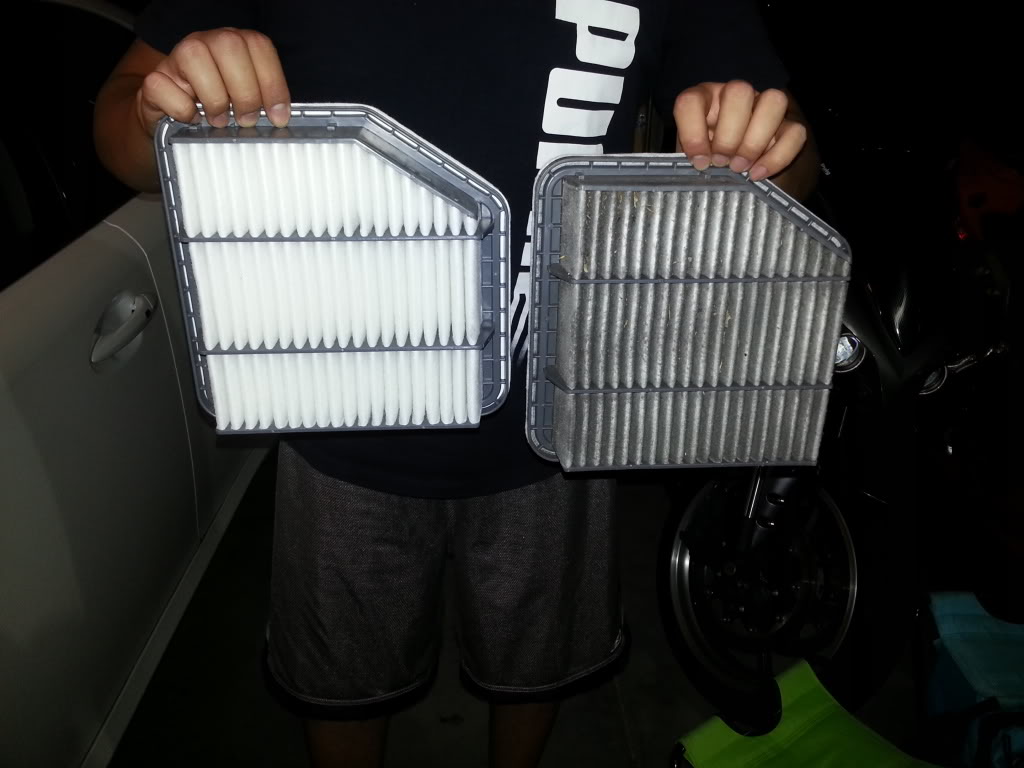
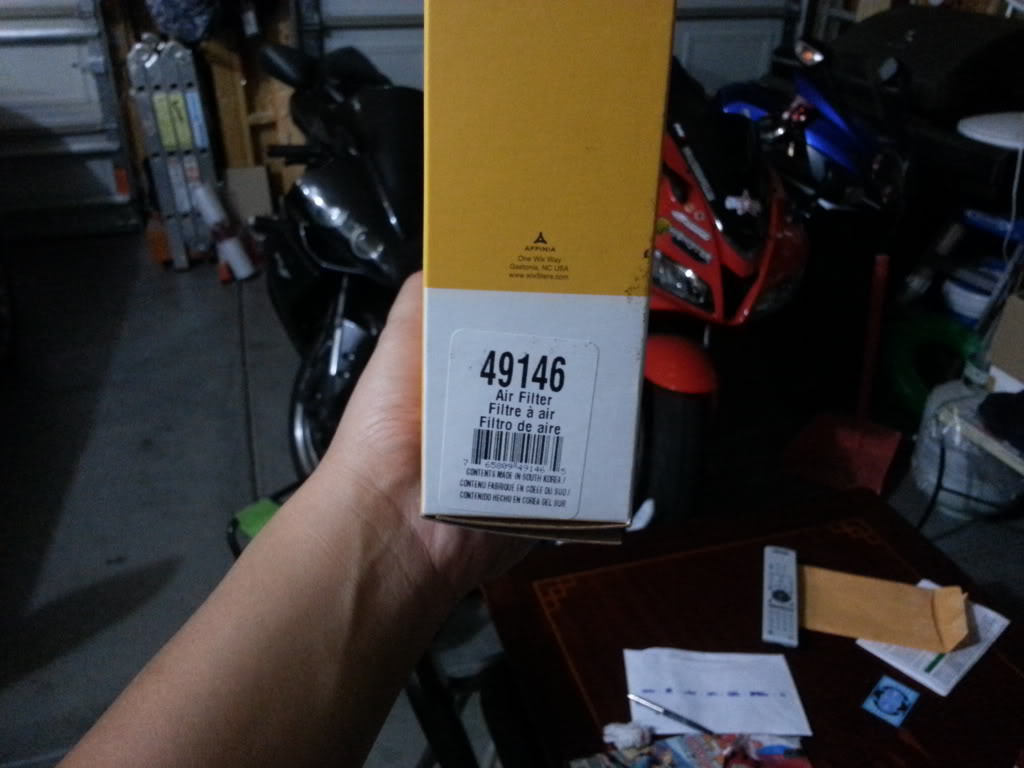
7. Use the wix filter that I bought at O'Reilly's.
8. Put the cover back cover the filter and push the 4 clips back on with the plastic cover.
You are finished!!!
***Off topic***
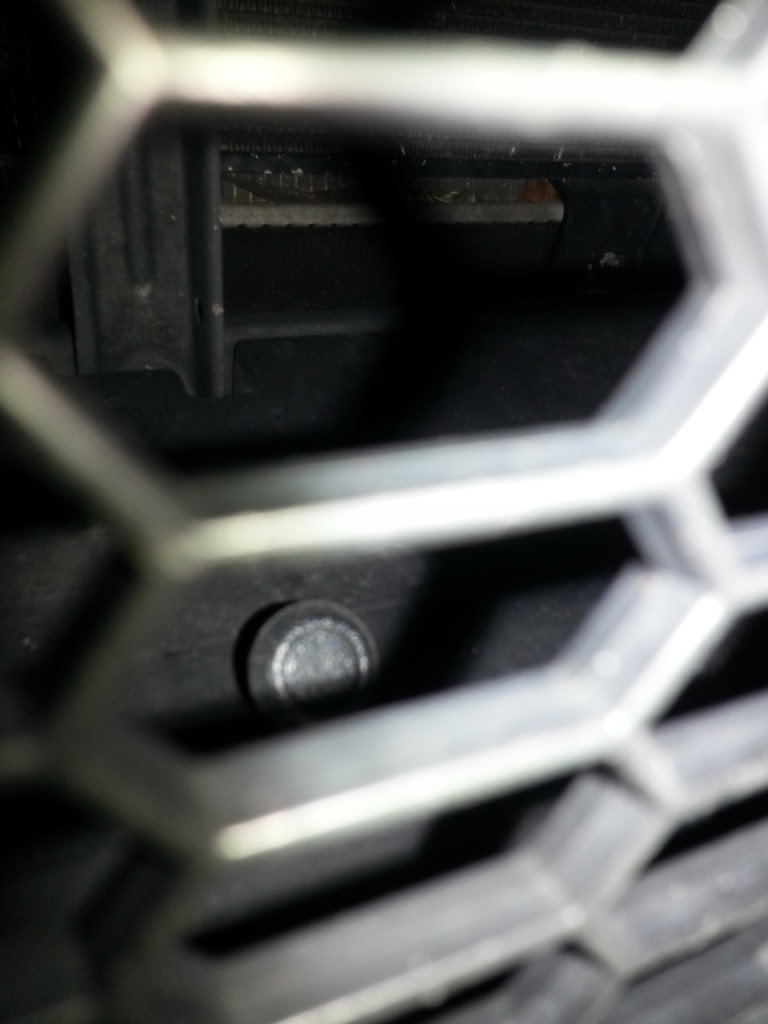
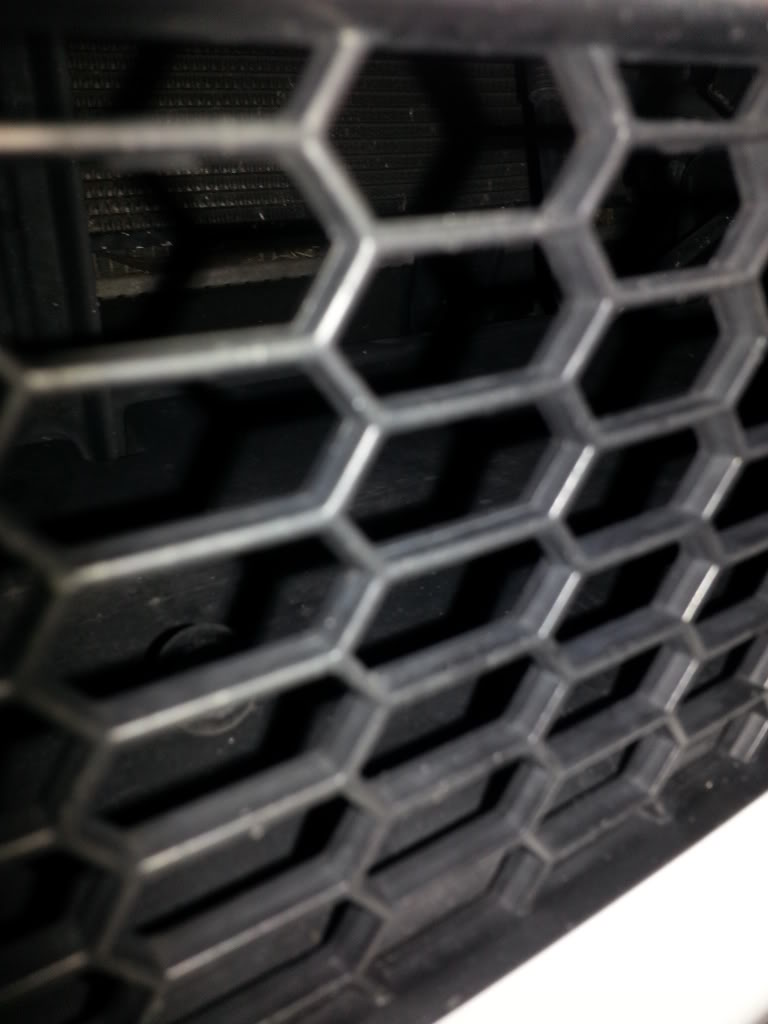
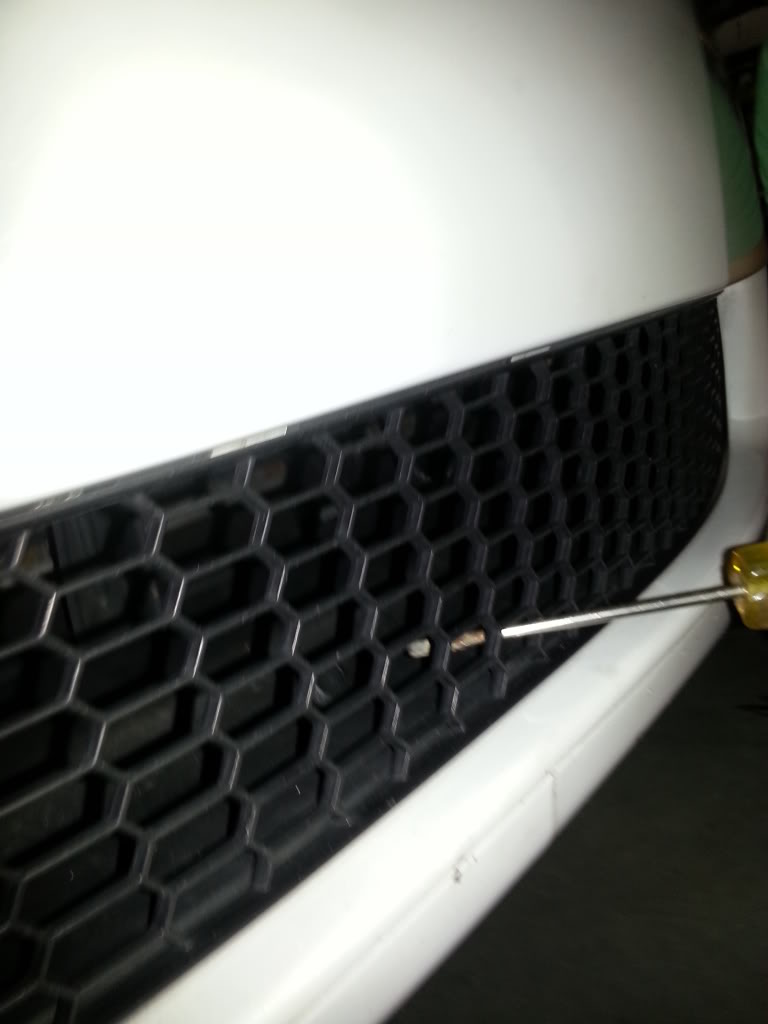
While looking for the metal clip that fell I found this push clip in my grill...lol! I was wondering where that missing push clip was.
There you have it guys! Hope this helps. If you have any questions let me know!
1. Open the hood and look towards the passenger side. You should see a cover with three push clips and a plastic nut.
Close up of plastic nut like thing. You will need a flat head screw driver.
2. To remove the push clips - push the center piece down with a screw driver or pen.. You should hear a click when this happens. You don't need to push too hard to get the center piece to push down.
Its hard to see but this is what they look like pushed down. The center piece won't be flush anymore with outer ring.
3. Once you remove the three clips and the nut you can remove the plastic cover.
4. After the cover is off you can disconnect this wire if you need. Just push down on the tab and pull. Mine came off easy.
5. Once the plastic cover is out of the way you will see 4 clips that you can easily push out to free the filter cover.
These two are plain sight.
For the third one you may need to pull up the plastic cover a little to reveal it.
The fourth clip is a little different from the other three and its located just a bit further under the plastic cover.
You definately need to becareful with this clip. Do not push down too hard or it may drop down further into the Engine bay. Took me a good 15 minutes to find by tapping the plastic cover at the bottom and listening to the sound. Finally found and luckily it was stuck in the space between two plastic covers so I was able to painfully squeeze my fingers in there to get it out.
6. With the clips removed you should be able to pull the cover up just enough to remove the dirty filter from the left side.
Side by side comparison. Put the new filter back in the same way you took the old one out. It only fits one way so you really can't mess it up.
7. Use the wix filter that I bought at O'Reilly's.
8. Put the cover back cover the filter and push the 4 clips back on with the plastic cover.
You are finished!!!
***Off topic***
While looking for the metal clip that fell I found this push clip in my grill...lol! I was wondering where that missing push clip was.
There you have it guys! Hope this helps. If you have any questions let me know!
Last edited by TiLongLFC; 08-08-12 at 10:56 AM.
The following users liked this post:
misschris (09-17-24)
 08-08-12, 10:32 AM
#5
Driver School Candidate
Thread Starter
No problem!
Hope it helps you out. Definately will save you a lot of time waiting at the dealership and money!
After making this DIY my car battery died and had to buy a new one
Hope it helps you out. Definately will save you a lot of time waiting at the dealership and money!
After making this DIY my car battery died and had to buy a new one
Trending Topics
08-08-12, 12:55 PM
#8
Driver School Candidate
Thread Starter
To repair that part of the system they need to replace it and to replace it they have to remove the dash and a bunch of other crap which takes time.
Hope you have a clearer picture heh. I'm only going by what he told me and what I've read around here and other forums.
Bottom line is don't forget to put it into recirculate mode.
The following users liked this post:
misschris (09-17-24)
 08-08-12, 07:30 PM
#10
Driver School Candidate

Join Date: Jul 2012
Location: TX
Posts: 16
Likes: 0
Received 0 Likes
on
0 Posts
My friend skipped this step and it ended up costing well over $1000 to repair. The part itself is not too expensive is what I heard but labor cost was the real kicker. The service tech explained to him that by not putting the car into 'Recirculate' mode and prying open the covers he damaged the computer controlled cover on the HVAC system.
To repair that part of the system they need to replace it and to replace it they have to remove the dash and a bunch of other crap which takes time.
Hope you have a clearer picture heh. I'm only going by what he told me and what I've read around here and other forums.
Bottom line is don't forget to put it into recirculate mode.
Great DIY!


