
 01-06-15, 03:46 PM
Last edit by: IB Advertising
See related guides and technical advice from our community experts:
Browse all: Exterior Guides
- How to Install F Sport Lip Bumper
Step by step instructions for do-it-yourself repairs
Browse all: Exterior Guides

DIY to install the 11' Fsport lip?


 11-14-11, 08:24 PM
#34
just got mine a couple days ago and finally installed it today. I see nobody has ventured to attempt a no cut install, so I did today! All the clips in which youre suppose to cut is once again held on by double stick tape just as the rear gfx lip. I simply pryed them off but intact just incase i need to put them back for some reason. I used red 3m tape and applied to areas in which would be making contact. There are plenty of places on the bottom which the canards bolt and clip to the factory bumper so im not too concerned about the security of these staying in place. they fit perfect as they should and super secure.
As you can see the spots and pieces i removed.
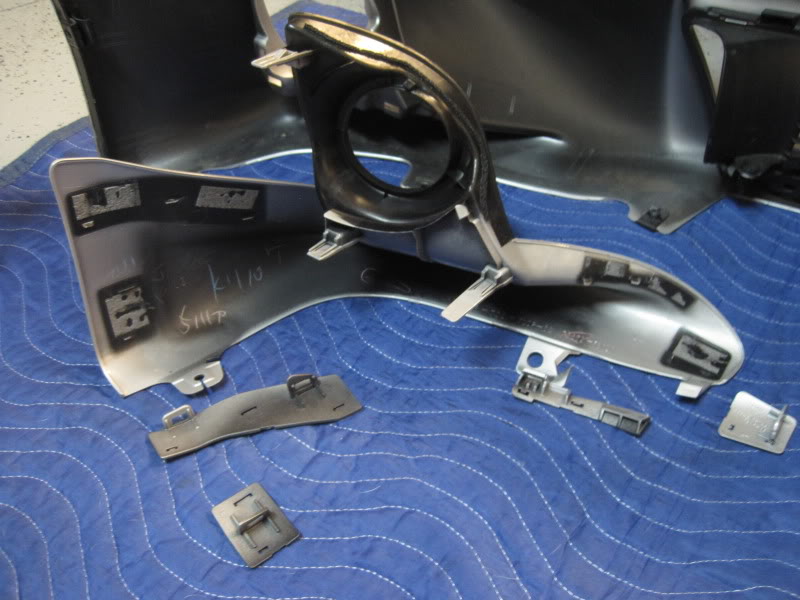
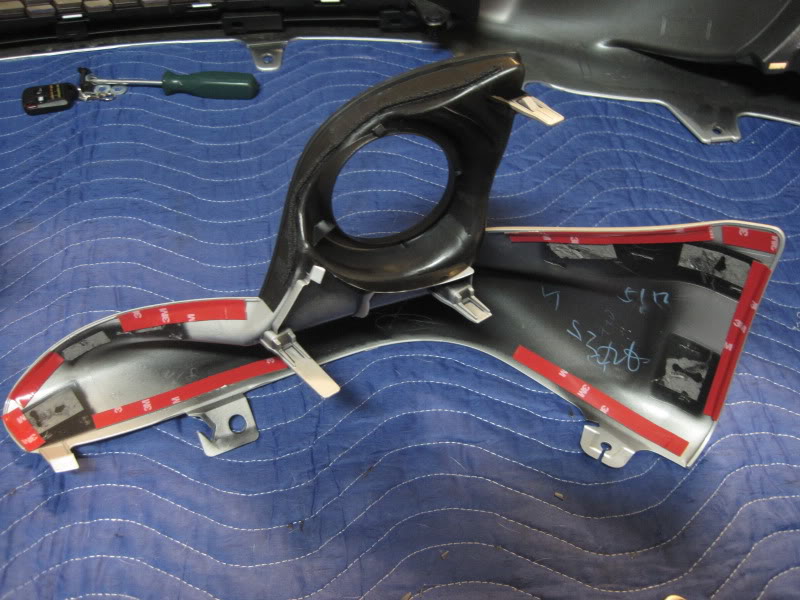
3m tape in place
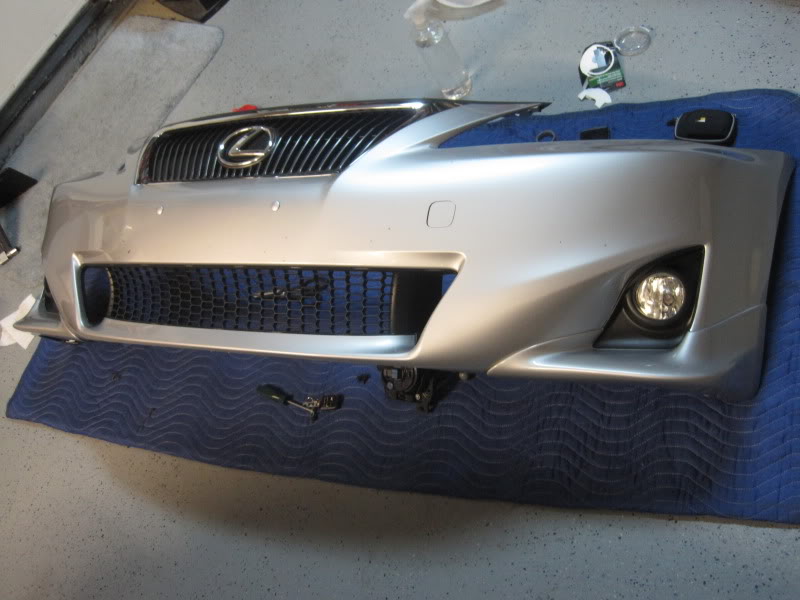
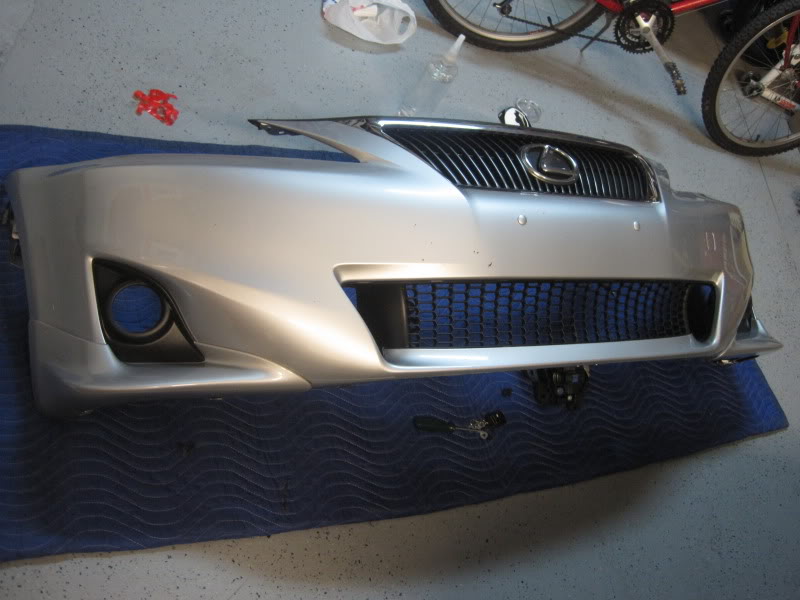
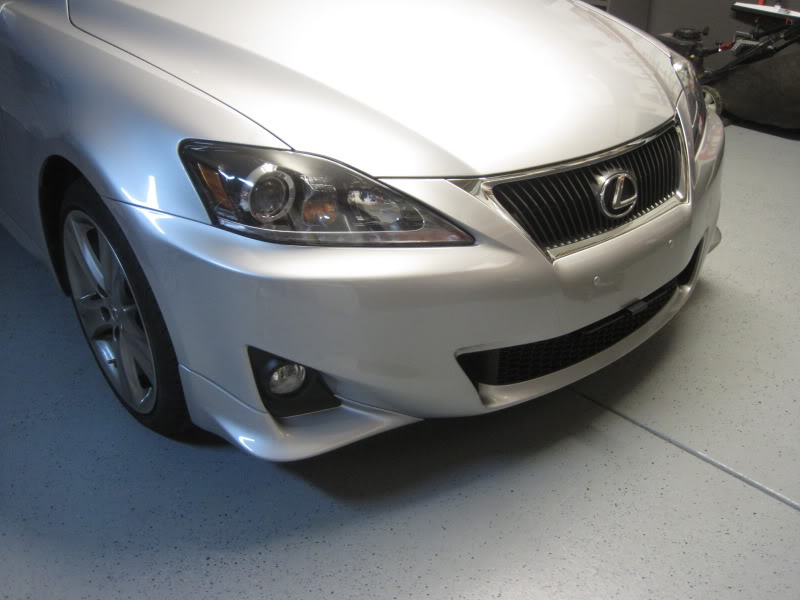
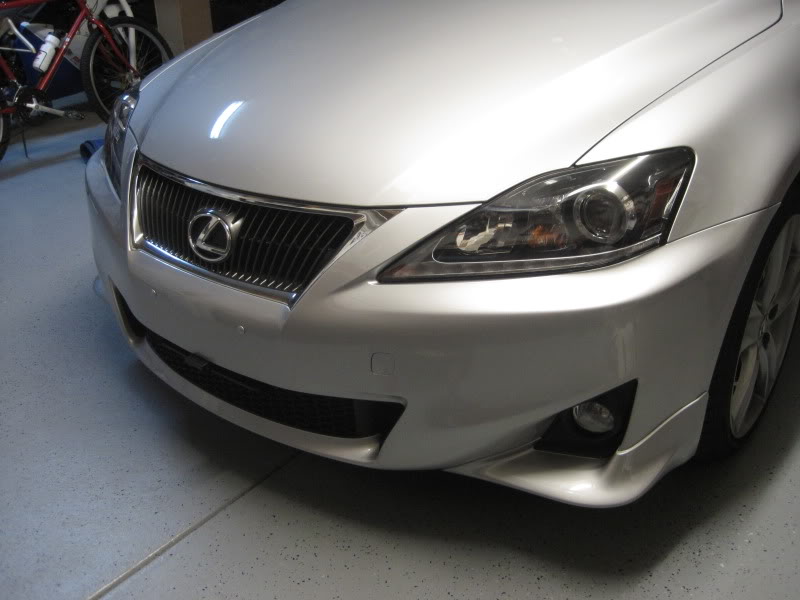
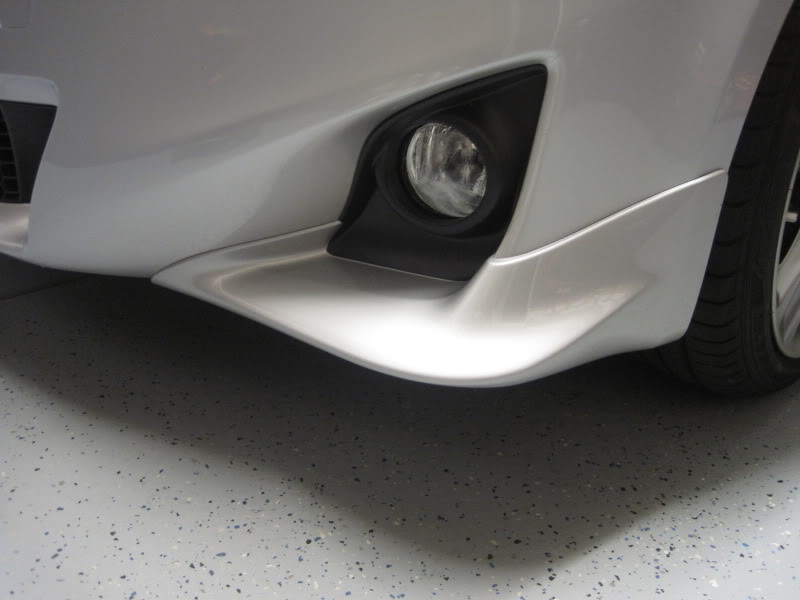
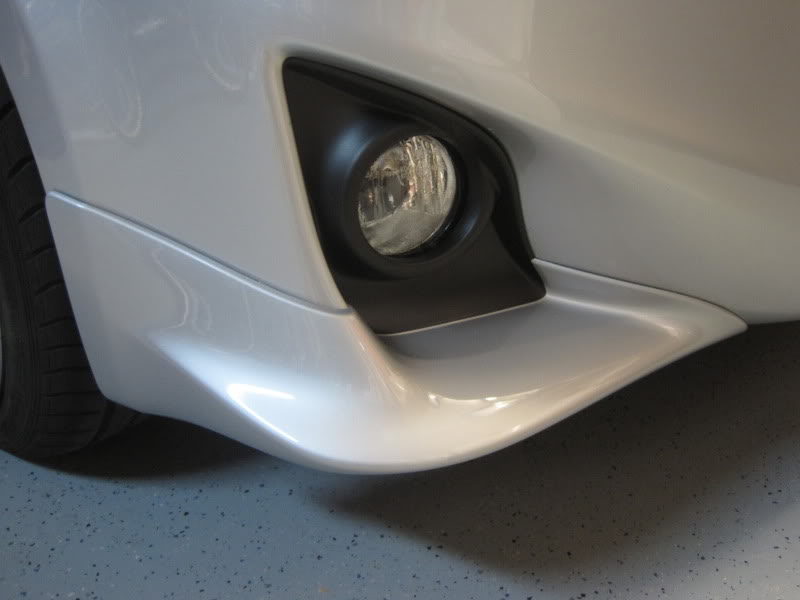
Obviously theres a few steps i forgot to document such as the bolts placement on the bottom and placement of the black included clips. Its pretty simple really, not rocket science what so ever. Once you get into it youll figure it out. hope you like and this helps some.
As you can see the spots and pieces i removed.
3m tape in place
Obviously theres a few steps i forgot to document such as the bolts placement on the bottom and placement of the black included clips. Its pretty simple really, not rocket science what so ever. Once you get into it youll figure it out. hope you like and this helps some.
11-14-11, 09:47 PM
#35

Would ya look at that... it can be done without cutting the bumper! Good work, I believe you are the first to do it that way. It looks like you might have to take a heat gun to the 3M a bit, I notice that some areas seem to stick closer to the bumper than others. It's hard to see without a straight shot from above, but because you have a lighter colored car, you can see it in the shadows along the edges. However, since the pieces are so small and light, I bet those babies are on there tight with the 3M!
I've often wondered what a factory F sport bumper looks like from behind. I'm sure they would use clips the same as we do but I find it odd coming that way from the factory...someone with a factory F sport take your bumper off and take a picture
I've often wondered what a factory F sport bumper looks like from behind. I'm sure they would use clips the same as we do but I find it odd coming that way from the factory...someone with a factory F sport take your bumper off and take a picture
11-14-11, 10:00 PM
#36

if i counted correctly, we should have 7 mounting points of the lip to the bumper with the no-drill method. This is very doable and it looks like it will mount securley.
Let's not forget about technique... he pioneered the no-drill method of installing the 2IS front GFX lip.
i too followed his no-drill method DIY.
06-08 GFX Clips.

http://www.infoarena.com/lexus/
not too many OG's around anymore. :/
Let's not forget about technique... he pioneered the no-drill method of installing the 2IS front GFX lip.
i too followed his no-drill method DIY.
06-08 GFX Clips.
http://www.infoarena.com/lexus/
not too many OG's around anymore. :/
 11-15-11, 10:35 AM
#42
That's true. It does fit pretty well, and with the way the piece fits into the bumper where the fog light is and with the clips, etc. underneath, it's still on there pretty securely. Not a bad idea, and it was my plan originally, but once the bumper was off and it was so easy to make the holes, I just went for it.
Jeff
Jeff
01-03-12, 11:49 PM
#43
Driver

Join Date: Jul 2011
Location: Texas
Posts: 110
Likes: 0
Received 0 Likes
on
0 Posts
Does anyone know why the Sewell website says these splitters aren't compatible with a "Non F-Sport Bumper"? If the only difference between the bumpers are the splitters & the grille, it doesn't make sense.
04-03-12, 11:10 PM
#45
Driver School Candidate

Join Date: Feb 2012
Location: UT
Posts: 5
Likes: 0
Received 0 Likes
on
0 Posts
Any input regarding attempting the no-cut method in a snowy climate? I'd rather not cut my bumper but am concerned about these things coming off when driving in some thick snow. Thanks