DIY - Steering Wheel Controls/Switches Carbon Fibre Wrapping *56K Warning*
 09-21-10, 06:44 AM
#1
Intermediate
Thread Starter
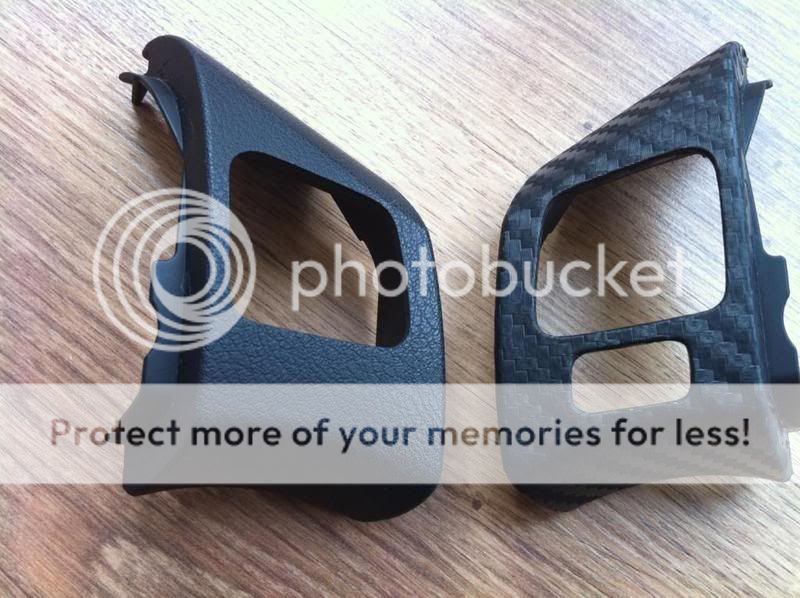
So I got bored with the switches on the steering wheel. They seemed quite basic to me and seemed to blend in too much with the rest of steering wheel material. So I decided to change it to carbon fibre style.
So I thought I would compile a DIY guide on how to remove the steering wheel switch controls and wrap them in 3M Di-Noc Carbon Fibre Vinyl.
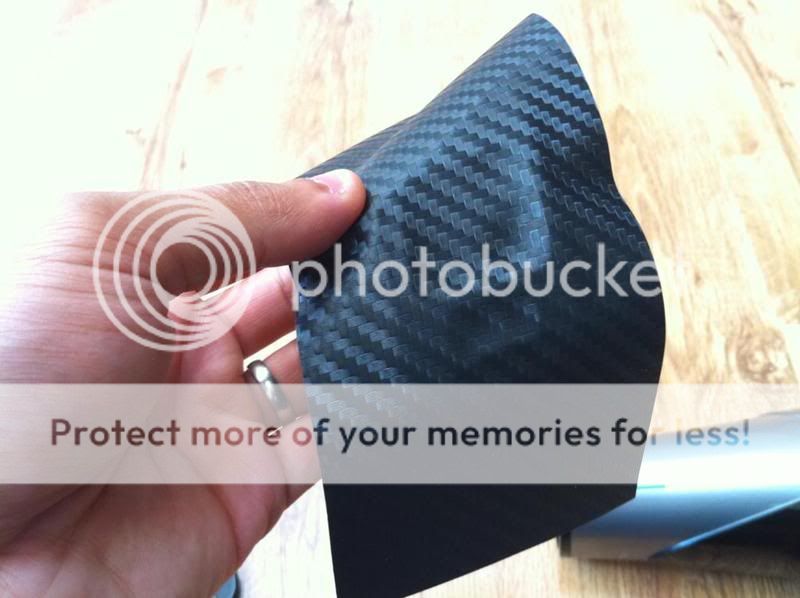
Firstly, I'd like to say that I was never actually a great fan of these Carbon Fibre Vinyl Wraps. I always thought they looked quite cheap. Until I purchased a small 20x30cm sample and saw the actual 3D texture that they have. It's not a printed carbon pattern. The film actually has an embossed finish resembling true carbon fibre, which reflects light really well and changes the highlights of the pattern depending on the viewing angle.
The only disadvantage to this product is that it is a matte finish. If you are looking for a true carbon fibre glossy finish, then the only option is to skin it with carbon fabric using the following method:
This is something that I might do in the near future. But for now I am very happy with the 3M method. It meets my cheap and cheerful mods criteria 
So lets begin...
TOTAL COST FOR THIS MOD: $6
TOOLS/MATERIALS NEEDED:
* 3M Di-Noc Carbon Fibre Vinyl Wrap (For this mod you will not need anything bigger than 20x30cm's. I purchased a CA-421 - Black 30x20cm sheet)
* 200 Grit sandpaper
* Sharp utility knife
* Hairdryer or Heatgun
* 2 small zip/cable ties
* Socket Wrench with T30 Torx Socket
* Socket Wrench with 10mm Socket
Step 1:
DISCONNECT CABLE FROM NEGATIVE BATTERY TERMINAL (Using a 10mm Socket Wrench)
Step 2:
Press down brakes and wait for 90 seconds after disconnecting cable from negative terminal to prevent airbag deployment.
Step 3:
Using a flat-head screwdriver wrapped in tape, remove the two side steering wheel covers. (Left-side cover is pictured below)
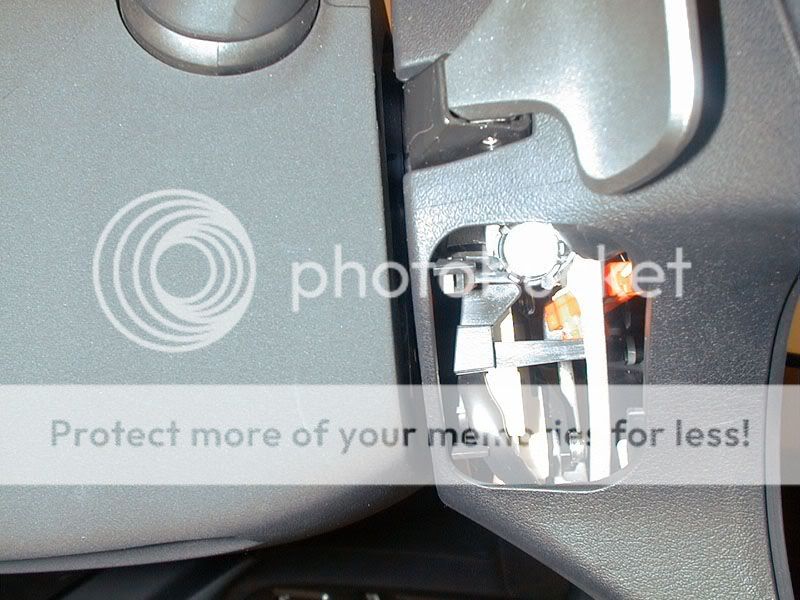
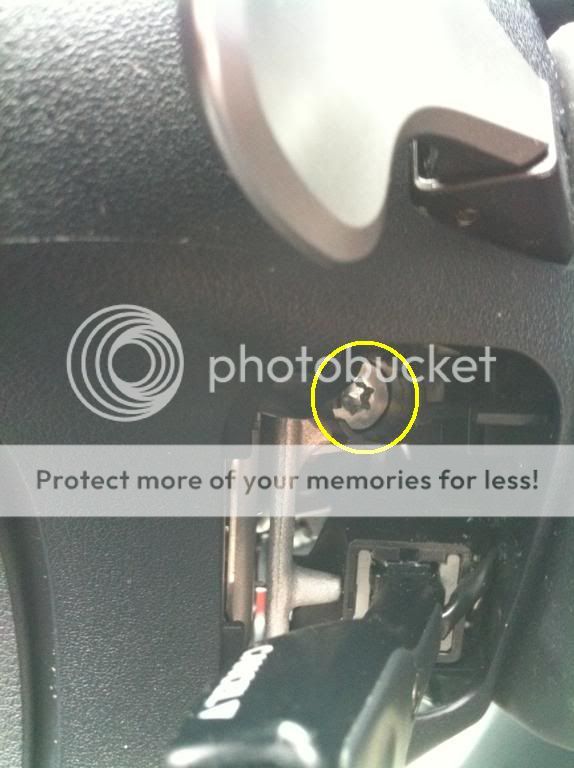
Step 4:
Using a "torx" socket wrench (T30), loosen the "torx" screws (1 on each side) until the groove along the screw circumference catches on the screw case.
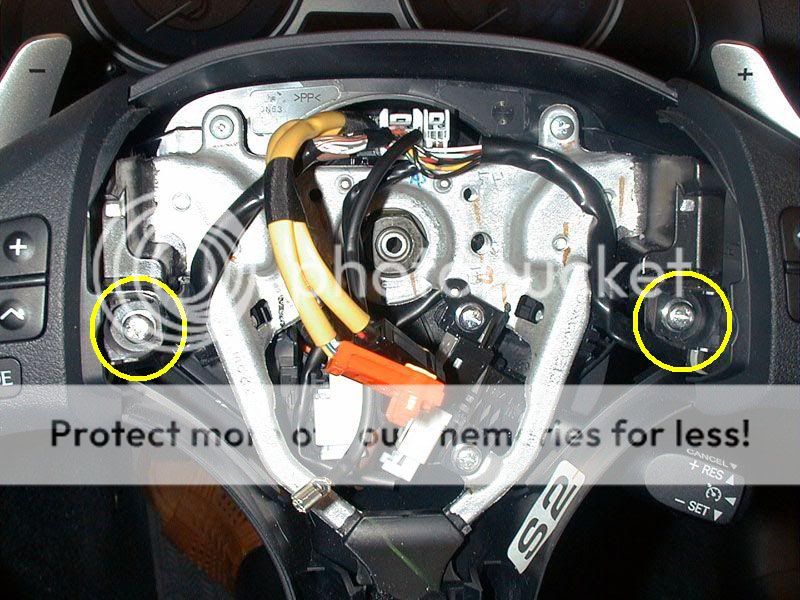
Step 5:
Pull out the steering pad (airbag unit) from the steering wheel assembly and support the steering pad with one hand.
Step 6:
Remove the 2 phillips screws (one one each side) that hold the switch modules onto the steering wheel.
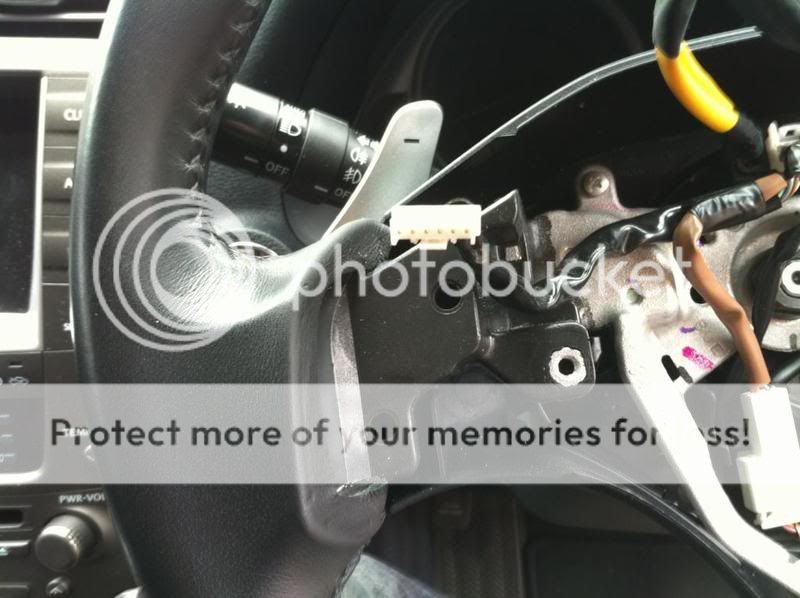
Step 7:
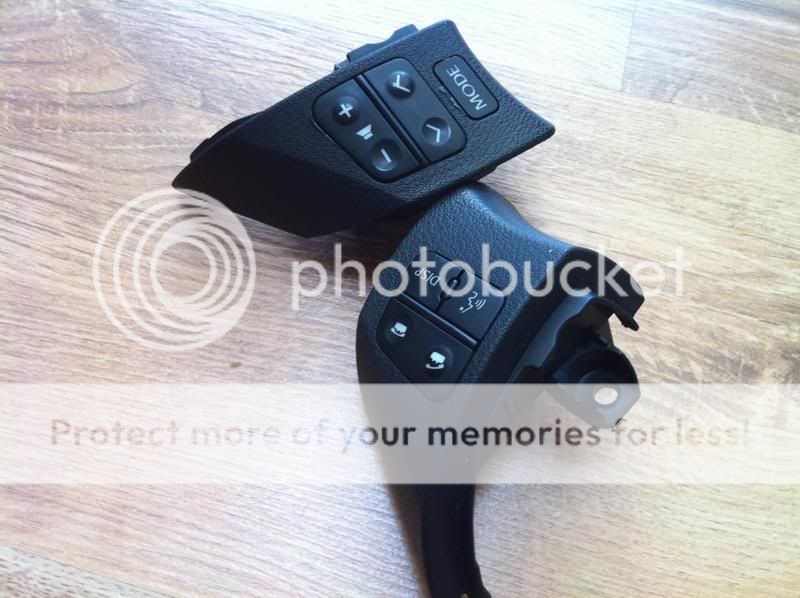
Gently pull the switch module out. If the connector is zip tied to the module, cut the zip tie being very careful not to cut the wire. Then remove the connector and your module will be out. - REMEMBER - When you re-install this module, you will need to use a new zip tie to secure the connector cable.
Step 8:
Next you need to take out the buttons/switches. To do this, turn the unit upside down and remove the 3 phillips screws:

Step 9:
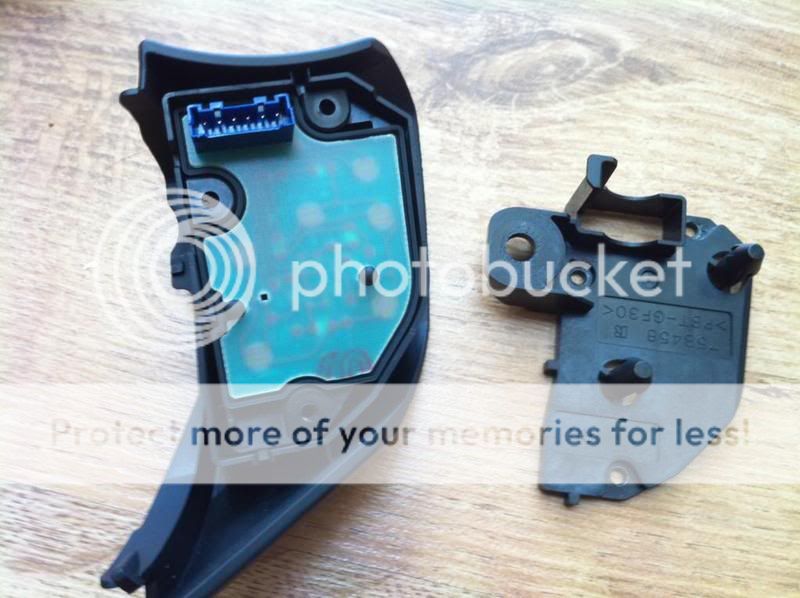
Pull out the cover as pictured below:
Step 10:
Keep the circuit board held down with a finger or 2 and gently turn the unit around. Push the buttons gently so that the buttons starting poping out. The purpose of holding down the circuit board at the same time is so that while you are pushing the switch out and the unit is turned around, the small components inside the buttons dont all get seperated and fall out.
Step 11:
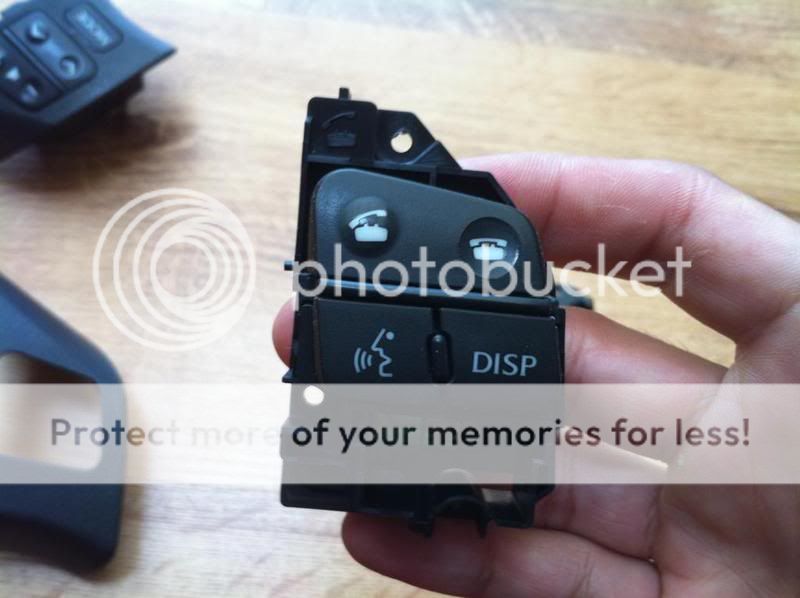
Put the removed switch buttons aside, making sure that the buttons are not seperated from the circuit board.
Step 12:
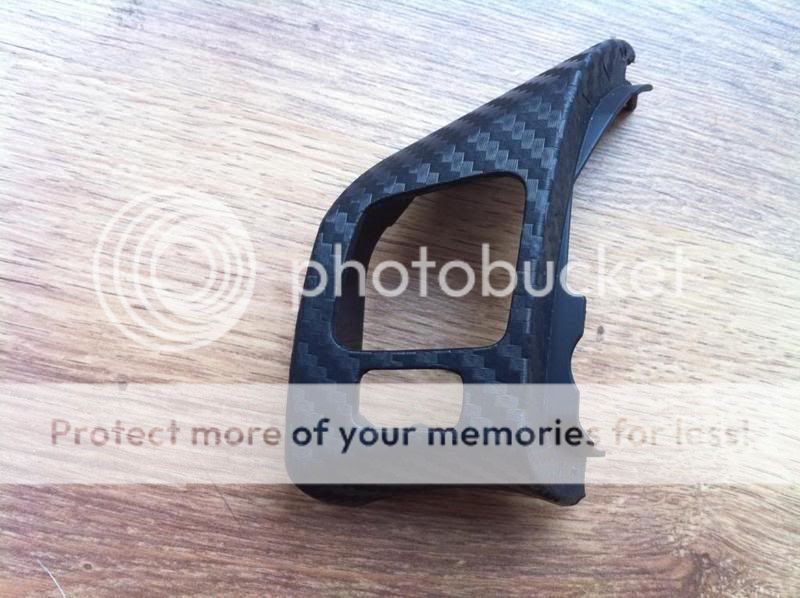
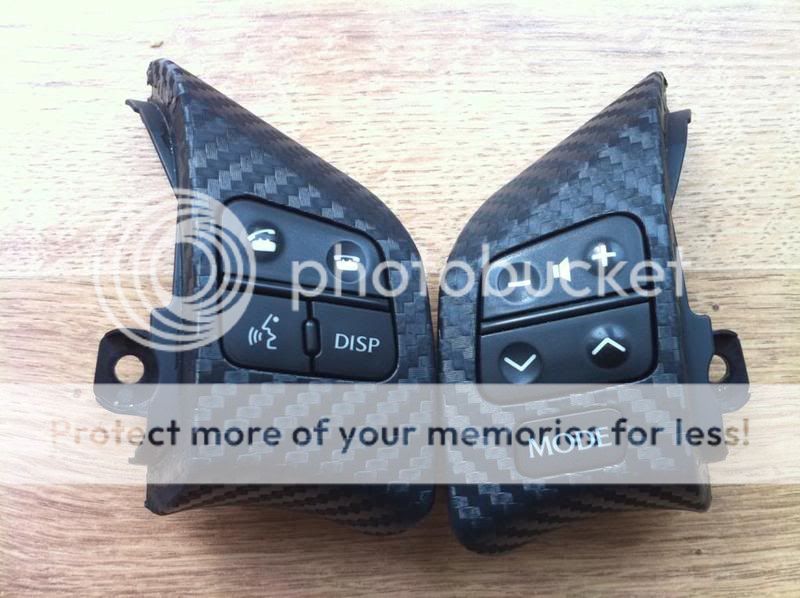
Now you are left with the following bare shell:
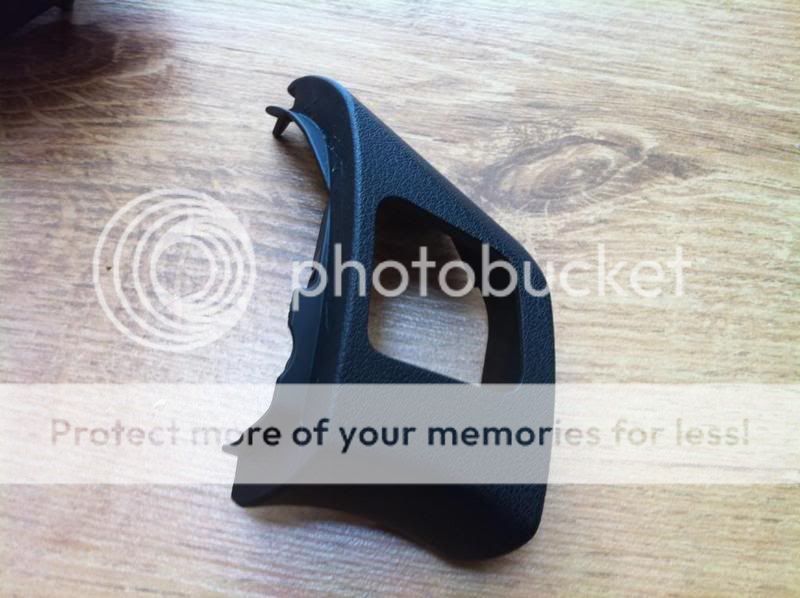
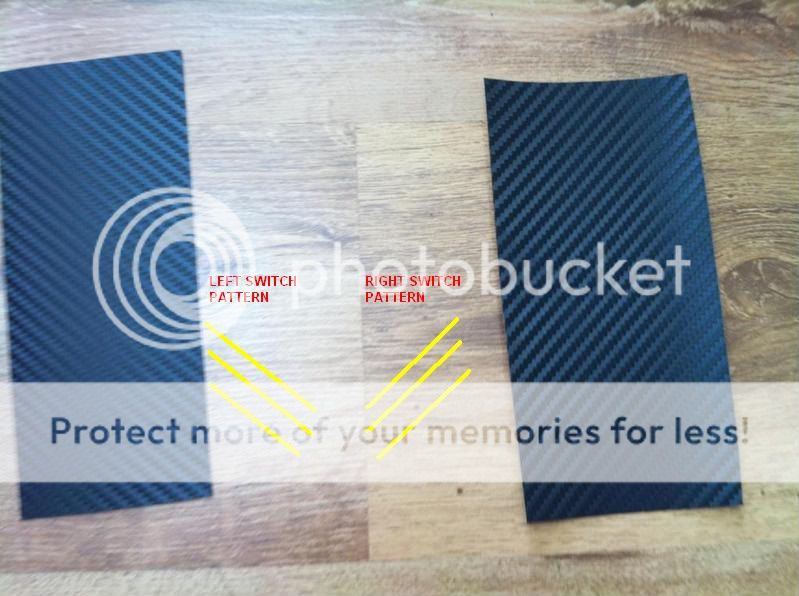
Step 13:
Next you want to cut-out 2 pieces from your 3M Carbon Fibre Vinyl. I wanted to make sure that for the left switch I cut a piece that had the pattern going from bottom right corner to top left corner. And for the right switch I wanted the pattern to go from bottom left corner to top right corner. As pictured below:
Step 14:
Next, you will need to sand the openings for the switches slightly. If this step is not done, then your buttons will be very sticky and may not work properly.
Gradually go around the openings with 200grit sandpaper. Dont rush, take your time and do it evenly so that you get consistent gap throughout. Once this is done, give it a clean.
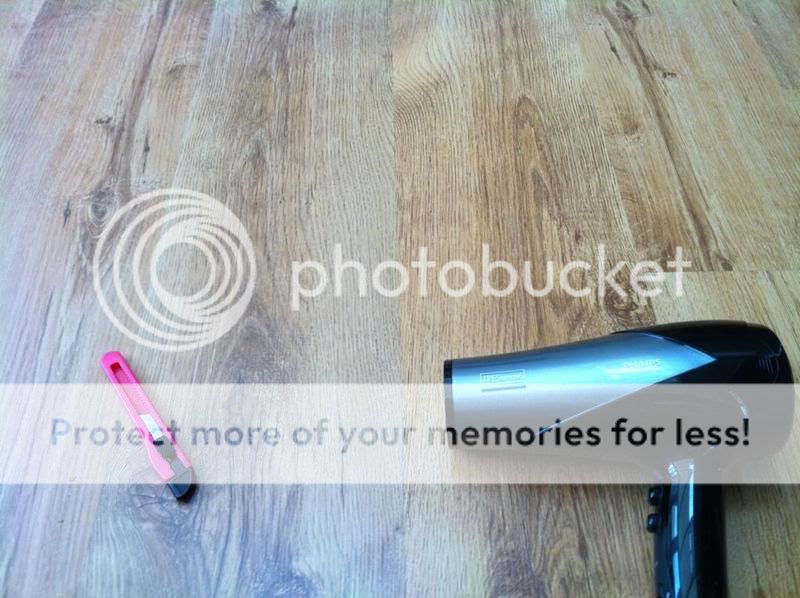
Step 15:
Next you will need to have your utility knife and a hairdryer or heatgun ready:
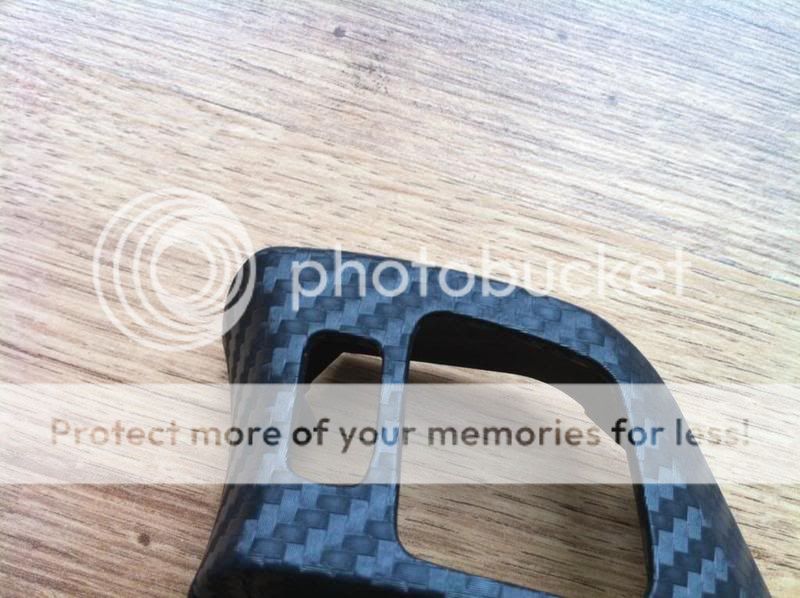
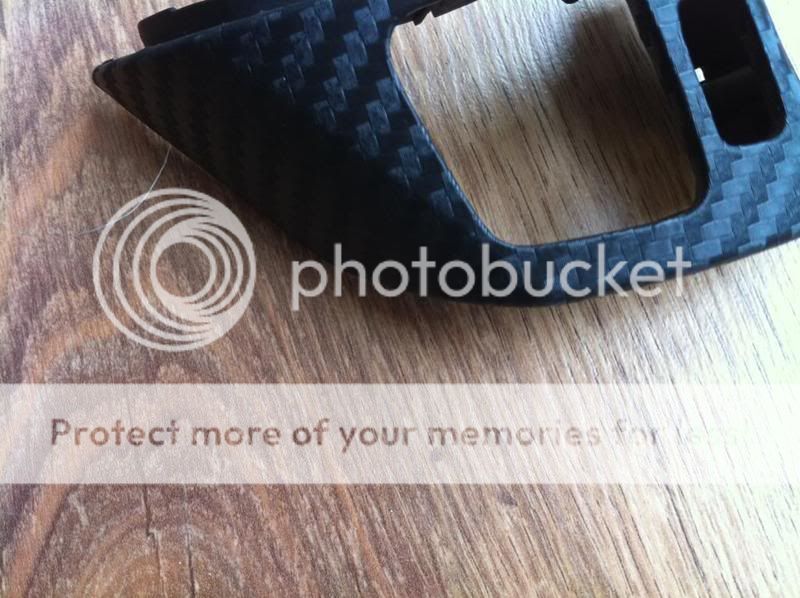
Step 16:
Gently apply the 3M wrap and use your hairdryer to heatshrink and get a perfect wrap around corners and curves.
Please watch the following youtube video, which shows how to heatshrink and apply the 3M vinyl:
Thats it... you are now done with it and ready to put back the buttons and install everything into the car in reverse order.
REMEMBER:
Take your time on the wrapping procedure and do it properly. DO NOT RUSH. The vinyl is very forgiving. If it looks wrong, lift it and apply it again with some heat.
Once everything is installed back into the car and the airbag unit is put back in, you can re-connect the negative terminal on the battery.
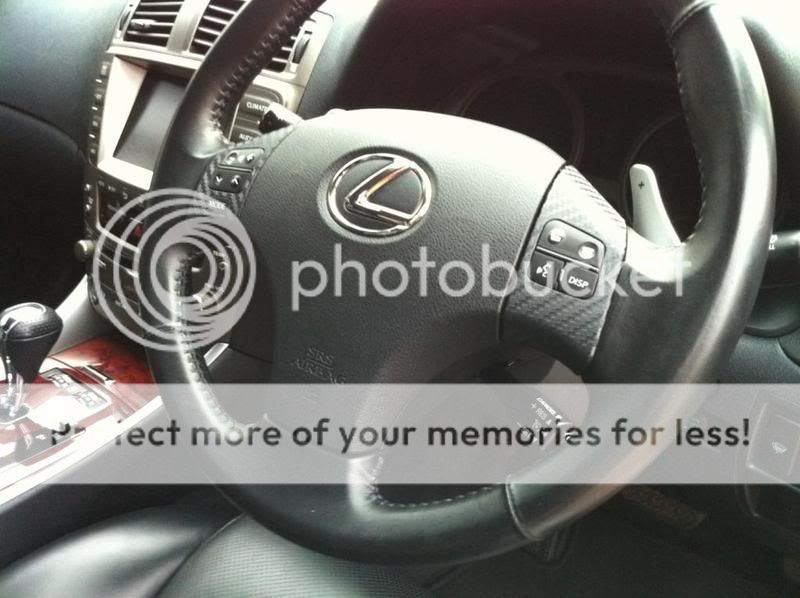
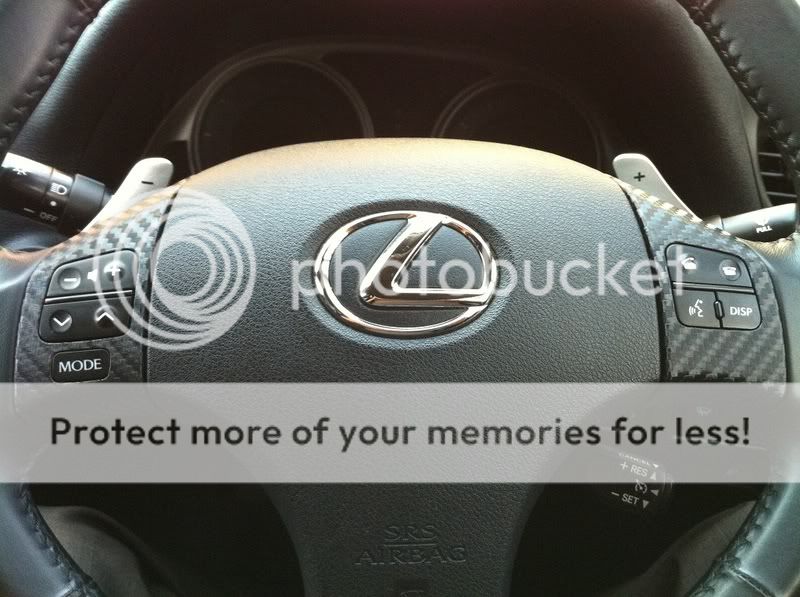
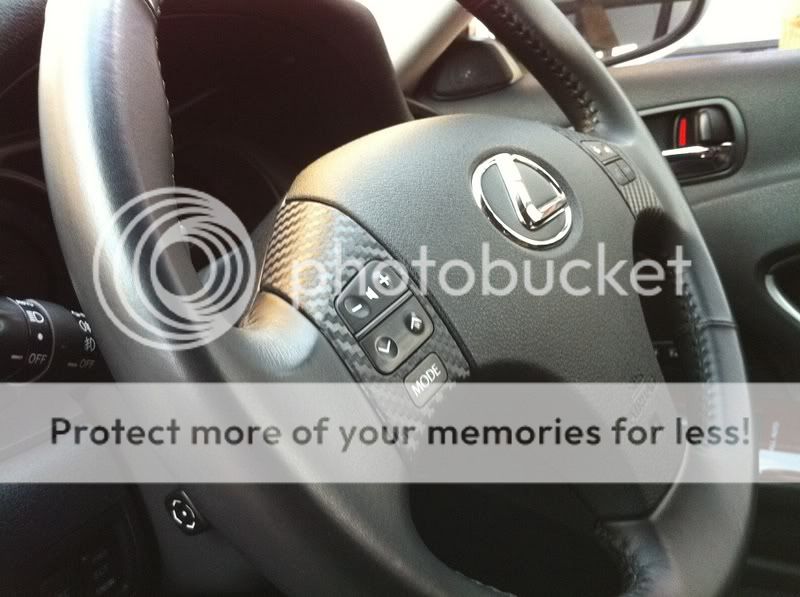
Below are some photos of my wrapping process and my final installed photos


So I thought I would compile a DIY guide on how to remove the steering wheel switch controls and wrap them in 3M Di-Noc Carbon Fibre Vinyl.
Firstly, I'd like to say that I was never actually a great fan of these Carbon Fibre Vinyl Wraps. I always thought they looked quite cheap. Until I purchased a small 20x30cm sample and saw the actual 3D texture that they have. It's not a printed carbon pattern. The film actually has an embossed finish resembling true carbon fibre, which reflects light really well and changes the highlights of the pattern depending on the viewing angle.
The only disadvantage to this product is that it is a matte finish. If you are looking for a true carbon fibre glossy finish, then the only option is to skin it with carbon fabric using the following method:
So lets begin...
TOTAL COST FOR THIS MOD: $6
TOOLS/MATERIALS NEEDED:
* 3M Di-Noc Carbon Fibre Vinyl Wrap (For this mod you will not need anything bigger than 20x30cm's. I purchased a CA-421 - Black 30x20cm sheet)
* 200 Grit sandpaper
* Sharp utility knife
* Hairdryer or Heatgun
* 2 small zip/cable ties
* Socket Wrench with T30 Torx Socket
* Socket Wrench with 10mm Socket
Step 1:
DISCONNECT CABLE FROM NEGATIVE BATTERY TERMINAL (Using a 10mm Socket Wrench)
Step 2:
Press down brakes and wait for 90 seconds after disconnecting cable from negative terminal to prevent airbag deployment.
Step 3:
Using a flat-head screwdriver wrapped in tape, remove the two side steering wheel covers. (Left-side cover is pictured below)
Step 4:
Using a "torx" socket wrench (T30), loosen the "torx" screws (1 on each side) until the groove along the screw circumference catches on the screw case.
Step 5:
Pull out the steering pad (airbag unit) from the steering wheel assembly and support the steering pad with one hand.
Step 6:
Remove the 2 phillips screws (one one each side) that hold the switch modules onto the steering wheel.
Step 7:
Gently pull the switch module out. If the connector is zip tied to the module, cut the zip tie being very careful not to cut the wire. Then remove the connector and your module will be out. - REMEMBER - When you re-install this module, you will need to use a new zip tie to secure the connector cable.
Step 8:
Next you need to take out the buttons/switches. To do this, turn the unit upside down and remove the 3 phillips screws:
Step 9:
Pull out the cover as pictured below:
Step 10:
Keep the circuit board held down with a finger or 2 and gently turn the unit around. Push the buttons gently so that the buttons starting poping out. The purpose of holding down the circuit board at the same time is so that while you are pushing the switch out and the unit is turned around, the small components inside the buttons dont all get seperated and fall out.
Step 11:
Put the removed switch buttons aside, making sure that the buttons are not seperated from the circuit board.
Step 12:
Now you are left with the following bare shell:
Step 13:
Next you want to cut-out 2 pieces from your 3M Carbon Fibre Vinyl. I wanted to make sure that for the left switch I cut a piece that had the pattern going from bottom right corner to top left corner. And for the right switch I wanted the pattern to go from bottom left corner to top right corner. As pictured below:
Step 14:
Next, you will need to sand the openings for the switches slightly. If this step is not done, then your buttons will be very sticky and may not work properly.
Gradually go around the openings with 200grit sandpaper. Dont rush, take your time and do it evenly so that you get consistent gap throughout. Once this is done, give it a clean.
Step 15:
Next you will need to have your utility knife and a hairdryer or heatgun ready:
Step 16:
Gently apply the 3M wrap and use your hairdryer to heatshrink and get a perfect wrap around corners and curves.
Please watch the following youtube video, which shows how to heatshrink and apply the 3M vinyl:
Thats it... you are now done with it and ready to put back the buttons and install everything into the car in reverse order.
REMEMBER:
Take your time on the wrapping procedure and do it properly. DO NOT RUSH. The vinyl is very forgiving. If it looks wrong, lift it and apply it again with some heat.
Once everything is installed back into the car and the airbag unit is put back in, you can re-connect the negative terminal on the battery.
Below are some photos of my wrapping process and my final installed photos
Last edited by ahmed24; 09-21-10 at 06:48 AM.


Trending Topics
09-21-10, 08:26 AM
#8
Intermediate
Thread Starter
It's to discharge any charge that may remain after removing negative terminal and to prevent airbag deployment. Although not 100% required, it's better to be safe than sorry
09-21-10, 08:28 AM
#9
Intermediate
Thread Starter
09-21-10, 08:34 AM
#10
Pole Position
iTrader: (10)

Join Date: Aug 2006
Location: Connecticut & NYC
Posts: 319
Likes: 0
Received 0 Likes
on
0 Posts
It's a easy DIY. heres a link to do the wood trims: https://www.clublexus.com/forums/is-...s-of-pics.html
Seems like the 3M with the adheisive on the back like you chose would be alot easier and cleaner.
09-21-10, 10:19 AM
#13
Intermediate
Thread Starter
 09-21-10, 11:01 AM
#15
Intermediate
Thread Starter