When you click on links to various merchants on this site and make a purchase, this can result in this site earning a commission. Affiliate programs and affiliations include, but are not limited to, the eBay Partner Network.
Since I recently (yesterday) had to do this, and I didn't find any other guides for this particular sensor, thought I would share what I did. My codes were P0138 and P0607. I determined that Bank 1 Sensor 2 was the passenger side downstream sensor based on the article in this link: http://alflash.com.ua/Learn/banksengine10l.pdf
Time:
It will probably take between 1 to 2 hours depending on your situation (on a lift, or from the floor with jack stands. Fighting on step 20 or not)
Steps
Slide the passenger seat forward.
Using the screw driver, remove the 2 plastic covers at the back of both seat rails to reveal the 14mm bolts.
Unscrew the two 14mm bolts with your ratchet and 14mm.
Slide the seat all the way back.
Remove the 2 plastic covers at the front of both seat rails.
Unscrew the two 14mm bolts with the ratchet and socket.
Lean the seat back to expose the underside.
Disconnect the 3 connectors from the wiring harness. Also, pry out the clip holding the wiring to the seat frame. It's a round, white clip and it may break if you pry it incorrectly.
Once the seat is disconnected, remove it from the cabin or push it back on to the rear seats and out of your way. Now you have lots of space to work.
Disconnect the battery negative terminal. This should clear your fault codes
Lift up the plastic step panel (where the illuminated Lexus is) from the inside until you hear it unclip. There are 4 clips holding it down. For this job, the 2 outer clips stayed on the panel while the 2 inner ones remained on the body of the car. If this happens to you, remove the clips from the body and slide them where they belong on the panel. It's easier to get the panel back on when they are attached to it rather than in the body of the car.
Disconnect the connector from the wiring harness for the illuminated Lexus sign.
You'll also need to remove the plastic molding that runs up the edge of the door opening and dash.
There are 3 large clips holding the wires down and also keeping the carpet in place. Pull each clip up a bit to be able to release the carpet.
To the right and below the glove box, the underside of the carpet has a black plastic piece that helps give the carpet its shape. It has a fastener that clips into the side of the car. Carefully release it so as not to break it.
From under the footwell, slide the carpeting down. You may need to play with it a bit to release it. When you do, pull it back to where the seat used to be.
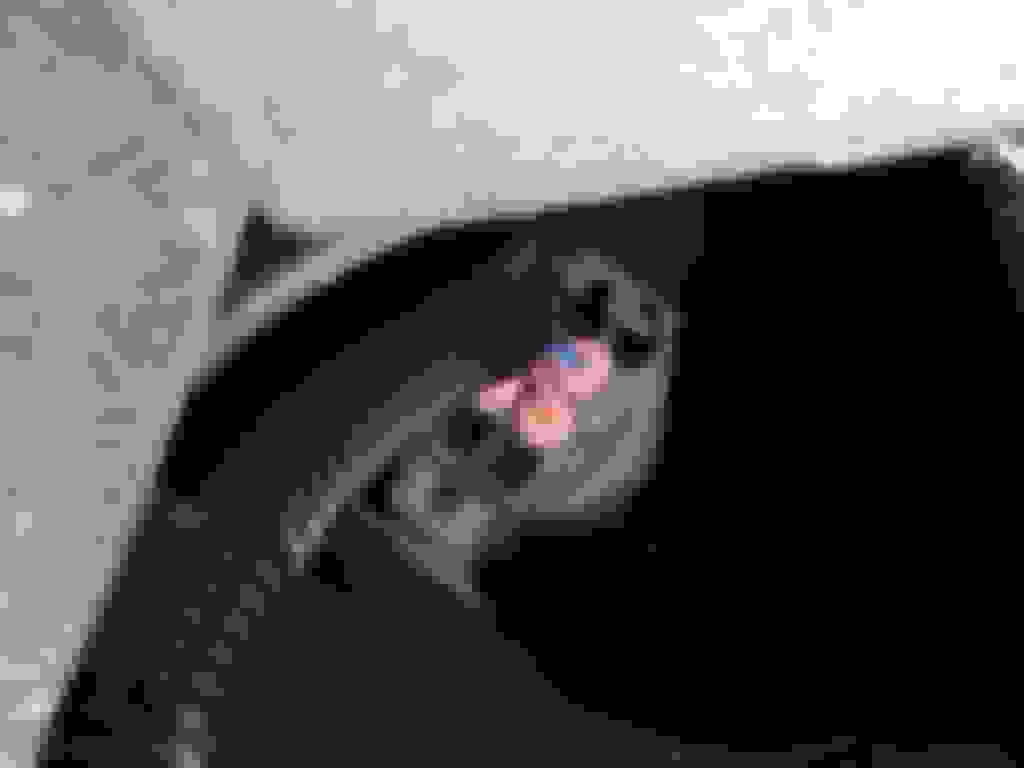
Once the carpet is out of the way, you'll see the connector for the oxygen sensor on the side of the transmission hump, up near the stereo. Disconnect it.
Follow the wire to the rubber grommet in the floor. Push the grommet through the floor along with the wire and connector.
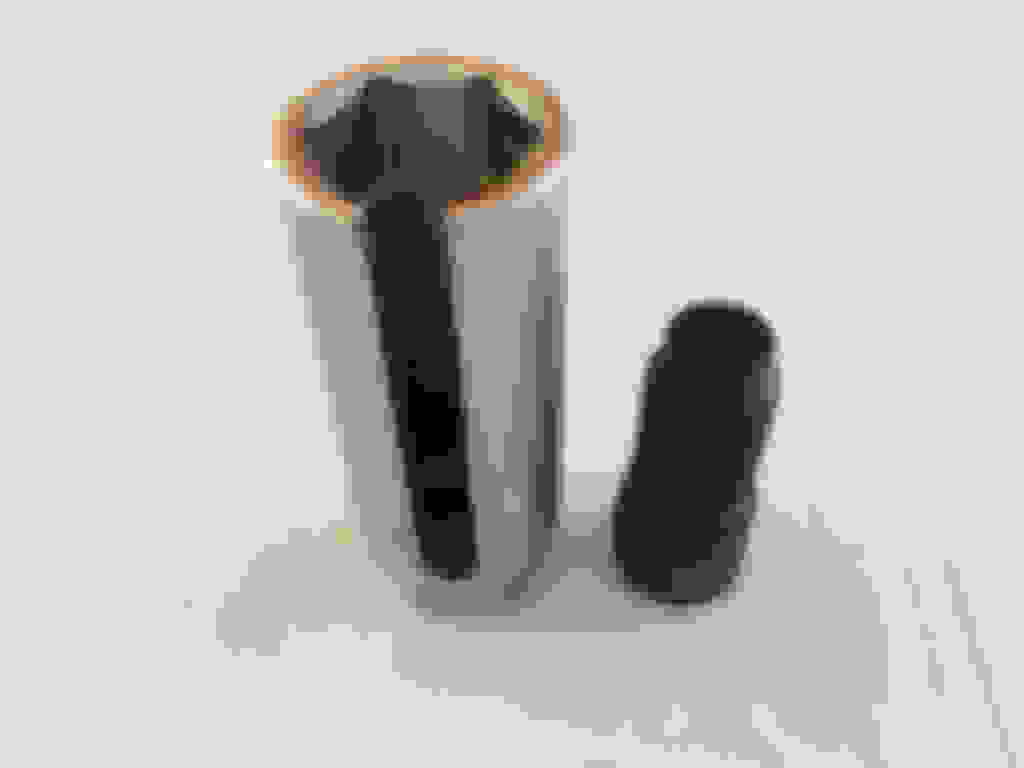
From under the car on the passenger side, locate the oxygen sensor. It has a protective crown around it and the wire you pushed through the floor will be connected to it
With the special oxygen sensor socket, extension, and ratchet, remove the sensor... sounds easy... it wasn't for me. You may need to use a penetrant like PB Blaster or WD-40 and let it sit for several hours or even a day. I personally used a torch to warm up the metal surrounding the sensor then forced like a mother fu@&$r to release it. I thought I was going to have an aneurysm from forcing so hard. Be careful not to smash your hands when it comes loose. It's very sudden. Use impact gloves if you have them. You may thank me for this later.
If the sensor you bought doesn't come with that protective crown, then salvage the old one. It's kinda locked in place with a gasket so you'll need to use a little elbow grease to get that off as well. You can reinstall the sensor without the protective crown but that'll leave the sensor exposed to any debris that may get under the vehicle when you're driving.
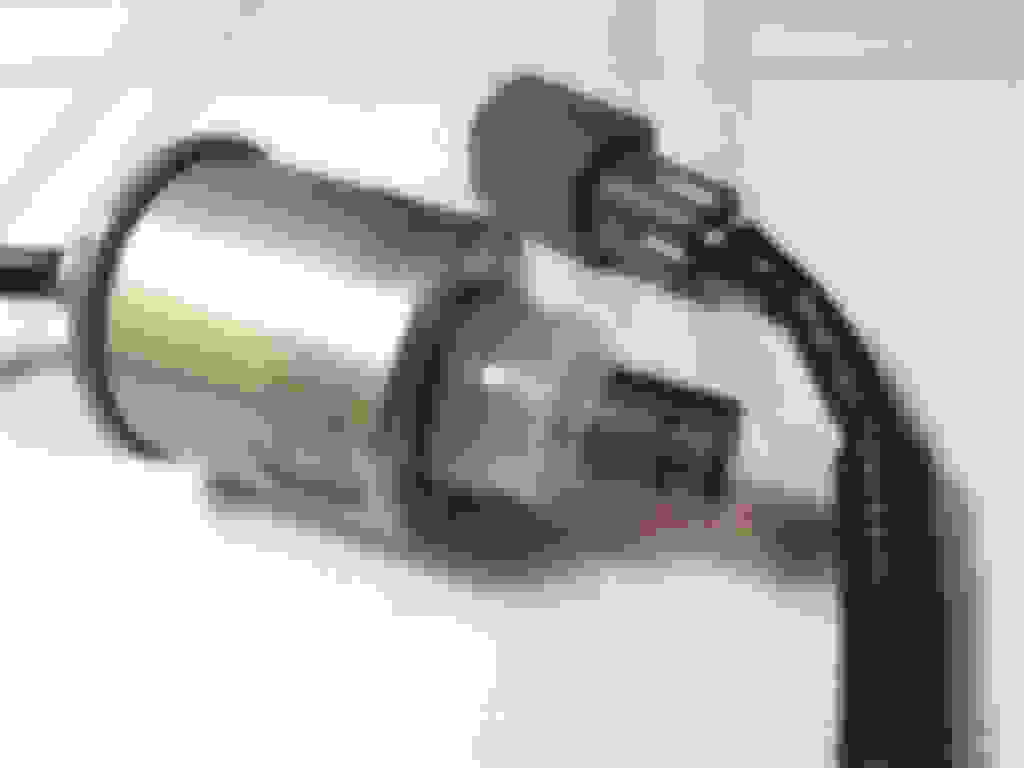
Apply some anti-seize lubricant to the threads of the new sensor. Be careful not to get any on the sensor body.
Slide it through the protective crown, and then back into the exhaust.
Tighten it by hand as much as you can, then depending on the instructions with the sensor, tighten with the socket and ratchet another half to 3/4 turns.
Slide the wire up through the hole in the floor and put the grommet in place sealing the hole.
Connect the wire to the harness on the transmission hump just below the stereo.
Set the carpeting back in place, reconnecting the fastener below the glove box at the door opening, and at the door sill where the 3 big fasteners/wiring clips are.
Reconnect the connector for the illuminated Lexus sign on the door sill panels.
Carefully put the panels in place, and push them down until you hear the click of all 4 clips. Do the same to the small attached panel that runs up the door opening.
Put the seat back in place, and screw the two 14mm bolts back in the front rail.
Reconnect the negative battery terminal.
Slide the seat forward.
Screw the two 14mm bolts back in the rear seat rails.
Place the plastic covers back on all 4 corners of the seat rails.
Start the car and connect your OBDII device. Check for codes but they should be cleared from disconnecting the battery. If you have the capability, you can check the voltage readings once the car is at normal operating temperature.
If the light comes back on after a few hundred kilometers or miles, then there could be another issue or a defective sensor.
That's it. Clean your tools and put them back in the toolbox.
I hope this guide will help someone make the decision to do the work themselves. It's not hard but a little time consuming if you can't get the sensor loose. You'll also save a ton of cash buying the sensor and doing the work yourself.
I just did this a couple of weeks ago as well, fixed my Catalyst System Efficiency Below Threshold code (P0420 I think?). Thankfully it wasn't the cat.
The couple of hiccups I ran into were: my original O2 socket was too long and wouldn't fit between the sensor/midpipe and the part of the undercarriage behind it. THEN I got a shorter socket and it wouldn't reach down the protective crown to the sensor! So, I ended up using tin snips to remove the crown and installed the new sensor without it instead of getting another O2 socket.
My sensor was pretty hard to remove, but I didn't use any penetrating oil. Much harder than pre-cat O2 sensors I've done in the past. Overall not too bad, took about 2 hours start to finish, but fixed my scary CEL for $60. Don't even want to think what a mechanic or the dealer would charge for this.
No need to RIP apart half the interior, or remove the seat lol. I just replaced that sensor few days ago. All you need to do is pull the carpet on one side just enough to unplug the connector.
The carpet is pretty thick in some areas and it could be challenging to get your hand in there, I suggest stuffing a tennis ball or hockey puck under the carpet where the sensor goes through the floor hole to give you little extra room.
I used my friend's hoist on the weekend so it shortened the time to about an hour. If you're using jack stands this will take longer.
All in all it was very straightforward repair. If you plan on doing it yourself, spray some PB Blaster or other penetrant on the sensor the night before.
You need deep O2 sensor socket size 22 or 7/8 and thread chaser (optional). You can buy tools or rent them from your local auto parts store.
For the RWD cars the part number for bank 1 sensor 2 (downstream post-cat passenger right) is Denso 234-4521, not sure if the same part applies to AWD cars.
The Check Engine Light cleared itself 2 days later.
Thank you for this. For those wondering, this procedure is the same for a 3IS. Only difference is you need an offset O2 sensor tool rather than the one listed here. The slotted socket won�t work because the frame is in the way and blocks you from inserting the socket. I have a 2015 IS350 and had received the following codes: P0037, P0138 and P0607. I proceeded to replace the bank 1 sensor 2 tonight and I �think� it resolved the problem. Light has not returned since the test drive and no codes stored in pending status. I will report back in a couple of days.
Originally Posted by primavera
No need to RIP apart half the interior, or remove the seat lol. I just replaced that sensor few days ago. All you need to do is pull the carpet on one side just enough to unplug the connector.
The carpet is pretty thick in some areas and it could be challenging to get your hand in there, I suggest stuffing a tennis ball or hockey puck under the carpet where the sensor goes through the floor hole to give you little extra room.
I used my friend's hoist on the weekend so it shortened the time to about an hour. If you're using jack stands this will take longer.
All in all it was very straightforward repair. If you plan on doing it yourself, spray some PB Blaster or other penetrant on the sensor the night before.
You need deep O2 sensor socket size 22 or 7/8 and thread chaser (optional). You can buy tools or rent them from your local auto parts store.
For the RWD cars the part number for bank 1 sensor 2 (downstream post-cat passenger right) is Denso 234-4521, not sure if the same part applies to AWD cars.
The Check Engine Light cleared itself 2 days later.
Can confirm, O2 sensor connector is under the driver seat, not in front near the gas pedal. Denso part number for PASSENGER side is 234-4521. Denso part number for the DRIVER side in AWD model is 234-4518 (extra long cable). Hope this saves at least 1 other person from ripping up the driver side floor needlessly. And for upstream Denso sensors the part numbers are Passenger/bank1sensor1- 234-9048 & Driver/bank 2/sensor1 234-9068.
For my 2015 IS350 AWD, the connector was under the driver seat. All you need to do is unbolt the driver seat, lift/tilt the seat up (i wedge a 2x4 between the floor and seat rail) and stuck my hand through the carpet opening of the rear/left side seat rail. You will find the connector in the middle of the seat. It was really easy to replace.
 01-05-17, 08:39 PM