HID Foglight Install DIY Using NeverBurnOut (NBO) 9006 Conversion Kit
 06-02-07, 03:05 PM
#1
Driver School Candidate
Thread Starter

Join Date: Jan 2006
Location: WA
Posts: 34
Likes: 0
Received 0 Likes
on
0 Posts
I recently purchased an HID conversion kit from www.*****************. I got the 9006 conversion kit with 4300K to match my stock HIDs. Here is a link to the exact one I purchased. http://www.*****************/Xenon-HI...s-9006-s/6.htm I got this one because it is completely plug and play with the factory harness and does not require additional wiring to the battery or ground (I saw some other kits that require connections other than just to the factory harness).
Here is a picture of the kit out of the box.

To access the foglights I used the DIY post by TAMR_GUS98. Here is a link to that post https://www.clublexus.com/forums/sho...t=foglight+diy Note that I accessed the drivers side the same way that I accessed the passenger side because I needed to have more room to mount the ballast. WEAR GLOVES, it saves your hands
I removed the bulb from the factory harness and then connected the factory harness to the HID kit to verify that everything was working. All of the plugs had matching female-male clips. Unlike normal light bulbs, the HID ballasts are polarity sensitive. Make sure you don't touch the bulbs directly.

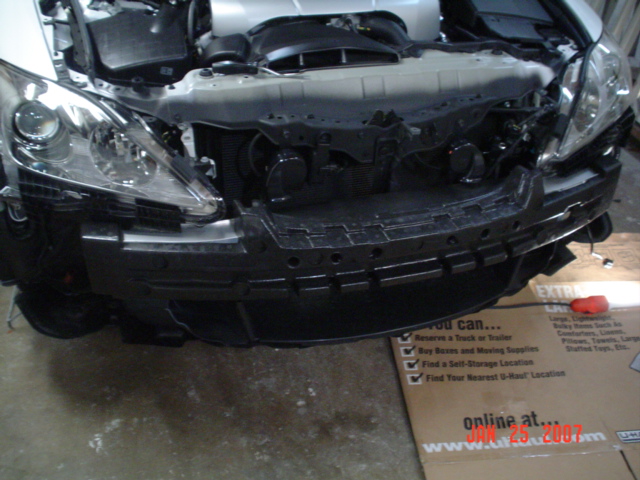
After testing the lights I disconnected the harness and installed the HID bulb first. I then proceeded to reconnect the harness and performed another light test. Next came mounting the ballast. I securely zip-tied the ballast to a metal clip shown in this next figure.

I repeated the same proceedure for the other light. Here is a picture of the finished install.

The color is a pretty close match to the stock HIDs. I will take a look later tonight and post a picture of the beam pattern.
Cheers,
Here is a picture of the kit out of the box.
To access the foglights I used the DIY post by TAMR_GUS98. Here is a link to that post https://www.clublexus.com/forums/sho...t=foglight+diy Note that I accessed the drivers side the same way that I accessed the passenger side because I needed to have more room to mount the ballast. WEAR GLOVES, it saves your hands
I removed the bulb from the factory harness and then connected the factory harness to the HID kit to verify that everything was working. All of the plugs had matching female-male clips. Unlike normal light bulbs, the HID ballasts are polarity sensitive. Make sure you don't touch the bulbs directly.
After testing the lights I disconnected the harness and installed the HID bulb first. I then proceeded to reconnect the harness and performed another light test. Next came mounting the ballast. I securely zip-tied the ballast to a metal clip shown in this next figure.
I repeated the same proceedure for the other light. Here is a picture of the finished install.
The color is a pretty close match to the stock HIDs. I will take a look later tonight and post a picture of the beam pattern.
Cheers,
 06-02-07, 04:53 PM
#2
Lexus Champion

I wanted to do that too, but I want to use 6000k bulbs for the headlights and foglights. I think I am going to use philips brand stuff though. They are OEM quality.

 06-08-07, 07:14 AM
#5
Lexus Champion
Wait wait wait.... If ever bulb is covered for life to never burn out, why do they sell replacement bulbs? Is it so people can change their existing HID bulbs to theirs?
Trending Topics
 06-15-07, 11:29 AM
#9
Lexus Test Driver

Join Date: Jun 2006
Location: Hurricane Capital Of The World
Posts: 1,047
Likes: 0
Received 2 Likes
on
1 Post
very nice, I'm planning to put either 4300k or 5000k on my fog. How is the color of the fog compare to the low? Is the fog more yellow or whiter? Thanks in advance for your help.
06-16-07, 12:29 AM
#11
Driver School Candidate
Thread Starter
Join Date: Jan 2006
Location: WA
Posts: 34
Likes: 0
Received 0 Likes
on
0 Posts
On power up the lows are more purple while the fogs are more blue. Once both lights have powered up the fogs are slightly whiter than the low beams from the sides. From the driver's seat I cannot tell where the fogs end and the lows begin.
 06-16-07, 06:21 PM
#13
Driver School Candidate

Join Date: May 2007
Location: fl
Posts: 41
Likes: 0
Received 0 Likes
on
0 Posts
zip ties secure it pretty well, i just did this method tonight. I zip tied the top to the same spot, zip tied the bottom to another. I dont think it will move anymore than if it were on the bumper (vibration etc). its also fixed fairly securely against the back plastic behind the fender.
06-17-07, 01:07 AM
#14
Driver School Candidate
Thread Starter
Join Date: Jan 2006
Location: WA
Posts: 34
Likes: 0
Received 0 Likes
on
0 Posts
06-18-07, 11:09 AM
#15

Is it just Plug N Play or You need use the Relay?
Thx,