When you click on links to various merchants on this site and make a purchase, this can result in this site earning a commission. Affiliate programs and affiliations include, but are not limited to, the eBay Partner Network.
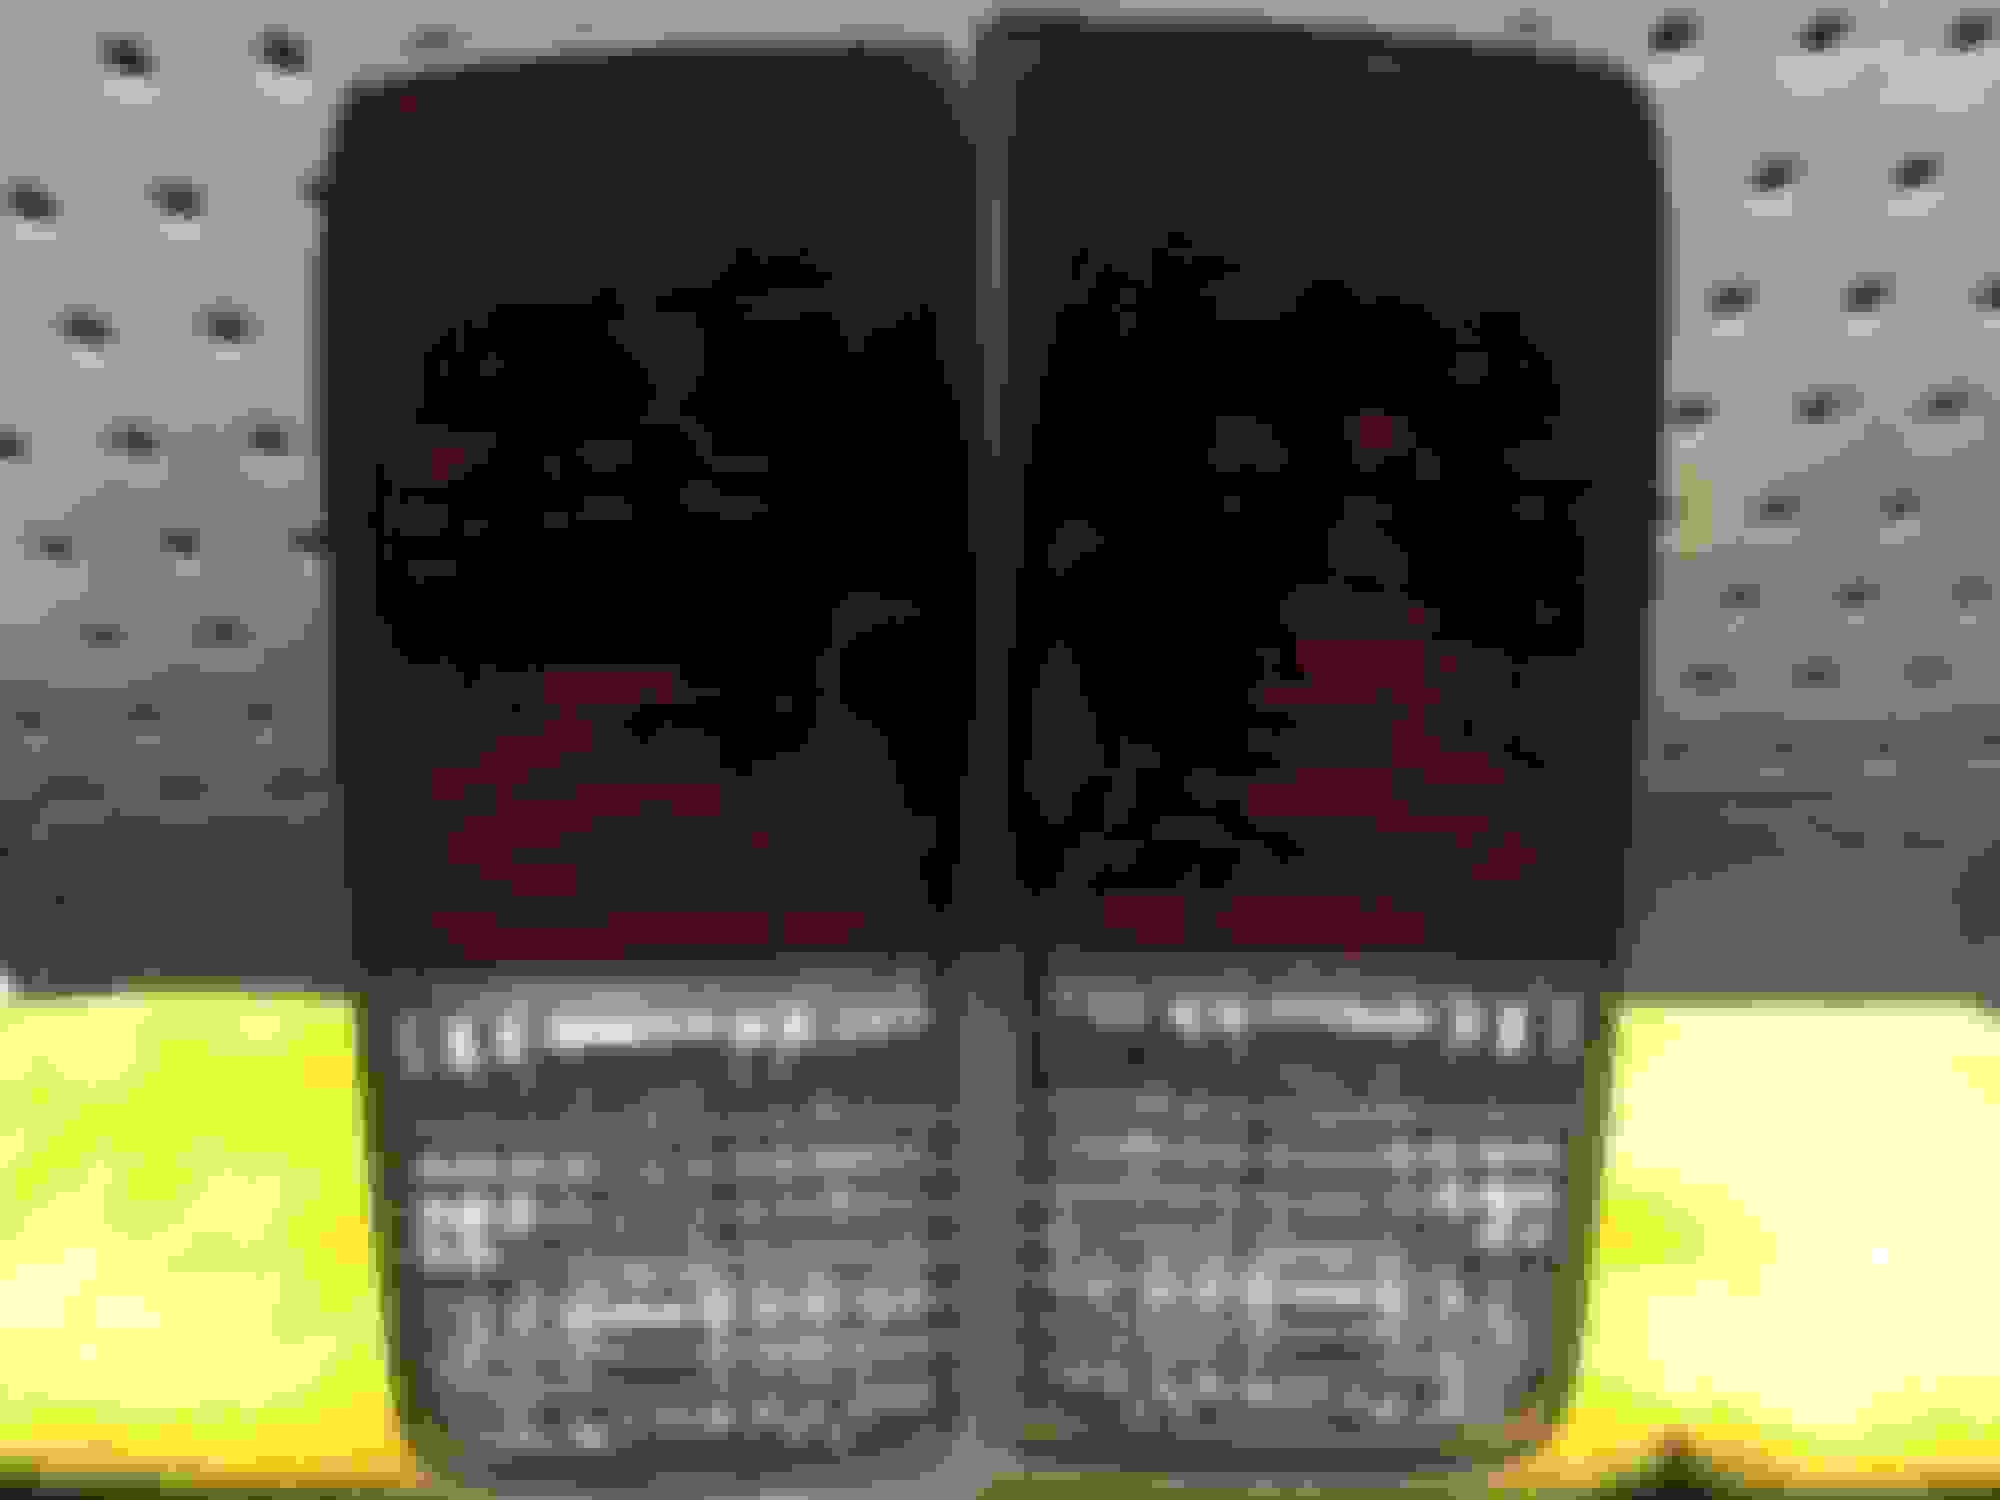
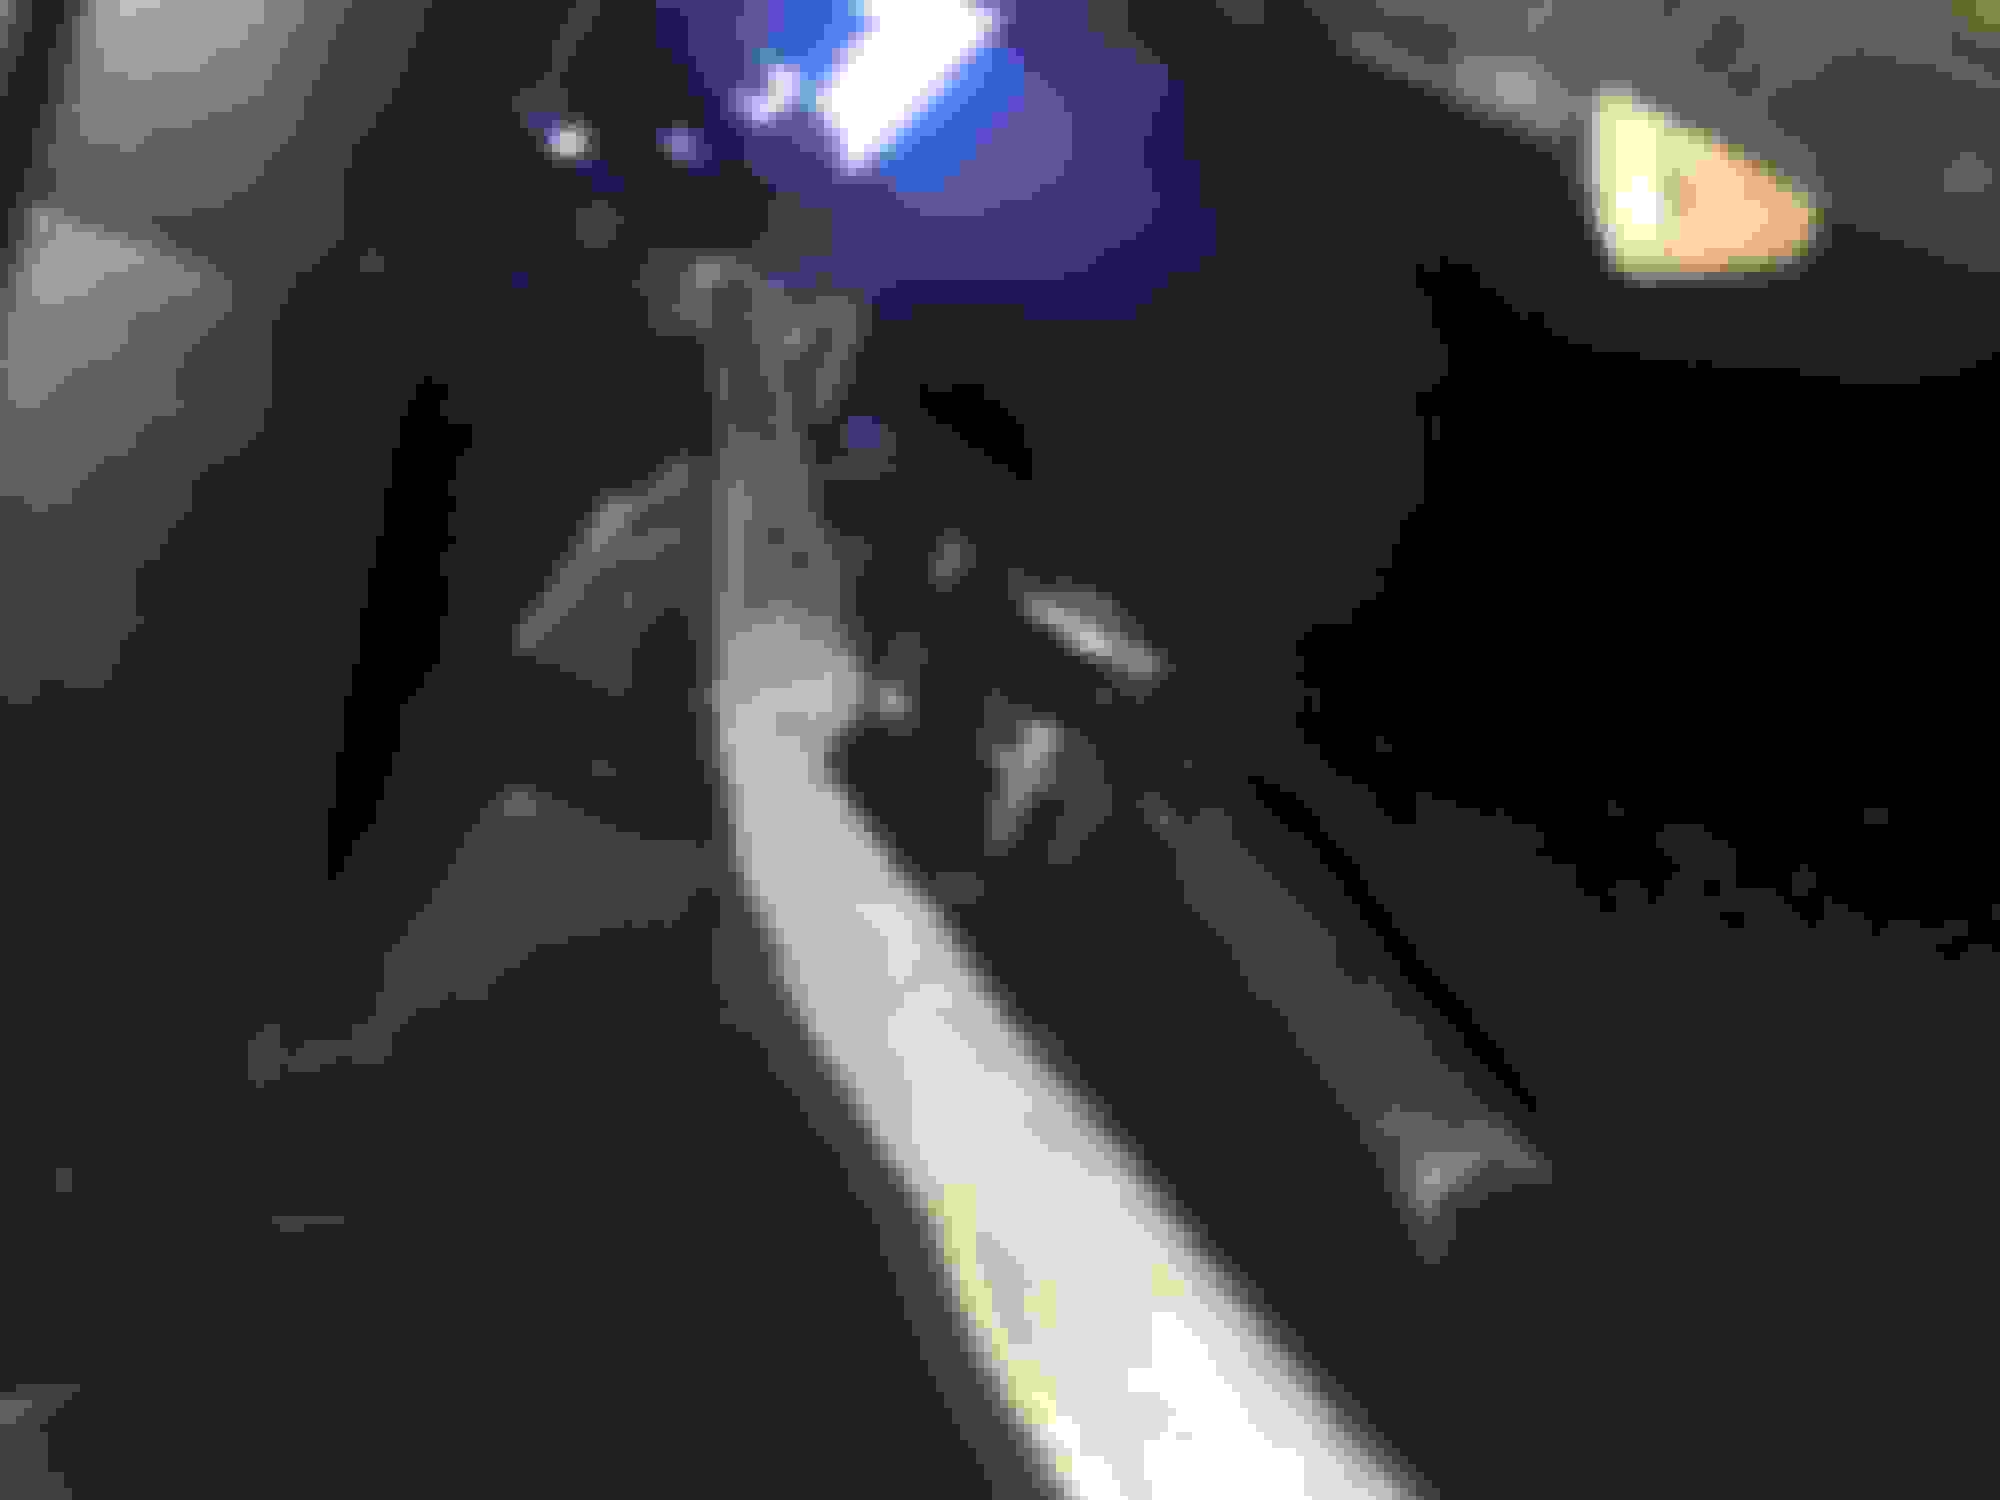
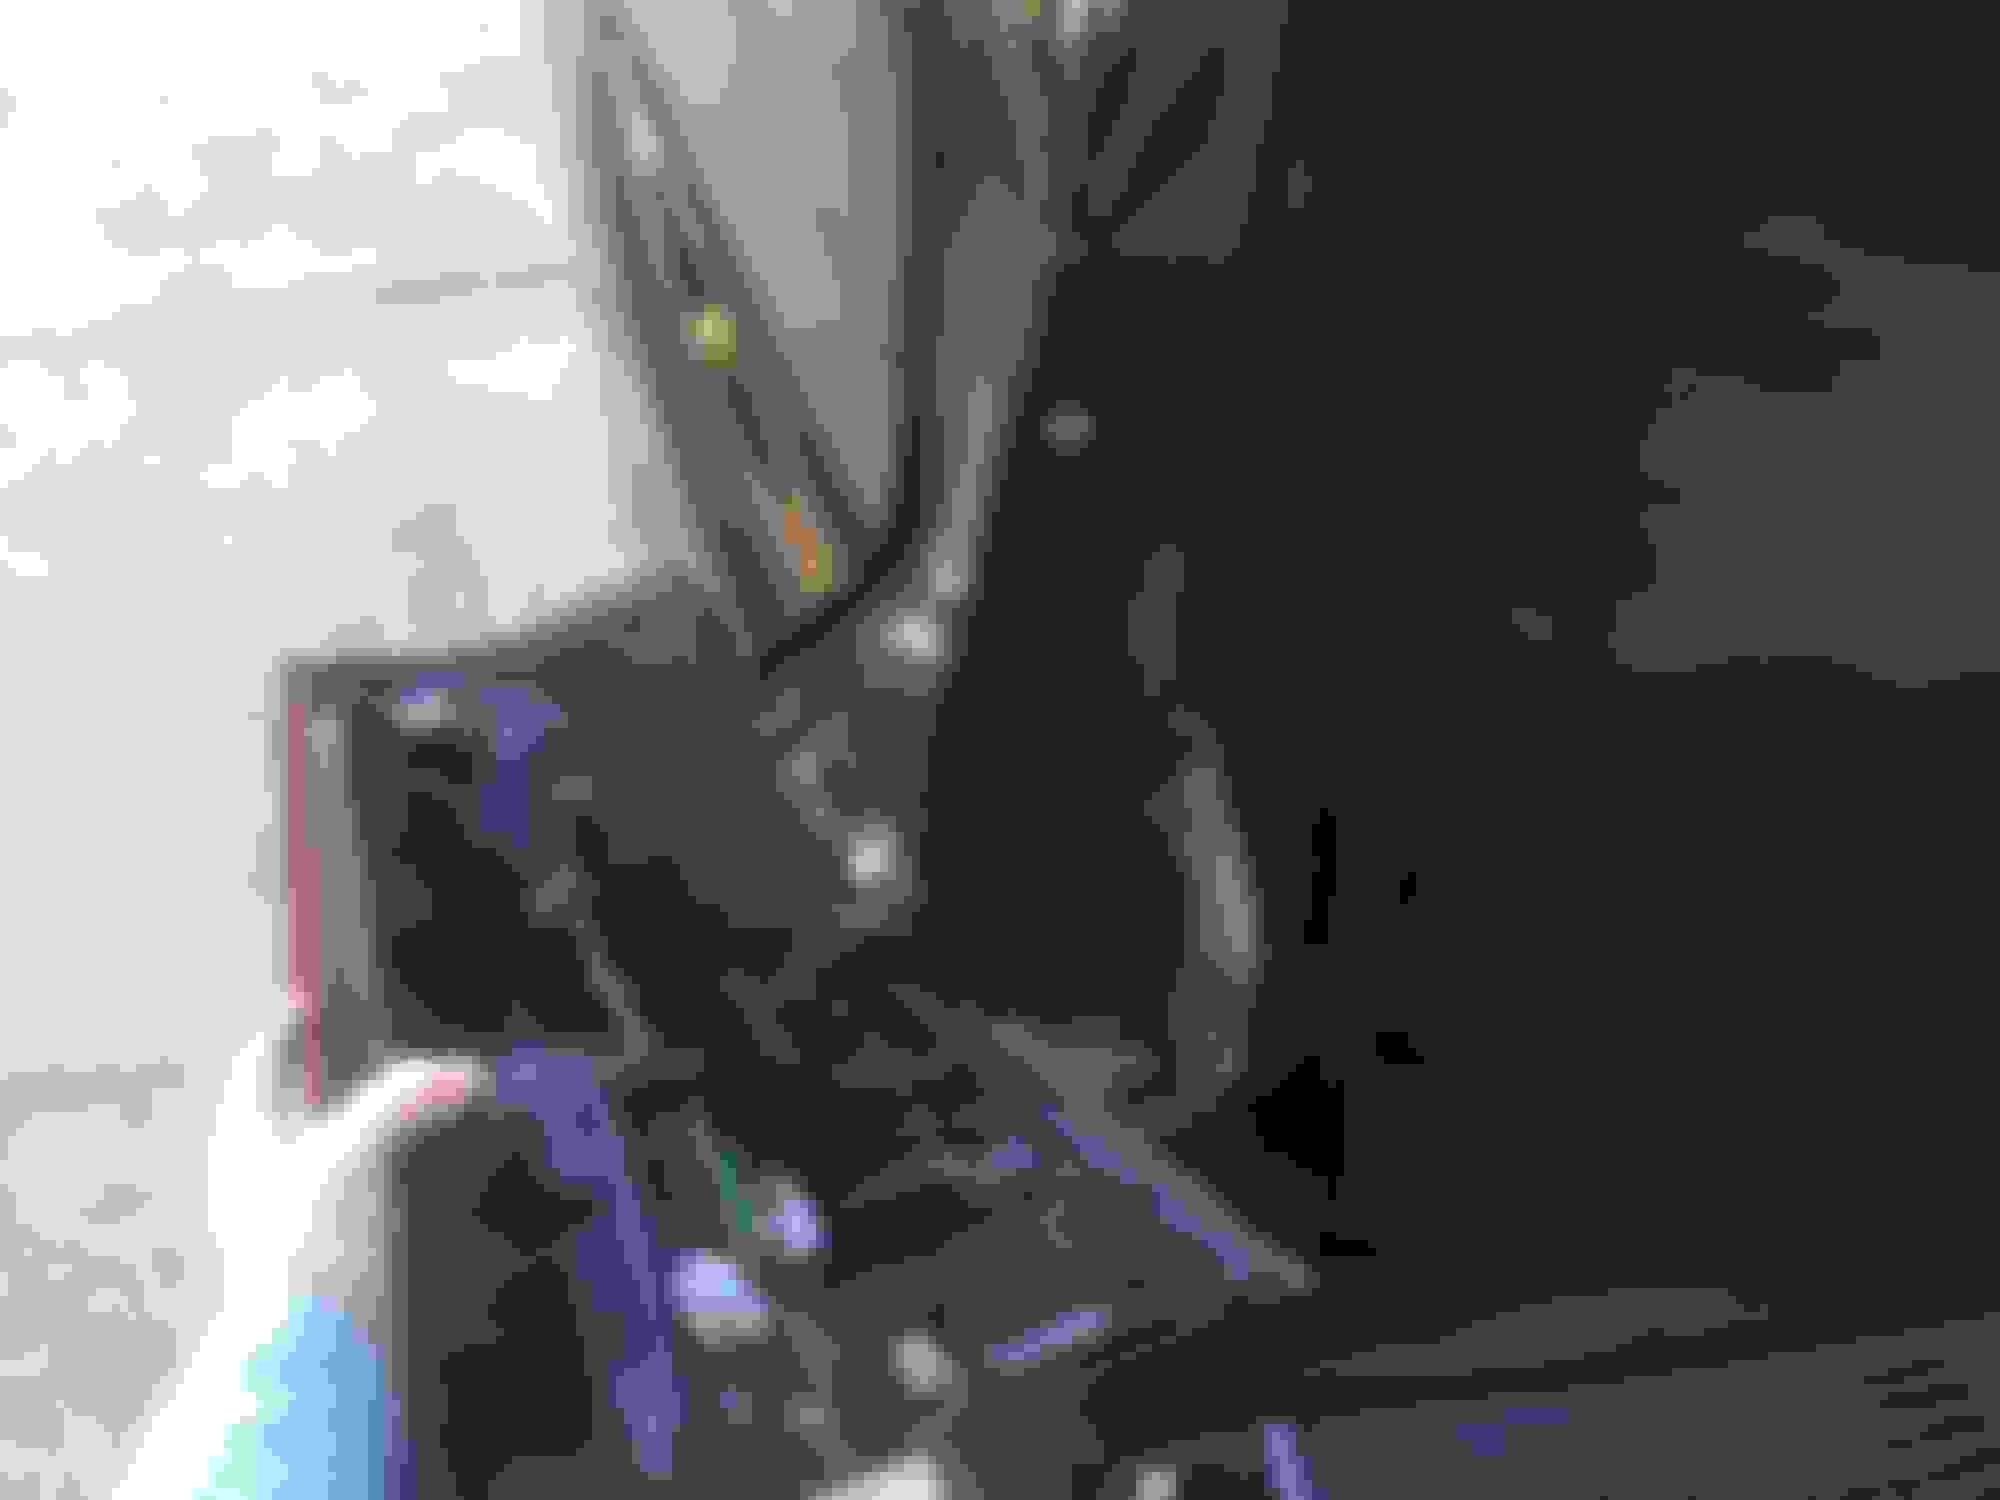
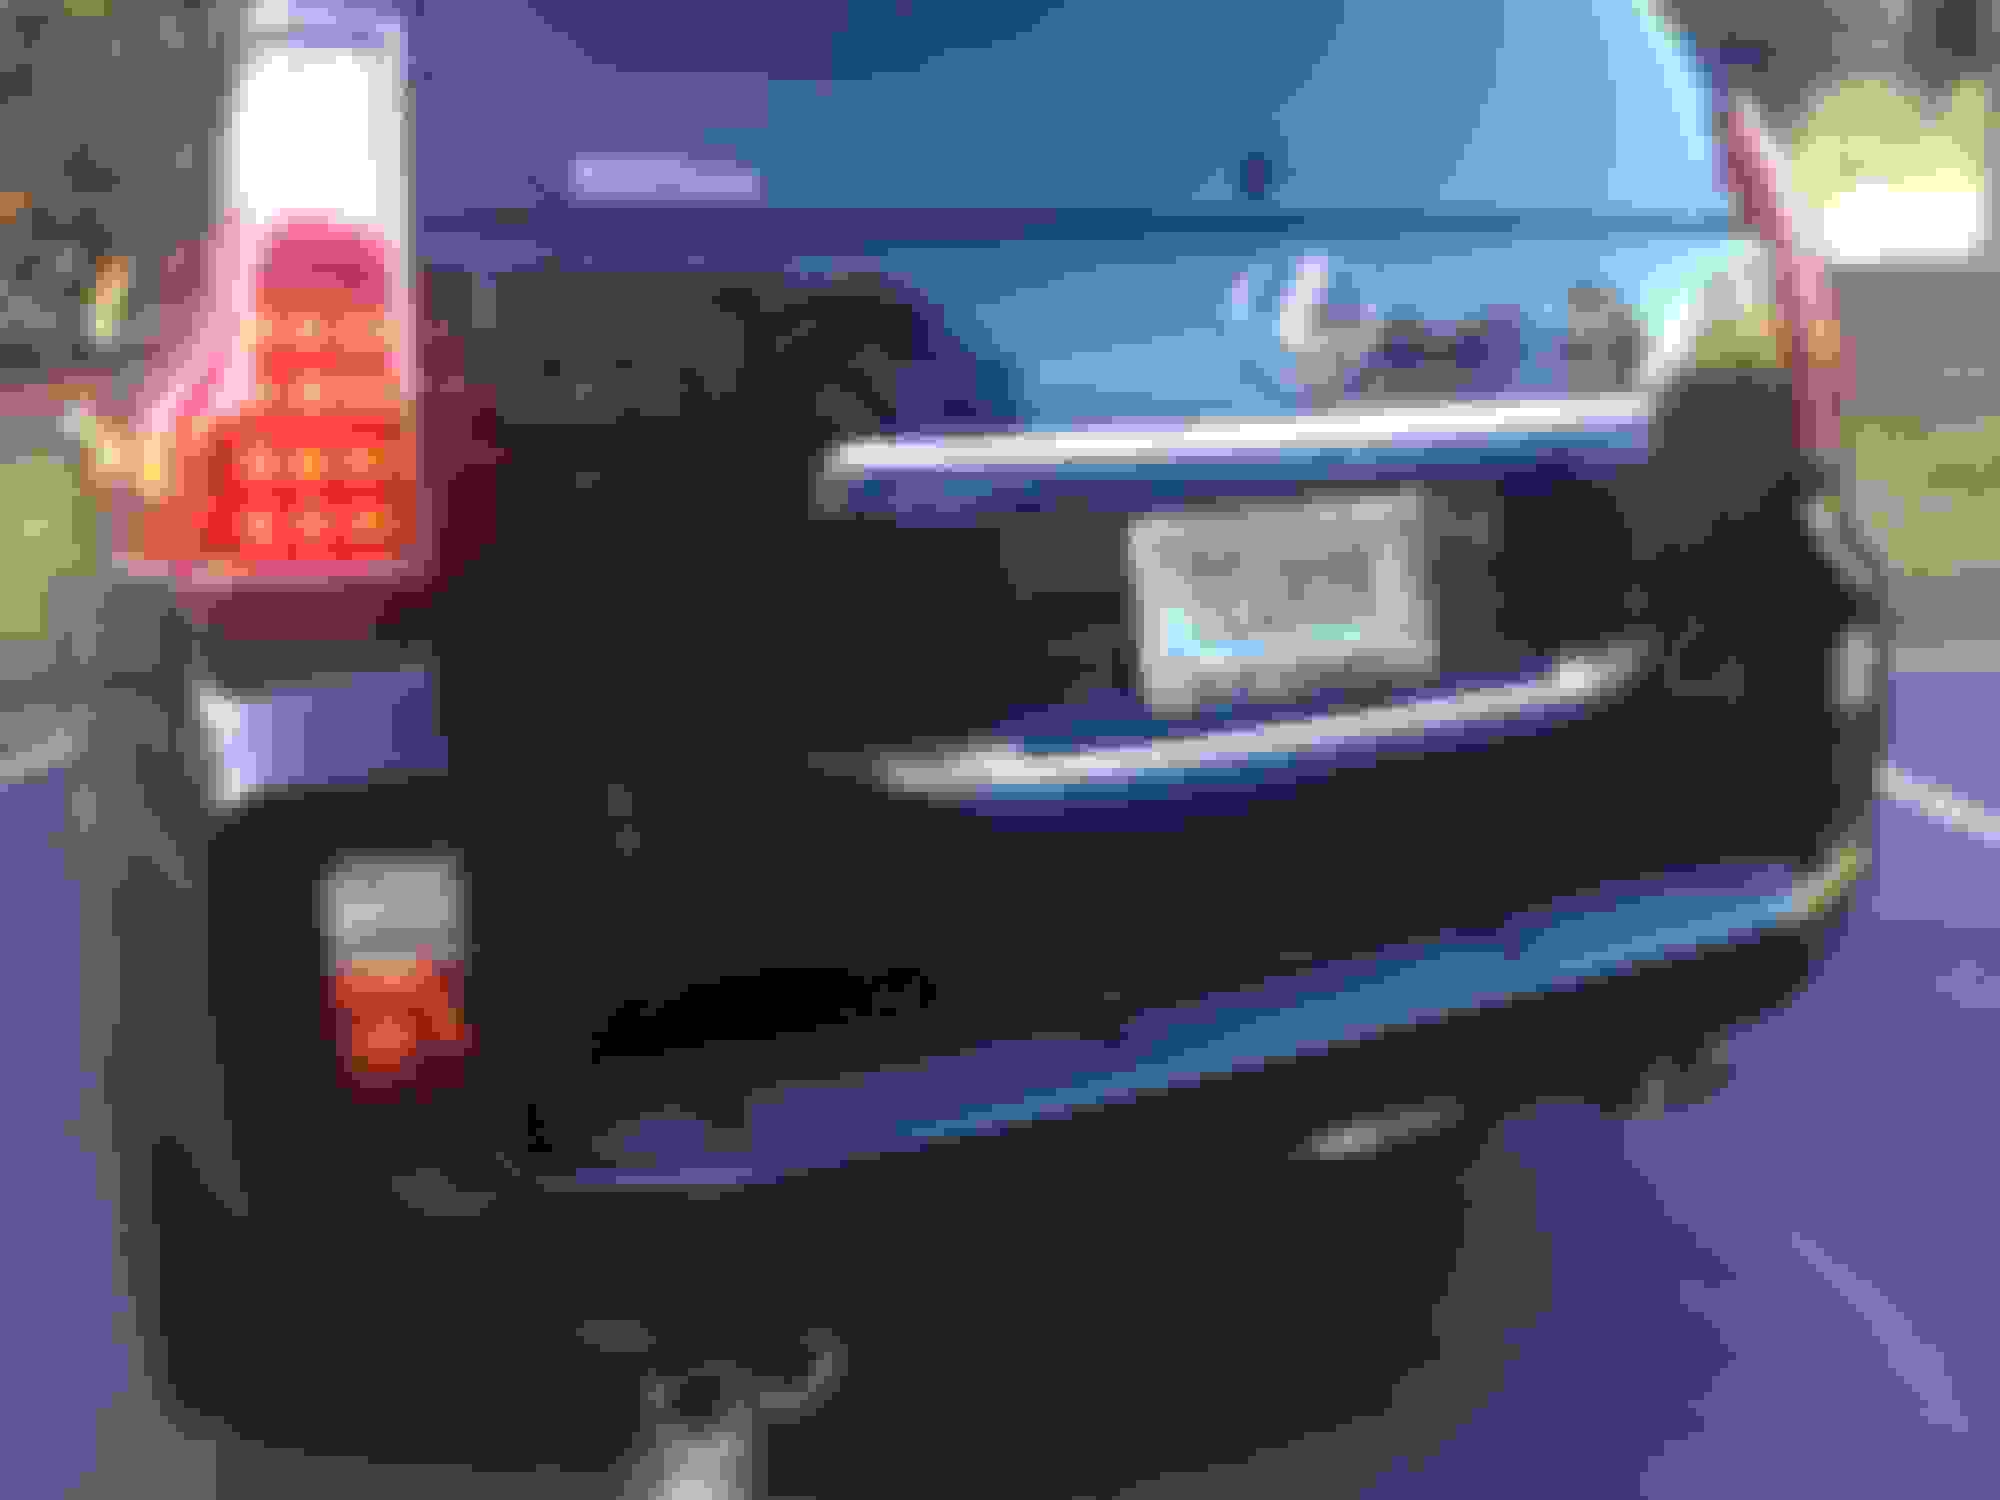
I had my reflectors painted by the same people that painted my rear gate and bumper. After I had them out and looked at them I decided to drill a hole and shine a flashlight in there,so here we go......
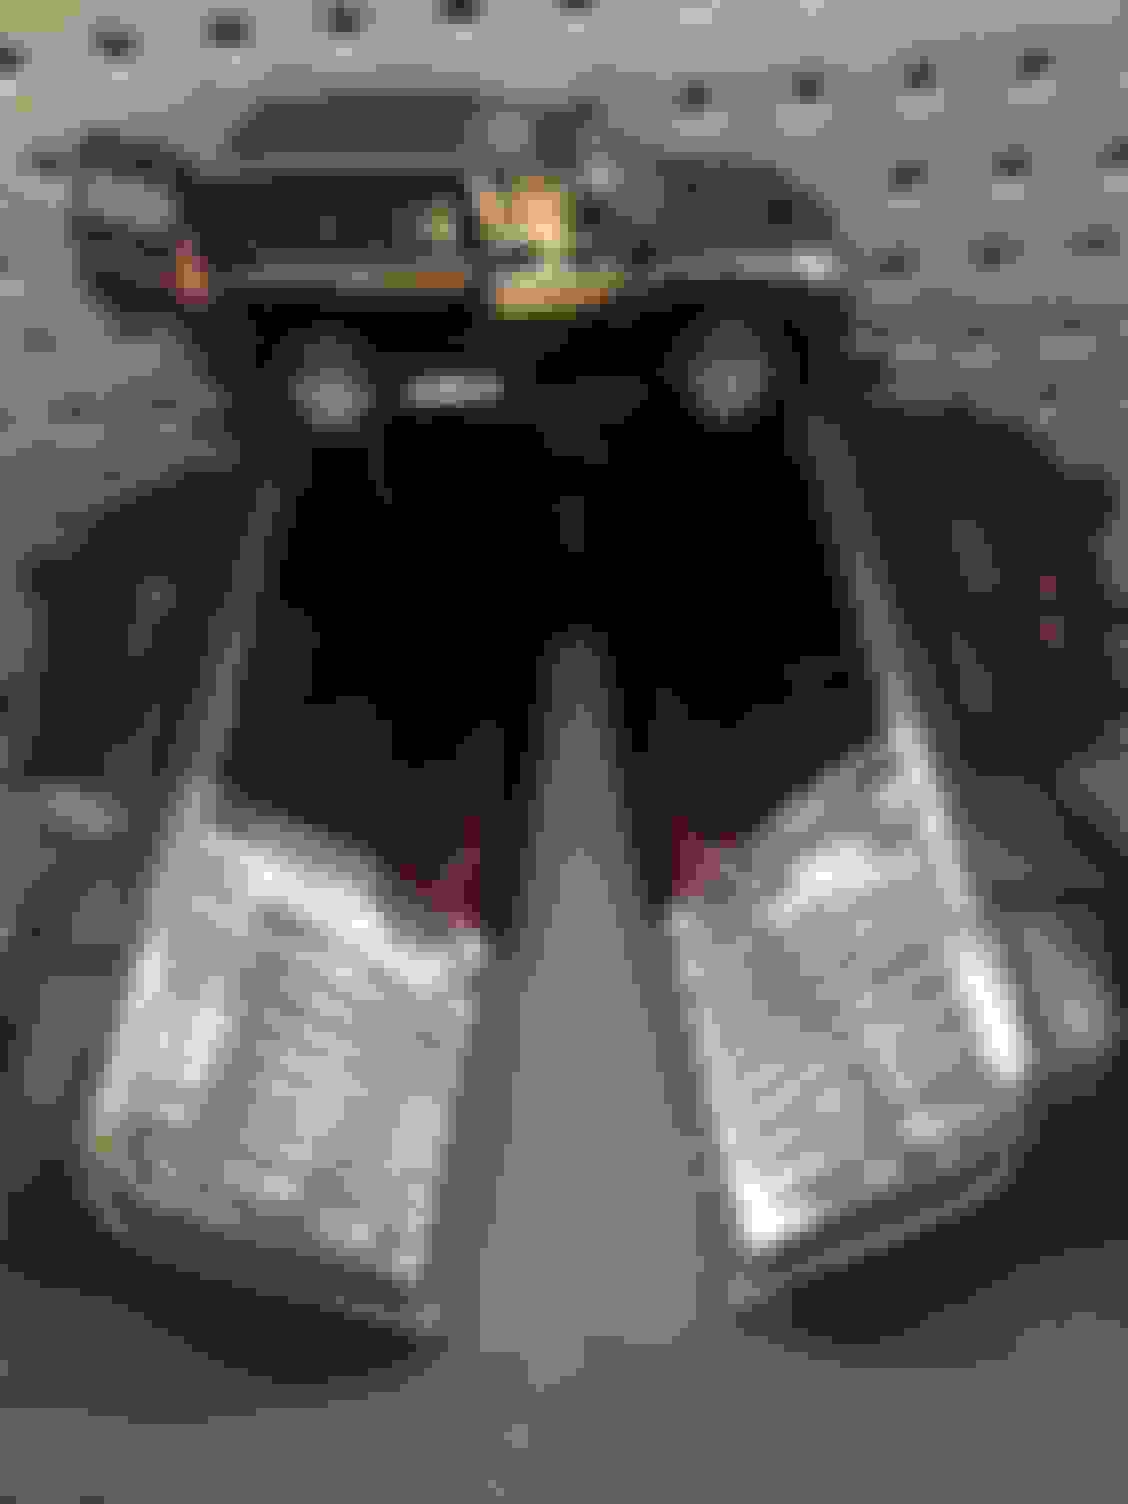
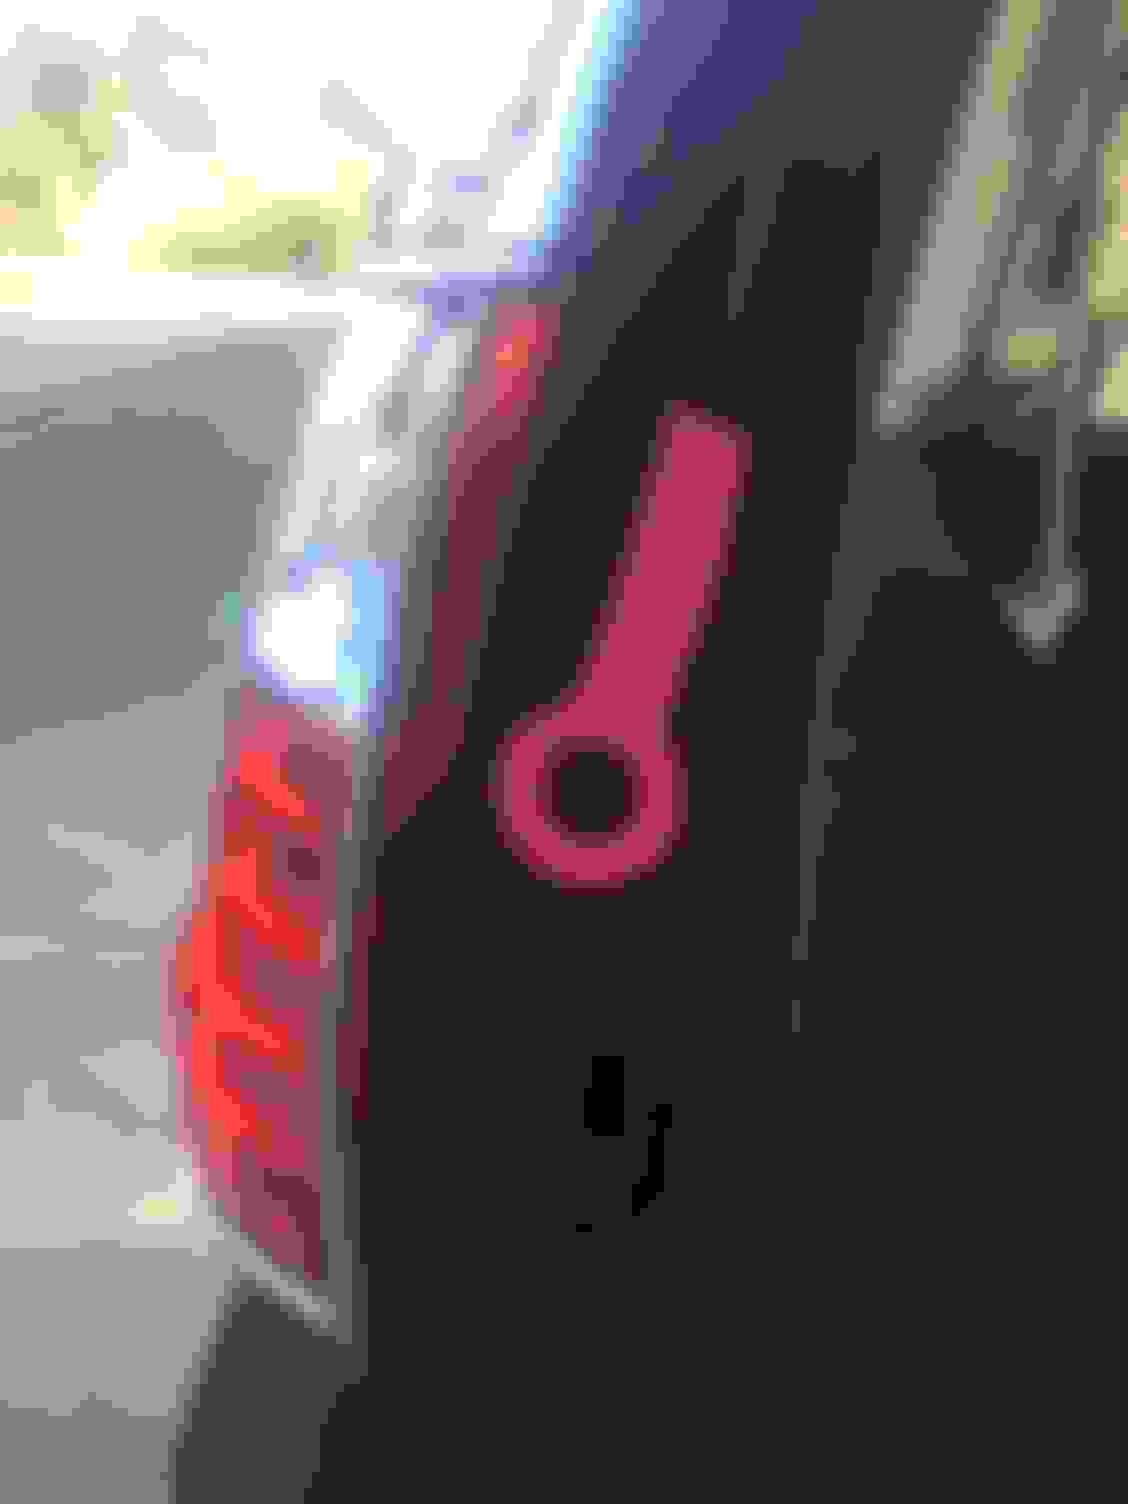
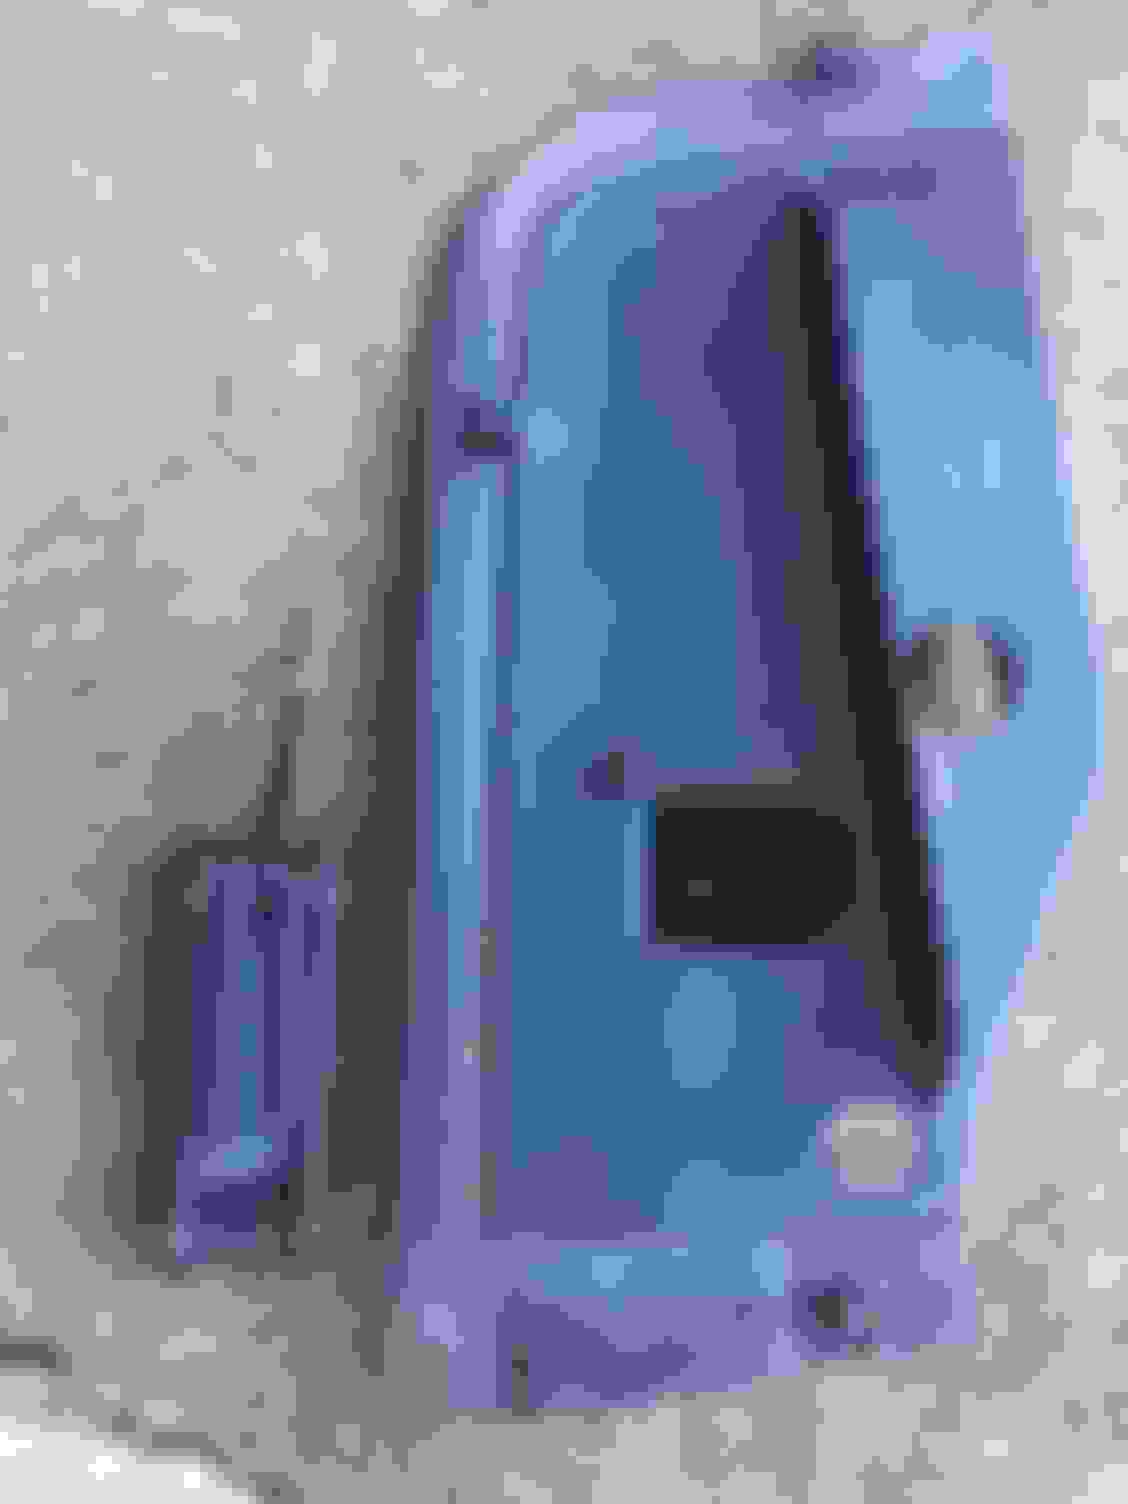
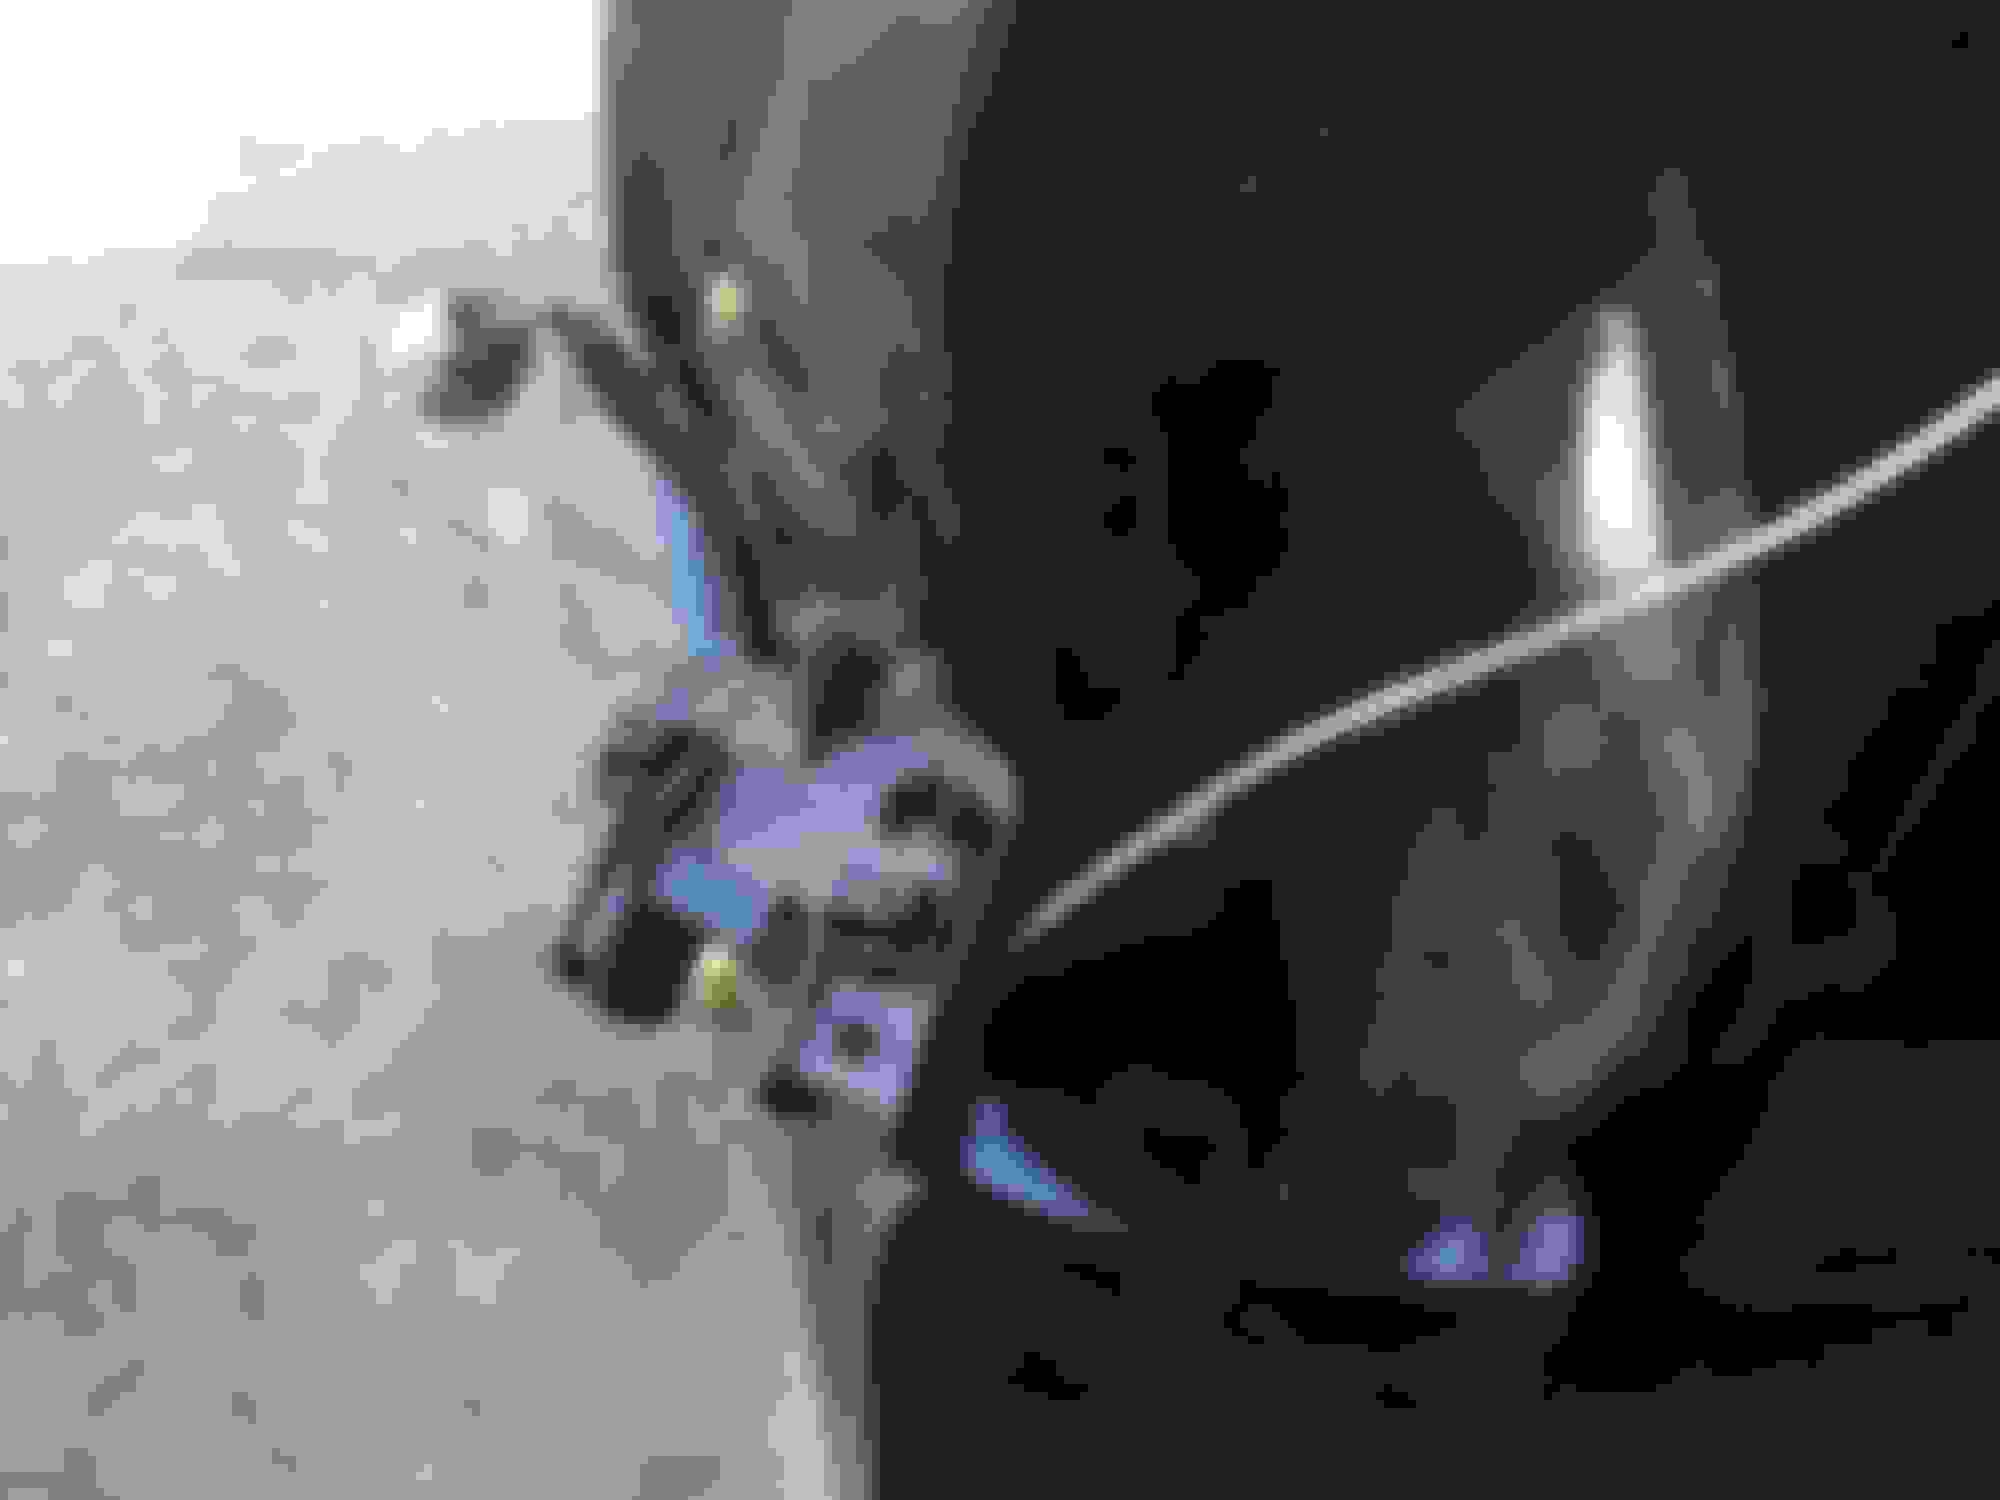
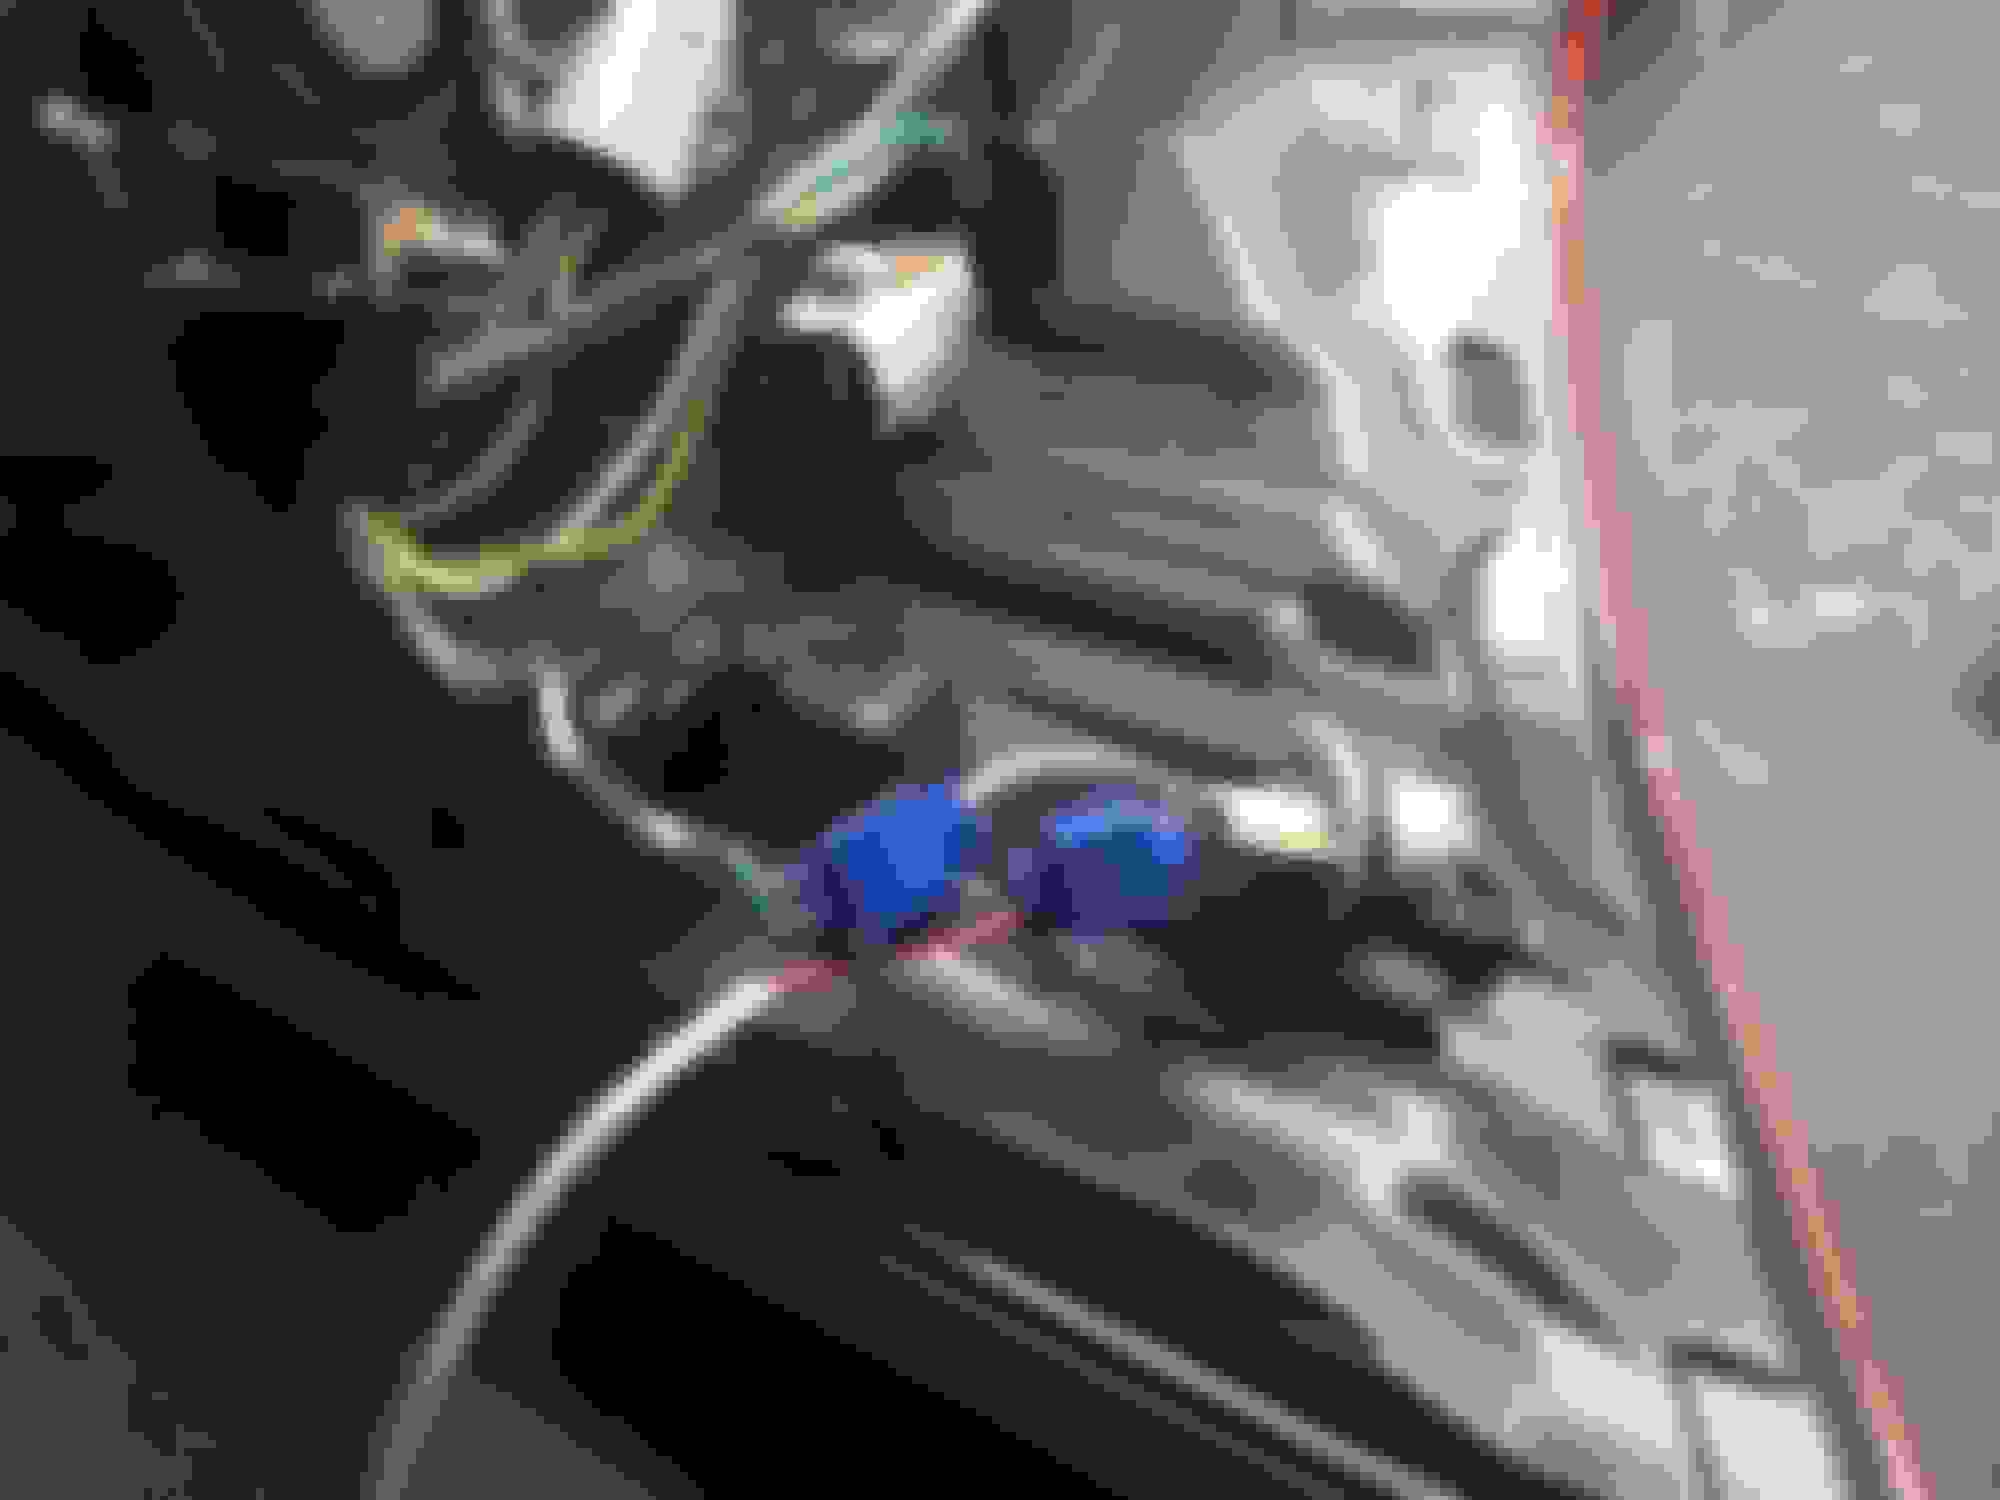
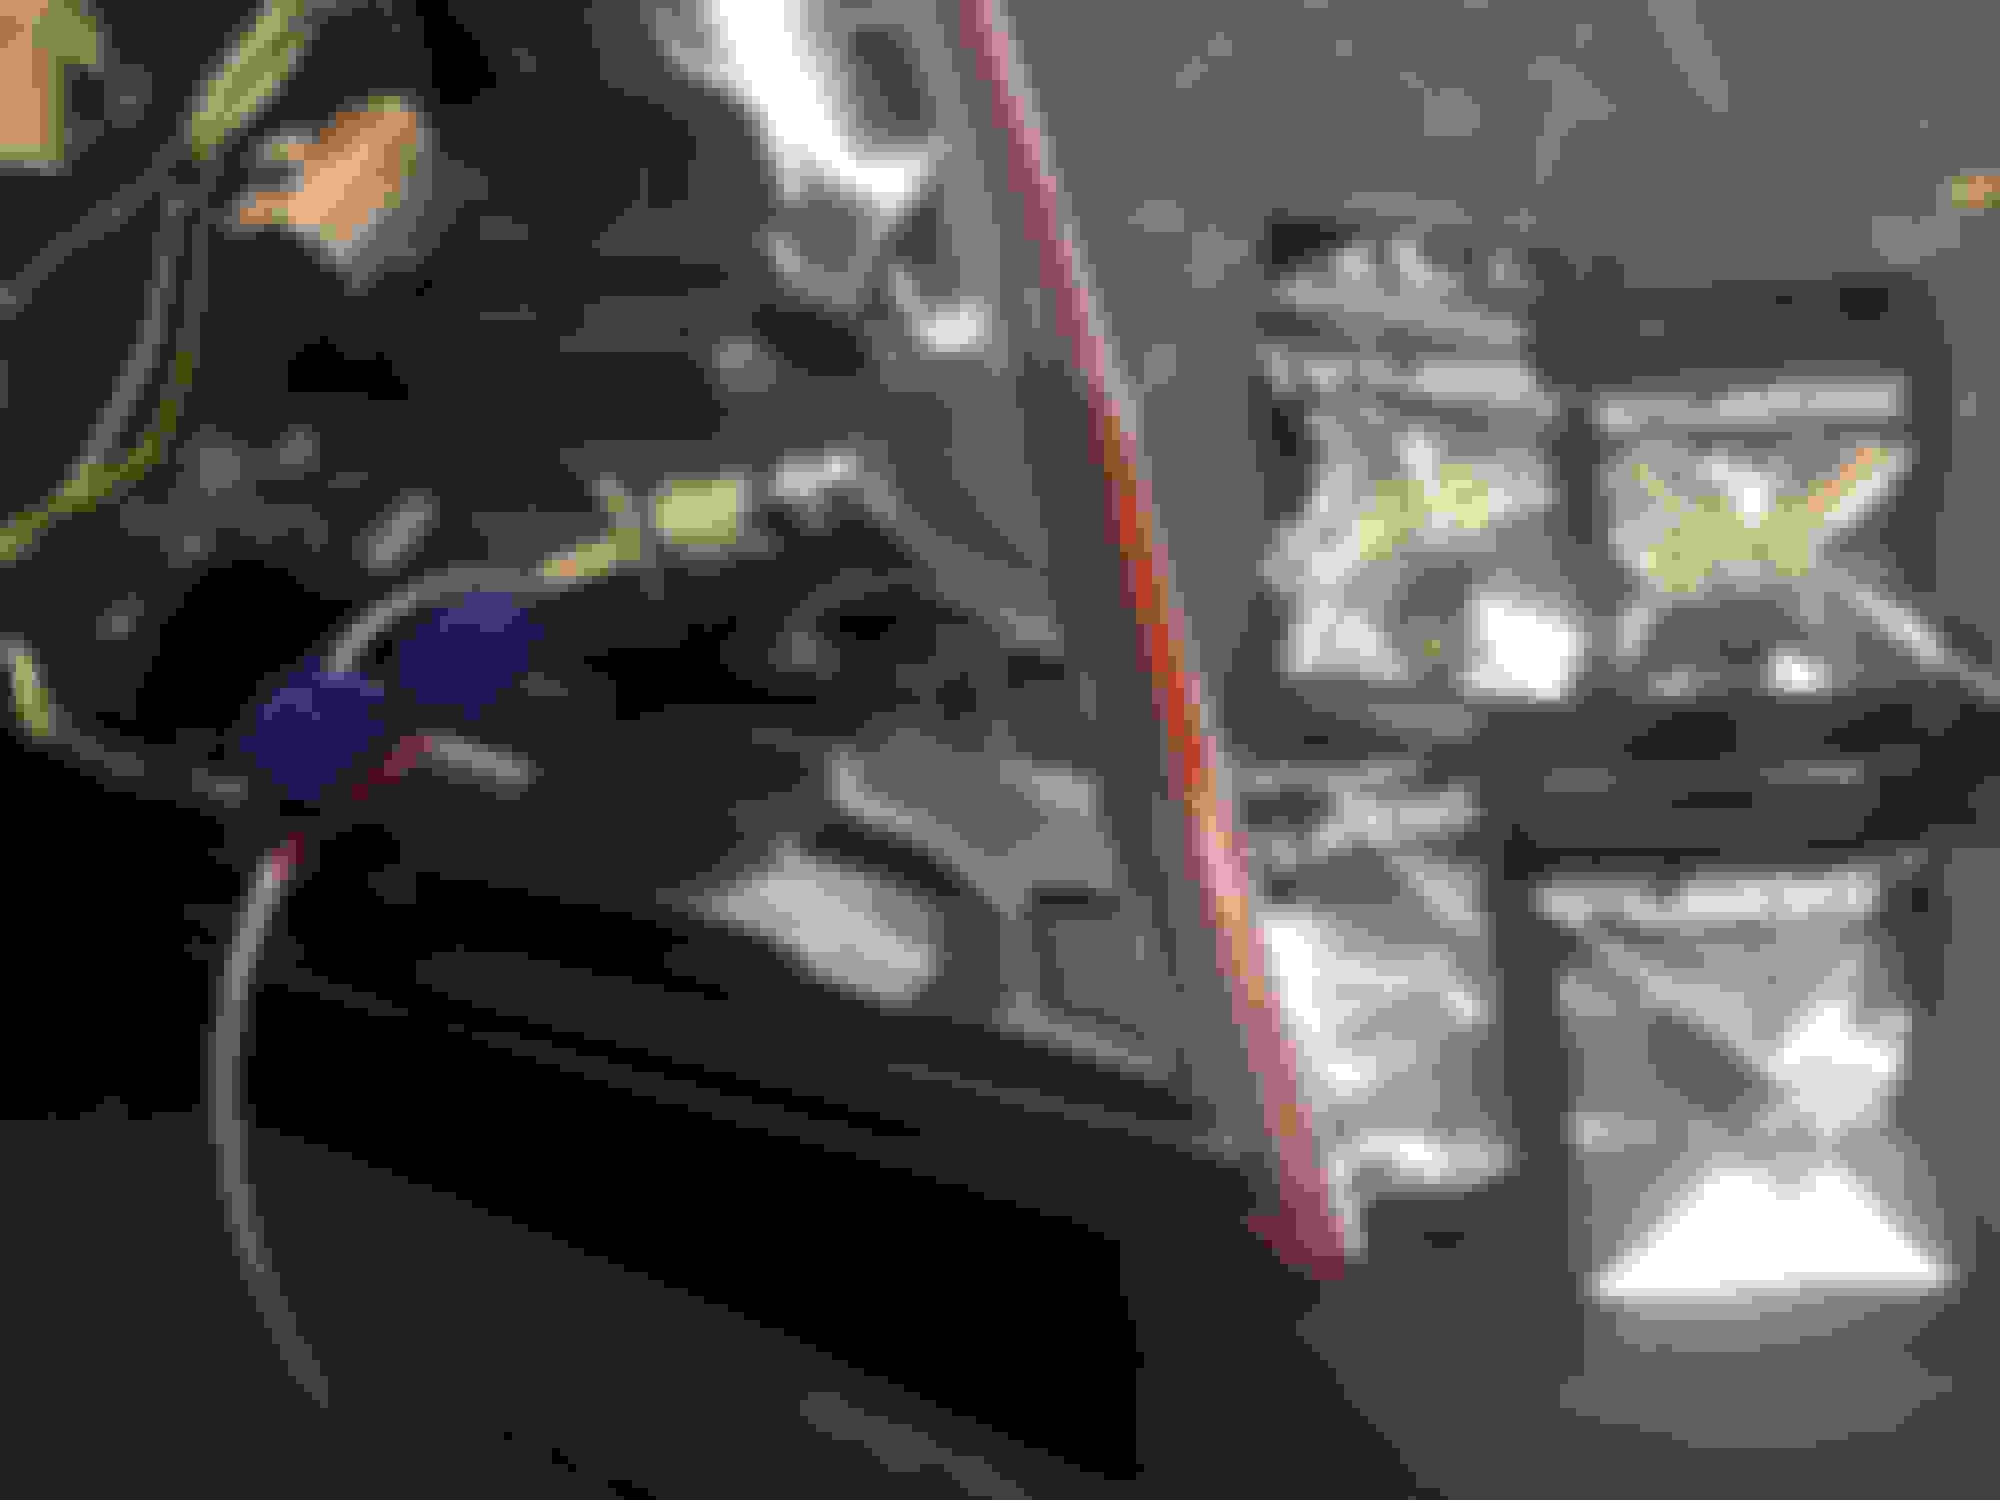
After removing the 2 bolts just pop it off bottom cover removed Reflector bottom Easy to pull this brace up and off of the plastic clip. Push from behind to pop off Reflector back Spliced into the side light Did some LED upgrades while I was in there Used some sockets and Yorkim LEDs I had left over from an interior LED upgrade. https://www.clublexus.com/forums/gx-...le-lights.html
Any thoughts/advice on putting in a different socket to mimic a high stop light for low/high brightness? I've been thinking to install a 3 wire socket there since I have some extra bulbs that would be nice in that spot.
Not a true dual, it is a MAXFLO muffler 1 in and 2 out. It was the first mod I did when I bought the truck so not enough experience to know of improvements. Dash cam mic so you need a good sound system for this.
shows how to save a BUNCH of time compared to the repair manual and all that removal. Because of this I decided to no longer wait to throw in my parts laying around in the same spot.
Installed. Once I saw how nice yours looked AND the method to access without bumper cover work. I couldn't wait any longer. Thanks again to tecman for the information above.
Here's what I did, I'll try to skip what's already above.
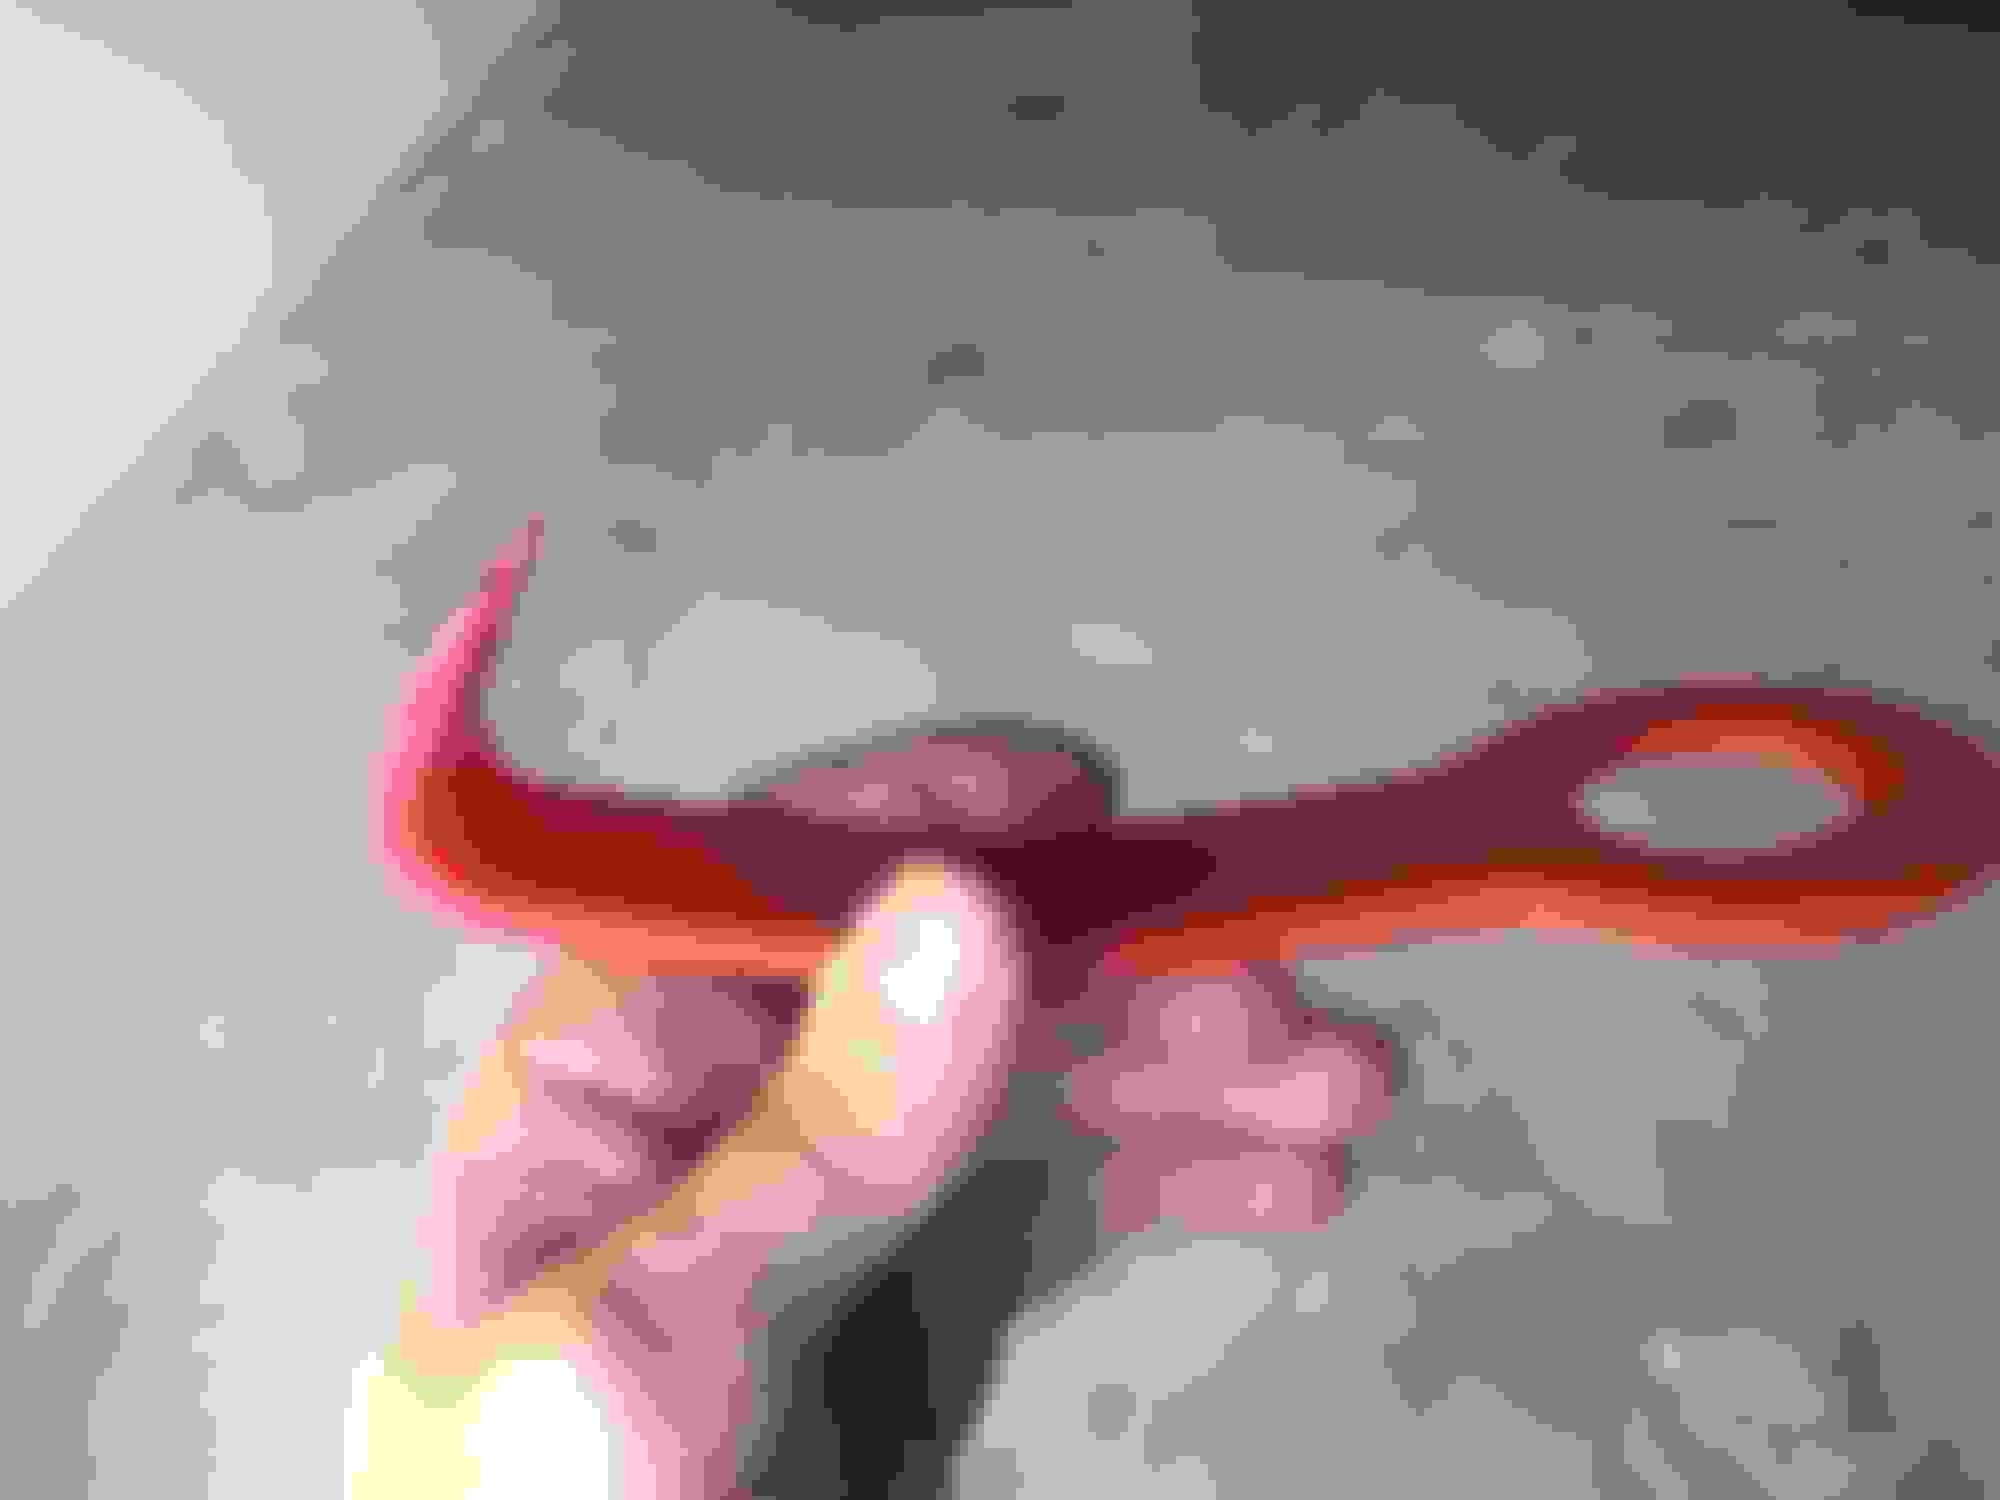
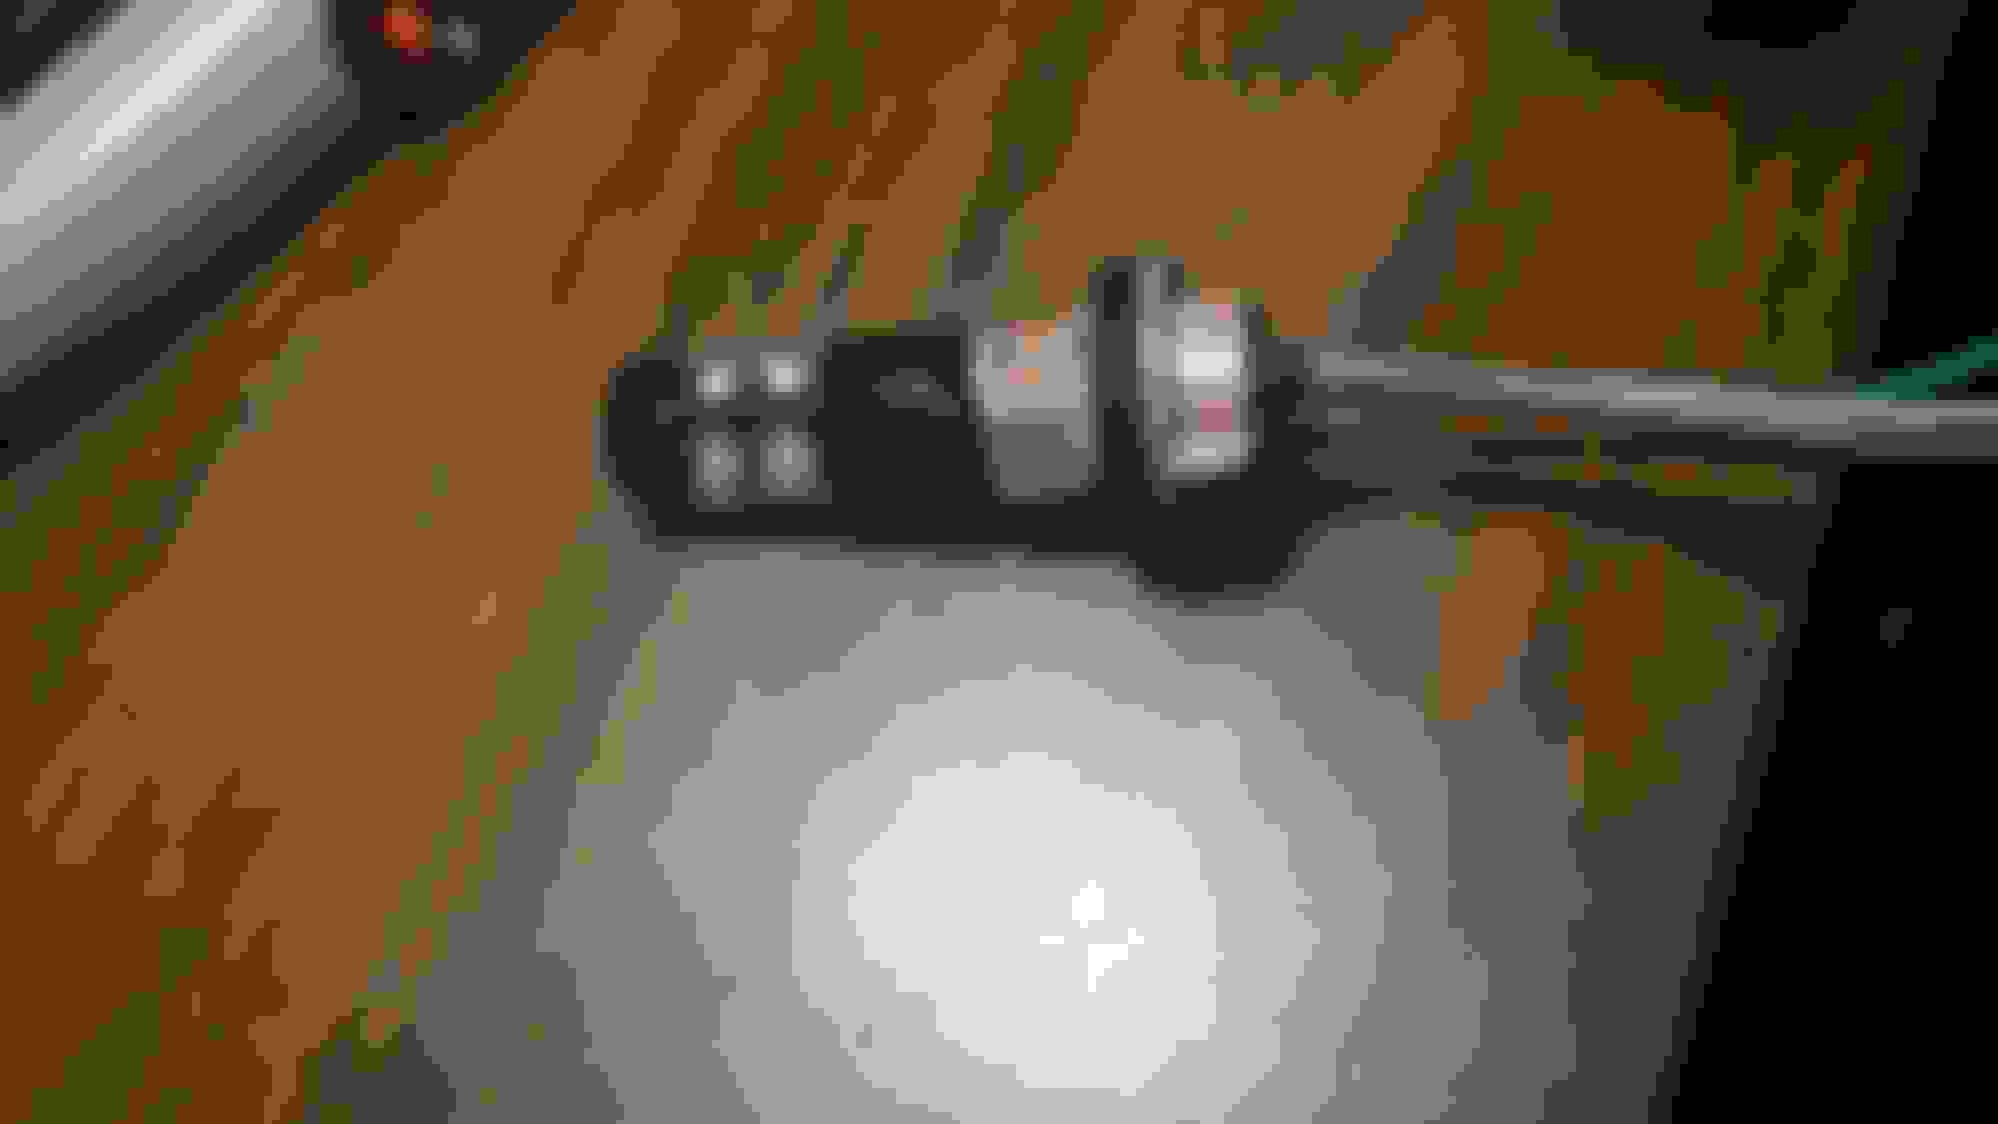
I had some extra 5W/21W red leds laying around and thought this was a good place to use them. If you look closely at the reflector, you can see it has 21W stamped on that location, along with a triangle and an arrow. The triangle is for connector alignment, the OEM 21W bulb has a rectangle base and the filament should have the wide view against the lens. With my led having 4 sides, and perhaps with any bulb, it didn't matter much. I did perform a test by rotating it in the housing, so if you ignore the triangle it didn't seem to be a big deal. The arrow indicates the turn direction, but with this mod there is no stop so the arrow can be ignored.
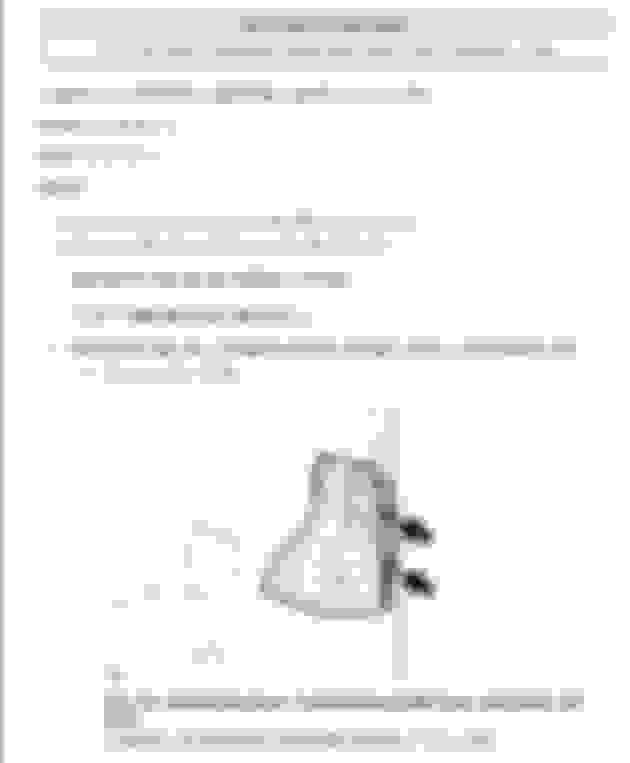
I marked the center of the lower circle for the connector and then a 7/8 spade bit to make the hole.
note: I also had tried melting, it just made a mess, and slower bit work also melted, so I cut sort of quickly, careful once close to through the plastic.
then made notches for the connector. these are at 90 degrees to where you want the connector to end up after the 1/4 twist to face the lens correctly. dont need to be exactly square for this
2 small and 2 larger ear cutouts to match connector. 7443 socket and 1.5mm rubber material also shown
this mod won't have the positive stop lock mechanics so I wanted a tighter fit. I had some 1.5mm rubber in the garage, used the 7/8 spade to start the hole, then finished it by perforating with an x11 blade and then tearing. placed over the connector and cut the OD with scissors while on the connector.
1mm might also work, the 1.5 was pretty snug, no worries on any rotation or movement of any kind.
you can see the DIY 1.5 gasket UNDER the original
I used a roto zip type bit in a dremel for the cuts.
after cuts, i did a cleaning cut at a sharp angle for any upper inside burs. then used a shop vac with a qtip taped to a pen to clean out any plastic particles that got into the housing. softly because there's a mirror finish inside the housing and dont want scratches. dont think about a compressor, imagine the moisture or oil, or a particle getting wedged in a corner.
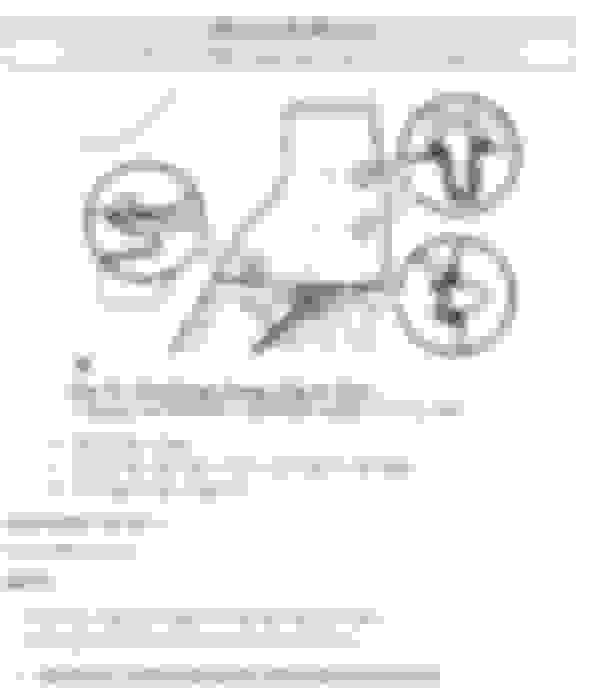
triangle on connector matches triangle and gap on housing.
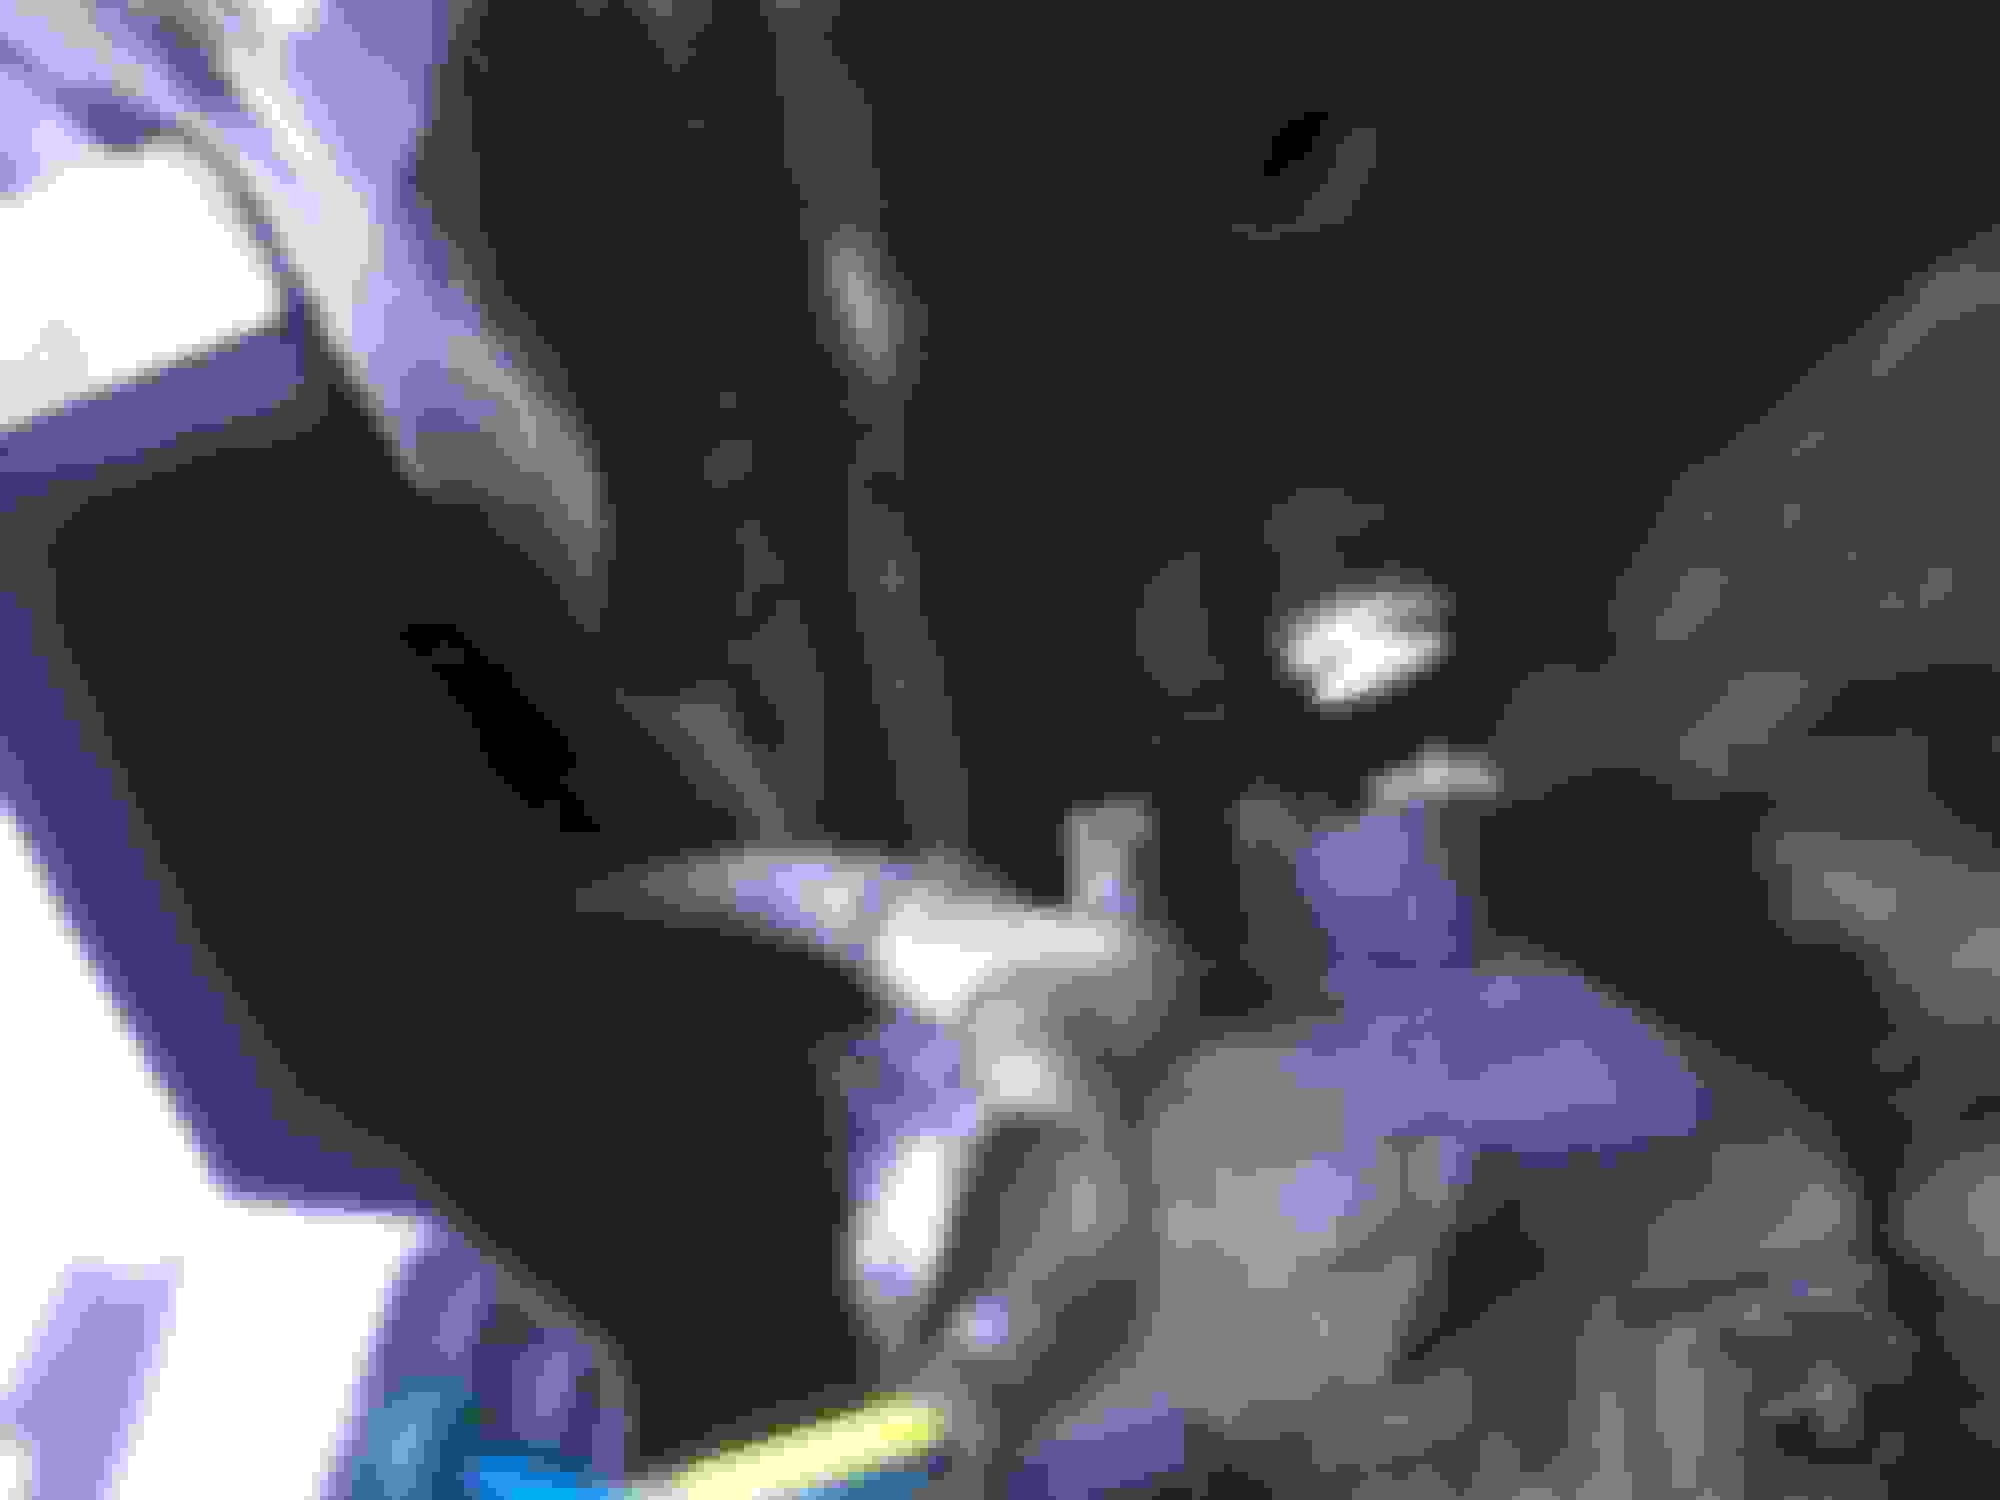
bench tested with power supply then to the wiring. I ran wires up from the reflector to the brake lights and was considering connecting into those but after some more consideration, rerouted the wires to the trailer connector below. used barrel crimps, siliconed the ends, heatshrank, covered with 3/8 split convoluted tubing (wire loom). I placed the wiring above the spare tire, above the support brace cable tied to the other loom in the area.
my cheap phone camera doesnt get good pics at night. maybe in the daytime I can take some or perhaps a video. the bulb I used makes this look exactly as it should, matches whats above in brightness at all times. an incandescent might make you notice the turn on/off delay compared to the upper led brakes, and turn signals in my case)
they turn on dim (5w) with the markers or headlights, they turn on bright (21W) with the brakes and turn signals. turn signals are independent left right as should be.
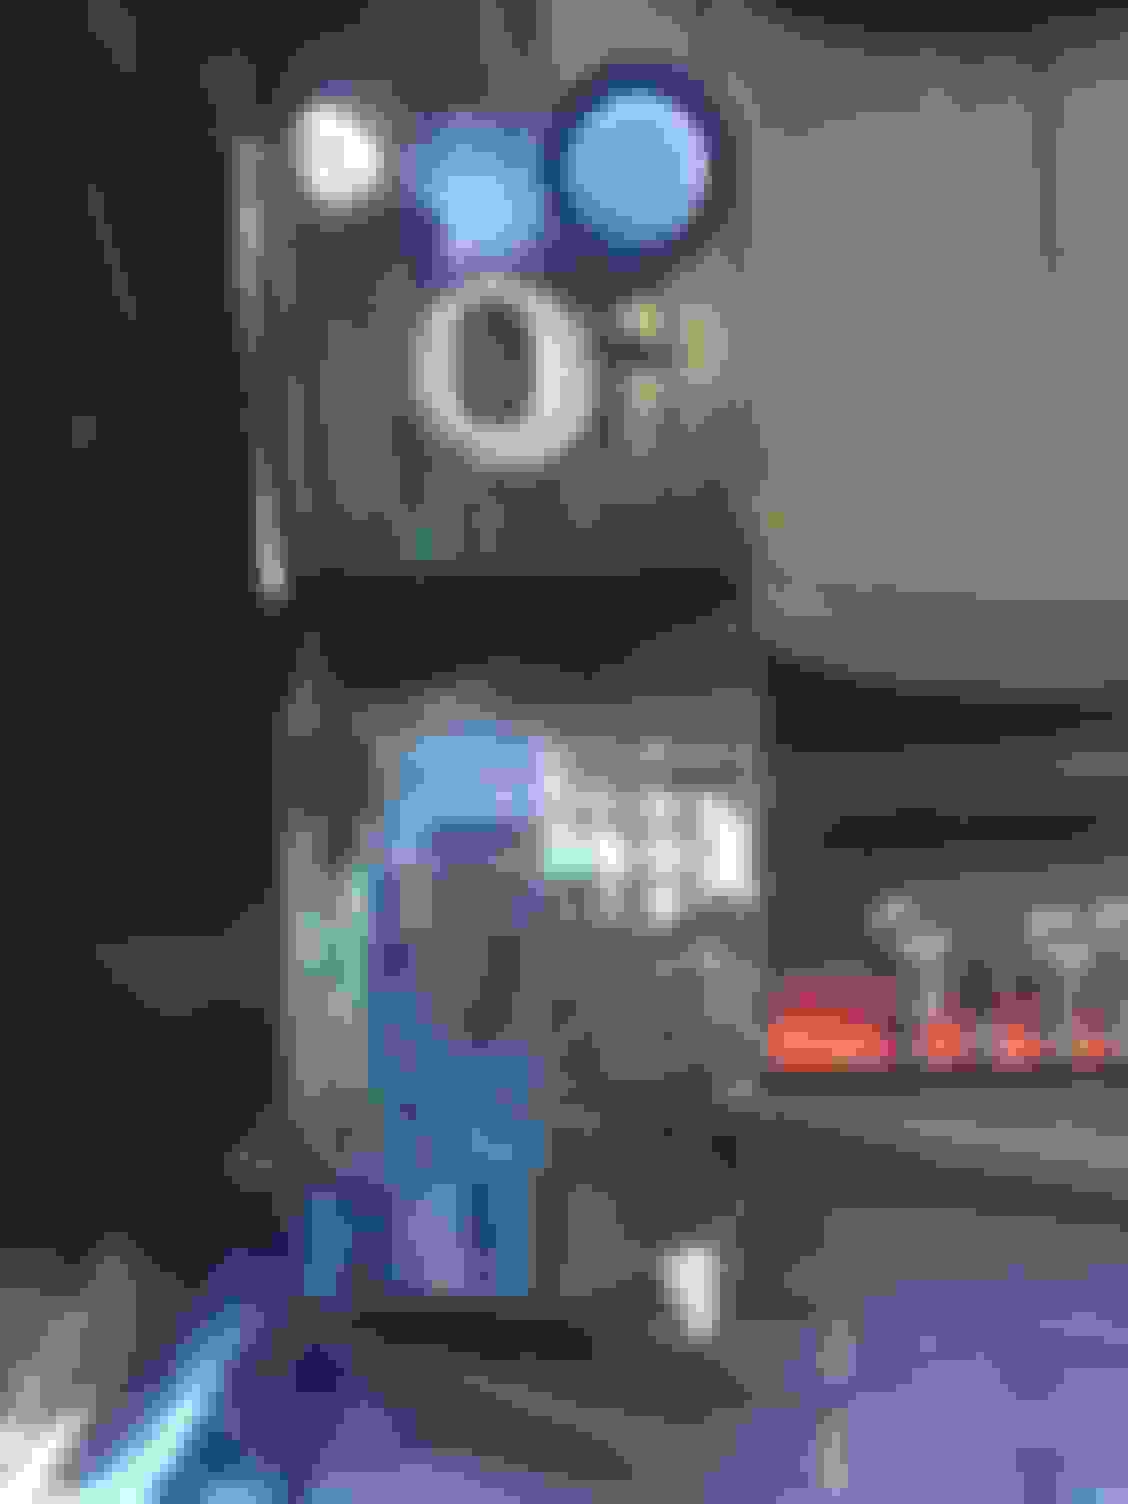
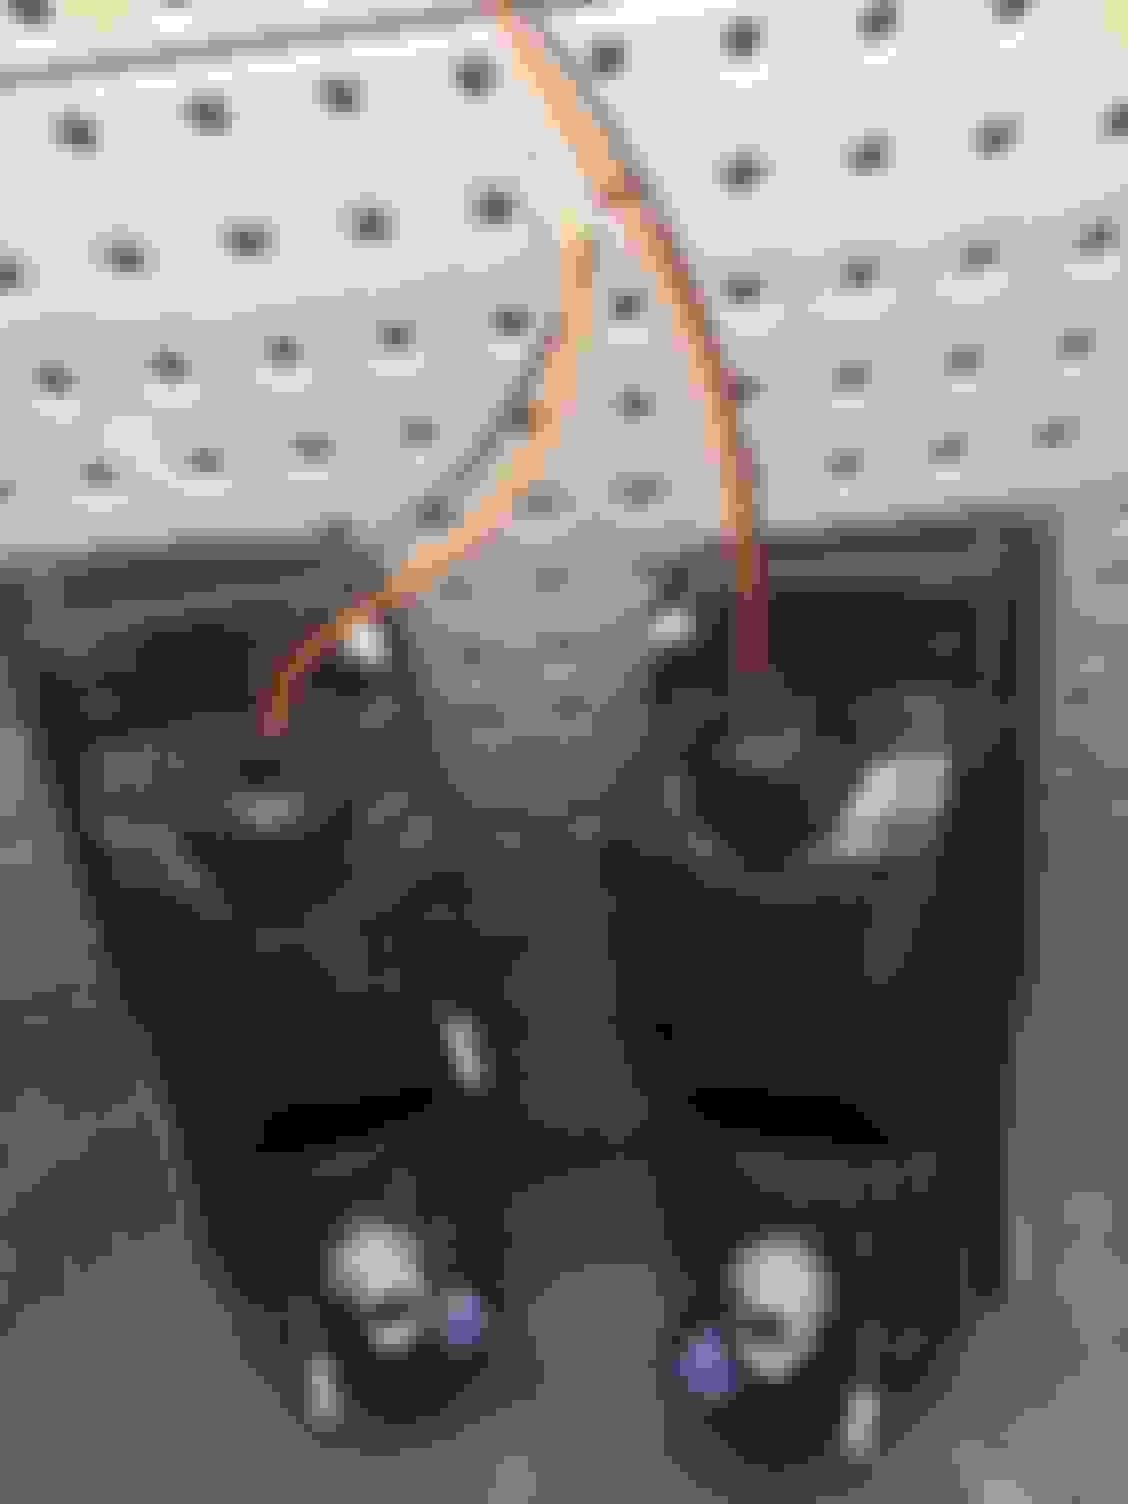
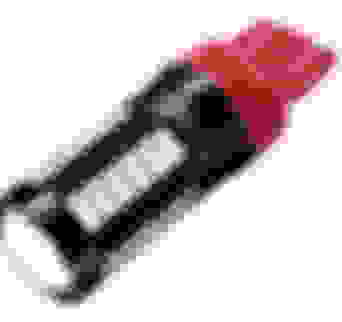
I just replaced the 7443 dual brightness red led bulb in the above pic. The bulb above was 3 years old and had a row out, and didn't shine bright enough the last couple of days in the -30 degree temps. Here's what I put in there:
These could also be used in the rear upper housings if you want super bright red turn signals. Would need either a new relay or a load resistor. Note that amber rear turn signals are easier noticed and actually safer because of this.
These are very bright. Much brighter than the ones I took out.
The old version I took out current: 0.24A brake, 0.035A tail
The new version, the one in this post pic, is twice the current for both brake and tail.
This weekend should be warmer, Ill try to take some pics or make a vid.
 11-11-18, 09:35 AM