When you click on links to various merchants on this site and make a purchase, this can result in this site earning a commission. Affiliate programs and affiliations include, but are not limited to, the eBay Partner Network.
I decided to order the front runner rear table. it comes with nuts already so I wont need to use any rivnuts assuming they work of course.
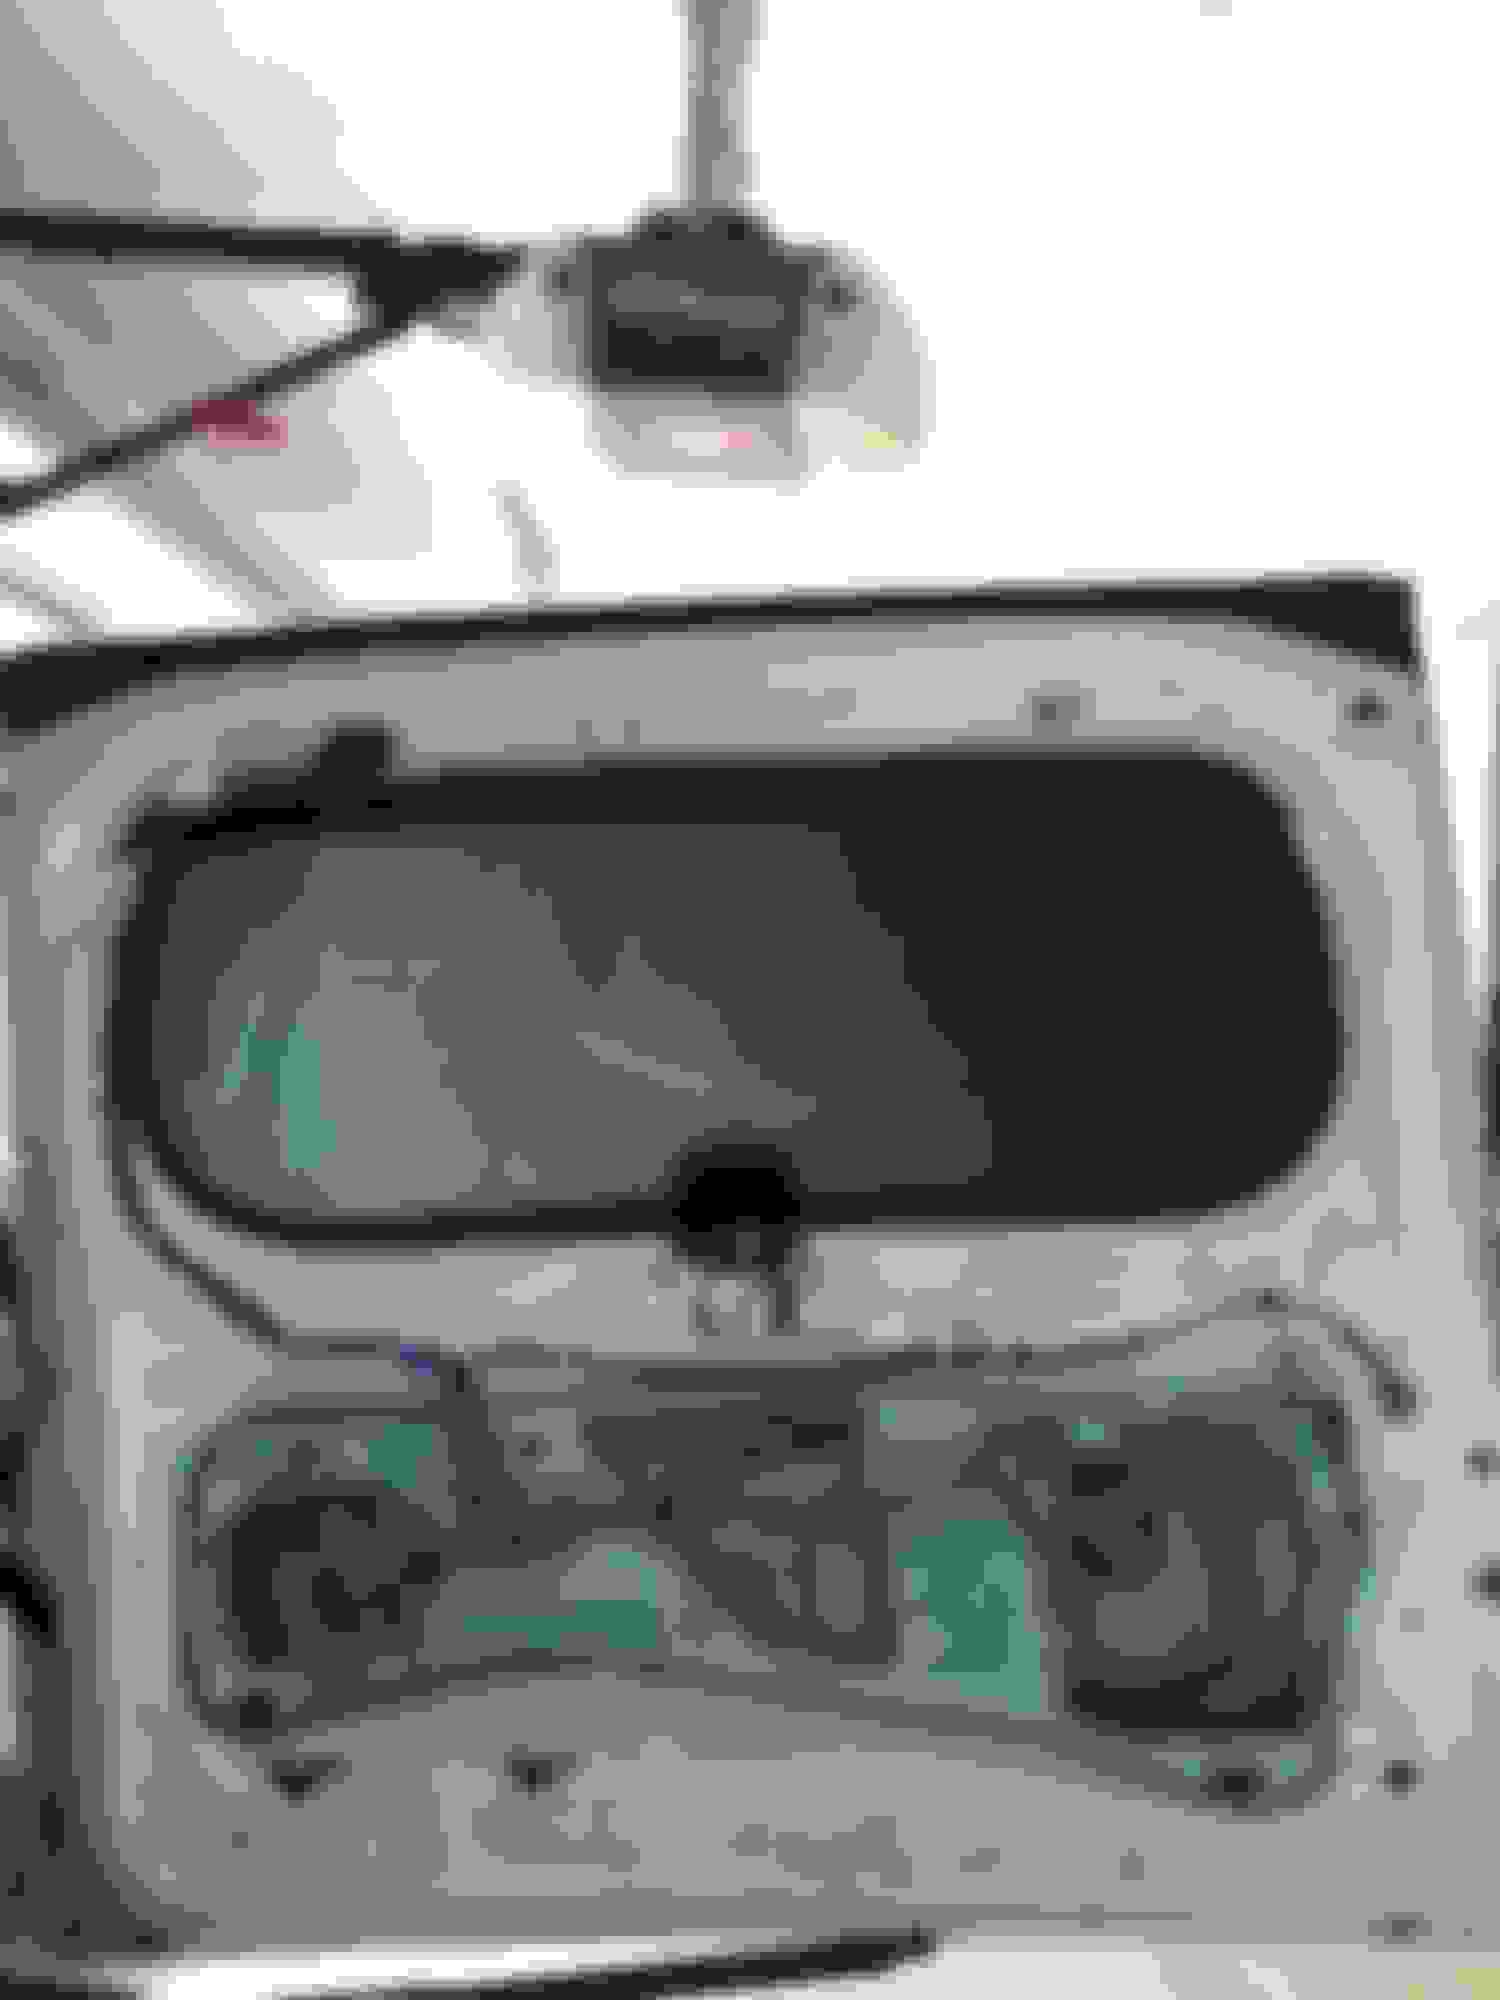
I removed the rear panel (surprisingly really easy) last night to check for clearance. it looks like it will perfectly cover up only the right panel. I don't use this one much anyway. I will steal the idea of thumb screws if I can find them in right size/length. the new table is perfectly sized for my grill, I can now have more room on my other table without my grill taking up so much room. it will be really handy for road trips too. $126+15 shipping.
I should have it by the weekend and will install it early next week.
I decided to order the front runner rear table. it comes with nuts already so I wont need to use any rivnuts assuming they work of course.
I removed the rear panel (surprisingly really easy) last night to check for clearance. it looks like it will perfectly cover up only the right panel. I don't use this one much anyway. I will steal the idea of thumb screws if I can find them in right size/length. the new table is perfectly sized for my grill, I can now have more room on my other table without my grill taking up so much room. it will be really handy for road trips too. $126+15 shipping.
I should have it by the weekend and will install it early next week.
Looking forward to the install. Do you have the directions to removing the rear panel?
Looking forward to the install. Do you have the directions to removing the rear panel?
Page 3 of this thread has a diagram or this thread worked for me: https://www.clublexus.com/forums/gx-...l-removal.html
there was only one screw, one bolt. rest is just patience of unclipping. I started bottom left corner and worked my way around slowly
A few weeks back I was on some rougher backroads... discovered the ARB cooler was hitting it pretty hard. I noticed it put some mars on the finish and initially thought...great that is messed up already.
In the end...refrig has blemishes but the stainless steel of door polished up clean.
Originally Posted by tecman
Nice Acrad. When I first saw this upcoming mod all I could think of is how ding proof is it? I have scratched up my rear door panel pretty good with it being a work truck. I sometimes slam the rear door hard to cram my stuff inside. I would hate to damage the table mod.
started to work on the install. this is a bit more of a challenge than i was expecting. the mount holes for the table do not line up very well with any metal points behind the panel. will mounting it directly to the panel be strong enough? using the bolt and nut. i may have to go through the panel door cover requiring a longer screw. finding thumb screws in M6 at enough length isn't easy. the ones that come with it are quite short. not long enough to go through table/panel at any point.
the other issue i am running in to. the door opens up at an angle. to make the table level, visually it looks off. the bottom of each utility panel lines up with the bottom of cargo floor so i have to keep it up higher than this for the door to close.
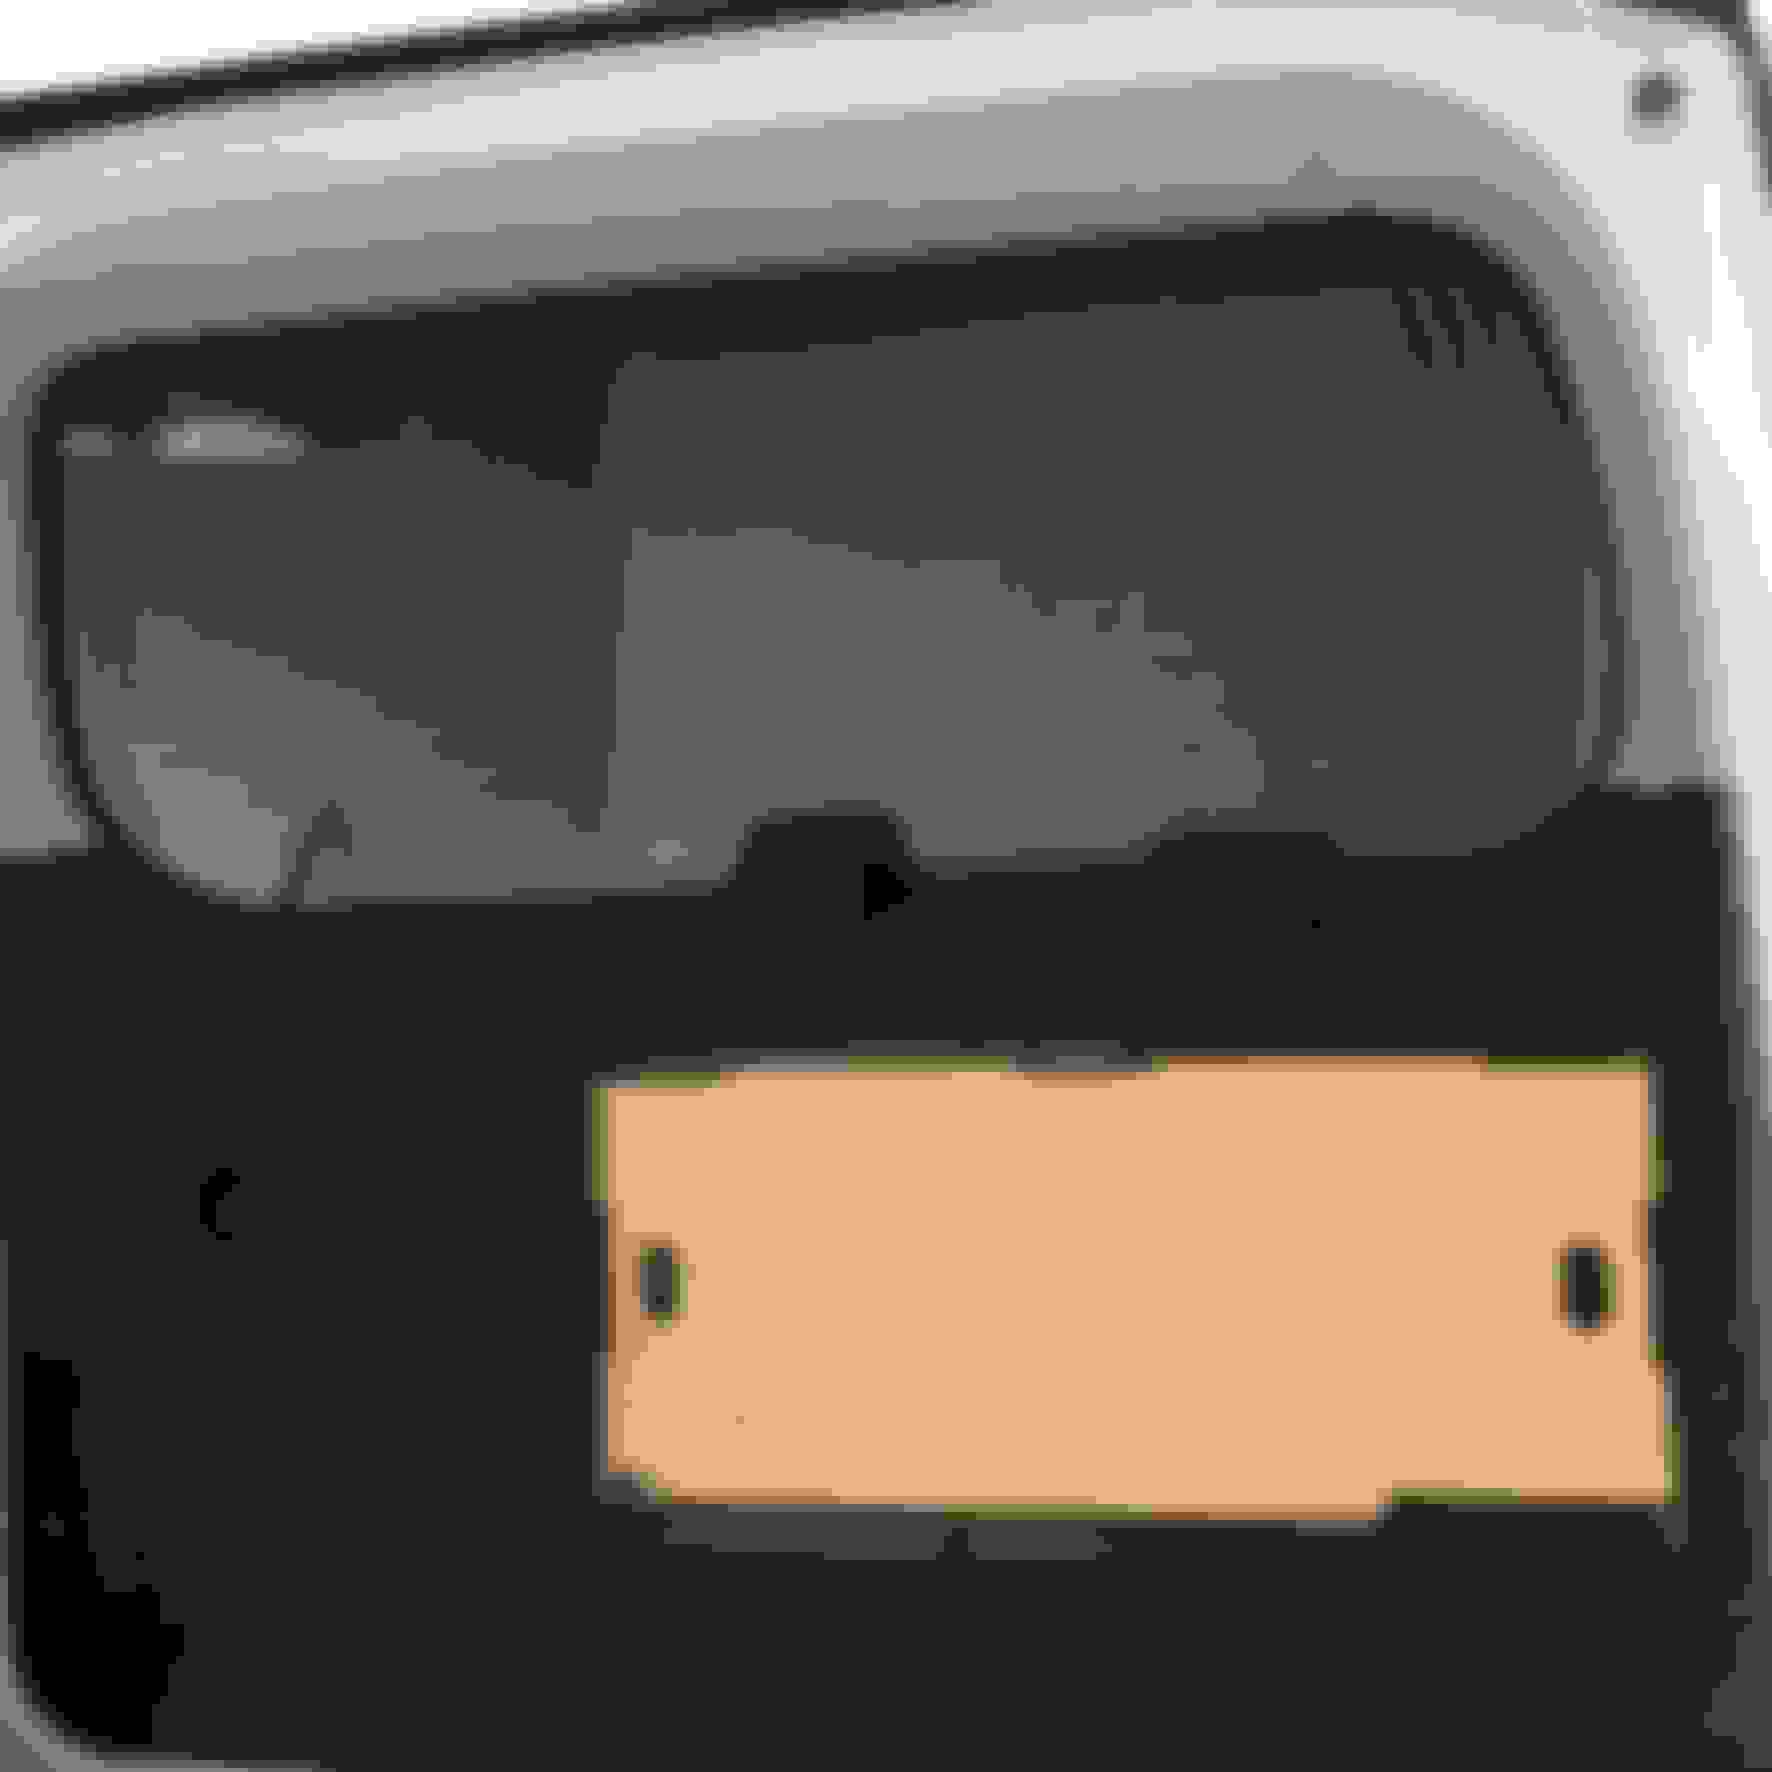
i used a piece of cardboard here to plan it out. marked off all the mounting points and the edges
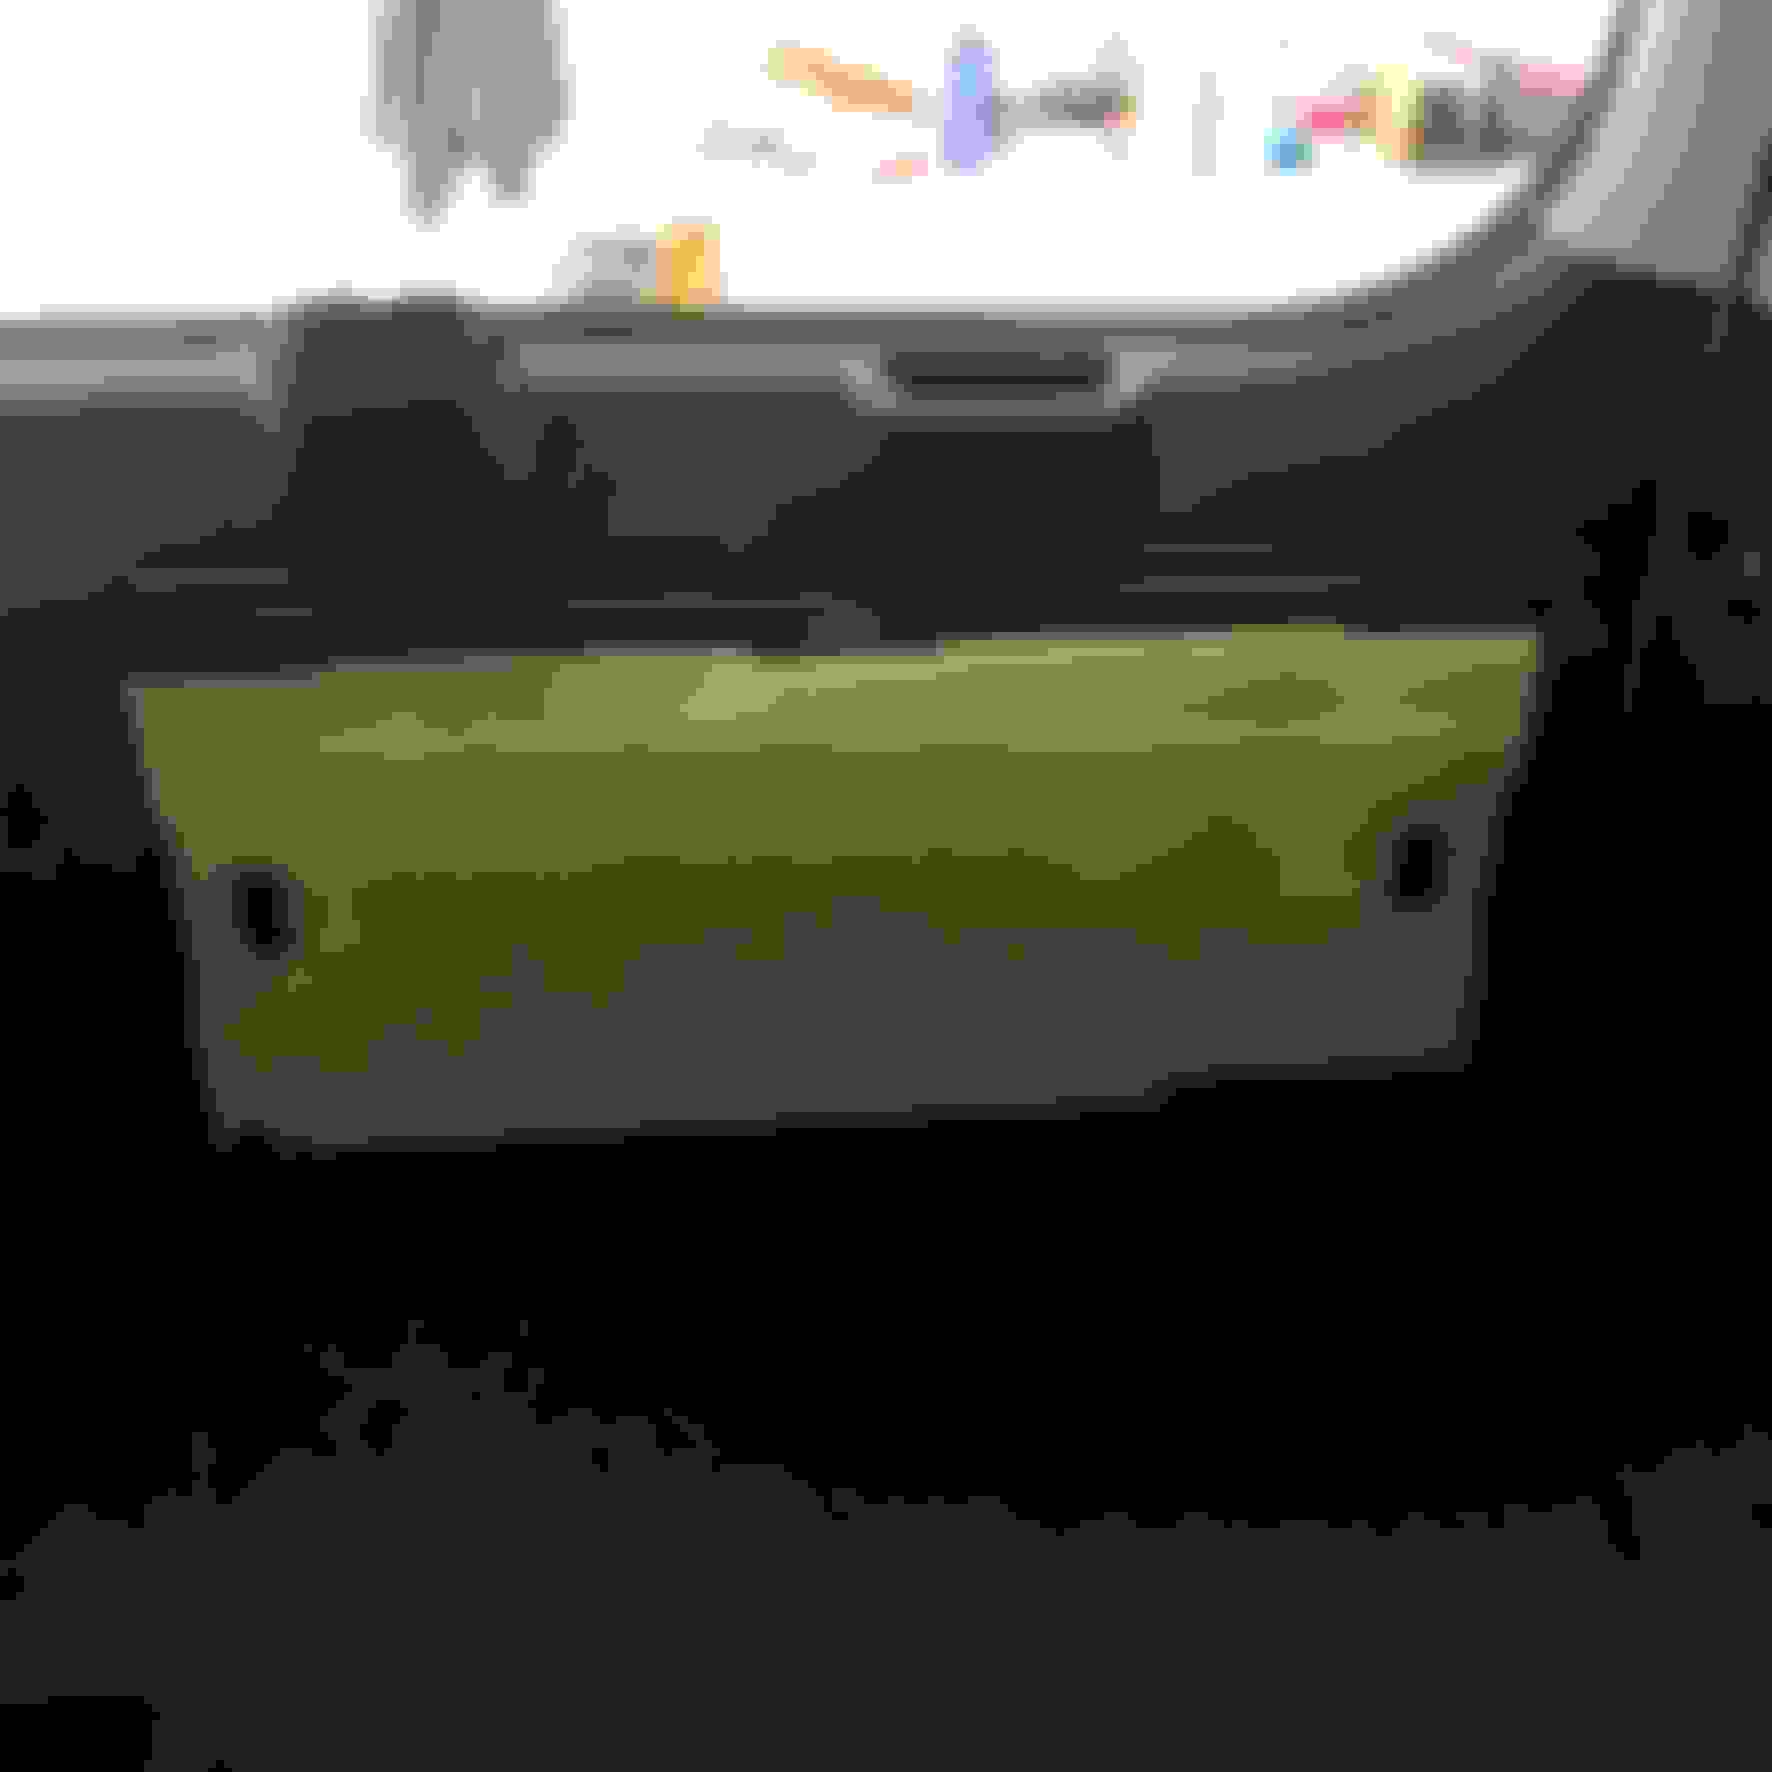
got it all wrapped up. i decided not to use the hardware supplied by front runner, instead used some 3/8th bolts i already had laying around (had to make the holes bigger on the table) and some locking nuts. i didnt go with the thumb screw idea, i was worried about them sticking out too much.
i am impressed with the quality of the table. even though it blocks the panels i am ok with that. this adds an extra layer of protection from a hot stove.it is hard to open, but it pops open if you slam the rear door closed too hard.
i decided not to go through the body panel in to the metal on the car. instead i found these strips of metal in the conduit section of my local Lowe's. this helps distribute the weight and add more strength. the back of the body panel has these hard plastic channels, originally i was going to use a dremmel but they were surprisingly easy to break out cleanly with just needle nose pliers.
if you read above i had a concern of it being level. i chose to line it up level with the lines of the existing panel doors. i thought it looked better visually even if its not level
i took out everything in the panels and store in a storage thing i have in the back along with my other tools and gear
i did not want to drill holes in to the panel door inserts, which means i could only use the 3 mounting points across the top. and bottom left corner. i snugged it down really tight, this should be good.
Pleasure meeting you today. Enjoy the KAON. If you do go with bolts into door frame like leftyguns post back. I may follow you. At that point I could service my Honda EU2000is on that table if I went with bolts into the sheetmetal. :-)
Originally Posted by msgs350
PM'd you. This would make a great changing table for my son..haha. I like it because it seems like its the easier to clean out of the ones i've seen and i think it looks best. Going to work great for tailgating at Seahawks' Games!
Your picture there has me thinking about what it would take to put in a electric solenoid or separate power door lock actuator with a small button to offer up an inside door opener switch.
A far cheaper and doable option that trying to source all the Prado gear it would take to put in the interior manual rear door release.
theres a guy on the t4r that did something similar, if you car camp it would def be a great mod
 05-05-18, 05:25 PM