When you click on links to various merchants on this site and make a purchase, this can result in this site earning a commission. Affiliate programs and affiliations include, but are not limited to, the eBay Partner Network.
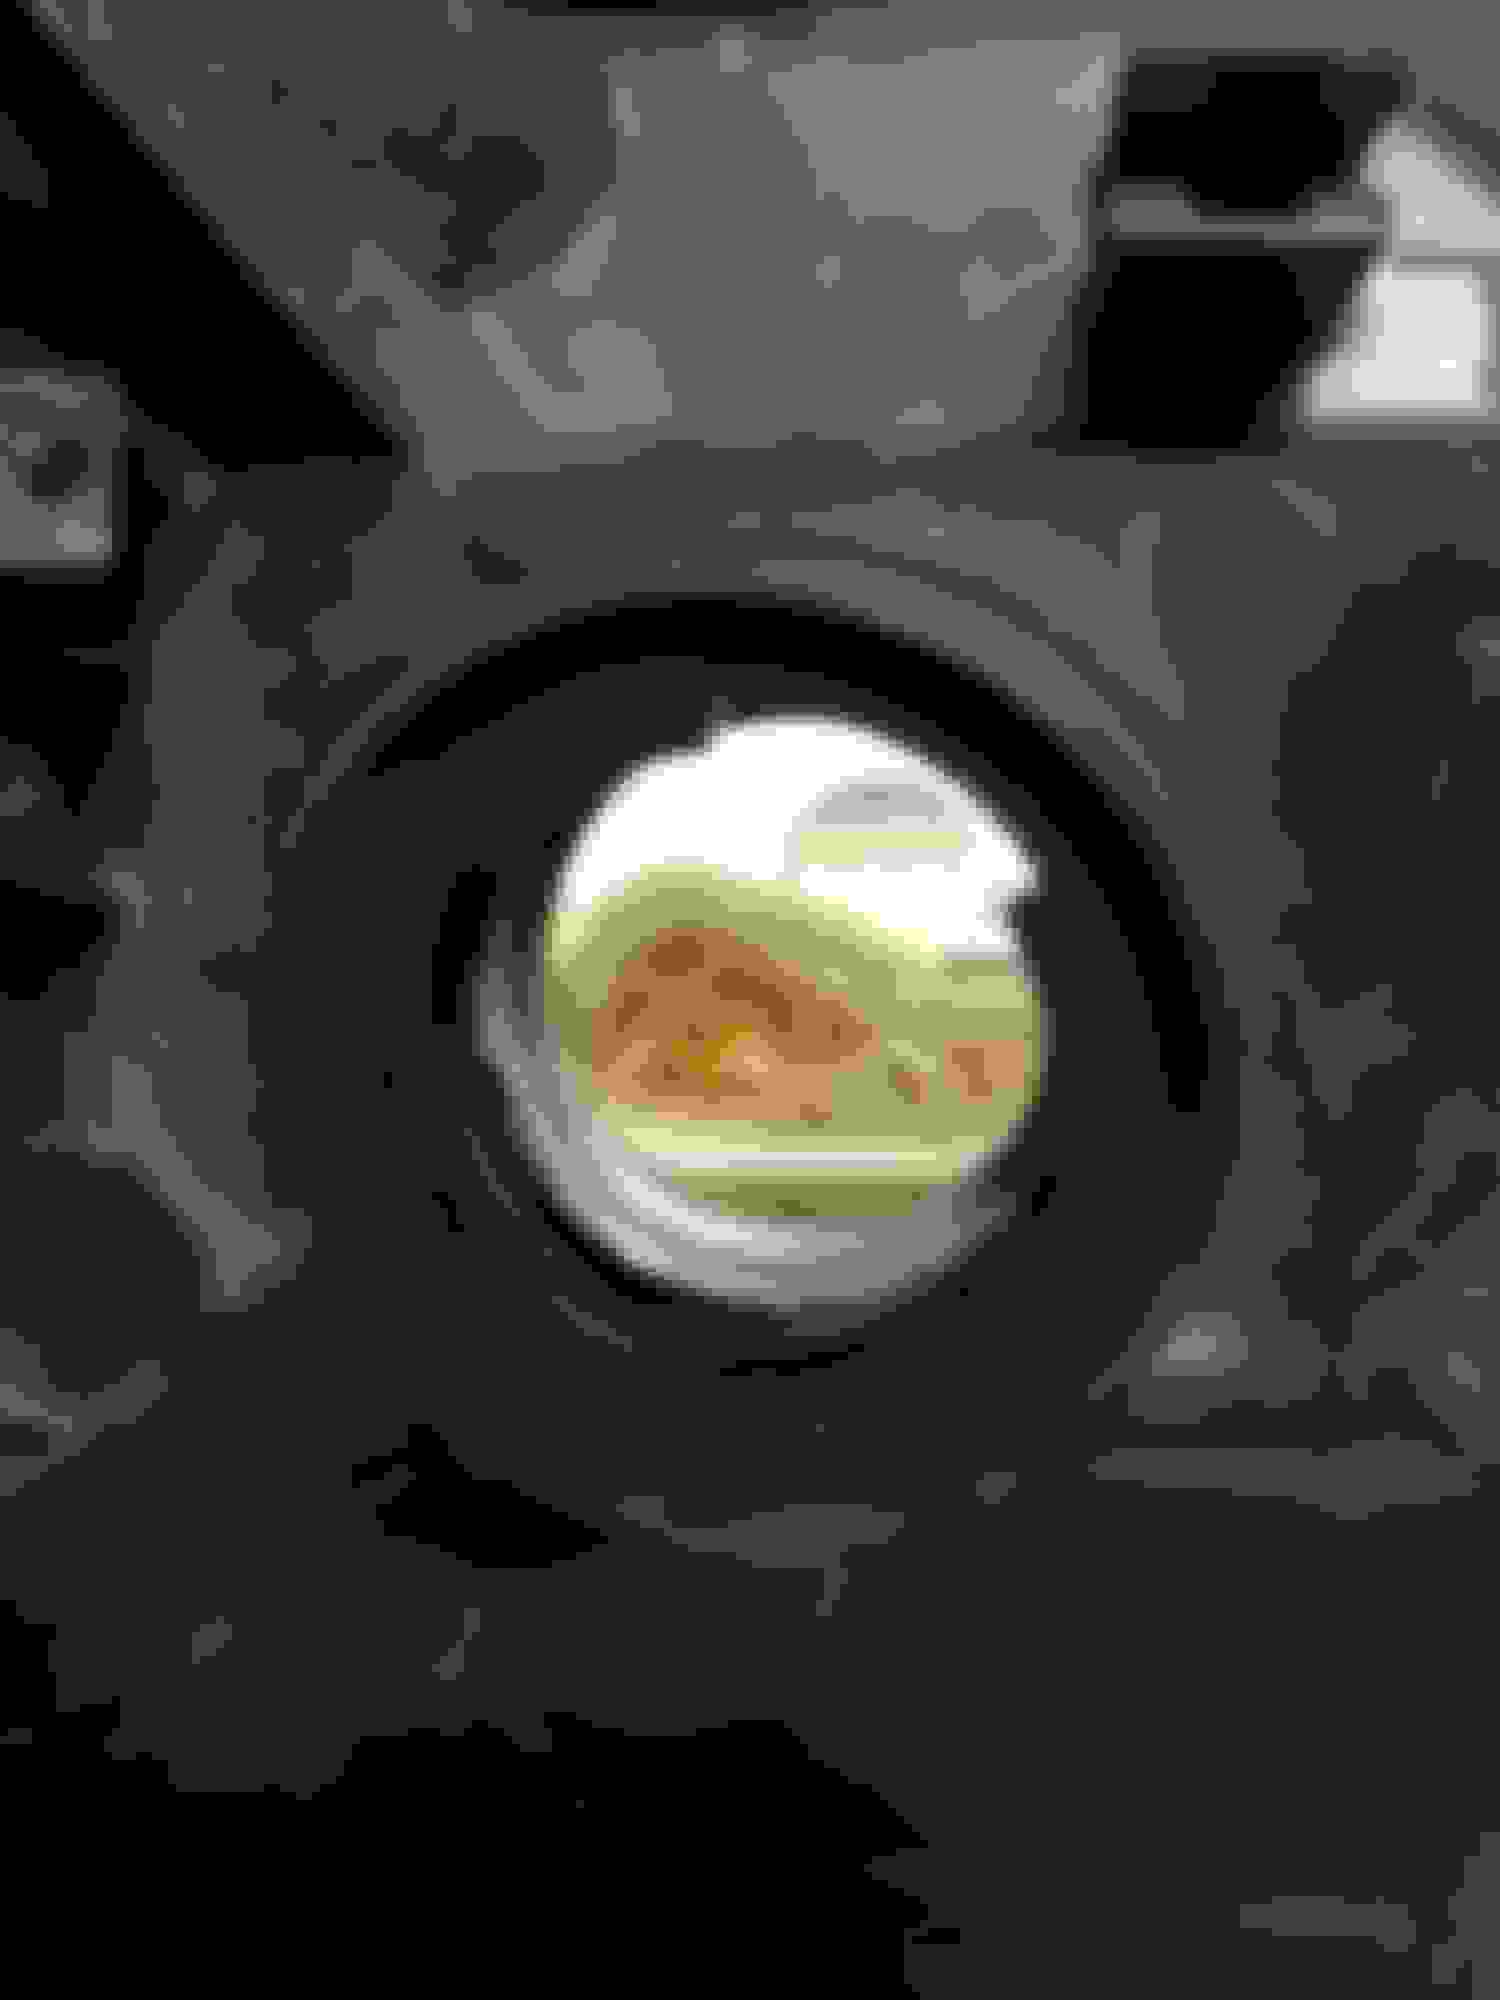
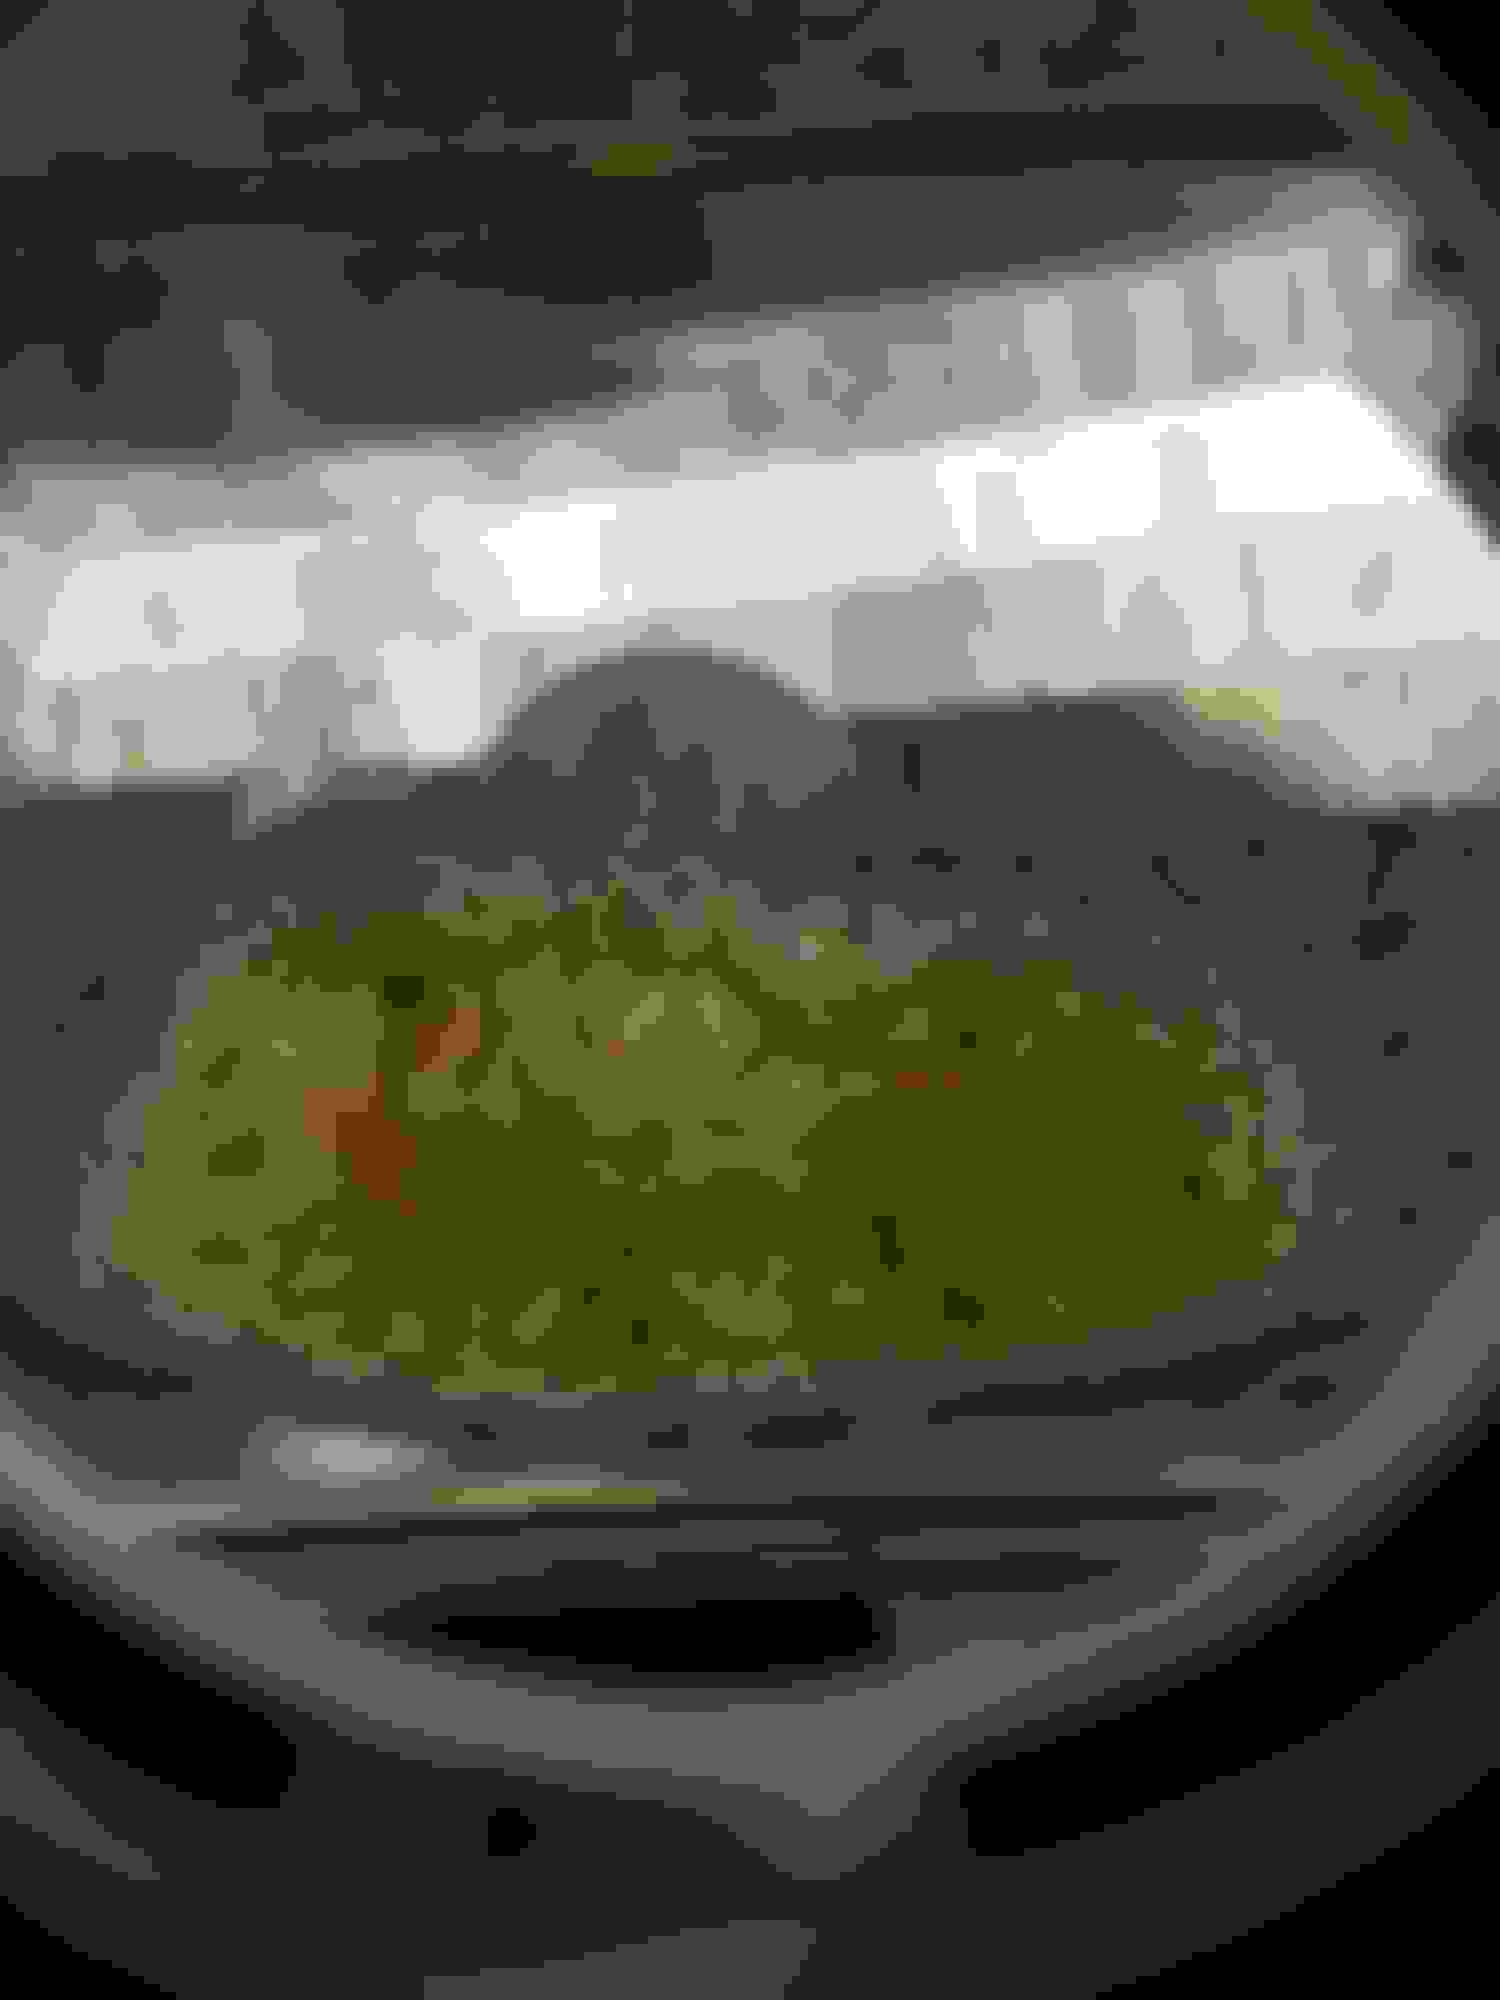
I purchased a set of Sport Headlight assemblies and boxed up my Originals. I have decided to modify my Orignals so I took them out of the box, cleaned them up. While doing so I noticed inside of the turn signal housings on the back of the lens on both headlight assemblies are melted. This is a good reason to have them turned off. If you want the safety of them, turn on your headlights and or fog lights. Too much heat from a incandescent bulb. LED might be okay... but burning all the time is gonna produce heat.
yes I know. That is how I noticed it. I plan to take these apart to modify them, so I was cleaning them and that�s when I found the melted parts.
Originally Posted by IanB2
Can you post a pic from the front side? Which bulb did you have in there?
I had the OEM incandescent bulbs. I changed assemblies last summer, turned the DRL off and put LED�s in. Looking from the front, it�s not nearly as noticable. There is zero distortion or markings on the outside of the lens. Once I sand down the burnt discolored area, it should be nearly impossible to notice.
any recommendation on LED bulbs for replacement? Mine is still the orange oem bulb.
I do not have a recommendation for a specific bulb, but I found mine on Amazon. I searched for brightness and good reviews. You will have to have resistors for LED turnsignals or you will get hyperflash. I tried buying a LED Flasher Relay, but the GX470 uses a 12 pin relay and all LED relays that I could find are 8 pin. So that means to get the signals to function normally, a resistor for each bulb is needed. Searching for bulbs that come with resistors is handy. I purchased switchback leds with hopes to wire the white side to use as DRL�s, but so far I have not been able to accomplish it without bringing back the hyper flash. I plan to do more work on it this summer when he temps are DIY friendly.
If you have DRL and the OEM style bulb, I would imagine the inside of your headlight lens is similar to mine. The dealership can turn the DRL function off, or you can purchase the VIAS cable and download the software and do it yourself. I did it myself after buying the cable and searching for hours to get the right software. I paid $30 on Amazon for the cable.
Tdoll thanks very much! I been through the whole ordeal of trying to replace the turn signals with LEDs it seems impossible! I replaced my headlights about a year ago I did not look or keep my old ones. I hate the DRLs! The rear are just as bad, I ended up purchasing the red tint spray out and got rid of the ugly rear amber tail lights with 3 thin coats and a clear lacquer that is yellow proof and weatherproof. For the cost and time, gave the rear a great look compared to buying new units! Just have to put the clear on very thin, other guys said that they could not get a smooth finish. How about a link to the Amazon cable and place you found the software? Thanks!
I don’t have the exact link that I purchased my Techstream software thru, but a little research will net good results. I had a difficult time getting the software up and running, but stuck with it and finally got it. I have read that older laptops do better than newer systems/laptops do. Before you purchase anything, do some research on here about the subject.
Here is a link to a Techstream cable. Please read carefully before you make any purchases, I did not check this out 100%, so use the link as an example.
Also, the ”trick” to getting a smooth finish is to wet sand the clear coat after it has cured. Layer up your clear coat, let it cure and wet sand. Start at 1000 grit, make your way up to 3000, then buff out with some compound, then buff with wax. Should look brand new. I’ve done this for years with tail lights and headlights. ( same method can be used to remove light to med scratches in your clear coat on the vehicle)
I don�t have the exact link that I purchased my Techstream software thru, but a little research will net good results. I had a difficult time getting the software up and running, but stuck with it and finally got it. I have read that older laptops do better than newer systems/laptops do. Before you purchase anything, do some research on here about the subject.
Here is a link to a Techstream cable. Please read carefully before you make any purchases, I did not check this out 100%, so use the link as an example. https://www.amazon.com/J2534-V12-10-...chstream&psc=1
Also, the �trick� to getting a smooth finish is to wet sand the clear coat after it has cured. Layer up your clear coat, let it cure and wet sand. Start at 1000 grit, make your way up to 3000, then buff out with some compound, then buff with wax. Should look brand new. I�ve done this for years with tail lights and headlights. ( same method can be used to remove light to med scratches in your clear coat on the vehicle)
Thank you very much! That is exactly what I did with my tail lights! I am into detailing as a hobby and turned into a obsession! I have a 03 when I removed the tails, the bulb holders are not what you expect! However if you do a search they are starting to make LEDs WITH the resistor built in. They are not cheap but if you want to accomplish it that bad, it's a possible route. I beleive the only thing you have to check is the bulb dimensions and clearance. If you can't find them, shoot me a message.
Thank you very much! That is exactly what I did with my tail lights! I am into detailing as a hobby and turned into a obsession! I have a 03 when I removed the tails, the bulb holders are not what you expect! However if you do a search they are starting to make LEDs WITH the resistor built in. They are not cheap but if you want to accomplish it that bad, it's a possible route. I beleive the only thing you have to check is the bulb dimensions and clearance. If you can't find them, shoot me a message.
Can you provide a link to the bulbs with built in resistors? I've never found any. All of the leds I have found either need a resistor or come with resistors. The resistors that are required are fairly big, hard to imagine a bulb with a resistor built in.
Can you provide a link to the bulbs with built in resistors? I've never found any. All of the leds I have found either need a resistor or come with resistors. The resistors that are required are fairly big, hard to imagine a bulb with a resistor built in.
I will find the site when I get home, I found a couple I was researching. I want to say Lumen, and I am pretty sure Carid offered some, this was a long time ago. There was a smaller company that had great reviews and a awesome warranty , that's who I was going to go with. I'm sure by now they are more popular, but I'll find it tonight for you.
I will find the site when I get home, I found a couple I was researching. I want to say Lumen, and I am pretty sure Carid offered some, this was a long time ago. There was a smaller company that had great reviews and a awesome warranty , that's who I was going to go with. I'm sure by now they are more popular, but I'll find it tonight for you.
Can you provide a link to the bulbs with built in resistors? I've never found any. All of the leds I have found either need a resistor or come with resistors. The resistors that are required are fairly big, hard to imagine a bulb with a resistor built in.
I would think you want external resistors. The original problem of the lens melting was caused by excessive heat, and putting a hot resister inside the housing ... well, you're not solving the problem.

 02-09-18, 01:20 PM