Timing Belt Question
#1
Driver School Candidate
Thread Starter
Hi folks. Looking for some help here.
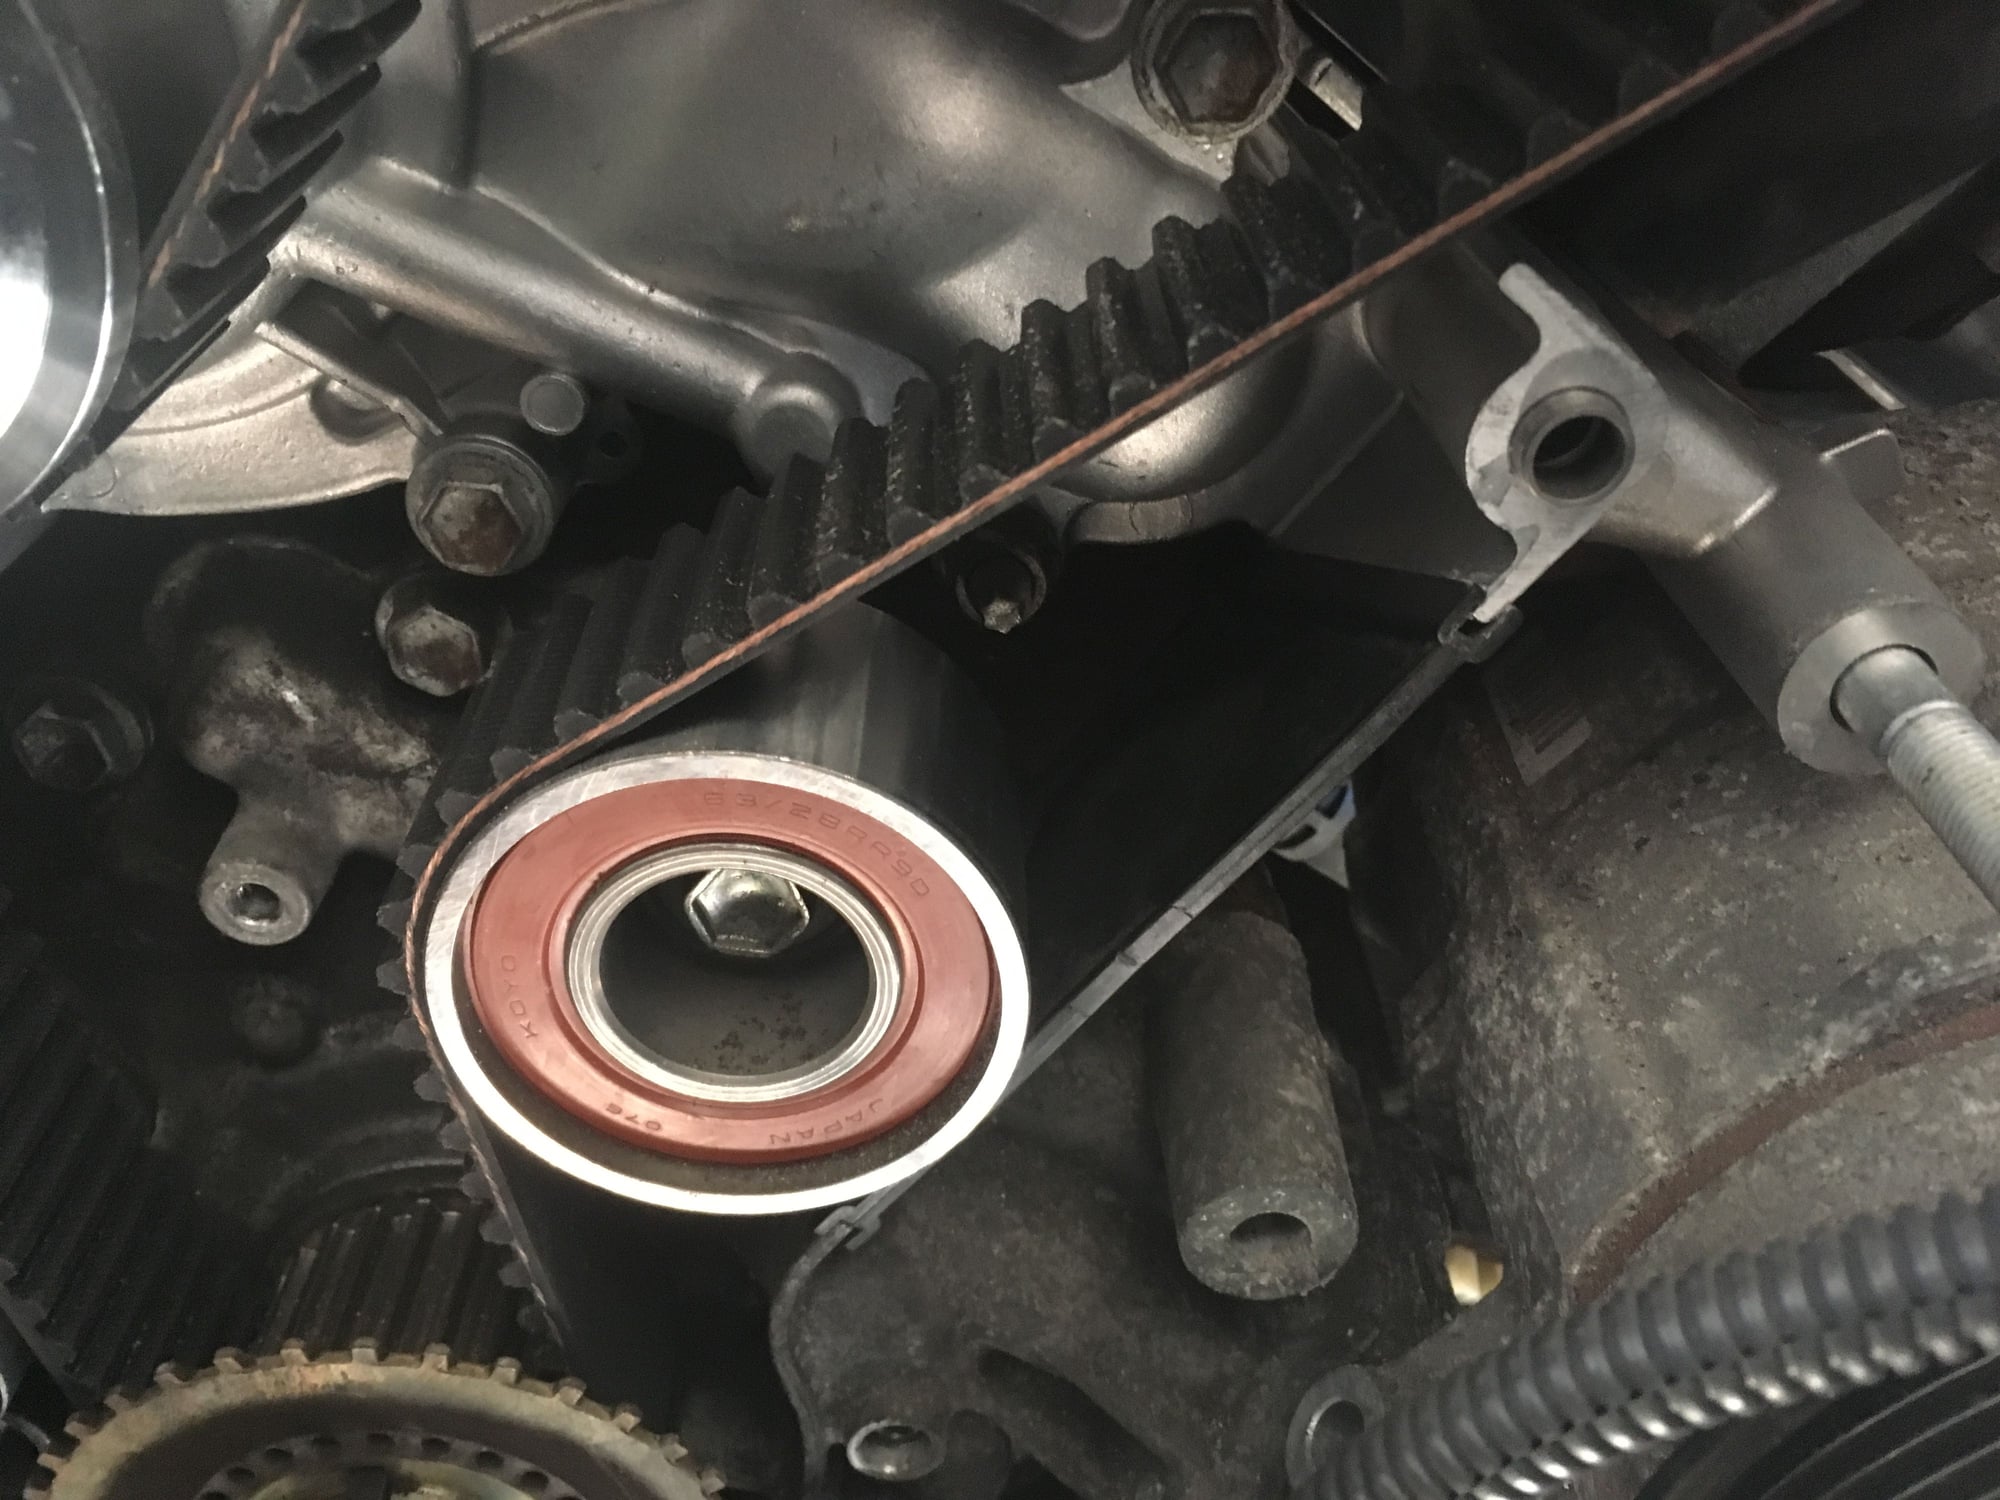
I did my timing belt the other day and have it complete, ready for install of my new radiator, except.
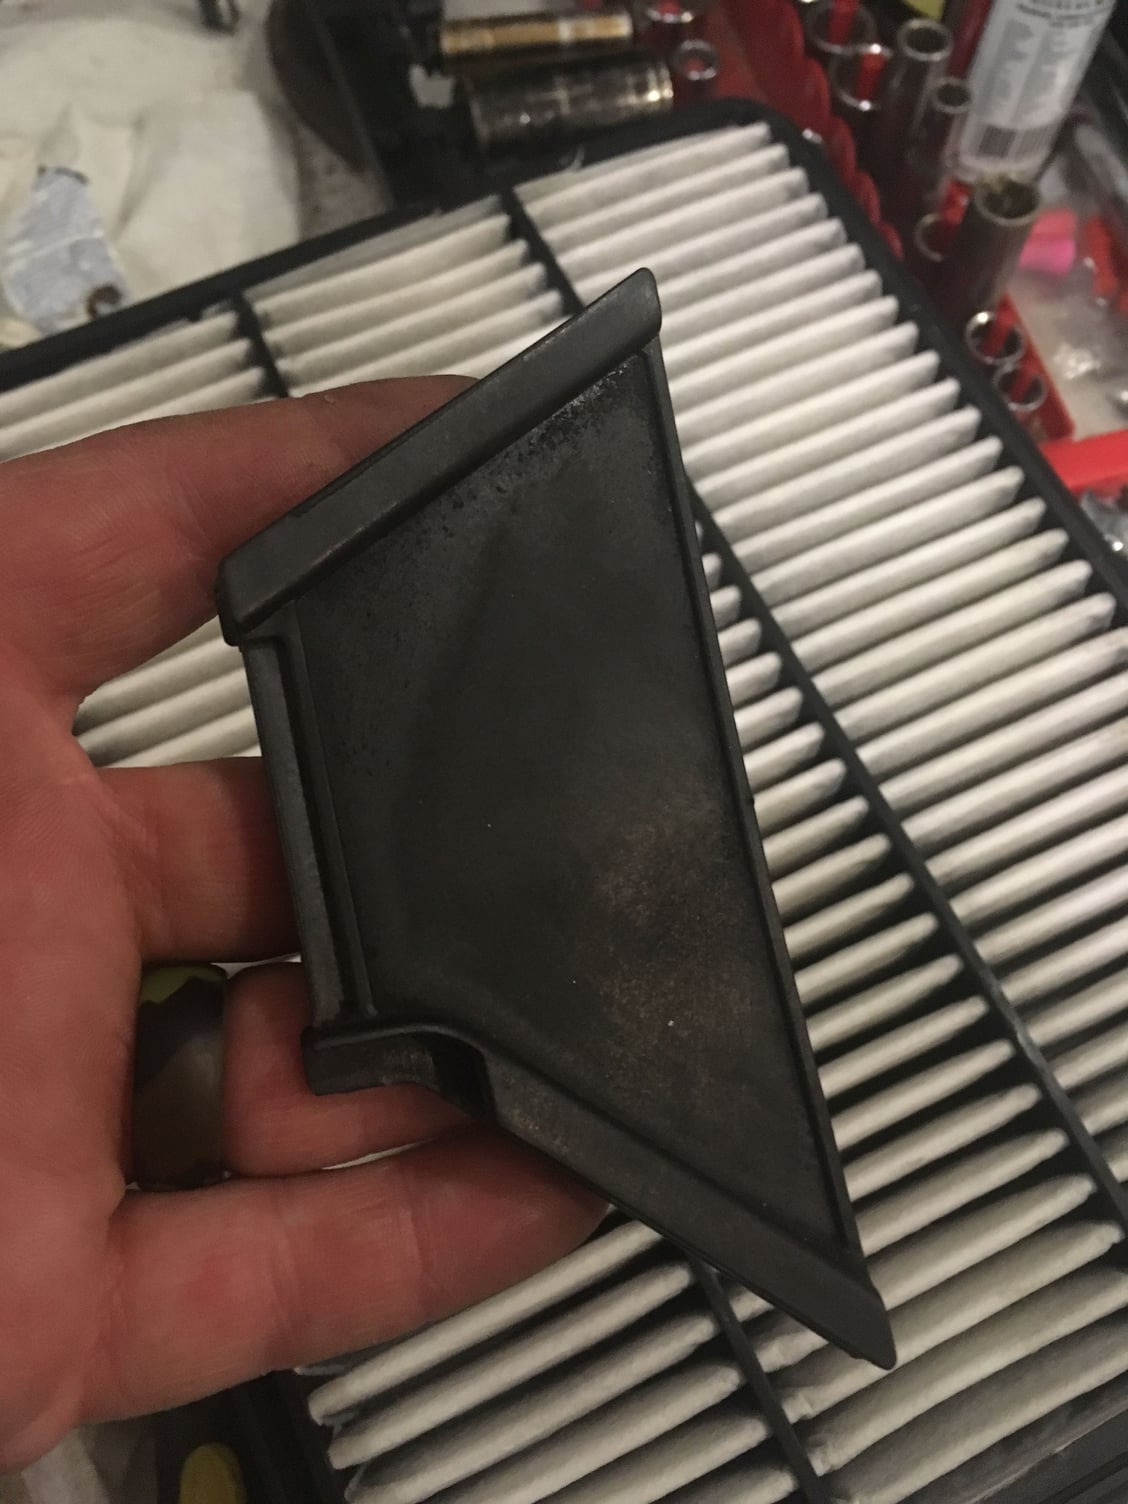
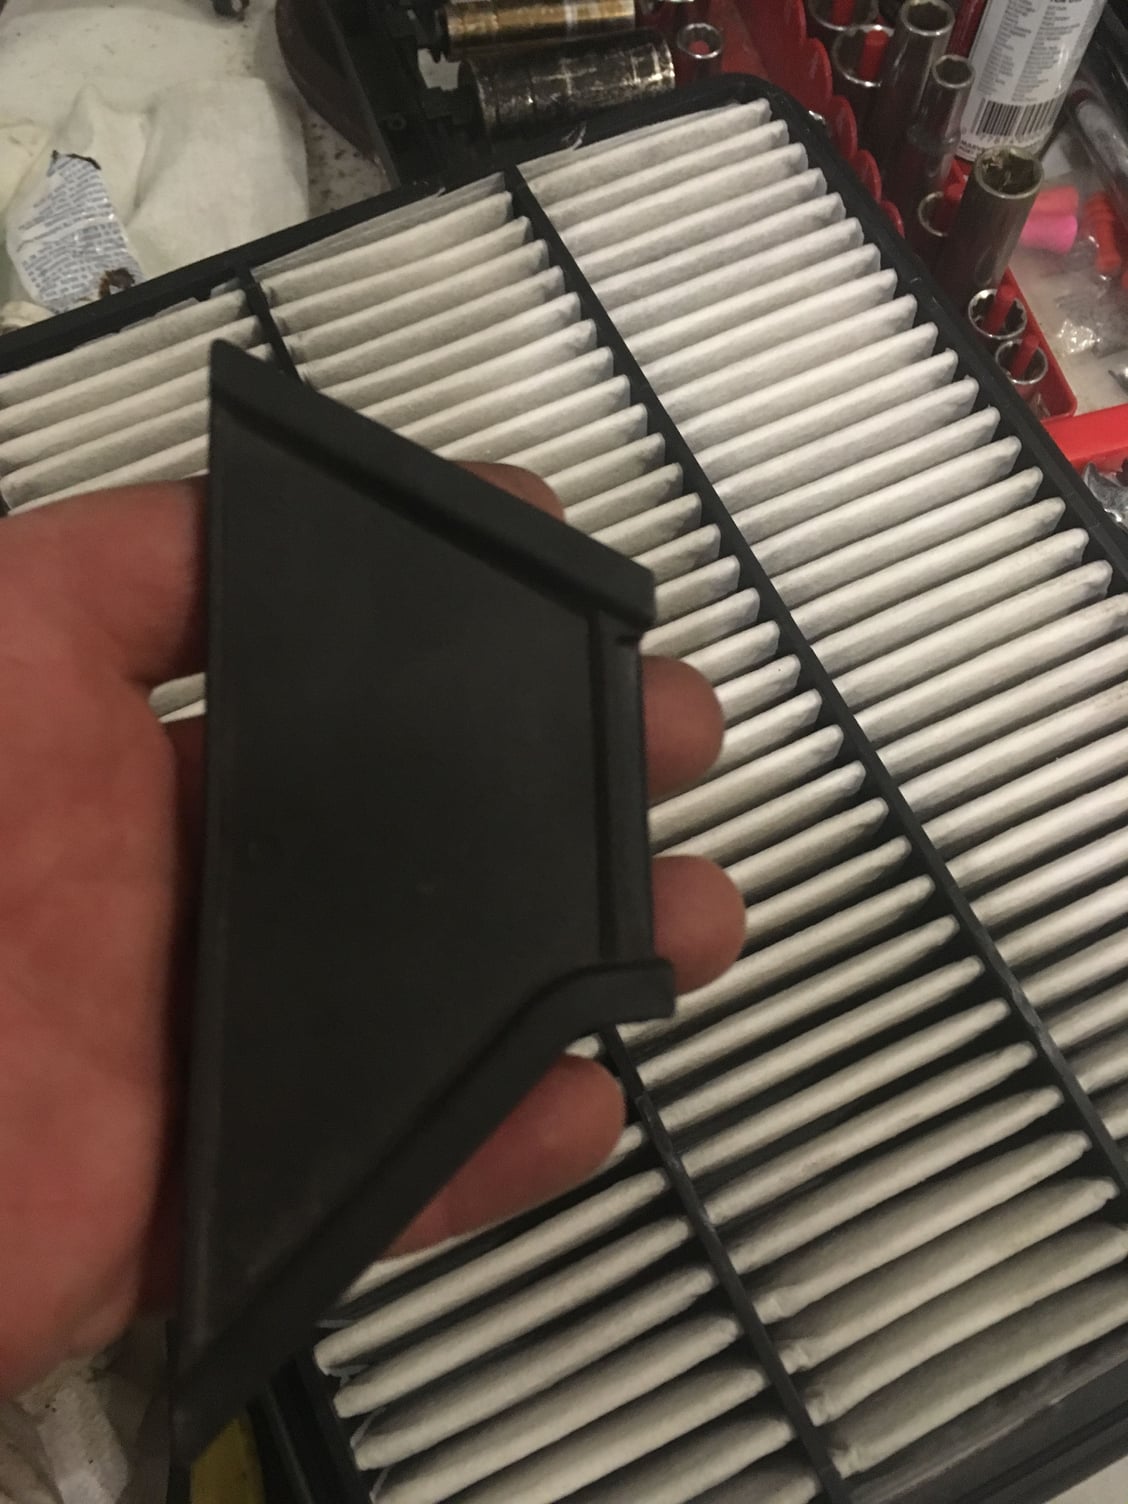
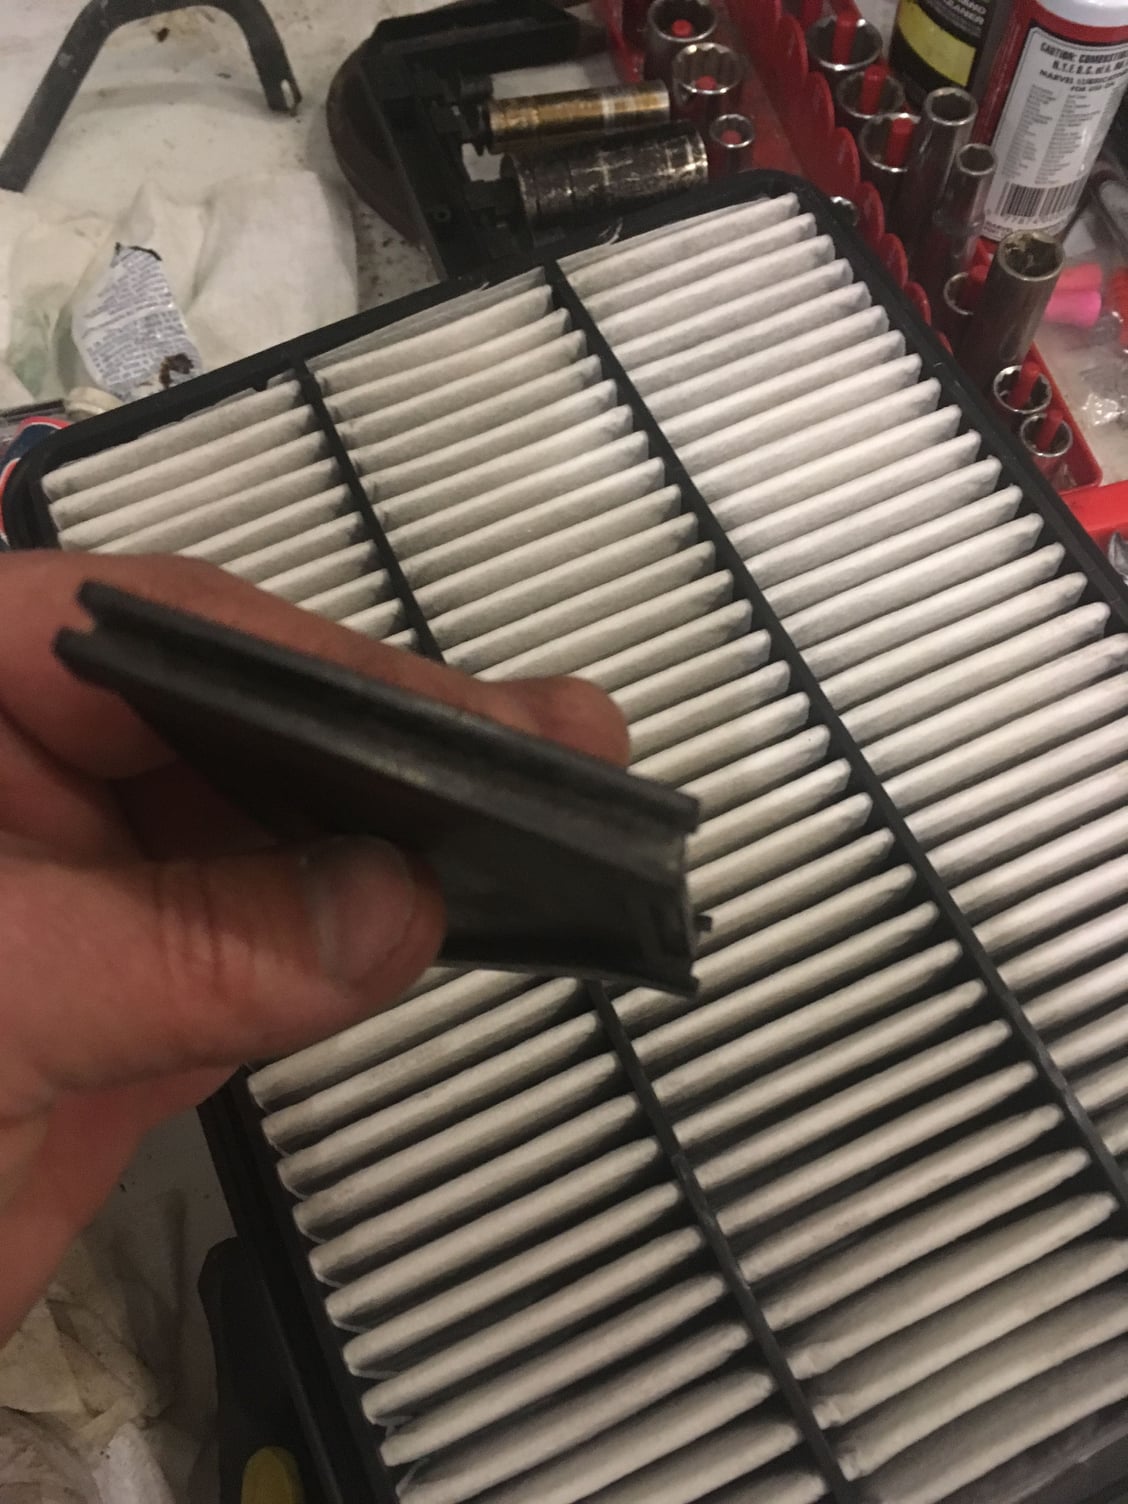
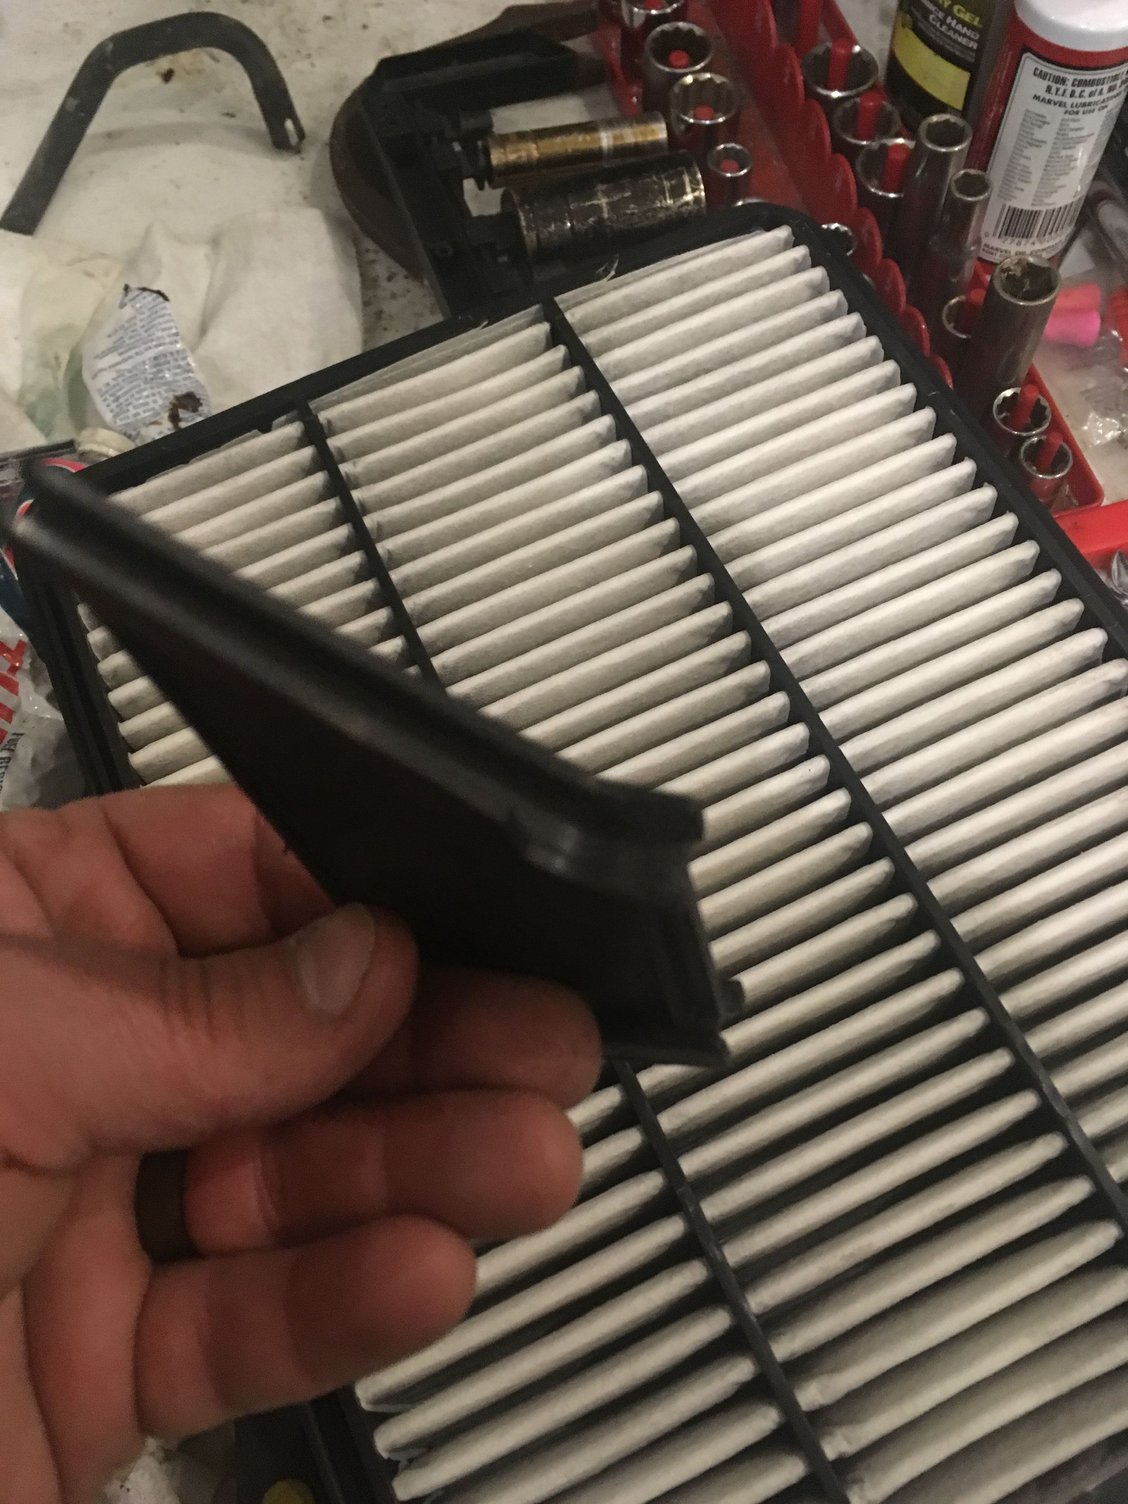
I have 1 part left over and I need to kind out where it goes. It is a small black plastic part of the Timing belt cover system. I can not remember where it goes. I remember taking it off of something but can not even find it online. Thinking it goes on the fan housing but really have no idea.
The part # is : 11338-50010. It is about 4 inches by 3 inches and defiantly fits in tight somewhere to seal off the timing belt.
Also as a little piece of advice when doing this job. It was easier to remove and reinstall the ac compressor bolts if you take off the oil filter shield and remove the oil filter. Makes them way more accessible.
And the job itself is not very difficult. I recommend removing the radiator. Should drain it anyway. Found a major leak in ours and got a new one and hoses for $80 delivered. The kit itself was $150 delivered and included, belt, water pump, 2 pulleys, tensioner, gaskets. Pretty nice for the price.
It is best to have one of those white plastic tables and just place all the parts on it as you remove them from the vehicle. You can use painters tape on the table and label whatever is needed to be labeled. You will be removing a lot of stuff but one good thing is that everything you remove and reinstall is of quality materials. I did not have anything that was rusted or corroded and we live in the NE plus the GX has 162k on it.
So , since this is our family travel vehicle we don't use it much but would sure like to find out where the plastic part cover part goes.
Thanks.
Last edited by ChipDugan; 01-18-18 at 07:04 PM.
The following users liked this post:
deeken (01-20-18)
#3
Driver School Candidate
Thread Starter
That is the exact video I used. Have gone through it again several times and can't seem to find where the part goes. I don't think he removes it from anything which makes me think it goes on the back side of the fan bracket. But not sure.
#6
Driver School Candidate
Thread Starter
All righty then !
That really stinks considering I am all buttoned up and ready to install the new radiator.
So guess whats on the menu tonight ? hahahaha
That really stinks considering I am all buttoned up and ready to install the new radiator.
So guess whats on the menu tonight ? hahahaha
#8
Glad it worked out, and sorry about opening up the timing belt cover, you did 2 timing belt job in a day. just kidding.
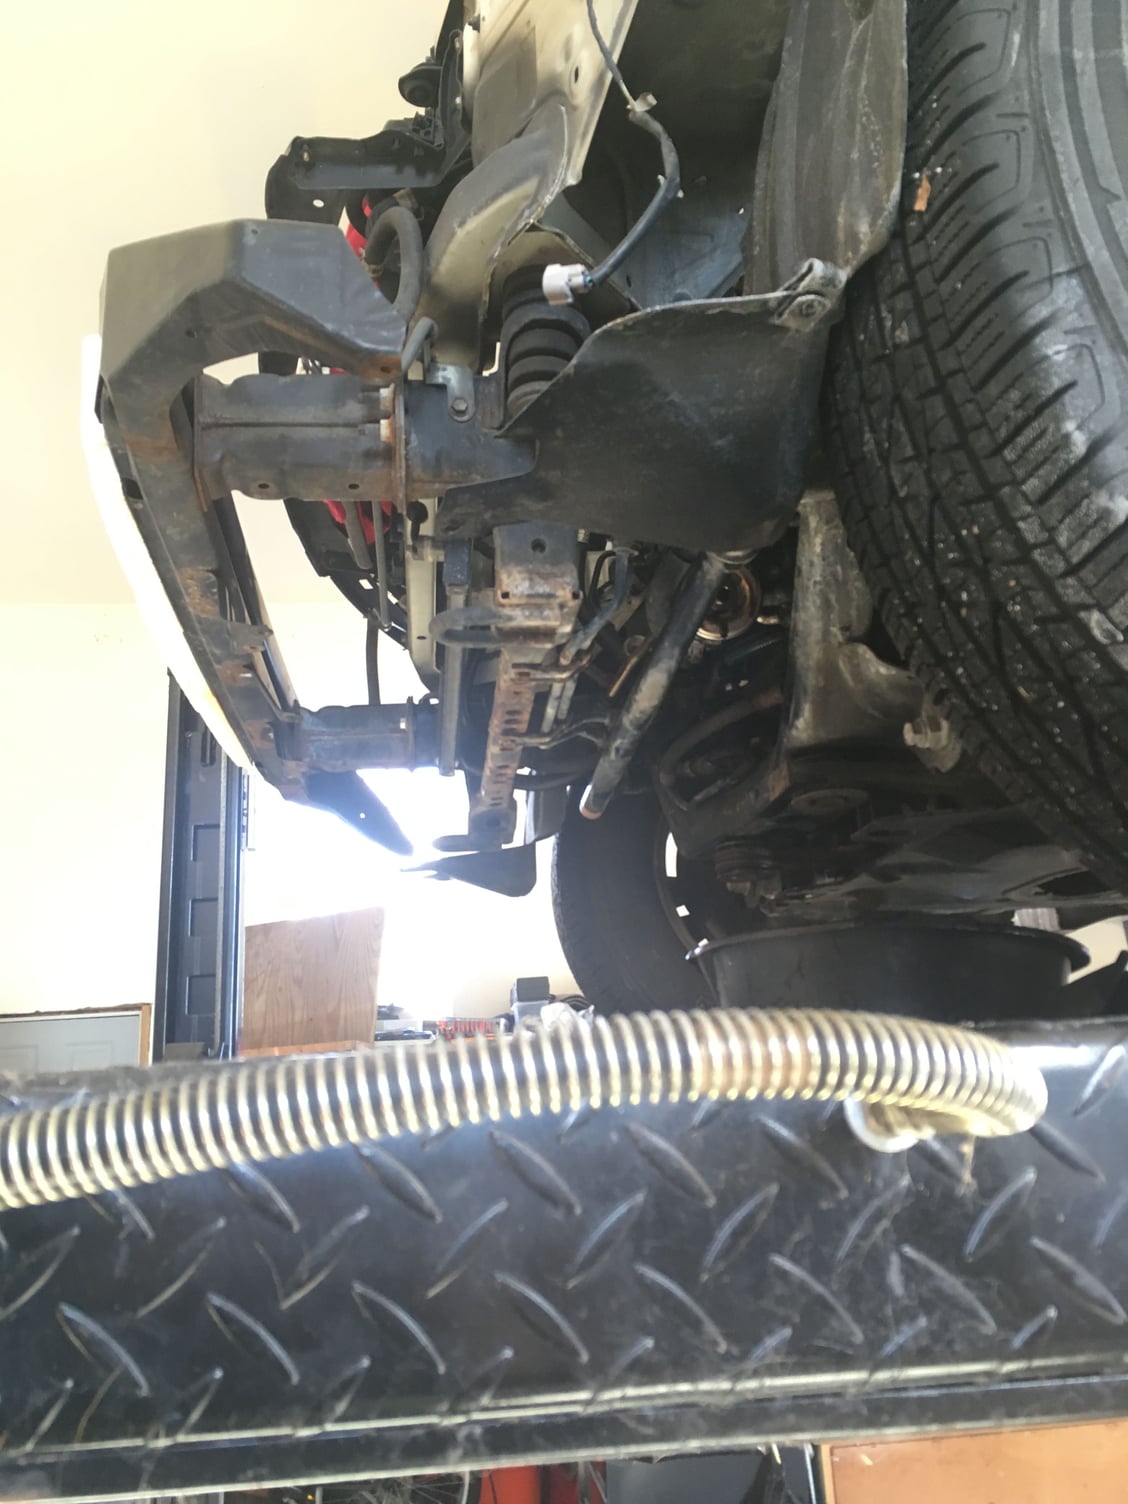
Why your bumper is missing?
The tip you gave about oil filter. and shiled to take off, will help many people.
Where did you get the parts from? Any link and is it ASIN?
Why your bumper is missing?
The tip you gave about oil filter. and shiled to take off, will help many people.
Where did you get the parts from? Any link and is it ASIN?
#9
Driver School Candidate
Thread Starter
Glad it worked out, and sorry about opening up the timing belt cover, you did 2 timing belt job in a day. just kidding.
Why your bumper is missing?
The tip you gave about oil filter. and shiled to take off, will help many people.
Where did you get the parts from? Any link and is it ASIN?
Why your bumper is missing?
The tip you gave about oil filter. and shiled to take off, will help many people.
Where did you get the parts from? Any link and is it ASIN?
The bumper and left light were damaged by a deer strike. The bumper is not salvageable but the upper bumper cover supports, being slightly bent up, are repairable. The light is damaged beyond repair so I will be looking for another one. Hoping to find a salvage one that has the same slight yellowing as the right. New ones are pricey. I picked up a new bumper cover and a new radiator via eBay. Bumper cover was $148 delivered (which is crazy because the box is the size of a casket) and the radiator was $65 delivered. I have new upper and lower radiator hoses coming from Rockauto and they are $25 and I posted a thread about the amazing deal on Automate XP plugs from them as well. New serpentine belt off eBay for $11 delivered.
The Timing Belt / water pump kit was from RockAuto as well : Here - https://www.rockauto.com/en/moreinfo...=1431005&jsn=1
Pretty sure it was $158 delivered.
Like I mentioned earlier, I would drain and remove the radiator to do this job even if I was not replacing the radiator. Lots more room to work for sure and most systems would need to be drained and replaced anyway.
Good stuff.
#10
That is impressive that you did this yourself. How long would you say this project took you from start to finish? Any snags along the way with the exception of that piece? I kinda wish I did this myself instead of having the stealership do this.
#11
Driver School Candidate
Thread Starter
First time was about 7 hours just taking my time removing bumper, light, radiator and the full timing job. Could probably do it in 4 now. Having a lift helps.
#12
Chip,
Thanks for the link, I read in the description the following:
Gates kits include the same OE components as their TCKs: timing belts, pulleys and tensioners as well as a water pump.
My question is when you installed the parts, all of the components and belt are EXACTLY same as if you biught from toyota, or aftermarket? I am more concerned about the belt, the OE belts are awesome.
#13
Chip,
Suggestion on your hoses, when you install them on the radiator, put little lubricant or grease on/in the area that meets the opening of the radiator, makes lot easier to twist to align.
Also how are you planning to take out the clamp on the lower radiator at the radiator. Its very tricky and you need the Flexible Hose Clamp Pliers.
I could not get it out without this tool.
I changed my radiator and hoses last year, getting ready to do the timing belt, I am not sure if I need to pull the radiator out, since I wont be changing mine.
Thread
Thread Starter
Forum
Replies
Last Post


