When you click on links to various merchants on this site and make a purchase, this can result in this site earning a commission. Affiliate programs and affiliations include, but are not limited to, the eBay Partner Network.
Hello everyone im gonna do a small write up of the review of my cks coils.
To start of with I want to say if you guys need parts and info please contact Lou from Mod In Japan
He is a smart and super informative guy that knows his ****!!! I talked to him and he was able to guide me in picking the correct spring rates and going with the upgraded swift springs. He is running this set up on his GSF so he knows what he is talking about and knows what works and what doesn't.
The specs of my coils.
Swift spring upgrade
Front spring rates 14 -7 clicks from stiffest
Rear spring rates 10 -14 clicks from stiffest
I told him i wanted to keep a good ride quality and not have a stiff or bumpy or harsh ride on my car.
And so he told me he as the 14/10 spring rates and that the car rides amazing not stiff or harsh so that is what i went with.
Springs shipped to me very quickly took about a week for them to be made and assembled by cks and shipped to me.
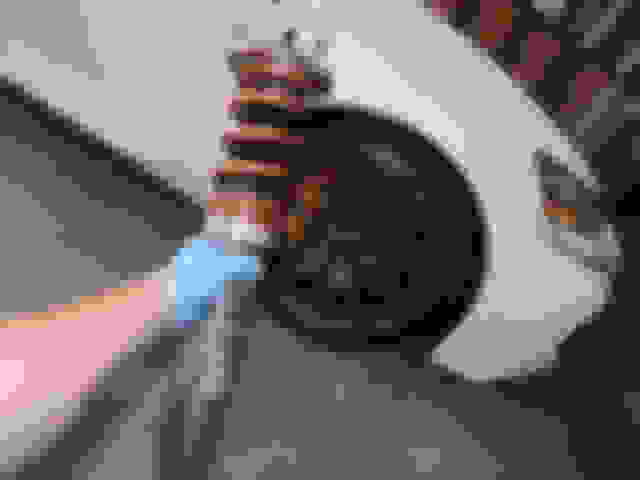
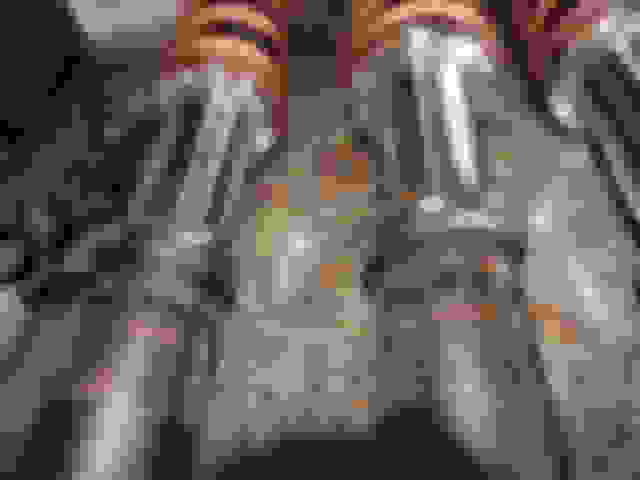
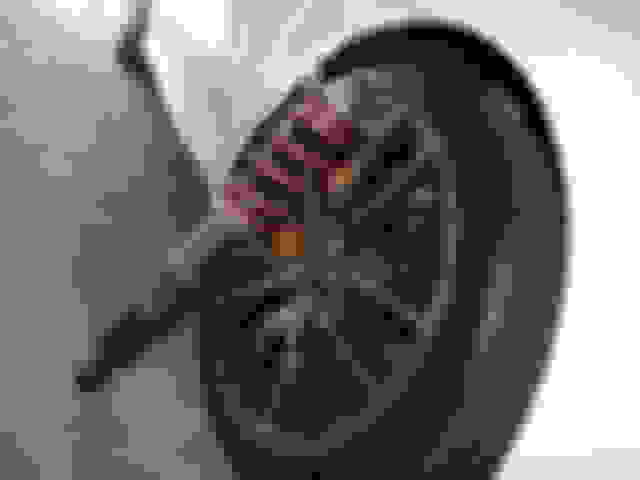
springs came so well packaged and wrapped. They look amazing and are a solid build. The collars are all stainless steal and spin freely.
Install was so easy on the car. Especially the fronts. Each front side took about 15 min to install.
Rear took a little more time since there are more components to undue but still was super easy to do with just basic tools.
I made a DIY install video if you would like to watch to see how i did it. And please subscribe if you like what you see .
Link below.
I have had the coils on now for 2 weeks and ABSOLUTELY LOVE THEM !!!!!!!!!!!!!!!!!!!!!!
After the install i took the car around the block to have the suspension level out since the car was up on jacks so i can start adjusting the height. And with just going around the block I felt a massive difference in comfort. The first speed bump i went over the car actually had compression and rebound. As before on the stock suspension it seemed and felt like it had no compression at all. Before the ride was so firm and stiff and honestly it felt crashy.
With the coils and the drop the car looks and rides amazing. Installing the coils was the best investment and mod i have done to my GSF. It rides so much better now its a night and day difference for the better. The suspension handles bumps and man whole covers and cracks in the road like it was nothing. It makes the ride in the gsf so smooth and so much more pleasant.
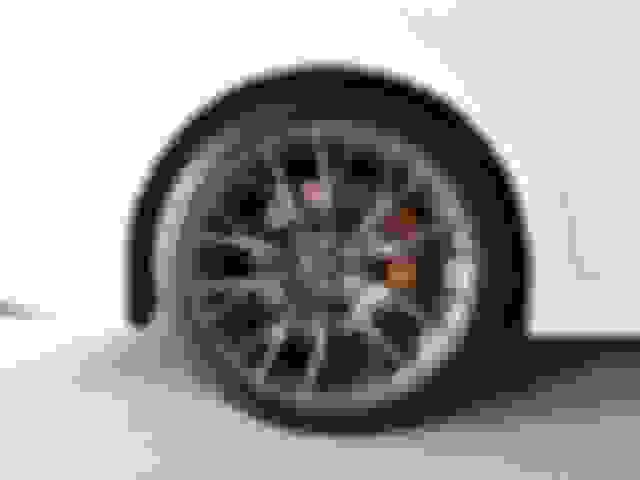
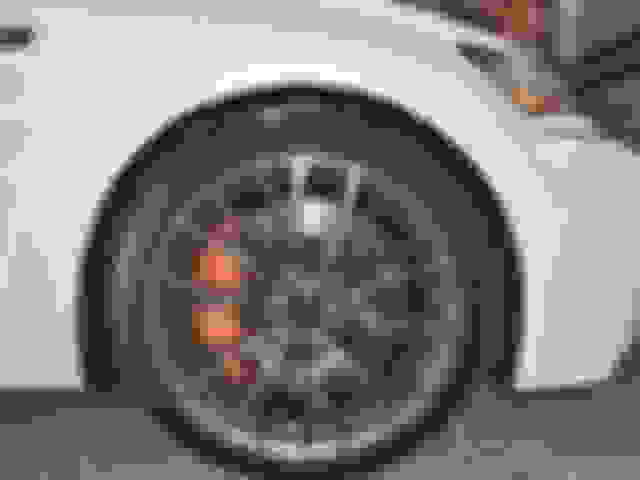
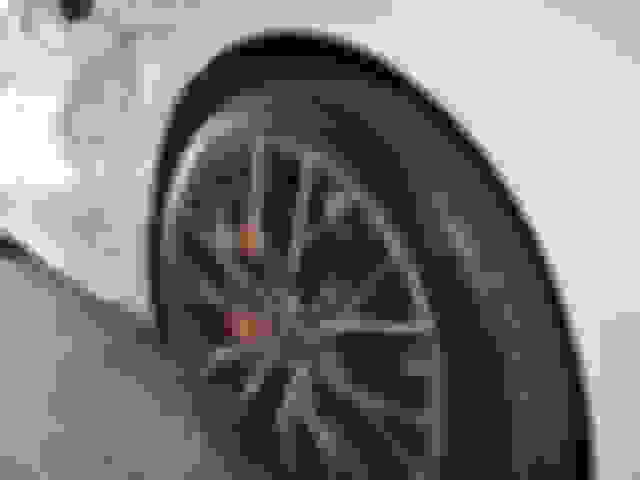
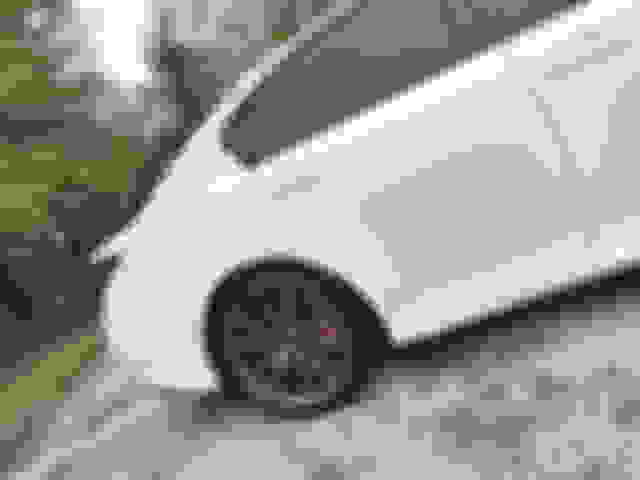
As you can see from the images i did not go stupid low with the drop. I mainly wanted to drop the front since the wheel gap in the front was just terrible. So the front got most of the drop about an inch was dropped and the rear only about 1/4 of an inch. This drop is perfect for me and what i was looking for. I dont like when the tires are tucking under the fender.
Enjoy the pictures below and i highly recommend these coils.
Thank you Lou again for all the info. first few images are stock height
Nice write up I have the same coilovers and also I bought them from Lou. He’s a great guy to deal with and like you said he knows his stuff. They are a well built coilover.
Have you had your alignment checked since the car has had a chance to settle-in on those new units?
If you do the install right, there's no "settle-in" on any suspension. I watched the video. Disappointing how many important points were ignored with this install. First, the nut on the shock is semi captive. You are supposed to loosen the bolt, NOT the nut, that's why you had to hammer it off with a pipe over your wrench. This is very clear if you use the factory service manual. Also, you need a lead face or babbit faced hammer if you want to hit your ball joints directly to remove them without damaging the threads. Spinning the nut down as you did and hitting it with a hard faced hammer has a less than stellar effect on the tabs used to secure the nut with the lock pin.
Most importantly, I didn't see anyone loosen all the control arm pivot bolts and reset them for normal ride height with the new shocks, so the bushings will be under constant stress and they'll wear out faster than they should. This is a common suspension install mistake and leads to people saying "has the car settled yet" when if the job is done correctly, there is never a change in ride height until years later when the springs sag.
Divorced spring setups are only problematic because the calculations are more complex and getting a selection of springs in a bespoke size is never fun. Coils over the shocks have no mechanical advantage over divorced springs if both are properly tuned. Comments about the coilover's inherent superiority are bro science and have nothing to do with understanding suspension design.
Didn't see a torque wrench used once in this install. Every one of the bolts removed has a torque specification from the factory. There really is a reason for this. No one would want to fly on an airplane assembled by mechanics ignoring torque specifications. I don't know why anyone would want to drive a car without properly tightening the fasteners responsible for keeping the wheels pointed in the right direction.
OP - Glad you are happy with your install and your subscribers. Hopefully no one follows your instructions and gets hurt because they failed to understand the details and how important they are.
the video i made was by no means meant to be a perfect technical write up. I know what I have learned over the years and im only 29 and still learing alot about cars. The video was to give people an idea of what kinda work goes into a coil install.
Off camera all the bolts were torqued properly for you info. The talk about the springs being divorced or not with the shock was just my bro talking to hear himself talk lol.
but i do have a question for you
you did mention about resetting the control arm bushings. can you tell me more about this and how to do it so i can get that done. I dont want to have bushing issues like u mention.
Loosen all the pivot points after the install. Load the suspension - I do this by putting a jack under the knuckle (never the caliper) and raising until the chassis starts to lift from the nearest jackstand. Bounce the corner to establish neutral, then with the corner fully loaded, tighten all the pivot points to spec. Remember, many of these nuts are semi-captive, so you have to torque the bolt head, NOT the nut to get the tension on the bolt right.
If you look at the 2IS thread, all of these subjects have been pretty well hashed out.
Also, if you replace your OEM rubber bushings with polyurethane bushings or with ball end bearings, none of the raising and torquing is necessary. Both poly bushings and spherical bearing joints have no need to be set to neutral as they are not bonded inside and outside like factory rubber bushings which is why you find them on pure racing vehicles.
the video i made was by no means meant to be a perfect technical write up. I know what I have learned over the years and im only 29 and still learing alot about cars. The video was to give people an idea of what kinda work goes into a coil install.
Off camera all the bolts were torqued properly for you info. The talk about the springs being divorced or not with the shock was just my bro talking to hear himself talk lol.
but i do have a question for you
you did mention about resetting the control arm bushings. can you tell me more about this and how to do it so i can get that done. I dont want to have bushing issues like u mention.
Hey gsfdream, I got to say man, good job taking criticism! I'm glad you properly torqued those bolts off camera and that you are willing to dig deeper on how to complete the project properly or better. Lubuxracer is a highly competent formally trained individual that have gone through these rodeos before, its great to have around straight shooters like that, I think... From my humble corner I'll opine that his last paragraph ultimately is the way to go. To change those OEM rubber bushings for better solutions that are not bonded to a preset position or nominal setting, would be better in all respects.
I would have never guessed that you were 29 from your videos... thought you were much older than that... ahhahaha. All kidding aside, good job having your dream car at a relatively young age.
Loosen all the pivot points after the install. Load the suspension - I do this by putting a jack under the knuckle (never the caliper) and raising until the chassis starts to lift from the nearest jackstand. Bounce the corner to establish neutral, then with the corner fully loaded, tighten all the pivot points to spec. Remember, many of these nuts are semi-captive, so you have to torque the bolt head, NOT the nut to get the tension on the bolt right.
If you look at the 2IS thread, all of these subjects have been pretty well hashed out.
Also, if you replace your OEM rubber bushings with polyurethane bushings or with ball end bearings, none of the raising and torquing is necessary. Both poly bushings and spherical bearing joints have no need to be set to neutral as they are not bonded inside and outside like factory rubber bushings which is why you find them on pure racing vehicles.
I will keep that i mind for the future. I will reset the bushings this weekend. Maybe down the road i will look into the polyurethane bushing if the oem ones go bad.
Thank you for the info.
Hey gsfdream, I got to say man, good job taking criticism! I'm glad you properly torqued those bolts off camera and that you are willing to dig deeper on how to complete the project properly or better. Lubuxracer is a highly competent formally trained individual that have gone through these rodeos before, its great to have around straight shooters like that, I think... From my humble corner I'll opine that his last paragraph ultimately is the way to go. To change those OEM rubber bushings for better solutions that are not bonded to a preset position or nominal setting, would be better in all respects.
I would have never guessed that you were 29 from your videos... thought you were much older than that... ahhahaha. All kidding aside, good job having your dream car at a relatively young age.
Have a good one
Yea im 29 turning 30 July 5th.
Yea i torqued everything off camera the video was so long already didnt wanna make it even longer most people know to torque things to spec so i totally forgot to mention it in the video. if the bushings go bad down the road then ill go with an aftermarket set up.
 05-25-18, 02:04 PM