When you click on links to various merchants on this site and make a purchase, this can result in this site earning a commission. Affiliate programs and affiliations include, but are not limited to, the eBay Partner Network.
Hey folks. Just bought a 2013 GS F sport and I'm getting myself familiar with the car. I notices that my drive mode selector is sticky. It doesn't recoil back after making the selection. I think my sister (original owner) may have spilled something in it that is preventing it from operating freely. Can anyone tell me how I can disassemble the console area so I can get a better look at what is going on with the **** and clean it if possible? It's difficult to turn it to eco, sport, sport+, and even hard to push it down to go back to normal. It's my first nice car, so I don't want to go nuts trying to pry it out and possibly causing more damage. Any suggestions would be appreciate it
Hey folks. Just bought a 2013 GS F sport and I'm getting myself familiar with the car. I notices that my drive mode selector is sticky. It doesn't recoil back after making the selection. I think my sister (original owner) may have spilled something in it that is preventing it from operating freely. Can anyone tell me how I can disassemble the console area so I can get a better look at what is going on with the **** and clean it if possible? It's difficult to turn it to eco, sport, sport+, and even hard to push it down to go back to normal. It's my first nice car, so I don't want to go nuts trying to pry it out and possibly causing more damage. Any suggestions would be appreciate it
I have more pictures that are specific to the part you want to repair. I can send those to you when I get home.
That's a greay guide. Thanks eddie. If you have extra pictures, I'll take them from ya. Would like to get as much details before I start taking this apart.
That's a greay guide. Thanks eddie. If you have extra pictures, I'll take them from ya. Would like to get as much details before I start taking this apart.
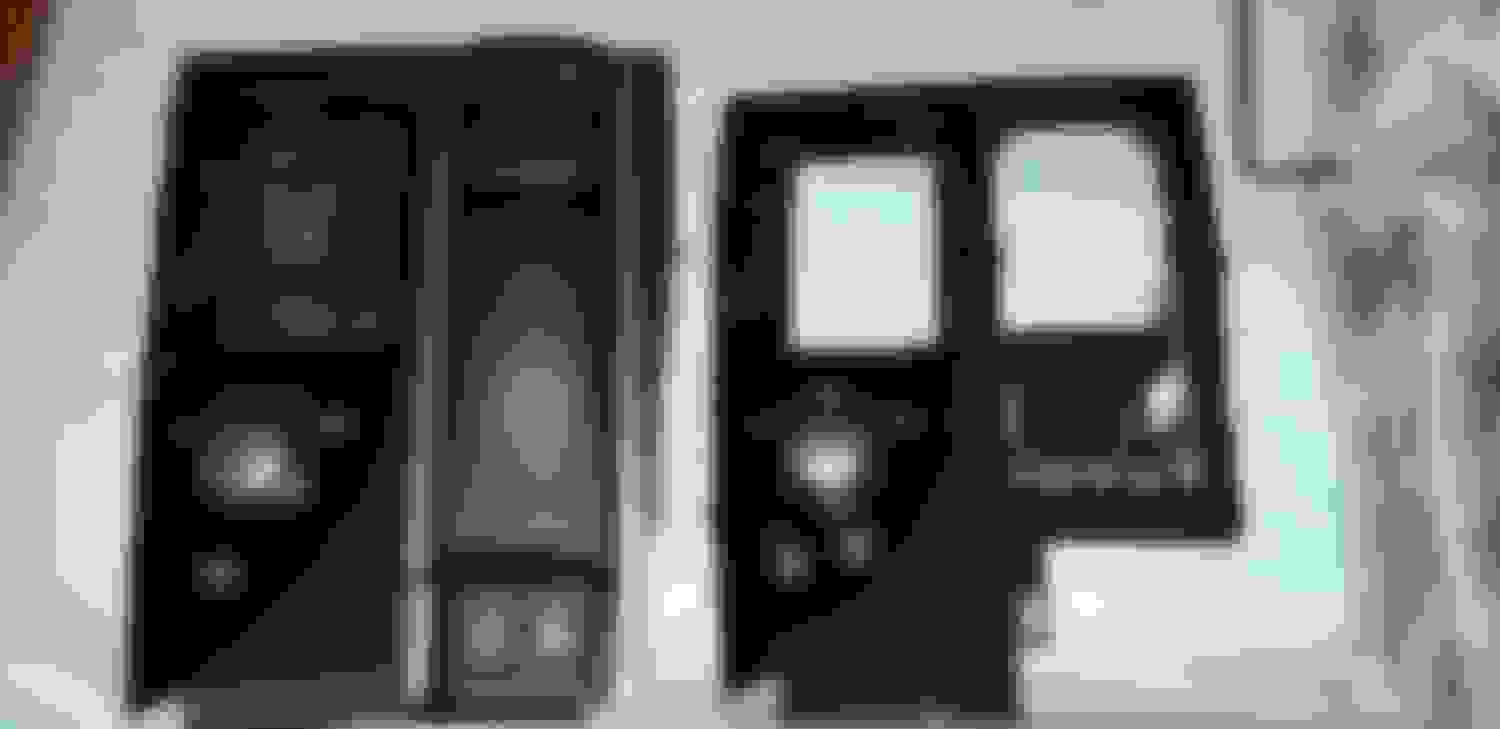
On the left is my original one. The one on the right is the one I bought from a GSF (notice the extra "TVD" button).
Swap complete.
This is what the back of the unit looks like. You will need to take out a few of the screws around the yellow/beige piece on the bottom right hand corner.
These are the buttons you will need to clean. As you can see, they get dirty pretty quickly. The one on the left is my original and the one on the right is the GSF one.
Hope these help.
This is as close to hitting the lottery as it get for me. Thanks for taking the time to post these photos. It's tremendously helpful.
I'm studying your photos before I dissemble. Last question...Does the turn **** come off by any chance or it's all 1 piece? I saw in another thread that one could use a eye droplet to get some rubbing alcohol around the **** to loosen up the gunk, but i'm curious if the **** could be removed for a thorough cleaning. Not sure if you had a chance to play with that before you finished your swap. Thanks in advance.
I'm studying your photos before I dissemble. Last question...Does the turn **** come off by any chance or it's all 1 piece? I saw in another thread that one could use a eye droplet to get some rubbing alcohol around the **** to loosen up the gunk, but i'm curious if the **** could be removed for a thorough cleaning. Not sure if you had a chance to play with that before you finished your swap. Thanks in advance.
Unfortunately, I do not remember whether it came out or not. I am pretty sure it could be removed but for cleanup purposes, you are just better off taking a cotton swab and just cleaning around it. Sorry for not providing a more detailed response!
Weather dropped to the 20s so I'm holding off on the disassembly. That being said, I used some electronic contact cleaner and sprayed around the **** and moved it back and forth. That seemed to break up whatever funk that was making it stick. Once it warms up, I'll take the piece apart and do a thorough cleaning. Just wanted to report back in case anyone else run into the same issue.
 11-23-18, 09:40 AM